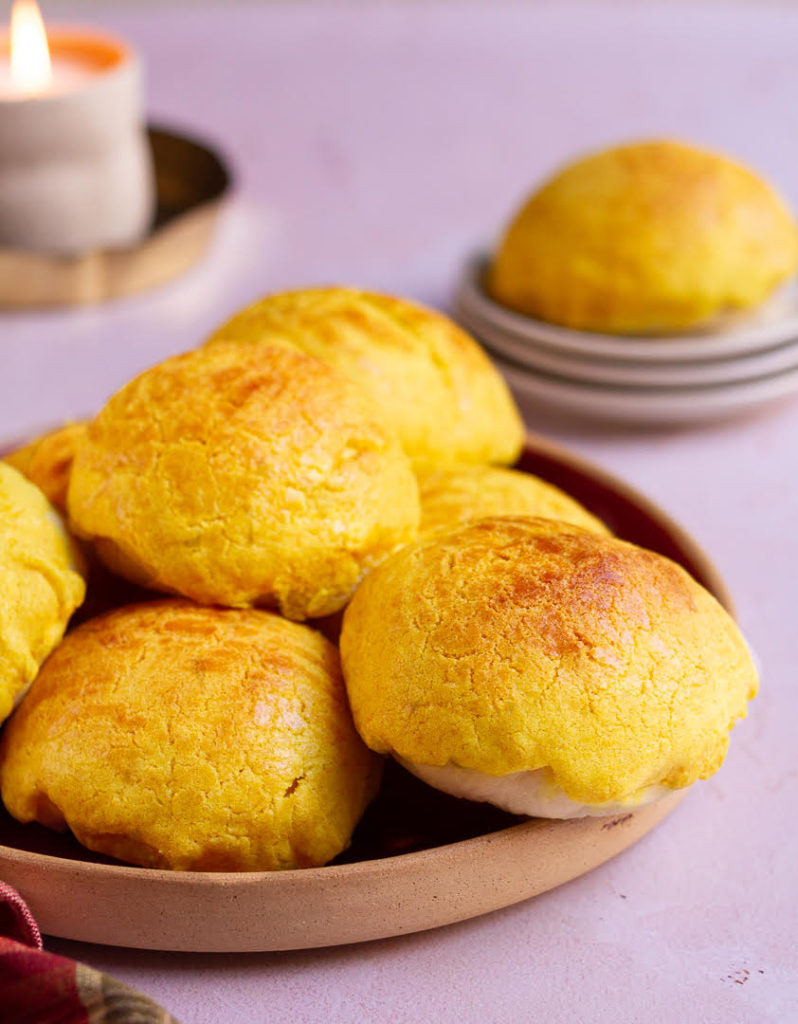
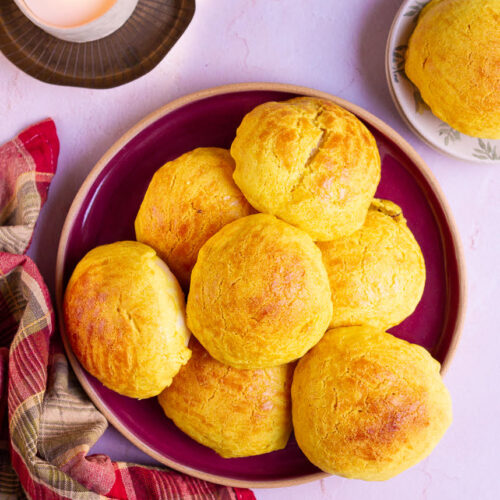
When it comes to pineapple buns, above all else, freshness matters. The crispy, crackly golden-hued buns with crumbs barely accented with a sweet flavor are so delicious that they trick you into having one too many.
And, FYI, the buns don’t taste or smell like pineapple.
Then why are pineapple buns called pineapple buns?
Even though there is no pineapple in them, they’re called so because of their topping. Each bun is crowned with a layer of dough that has the same checkered pattern as the skin of the tropical fruit. Also, the buns are yellow and sweet like the fruit.
Jump to:
What are pineapple buns?
Pineapple buns are classic pastries that originated in Hong Kong and are commonly made during the Chinese New Year. The sweet baked buns are a staple in bakeries so much so that they’ve been made a part of the country’s intangible cultural heritage by the Hong Kong government.
How to make pineapple buns?
Before I begin, I’d like to mention that the credit for this recipe goes to Lisa Lin and her blog, Healthy Nibbles. I followed the recipe to the T and that’s what I recommend to everyone.
It's a bit longish and involved, but you’re using the most basic pantry items, nothing fancy. So, it’s not complicated. And if you have all the ingredients laid out beforehand, everything falls into line like clockwork.
That’s another tip I recommend for pineapple buns. Gather and measure every ingredient using a weighing scale. It’ll make the process so much faster and easier, so nothing goes amiss.

Step 1: make the bun dough
- Begin by making the tangzhong. Heat water and flour in a pan on a medium flame. Cook till the mixture takes on the consistency of a paste.
- Take off the heat and let it cool further.
- In the meantime, start working on the bun dough. First, whisk yeast,sugar, and milk in a bowl and let it sit for 5 to 10 minutes. Keep it in a draft-free corner till it’s frothy.
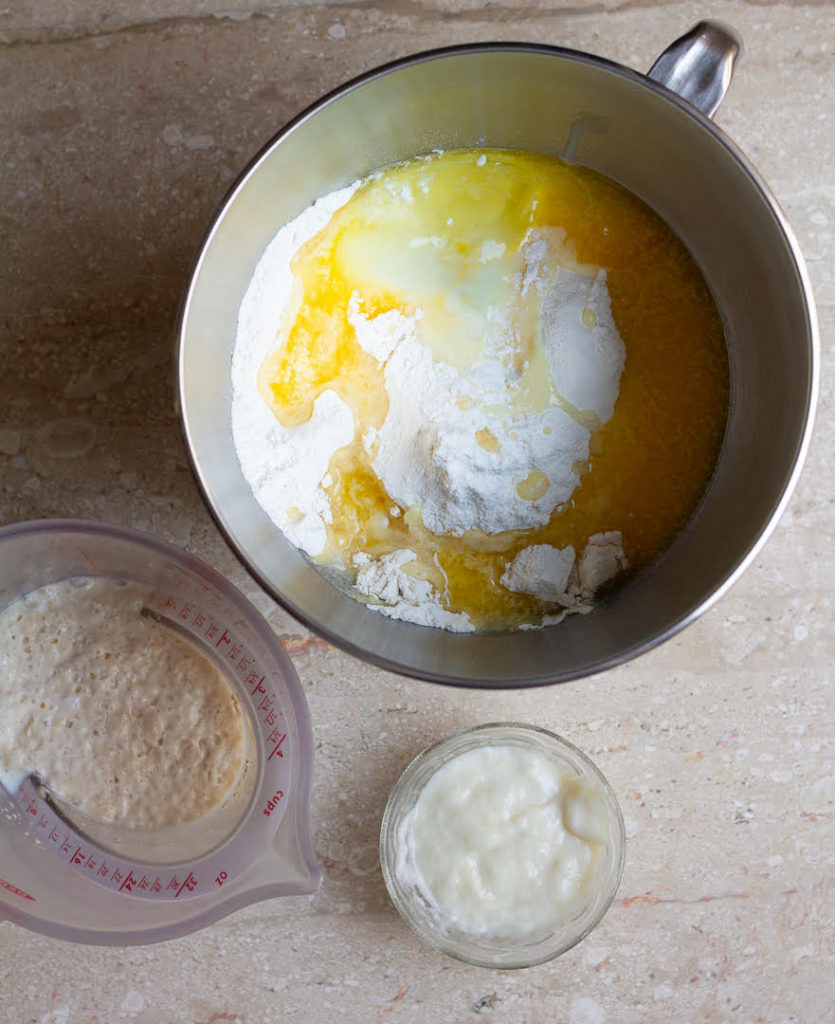
- Next, sift flour and salt for the bun dough. Add the yeast milk mixture, condensed milk, egg, and melted butter, followed by the cooled tangzhong and activated yeast.
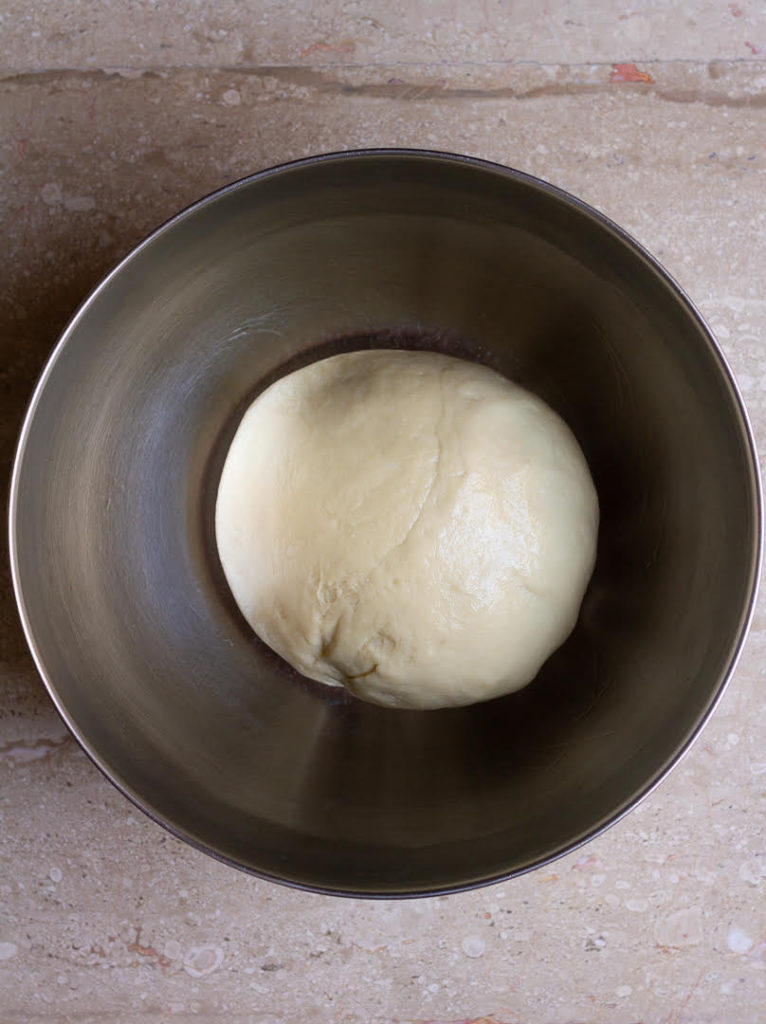
- Knead till you have a smooth dough that is not sticky to the touch. I used my stand mixer. The kneading took about 8- 10minutes.
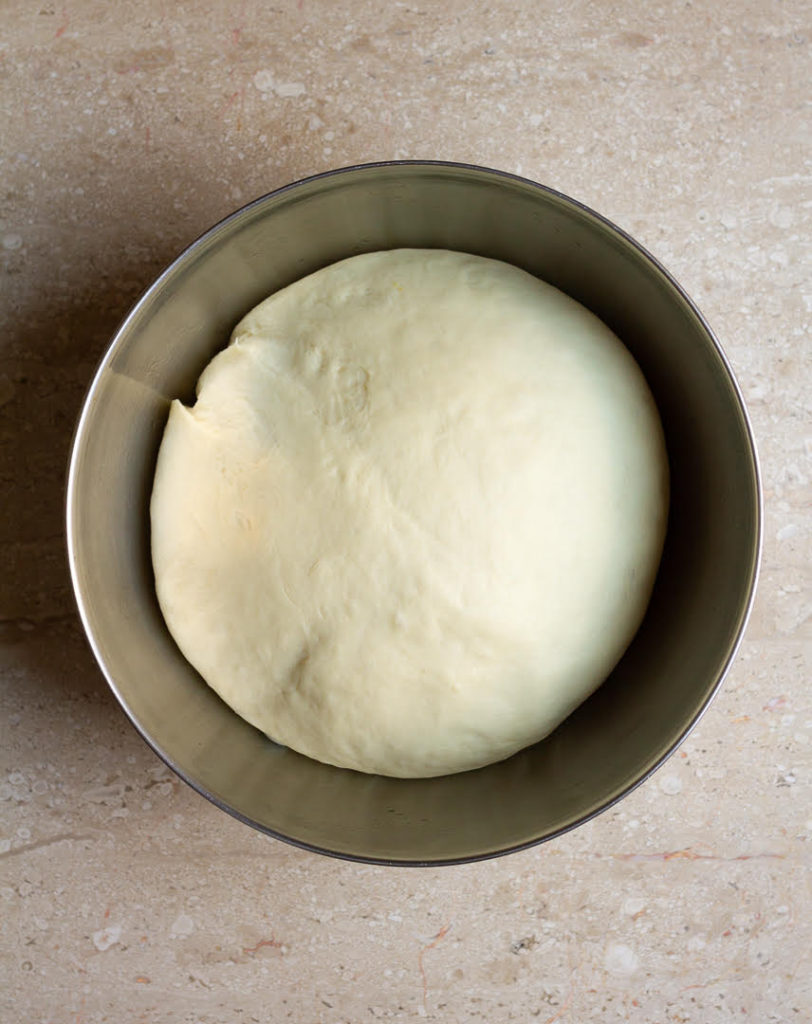
- Place it in a well-greased bowl, cover with a wet kitchen cloth, and let it rest till it doubles in size.
Step 2: make the topping dough
- While the bun dough proofs, beat butter and superfine sugar with a whisk. Add the egg yolk, milk, and vanilla extract.
- Whisk till you have a thickish mixture, then fold in the flour, baking powder, and turmeric. You don’t taste the turmeric, it just lends color, making the buns look pineapple yellow.
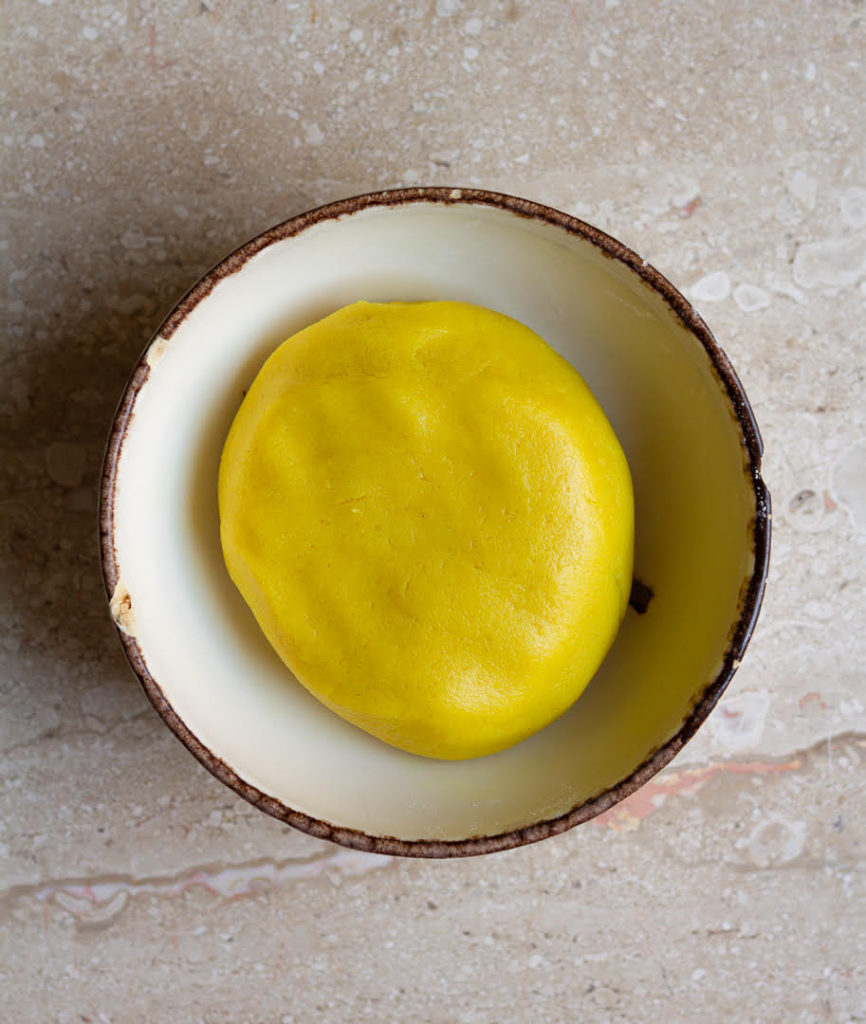
- Go in with your hands and then knead till a smooth dough forms.
- Shape it into a ball, put it in a bowl, cover it, and then let this topping dough sit until needed.
Step 3: shape the buns and second proof them
- When your bun dough has doubled in volume, take it out of the bowl and punch it down.
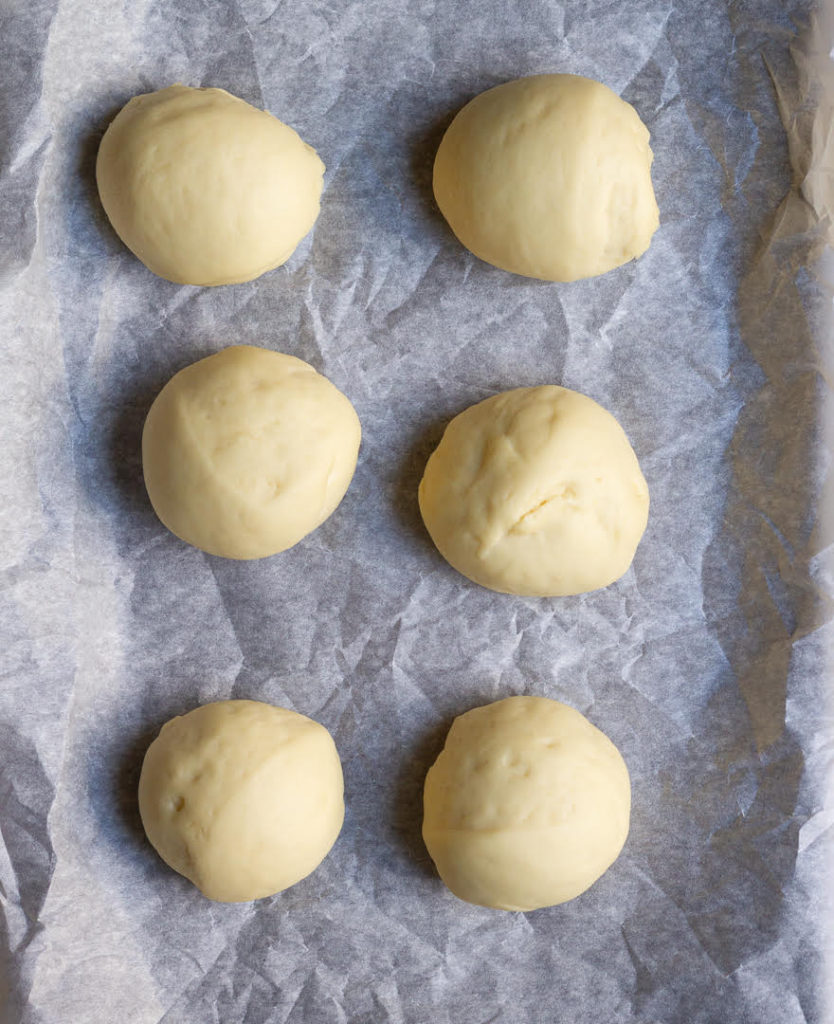
- Knead to get rid of any surplus trapped air. Then divide the dough into 12 equal balls.
- Place each ball on a lined baking tray.
- Once more, cover with a kitchen towel and then let them rise to 1.5x their original size.
Step 4: shape the topping dough
- As you wait for the buns to second proof, work on the topping dough.
- Split it into 12 equal portions.
- Use your palms to shape each portion into a ball and then place it between two sheets of wax paper (or you can use two plastic sheets).
- Roll out each portion into a flat disc.
- Make sure the size is smaller than the bun because the topping expands as it bakes.

Step 5: assemble and bake the pineapple buns
- Gently drape the topping discs on each of the buns.
- Brush it with egg wash, made by mixing milk and an egg.
- Slide the baking tray into a preheated oven and bake for about 15 minutes, till the top is burnished yellow and starts to look like pineapple skin.
- Let them cool on the tray a tad, then transfer them to a wire rack.

My tips to making and enjoying the fluffiest pineapple buns
There’s not much to making pineapple buns. Yes, it took some time, but it’s a labor of love that’ll turn your dining table into a spectacle of silence with only munching noises filling the air.
To make bo lo bao (as they’re called in Chinese) soft on the inside and crispy on the outside, pay attention to the tangzhong. It’s the key. The flour and water paste make the sweet buns fluffier with the lightest crumb.
How to eat pineapple buns?
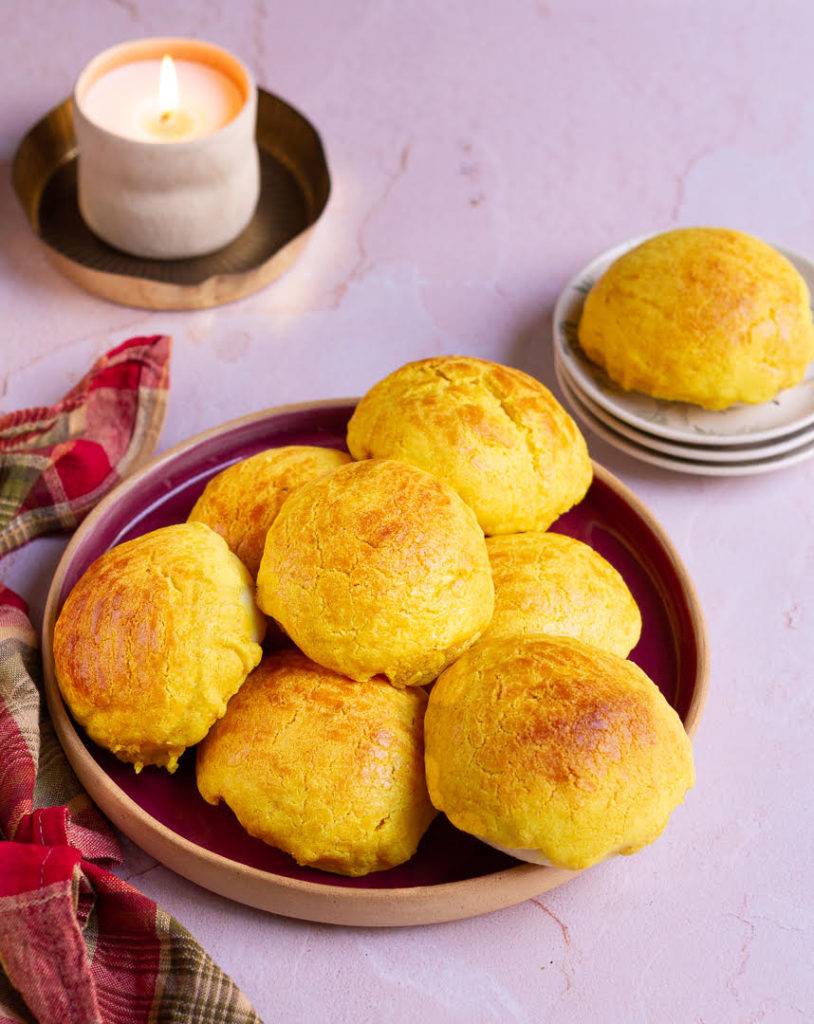
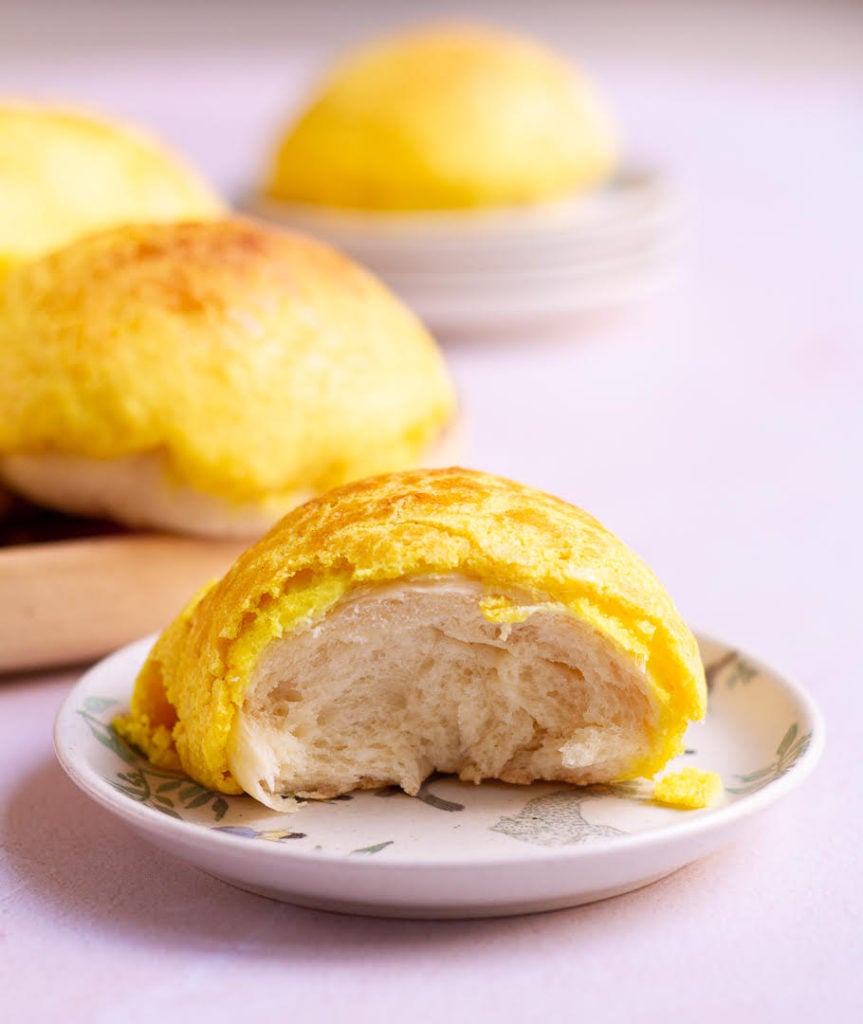
Hands down, the buns are the best the day they are made. I can attest to that because my household had them both ways—fresh and reheated. They taste so much better when out of the oven, mildly sweet with a pillowy interior and a crunchy crown.
We enjoyed them with just cups of tea. You can pair the buns with coffee, and they’re also wonderful with a pat of butter. If there are leftovers, which is not a likely scenario, reheat them in a preheated oven.
Reasons to try pineapple buns
Softest buns
With the crispiest crown
That you can eat for lunch, snack or dinner
And because tangzhong method will forever change the way you make bread!
More soft rolls and bun recipes
📖 Recipe
Pineapple Buns
Ingredients
Tangzhong Paste
- 20 gms All-purpose flour
- 75 ml Water
Bun Dough
- 145 ml Milk, lukewarm
- 2 1/4 tsp Dried active yeast
- 18 gms Sugar
- 490 gms All-purpose flour
- 1 tsp Salt
- 80 gms Condensed milk
- 1 Egg
- 55 gms Butter, melted
Topping
- 55 gms Butter, softened
- 135 gms Superfine sugar
- 1 Egg yolk
- 1 tbsp Milk, lukewarm
- 1 tsp Vanilla extract
- 120 gms All-purpose flour
- 1/4 tsp Baking powder
- 1/4 tsp Turmeric powder
Egg Wash
- 1 Egg
- 1 tbsp Milk
Instructions
Tangzhong Paste
- Combine the flour and water in a small saucepan.
- Cook this mixture on low heat, whisking continuously till you get a thickish paste. This will take about 2-3 minutes.
- Transfer the paste into a bowl and keep aside to cool. This will thicken more as it cools.
Bun Dough
- Whisk together the sugar, milk, and yeast in a small bowl. Keep in a draft-free place for 10-15 minutes until its frothy.
- Combine the all-purpose flour, salt, condensed milk, egg, melted butter, tangzhong, and the yeast mixture in the bowl of your stand mixer.
- Mix the dough, using the dough hook, on low for 8-10 minutes, until the dough is smooth and elastic.You can certainly knead the dough with your hands. It will take a bit longer - 10-12 minutes.
- Turn it out on your work surface and knead for 2 minutes. Place it in a well-greased bowl, cover with a wet kitchen cloth, and let it rest till it doubles in size.
Topping
- While the dough for the buns is resting, make the dough for topping.
- Beat together the butter and sugar.
- Add the egg yolk, milk, and vanilla extract.
- Sift together the flour, baking powder, and turmeric and add to the butter mixture.
- Bring the dough together using your hands. Kneading it very briefly, just 1-2 minutes, till you get a smooth dough.
- Cover and keep aside for later use.
- When your bun dough has doubled in volume, take it out of the bowl and punch it down.
- Knead to get rid of any surplus trapped air. Then divide the dough into 12 equal balls.
- Line a baking tray with parchment paper.
- Place each ball on a lined baking tray.
- Once more, cover with a kitchen towel and then let them rise to 1.5x their original size.
- Preheat your oven to 190 C.
- While the buns are proofing, make the topping discs.
- Split the dough into 12 equal portions.
- Use your palms to shape each portion into a ball and then place it between two sheets of wax paper (or you can use two plastic sheets).
- Roll out each portion into a flat disc. Make sure the size of the disc is smaller than the bun.
- Carefully drape each disc onto the buns. Make sure the bottom of the topping doesn't touch the tray, it will burn!
- Brush it with egg wash and bake at 190 C for 15-17 minutes, until the topping is burnished yellow. Let the buns cool on the tray for a few minutes before transferring to a wire rack.
- Serve warm, fresh out of the oven, and enjoy!
Egg wash
- Whisk together the egg and milk in a small bowl.


Leave a Reply