The Korean cream cheese bread was a symphony of flavors that left us craving more bite after bite. The perfect balance of savory, creamy, and crispy, I am never turning back to a simple garlic bread recipe!
When it comes to flavors, my husband likes them on one side of the scale. A dish has to be either savory or sweet. Give him anything that mingles both, and he’d never reach for a second helping.
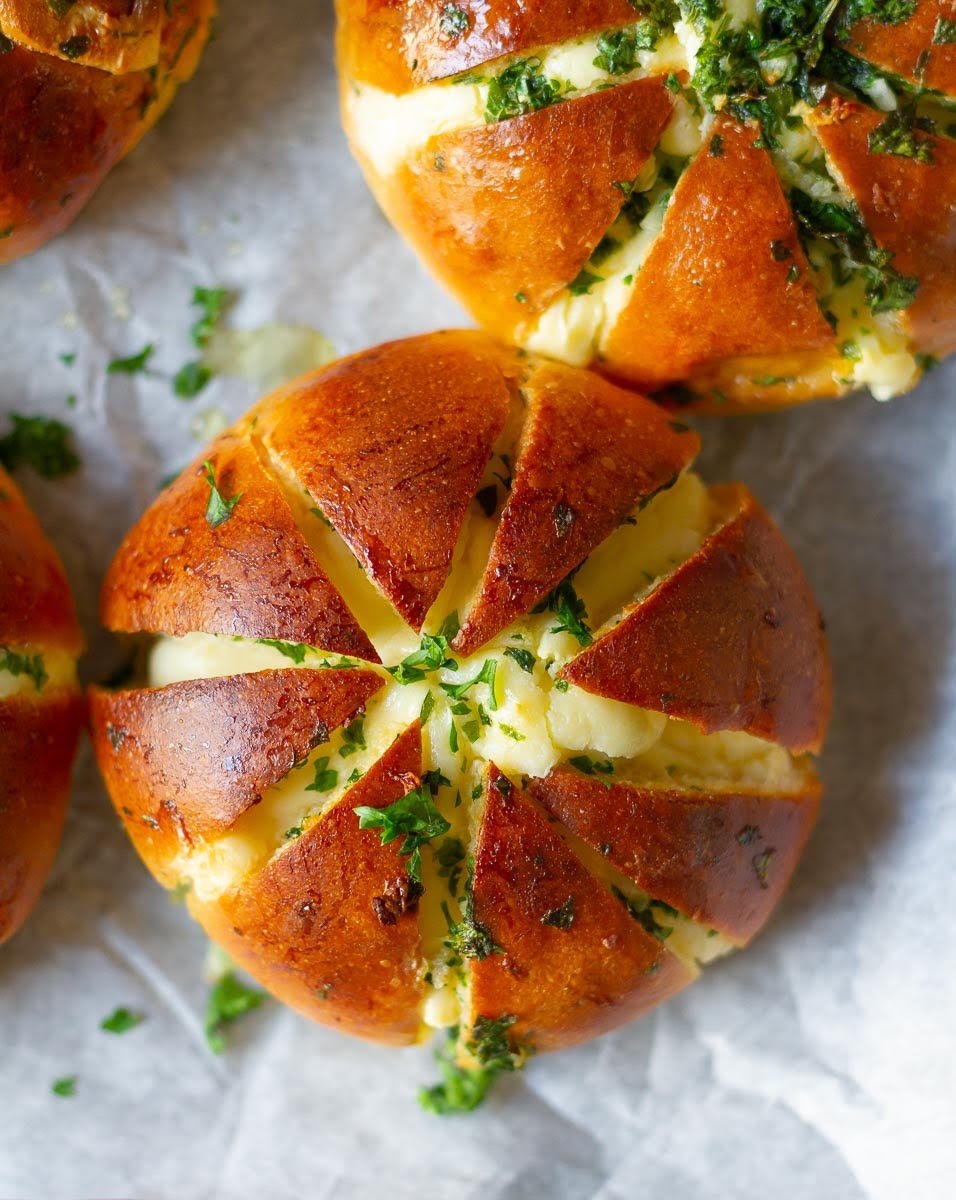
So, imagine my surprise when he just couldn’t stop eating these Korean cream cheese buns that are a harmonious medley of sweet and salty!
And that’s the magic of these buttery, cheesy garlic buns.
The warmth of the bread, the savory notes of garlic, and the luxurious tangy creaminess of the cheese – all lovingly coated in a tantalizingly crispy, buttery crust—make them addictive.
Jump to:
What is Korean cream cheese bread?
WHY TRY THIS KOREAN CREAM CHEESE BREAD?
If you love bread, garlic, and butter in any form, believe me, this is an absolute must-try recipe!
It’s a madly simple process, and the result is delicious AF.
You just can’t go wrong with the butter and garlic combo.
WHAT IS KOREAN CREAM CHEESE GARLIC BREAD?
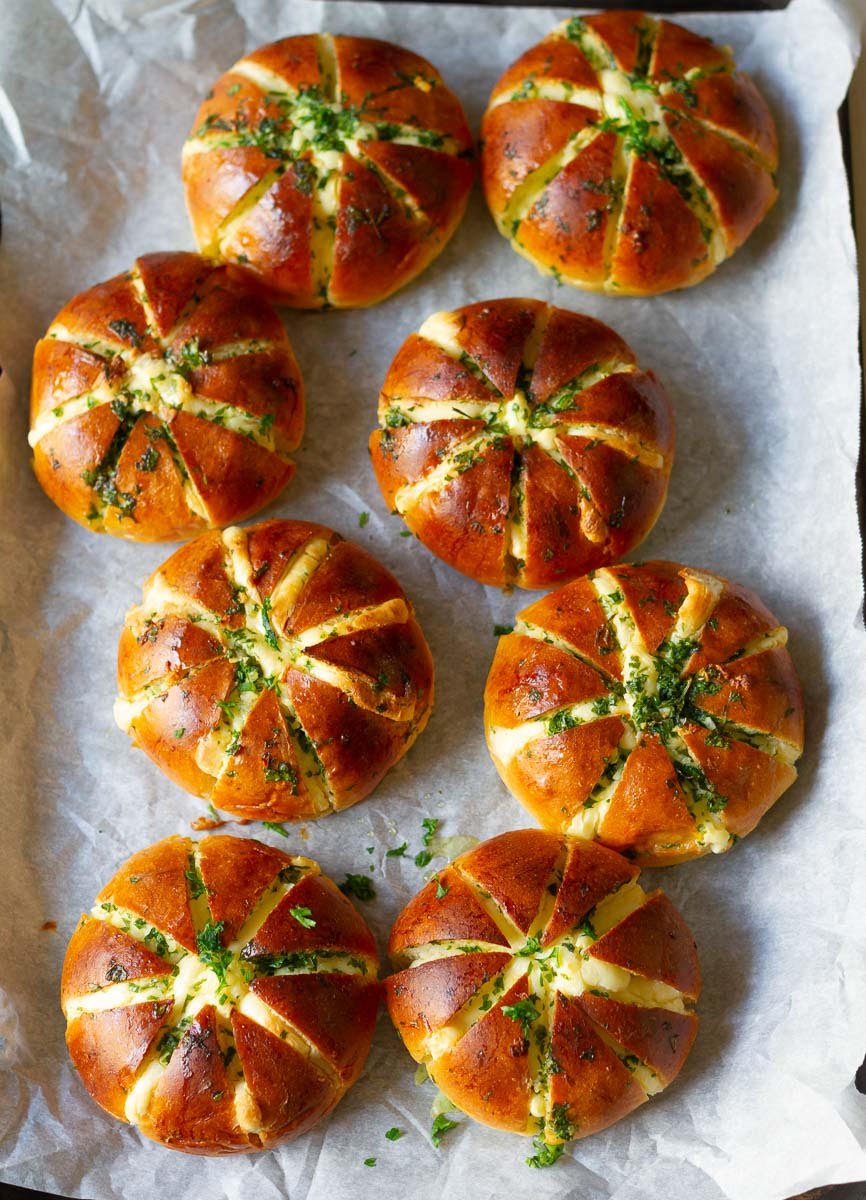
Korean garlic cheese bread is a popular dish from the bustling streets of Seoul. Called keurimchijeu maneul ppang in Korean, it translates into cream cheese garlic bread. It’s also known as yukjjok maneul ppang or six-sided garlic bread because you make 6 cuts into the bun.
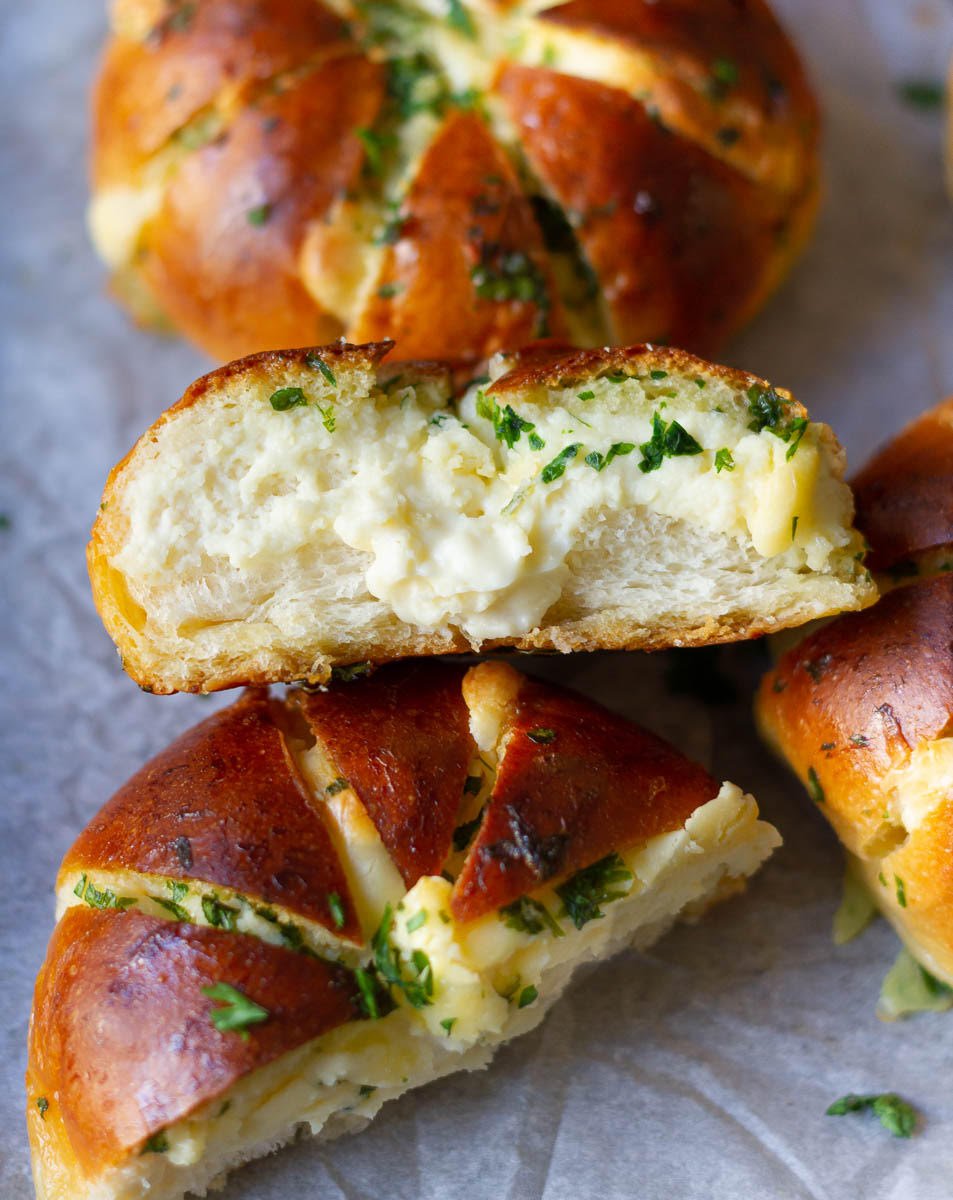
A sensational creation very different from regular garlic bread, Korean-style garlic bread is typically made with pillowy soft buns or dinner rolls. It has a slightly sweet, luscious cream cheese filling, and almost custard-like garlic butter in which the bread is literally dunked whole.
Said to have originated as street food in Gangwon Province, the garlic cream cheese bread is an enigma - savory but with a hint of sweetness and crunchy with the softest core so you experience a taste sensation like never before!
HOW TO MAKE KOREAN CREAM CHEESE GARLIC BREAD
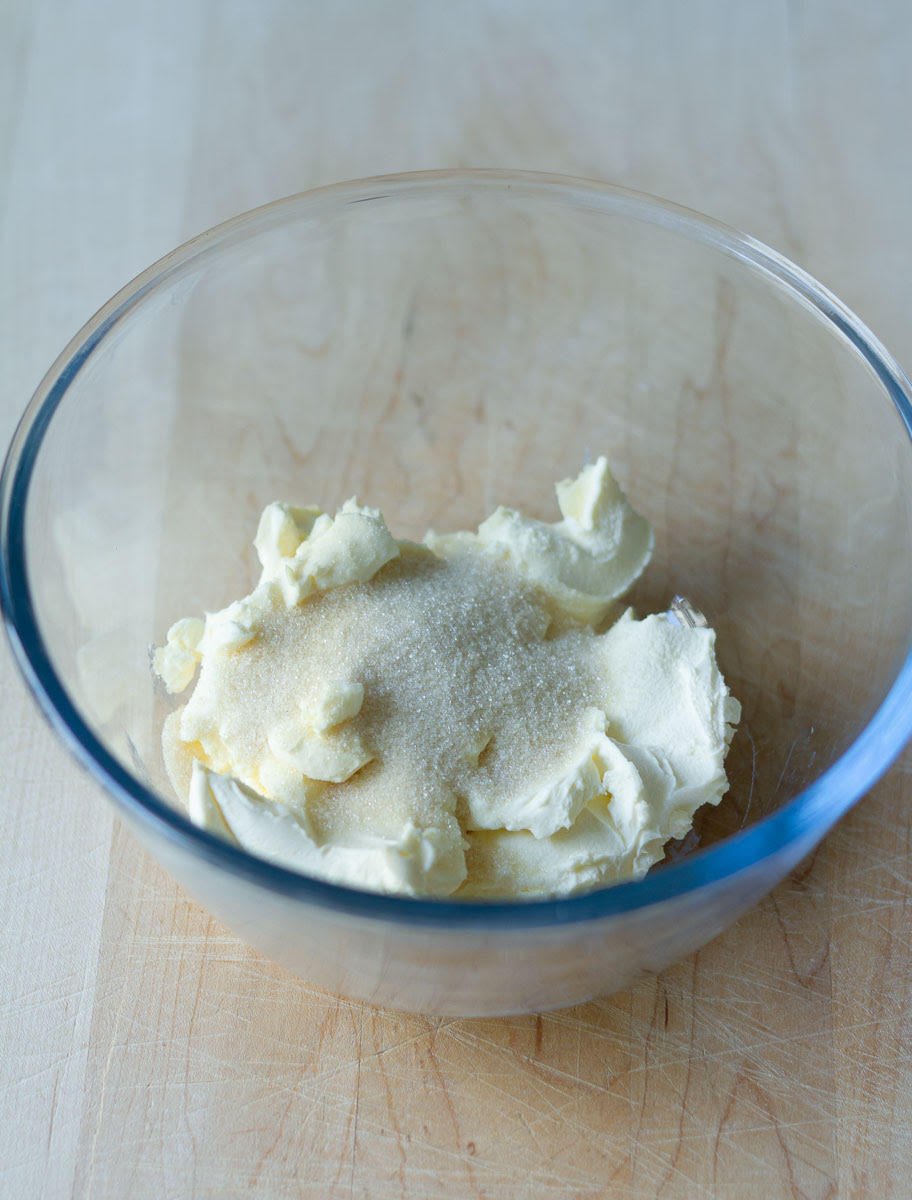
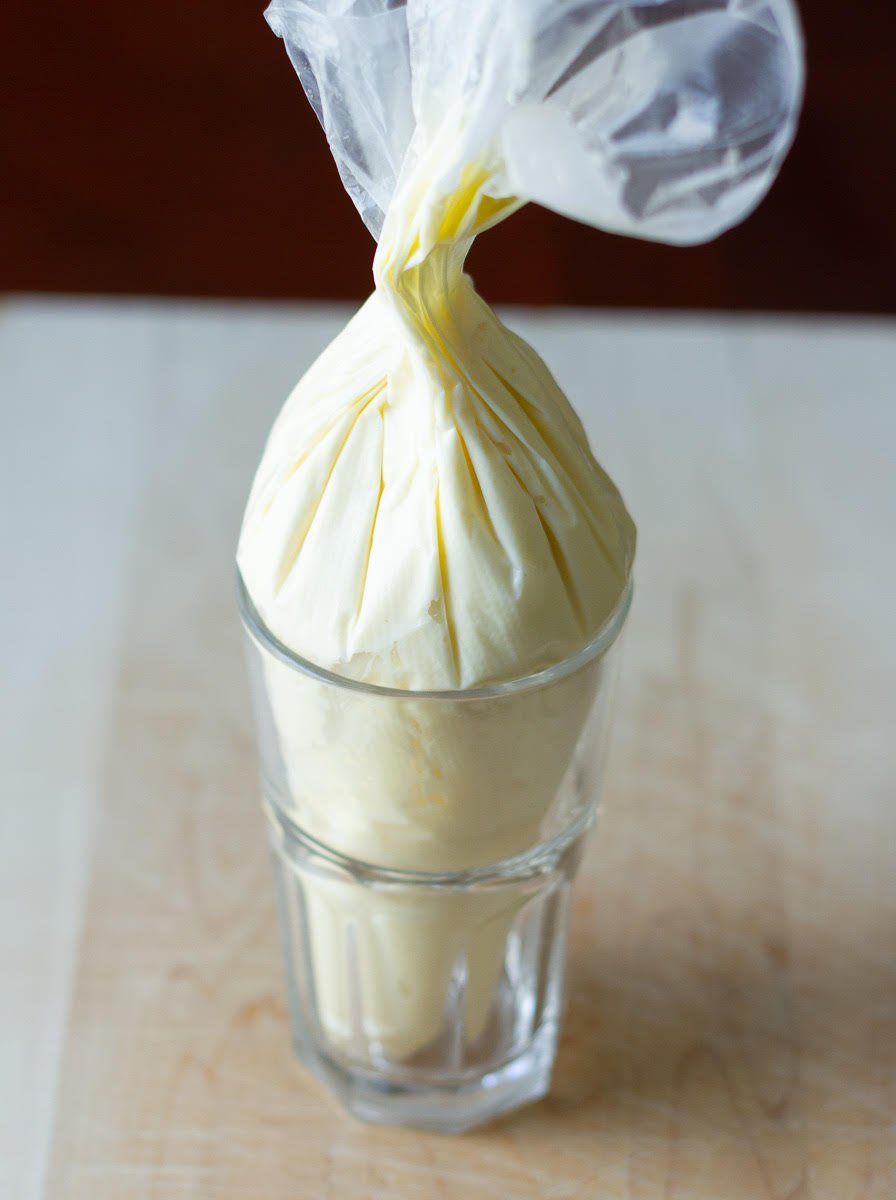
Step 1: Mix softened cream cheese with caster sugar till it’s lump-free and thoroughly combined.
Step 2: Transfer the cream cheese filling into a piping bag (or a Ziploc bag) and keep it aside.
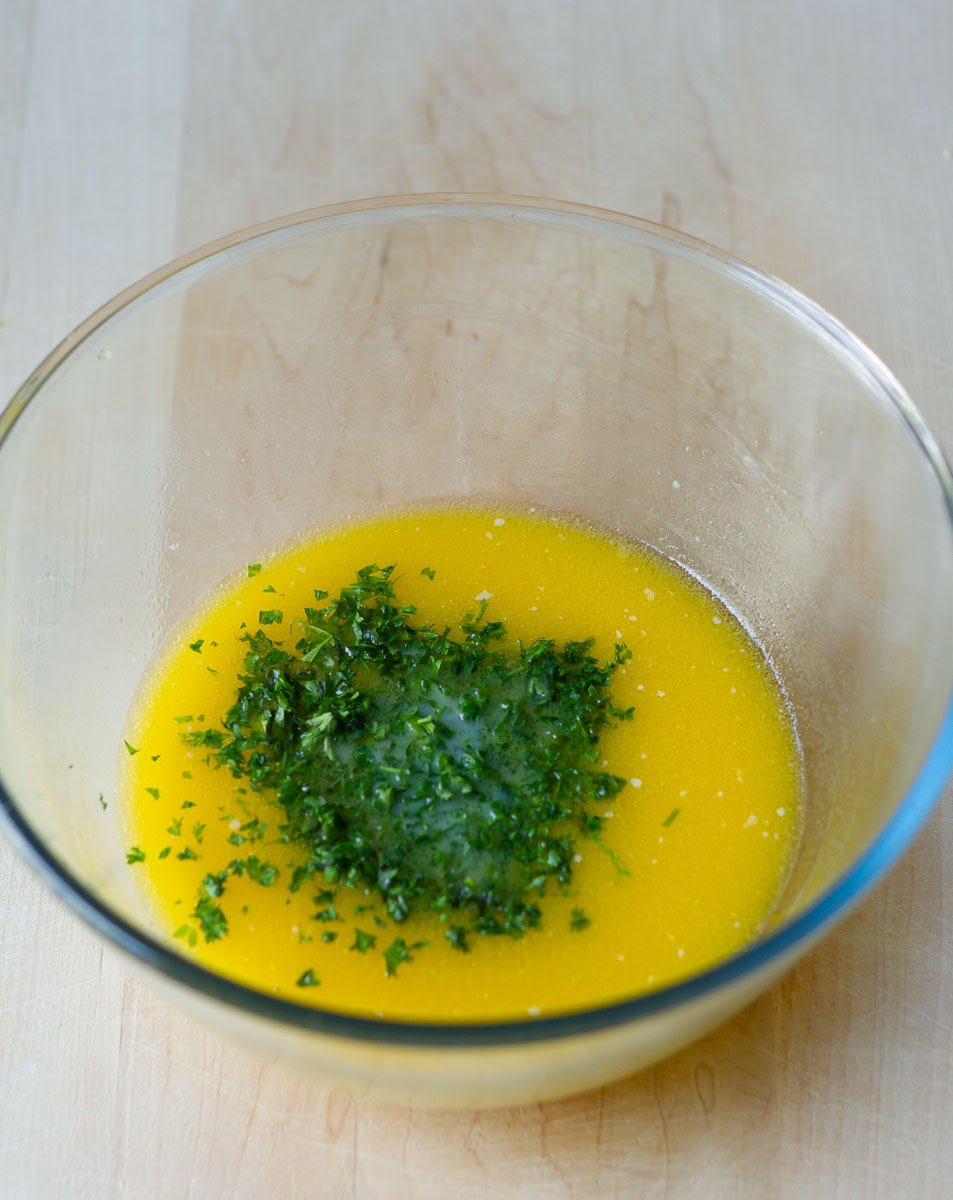
Step 3: Melt your butter, then add milk, eggs, a little bit of sugar, minced garlic, and parsley.
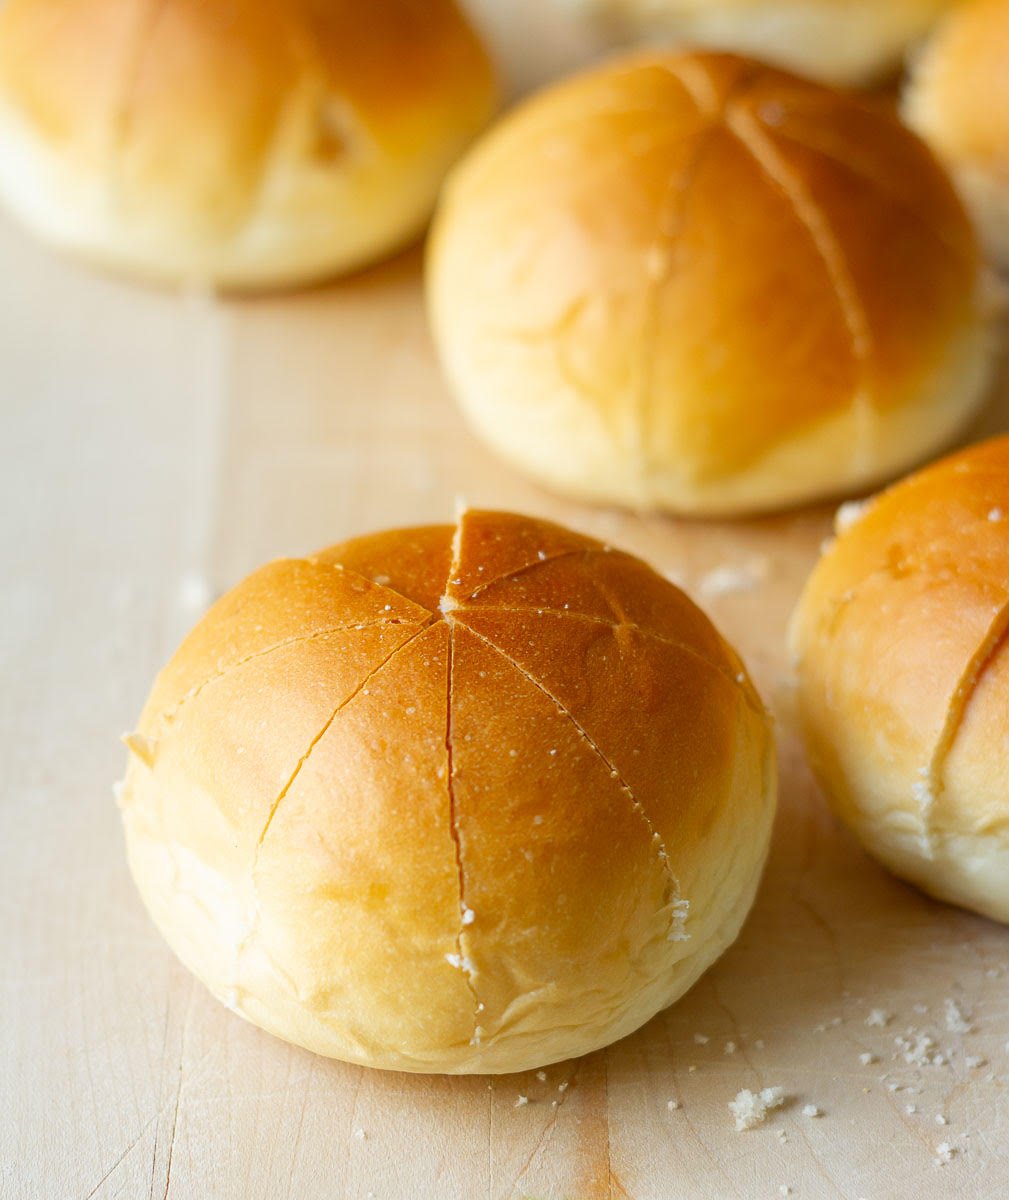
Step 4: Take your bun or bread roll and cut 6 to 8 wedges into it. Make sure your knife doesn’t go all the way through, but nearly to the base. I like to slice the bread in half first, then into quarters, and then further. It helps make even wedges.
Step 5: Snip off the corner of the piping bag or Ziploc, and then fill the crevasses between the segments of the bun with the cream cheese mixture.
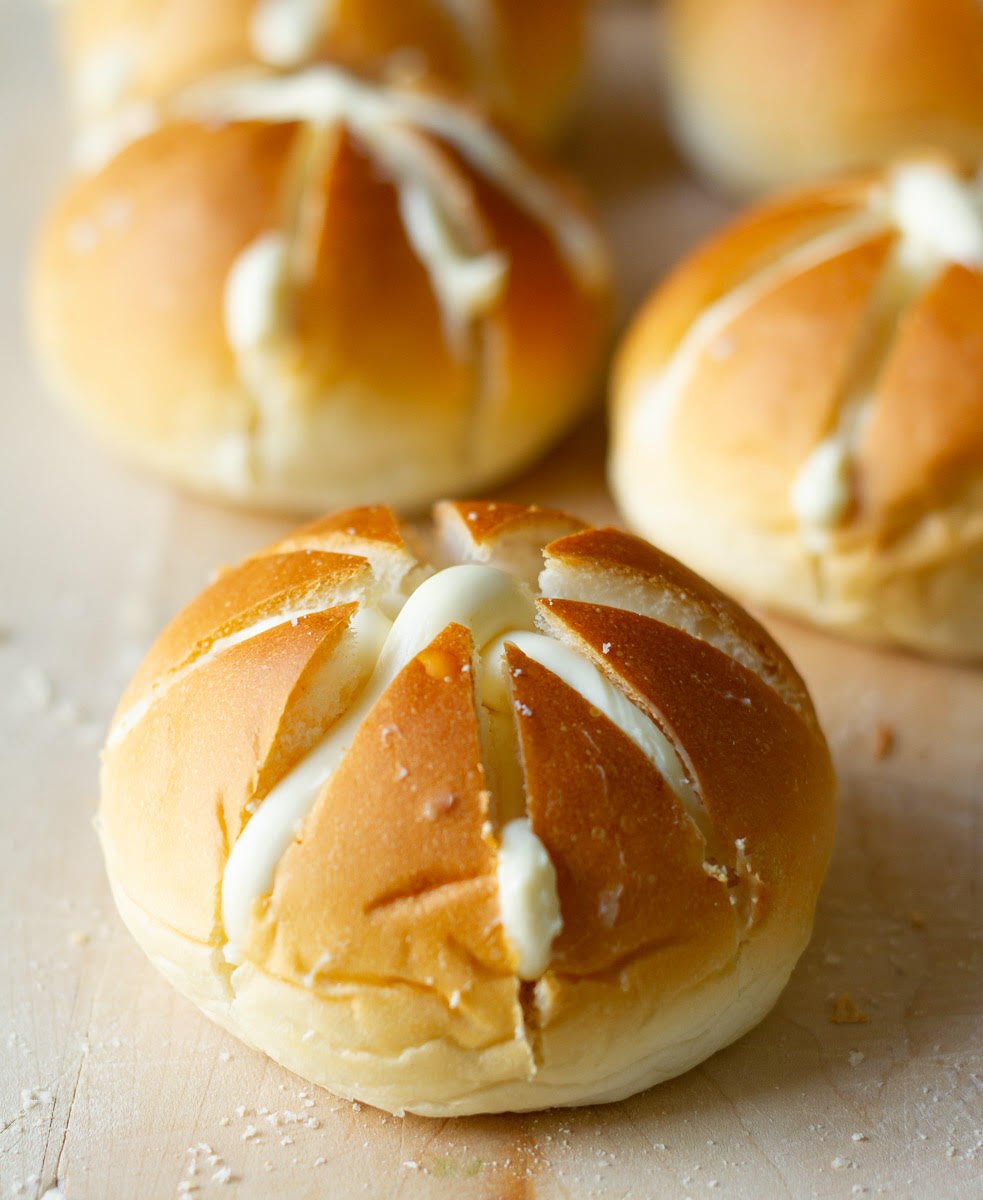
Step 6: Repeat for all Korean cream cheese buns.
Step 7: Dunk the entire bun into the custardy garlic butter.
Step 8: Let the excess butter drip off and then place the Korean cream cheese garlic bun on your parchment paper- or Silpat-lined tray.
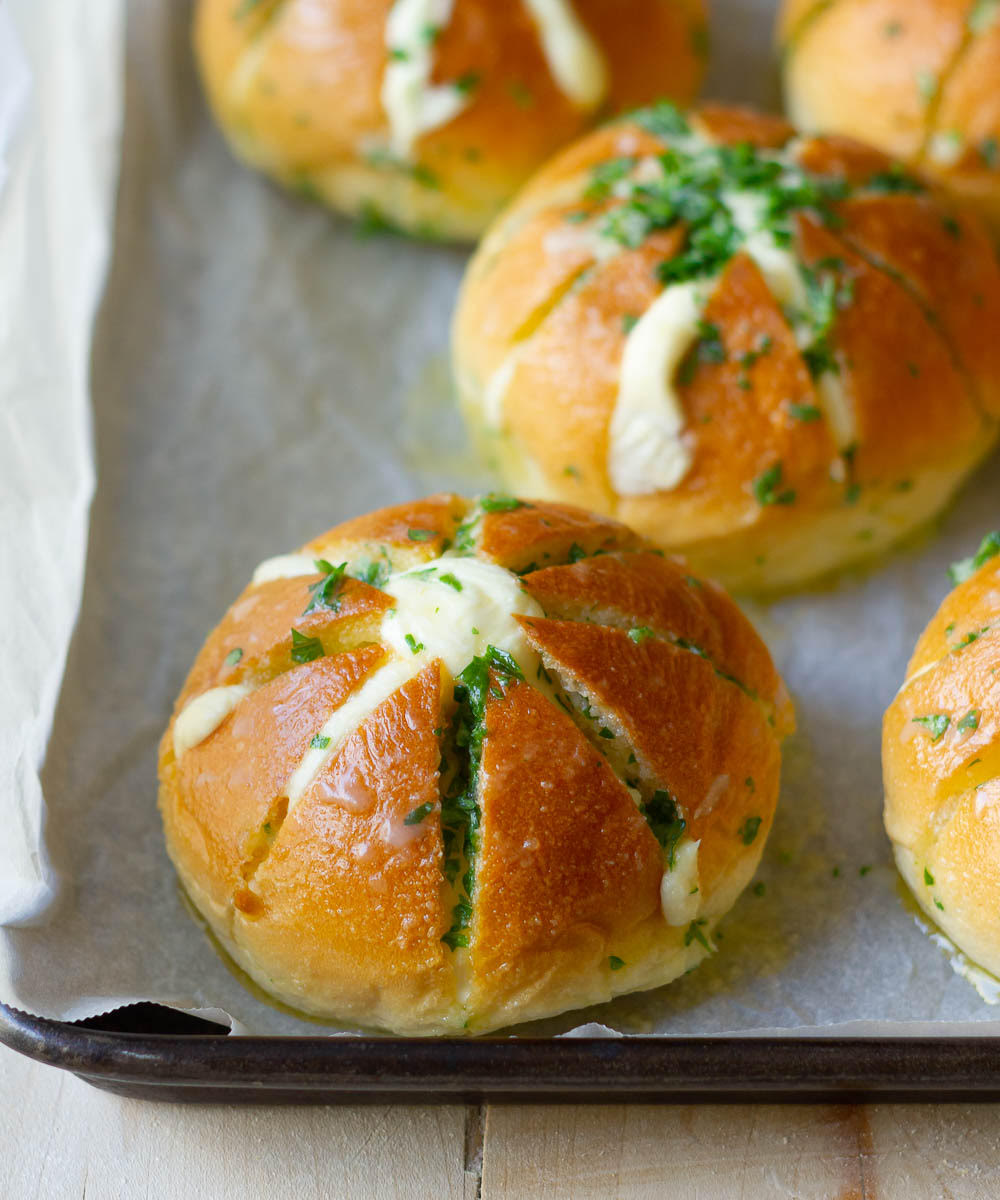
Step 9: Bake for 15 to 18 minutes, until the top is gloriously golden and the bun is crowned with a crispy crust.
Final step: Cool for a couple of minutes, and then serve the Korean cream cheese bread.
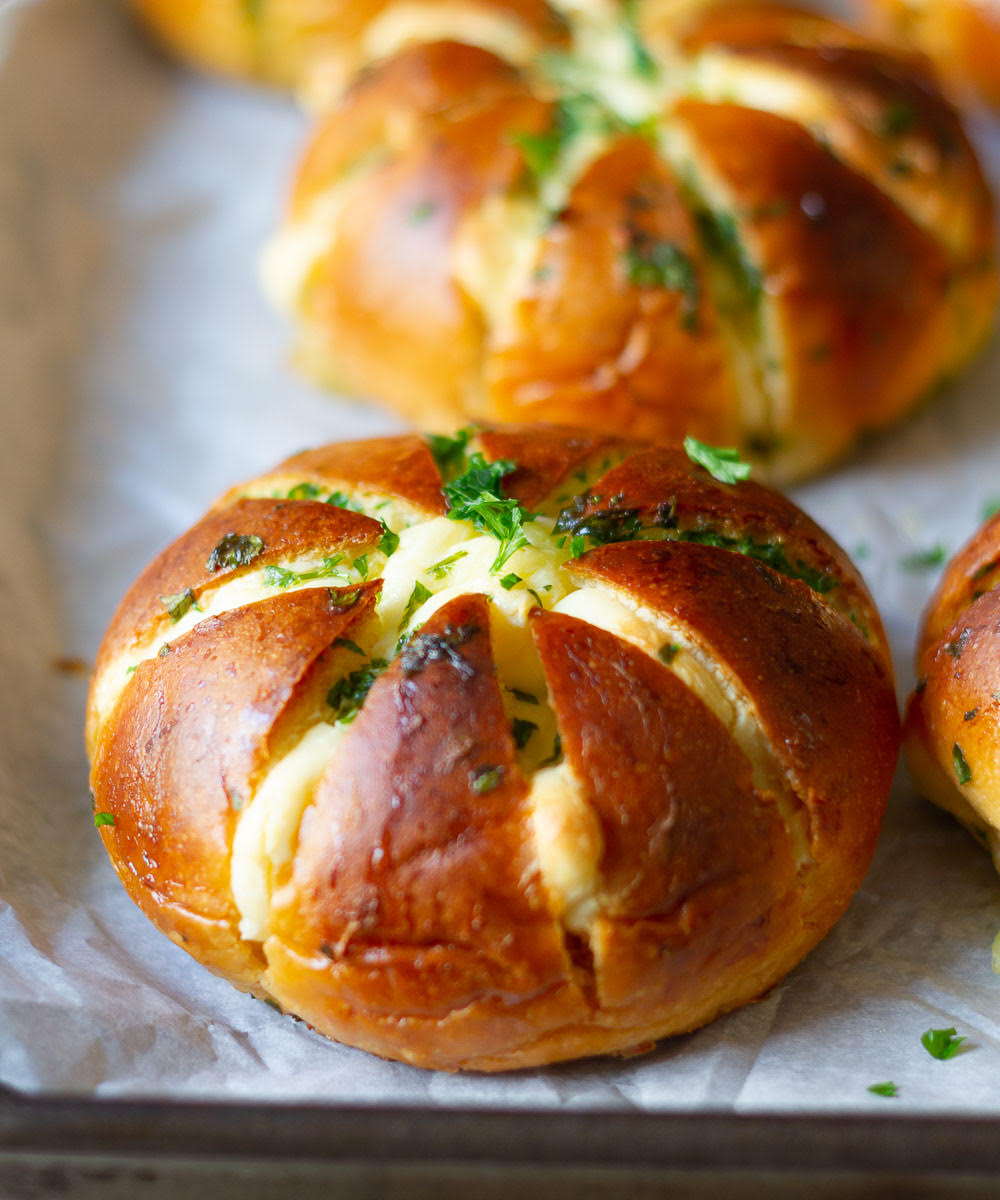
SERVING CREAM CHEESE GARLIC BREAD
Korean stuffed garlic bread is a fantastic snack. The contrast of the velvety cream cheese filling with the crunchy crust is pure culinary bliss.
So, while each garlic bun is delicious all on its own, it goes well with a soup or salad too. And that’s how we devoured them at my house!
MY NOTES ON KOREAN CREAM CHEESE GARLIC BUNS
- Start with room-temperature cream cheese, and you won’t need an electric beater for this recipe.
- Cut the bread just deep enough that it holds the cream cheese filling.
- While 6 slits are the convention, I recommend going for 8 because the more segments you make, the more filling the Korean bun can hold – and trust me, that’s the yummiest part.
- When you’re filling the cream cheese, concentrate at the base of each segment so the mixture pushes the wedges away from each other.
- Really coat each bun in garlic butter. Use your hands. Wear disposable gloves, if need be, or follow my cue. I relied on a big fork to roll the buns in the butter for a mess-free prep.
- Korean garlic bread burns fast, so keep an eye on it toward the end.
CREAM CHEESE GARLIC BREAD RECIPE VARIATIONS
Milk: How to make the garlic butter mixture custardy? Use full-fat milk. Or opt for half-and-half. Condensed milk is another substitute, but remember to omit the sugar. Condensed milk is sweet enough.
Eggs: You can make Korean cheesy garlic bread without eggs. Yes, it does add to the sheen and shine, but if you don’t want to use them, leave them out.
Bread: Sweet Korean bread is a culinary masterpiece that indulges the taste buds. And that’s not the best part about it. It’s the fact that you can use homemade bread or store-bought buns for it.
Any dinner roll or burger bun will do. I’ve used both whole-wheat and all-purpose flour buns.
- If you’d rather make the bread at home, use my everyday bread recipe.
- If you’re looking for a richer texture, try brioche.
- I can also totally vouch for store-bought bread rolls.
Top-ups: Right before you slide this Korean cream cheese bread into the oven, sprinkle some Parmesan or even panko on top. I didn’t, but it’s definitely an option.
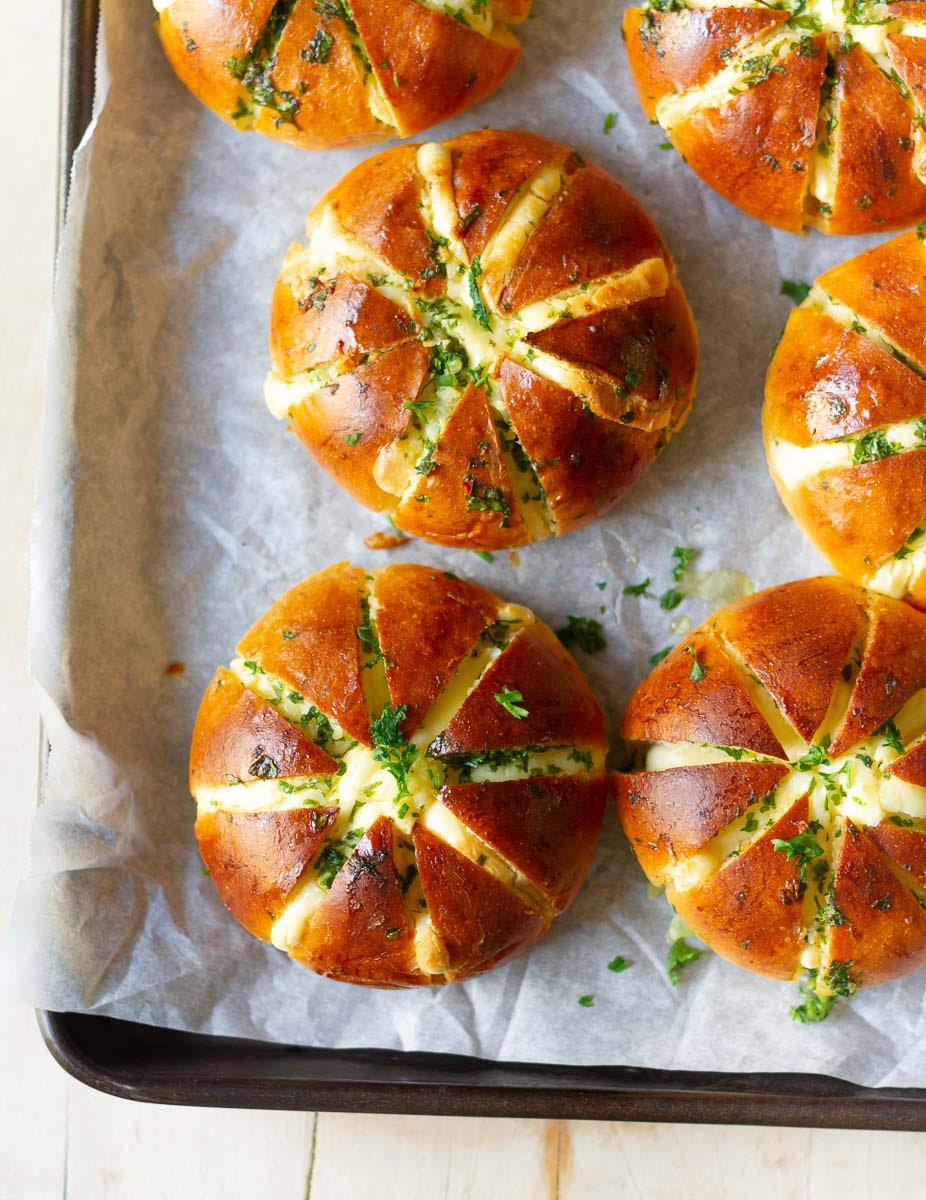
MORE EASY CHEESE-STUFFED BREAD RECIPES
Pull Apart Cheesy Garlic Bread
Half the joy of cooking is sharing it with others, which is why I’m always eager to hear from you. So go right ahead and drop a comment or reach out on Instagram, Pinterest, YouTube, or Facebook. I hope you love Korean cream cheese bread as much as we do!
📖 Recipe

Korean Cream Cheese Garlic Bread
Ingredients
- 10 Dinner rolls/ Burger buns You can use store-bought or homemade
Cream Cheese Filling
- 1 cup/ 250 gms Cream cheese softened
- 1.5 tbsp Caster sugar
Garlic Butter
- 1/2 cup / 115 gms Butter I used salted butter
- 1/3 cup / 79 ml Milk I used full-fat milk
- 1 tbsp Caster sugar
- 2 Eggs
- 7-8 cloves Garlic, finely minced
- 2 tbsp Parsley, finely chopped
Instructions
- Preheat your oven to 200 C. Line a baking tray with parchment paper or Silpat.
Cream Cheese Filling
- Combine the softened cream cheese and sugar in a small bowl until smooth.
- Transfer the cream cheese filling and keep aside.
Bread
- Cut each roll into 6-8wedges, taking care that you are not cutting it all the way through.
- Snip the bottom of the piping bag and fill the crevices of the segmented rolls. Make sure you fill the rolls well with the filling!
- Dunk each roll in the garlic butter mix, let the excess drip off, and place on the prepped baking tray.
- Bake for 15-18 minutes at 200 C, until the rolls are crispy and golden brown.
- Let the rolls cool for a few minutes and dig in. Enjoy!
Garlic Butter
- Melt the butter and combine all the ingredients for the garlic butter in a large bowl.
Storage
- Store the leftover bread, tightly wrapped in aluminum foil or an air-tight container, for up to 2 days. Reheat in a pre-heated oven or toaster oven.

Leave a Reply