
Homemade Garlic Cheese Bread

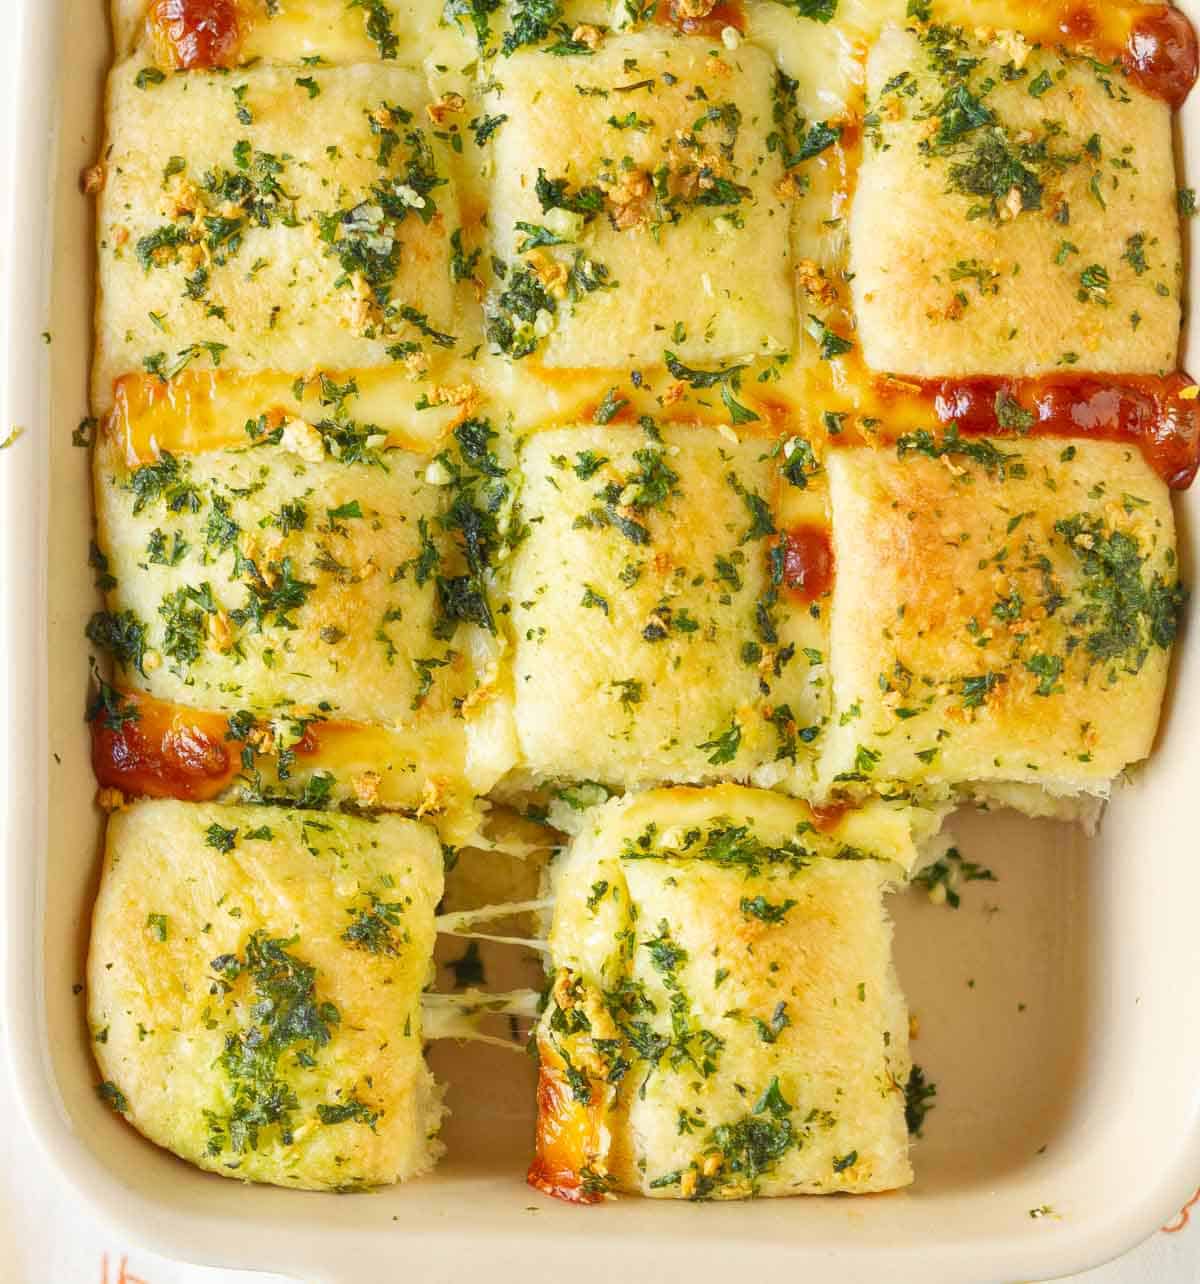
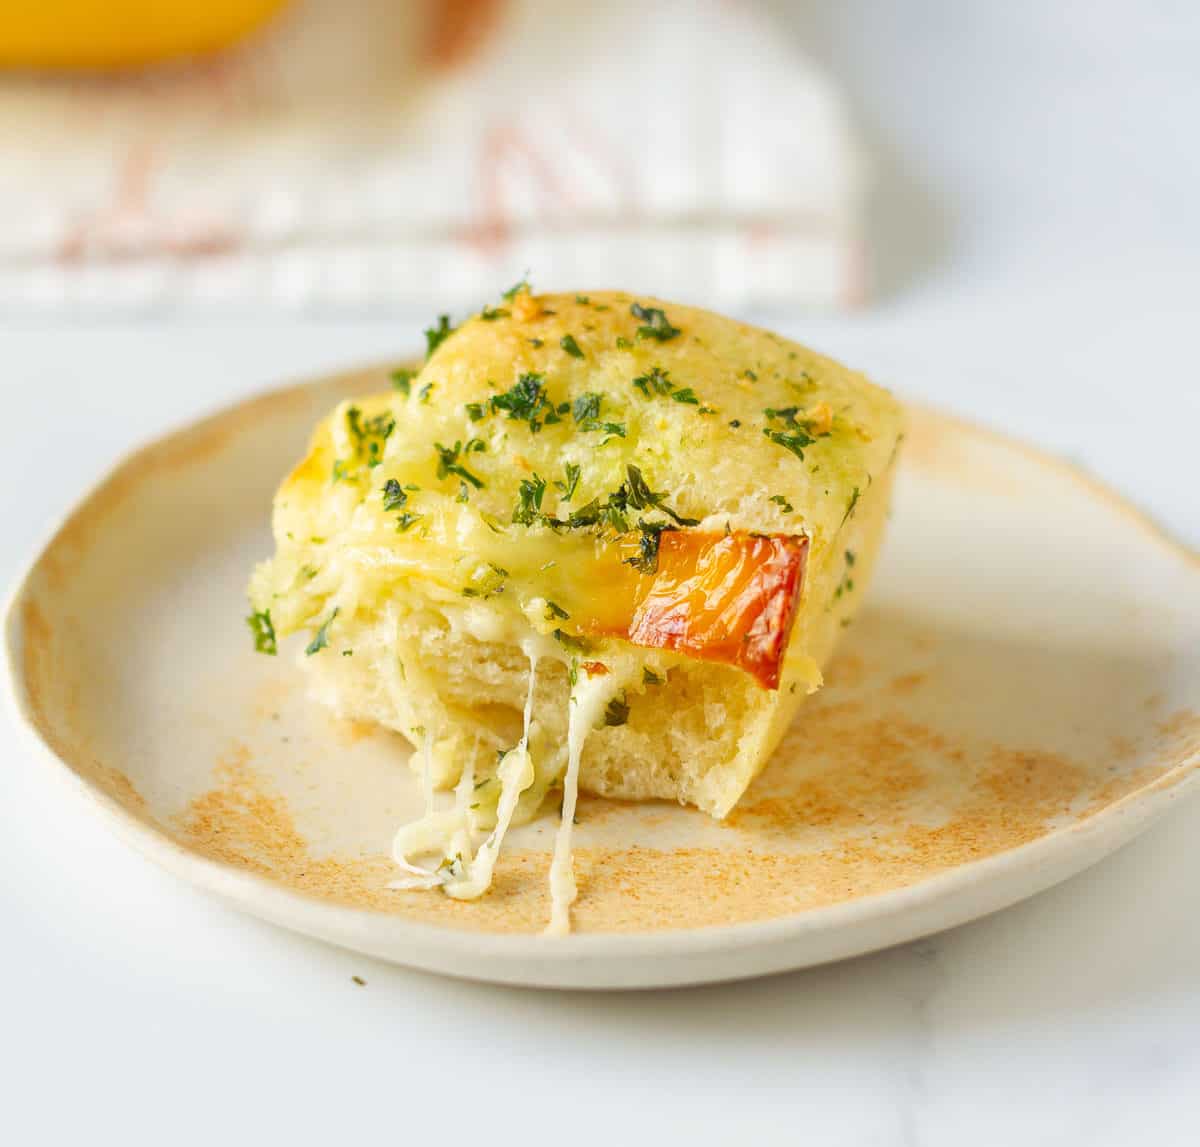
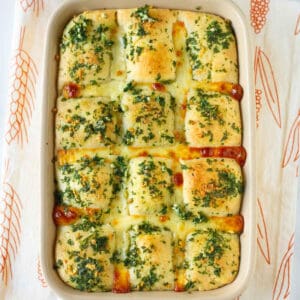
This homemade garlic cheese bread is a delicious, comforting bake - buttery, garlicky, with crisp edges, soft, fluffy center, and plenty of melty cheese. It’s an easy cheesy garlic bread recipe that comes together with simple ingredients and delivers big flavors, every time!
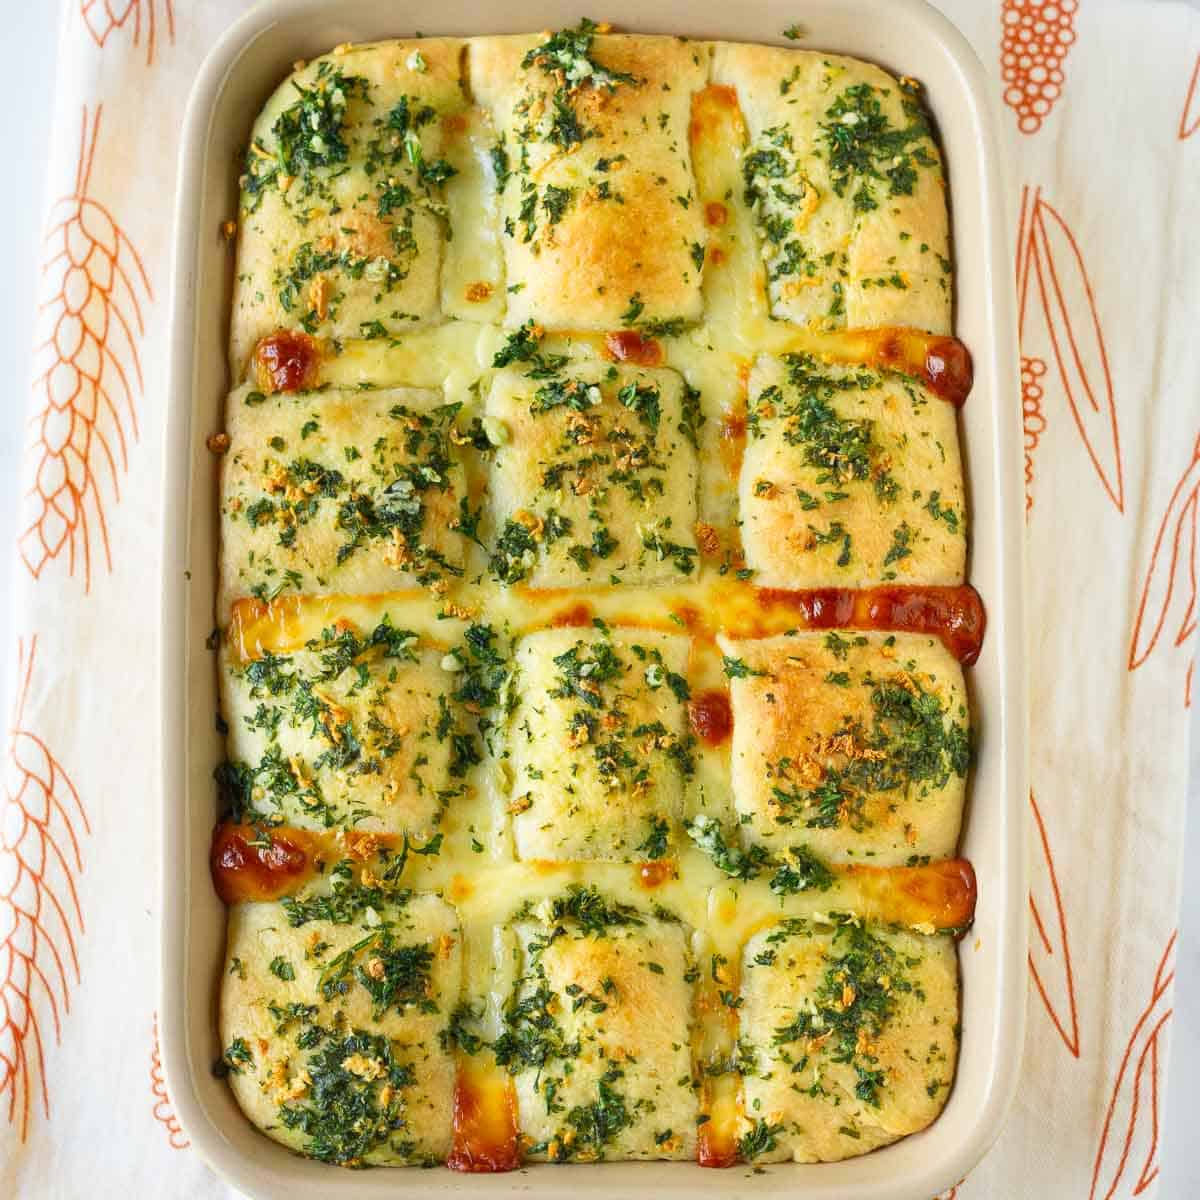
Freshly baked and full of garlicky goodness, this bread is hard to resist straight out of the oven. The butter, garlic, and cheese melt into every bite, making it a perfect side, snack, or party favorite. Soft, fluffy, and incredibly flavorful, this bread beats even a restaurant garlic bread!
Love cheesy breads? Then you must try my Korean cream cheese garlic bread, easy pull-apart pizza bread, and cheesy bubble bread!
Jump toHideShow
Why You'll Love This Recipe
✨ This garlic cheese bread from scratch is easy and quick to make. With everyday ingredients and simple steps, this bread is wonderful for beginner bakers, too.
✨ With its crispy golden top, soft crumb, and gooey melty cheese, this bread is really hard to resist and flies off the table in no time!
✨ Packed with fresh buttery garlic flavor, this easy cheesy garlic bread is so satisfying and comforting. Just like a restaurant-style garlic bread!
✨ Wonderful as a side for pasta, soups, or as a snack on its own. Like my Olive Garden breadsticks, this garlic cheese bread is also fantastic for dipping in my simple tomato sauce or yum yum sauce. It's so so good!
✨ This recipe is so easy to customize - add herbs, chili flakes, or any cheese you like.
Recipe Ingredients
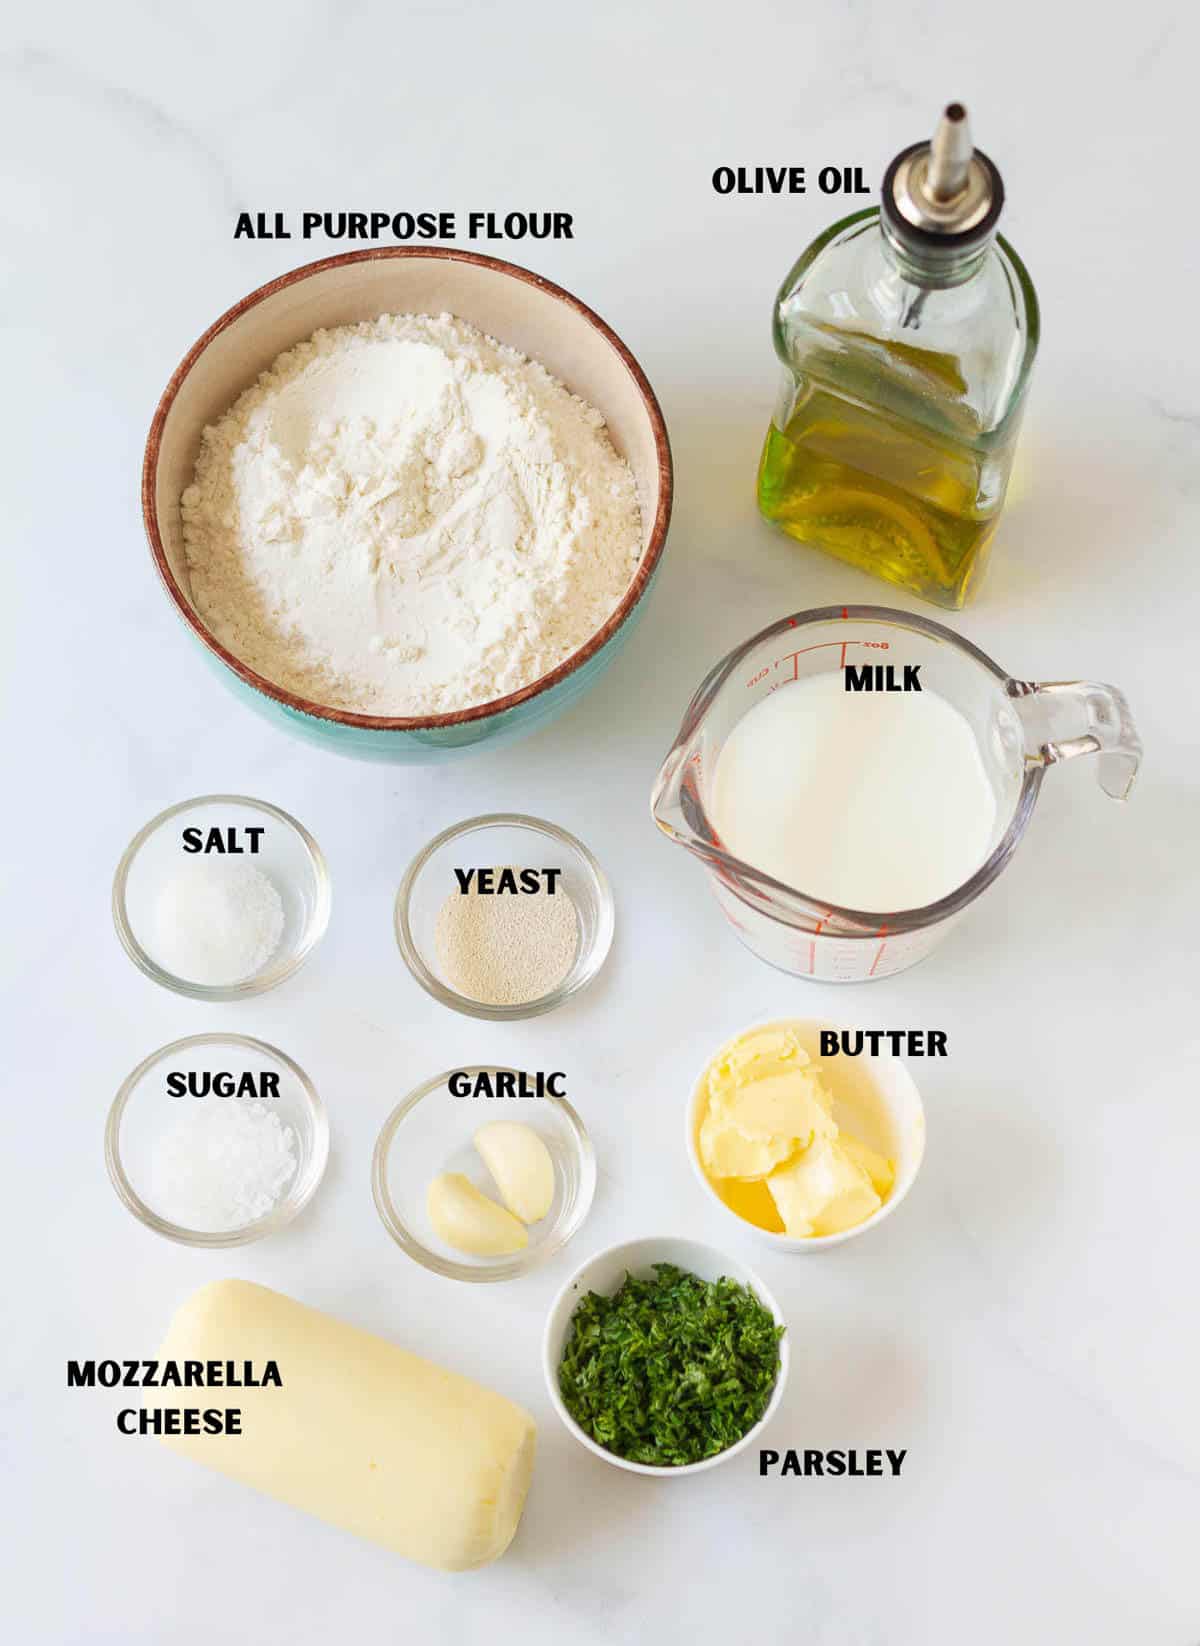
Flour: This recipe uses all-purpose flour. You can easily replace it with bread flour for a chewier bread.
Milk: Whole milk works the best for a rich, tender texture.
Olive oil: For flavor and moistness.
Cheese: Use whatever hard cheese is available to you. I love to use mozzarella for its gooey texture and that cheesy pull. But I have also used the combination of mozzarella and cheddar. My only suggestion is to stick to a cheese that melts nicely.
Yeast: You can use active dry yeast or instant yeast. Please make sure your yeast is fresh.
Butter: I used salted butter for making garlic butter.
Garlic: I highly recommend fresh garlic here for the best flavor.
Please see the recipe card below for full information about the ingredients and quantities.
How To Make Homemade Garlic Cheese Bread
Recipe Video
Step-By-Step Instructions
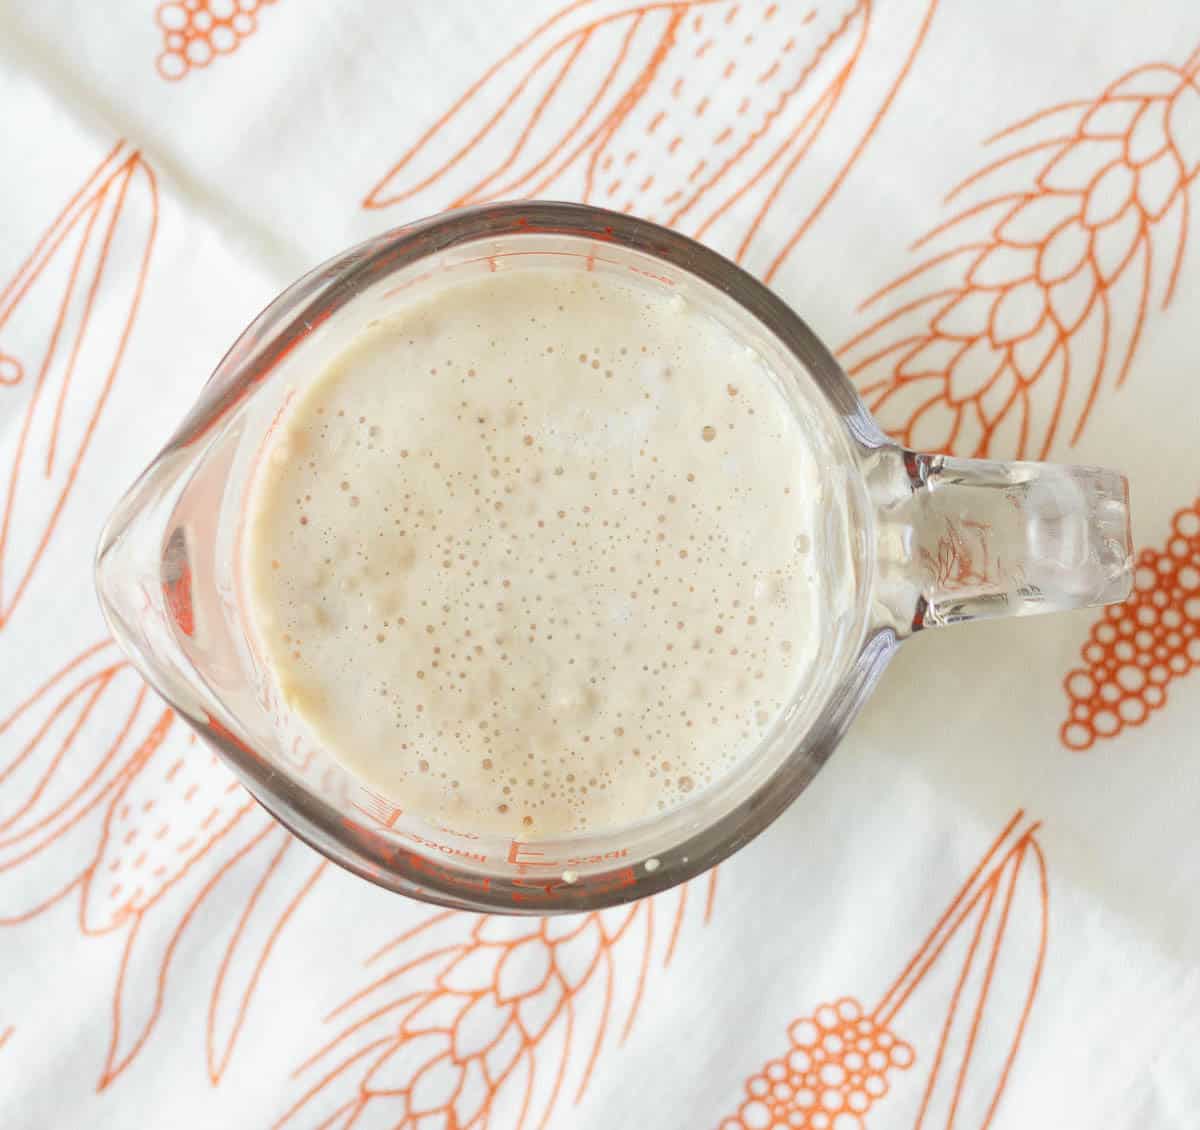
Step 1: In a small bowl, dissolve yeast and sugar in the milk. Let it stand for 5-10 minutes until foamy.
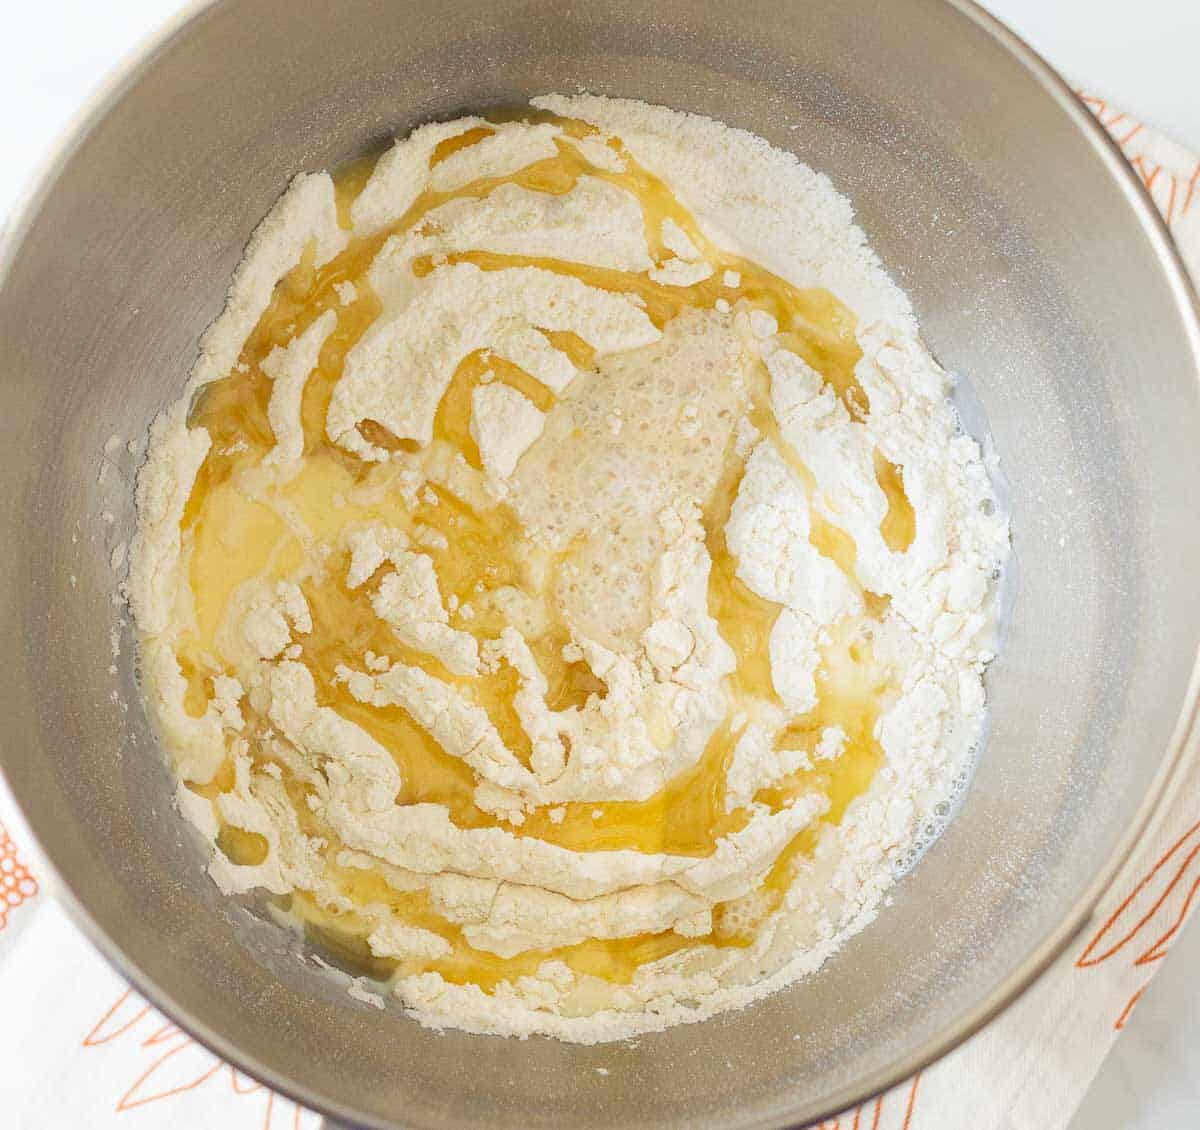
Step 2: In a large bowl, mix the flour and salt. Add olive oil and the bubbly yeast mixture.
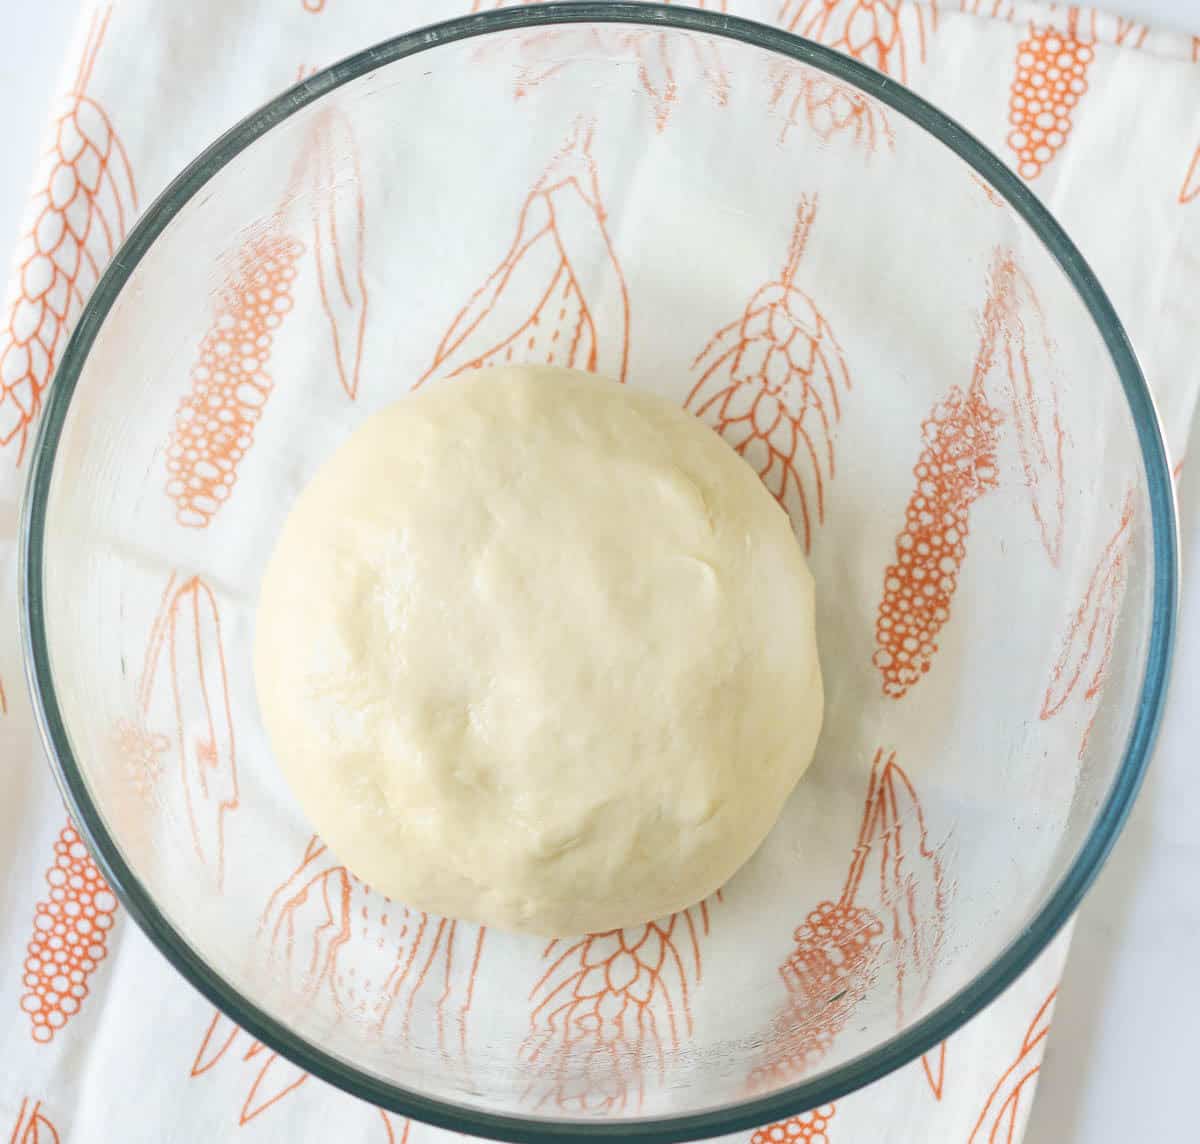
Step 3: Knead the dough in a stand mixer for about 8-10 minutes, until a soft, slightly sticky dough is formed. You can also knead the dough by hand if you don't have a stand mixer.
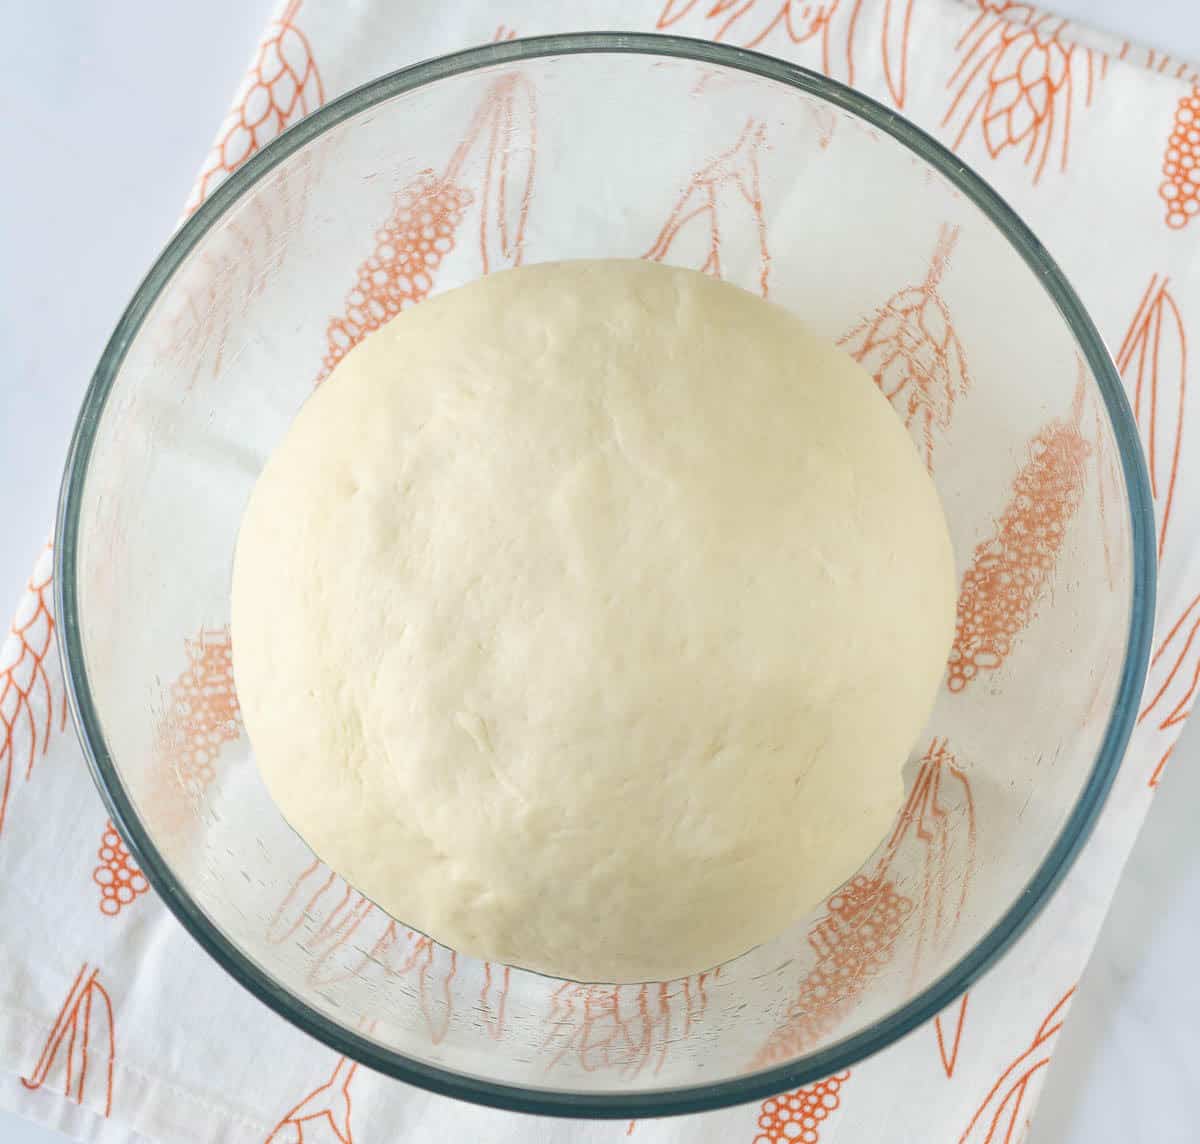
Step 4: Transfer the dough to a lightly greased bowl, cover, and let it rest for 20-30 minutes.
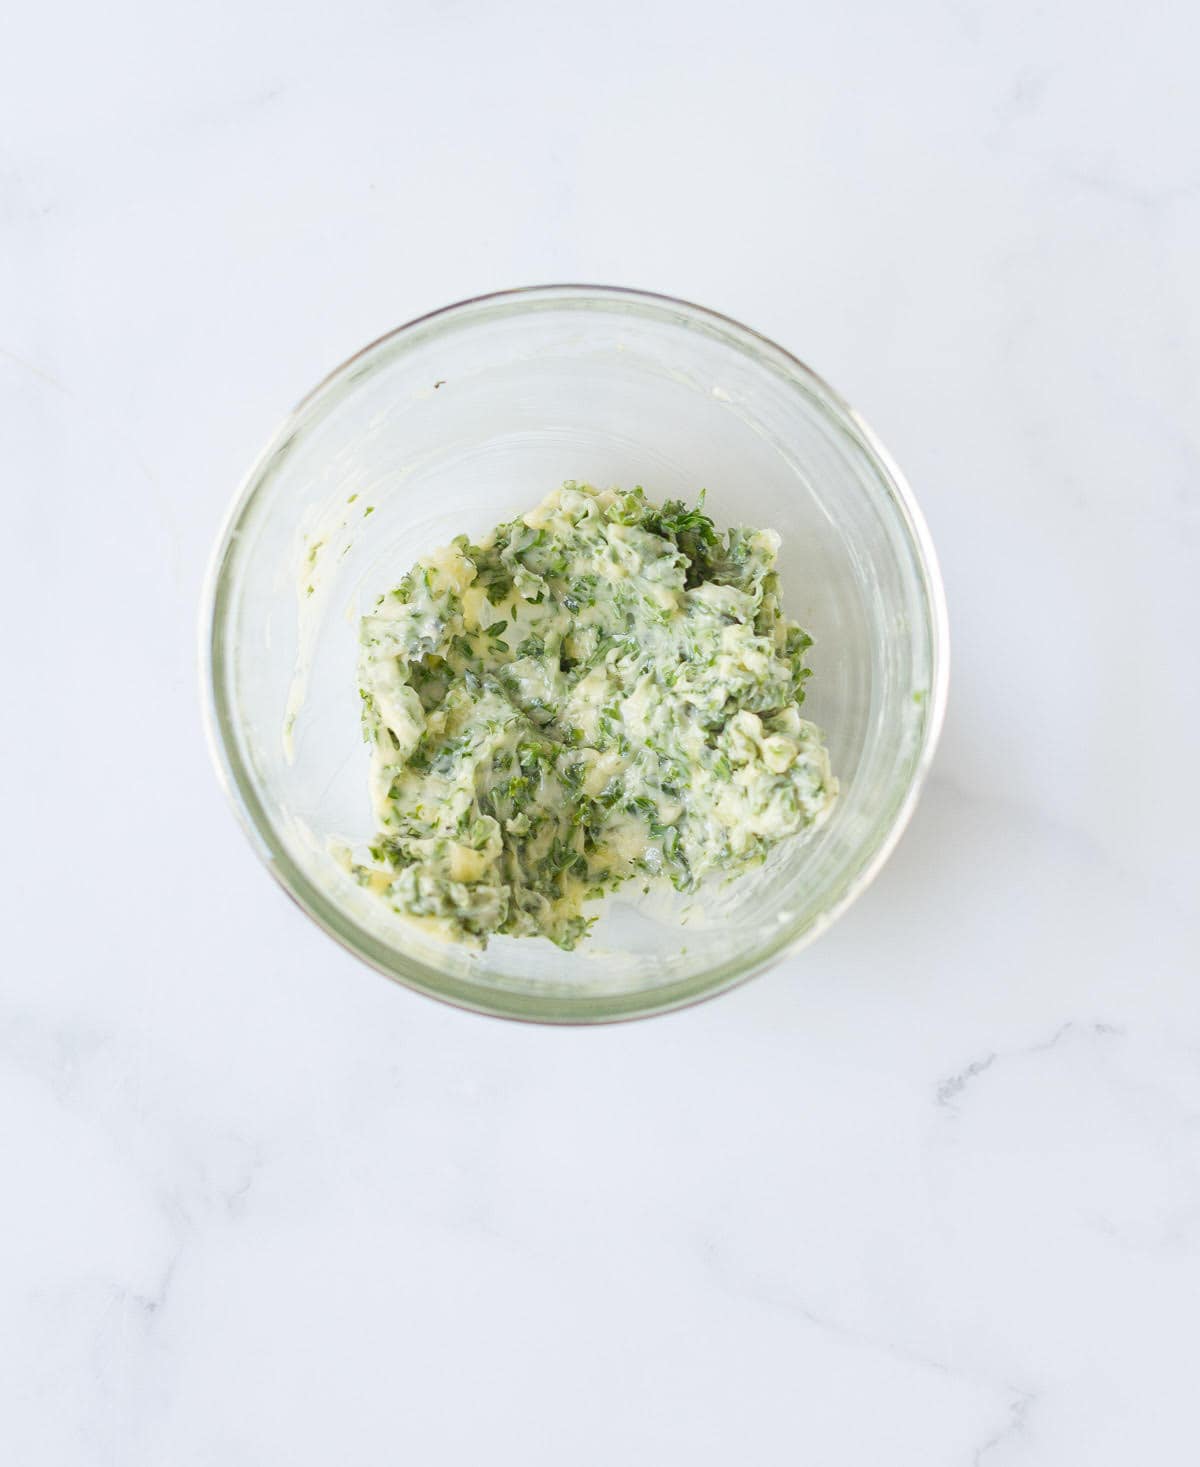
Step 5: Combine the softened butter, minced garlic, and chopped parsley in a small bowl.
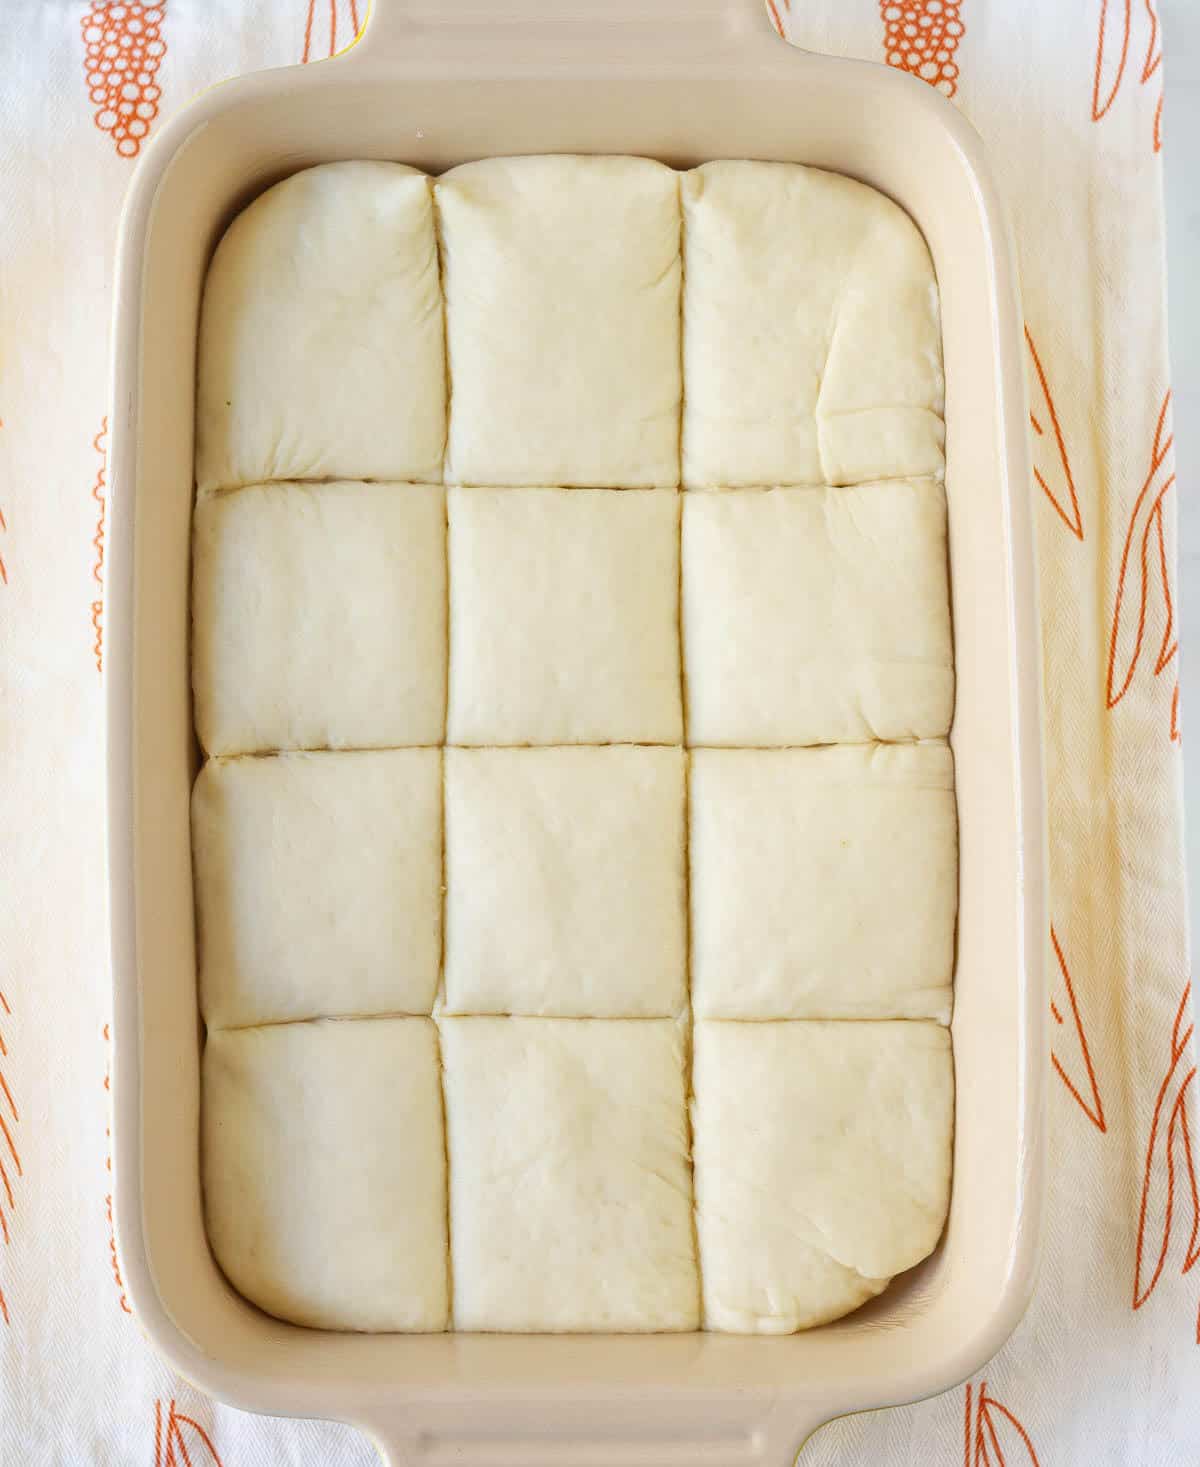
Step 6: Transfer the proofed dough to a lightly floured surface and roll it into a rectangle so it fits into your baking dish. Use a sharp knife and make a crisscross pattern on the dough.
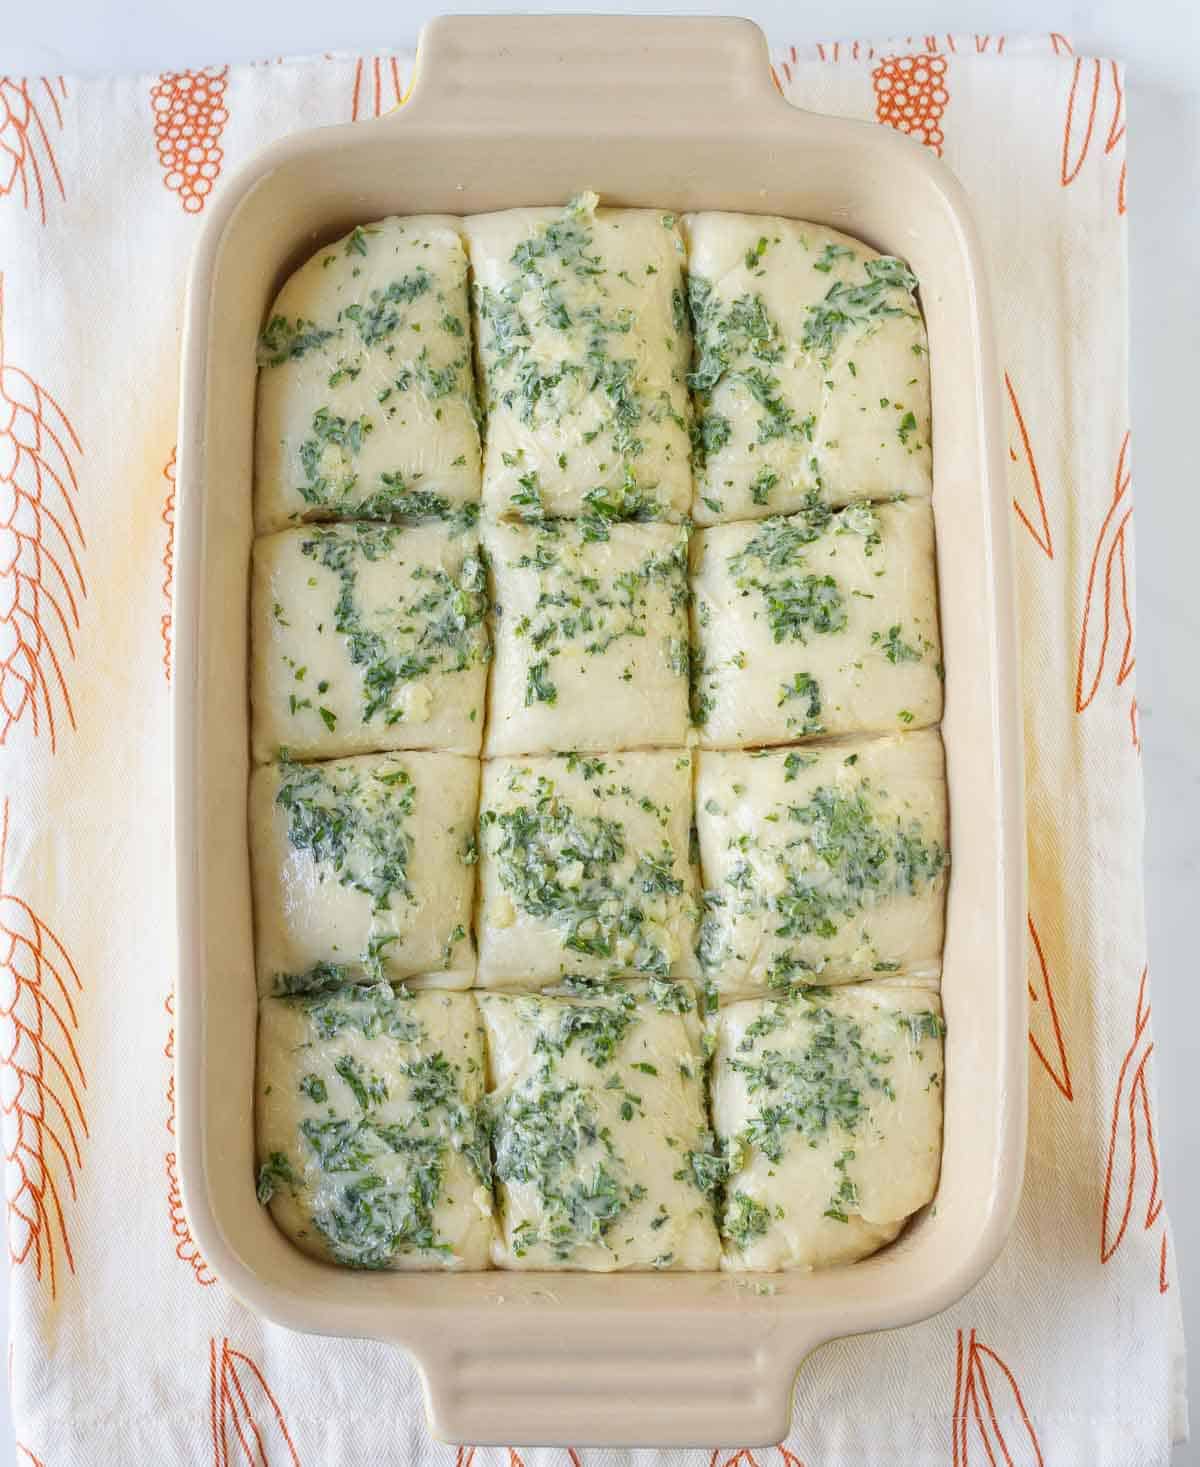
Step 7: Brush the garlic butter liberally on top of the dough and also inside the slits.
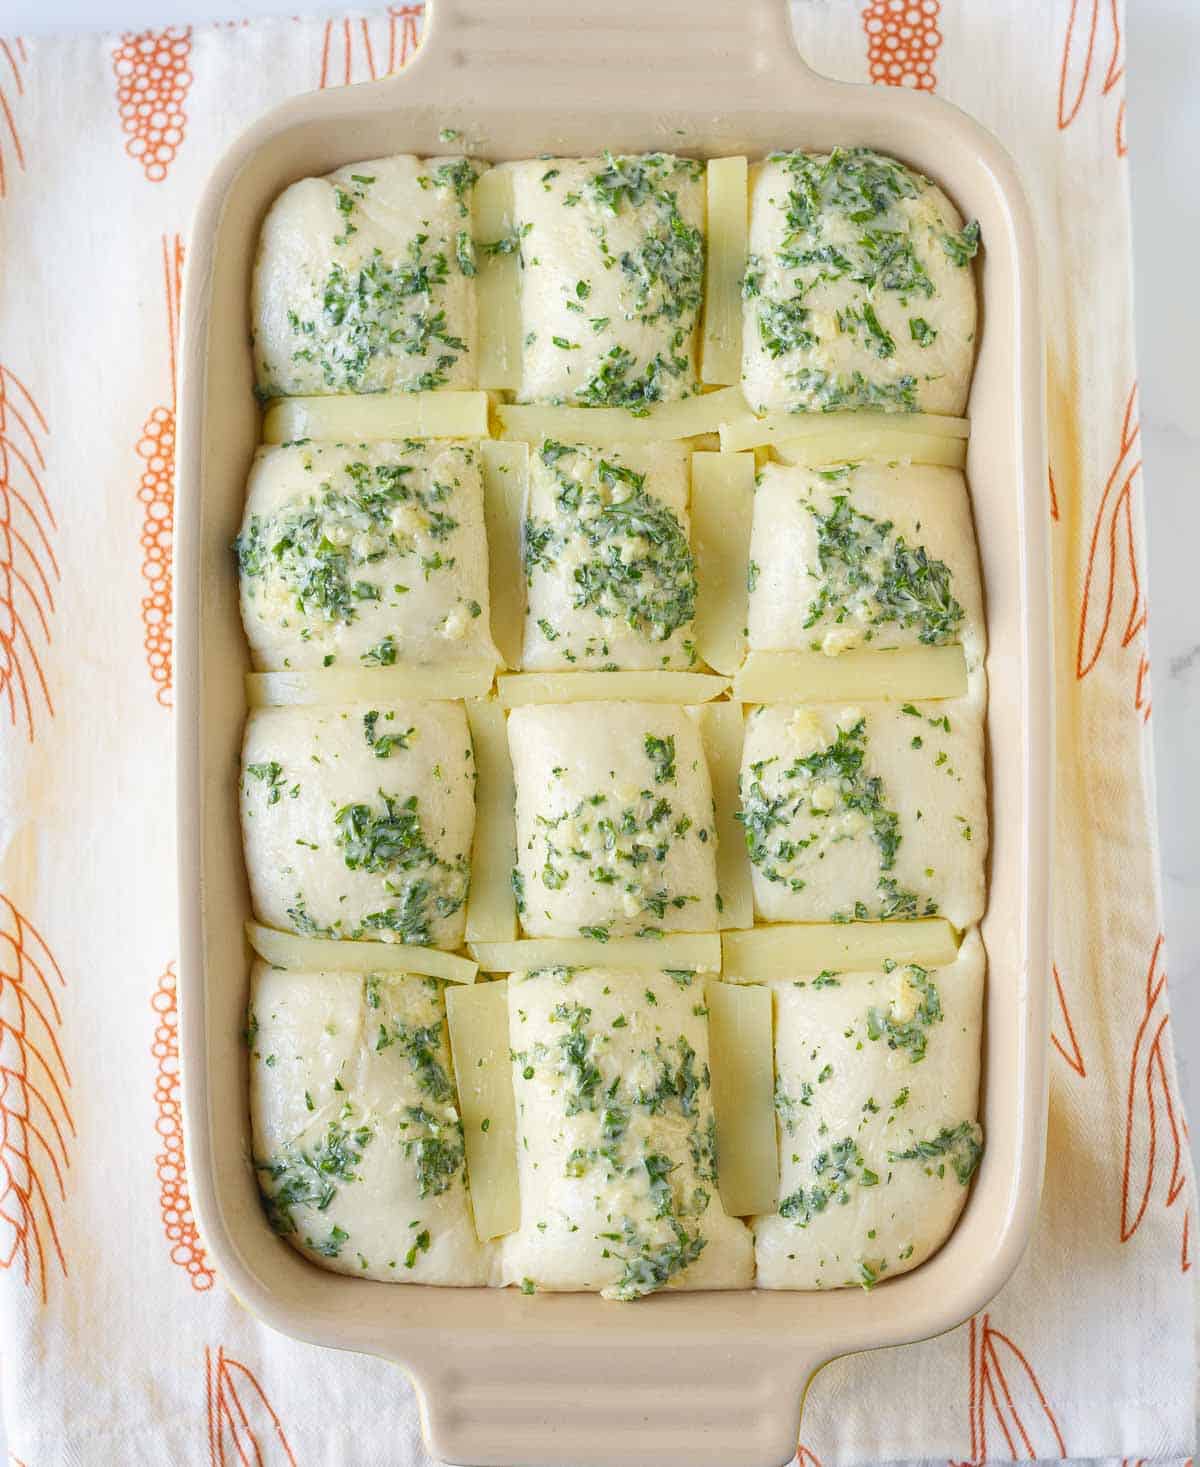
Step 8: Insert pieces of cheese in the slits. Cover and let the dough proof for 30-45 minutes or until it is very puffy.
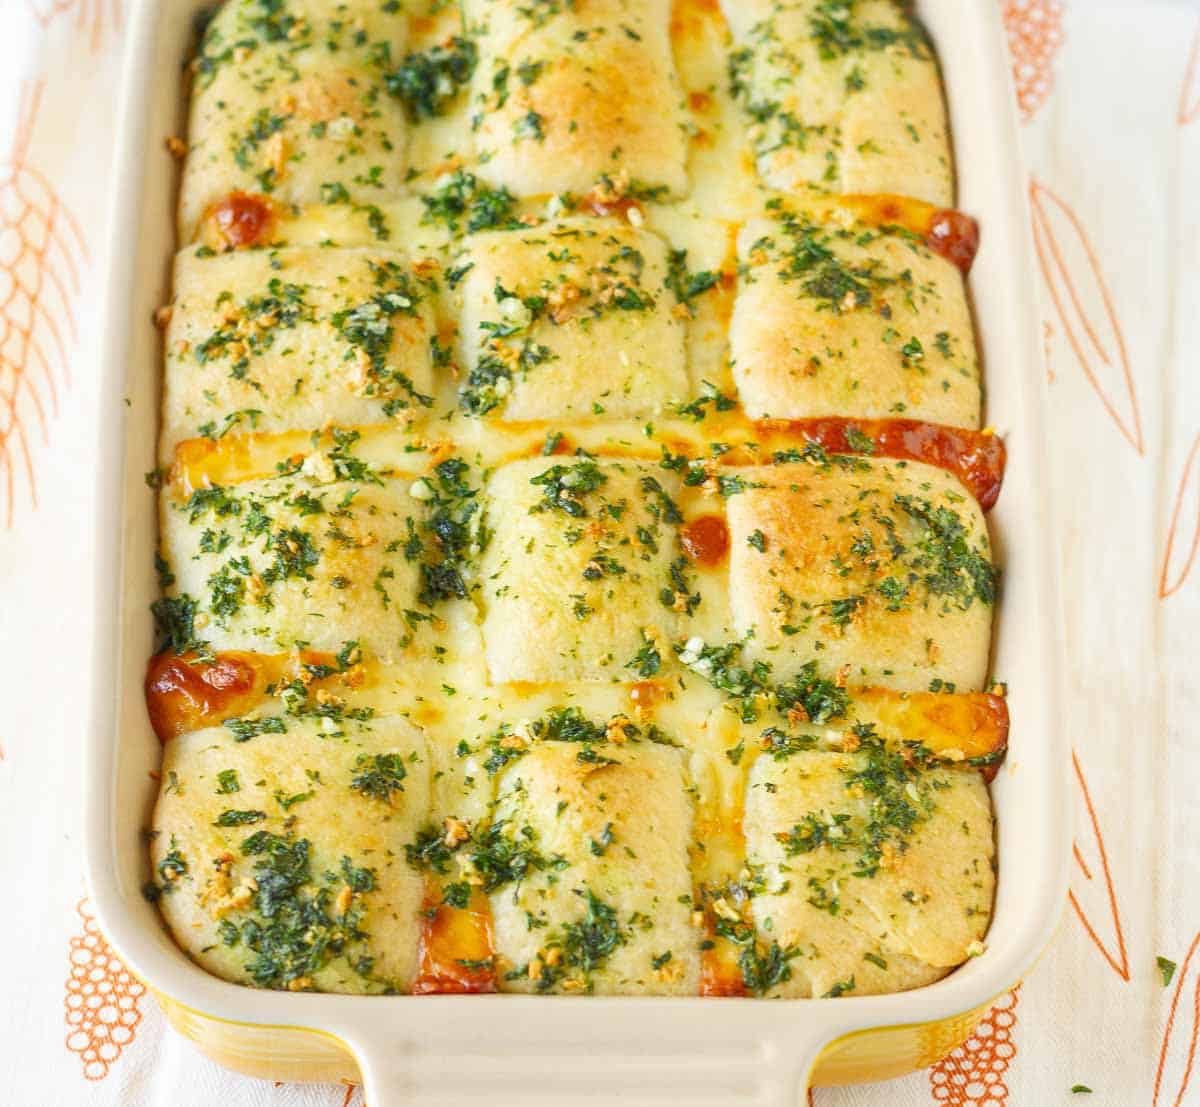
Step 9: Bake the bread for 25-30 minutes or until it's golden brown on top. Let the bread rest for 5 minutes before serving warm.
Pro Tips
- Make sure your yeast is fresh and active. The best way to check that is by dissolving ½ teaspoon of yeast in half a cup of warm water. Leave for 5-10 minutes. If the mixture gets frothy and bubbly, then your yeast is good to use.
- Use warm milk. The best temperature is 40 C / 100-105 F. Hot water kills the yeast, and cold water slows it down.
- Knead the dough well. Proper kneading helps develop gluten, which gives the bread structure and that lovely soft texture.
- If your dough feels too dry, add water or milk one tablespoon at a time. If the dough feels too sticky, add more flour, again just 1 tablespoon at a time.
- Avoid adding too much extra flour. Add just enough to make a soft and slightly sticky dough. This is a sign of well-hydrated dough that will give a better and more airy texture to the bread.
- Be generous with the garlic butter. Make sure you brush it into every nook and cranny, so every bite is packed with flavor.
- Want a cheesier bread? Add more cheese in between the scored dough.
- I used a 9 x 6-inch baking dish. You can use a 9-inch round or square baking pan, too. A bigger pan will yield a slightly flatter bread. A smaller pan will give a thicker bread. Please adjust the baking times accordingly.
- For the best and most consistent results, please use a kitchen scale to measure your ingredients.
Recipe FAQs
Can I make the dough ahead of time?
Yes, you can make the dough and let it rise in the refrigerator overnight. Let it come to room temperature before shaping.
Why didn't my bread rise properly?
This can happen if the yeast is inactive, if the dough did not get kneaded enough, or if the dough didn't get enough time to proof.
How do I store garlic cheese bread?
This garlic bread from scratch tastes best the day it's made. Store any leftovers in an airtight container in the refrigerator for 2-3 days. Reheat in the oven or air-fryer for the best texture.
What's the best cheese to use for cheesy garlic bread?
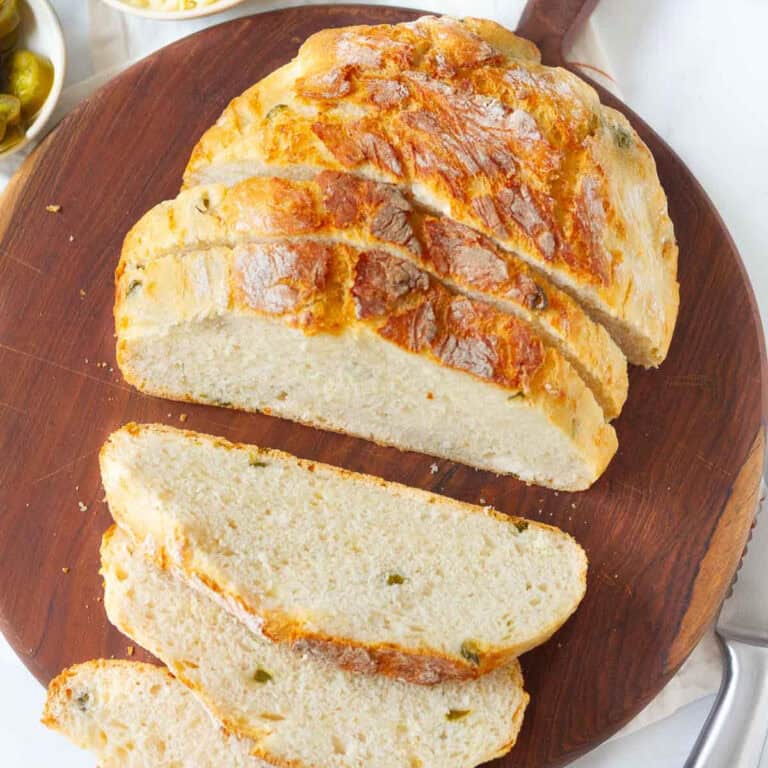
Use any hard cheese that melts well. I like to use mozzarella, but a combination of mozzarella and cheddar is also fabulous! Cheddar brings a ton of flavor, like in my jalapeno cheddar bread!
More Easy Cheesy Breads
Recipe
Homemade Garlic Cheese Bread
Ingredients
- 3/4 cup Milk, lukewarm
- 1.5 tsp Active dry yeast
- 1 tsp Sugar
- 2 cups All-purpose flour
- 1 tsp Salt
- 2 tbsp Olive Oil
Topping
- 3 tbsp Butter, softened
- 3-4 Garlic cloves, minced
- 2-3 tbsp Parsley, finely chopped Use any fresh herbs of your choice
- 1/2 cup Mozzarella cheese, cut into strips You can use mozzarella, or a combination of mozzarella and cheddar
Instructions
- In a small bowl, dissolve yeast and sugar in the milk. Let it stand for 5-10 minutes until foamy.3/4 cup Milk, lukewarm, 1.5 tsp Active dry yeast, 1 tsp Sugar
- In the bowl of your stand mixer, combine the flour and salt.2 cups All-purpose flour, 1 tsp Salt
- Add olive oil and the bubbly yeast mixture. Knead the dough for 8-10 minutes, until the dough is smooth, elastic, and slightly sticky to the touch.2 tbsp Olive Oil
- Transfer the dough to a lightly greased bowl. Cover and place in a warm place for 20-30 minutes.
- Lightly grease your baking pan. I used a 9 x 6-inch baking dish.
- Gently deflate the dough. Transfer to a lightly floured surface and roll it into a rectangle to fit the baking pan.
- With a sharp knife, score squares on it. Using a spatula or pastry brush, apply the garlic butter liberally on top of the dough and inside the slits you made.
- Insert the cheese into the gashes and then cover with a damp napkin for 30-45 minutes or until the dough is puffy.1/2 cup Mozzarella cheese, cut into strips
- Preheat the oven to 180 C / 350 F.
- Bake the bread at 180 C /350 F for 25-30 minutes or until it's golden brown on top.
- Let the bread rest for 5 minutes, before serving warm. Enjoy!
Garlic Butter
- Combine the softened butter, minced garlic, and chopped parsley in a small bowl.3 tbsp Butter, softened, 3-4 Garlic cloves, minced, 2-3 tbsp Parsley, finely chopped
Video
Notes
- Make sure your yeast is fresh and active. The best way to check that is by dissolving ½ teaspoon of yeast in half a cup of warm water. Leave for 5-10 minutes. If the mixture gets frothy and bubbly, then your yeast is good to use.
- Use warm milk. The best temperature is 40 C / 100-105 F. Hot water kills the yeast, and cold water slows it down.
- Knead the dough well. Proper kneading helps develop gluten, which gives the bread structure and that lovely soft texture.
- If your dough feels too dry, add water or milk one tablespoon at a time. If the dough feels too sticky, add more flour, again just 1 tablespoon at a time.
- Avoid adding too much extra flour. Add just enough to make a soft and slightly sticky dough. This is a sign of well-hydrated dough that will give a better and more airy texture to the bread.
- Be generous with the garlic butter. Make sure you brush it into every nook and cranny, so every bite is packed with flavor.
- Want a cheesier bread? Add more cheese in between the scored dough.
- I used a 9 x 6-inch baking dish. You can use a 9-inch round or square baking pan, too. A bigger pan will yield a slightly flatter bread. A smaller pan will give a thicker bread. Please adjust the baking times accordingly.




The first bread I ever baked, after years of baking desserts and being petrified of bread! Natasha’s recipe is clear and detailed, leaving no room for confusion for beginner bakers like me. My bread turned out perfectly - the cheese was oozing just as it should! My daughter said it was just like pizza 🙂
Natasha Author
Thank you so much, Akanksha for your wonderful feedback. This truly made my day and I really appreciate your support. Here's to more bread baking! xoxo
Is there anything needs to be done for High Altitude. I am 5600ft.
Thank you
Natasha Author
Hi Dennis, I'm not at all familiar with baking at high altitude. According to a Reddit thread, you may need to increase the amount of liquid to ensure our bread dough is not too dry. I do feel, its best to follow a bread recipe as is, and see how it turns out. Adjust only after trying a recipe. Hope this helps. Happy baking:)
Most amazing bread I ever made. Thanks for the recipe.
Natasha Author
Thank you so much, Pratibha! Really grateful for your love and support.xx
I tried the recipe, it was very nice. Thank you
Can I make it one day in advance or prepare the dough in advance and bake it the next day. If yes what is the best way to store it? Thank you.
Natasha Author
Thank you so much, Sweta! This bread does taste the best the day it's made. But you could make it a day before, cool completely, pack in aluminum foil, and reheat in a preheated oven the next day. I haven't tried making the dough a day before. You could make it the evening before and leave it for slow proofing in your refrigerator overnight. The next day, let it come to room temperature before shaping and baking. Hope this helps. 🙂
Hi. The proportion for olive oil isn't mentioned.
Natasha Author
Hi Sarah, thank you for pointing that out. I've fixed the recipe. ????????????