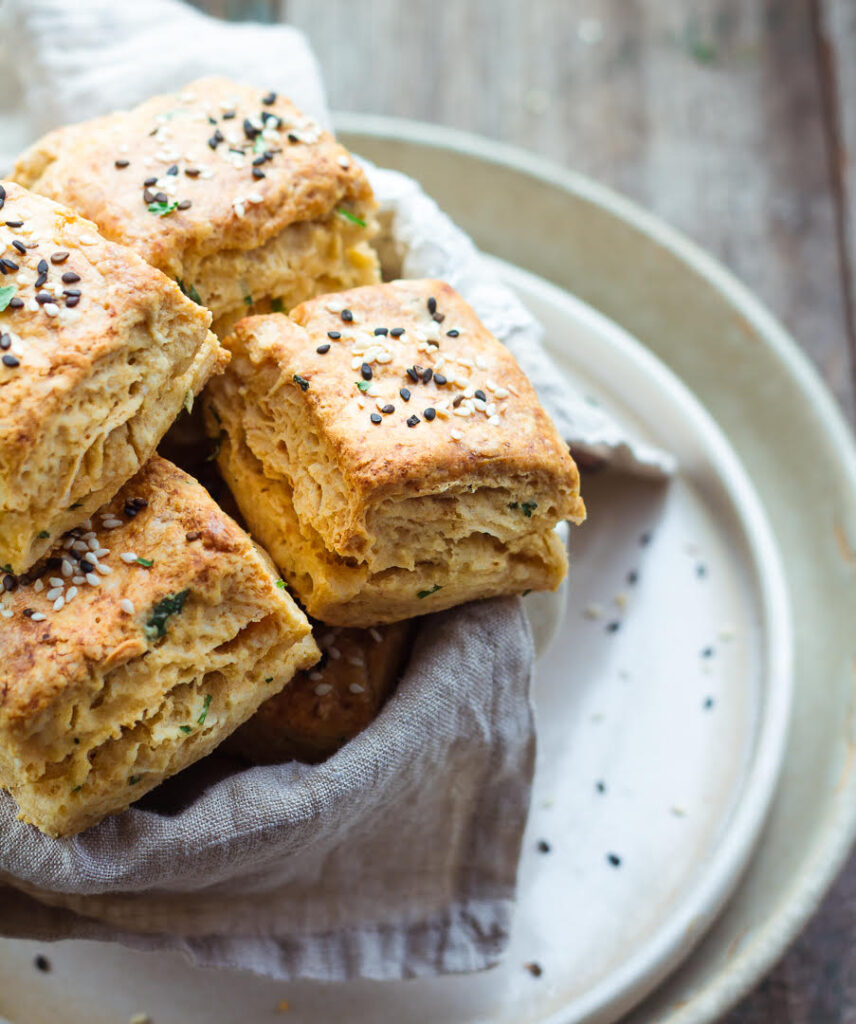
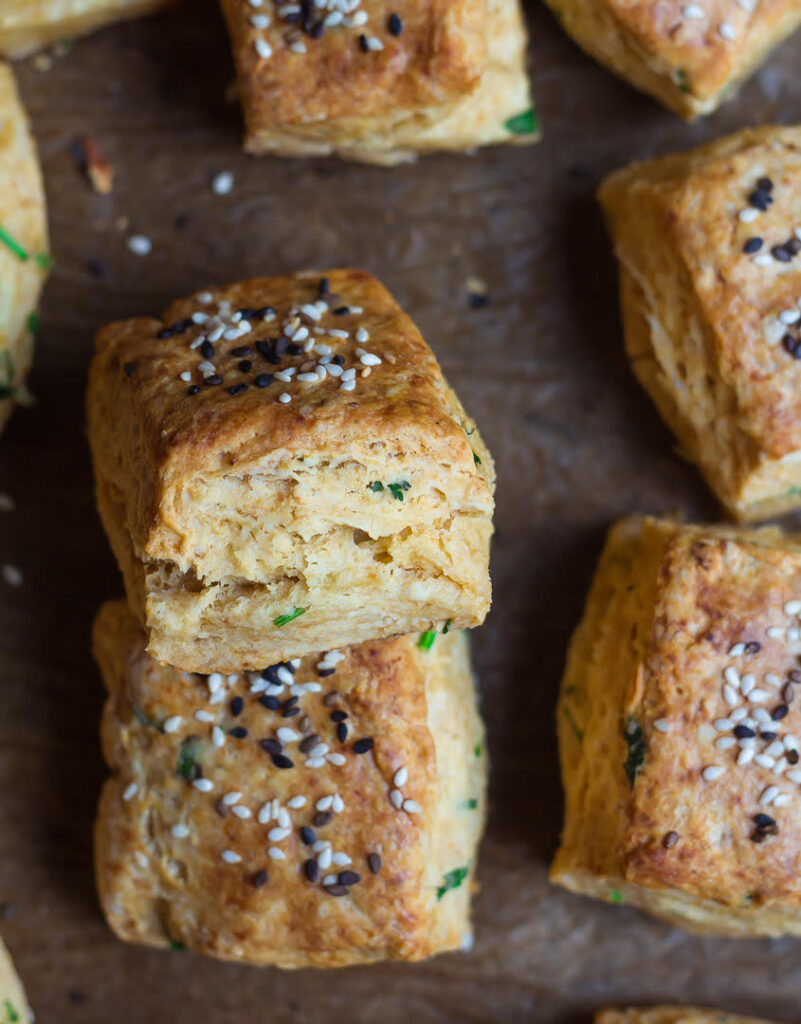
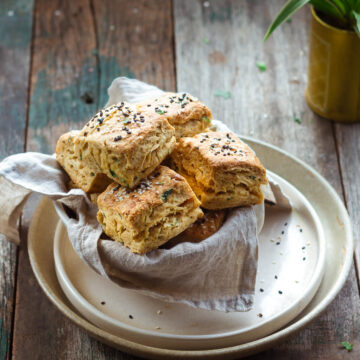
Taking a little break from my smorgasbord of sweets, I decided to go savory with flaky, buttery, and deliciously layered easy miso scones.
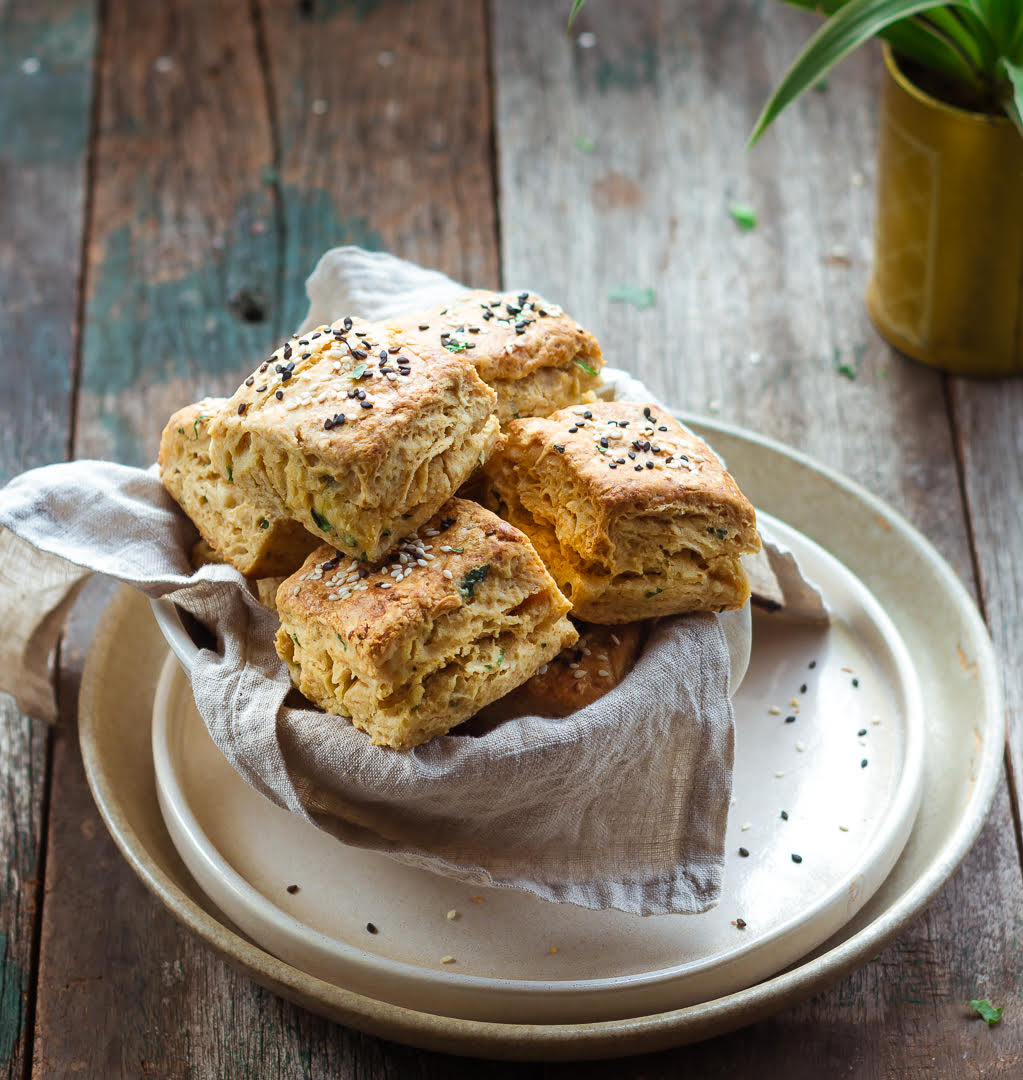
The recipe is courtesy 600acres, but of course, it has a few Tasha Twists.
I upped the amount of miso paste, opting for 1 and a half spoons instead of one. You can go up to 2 tablespoons to really make the pleasant savory taste speak volumes. I also used cream instead of beaten egg whites to brush the scones, and lastly, I sprinkled chopped cilantro in the dough.
How did the miso scones taste? Like heaven. They pack a rich umami punch with an underlying sweet earthiness all packed in buttery goodness.
What is miso?
Originating from Japan, miso is a very, very popular condiment. You’ve likely heard of miso soup, but it’s used to season a whole slew of dishes – salads, stews, spreads, etc.
It looks like a paste and is made by fermenting water, salt, soybeans, and kōji, a fungus. Occasionally, miso may have a grain like barley or rice.
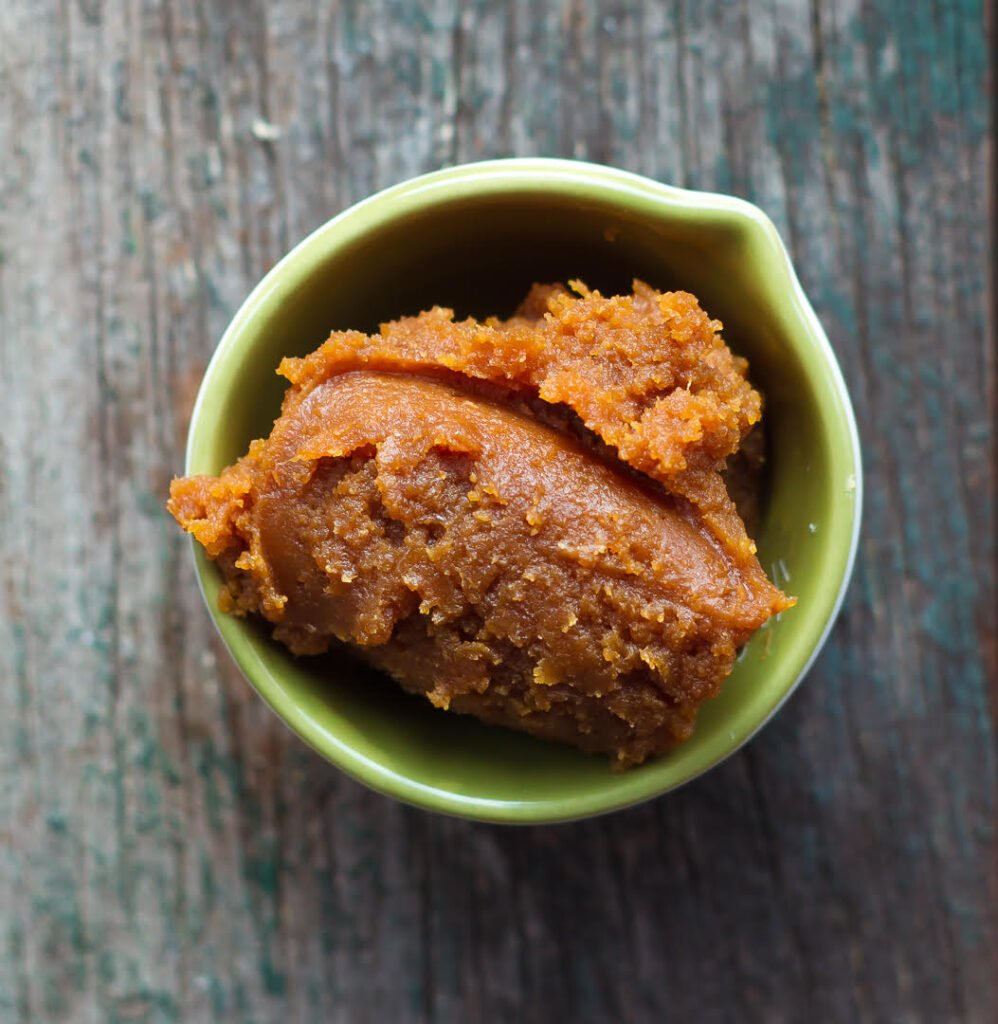
In culinary terms, it’s extremely versatile. The combination of sweet-salty-savory-nutty flavors find uses for the paste in any corner of the kitchen.
It’s an enlivener of stir-fries. It’s the savior of baked goods. And it’s even scrumptious in ice creams - so I've heard, never tasted!
Essentially, miso can imbue any dish with an enormous amount of taste and savor.
It’s fairly easily available online or in gourmet food stores. And because a recipe will always need only a small amount of miso paste, a single bottle of it goes a long way.
How to make miso scones?
On the face of it, miso scones look rather simple. It’s after the first bite that you feel the layers of flavor followed by the thought, “My god! what is it?”
The little man of the house kept repeating “so buttery” in-between gorging bites of the scones. And that’s precisely what the scones are – indulgent treats perfect for December.
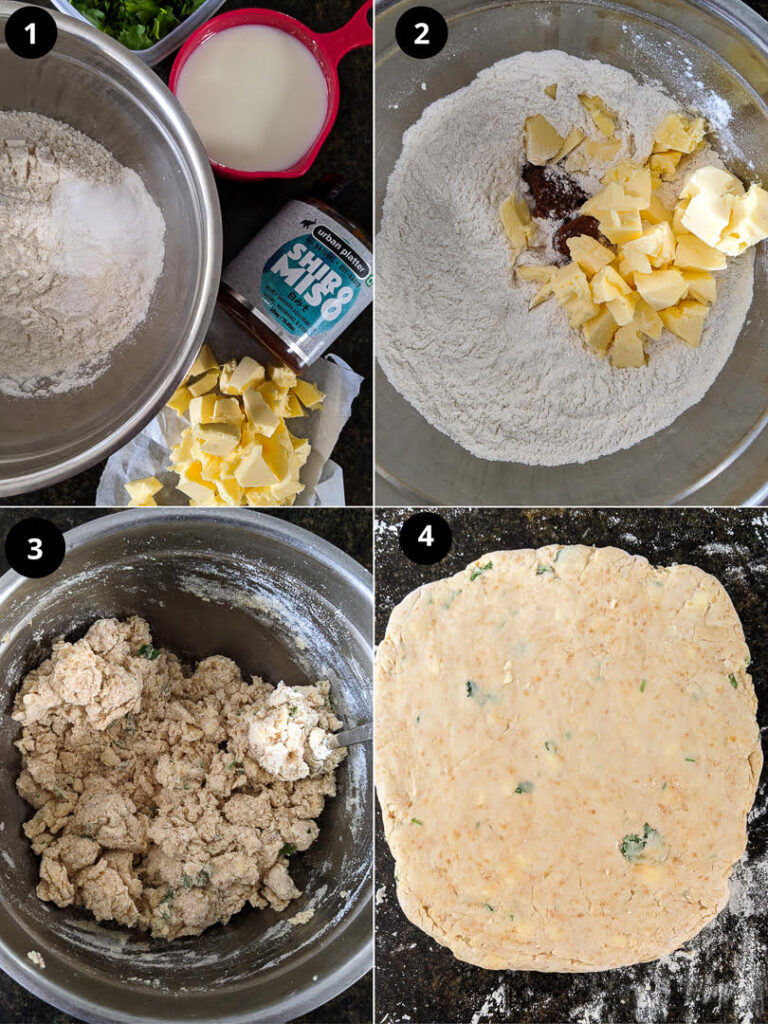
- Start with sifting all-purpose flour, baking powder, baking soda, and salt in a bowl.
- Add the chilled cubes of butter and miso paste.
- Rub the butter in the dry ingredients using your fingertips till you have a coarse breadcrumb-like texture. Miso will get incorporated into the mixture along the way.
- Add in fresh cilantro and some milk. Then using a fork, combine everything in a moistened clump.
- Turn out on a floured surface and just fold the dough over itself a few times.
- The dough comes together on its own in under 10 minutes. You will not need to knead it.
- Once the dough is formed, pat it into a rough square or rectangle and use a knife to cut the scone shape you prefer – square or triangle.
- Brush each portion with cream.
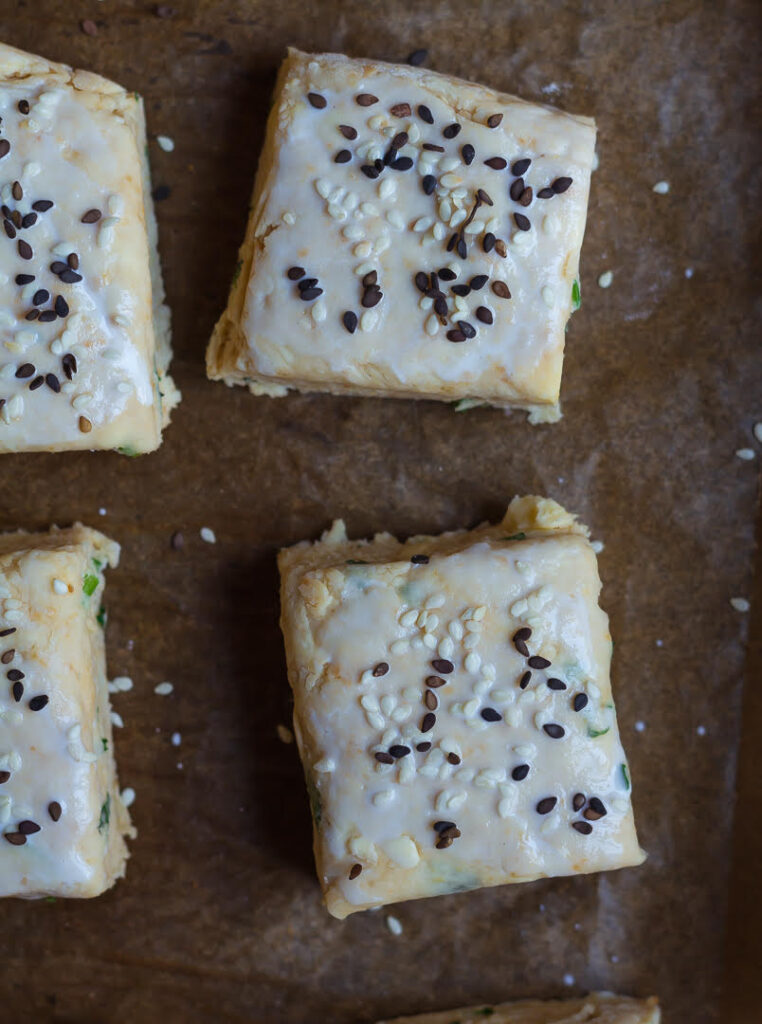
- Top off with a dusting of black and white sesame seeds.
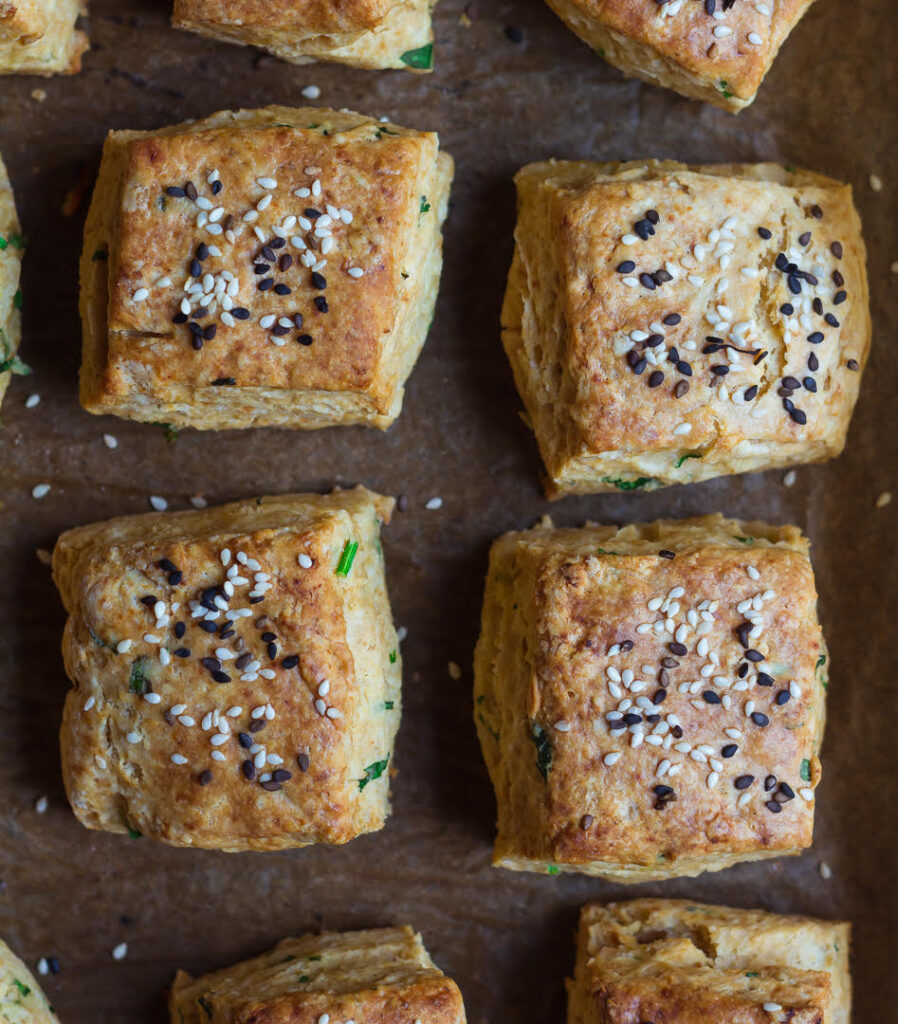
- Finally, bake for 12 to 15 minutes.
Variations of miso scones
I’ve used all-purpose flour for the recipe because that’s what gives the tenderest crumb. The flour always imparts a pillowy softness and buttery golden crunch to scones.
- You can make them with whole wheat flour as I did for my Strawberry Orange Scones.
- For gluten-free scones, buckwheat flour is a great choice. I’ve made lavender buckwheat jam scones and lemon buckwheat scones with it.
How to make vegan miso scones?
Instead of regular butter, use plant-based butter. Or try chilled, solid coconut oil. I’ve baked blueberry coconut scones with it, and they were just as good as with butter.
Coconut cream will be an excellent substitute for milk. See my banana bread scones for the recipe.
What add-ins to use in miso scones?
I wanted the scones to have specks of green to brighten them up. That’s why I added fresh cilantro. You can always switch it for some parsley.
Cheese, green onions, scallions, and any fresh herbs that float your boat will go just as well.
Serving the miso scones
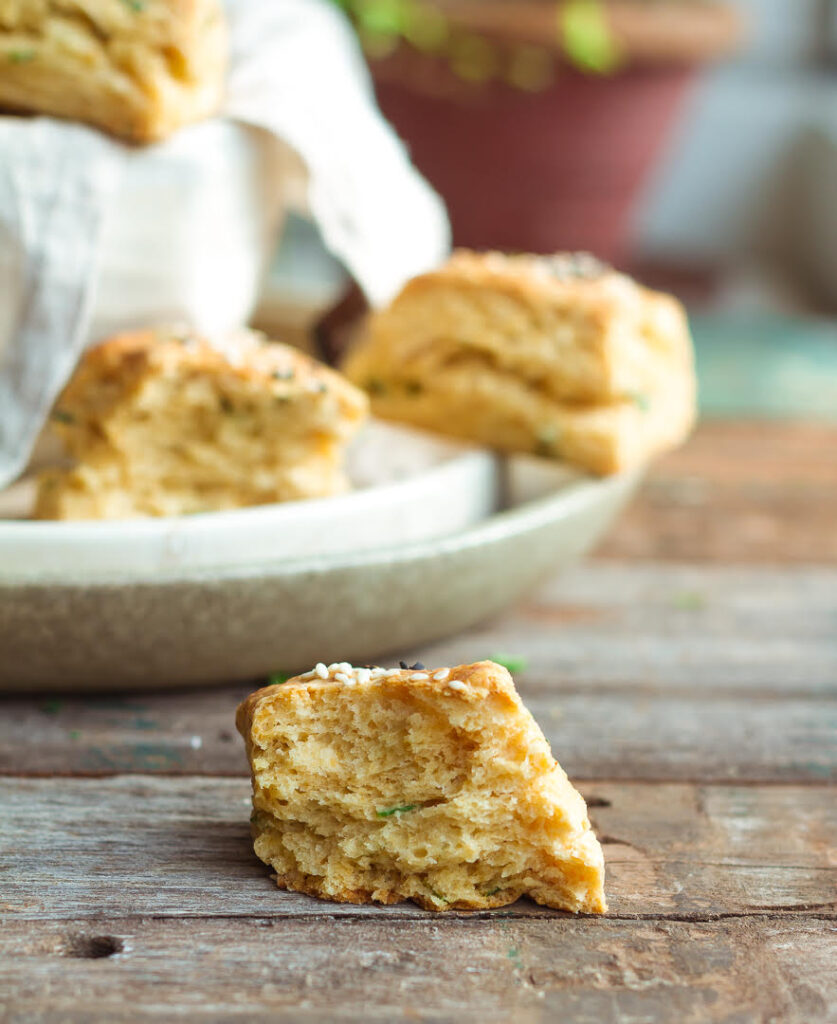
Miso scones are best served warm and are exceptional with soup – that’s how we guzzled them down (barring the little man, who just kept tearing into the kitchen and eating them as-is).
I recommend splitting the scone in half, buttering it, or slathering it with cream cheese. These make for an excellent side with any dish for any meal!
I’d love to hear from you! Please tag me on Instagram @tashasartisanfoods, using the hashtag #tashasartisanfoods. You can also FOLLOW ME on INSTAGRAM, PINTEREST for more fabulous recipes! Do subscribe to Tasha’s Artisan Foods so you’ll never miss a recipe!
📖 Recipe
Easy Miso Scones
Ingredients
- 1/2 cup ( 110 gms) Butter, chilled, cut into cubes I use salted butter
- 2 cups ( 240 gms) All-purpose flour
- 2 tsp Baking powder
- 1/2 tsp Baking soda
- 1.5 tbsp Miso paste
- 3/4 cup (175 ml) Coconut Milk You can use any milk you prefer
- 3 tbsp Cilantro/Coriander, chopped
Topping
- 1 tbsp Cream
- 1 tbsp Black and white sesame seeds
Instructions
- Preheat your oven to 220 C. Line a baking tray with parchment paper or Silpat.
- Sift together the flour, baking powder, and baking soda in a large bowl.
- Add the cubed butter and miso paste.
- Rub the butter into the flour mixture with your fingertips until the mixture resembles coarse breadcrumbs.
- Don't worry if your mixture has some uneven sized flour-butter lumps.
- Add in the milk and cilantro. Stir well with a fork.
- Now use your hands to bring the dough together and turn it out on a well-floured surface.
- Just fold the dough over itself 3-4 times and it will come together. There is no need to knead this dough.
- Pat it into a rough square or rectangle. Use a sharp knife to cut into squares or triangles.
- Carefully place on the prepared tray.
- Brush with cream and sprinkle the sesame seeds on top.
- Bake for 14-15 minutes, or until golden brown.
- Let cool for a few minutes. Serve warm. Enjoy!


Albertina says
I tried the miso scones recipe and it was looking gorgeous and the flavor was amazing. Love it!
Natasha Minocha says
Thrilled to hear that, Albertina!Thanks so much for following along and trying this recipe. xoxo
Caroline says
I just made these for the second time, such a great recipe!
Natasha Minocha says
I'm so thrilled you like this, Caroline! Thank you very much. xx
Bukky says
Good evening,we don't have miso paste,can it be optional.
Natasha Minocha says
Hello, yes, you can leave out miso and go ahead with the recipe. 🙂