
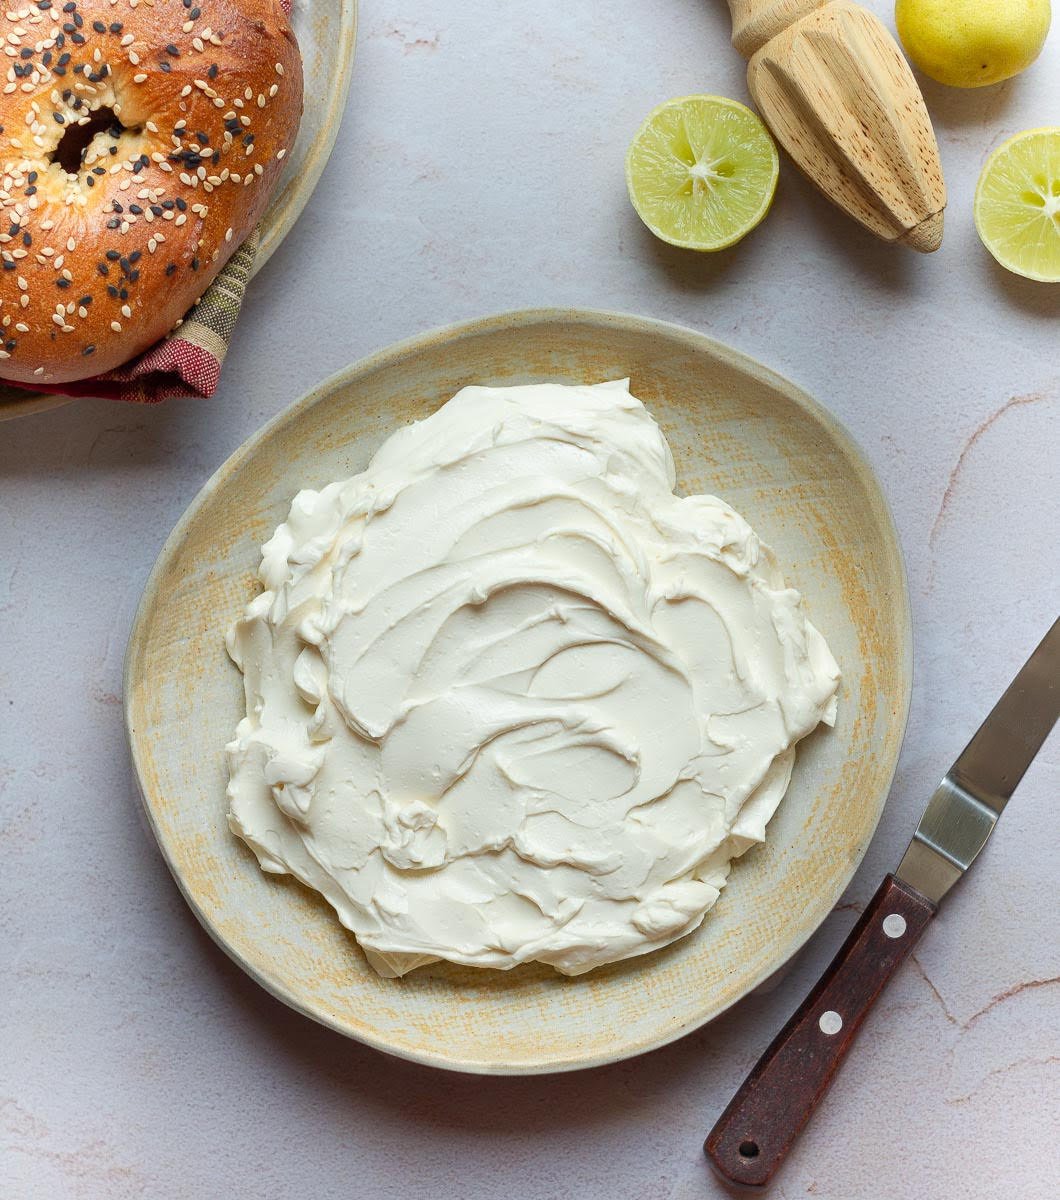
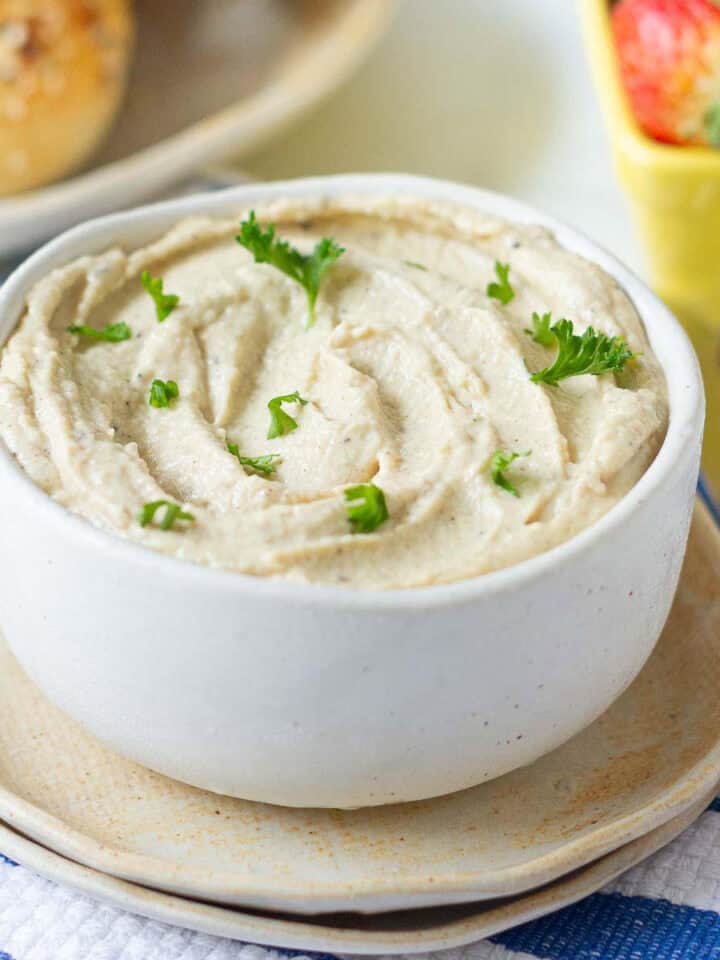
I give this four-ingredient homemade cream cheese recipe a big two thumbs up. The DIY cream cheese, rich, creamy, and with just a hint of tang, is totally fuss-free, cheaper to make at home, and fast becoming a pantry essential.
Growing up, we didn’t have a domestic brand of cream cheese. Not only was it incredibly hard to get your hands on a tub of imported ones, but it was also prohibitively expensive. This was the homemade cream cheese recipe we used. It’s been a long time since I made cream cheese at home, and it was far easier than I remember.
Anyone planning a recipe that uses cream cheese and doesn't have access to a store-bought one (or prefers homemade ingredients)? This is the quickest way to make cream cheese from scratch!
Jump to:
Why We Love This Recipe
Just 4 ingredients and so simple! Who knew making cream cheese at home could be this easy? We don't need any fancy equipment or technique, just a few minutes of hands-on time and a bit of patience.
Gives you full control of the quality and quantity of ingredients. Just pure and wholesome ingredients. You know exactly what’s going into it.
It's so satisfying to make a kitchen staple at home!
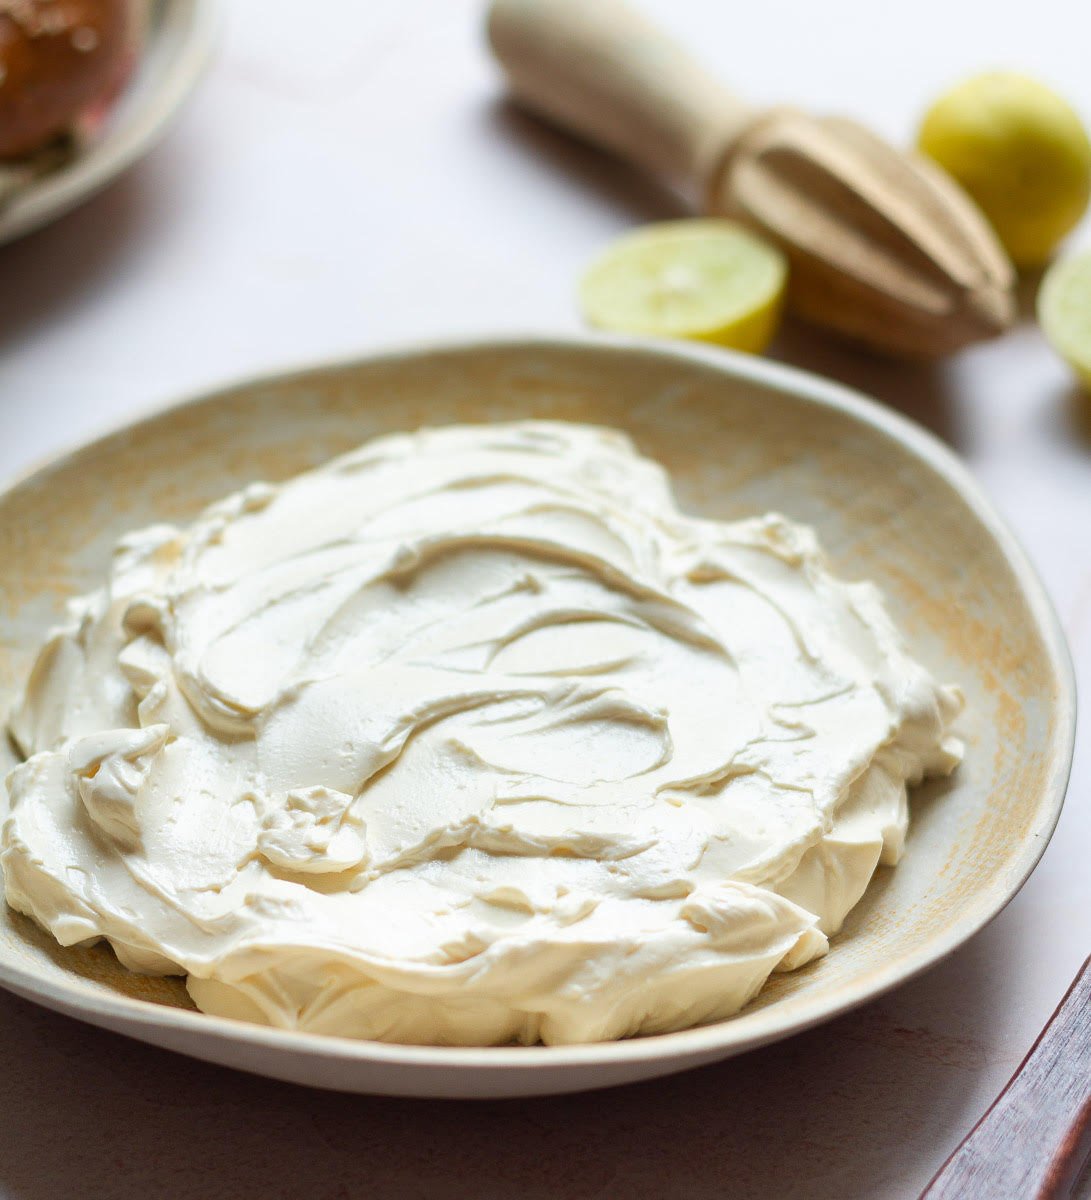
So much more silky, tangy, creamy, and fresher tasting than store-bought cream cheese.
It's so versatile! Slather it on toast, use it in baking, stir it into pasta, or turn it into a dip, and it's perfect for both sweet and savory dishes!
What Is Cream Cheese
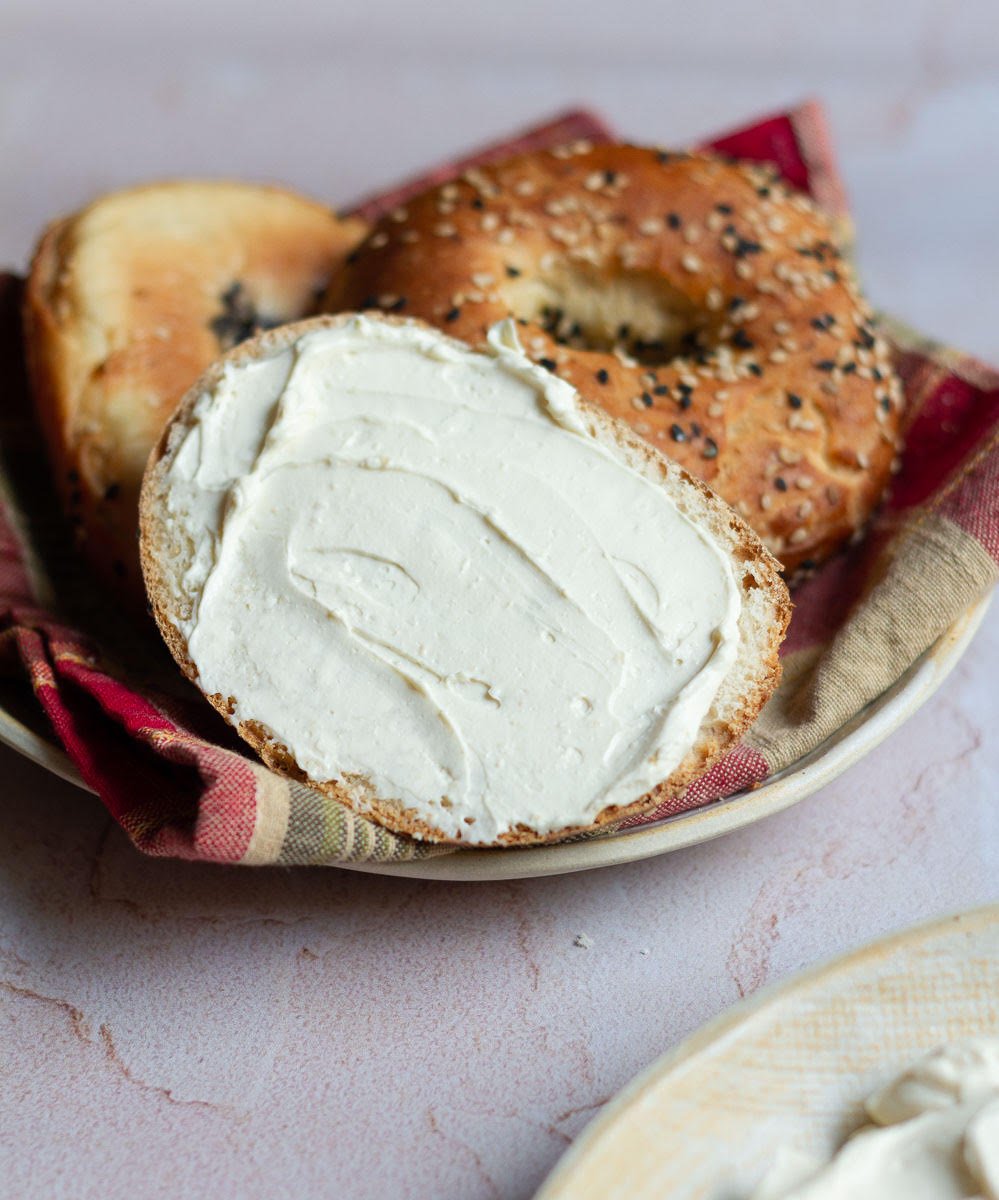
When you make cheese from cream and milk, it’s called "cream cheese." The soft, creamy, spreadable, and mildly tangy fresh cheese is wonderful in both sweet and savory dishes. Think cheesecakes, frostings, schmears on bagels, dips, and more.
Recipe Ingredients
Milk: I definitely recommend full-fat milk when you make cream cheese at home. Don’t use low-fat as it doesn’t curdle as well and won’t give you that great luscious creamy texture.
Cream: I prefer to work with ingredients that are very, very readily available to all. That’s why the cream I used was the one with 25% fat. It worked gorgeously.
If whipping cream is more convenient for you, use that. Or skip the cream altogether and substitute it for full-fat milk and make the homemade cream cheese entirely with milk.
Salt: You’ll only need it for seasoning. I suggest starting with a very small quantity and increasing the amount to match your preference when you’re blending the mixture.
Lemon juice: Fresh lemon juice is what helps the cream and milk curdle. I’ve seen cream cheese recipes use regular white vinegar too. I’ve heard that it gives thicker curds. I’ve yet to test the truth of it, but if you do, I’d love to know, so leave a comment!
How To Make Cream Cheese
Homemade cream cheese keeps it easy and simple. You can halve or double the recipe, in either case, I would advise consuming it within a week. It tastes the best fresh. So plan recipes that require cream cheese, like homemade bagels, puff pastry tarts, or even a sandwich meal.
Step 1: In a thick bottom pan, heat full-fat milk and cream with a little bit of salt.
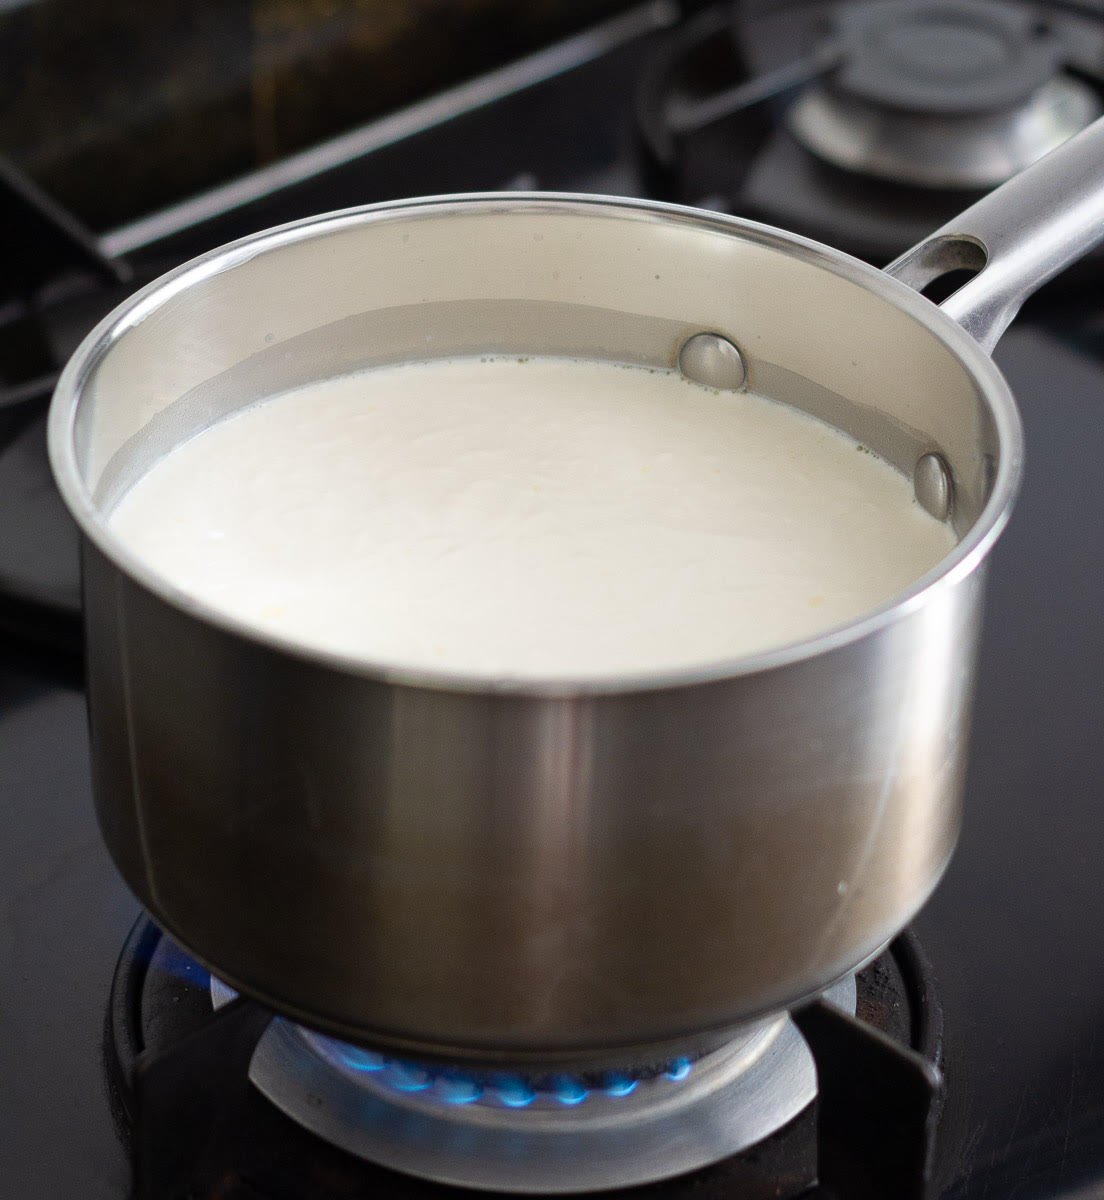
Step 2: Continuously stir the mixture, so it doesn’t stick to the bottom, and when it comes to a gentle simmer (not a rolling boil), add lemon juice.
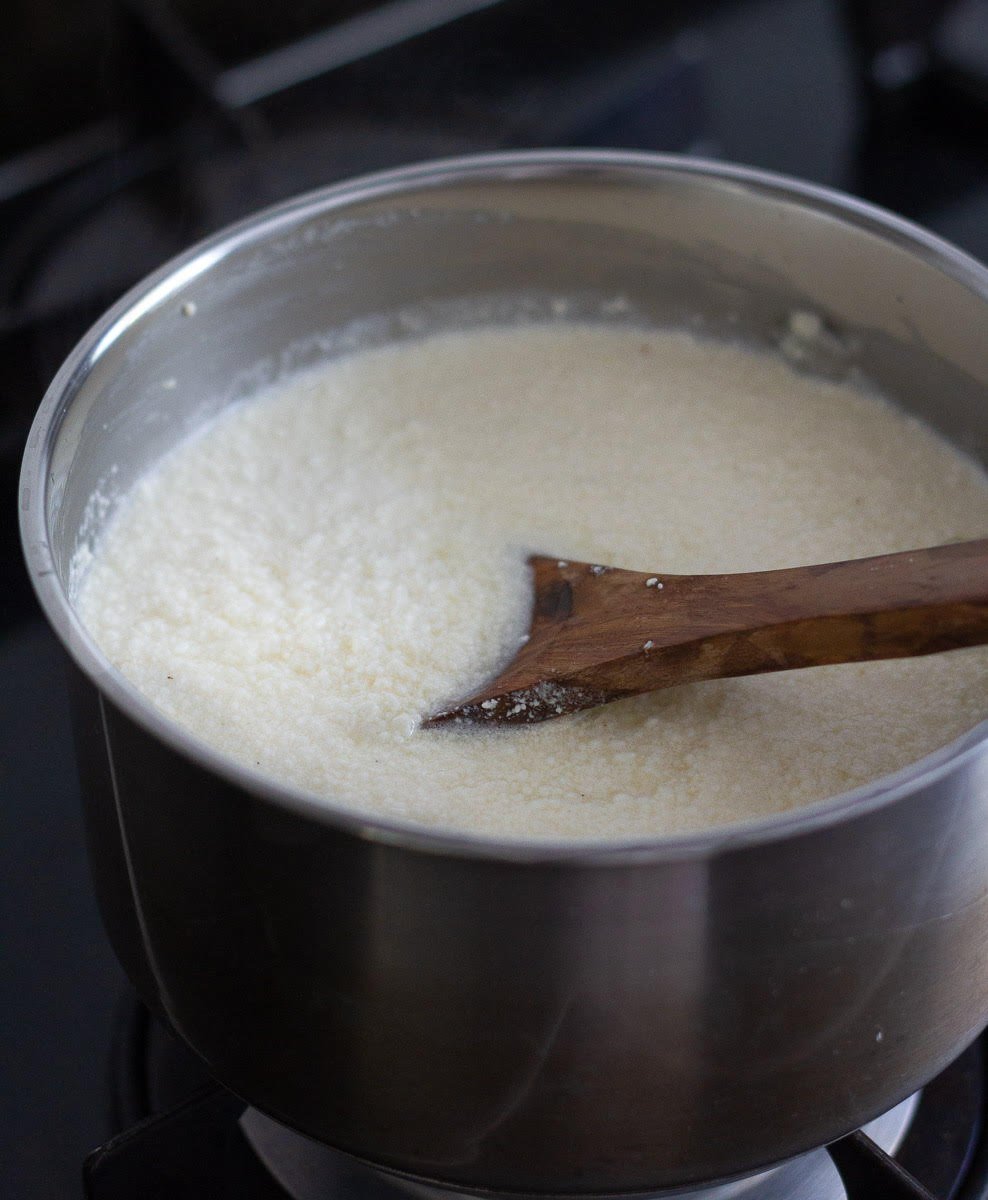
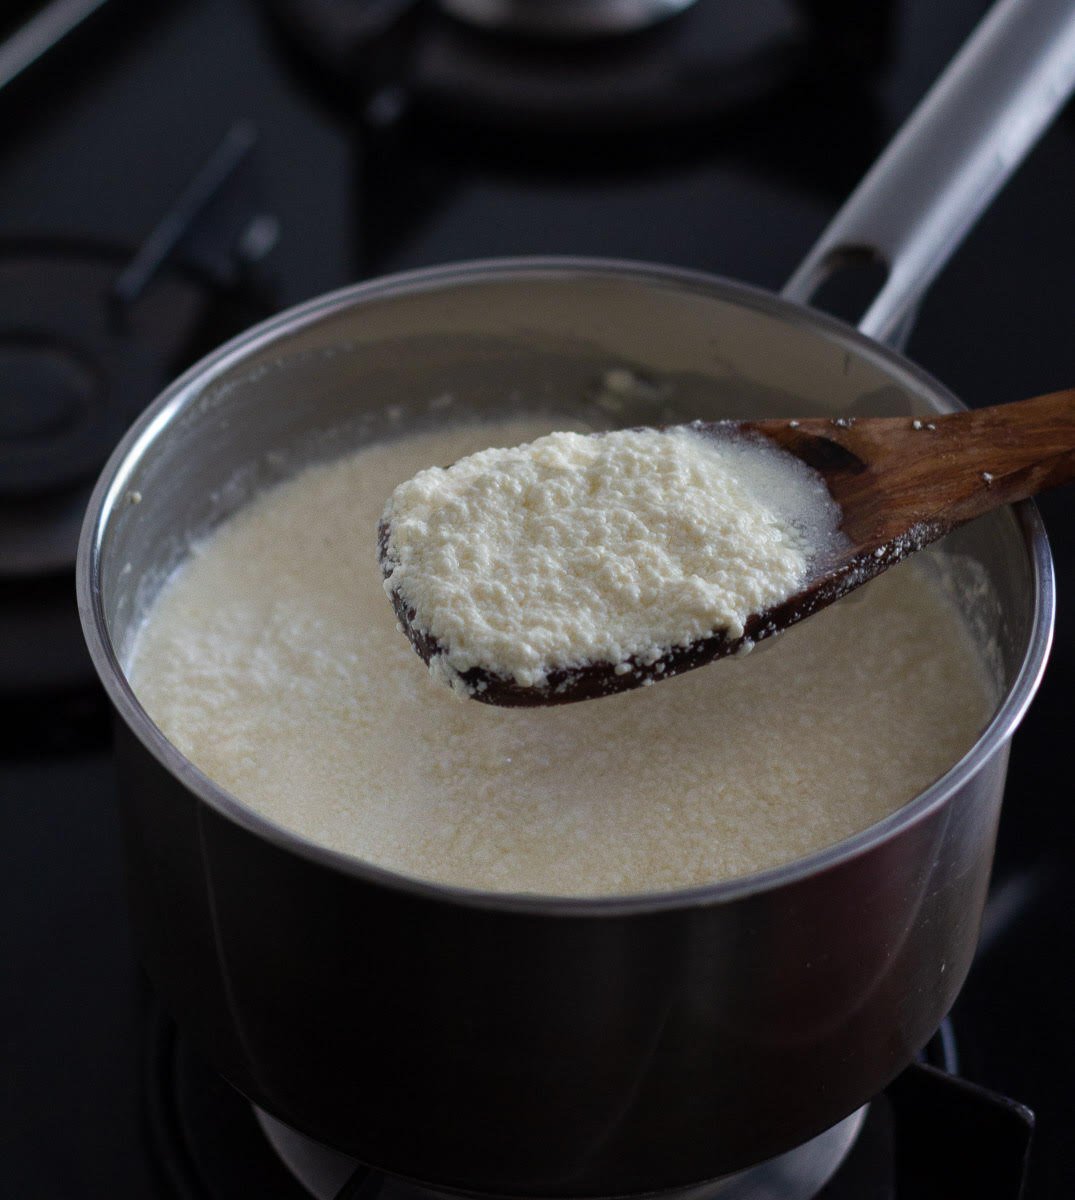
Step 3: Continue to cook and stir gently on low heat until the mixture completely curdles. Within 3 to 5 minutes, you’ll notice the curds separating from the whey (that’s the liquid with a greenish tinge). Once the curds form, turn off the heat, and allow the curds to sit undisturbed for 5-10 minutes.
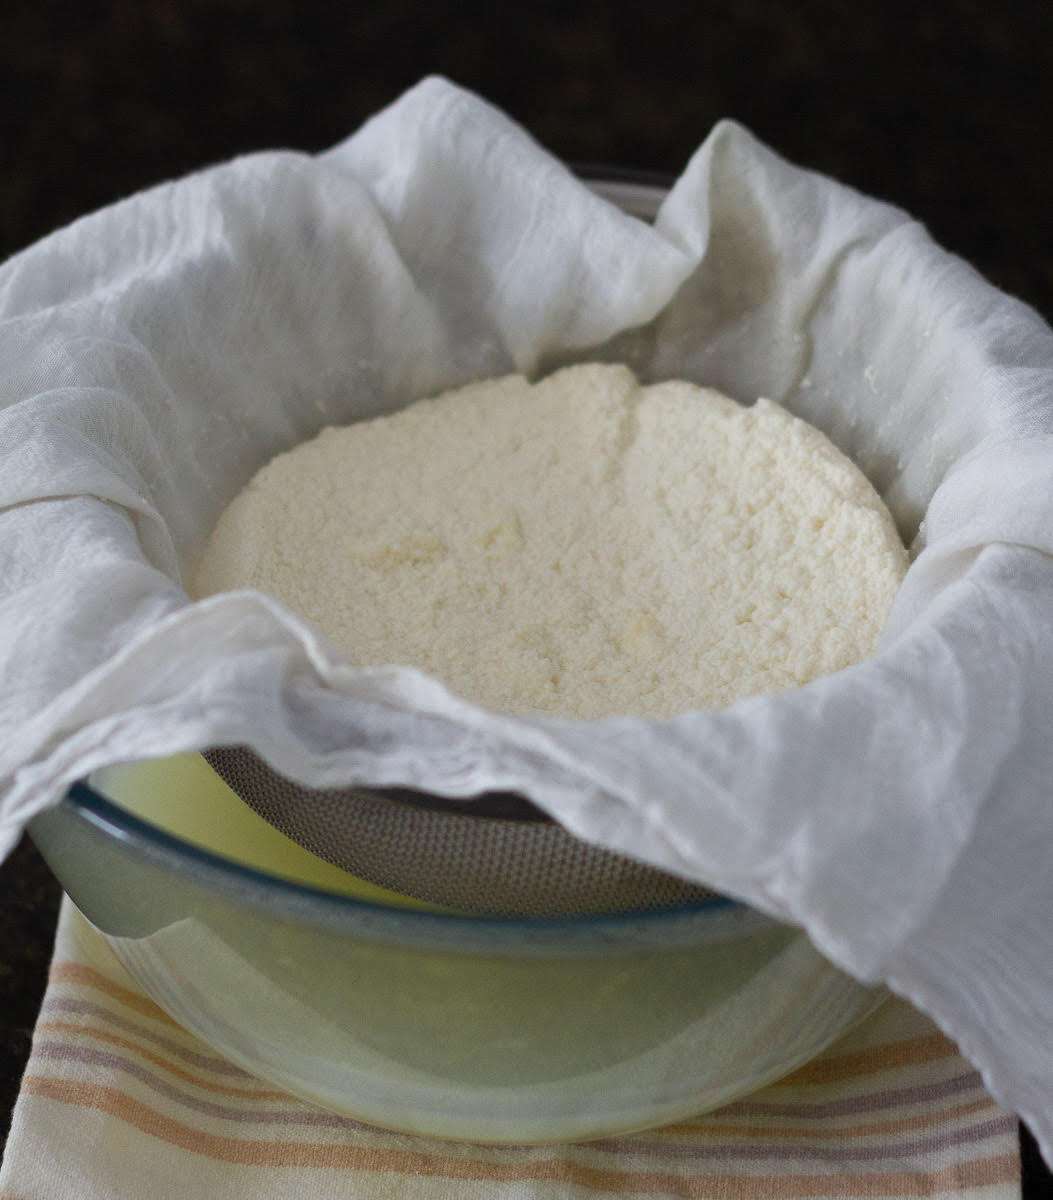
Step 4: Keep a sieve lined with muslin or cheesecloth ready. Pour the mixture over it and let it drain for about 15 to 20 minutes. I let mine sit undisturbed for half an hour, just because I had the time.
Step 5: While the mixture is still warm, gently squeeze the curds to remove any excess liquid.
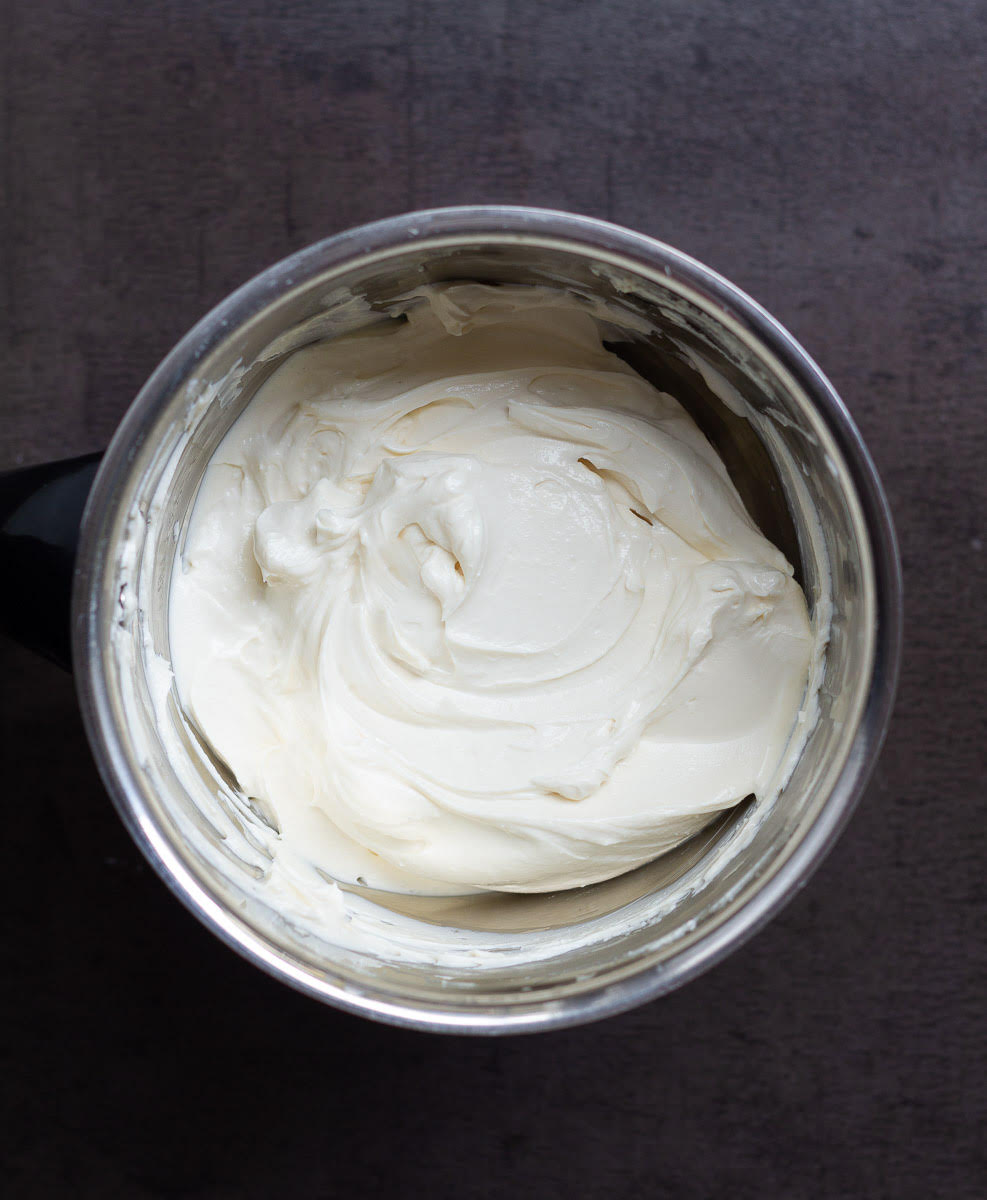
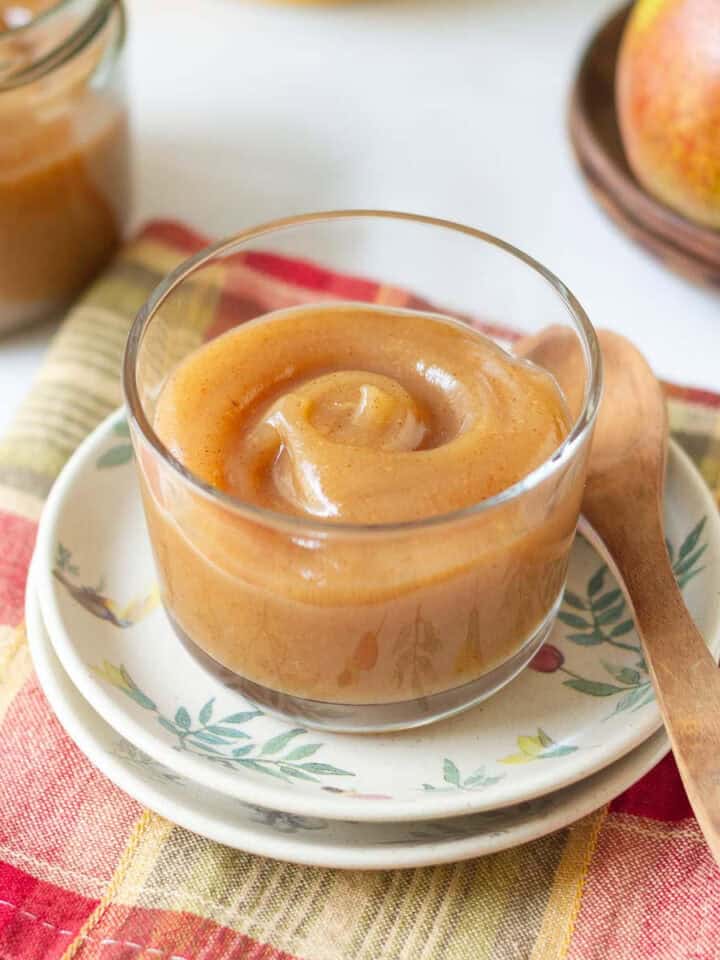
Step 6: Place the drained curds in your food processor, grinder, or mixer and pulse till you have rich, smooth, and creamy homemade cream cheese.
Final step: Adjust the taste by adding salt to the DIY cream cheese, and enjoy it fresh or store it.
Pro Tips
- Use a thick-bottom pan because it prevents the milk from getting burnt.
- Stirring frequently, but gently also deters burning.
- Don’t bring the milk and cream to a full rolling boil because too much heat makes the cream cheese grainy and gritty. Why? Because the protein in the milk gets denatured (read: insoluble).
- We are looking for a gentle simmer, about 80 °C - 90 °C (180°F - 200°F). It should get a little foamy and start to steam.
- Lemon juice/vinegar should be added only after the milk has reached a slow simmer.
- Depending on different brands of milk/ cream, more acid may be required to curdle the mixture.
- Full-fat milk and cream work the best here.
- UHT milk (ultrapasteurized) does not curdle properly. Regular, pasteurized milk should be used.
- Avoid vigorous stirring - this will break up the curds. Stir gently after adding the acid. And once the mixture curdles, turn off the heat and allow the curds to sit for a few minutes without stirring. This will help give bigger curds.
- If the cream cheese has a granular feel even after blending, add salt and blend it some more till it is almost velvety.
- Always store homemade cream cheese in an airtight container in the fridge, and it’s good for up to 2 weeks.
- Don't throw away the whey! You can drink it as-is or use it in place of water/ milk in your baking recipes. Use it in your stews and soups, or add it when you cook rice, beans, or lentils.
How To Use Cream Cheese
There are tons and tons of ways to use homemade cream cheese. The classic is obviously for cheesecake recipes (click that link for a roundup of the 15 best recipes). But there’s more to this divine spread, and I think of it as a blank canvas that I can experiment with endlessly.
- Make it into a dip
- Use it for sandwiches
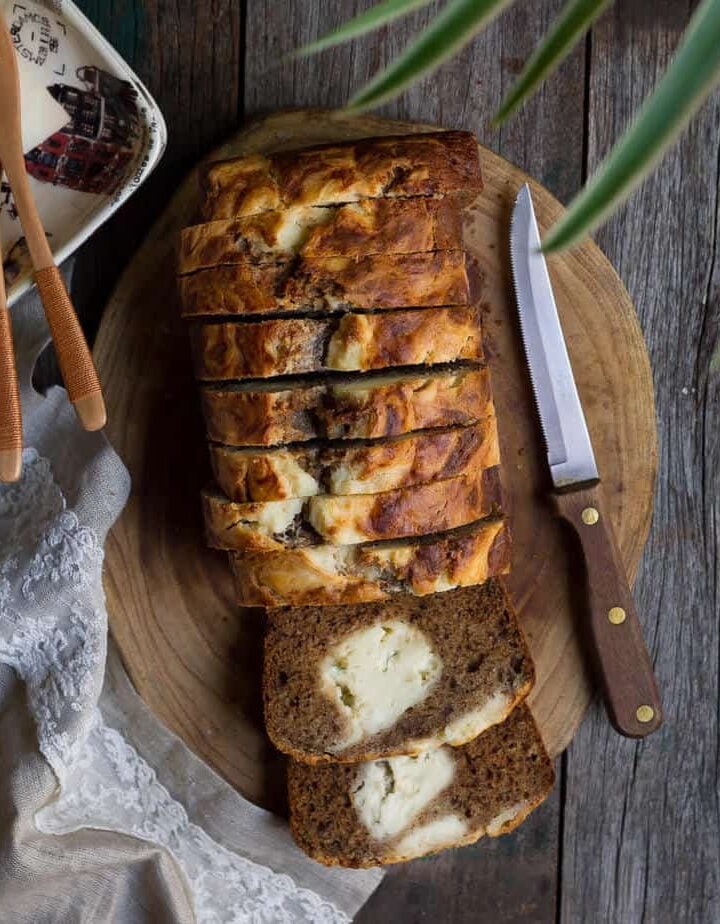
- Smear it on jalapeno cheddar bread or my easy everyday bread.
- Use it to make cream cheese frosting, like I did for my strawberry rolls recipe.
- Add dried or fresh herbs for more flavor
- Combine with crushed garlic, spices, or seasoning for a savory note
- Mix with cinnamon, sugar, blueberry, or strawberry preserves for a sweeter taste. Like I did in this delightful strawberry cream cheese rolls recipe!

📖 Recipe

Easiest Homemade Cream Cheese
Ingredients
- 2 cups Milk, full fat
- 2 cups Cream
- 1/2 tsp Salt
- 2-3 tbsp Lemon juice You can also use white vinegar
Instructions
- Combine the milk, cream, and salt in a heavy-bottom saucepan.
- Bring the mixture up to a gentle boil on medium heat, stirring continuously.
- Add the lemon juice, and keep stirring.
- Cook this mixture until it curdles and you get a greenish whey. This will take 3-4 minutes.Once the mixture curdles, turn off the heat and allow the curds to sit for a few minutes without stirring.
- Pour the mixture into a sieve lined with cheesecloth. Make sure the sieve is placed on top of a bowl to catch the whey.Save the whey for later use.
- Let the mixture drain well for 20-30 minutes.
- Transfer to a food processor and blend until you get a smooth, creamy cheese.If the mixture feels dryish, add some of the whey to make it softer and creamier.
- Taste and adjust for salt. You can add any herbs/ garlic/ spices if you want at this point.
- Transfer into an air-tight container and refrigerate. This will keep well for a week. Enjoy!
Video
Notes
- Use a thick-bottom pan because it prevents the milk from getting burnt.
- Stirring frequently, but gently also deters burning.
- Don’t bring the milk and cream to a full rolling boil because too much heat makes the cream cheese grainy and gritty. Why? Because the protein in the milk gets denatured (read: insoluble).
- We are looking for a gentle simmer, about 80 °C - 90 °C (180°F - 200°F). It should get a little foamy and start to steam.
- Lemon juice/vinegar should be added only after the milk has reached a slow simmer.
- Depending on different brands of milk/ cream, more acid may be required to curdle the mixture.
- Full-fat milk and cream work the best here.
- UHT milk (ultrapasteurized) does not curdle properly. Regular, pasteurized milk should be used.
- Avoid vigorous stirring - this will break up the curds. Stir gently after adding the acid. Once the mixture curdles, turn off the heat and allow the curds to sit for a few minutes without stirring. This will help give bigger curds.
- If the cream cheese has a granular feel even after blending, add salt and blend it some more till it is almost velvety.
- Always store homemade cream cheese in an airtight container in the fridge, and it’s good for up to 2 weeks.
- Don't throw away the whey! You can drink it as-is or use it in place of water/ milk in your baking recipes. Use it in your stews and soups, or add it when you cook rice, beans, or lentils.


Satoru says
This is an amazing recipe, yielded the perfect cream cheese everytime. Thank you!!!
Natasha Minocha says
Thank you so much for your wonderful feedback. So happy you enjoyed this!
Gayle E. Bell says
Why does this recipe not curdle? I see you apologizing to others that the recipe didn’t work, but did not provide any explanations as to why. I’ve never had an issue like this before…but it did not curdle.
Natasha Minocha says
Hi Gayle, thank you for trying this recipe and am sorry it didn't work out for you. Here are a few possible reasons:
1. The milk wasn't hot enough. We are looking for a gentle simmer, about 180 F - 200 F. It should get a little foamy and start to steam.
2. Adding the acid too soon. Lemon juice / vinegar should be added only after the milk has reached a slow simmer.
3. The lemon juice or vinegar was not enough. More acid may be required, depending on different brands of milk/ cream.
4. Full fat milk and cream work the best here.
5. UHT milk (ultrapasteurized) does not curdle properly. Regular, pasteurized milk should be used.
6. Vigorous stirring. Please stir gently. You can also try this for bigger curds - Once the mixture curdles, turn off the heat and allow the curds to sit for a few minutes without stirring.
I hope these points will be helpful to you and you will give cream cheese making another chance!
Melodie de Witt says
Sorry doesn't work.. just wasted all my expensive ingredients!! Very sad...😔
Natasha Minocha says
I'm so sorry this recipe didn't work out for you. Thank you very much for trying it though.