
With just 2 ingredients, you can have a bottle of quality homemade vanilla extract to elevate all your baking! Vanilla extract is a magical ingredient that has the ability to enhance other ingredients and helps create a flavourful base. Unfortunately, it can be expensive and difficult to come by as a home baker. So why not make your own?
With this recipe, you will see how easy it is to make on your own and experience the difference that pure vanilla can bring to your food.
As a child, I never understood people who would choose vanilla flavoured anything when there was chocolate or fruity options. Why waste that special ice cream outing on vanilla when there is fudgy-brownie-chocolate as an option. Who would pick a plain, non exciting vanilla cake when there is black forest topped with cherries on the table?
You get the gist, in my mind, more = better.

When I started getting older and baking on my own, I discovered the unimaginable - “plain” can be extraordinary. A simple scone made using real vanilla could be a star. Vanilla tea cakes were amazing! This revelation came not only from more mature taste buds but getting to taste pure vanilla essence that my parents would keep stocked at home.
I had the advantage of food-loving parents who would make vanilla investments on my behalf. It was when I moved out and baked using store-bought vanilla for the first time that I actually tasted the difference between imitation versions. Homemade vanilla then became a necessity, unless I found really really good commercial versions.
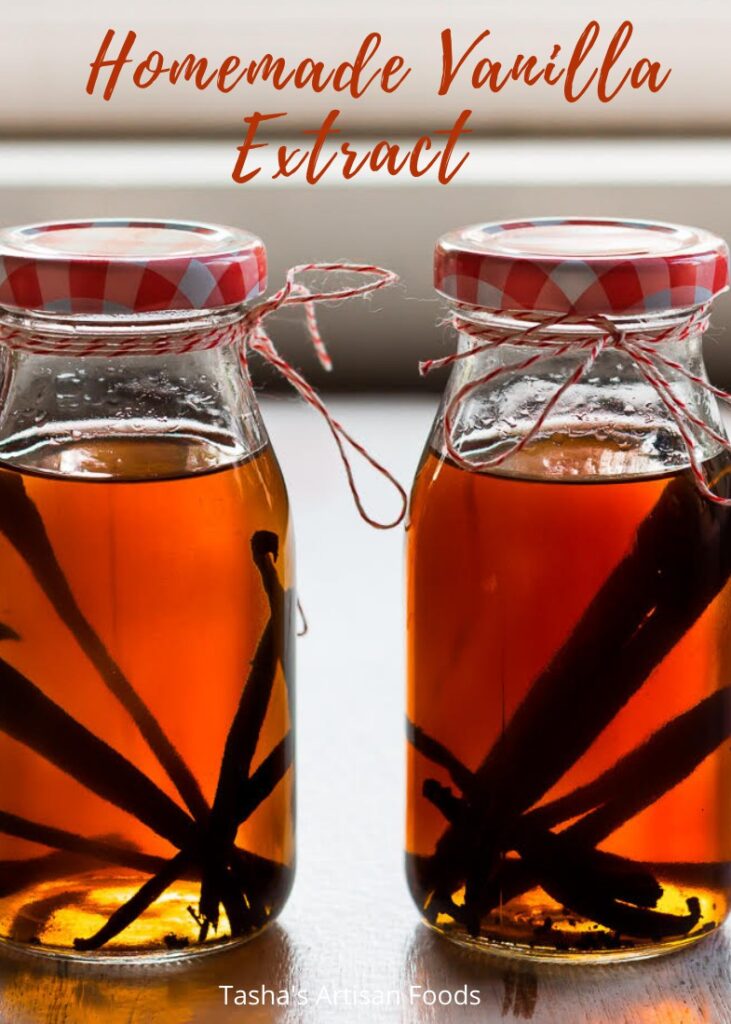
Homemade Vanilla Extract vs. Store Bought Vanilla Essence
Vanilla extract is a pure mixture made from soaking real vanilla pods in alcohol. Vanilla then envelops the liquid it is in - the mixture soaks up it’s flavour. That is the vanilla all the baking recipes we see calls for.
Vanilla essence is a synthetic version, one you can find more easily and that tends to be cheaper. It is usually a chemically produced vanilla flavour, which mimics extract in form and function.
Having tried both multiple times, I can say without a doubt that there is a difference between the pure vanilla in your food and a synthetic copy. My son experienced this for the first time recently when he had gourmet vanilla ice cream after only having tried the standard convenience store kind. Pure vanilla adds a full-bodied quality to any food it is used in. It can be intense or subtle but has a strong presence that vanilla essence just can’t manage. At least in my experience!

Making Homemade Vanilla Extract
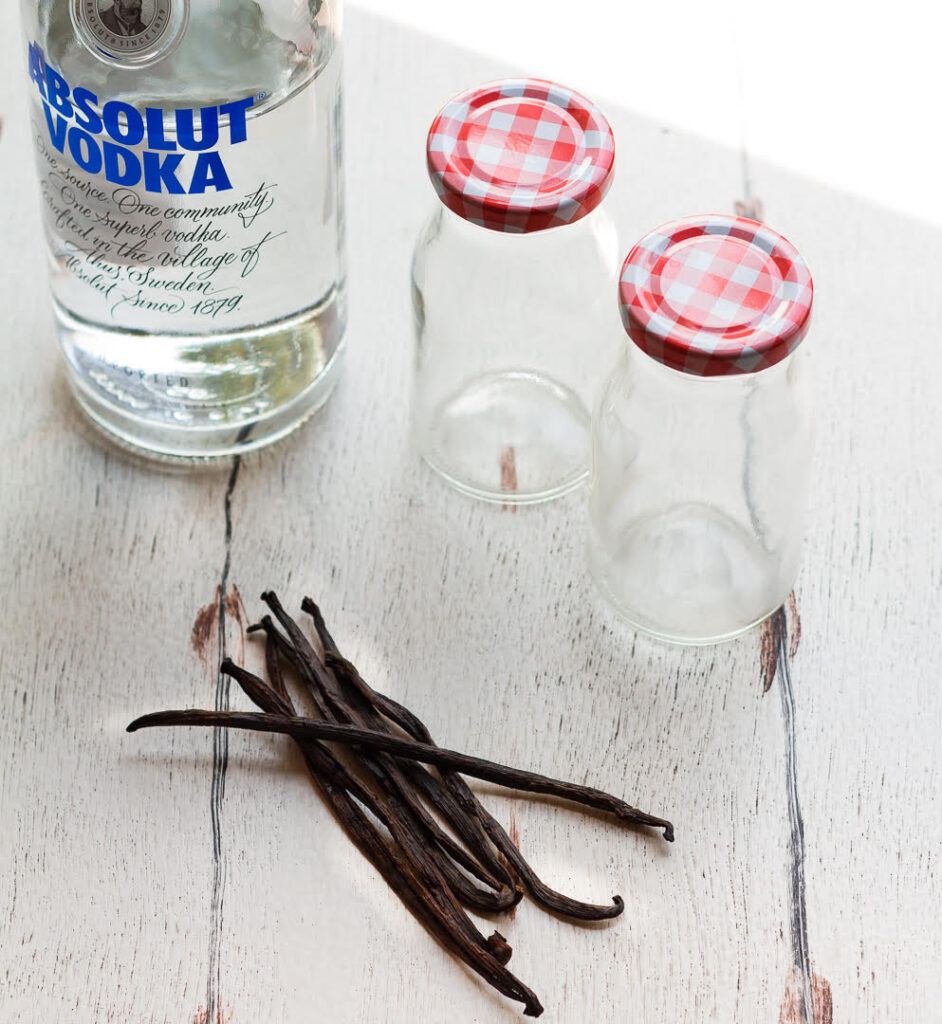
You’ll need just two ingredients - vanilla beans and vodka.
The vanilla beans are where all the magic comes from, so buy the best you can find. I get some great vanilla beans in stores near me, but if you can’t find any then look online! I use vanilla that is grown in South India - I’m lucky enough to have friends that bring me a regular supply! However, I’ve ordered some online too - Grade A Madagascar Pods are great. I use 3-4 beans per bottle.
The alcohol you use does not need to be as fancy - even the basic stuff will do just fine. All you need to make sure is that it is 80 proof, which means the alcohol content is at least 40%.
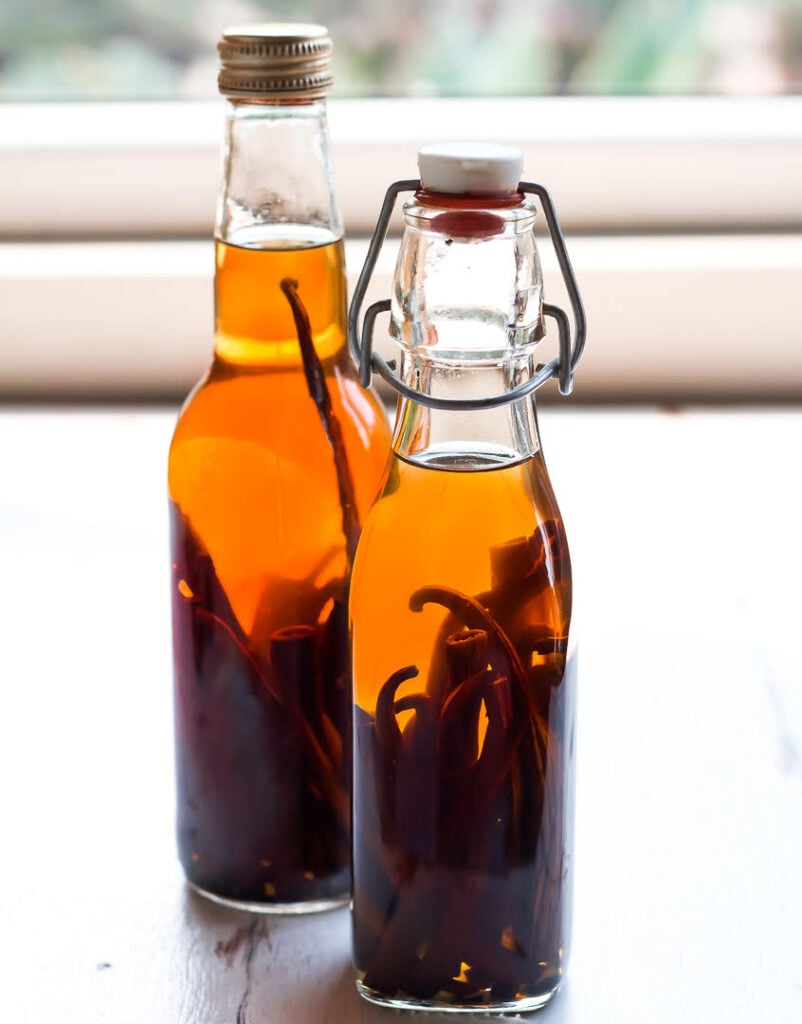
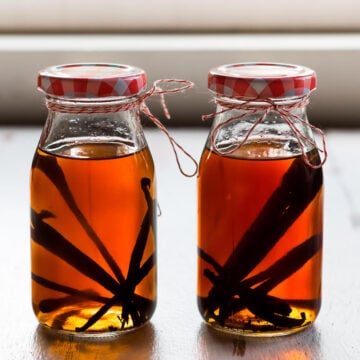
For storing the extract, use glass bottles/jars with a tight seal.
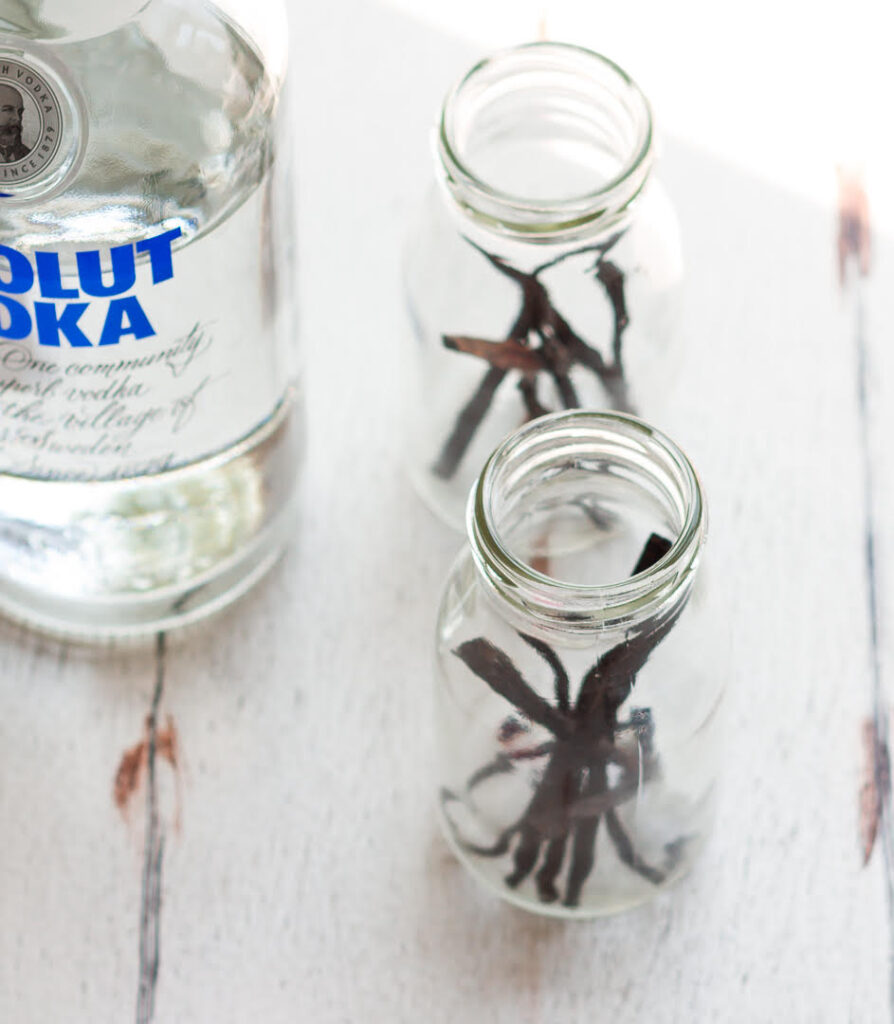
Prep your vanilla beans - cut them in half lengthwise. Scrape out the vanilla flecks inside with the knife and add them straight into your clean bottle.
Add in the cut vanilla beans too.
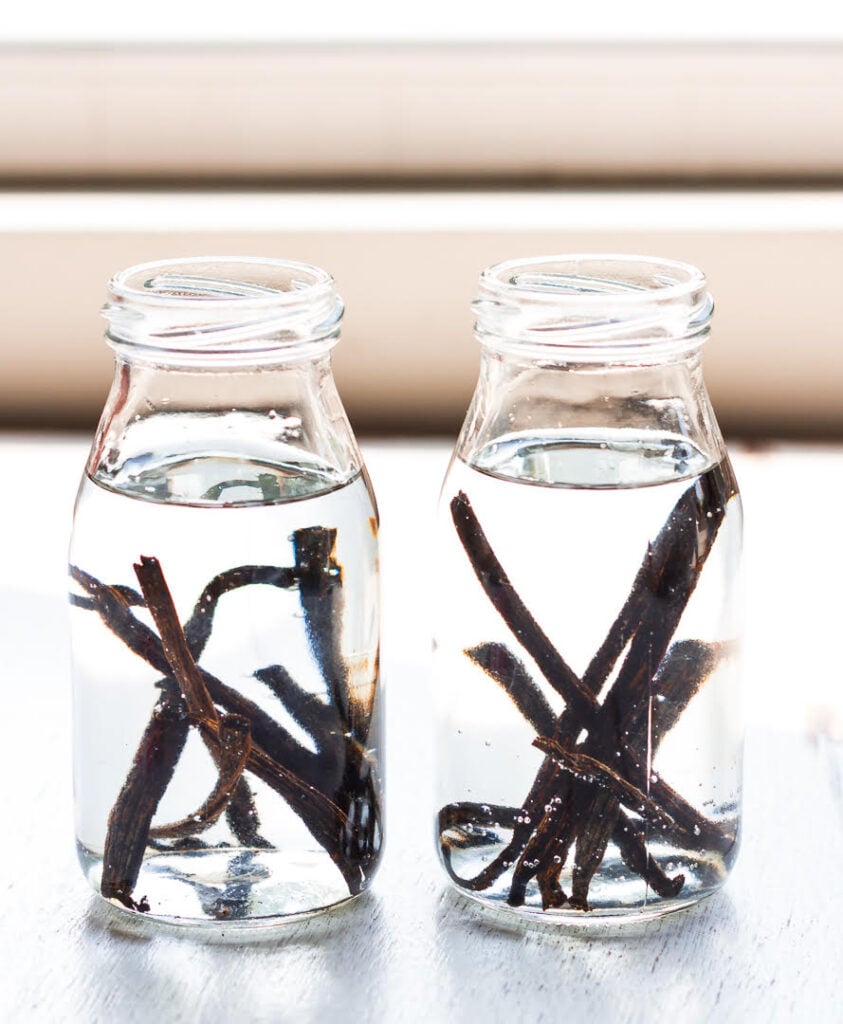
Fill your glass bottle/jar with vodka. Or Rum. Make sure the beans are submerged in the alcohol.
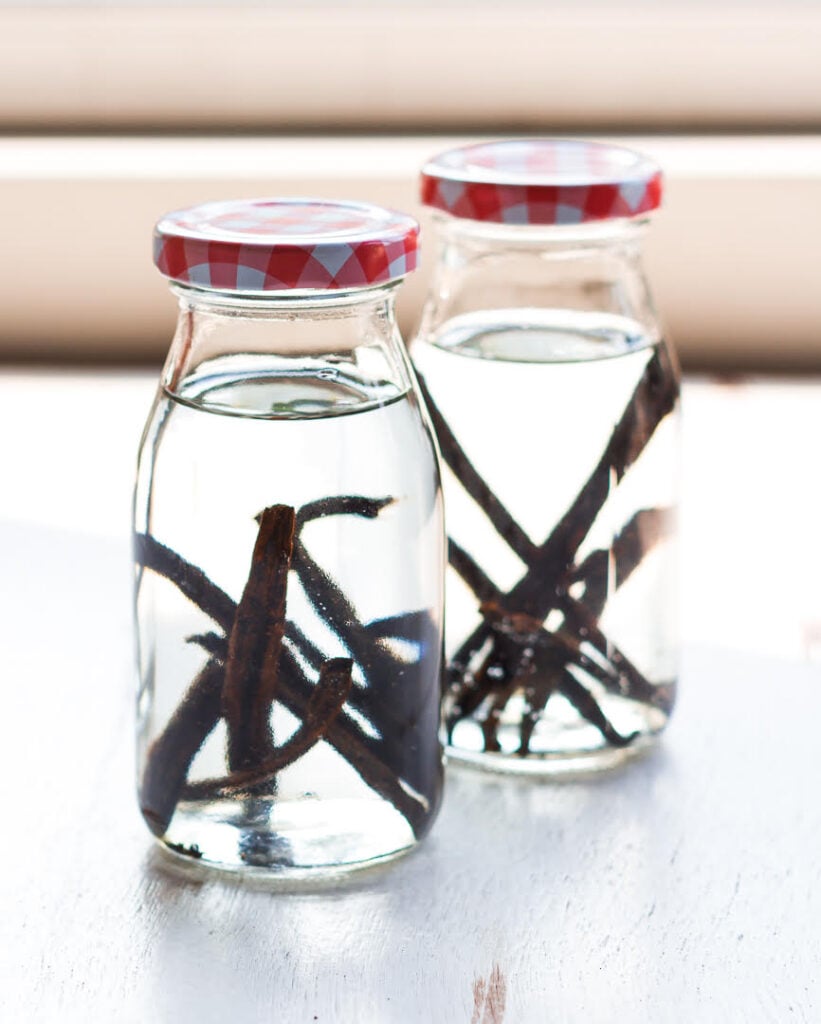
Seal the bottle and store it in a cool, dark spot.
Voila - you’re done!
Aging the Homemade Vanilla Extract
This is the only tricky part of making your own vanilla - patience is key. Once you prep the bottles, the mixture will need at least 6 weeks for the vanilla to steep and create a deep flavor.
I have read that it can be good to use in 4 weeks when I first started out, but at least in my experience that was not enough for the vanilla concentration I wanted.
You can even let it sit longer - 3 months or 6 months. The longer you wait, the stronger the vanilla extract will be.
A bonus is that you do not have to worry about the longevity of this mixture - once it’s ready and you’ve started using it, the extract has a shelf life of up to 5 years.
Another fun fact - once you use up the extract, just top the same beans with more alcohol. Any beans leftover from a recipe can go straight into the bottle. I do this throughout the year and always have magnificent vanilla extract on hand.
I hope that this helps you start a homemade vanilla collection of your own. Making your own ingredients is always a fun project and with this, you really get a bang for your buck! Plus, it makes for a fabulous gift. All the bakers in your life will be eternally grateful to you!
Leave any questions you have about the process below.
📖 Recipe
Homemade Vanilla Extract
Equipment
- 2 clean glass bottles with lids
Ingredients
- 8 Vanilla Beans
- 2 cups Vodka You can use Rum too.
Instructions
- Wash and sanitize your bottles. Dry them well.
- Cut the vanilla beans in half lengthways.
- Scrape out the vanilla flecks inside with a knife.
- Add the beans and the flecks to the clean bottles.
- Pour over the vodka. Make sure the beans are fully submerged.
- Cover tightly with the lid and let this steep for at least 6 weeks. And do shake the bottle occasionally.
Nutrition


Lisa says
How do you know when the extract is ready? Mine have been soaking now for about 8 weeks and the color is very light compared to store bought extract.
Natasha Minocha says
Hi Lisa, 8 weeks is plenty of time for the vanilla extract. I think sometimes it's the kind of vanilla bean that's used that can cause a lighter color. I have 2 bottles of really dark colored one and 2 of rather light!
Try adding to a recipe and see if you get the flavor, else add a couple more vanilla pods to the bottle.
Hope this helps.
Shanaya says
Could you please share a ratio of alcohol (in ml) to No of Vanilla beans i need to make Vanilla extract ! I am a newbie and curious to make one! Thanks a lot for the info 🙂
Natasha Minocha says
Hi Shanaya, you can start with 4 vanilla beans and a cup of vodka. There is no problem if you add more beans. The important thing here is to make sure your beans are completely submerged in the alcohol.
Hope this helps. Thank you so much for following along! 🙂
Jenifer Nichols says
Hi ,do you have a link for the bottles with the red and white checkered lids?
Natasha Minocha says
Hi Jenifer, unfortunately, I don't. I had bought these from a home store close to where I live. 🙂