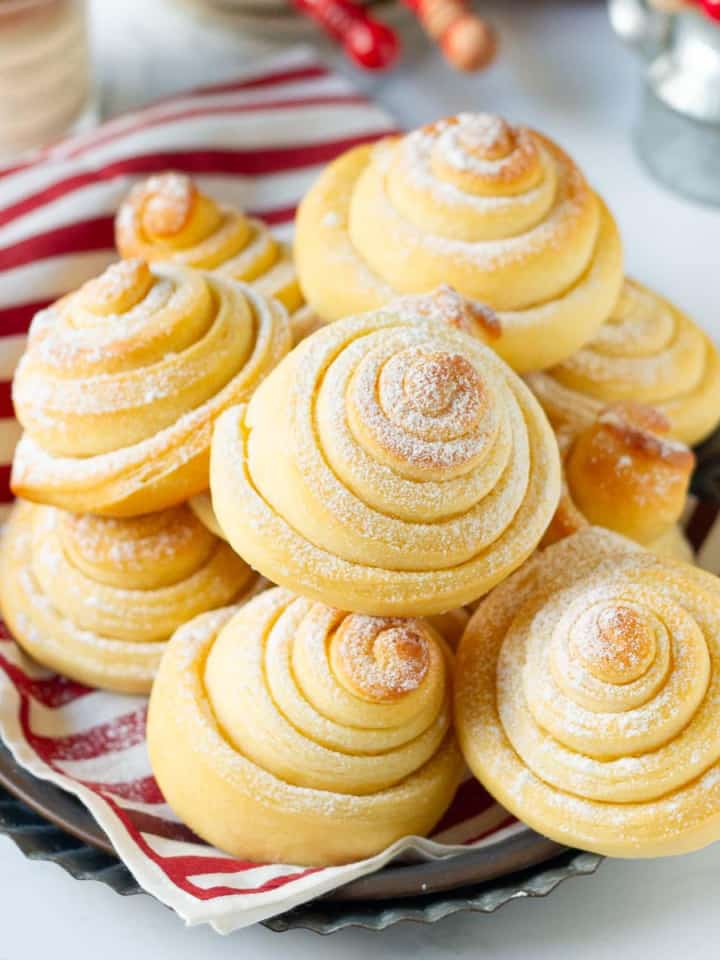
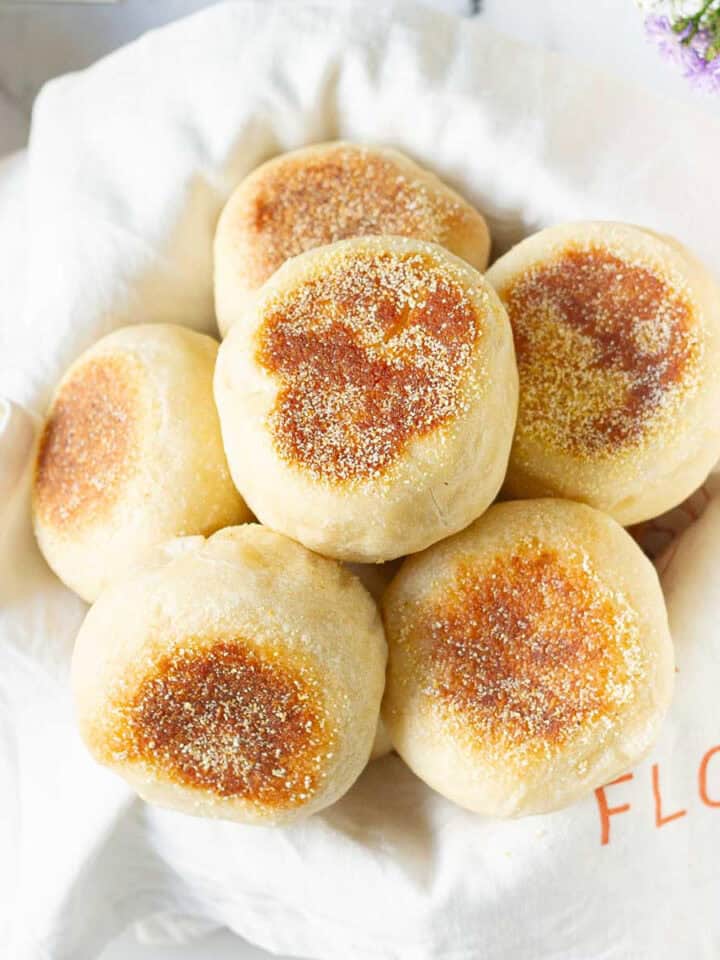
Salted butter rolls, also called shio pan bread, are adelicious treat. Shaped like croissants, they are soft and fluffy inside with the crispiest crust you can imagine, all full of buttery goodness!
I first saw salted butter rolls in Korean food vlogs, and when I found them at a local Korean bakery, I had to try one. After tasting the sea salt bread, I knew I had to make it at home.
After a lot of experimenting, I found a salted butter rolls recipe I love. It's adapted from South Korean YouTuber and blogger Mukgling.
Salted butter rolls are a popular bakery item in Japan and South Korea. They’re buttery and soft inside and crispy like a baguette outside. The name "shio pan" means "salt bread" in Japanese, highlighting the key ingredient that makes these rolls unique.
And that’s what sets these rolls apart from other dinner rolls or breads—the log of butter tucked inside the dough. As the rolls bake, the butter inside melts and infuses the bread with its rich, savory goodness.
A quick note: When the butter melts, it will spill over on the tray, leaving the center of the roll hollow. That’s normal. Don’t panic. It just makes the bottom of the rolls crisp and crunchy.
Why You'll Love This Recipe
These rolls are soft, golden, and packed with rich, buttery goodness. Each bite melts in your mouth with just the right touch of salt, pure comfort food bliss!
These are so good for breakfast, slathered with jam for tea time, or served warm with soups and curries - these rolls fit into every meal!
This recipe is easier than you think! Simple steps, basic ingredients, and a foolproof process make it totally doable, perfect even for beginners!
These salt bread rolls are so addictive and easy to make that they will become your go-to for any occasion!
Reader Love ❤️
Thank you Natasha for sharing your amazing recipe.Made Salted butter rolls this evening...wow... - Genny
I went to Korea in the Spring and had some amazing salt bread! I was missing it and this recipe came out amazing! - Victoria
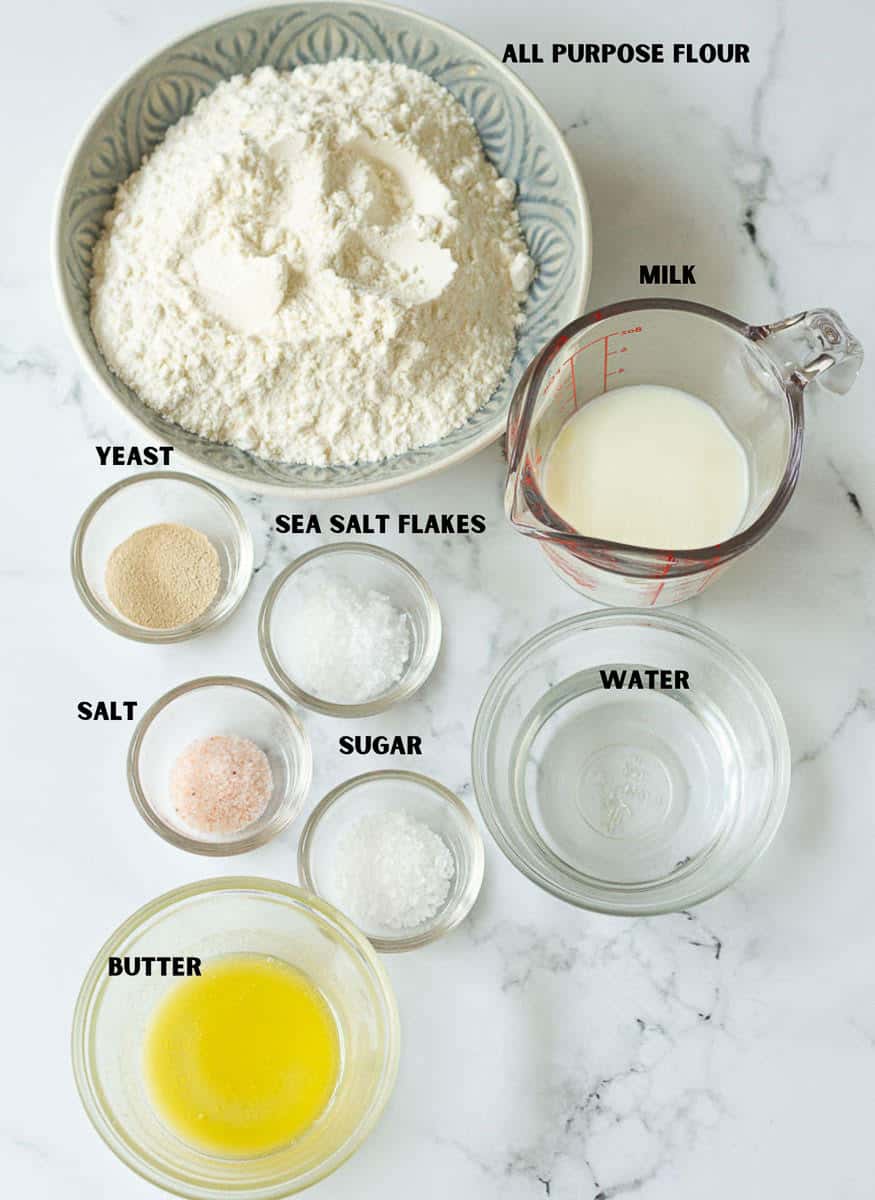
Recipe Ingredients
Water (Lukewarm)
Milk (Lukewarm)
Yeast (Dried active)
Flour (All-purpose)
Salted Butter (frozen)
Salted Butter (melted)
Sugar
Salt
Sea Salt Flakes
How To Make Salt Butter Rolls
Step 1: In a large bowl, combine water, milk, and yeast. Stir well.
Step 2: Whisk in the sugar, salt, and melted butter.
Step 3: Now add the flour and mix well using a spatula or your hands. The dough will be soft and slightly sticky to the touch.
Step 4: Cover the bowl and let the dough rest for 50 minutes.
Step 5: After 50 minutes are over, it's time for the first fold. Bring a quarter of the dough over to the center. Repeat 3 more times, with each quarter of the dough.
Step 6: Cover the bowl again and let the dough proof for 1 hour or until doubled in size.
Step 7: Gently deflate the dough and transfer it to your work surface.
Step 8: Divide the dough equally into 6 pieces, approximately 70 grams each.
Step 9: Roll each dough piece into a ball and place the dough balls on a parchment-covered baking tray. Cover the tray with plastic wrap or a damp kitchen towel and let the dough balls rest for 20 minutes.
Step 10: Preshape - Roll each dough ball into a teardrop shape. Place on the tray, cover with plastic wrap or a damp kitchen towel, and rest for 30 minutes.
Step 11: Using a rolling pin, roll out each dough into a long triangle, about 18" long and 3"-3.5" wideat the base.
Step 12: Place a frozen log of butter on the wide end of the triangle and start rolling the dough over the butter so it's completely covered with the dough, then keep rolling the dough until the tapered end of the dough. Repeat with other dough pieces.
Step 13: Place the shaped rolls on the baking tray, cover them with plastic wrap or a damp kitchen towel, and place themin a draft-free place for 1 hour or until the rolls are puffy.
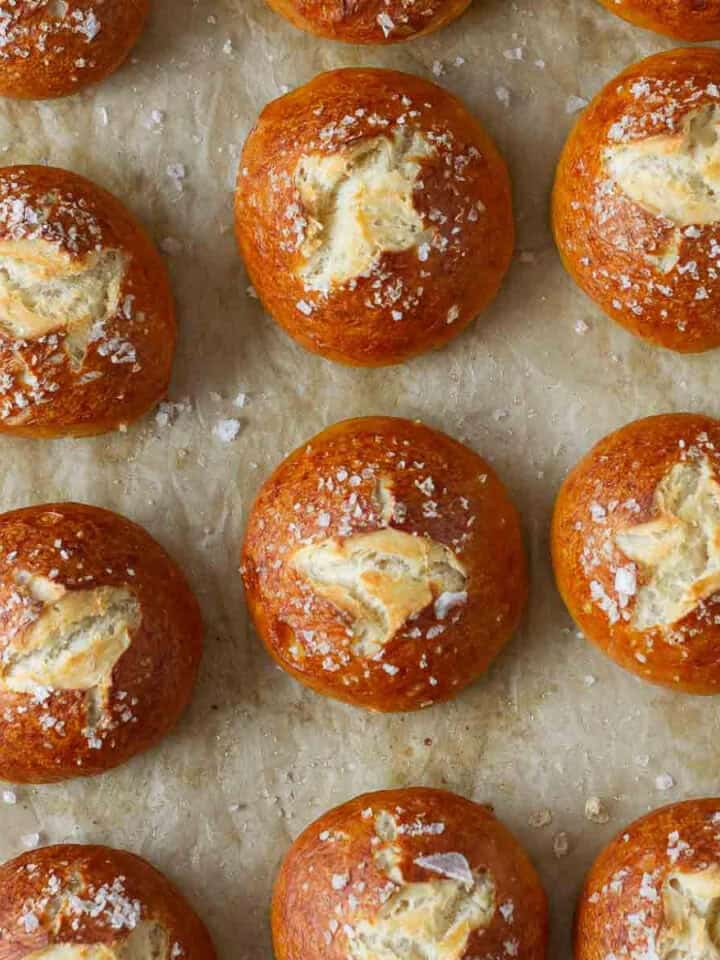
Step 14: When the rolls are puffy, spray them evenly with water, sprinkle some sea salt flakes on top, and bake for 20 minutes or until golden brown.
Step 15: Some of the butter would have melted out onto the baking sheet. Use a pastry brush to spread this butter on the rolls.
Step 16: Transfer the rolls to a cooling rack and allow them to cool for 15 minutes before digging in!
Pro Tips
Make sure the logs of butter you place in the rolled-out triangle are frozen. This ensures the flaky buttery texture these rolls are popular for.
Each log of butter should be 10 grams (2.5” wide). After slicing, freeze them for a couple of hours so they’re frozen solid.
Spray the puffed-up salt bread rolls with water before baking. This will give you a crispy crust.
For extra crispyshio pan bread, toss a cup of ice in the bottom tray of your preheated oven right when you slide in the rolls.
When the butter melts, it will spill over on the tray, leaving the center of the roll hollow. This will make the bottom of the rolls crisp and crunchy, so it's all good!
Though cup measurements are very convenient, this recipe for salted butter rolls needs accuracy. So, do use a kitchen scale.
How To Serve
Japanese salt bread is fantastic, fresh out of the oven. The warm, crispy exterior and the melt-in-your-mouth, buttery interior is THE experience you want. Want to make more out of these buttery rolls?
Sandwiches: The sturdy and tender texture holds up well to a variety of fillings: ham, cheese, roasted vegetables, fresh mozzarella, and pesto.
Recipe FAQS
Can you make salt bread rolls ahead of time?
Yes, you can! After the first fold (step 5 in my shio pan bread recipe), you can refrigerate the dough. The next day, when you’re ready to bake, continue from step 6 of the recipe.
What kind of butter should be used for salted bread rolls?
This recipe uses salted butter. I used Amul. Whatever is easily available to you will do here. Just in case you’re feeling fancy, switch to creamy European-style butter.
How to store Japanese Rolls?
These rolls are best eaten the same day. Any leftovers should be wrapped (or kept in an airtight container) and refrigerated. Reheat in an oven or air fryer. Don’t use a microwave, as it will make the rolls soggy.
Half the joy of cooking is sharing it with others.That’s why I’m always eager to hear from you. So go right ahead & drop a comment or reach out on Instagram, Pinterest, YouTube, or Facebook. I hope you love these salted butter rolls as much as we do!
Salted butter rolls, also called shio pan bread, are adelicious treat. Shaped like croissants, they are soft and fluffy inside with the crispiest crust you can imagine, all full of buttery goodness.
60gmsSalted butter, cut into small logs about 2.5" wide and frozen
Instructions
In a large bowl, combine water, milk, and yeast. Stir well.75 gm Water, lukewarm, 84 gm Milk, lukewarm, 1 tsp Dried active yeast
Whisk in the sugar, salt, and melted butter.1.5 tsp Sugar, 1 tsp Salt, 1 tbsp Salted butter, melted
Now add the flour and mix well using a spatula or your hands. The dough will be soft and slightly sticky to the touch.240 gm All-purpose flour
Cover the bowl and let the dough rest for 50 minutes.
After 50 minutes are over, it's time for the first fold. Bring a quarter of the dough over to the center. Repeat 3 more times, with each quarter of the dough.
Cover the bowl again and let the dough proof for 1 hour or until doubled in size.
Gently deflate the dough and transfer it to your work surface.
Divide the dough equally into 6 pieces, approximately 70 grams each.
Roll each dough piece into a ball and place the dough balls on a parchment-covered baking tray.Cover the tray with plastic wrap or a damp kitchen towel and let the dough balls rest for 20 minutes.
Now we preshape:Roll each dough ball into a teardrop shape. Place on the tray, cover with plastic wrap or a damp kitchen towel, and rest for 30 minutes.
Using a rolling pin, roll out each dough into a long triangle, about 18" long and 3"-3.5" wide at the base.
Place a frozen log of butter on the wide end of the triangle and start rolling the dough over the butter so it's completely covered with the dough, then keep rolling the dough until the tapered end of the dough.Repeat with the other dough pieces.60 gms Salted butter, cut into small logs about 2.5" wide and frozen
Place the shaped rolls on the baking tray, cover with plastic wrap or a damp kitchen towel, and place in a draft-free place for 1 hour or until the rolls are puffy.
Meanwhile, preheat your oven to 200 C / 392 F.
When the rolls are puffy, spray them evenly with water, sprinkle some sea salt flakes on top, and bake at 200 C / 392 F for 20 minutes or until golden brown.
Some of the butter would have melted out onto the baking sheet. Use a pastry brush to spread this butter on the rolls.
Transfer the rolls to a cooling rack and allow to cool for 15 minutes, then enjoy!
Video
Notes
Make sure the logs of butter you place in the rolled-out triangle are frozen. This ensures the flaky buttery texture these rolls are popular for.
Each log of butter should be 10 grams (2.5” wide). After slicing, freeze them for a couple of hours so they’re frozen solid.
Spray the puffed-up salt bread rolls with water before baking. This will give you a crispy crust.
For extra crispy shio pan bread, toss a cup of ice in the bottom tray of your preheated oven right when you slide in the rolls.
When the butter melts, it will spill over on the tray, leaving the center of the roll hollow. This will make the bottom of the rolls crisp and crunchy, so it's all good!
Though cup measurements are very convenient, this recipe for salted butter rolls needs accuracy. So, do use a kitchen scale.
Oh that's amazing Victoria! I'm so so thrilled to hear this! I has seen this recipe on a couple of Korean vlogs, and I've been obsessed with it ever since. Glad to know this is close to the original! Thank you for making my day xx


Genny says
Thank you Natasha for sharing your amazing recipe.Made Salted butter rolls this evening...wow....
Natasha Minocha says
How wonderful! These are one of my favourite rolls and I'm so happy you enjoyed them. Thank you for your lovely feedback, really appreciate it . xx
Victoria says
I went to Korea in the Spring and had some amazing salt bread! I was missing it and this recipe came out amazing!
Natasha Minocha says
Oh that's amazing Victoria! I'm so so thrilled to hear this! I has seen this recipe on a couple of Korean vlogs, and I've been obsessed with it ever since. Glad to know this is close to the original! Thank you for making my day xx