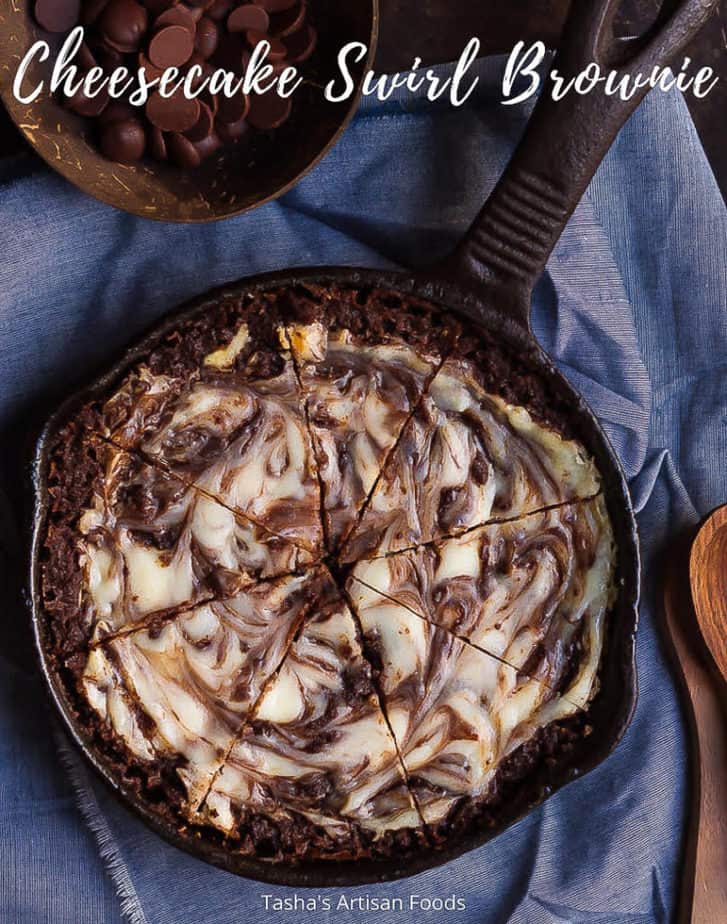
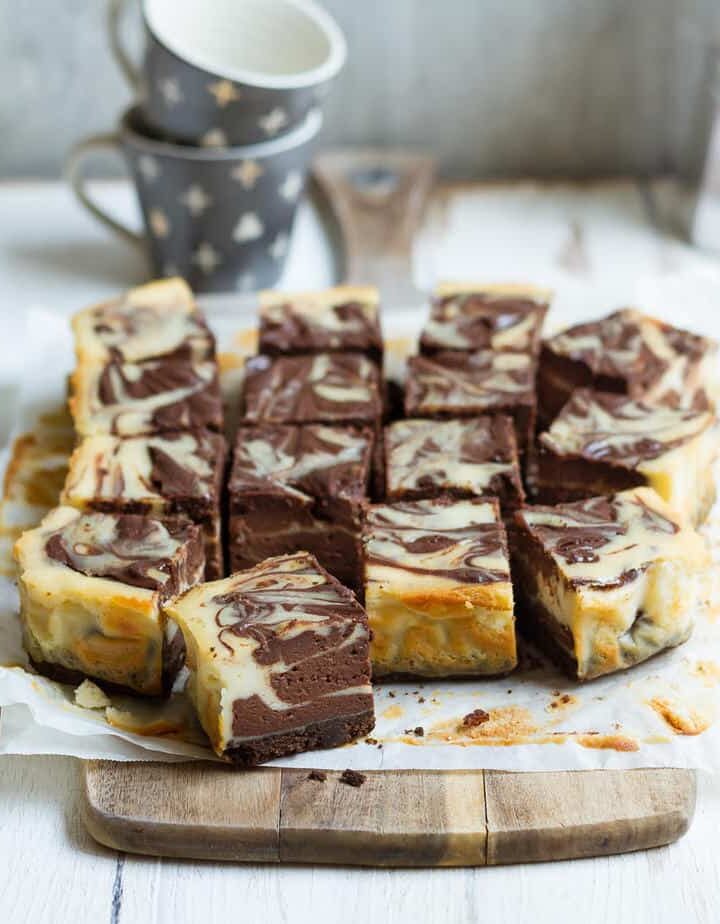
Dense, fudgy, and deliciously rich with chocolate, brownies are a clear favorite at my home. Although they often tussle with the satisfying, scrumptious, and velvety cheesecake to win the dessert spot after dinner. So, I did what any other person would do – combined the two indulgent treats to make one irresistible cheesecake swirl brownie.
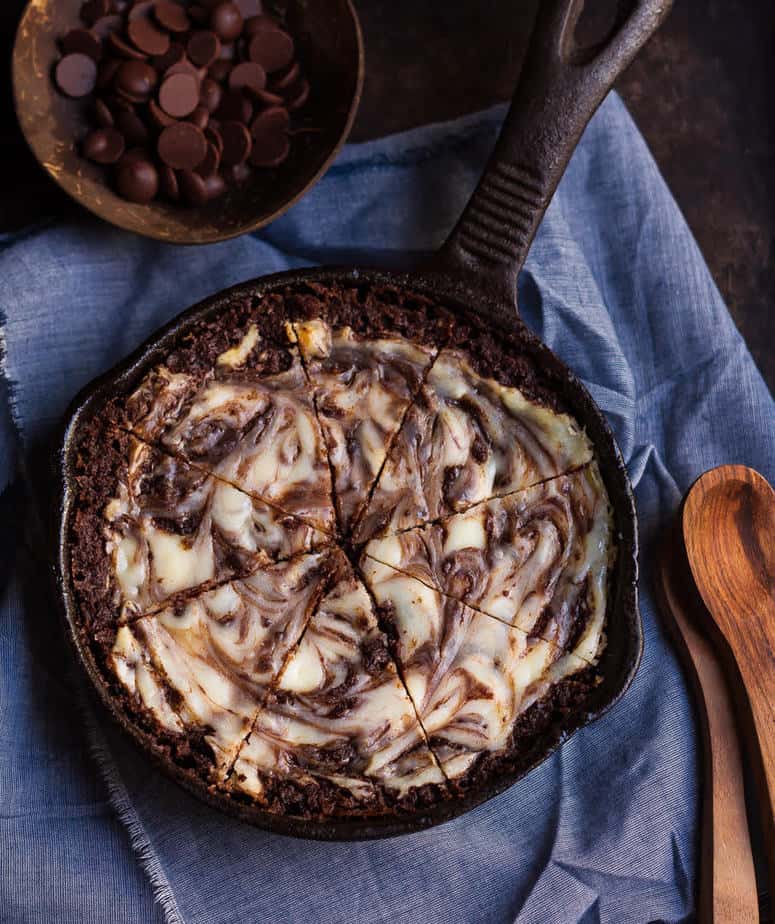
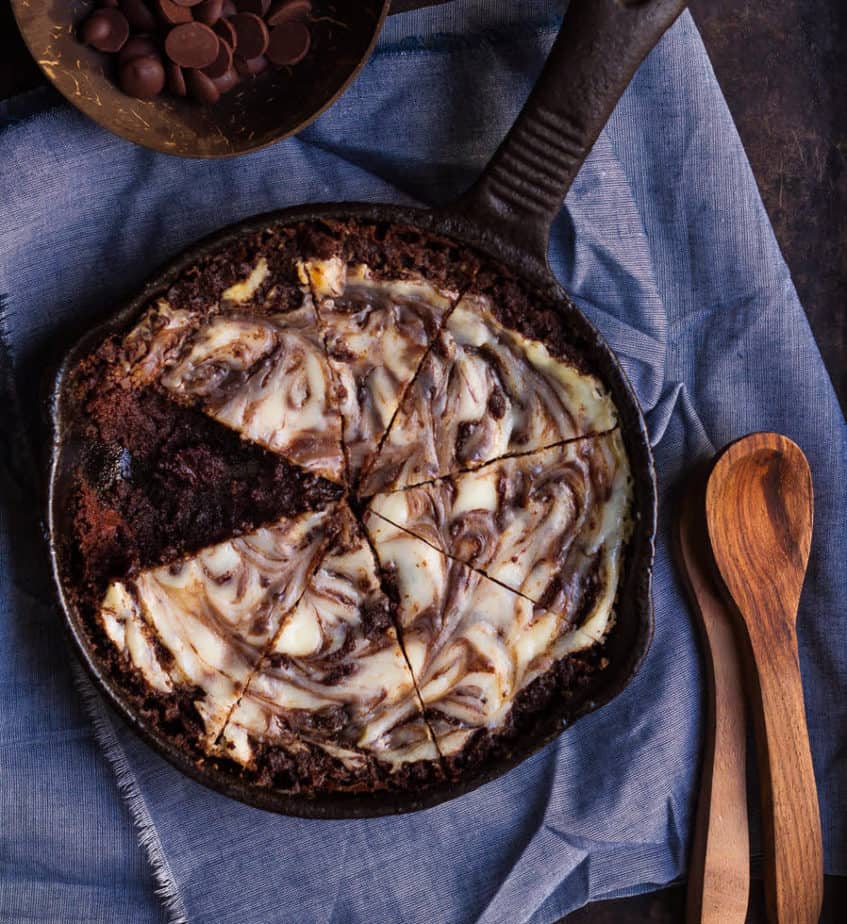
Made in a little skillet, they are deliciously chewy, with the cream cheese brightening the flavor with a hint of tang. Super quick and fuss-free to make the mini dessert is too cute for words.
Jump to:
How to make a cheesecake swirl brownie?
I have a teeny cast iron skillet at home. It’s barely 6 inches. But for this recipe, it's good enough to make a dessert that four of us can thoroughly enjoy without overindulging.
If you don’t have a skillet, bake the cheesecake brownie in individual ramekins or a 6-inch round or square cake tin.
Start with the cheesecake topping.
- Whisk cream cheese and icing sugar till you have a smooth mixture.
- You may need to add a couple of tablespoons of milk to get the mixture going.
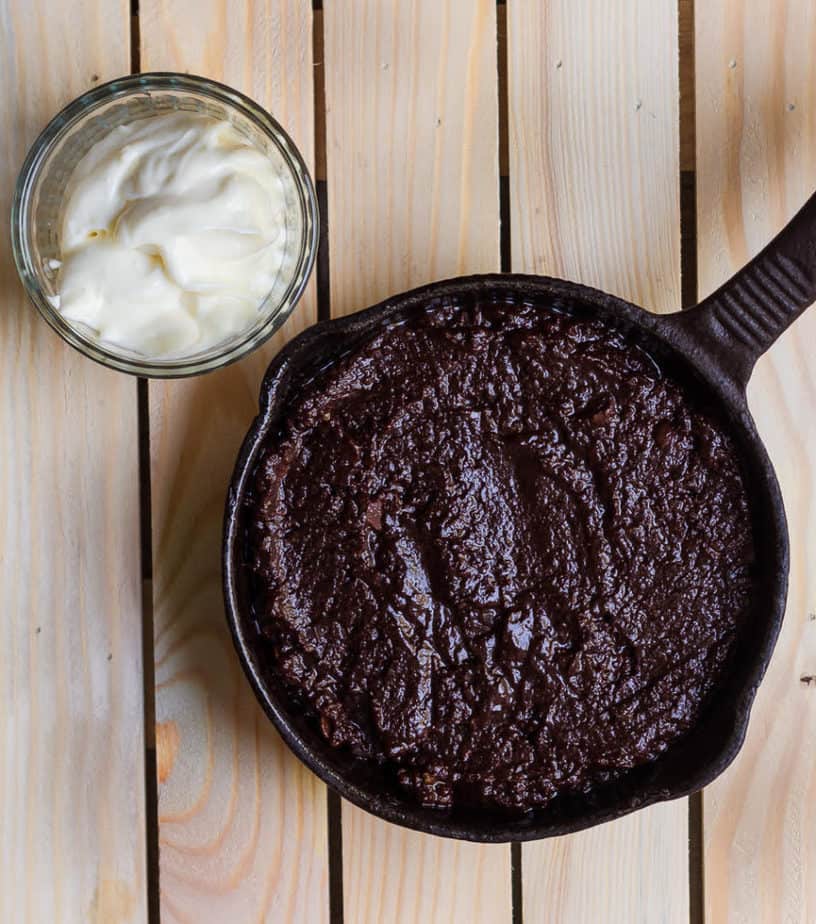
- Slide the cream cheese mixture in the refrigerator to chill while you prep the brownie base.
Make the brownie base
- Begin with combining flax powder and water in a 1:3 ratio to make the flax egg.
- Let it rest for 5 to 10 minutes till it's thick and goopy and ready to be used.
- Meanwhile, melt coconut oil and chocolate chips in a double boiler.
The double boiler gives you better control over the temperature and makes sure that your chocolate is not burnt. For how to make a double boiler (and why), hop over to my peanut butter brownie recipe.
- When the chocolate chips are just about melted, take them off the stove.
- Into this glossy, smooth mixture, stir in sugar.
- Whisk well till the sugar dissolves from the residual heat.
- Then mix in the flax egg, vanilla extract, all-purpose flour, and cocoa powder.
- I added a fistful of chocolate chips right at the end for that decadent chocolate indulgence.
Baking the cheesecake skillet brownie
- Spoon the brownie batter in your greased skillet (ramekin or cake).
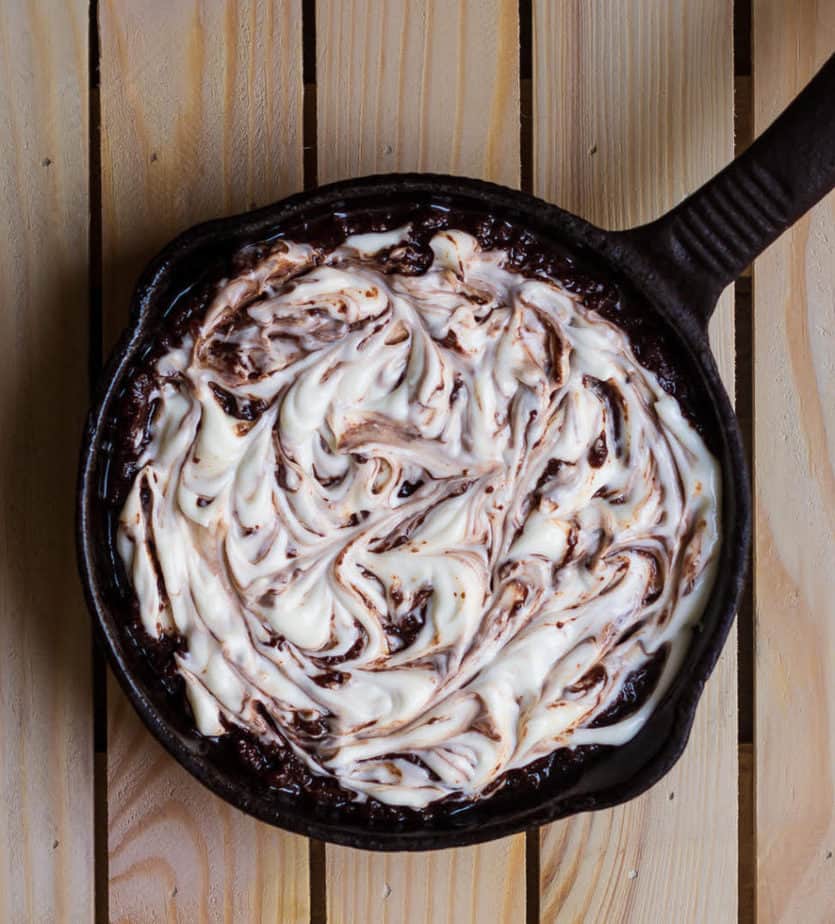
- Spoon the cheesecake filling on top of the batter.
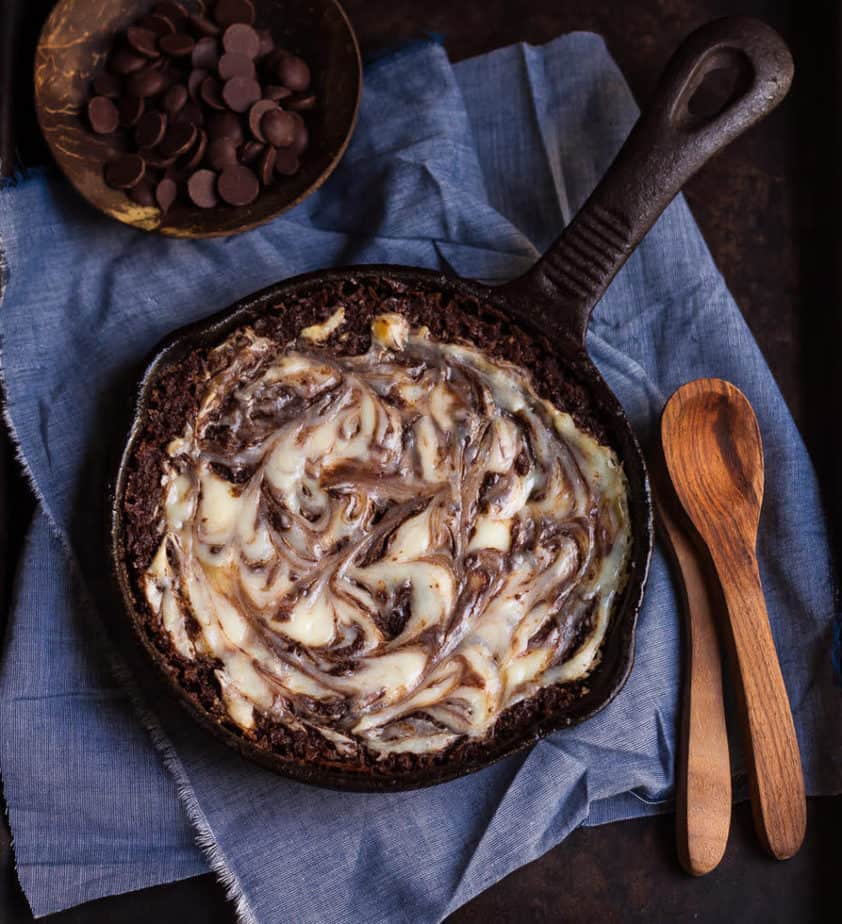
- Now with a wooden skewer, create swirls to get that visually striking marbled effect.
- Bake the cheesecake brownie for 20 to 22 minutes till the top is settled.
Pro tips for making cheesecake swirl brownie
- The rule of thumb when making a brownie is never to overmix the batter. Moist, fudgy, and chewy brownies need just a quick stir.
- Just like overmixing, over-baking is a big no with a brownie. You’ll end up with a dry texture. So, keep an eye on it.
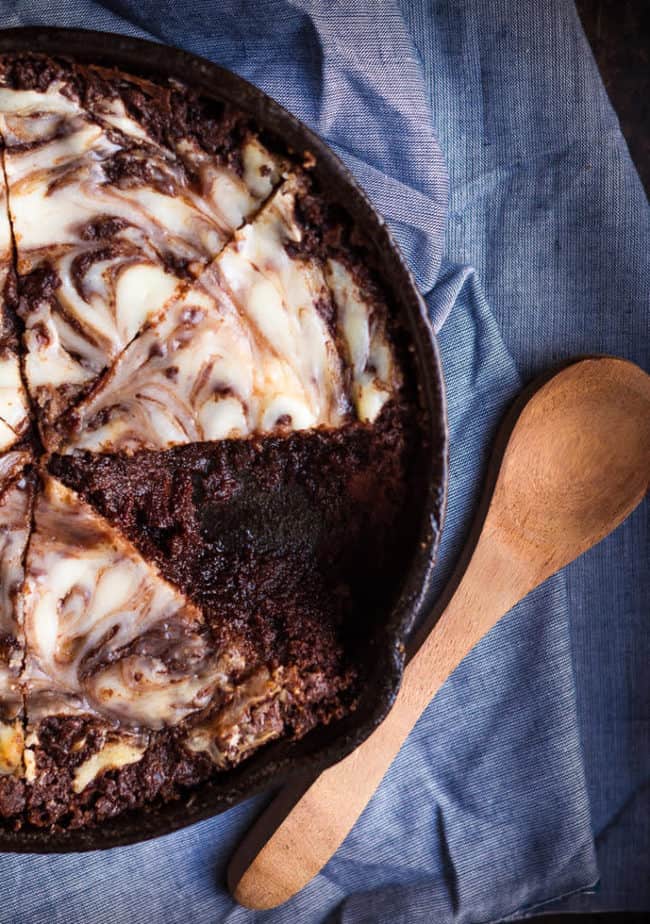
- The hardest part of making a brownie – any brownie – is the wait. You have to let them cool completely because it develops the flavor profile and lends a fudgier mouthfeel.
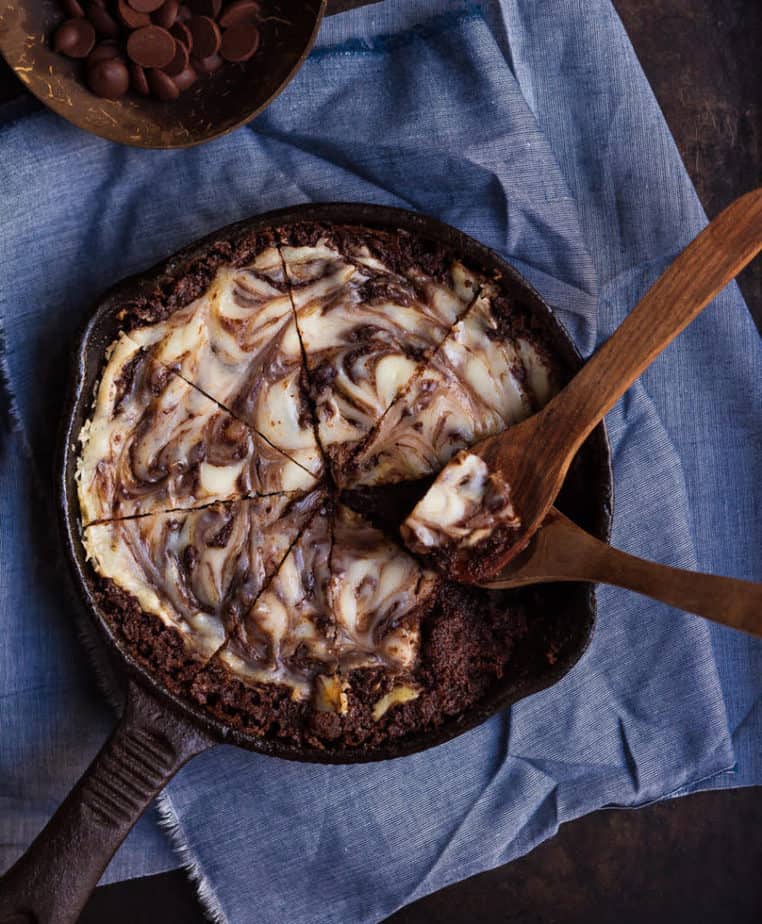
- Because I’ve added a cream cheese filling to the brownie, chilling them becomes even more important. So, after the oven does its magic, let the cheesecake swirl brownie cool on the rack and then refrigerate for at least two to three hours.
Variations of the cheesecake swirl brownie
You can easily double or triple the recipe. My brownies are eggless, but you can replace the flax egg with one egg.
Those who love a bit of crunch to their sweet treats, fold in walnuts or pecans in the brownie batter. Or you can toss the nuts on top before baking.
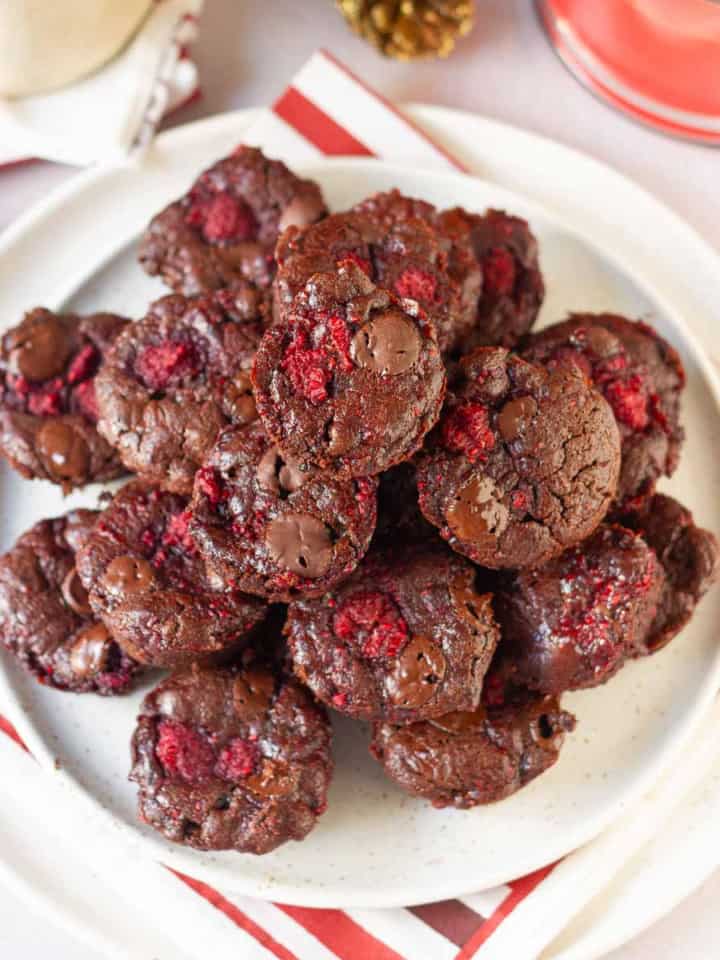
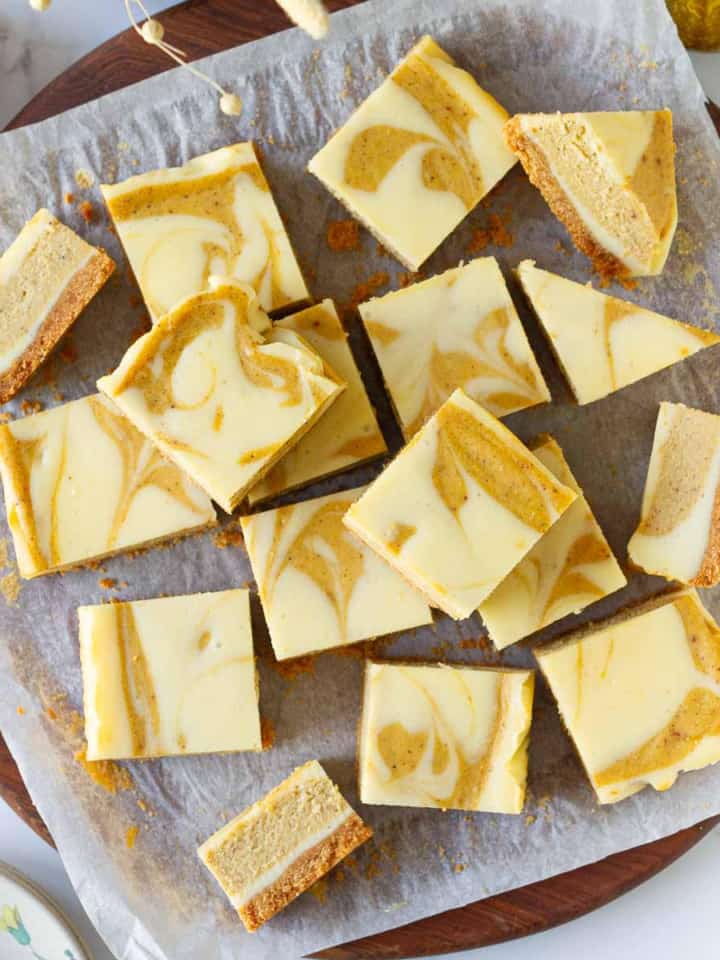
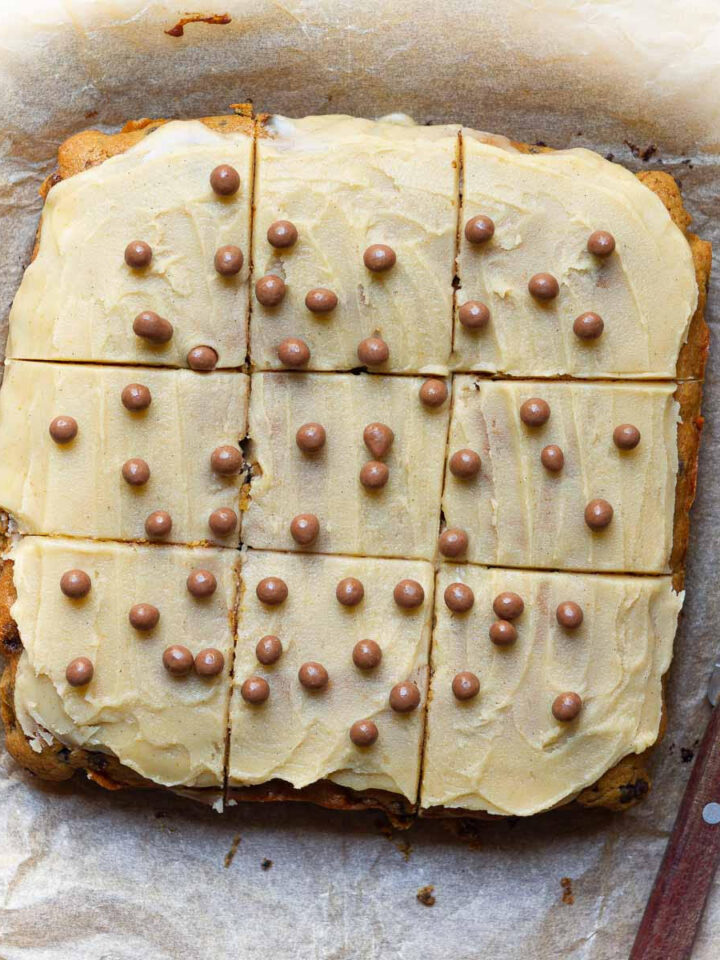
Some more brownie recipes:
Half the joy of cooking is sharing it with others. That’s why I’m always eager to hear from you. So go right ahead & drop a comment or reach out on Instagram, Pinterest, YouTube, or Facebook. I hope you love this cheesecake swirl brownie as much as we do!
📖 Recipe
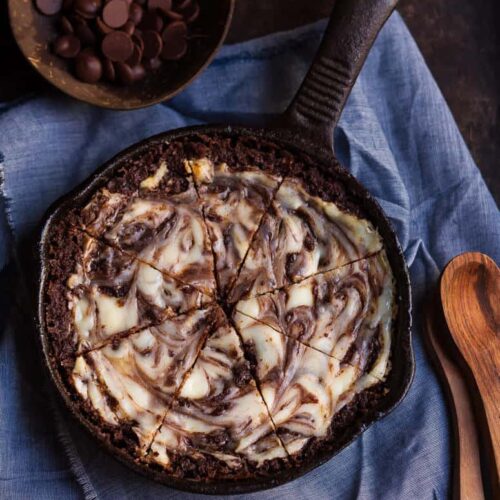
Cheesecake Swirl Brownie
Ingredients
Brownie Base
- 1/4 cup Coconut Oil
- 1/3 cup Dark chocolate chips 55%
- 1 Flax Egg * you can also use 1 regular egg
- 1/3 cup Sugar
- 1 tsp Vanilla Extract
- 1 tbsp Cocoa powder
- 1/2 cup All Purpose Flour
- 2-3 tbsp Chocolate chips ( optional)
Cheesecake Topping
- 1/3 cup Cream Cheese
- 2 tbsp Icing Sugar
- 3 tbsp Milk
Instructions
- Preheat your oven to 180C. Grease a 6" cast iron skillet. You can also use a 6" cake tin instead. If using a cake tin, do line it with parchment paper for easier clean-up.
Start with the Cheesecake Topping
- Whisk cream cheese and icing sugar till you have a smooth mixture.
- You may need to add a couple of tablespoons of milk to get the mixture going.
- Slide the cream cheese mixture in the refrigerator to chill while you prep the brownie base.
Brownie Base
- Begin with combining 1 tbsp flax powder and 3 tbsp water to make the flax egg.
- Let it rest for 5 to 10 mins till its thick and goopy and ready to be used.
- Meanwhile, melt coconut oil and chocolate chips in a heat proof bowl, over a pot with hot water.
- When the chocolate chips are just about melted, take them off the stove.
- Into this glossy, smooth mixture, stir in sugar.
- Whisk well till the sugar dissolves from the residual heat.
- Then mix in the flax egg, vanilla extract, all-purpose flour, and cocoa powder.
- Optional - you can add extra chocolate chips in the batter at this point if you wish.
- Spoon the brownie batter in your greased skillet (or cake tin).
- Spoon the cheesecake filling on top of the batter.
- Now with a wooden skewer, create swirls to get that visually striking marbled effect.
- Bake the cheesecake brownie for 20 to 22 minutes at 180 C till the top is settled. Be careful to not overbake, otherwise, the brownie can get dry!
Chilling Time & Storing
- Because we use cream cheese in this recipe, let the brownie cool on the oven rack after being baked. Then, refrigerate for 2-3 hours to achieve the ideal fudgy consistency!
- Store the leftovers in the refrigerator for 2-3 days.
Notes
Nutrition
Find more easy cheesecake recipes here.

Deb says
This recipe is missing so much information. What temperature, size of skillet, what kind of melted chocolate etc?
Natasha Minocha says
Thank you for the heads up Deb! I don't know how I missed these crucial details! I have rectified the recipe card. Hopefully, the recipe now is much clearer. My apologies for this.
Helen says
Hi Natasha, your recipes look very good and i would like to try them. Would it be possible for you to put the measurements in metric as well please. Thank you. Helen.
Natasha Minocha says
Hello Helen, thank you so much for your kind words! I really appreciate you. I have been receiving this request a lot and have lately been adding metric measurements as well to my recipes. It will take a little time for me to do the same for all the previous blogs, but, rest assured, I'll definitely add them on. 🙂