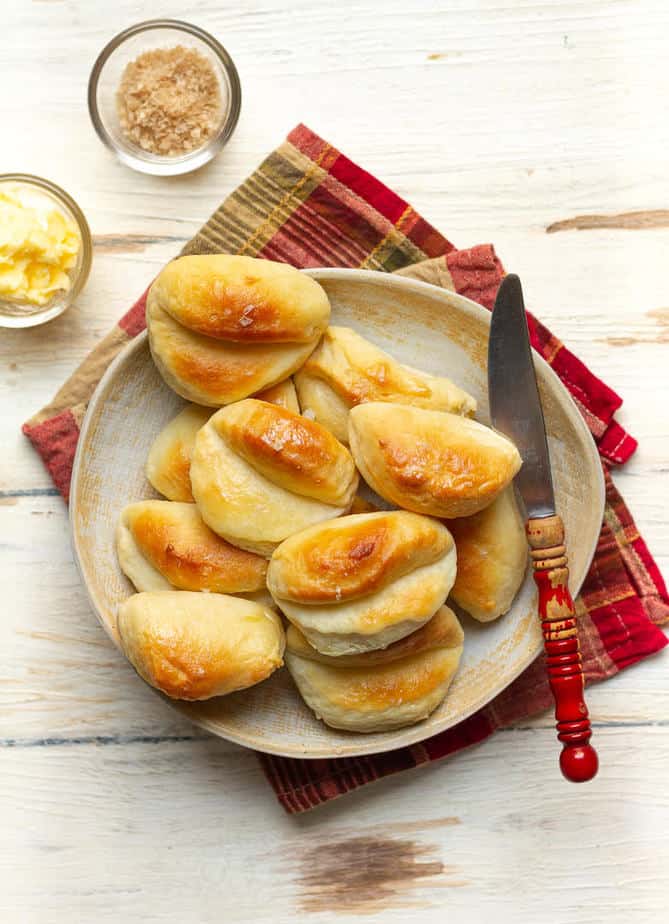
The beautiful thing about condensed milk bread rolls? With only a few pantry ingredients, you can make pillowy, bakery-worthy dinner rolls from scratch. And, mind you, these are fun, easy homemade dinner rolls. Irrespective of your schedule, you can easily make room for them!
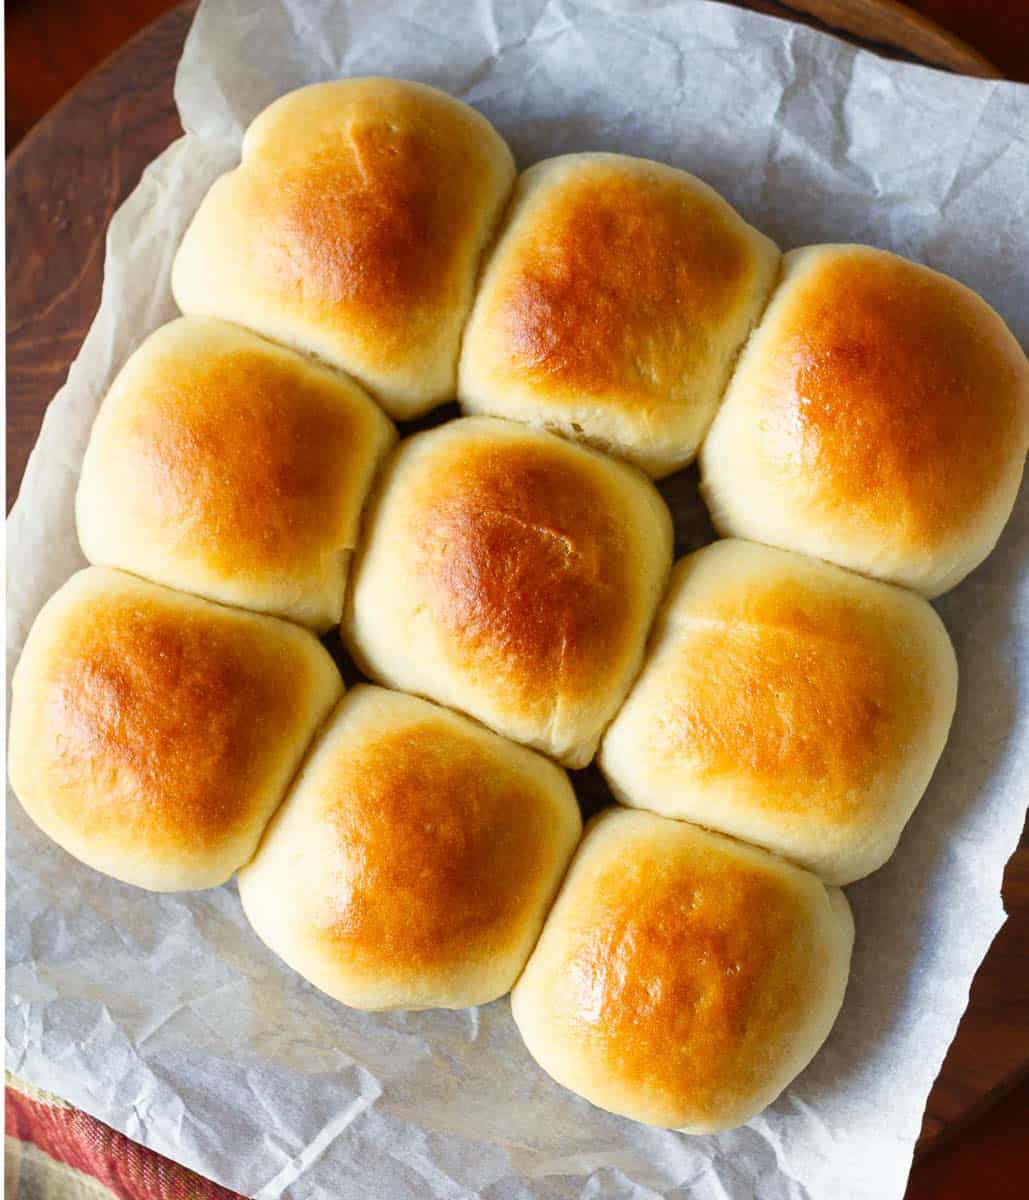
I’ve baked many bread and dinner rolls, so when I say this milk rolls recipe is beginner-friendly, trust me, it really is. Dive into it with nary a worry! My advice? Debut them for Thanksgiving dinner.
Jump to:
What Is Condensed Milk Bread
Milk bread is a popular style in Asia known for its exceptional softness, fluffiness, and slight sweetness, quite different from European bread. What makes it unique is the Tangzhong technique.
What’s that? It’s when you cook water and flour to make a thick paste called roux. After it’s cooled, add it to the dinner roll dough, resulting in a cloud-like texture! When the recipe uses sweetened condensed milk as one of its primary ingredients, you end up with condensed milk rolls.
I decided to skip the tangzhong step (that’s what makes this recipe ideal for beginner bakers). The rolls still came out divine with a beautiful crumb that’s bliss to eat and a cinch to make.
Why We Love These Rolls
Great recipe for entertaining or a last-minute addition to dinner.
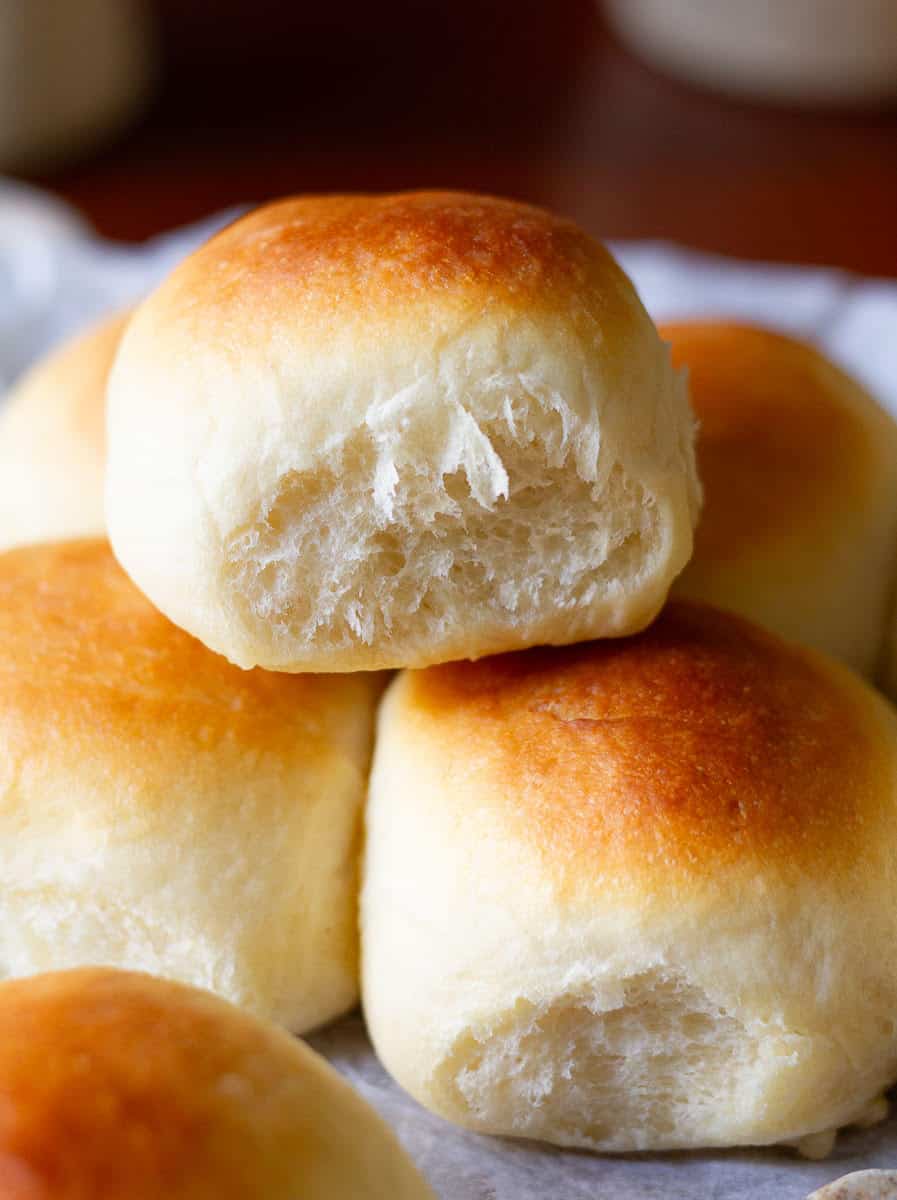
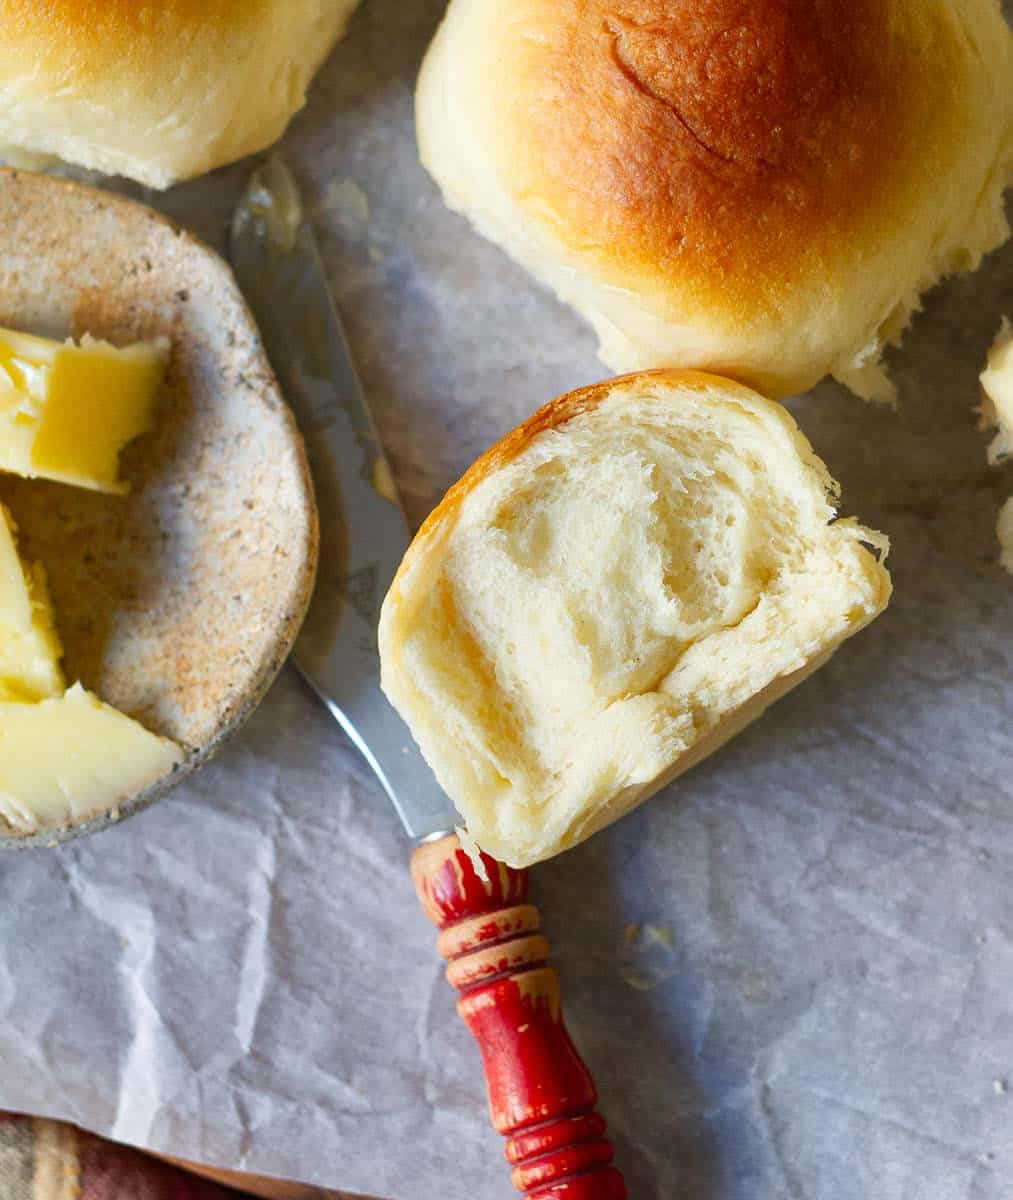
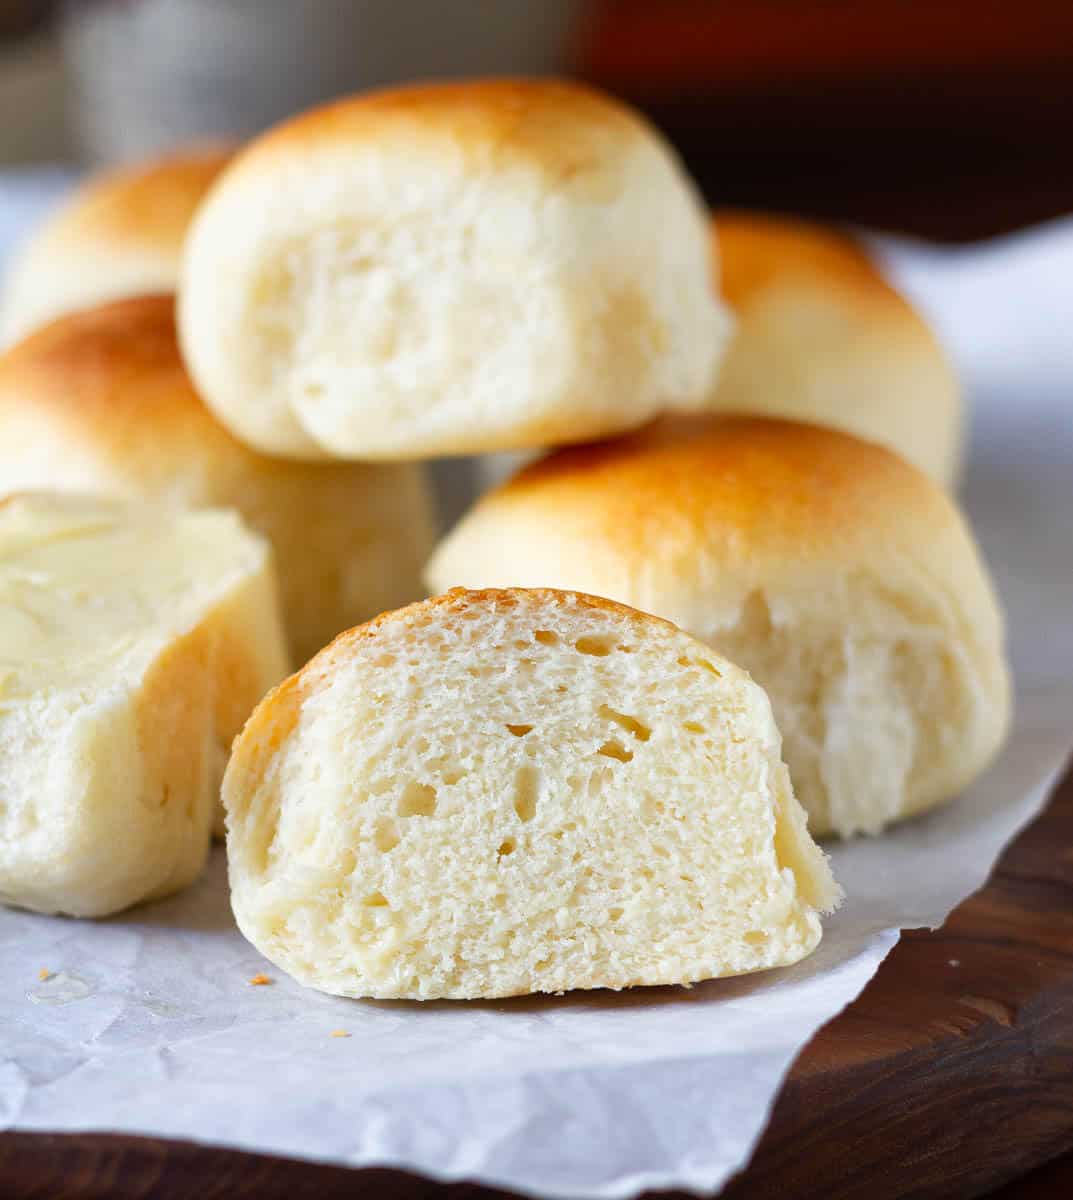
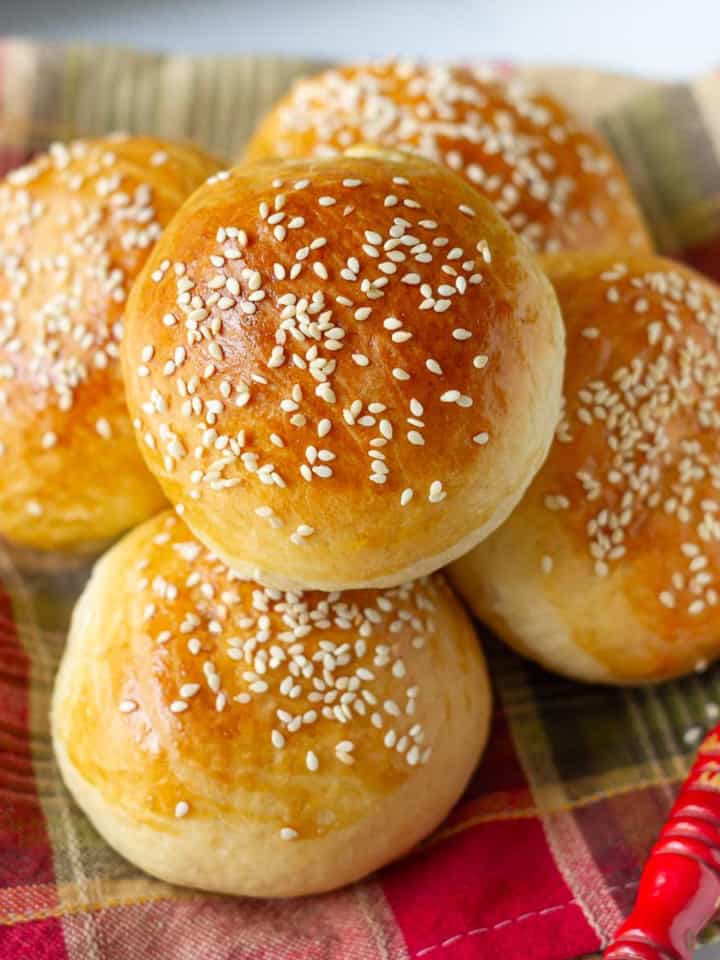
Each condensed milk bun is so soft, fluffy, buttery, and just slightly sweet!
Because they’re not overly sweet, they pair deliciously with all things savory.
Recipe Ingredients
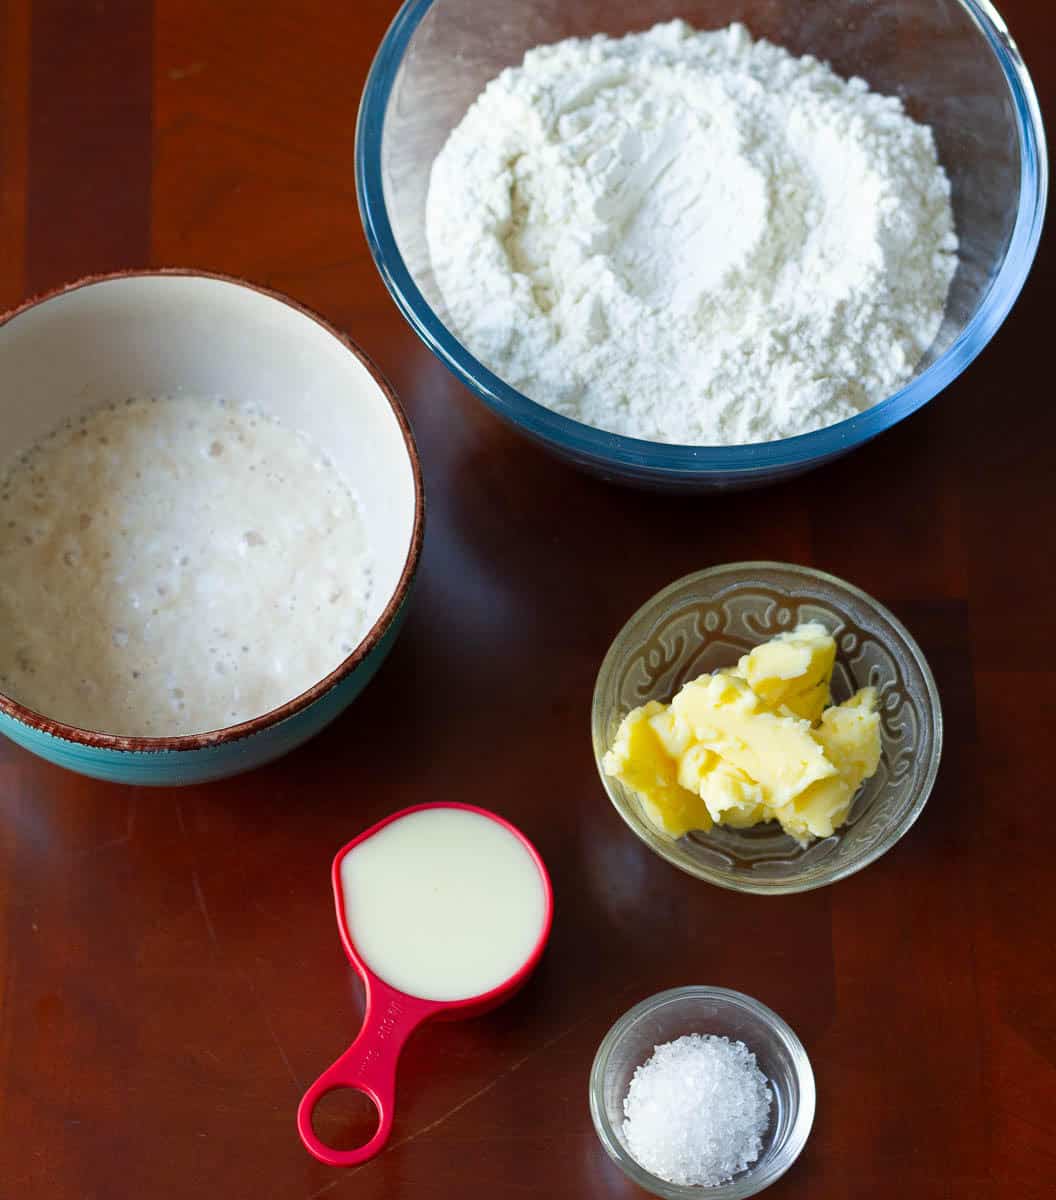
Yeast: Both instant or dried work. Just remember, don’t add yeast directly to the ingredients. Always bloom it first to check it’s active. It’ll save you a lot of heartache.
Condensed milk: Typically, the recipe for milk bread rolls has eggs. Since I wanted to make it eggless, condensed milk does double duty. It sweetens the dinner rolls and makes them richer, so the absence of eggs doesn’t make a difference.
Vegan bread with condensed milk: Switch to dairy-free milk, plant-based condensed milk, and butter (or coconut oil).
How To Make Condensed Milk Bread Rolls
Step 1: Stir sugar and yeast to lukewarm water. Let it sit till nice and frothy.
Step 2: In your stand mixer bowl, combine flour, sugar, condensed milk, softened butter, and the activated yeast. With a spatula, bring together all the ingredients till you have a scraggy condensed milk roll dough.
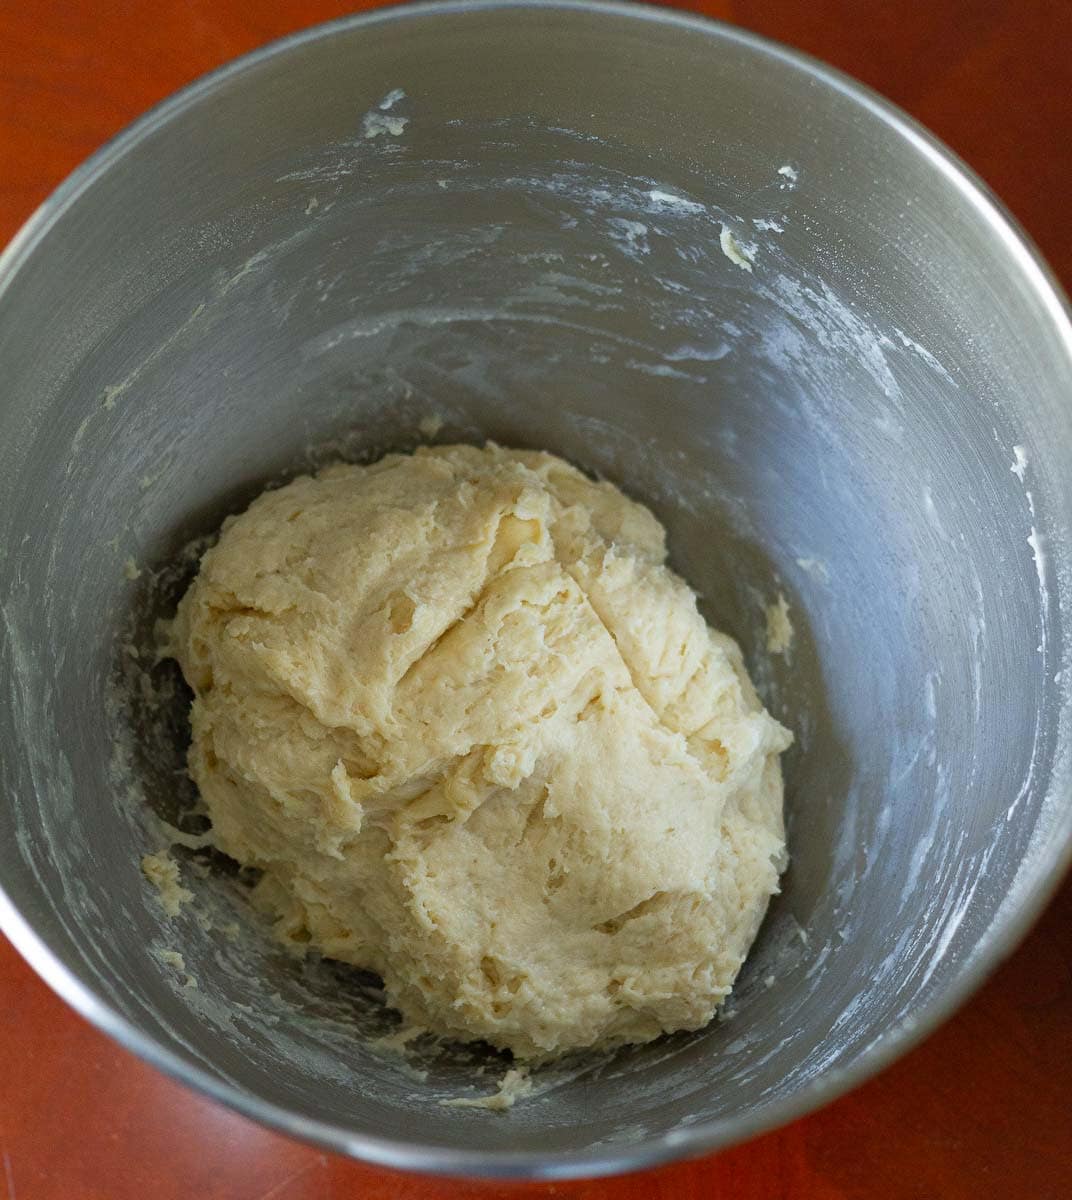
Step 3: Cover the dough and let it proof for 15 to 20 minutes.
Step 4: Start slowly and then gradually move to medium-high speed. Knead the dough in the mixer for 10 to 12 minutes.
Step 5: When the condensed milk bread roll dough starts to leave the sides of the bowl, transfer it to a lightly greased bowl. Cover and place in a draft-free corner of your kitchen for an hour (or until it doubles in size) for the second proof.
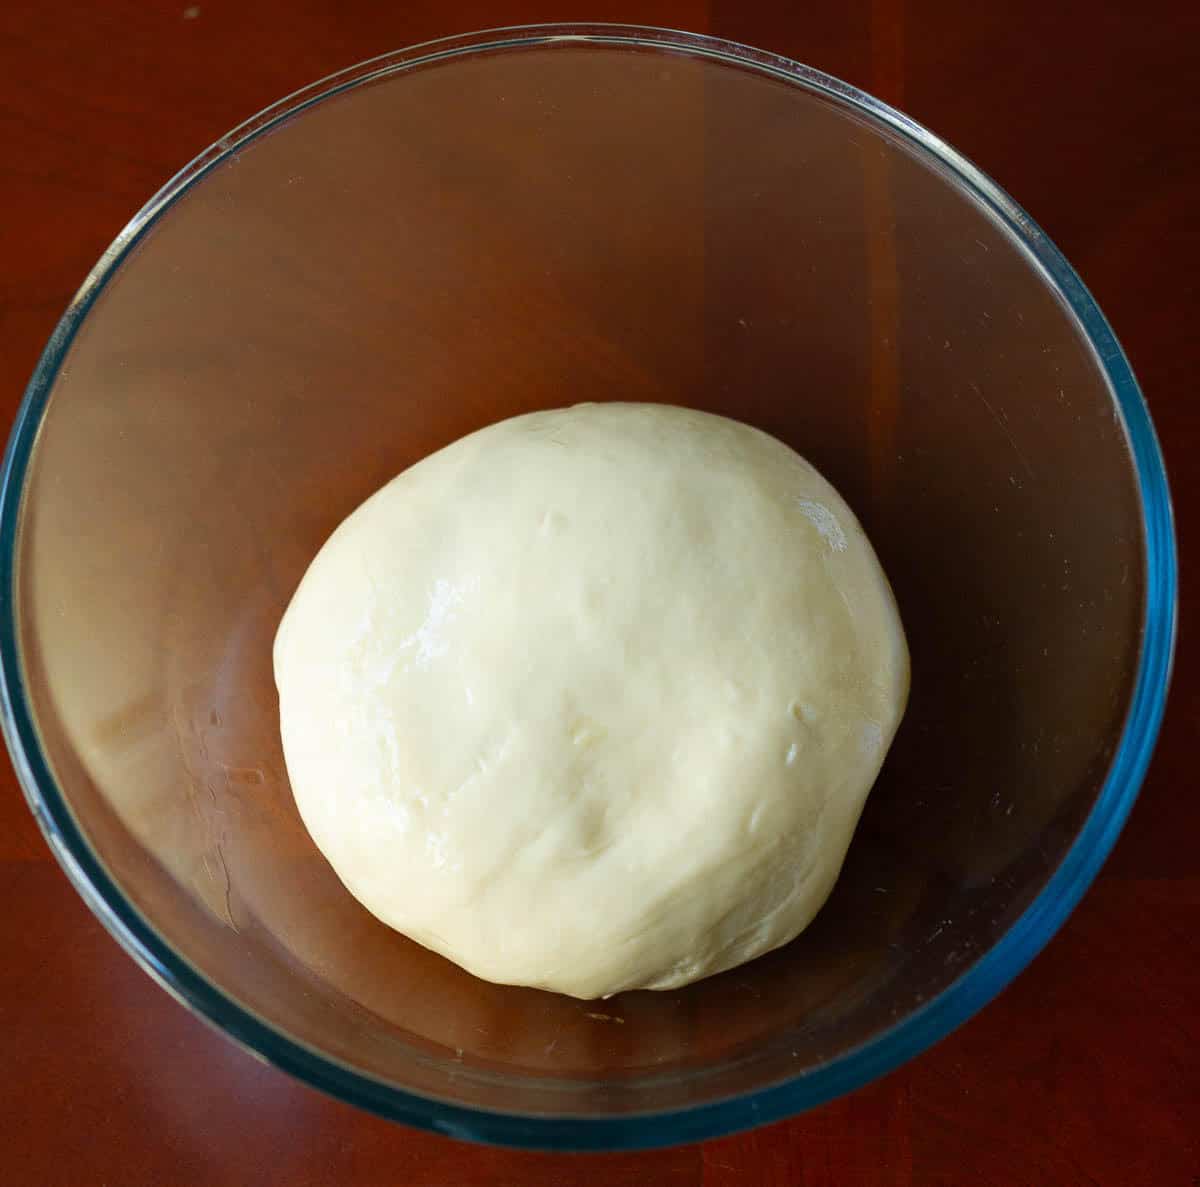
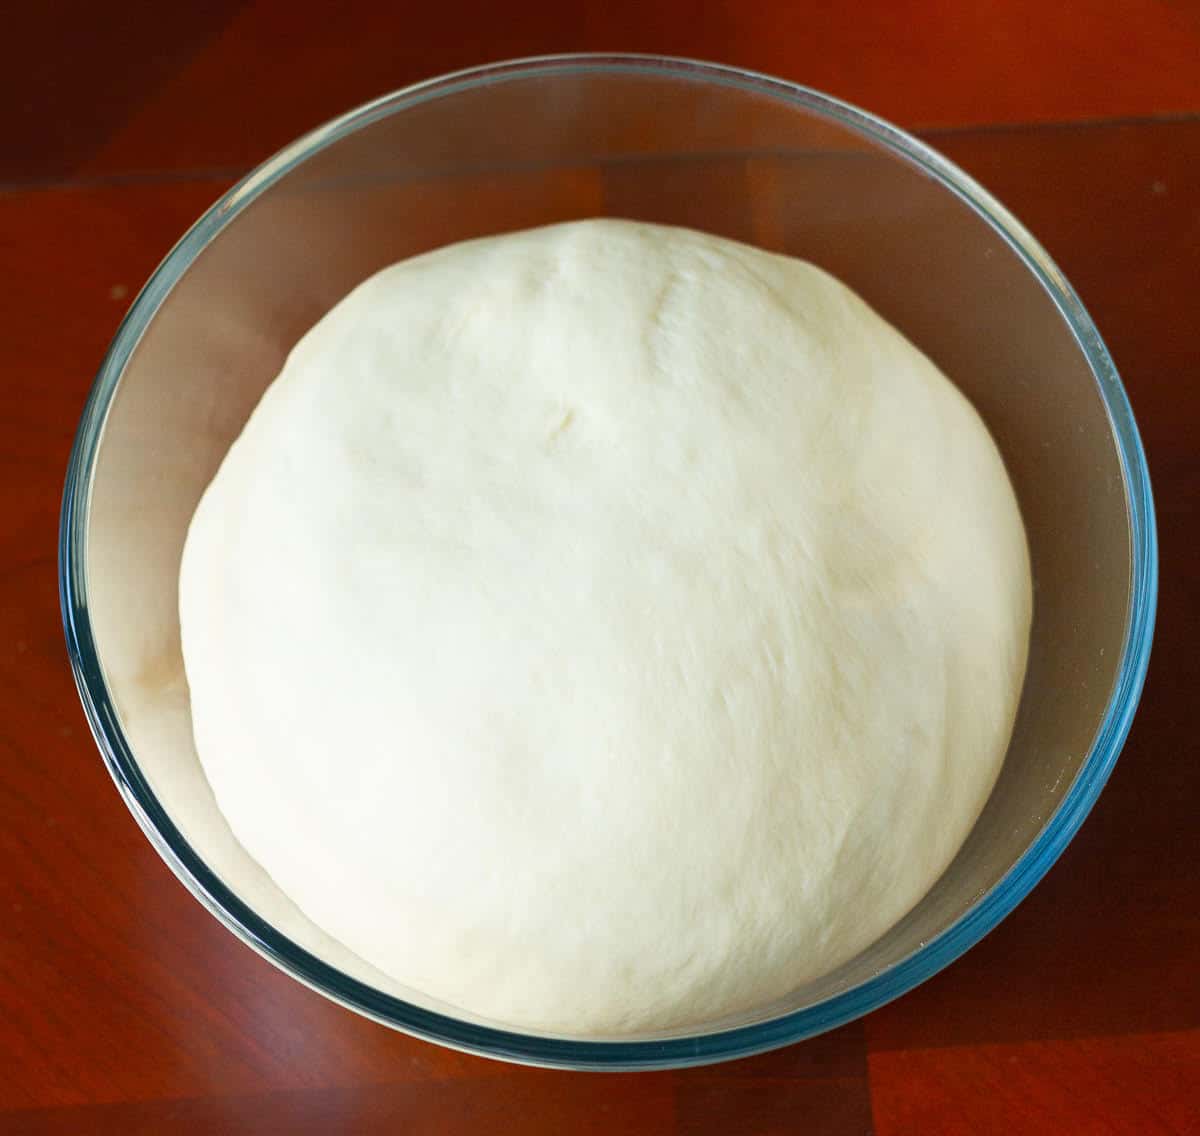
Step 6: Punch the dough gently to deflate. Turn it over your work surface. You don’t need to flour the counter.
Step 7: Shape it into a log and cut equal pieces for 9 milk yeast rolls.
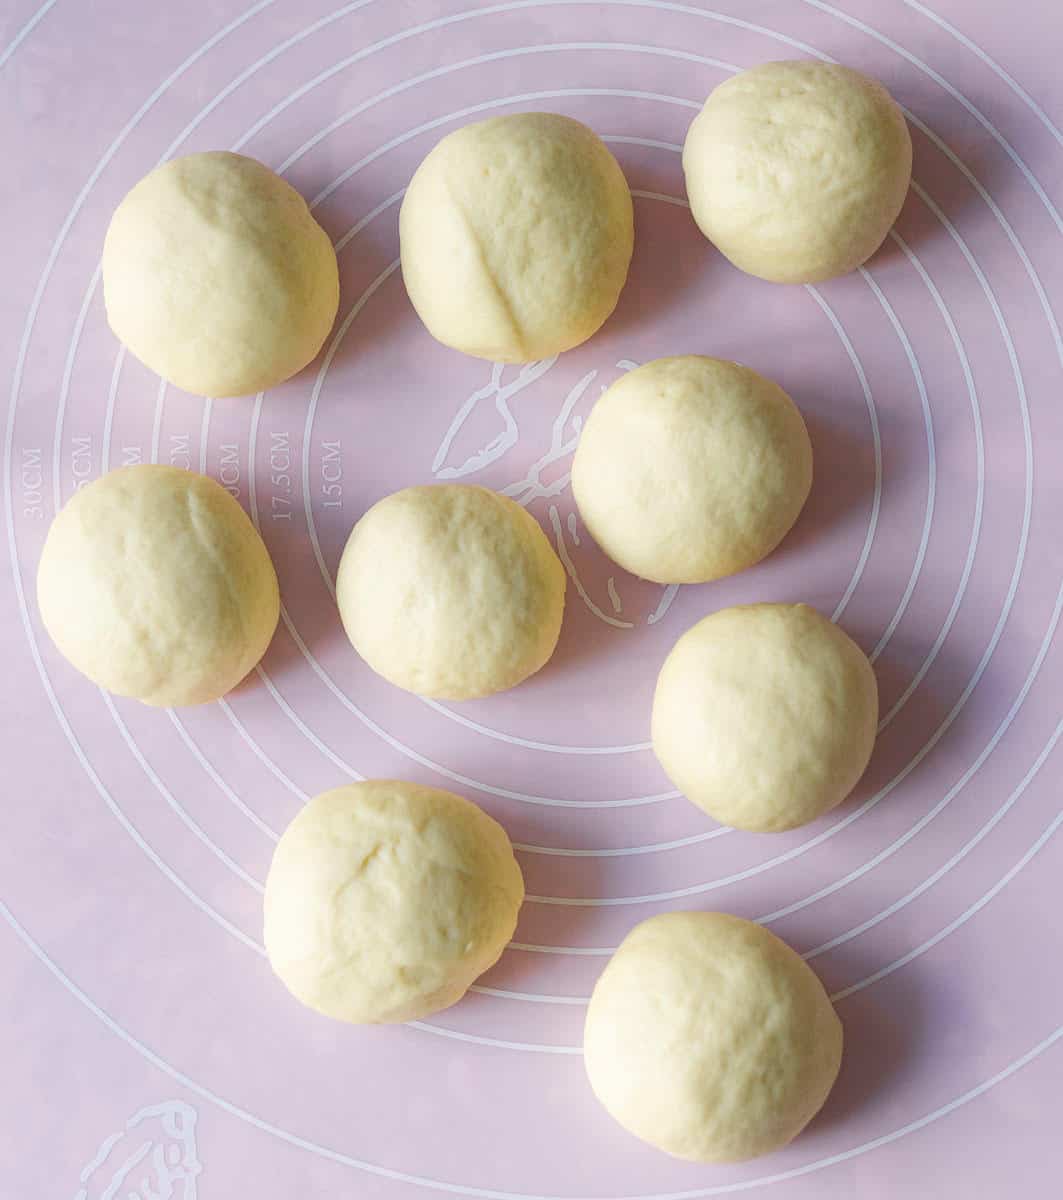
Step 8: Line a 9-inch baking tray with parchment paper. Working with one piece at a time, roll each into a ball (use your prep surface as a base) and place it on the tray.
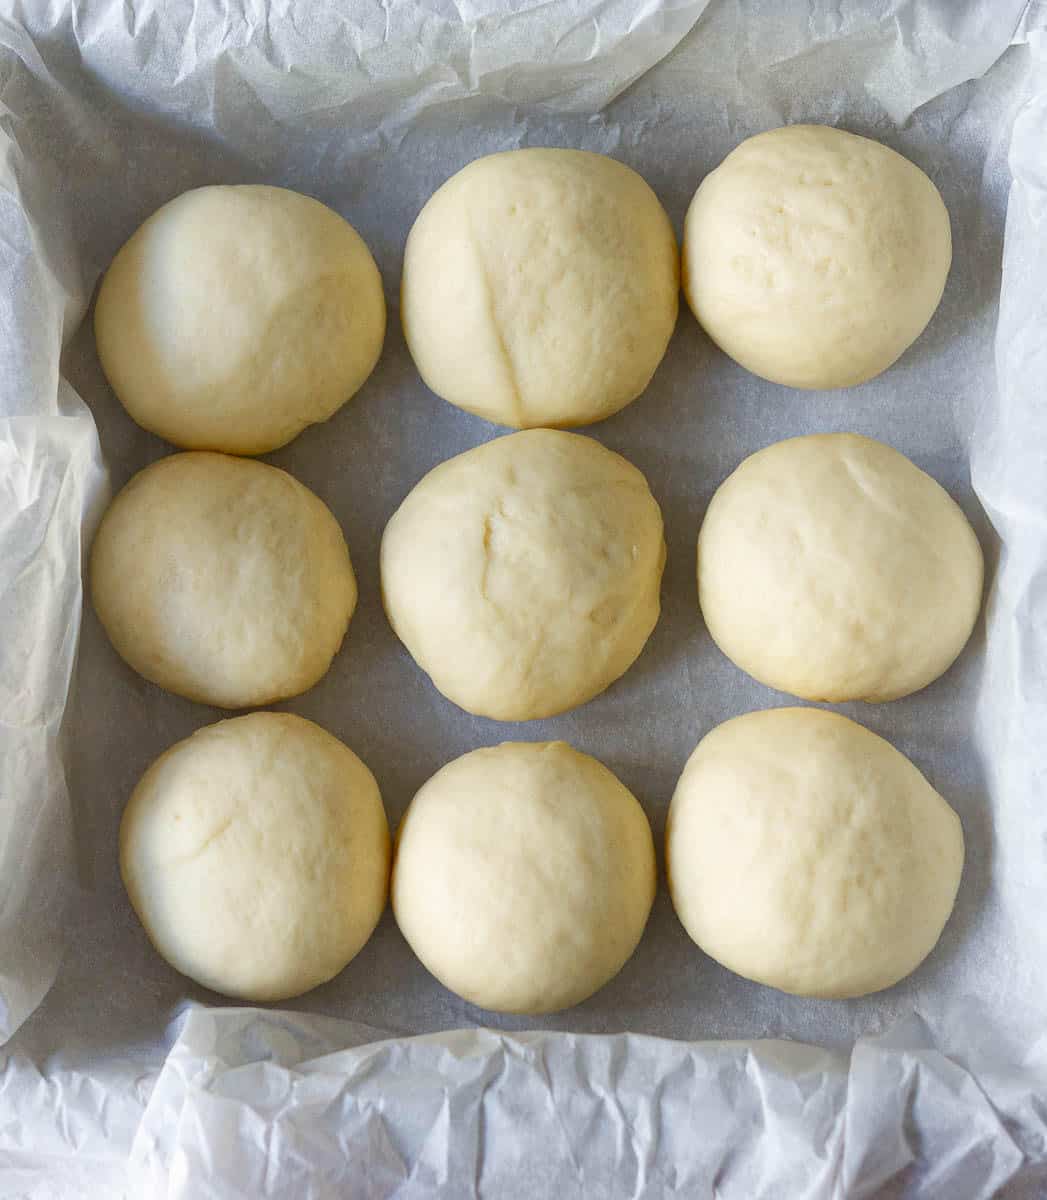
Step 9: Cover the rolls and let them rise again for 30 to 40 minutes while your oven preheats.
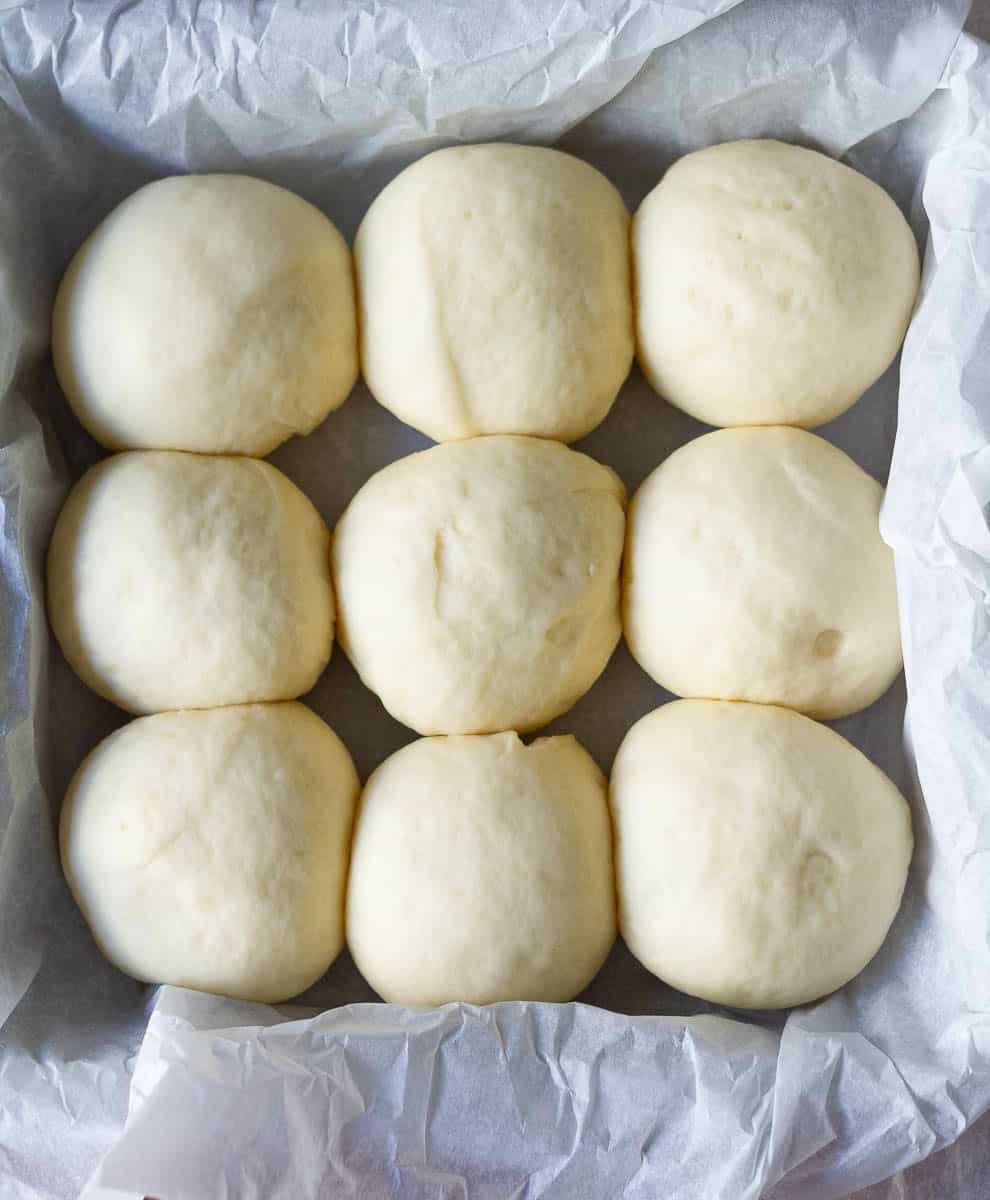
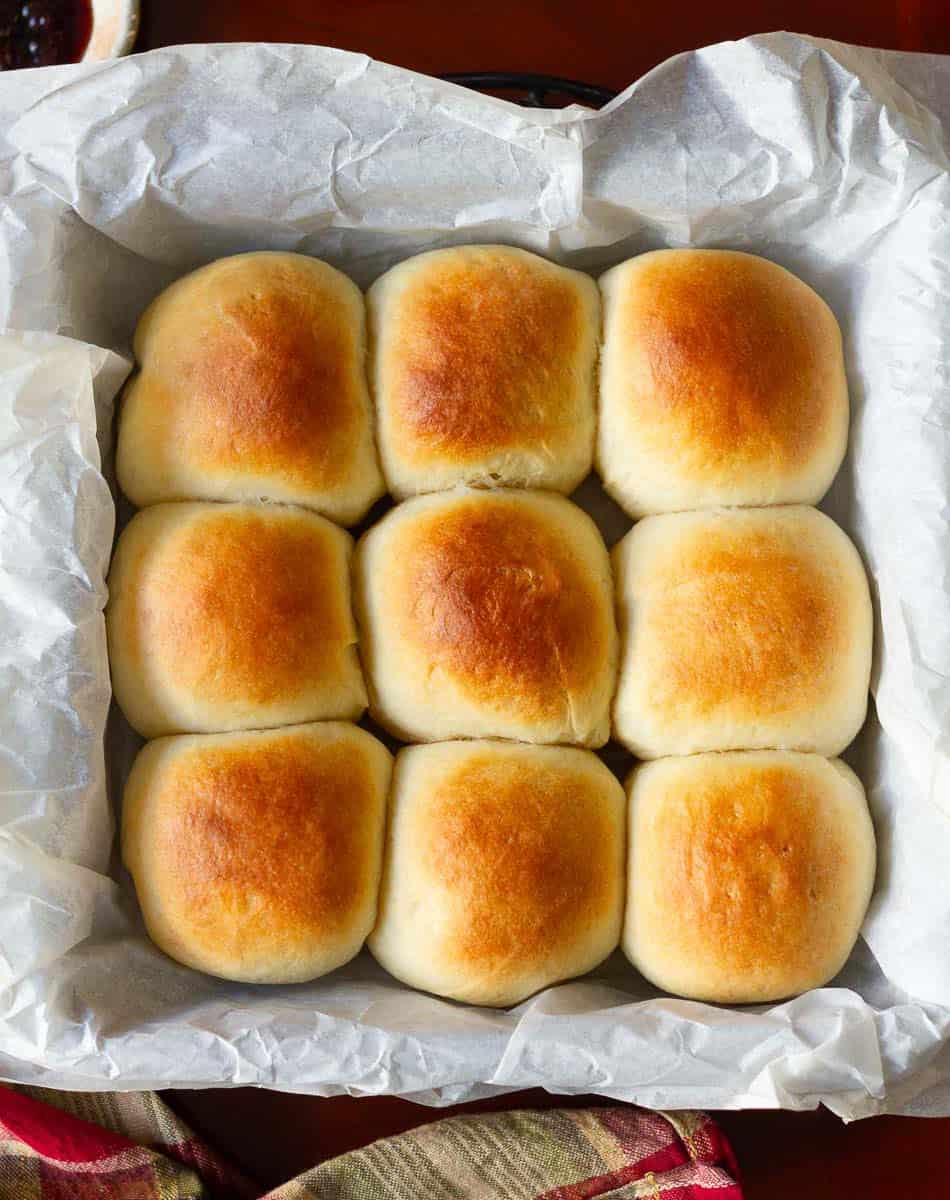
Step 10: Brush each dinner roll with milk. Slide into the oven. Bake for 20 to 25 minutes or until the tops are golden brown and the bottom sounds hollow on tapping.
Final step: Brush melted butter on the hot condensed milk buns and serve!
Pro Tips
- Yeast activates in warm temperatures. Not hot, not cold. So, ensure the milk is lukewarm, and all other ingredients are at room temperature.
- Bread rolls didn’t rise: your yeast expired (didn’t activate) or was killed because the milk was too hot.
- Dense dinner rolls: the rolls didn’t get enough time to proof, or the dough was not sufficiently kneaded
- The first proof is vital because it gives the dry ingredients the time to absorb the wet, making kneading much easier.
- The dough should be smooth, soft, and sticky. The less flour you use while shaping it in logs and balls, the better. The best way to get equal-seized sweetened condensed milk rolls is to use a kitchen scale. Even a cheap one will do an amazing job.
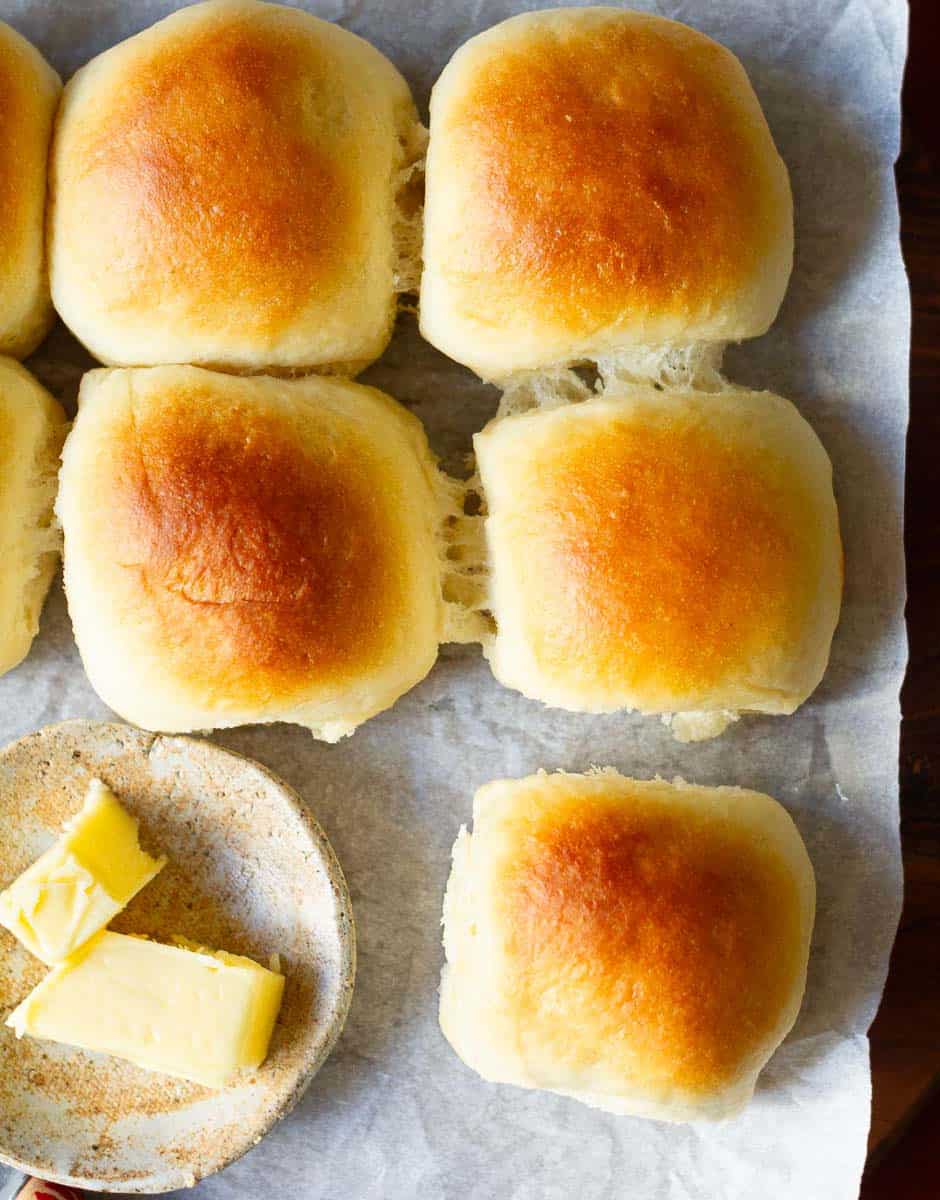
- Melted butter gives the rolls a gorgeous glossy glaze and softens the crust.
How To Serve
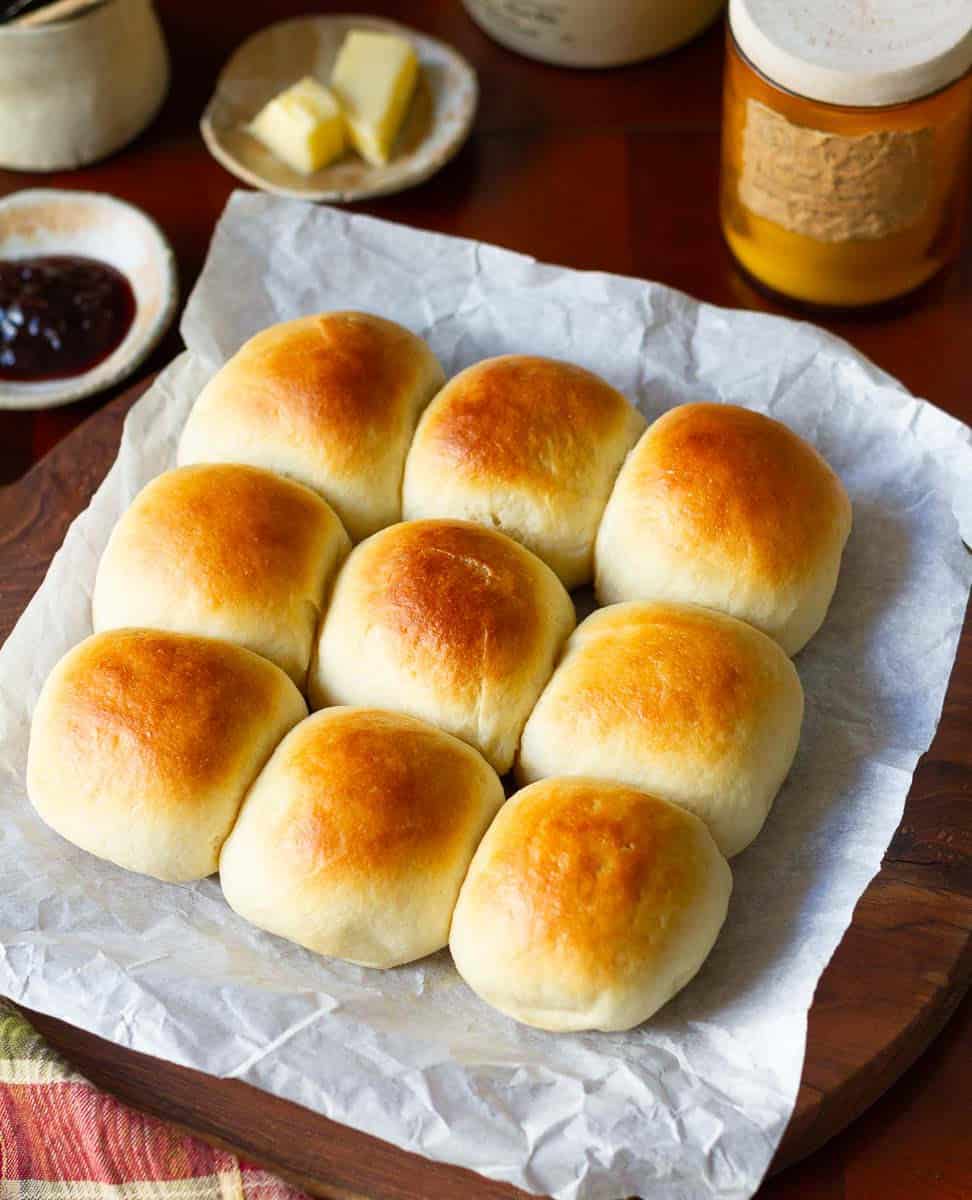
Super soft and delicious, you can eat a milk bread roll as-is.
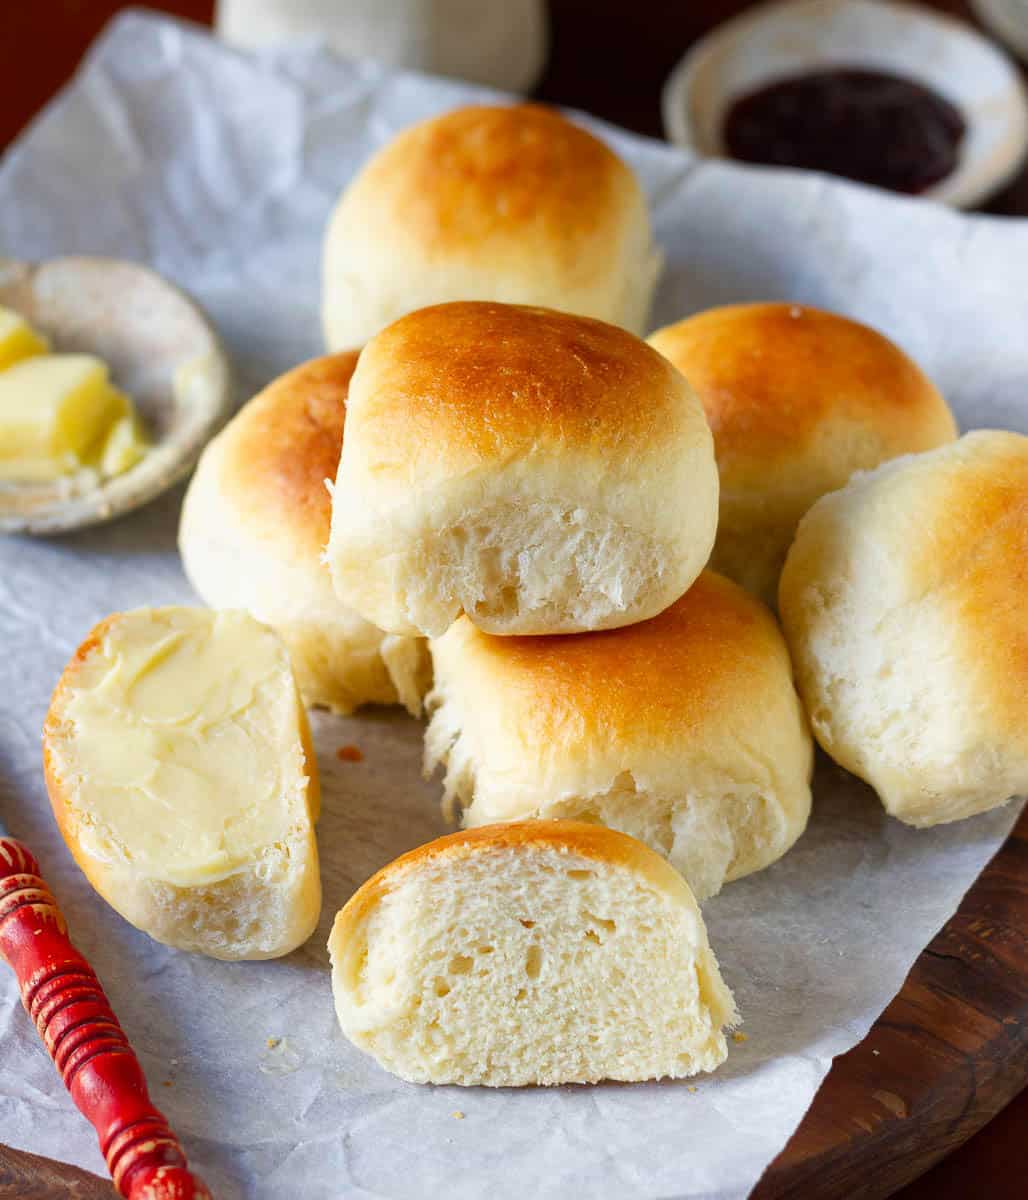
Need a last-minute breakfast? Pop a roll in a preheated oven or microwave, smear some marmalade, and you’re good to go. They also taste fantastic, toasted with a pat of cinnamon honey butter!
In my home, while there is even a single warm condensed milk roll left, no meal is complete without it mopping up the tasty flavors of a hearty vegetable stew, comforting roasted carrot soup, or a spicy keema curry.
If there are leftovers, store them in an air-tight container and refrigerate.
📖 Recipe
Best Condensed Milk Bread Rolls (Soft & Fluffy)
Ingredients
- 2/3 cups Milk, lukewarm
- 2 tsp Dried active yeast
- 2.5 cups All-purpose flour
- 2 tsp Sugar
- 1/4 cup Sweetened condensed milk
- 4 tbsp Butter, softened I used salted butter
- 1.5 tbsp Milk For brushing on top before baking
- Butter for brushing on top of baked rolls
Instructions
- In a small bowl, combine lukewarm milk, yeast, and a pinch of sugar. Mix and keep aside for 5-10 minutes until frothy.
- In the bowl of your stand mixer, add the flour, sugar, condensed milk, and butter.
- Pour in the activated yeast and combine using a spatula until the ingredients come together in a scraggy dough.Cover with a kitchen towel and let this dough rest for 15-20 minutes.
- After the dough has rested, start kneading it at slow speed for 3-4 minutes and then medium to high speed for 10-12 minutes in your stand mixer.
- The dough will be ready when it leaves the sides of the bowl and is smooth, soft, and just slightly sticky.
- Transfer the dough to a lightly oiled bowl, cover it with a damp kitchen towel or plastic wrap, and keep aside in a warm draft-free place for 60 minutes or until the dough doubles in size.
- Line a 9"x 9" square pan with parchment paper.
- Gently punch the dough to deflate it and turn it out on your work surface.
- Shape the dough into a log.Divide the dough into equal-sized, 9 pieces. I used a kitchen scale and my dough pieces were approximately 76-77 gms each.
- Roll each dough piece into a ball and place on the prepared pan.
- Cover with a damp kitchen towel and let the rolls proof the 2nd time for 30-45 minutes or until puffy.
- While the rolls are proofing, preheat your oven to 200 C.
- Once the rolls are proofed, gently brush them with milk and bake for 20-25 minutes or until the tops are golden brown.
- Brush the hot rolls with butter - this makes the crust soft and gives that extra sheen! Serve warm and enjoy!


Teria says
Beautiful and favorable.
Shane Thompson says
How would these come out using Gluten free flour (I haven’t had much luck making any bread or rolls that are gluten free), would I need to make any changes, and do you have a particular kind or brand of gluten free flour you’d recommend.
Natasha Minocha says
Hi Shane, I haven't had much luck with gf breads either and I haven't tried making this recipe gf either! So sorry! But thank you for reaching out and for your interest in this recipe.
Marci huebert says
I don't have a stand mixer, what is another way to make them if you don't have one?
Natasha Minocha says
Hi Marci, yes, you can knead the dough with your hands. These will still come out wonderful! Hope this helps:)