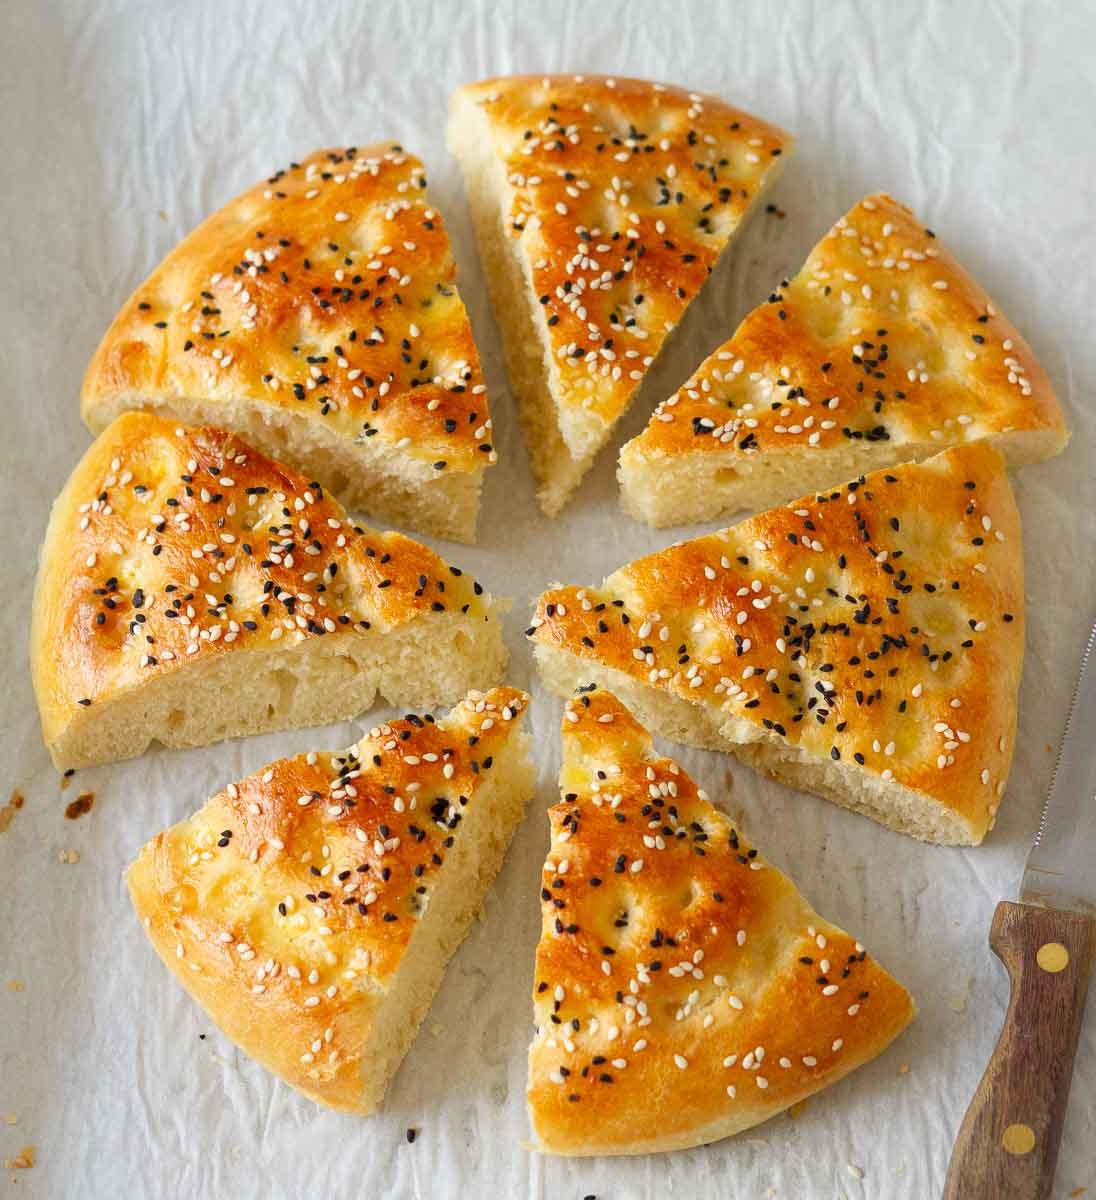
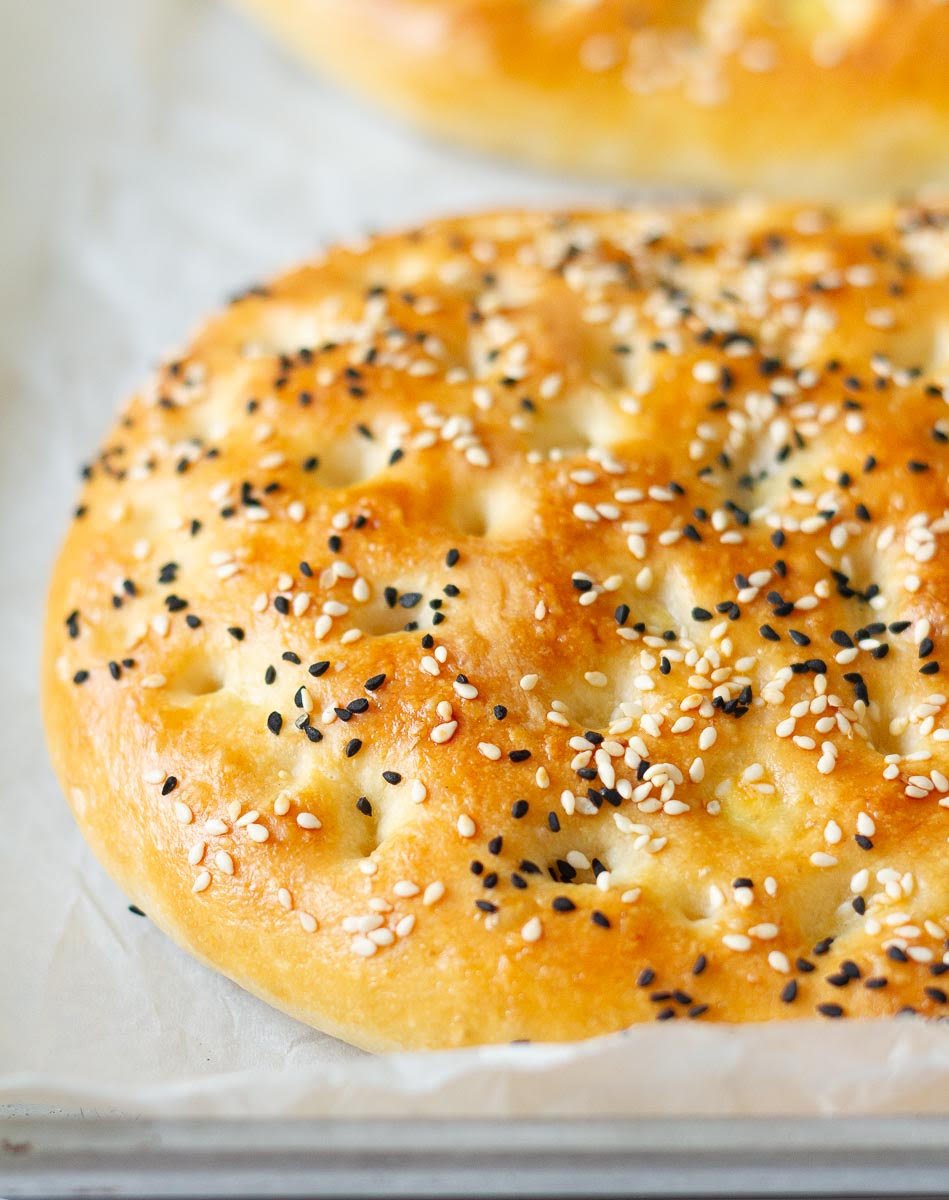
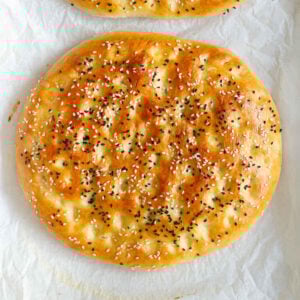
This Turkish pide bread is soft, fluffy, and beautifully golden with a crisp crust! With its signature diamond pattern and sesame seeds on top, this classic Turkish flatbread looks impressive but is surprisingly easy to make at home.
Also known as Ramadan pide, this traditional Turkish bread is wonderful for serving with soups, stews, and dips. The no-knead dough is simple to make and very easy to work with. Fresh from the oven, warm and soft, this homemade pide is irresistible!
Turkish pide bread, often simply referred to as "pide" or Ramazan pidesi or Ramazan pide, is a type of flatbread that is popular in traditional Turkish cuisine.
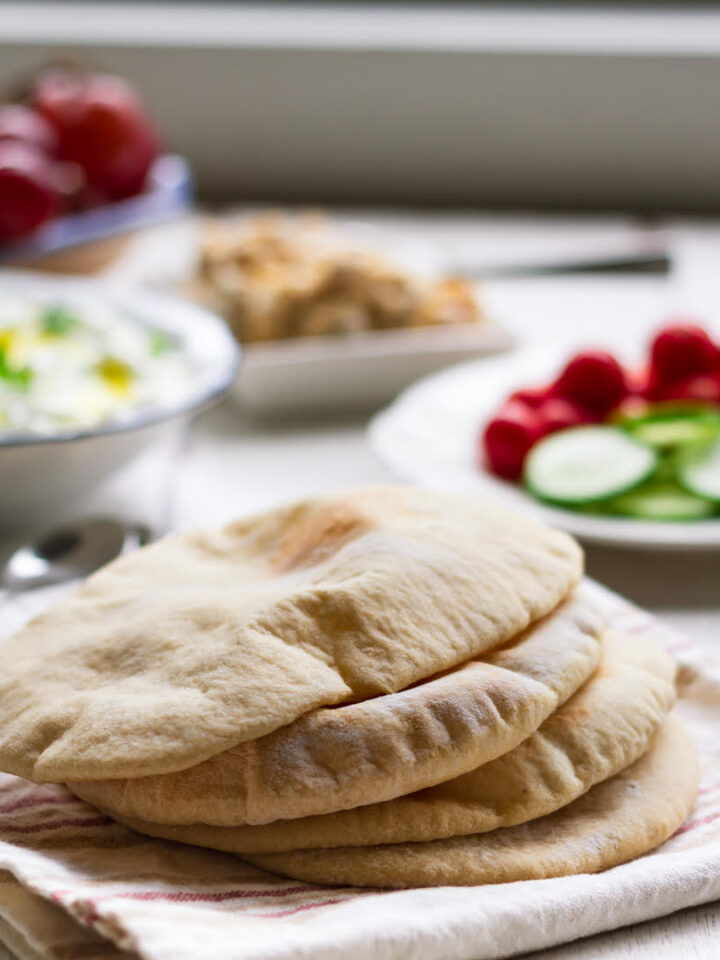
Think of it as Pita’s cousin.
Pronounced pee-dae or pee-deh, the leavened bread (i.e., it uses yeast to help the dough rise) is stretched by hand or rolled out into its unique shape.
You’ll frequently see it in two avatars: with or without filling. The first one is often topped with cheese, which is why it’s also known by the moniker Turkish pide pizza.
The second is the one I made (without filling). It’s a round, fluffy bread with a diamond pattern on top that you’ll love to snack on.
Why You'll Love This Recipe
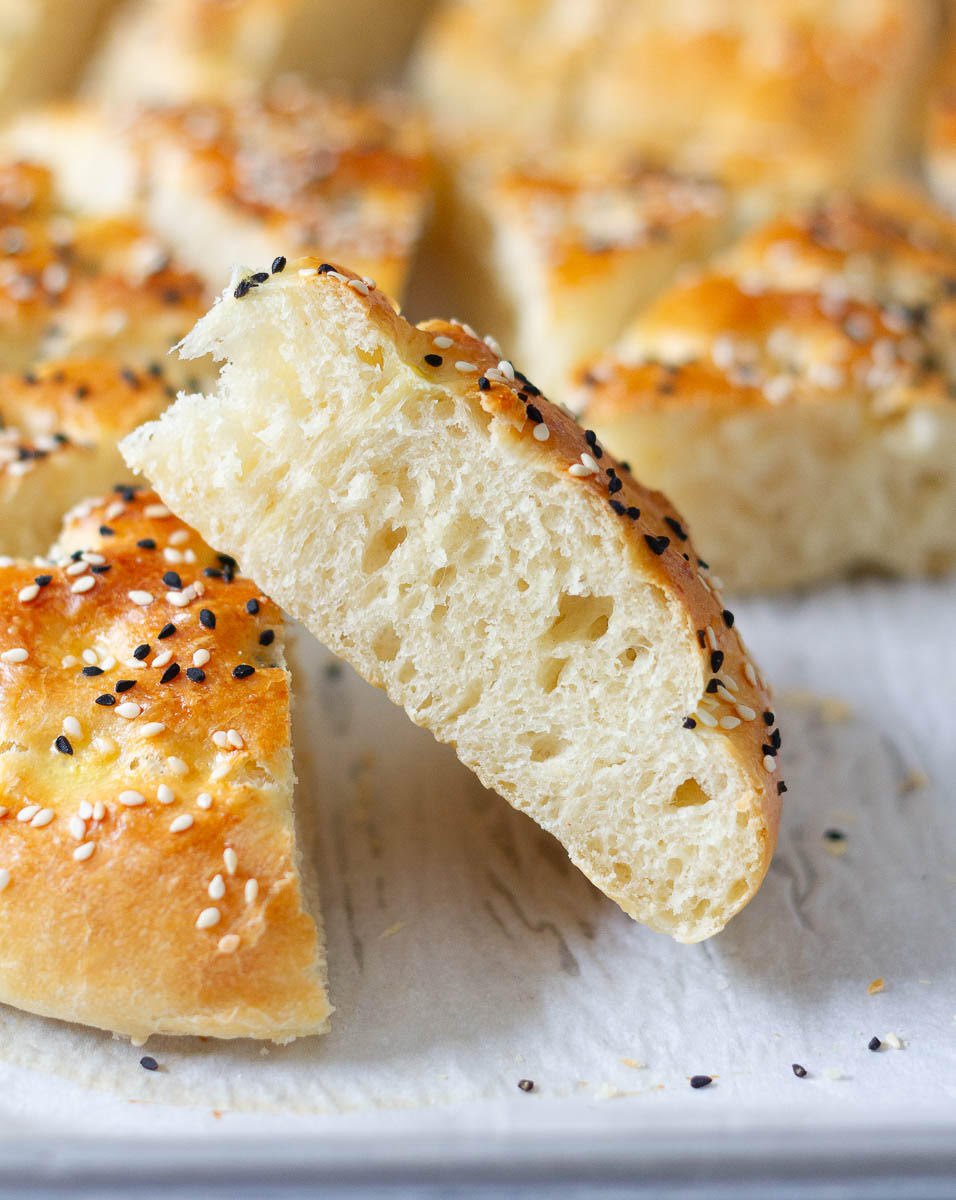
✨ This Turkish pide bread is soft and fluffy on the inside with a beautiful, golden, slightly crispy crust on the outside. The texture is absolutely wonderful!
✨ It's a simple, no-knead bread made with basic ingredients, and the dough is very easy to work with.
✨ This Turkish flatbread is incredibly versatile. Serve it with soups, dips, stews, or with just olive oil. I love it for breakfast with this easy shakshuka!
✨ The sesame seeds and nigella seeds on top add a wonderful, nutty flavor and make the bread look gorgeous.
Reader Love ❤️
I made this tonight and it turned out perfectly! Gorgeous AND delicious. I swapped 40g of the flour with a mix of ground flax and oat flour for some extra fiber and heartiness since we didn’t have any whole wheat. The family devoured it all in minutes alongside a bowl of Turkish lentil soup (mercimek). Thanks! - Jenevieve
I made small changes adding garlic to the dough and sprinkling the breads with zaatar. still came out absolutely delicious. thank you, a great recipe! - Dots
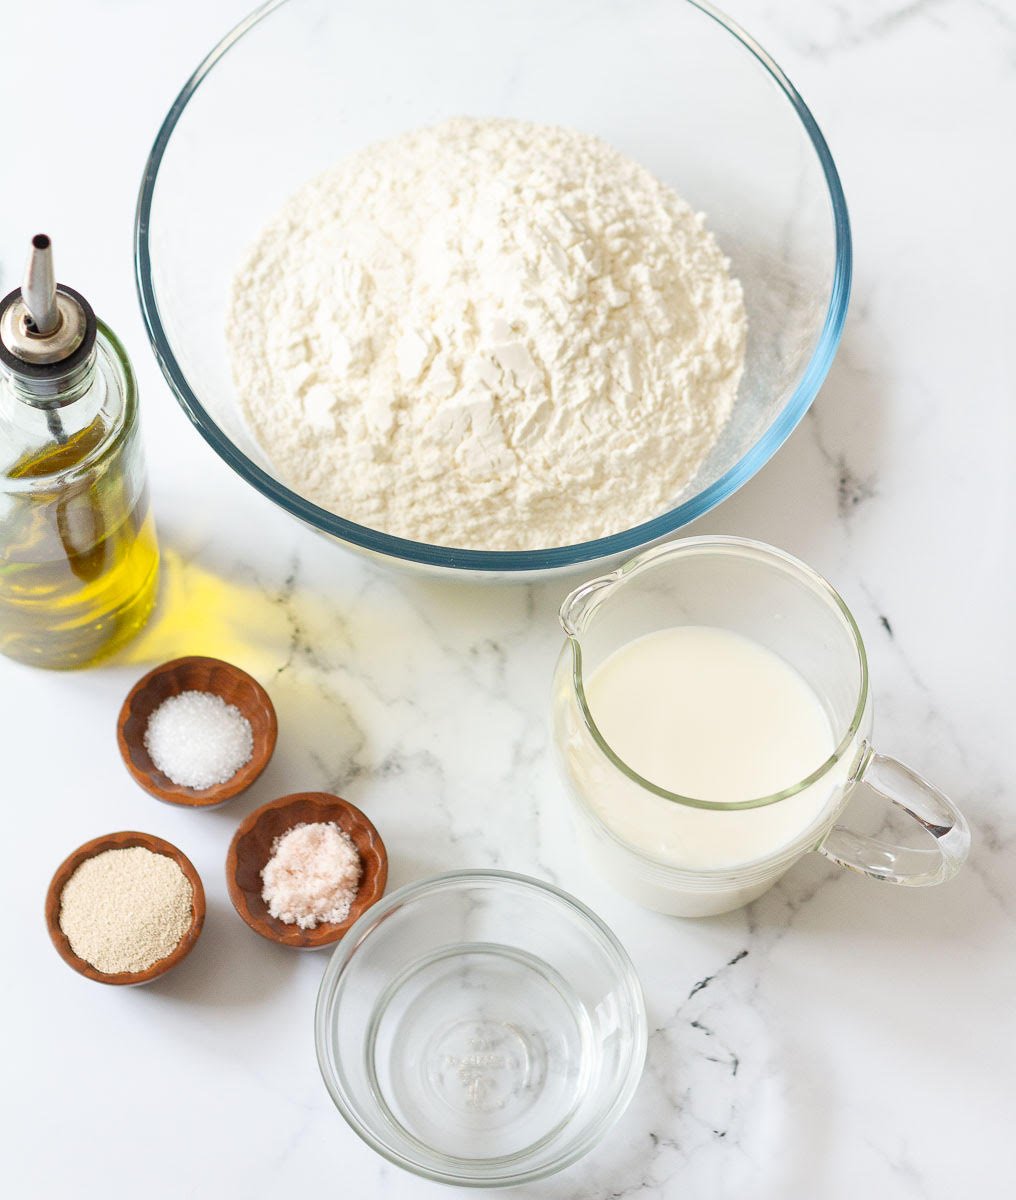
Recipe Ingredients
Flour: I used all-purpose flour for this soft pide recipe. You can substitute it with whole wheat, but I’d recommend only using half a portion of it. Otherwise, the bread will be too dense.
Sugar: Regular granulated sugar works well in this easy no-knead flatbread recipe.
Oil: I used extra virgin olive oil for richness and flavor.
Yeast: Both dry active and instant yeast give equally delicious results.
Milk: You can use 2% or whole milk. Any plant-based milk will also work.
Seeds: It’s traditional to use white sesame and nigella seeds, and I’d recommend both, as they lend pide bread a nutty and peppery flavor. But you can omit them.
Please see the recipe card below for full information about the ingredients and quantities.
How To Make Turkish Pide
Make The Dough
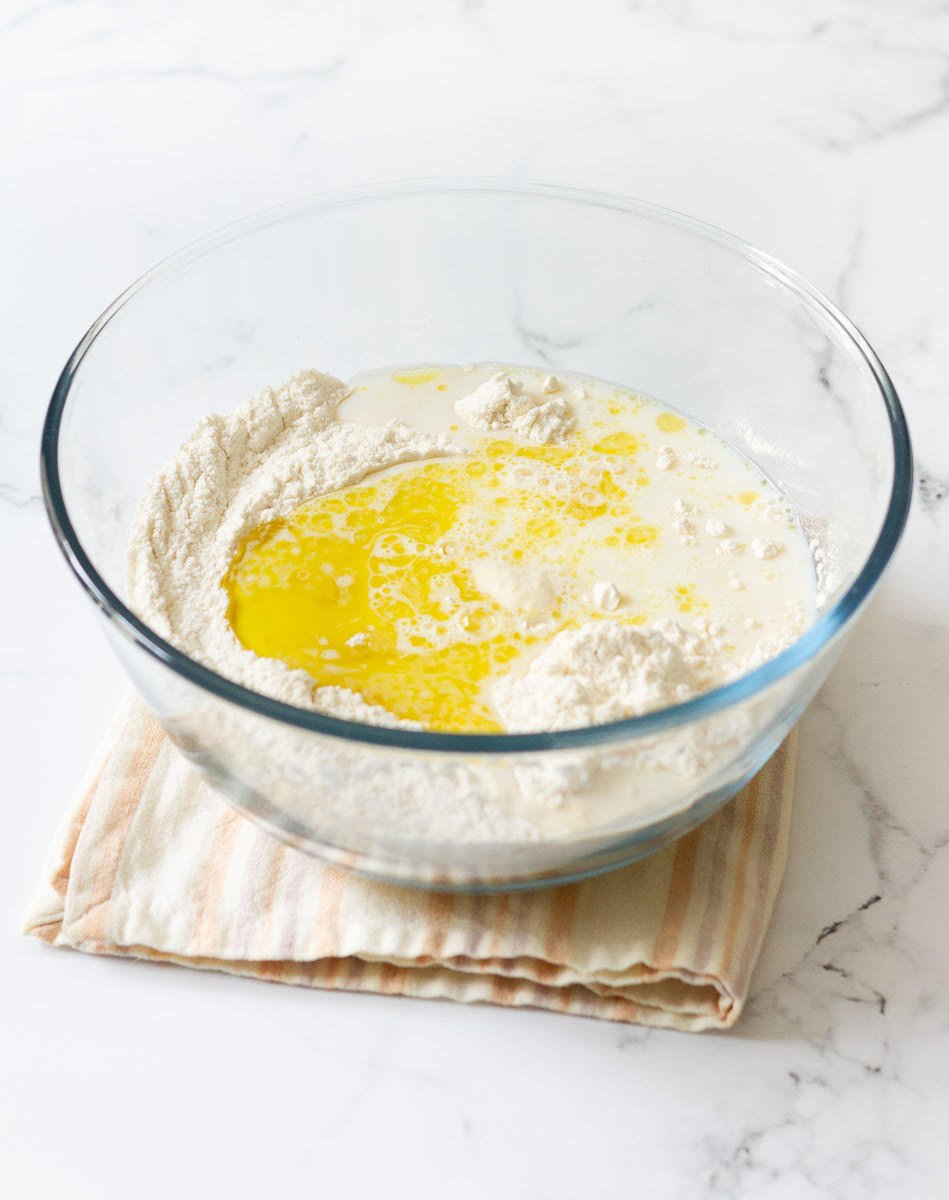
Step 1: In a large bowl, whisk the flour, salt, sugar, and yeast.
Step 2: Add lukewarm water and milk, along with oil. Combine until you have a shaggy dough.
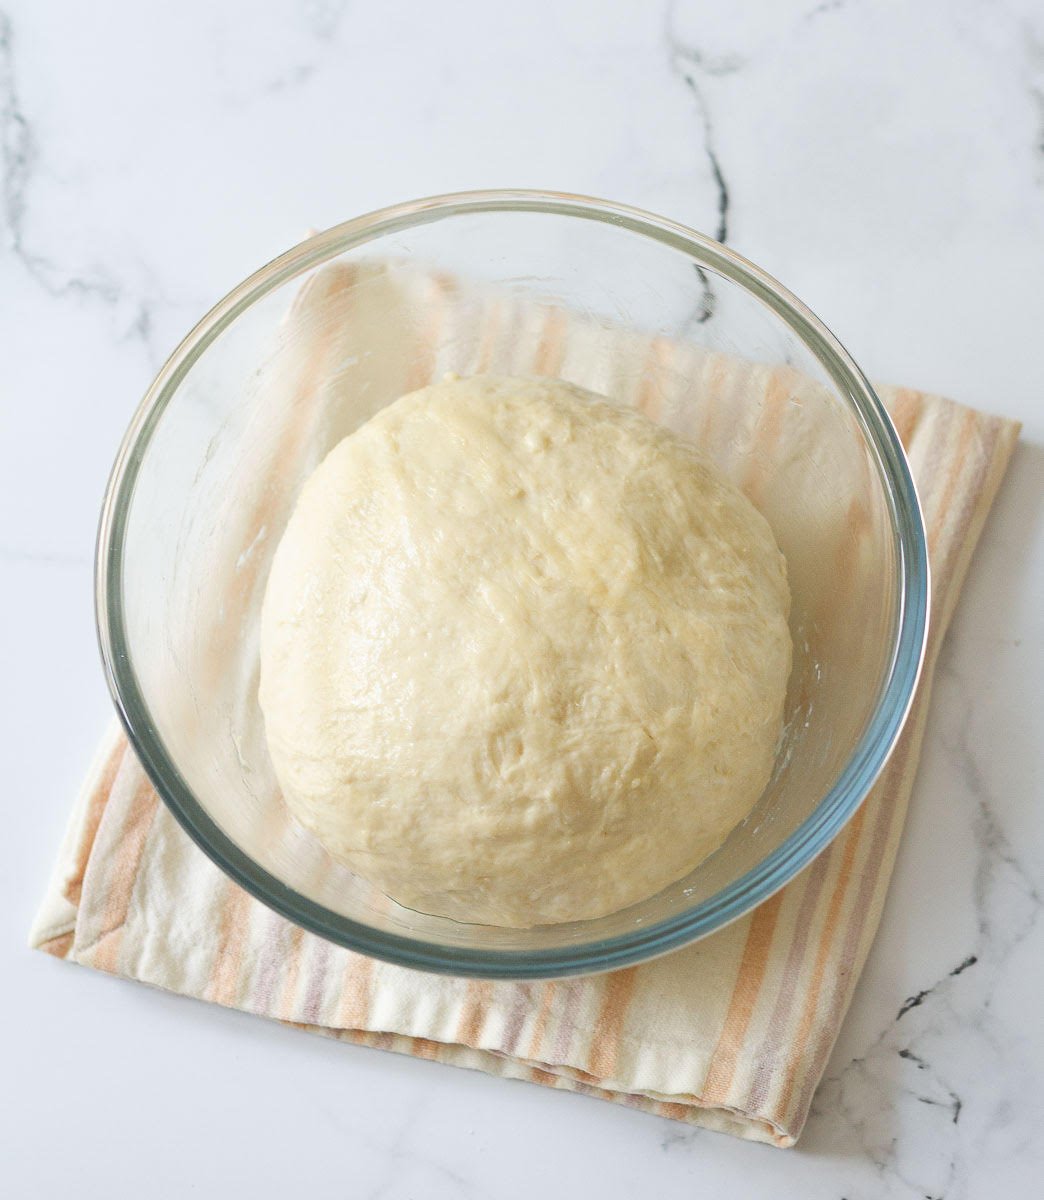
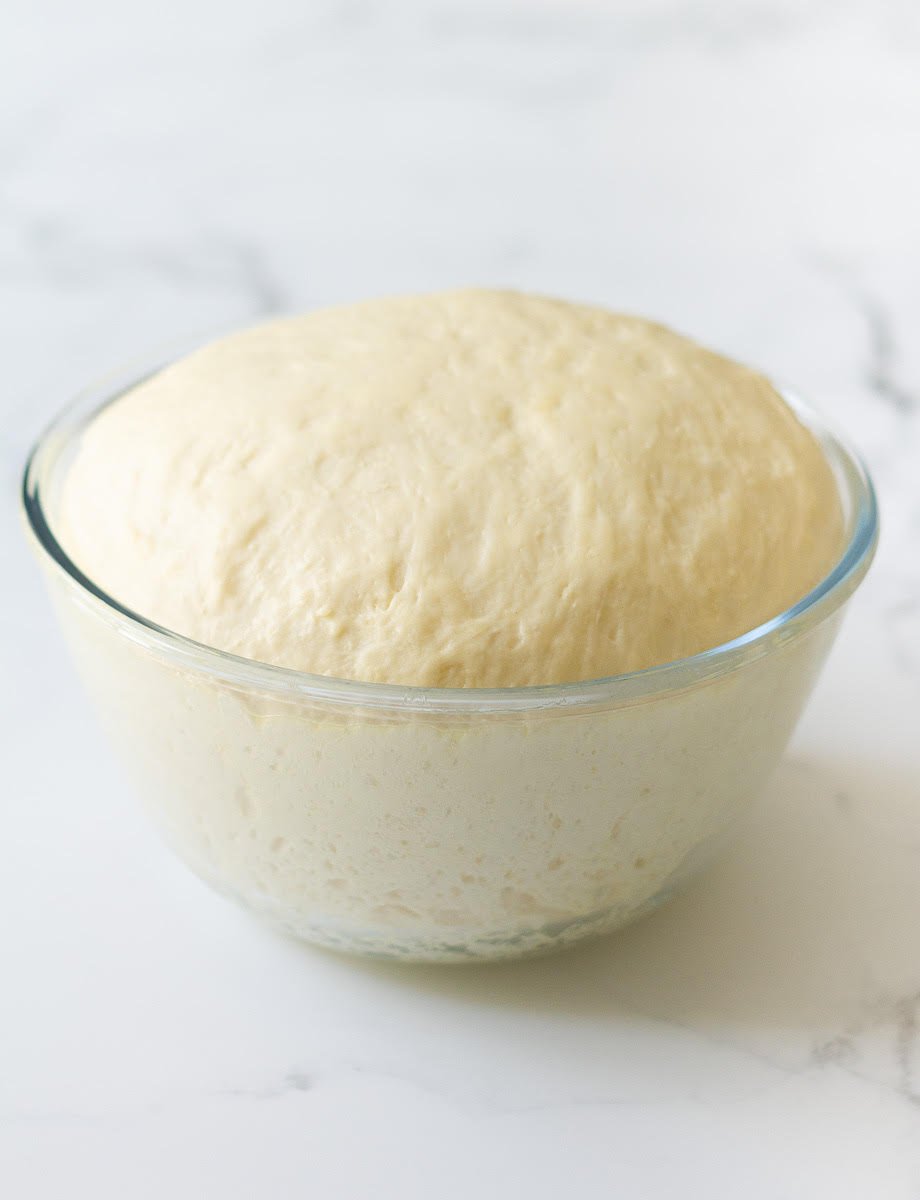
Step 3: Transfer the dough to a greased bowl, cover it, and let it proof for 1 to 2 hours, until the dough doubles in size.
Step 4: When the flatbread dough is doubled in volume, take it out of the bowl and gently deflate it.
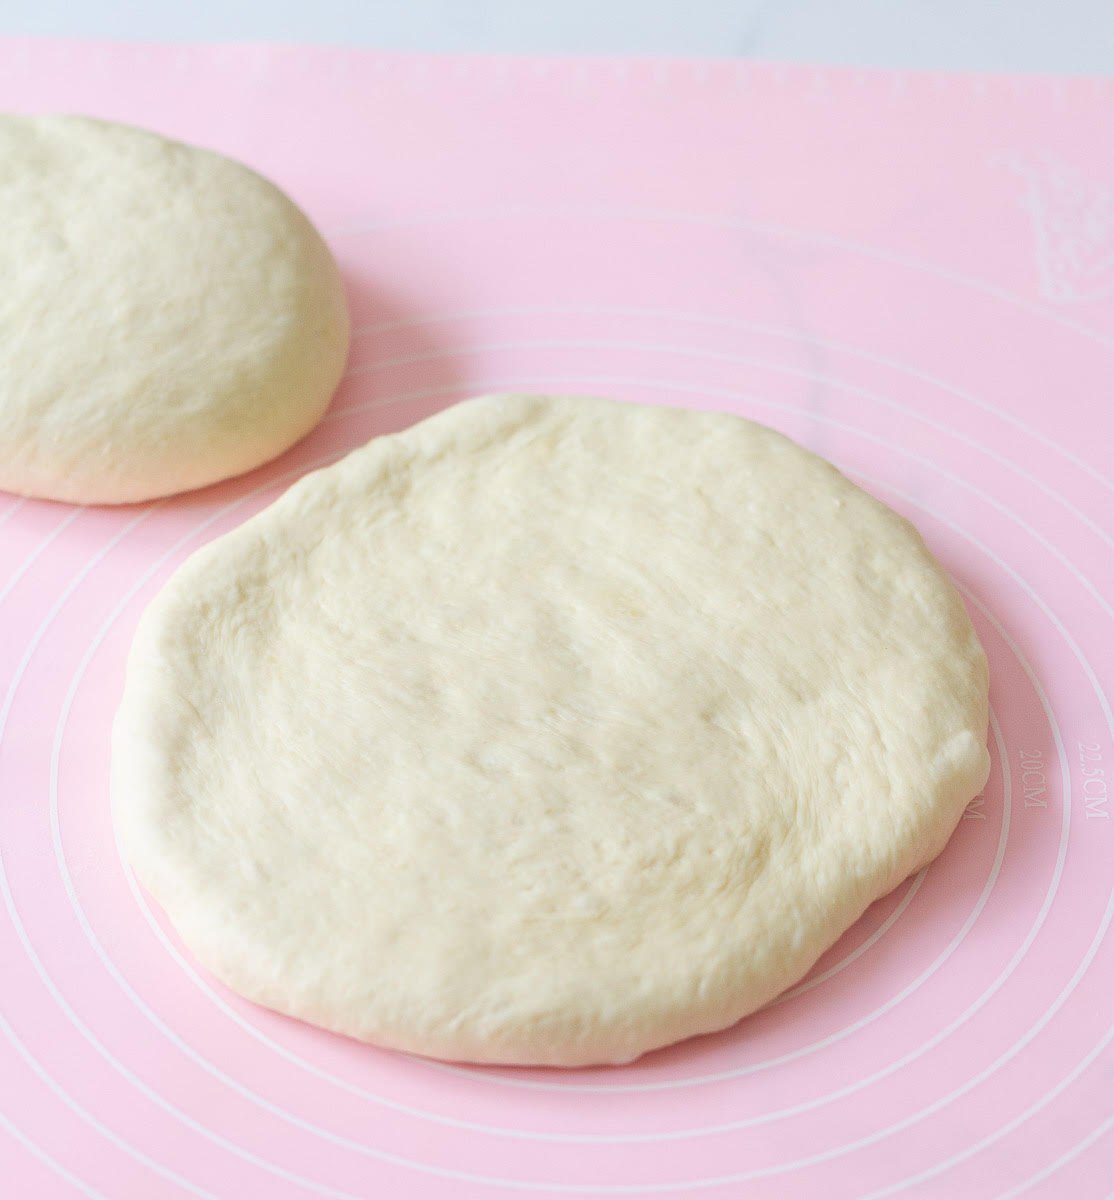
Step 5: Divide it into 2 portions and roll each into a tight ball.
Shape The Pide Flatbread
Step 6: Pat each ball with your hands and flatten it into a 7- or 8-inch circle.
Step 7: Transfer each disc to a parchment-lined baking tray.
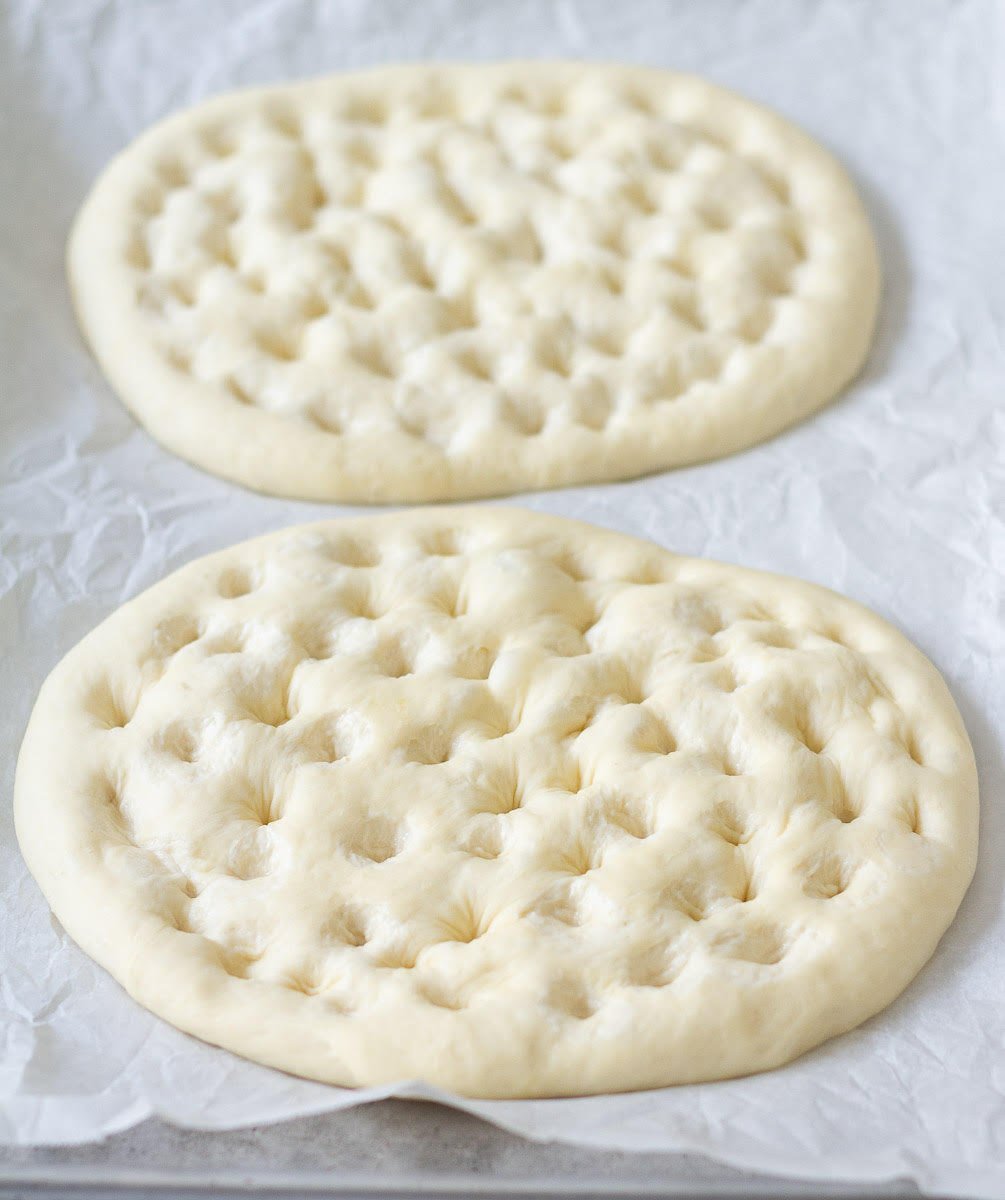
Step 8: Use the tips of your fingers to indent a border about 1 inch inside the edge of the dough all around the circle. Next, make the characteristic diamond pattern - using your fingertips, make indents along the dough vertically and then horizontally.
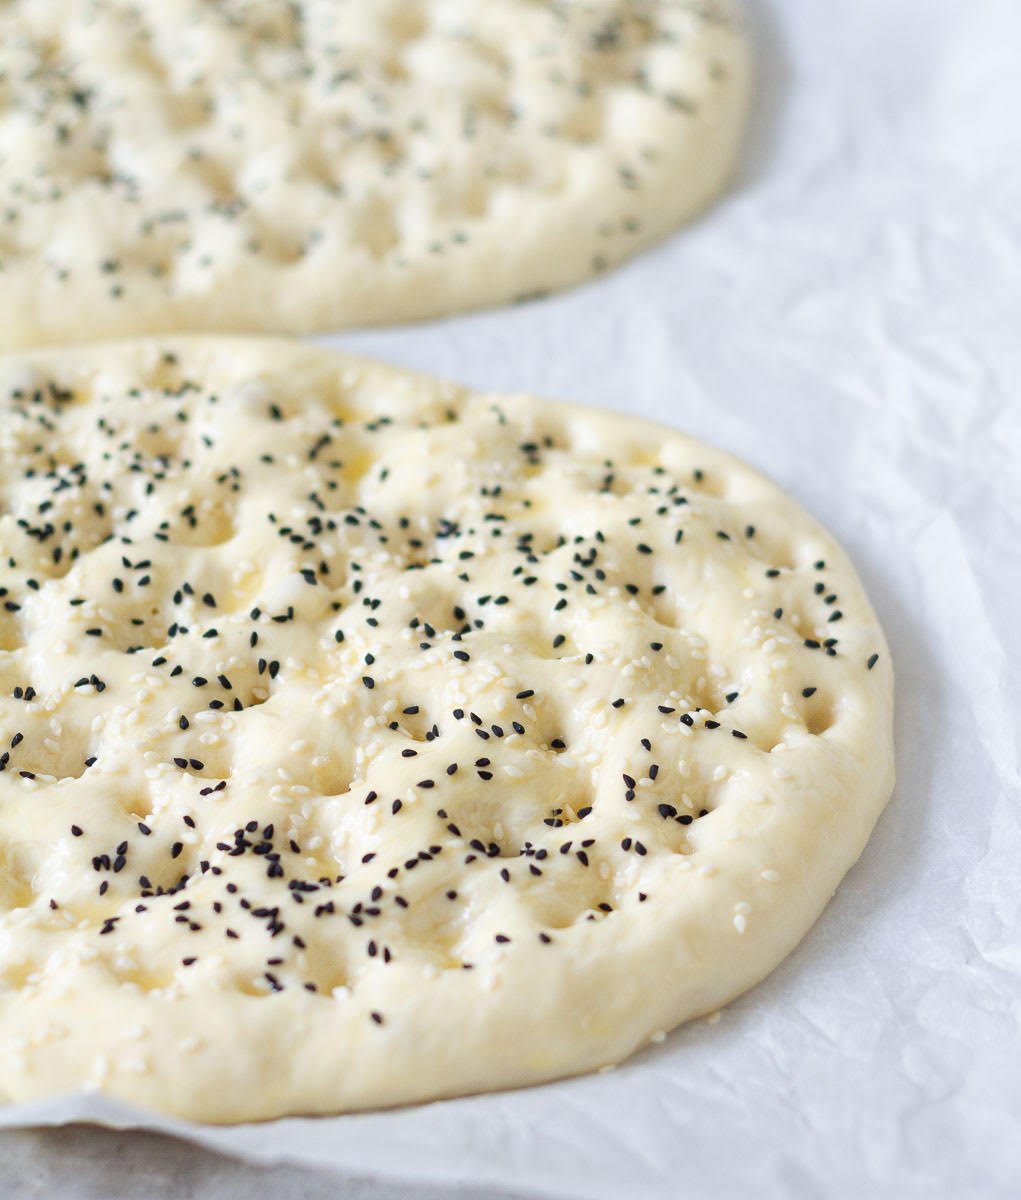
Step 9: Brush the Turkish bread liberally with a mixture of egg and a tablespoon of yogurt.
Step 10: Sprinkle seeds and bake till you have a glistening golden-brown crust and the bottom is lightly golden.
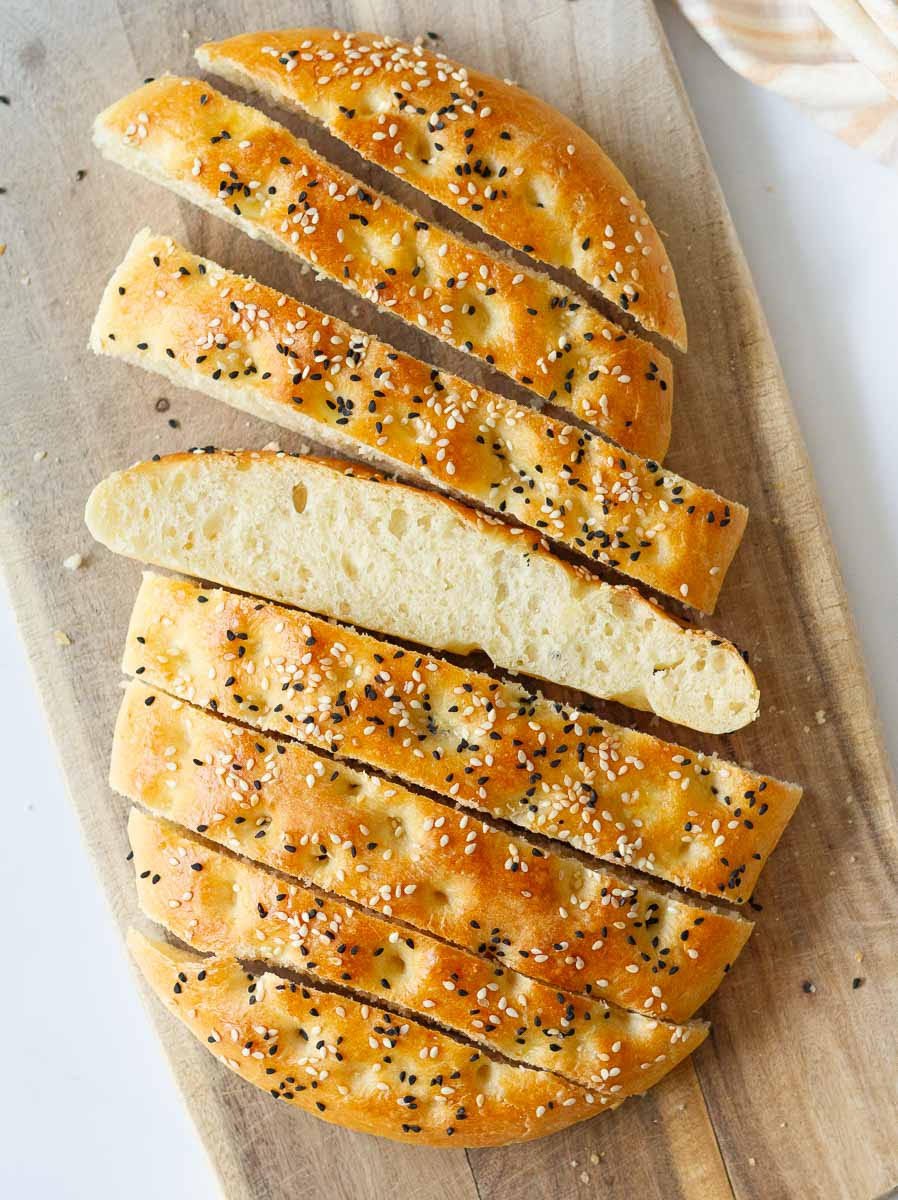
Final step: Slice into wedges and serve.
Pro Tips
Milk and water need to be lukewarm to help the yeast bloom. The ideal temperature is around 40 C / 105 F.
This is a no-knead bread. But I do like to knead it briefly for just 1-2 minutes. You can skip this step.
The dough is supposed to be soft and sticky. Don’t be tempted to add too much extra flour.
How long it takes to proof the Turkish flatbread depends on the ambient temperature. The colder it is, the longer it needs. So allow the yeast to do its job.
If the dough springs back when you're indenting, let it rest for 5-10 minutes, then try again.
Go deep when making the indentations because, remember, the flatbread will rise as it bakes. If your pattern is too shallow, it’ll disappear in the oven.
How To Serve The Turkish Pide
The Turkish flatbread is absolutely delicious as-is. You can enjoy it on its own, with butter, jam, or as a side.
Pide is great at room temperature, but if you love hot bread, it’s easy to reheat. Sprinkle the flatbread with water (the steam makes the crumb soft) and:
Slide it into a hot oven for a couple of minutes.
Or use a stovetop. Just place it in a pan and cover.
Half the joy of cooking is sharing it with others.That’s why I’m always eager to hear from you. So go right ahead & drop a comment or reach out on Instagram, Pinterest, YouTube, or Facebook. I hope you love this Turkish pide flatbread as much as we do!
In a large bowl, whisk together the flour, salt, sugar, and yeast.
Mix in the olive oil, milk, and water.
Combine into a dough using your hands or a spatula. This is a soft, sticky dough and comes together quickly.If you want, knead briefly for 1-2 minutes. This is optional. Traditionally this dough doesn't need kneading.
Transfer the dough to a lightly greased bowl. Cover and keep in a draft-free place for 1-1.5 hours or until the dough doubles in size.
Preheat your oven to 200 C/ 400 F. Line a baking tray with parchment paper.
Turn the dough out on a lightly floured surface and gently deflate it.
Divide it into 2 equal portions.Starting with one portion, gently pat it into a circle or oval shape about 7"- 8" in diameter. Gently place it on the prepared baking tray.
Use the tips of your fingers to indent a border about 1 inch inside the edge of the dough, all around the circle. Next, make the characteristic diamond pattern - using your fingertips, make indents along the dough vertically and then horizontally.Repeat with the remaining dough.
Egg Wash
Prepare the egg wash by mixing together the egg and yogurt in a small bowl.
Brush the egg wash all over the dough.
Sprinkle the seeds on top and bake at 200 C / 400 F for 20-25 minutes until the bread is golden on top.
Remove from the oven. Let the loaves rest for 5-10 minutes before slicing and serving. Enjoy!
Video
Notes
Milk and water need to be lukewarm to help the yeast bloom. The ideal temperature is around 40 C / 105 F.
This is a no-knead bread. But I do like to knead it briefly for just 1-2 minutes. You can skip this step.
The dough is supposed to be soft and sticky. Don’t be tempted to add too much extra flour.
How long it takes to proof the Turkish flatbread depends on the ambient temperature. The colder it is, the longer it needs. So allow the yeast to do its job.
If the dough springs back when you're indenting, let it rest for 5-10 minutes, then try again.
Go deep when making the indentations because, remember, the flatbread will rise as it bakes. If your pattern is too shallow, it’ll disappear in the oven.
I made this tonight and it turned out perfectly! Gorgeous AND delicious. I swapped 40g of the flour with a mix of ground flax and oat flour for some extra fiber and heartiness since we didn’t have any whole wheat. The family devoured it all in minutes alongside a bowl of Turkish lentil soup (mercimek). Thanks!
So happy to hear this, Jenevieve! Thrilled that you all enjoyed this and your substitution worked well. Thank you very much for your wonderful review and for following along. This means so much to me. 🙏🏻
Oh that sounds so delicous! Garlic and zatar must've added so much flavor to this bread. Thank you for trying the recipe and sharing your wonderful feedback. xoxo
Ohhh wow thank you Tasha for this amazing pedi recipe, I really enjoy it.
And I tried using semolina to make another version hmmm it really delicious.
So easy to make.
Thank you so much Aisha for your wonderful feedback! Means a lot to me. xoxo
Semolina in the dough sounds fabulous! I should definitely try that too. 🙂


Jenevieve Price says
I made this tonight and it turned out perfectly! Gorgeous AND delicious. I swapped 40g of the flour with a mix of ground flax and oat flour for some extra fiber and heartiness since we didn’t have any whole wheat. The family devoured it all in minutes alongside a bowl of Turkish lentil soup (mercimek). Thanks!
Natasha Minocha says
So happy to hear this, Jenevieve! Thrilled that you all enjoyed this and your substitution worked well. Thank you very much for your wonderful review and for following along. This means so much to me. 🙏🏻
dots says
i made small changes adding garlic to the dough and sprinkling the breads with zaatar. still came out absolutely delicious.
thank you, a great recipe!
Natasha Minocha says
Oh that sounds so delicous! Garlic and zatar must've added so much flavor to this bread. Thank you for trying the recipe and sharing your wonderful feedback. xoxo
Aisha Babagana kyari says
Ohhh wow thank you Tasha for this amazing pedi recipe, I really enjoy it.
And I tried using semolina to make another version hmmm it really delicious.
So easy to make.
Natasha Minocha says
Thank you so much Aisha for your wonderful feedback! Means a lot to me. xoxo
Semolina in the dough sounds fabulous! I should definitely try that too. 🙂