You’ve been missing out on some thick, creamy, and delectable bliss if you haven’t made coconut condensed milk at home. It is so much better than anything you get out of a can and requires just two ingredients to make. With a mild sweet flavor and subtle notes of caramel, it has more body and depth than regular condensed milk.
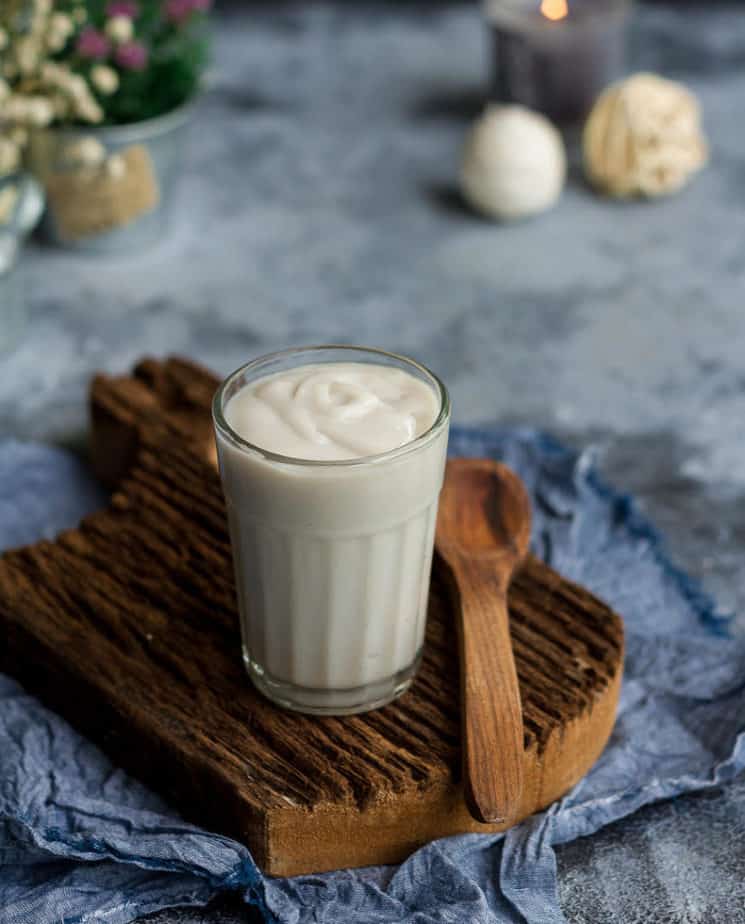
The fact that it allows complete control over the ingredients is merely a bonus for me. What really got me hooked on this easy coconut condensed milk was the wealth of recipes I can use it in, from iced coffee to festive sweets.
How to make homemade coconut condensed milk?
I wanted to try coconut condensed milk for two reasons. One, it is hard to find it in India. Second, wherever possible, I like to DIY because I can keep a check on the amount of sugar. So, if you like to include cleaner ingredients with no additives in your recipes, here’s how to make condensed milk at home:
- Take a thick-bottom saucepan and place it over medium heat.
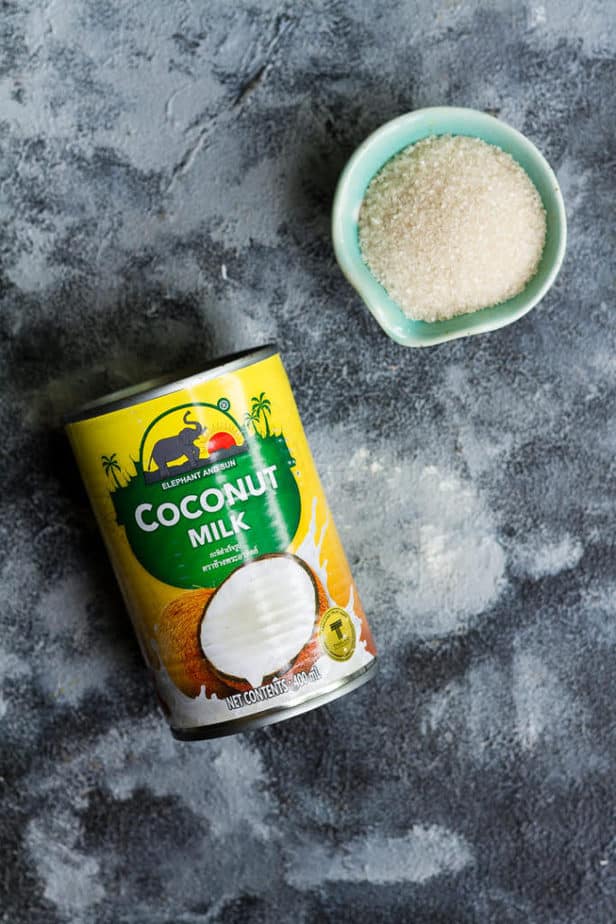
- Add coconut milk and whisk in raw sugar.
- When the mixture comes to a simmering boil, lower the heat.
- Continue cooking for 45 minutes to 1 hour 15 minutes.
- Keep stirring every few minutes. Don’t just set it on the stove and forget about it.
- When the milk has reduced in volume by 50%, take it off the stove.
- Let it cool.
- Then transfer to the refrigerator where you can store it for up to 2 weeks.
Condensed milk recipe FAQs
What is condensed milk?
When you remove water from any milk, in this case, coconut milk, and add sugar, it becomes condensed milk. In India, it’s the secret ingredient in a whole table’s worth of mithais.
Why use a thick-bottom pan?
Because the base is heavier. It ensures that the heat from the flame is evenly distributed to the milk, preventing it from burning.

Why the varying cook time?
The exact time it will take you to make condensed milk depends upon the type of coconut milk you use, the heat level of the stove, and how heavy your saucepan is. My coconut milk was fairly thick in under an hour. And yes, you can use fresh coconut milk!
Why do you need to keep stirring homemade condensed milk?
So, you don’t scorch the milk, and there is no build-up on the sides. This is a good time to listen to music, finish your kitchen chores, chat with a friend, or even prep the next meal while you stick around!
How do you know when the coconut condensed milk is done?
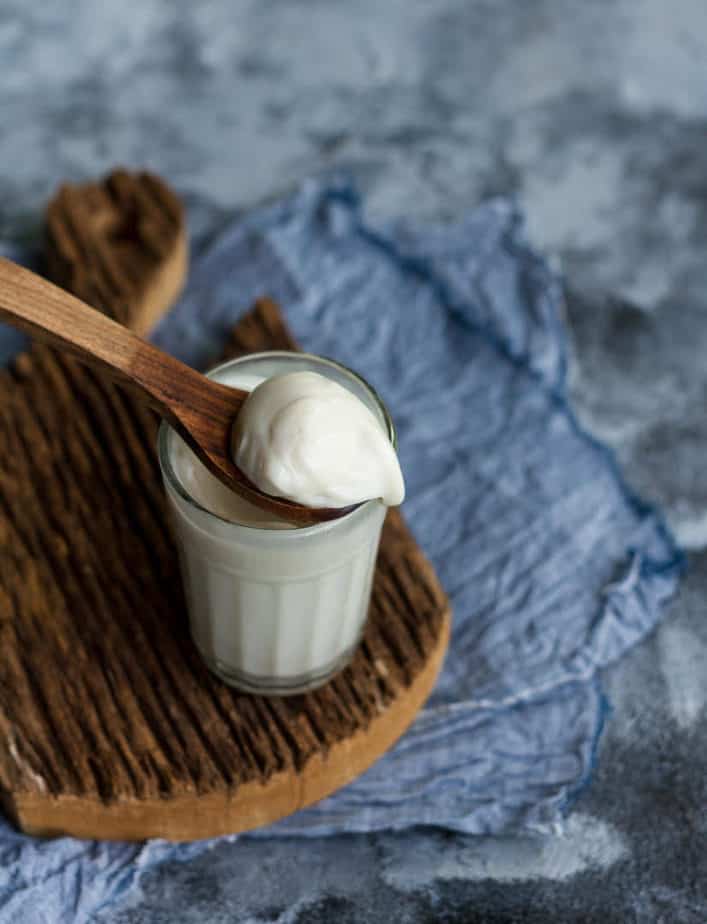
Besides reducing in volume, the milk should coat the back of your spoon. When it does that, the condensed milk is cooked to perfection.
Keep in mind that as it cools, the milk will thicken further, gaining that slightly glossy and pleasantly creamy texture.
What else can you use in coconut condensed milk?
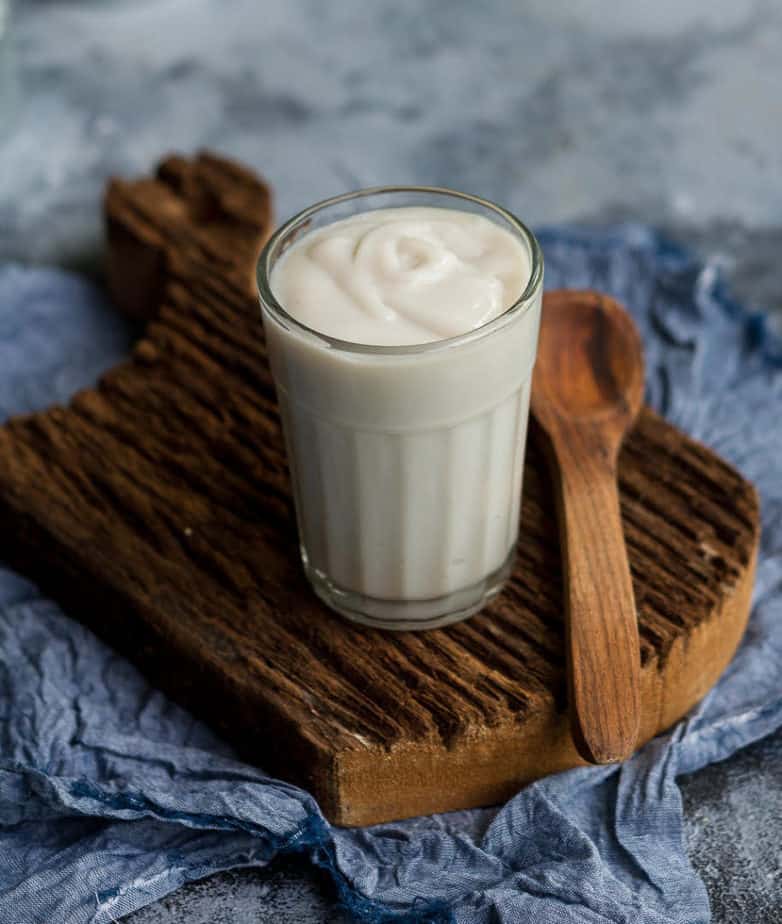
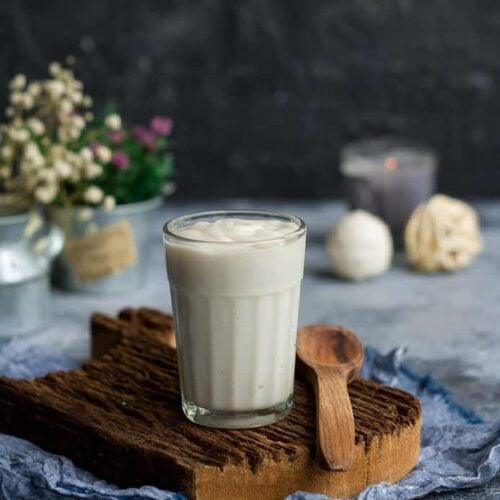
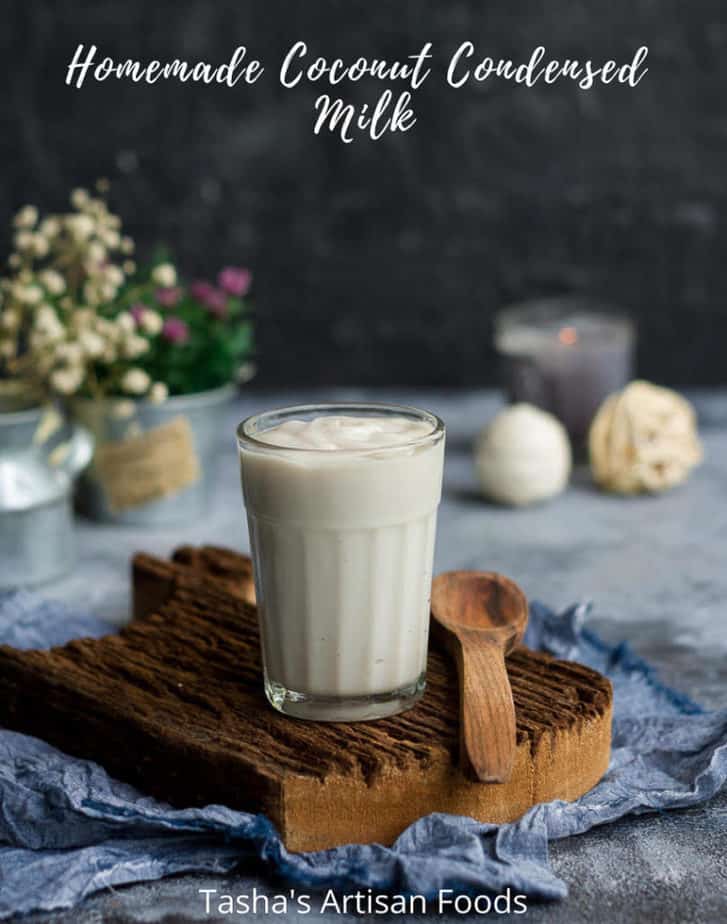
Sugar: My go-to choice is raw sugar. But you can use regular sugar, cane sugar, or brown sugar. Although the color of the coconut condensed milk will vary from bright white to ivory to nearly yellow based on the sweetener (and the variety of coconut milk). Mine, as you can see, has just a hint of caramel hues.
Where can you use coconut condensed milk?
For people like me who love milk but have to be really mindful of consumption, it is a great substitute for any recipe that uses the regular version.
Make a jar or two and keep them in the fridge. With the festivities around the corner, it’ll be a life-saver for recipes like:
- Coconut Macaroons
- Easy Chocolate Peda
- Vietnamese Iced Coffee
- Mango Thandai Popsicles
- No-Churn Thandai Ice Cream
- Saffron Cardamom Baked Yogurt
Try the homemade coconut condensed milk recipe. It’s:
Creamy
Refined-sugar free
Dairy-free, hence vegan
Sweet without being cloying
Rich with well-bodied flavor
Prefer homemade ingredients? Then you’ll love these DIY recipes:
📖 Recipe
Homemade Coconut Condensed Milk
Ingredients
- 14.4 oz Coconut milk You can also use fresh coconut milk.
- 1/4 cup Raw sugar
Instructions
- Combine the coconut milk and raw sugar in a thick-bottomed saucepan.
- Bring the mixture upto a boil on medium heat. Bring the heat down to low and cook for 45 minutes, stirring frequently. The mixture should reduce by half.This can take longer, depending on the quality of coconut milk.
- Transfer to a jar and once cooled, store in the refrigerator. This will thicken more in the refrigerator.
Nutrition



Leave a Reply