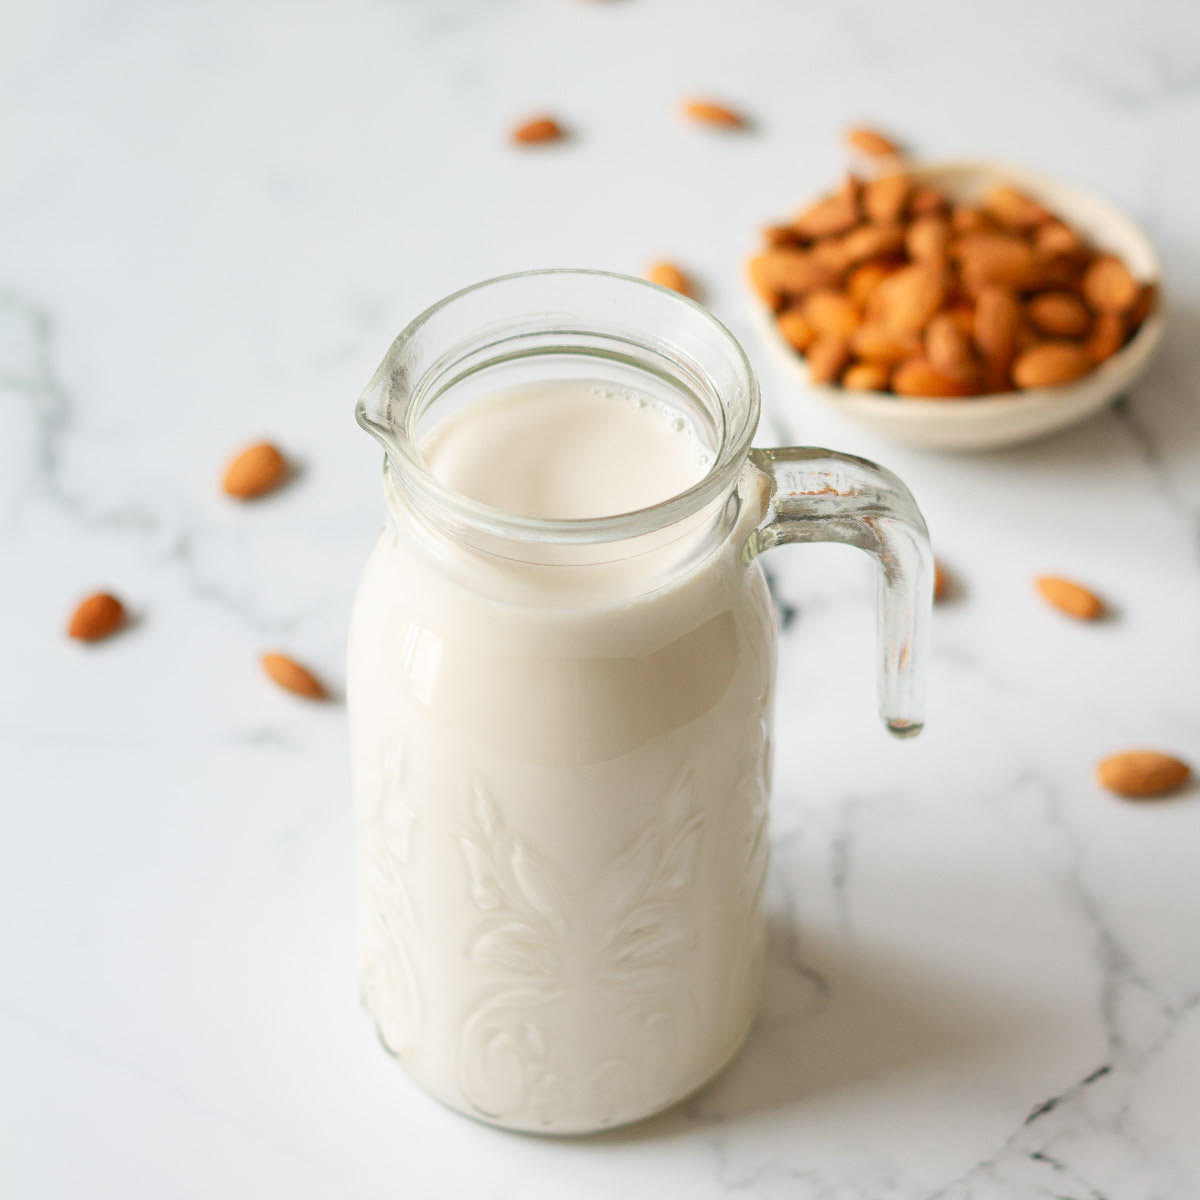
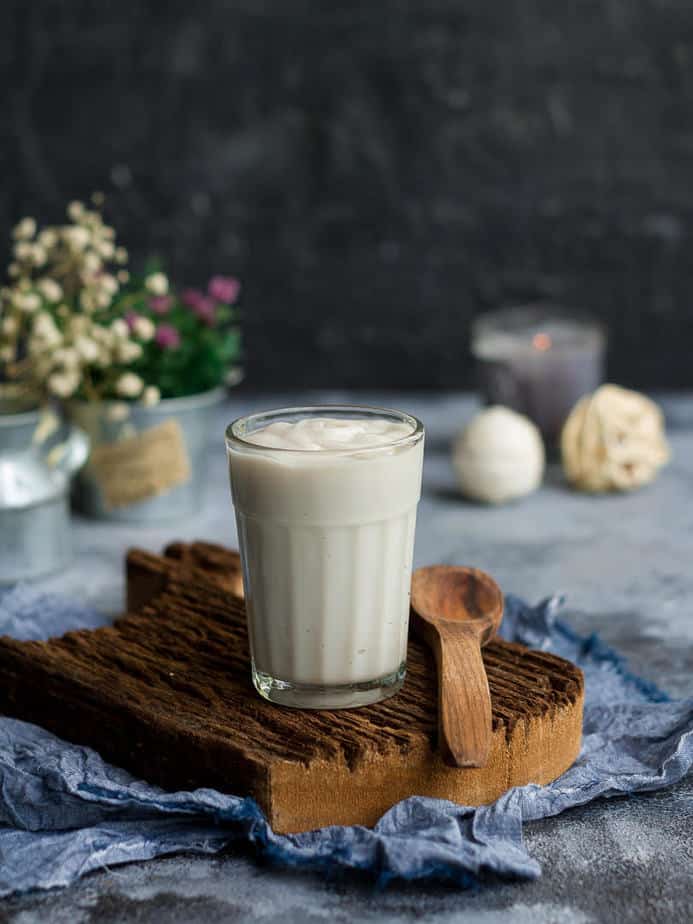
For those seeking a simple nut milk recipe, this homemade almond milk recipe is a great place to start! With just 2 ingredients, you have creamy, healthy & delicious vegan milk ready in no time.
Like many others, I grew up drinking milk every day. Summers meant tall glasses of cold coffee, fruit smoothies, and milkshakes. Winter evenings always featured a big cosy mug of hot chocolate or milky chai. My love for milk continued unabated for many years to come...till I discovered I'm lactose intolerant. Thank goodness for dairy-free alternatives which have allowed me to continue with my favourite foods!
Jump to:
Why Make Homemade Almond Milk?
Almond milk is delicious on its own, creamy, and slightly nutty in flavor. You can add a sweetener to it if you like a sweeter version. It's a fabulous addition to your smoothies and shakes. And yes, very healthy. Since it's lactose-free, it's also easy on the digestive system.
The fact that this plant-based milk is great tasting, versatile, and nutritionally dense is appealing to many people not just the ones following a vegan diet!
Why You'll Love This Recipe
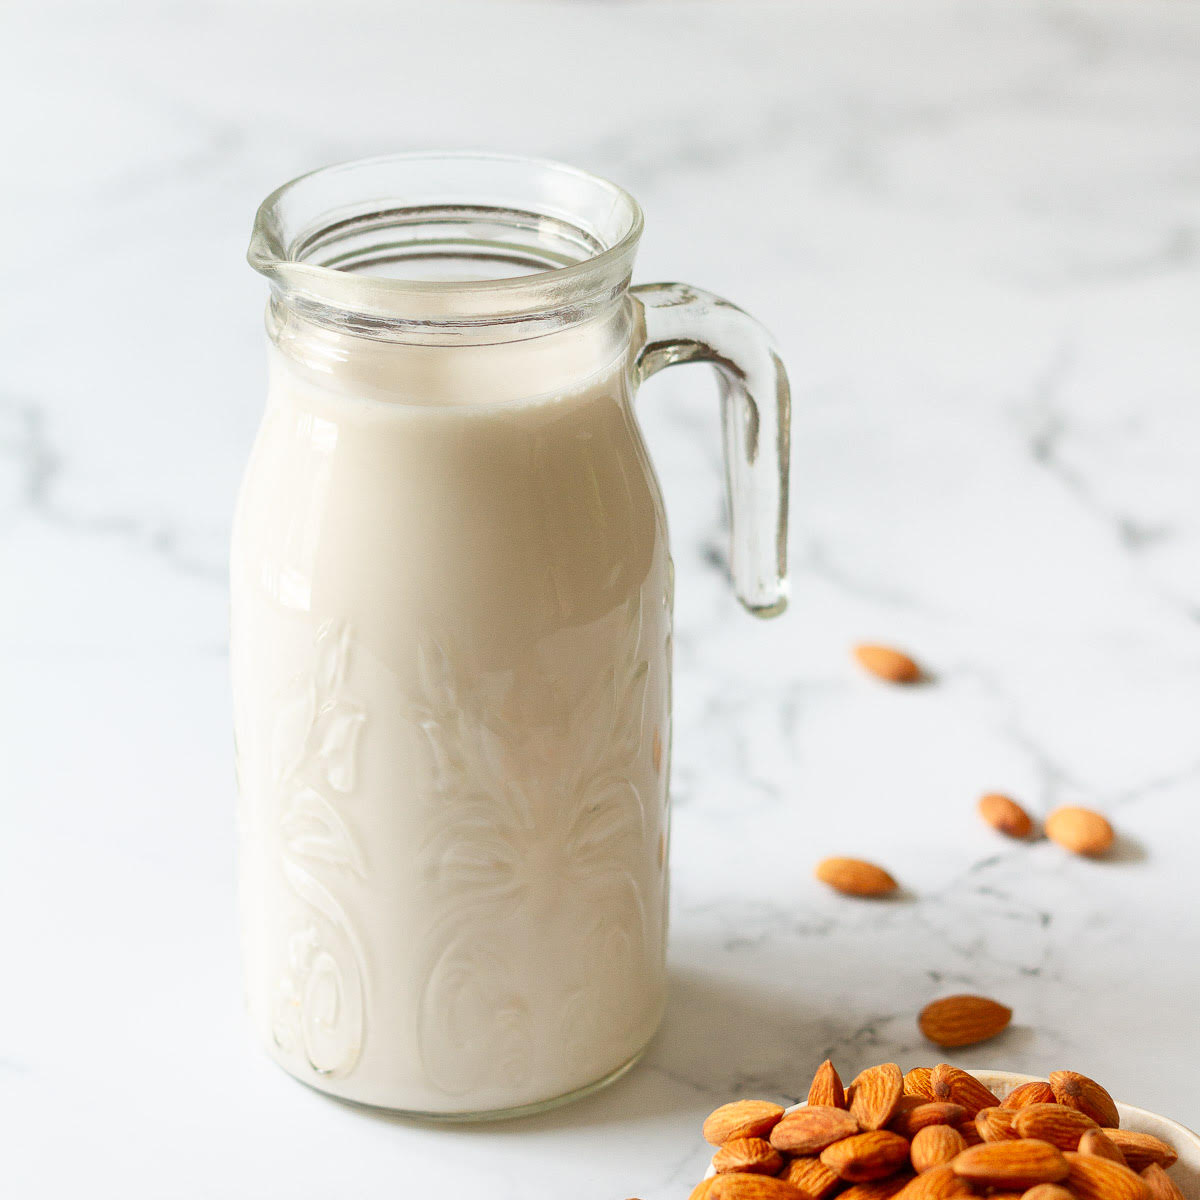
- While store-bought almond milk is convenient, it is laden with preservatives, artificial flavors, and unnecessary additives. But homemade almond milk has just 2 ingredients- almonds and fresh water—nothing more!
- This nut milk recipe allows for a richer, creamier texture with a naturally nutty taste. And you can customize the consistency and sweetness to your preference!
- Making almond milk at home is more economical and helps reduce waste by avoiding unnecessary packaging.
- Making homemade nut milk couldn't be easier! The 3-step recipe is super effortless!
- It’s perfect for making smoothies, coffee, oatmeal, or even dairy-free desserts—endless delicious possibilities!
How To Make Almond Milk
It's surprisingly easy to make nut milk at home. We are talking about soaking almonds overnight and grinding them with water the next day, then strain and drink.
Grinding and straining takes a few minutes, but that's about all the work you'll have to do.
Unprocessed, wholesome, and economical almond milk in 10 minutes tops!
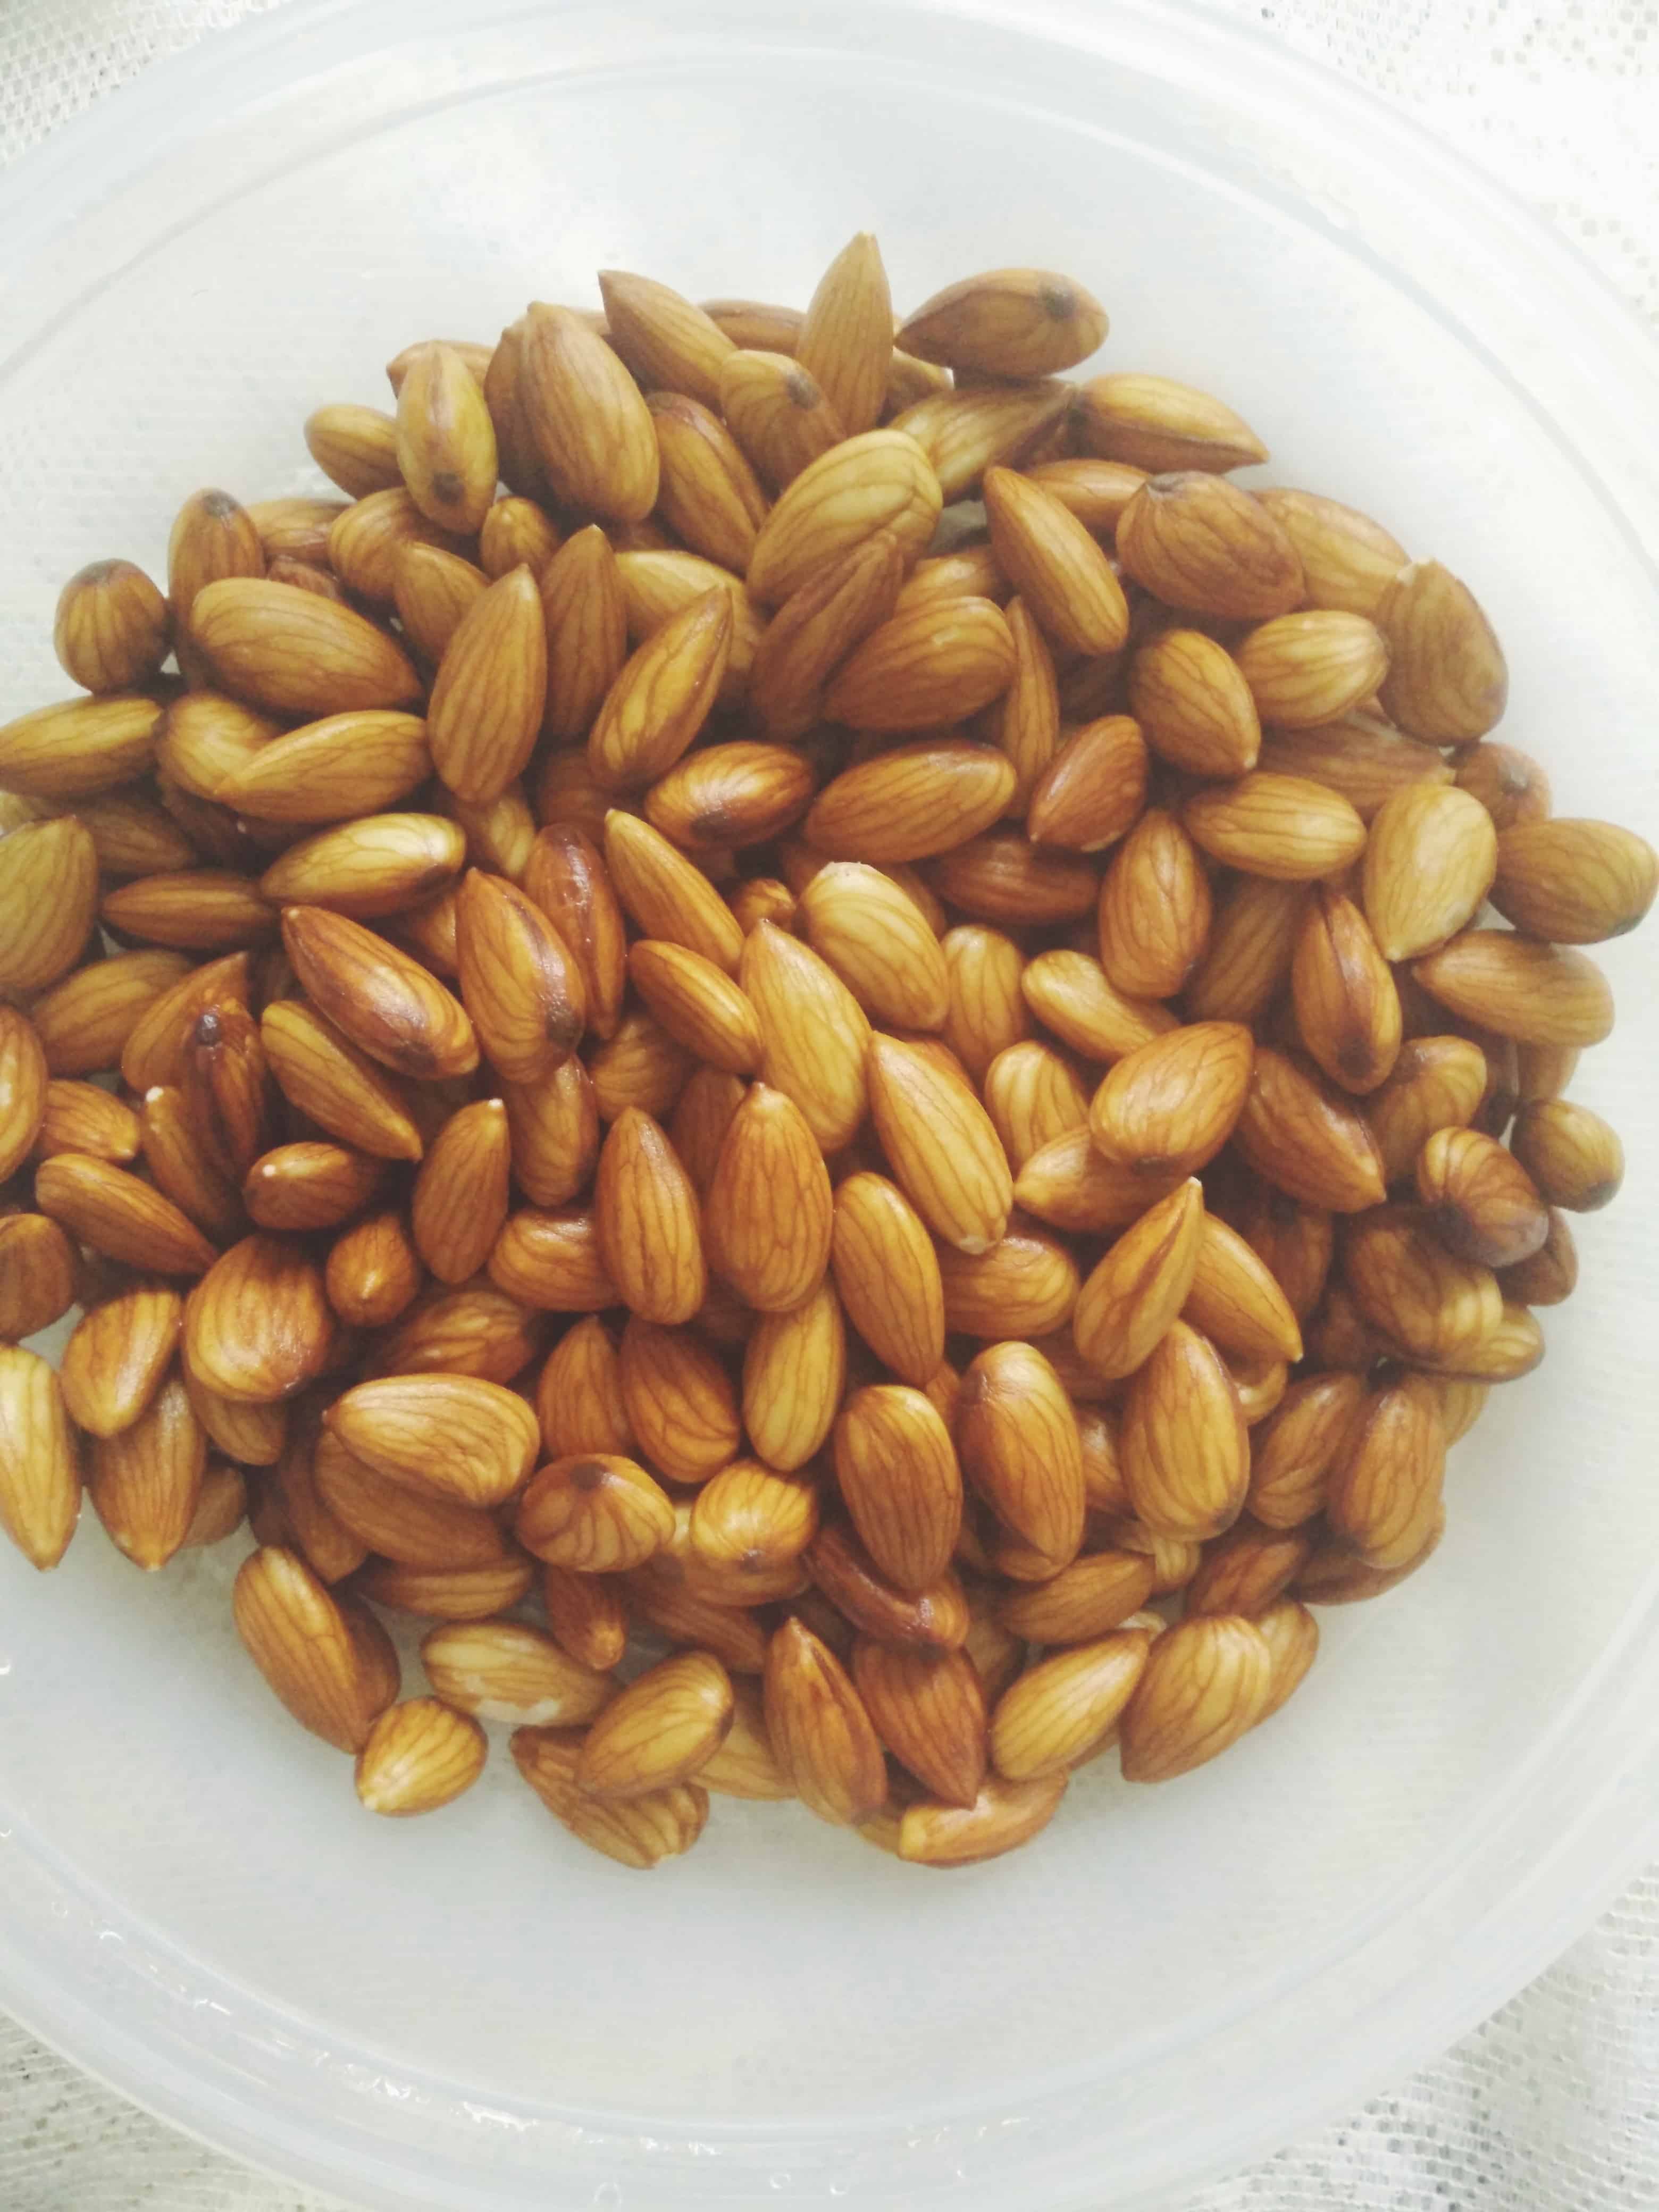
Step 1: Start with soaking the almonds overnight for 8 - 12 hours.
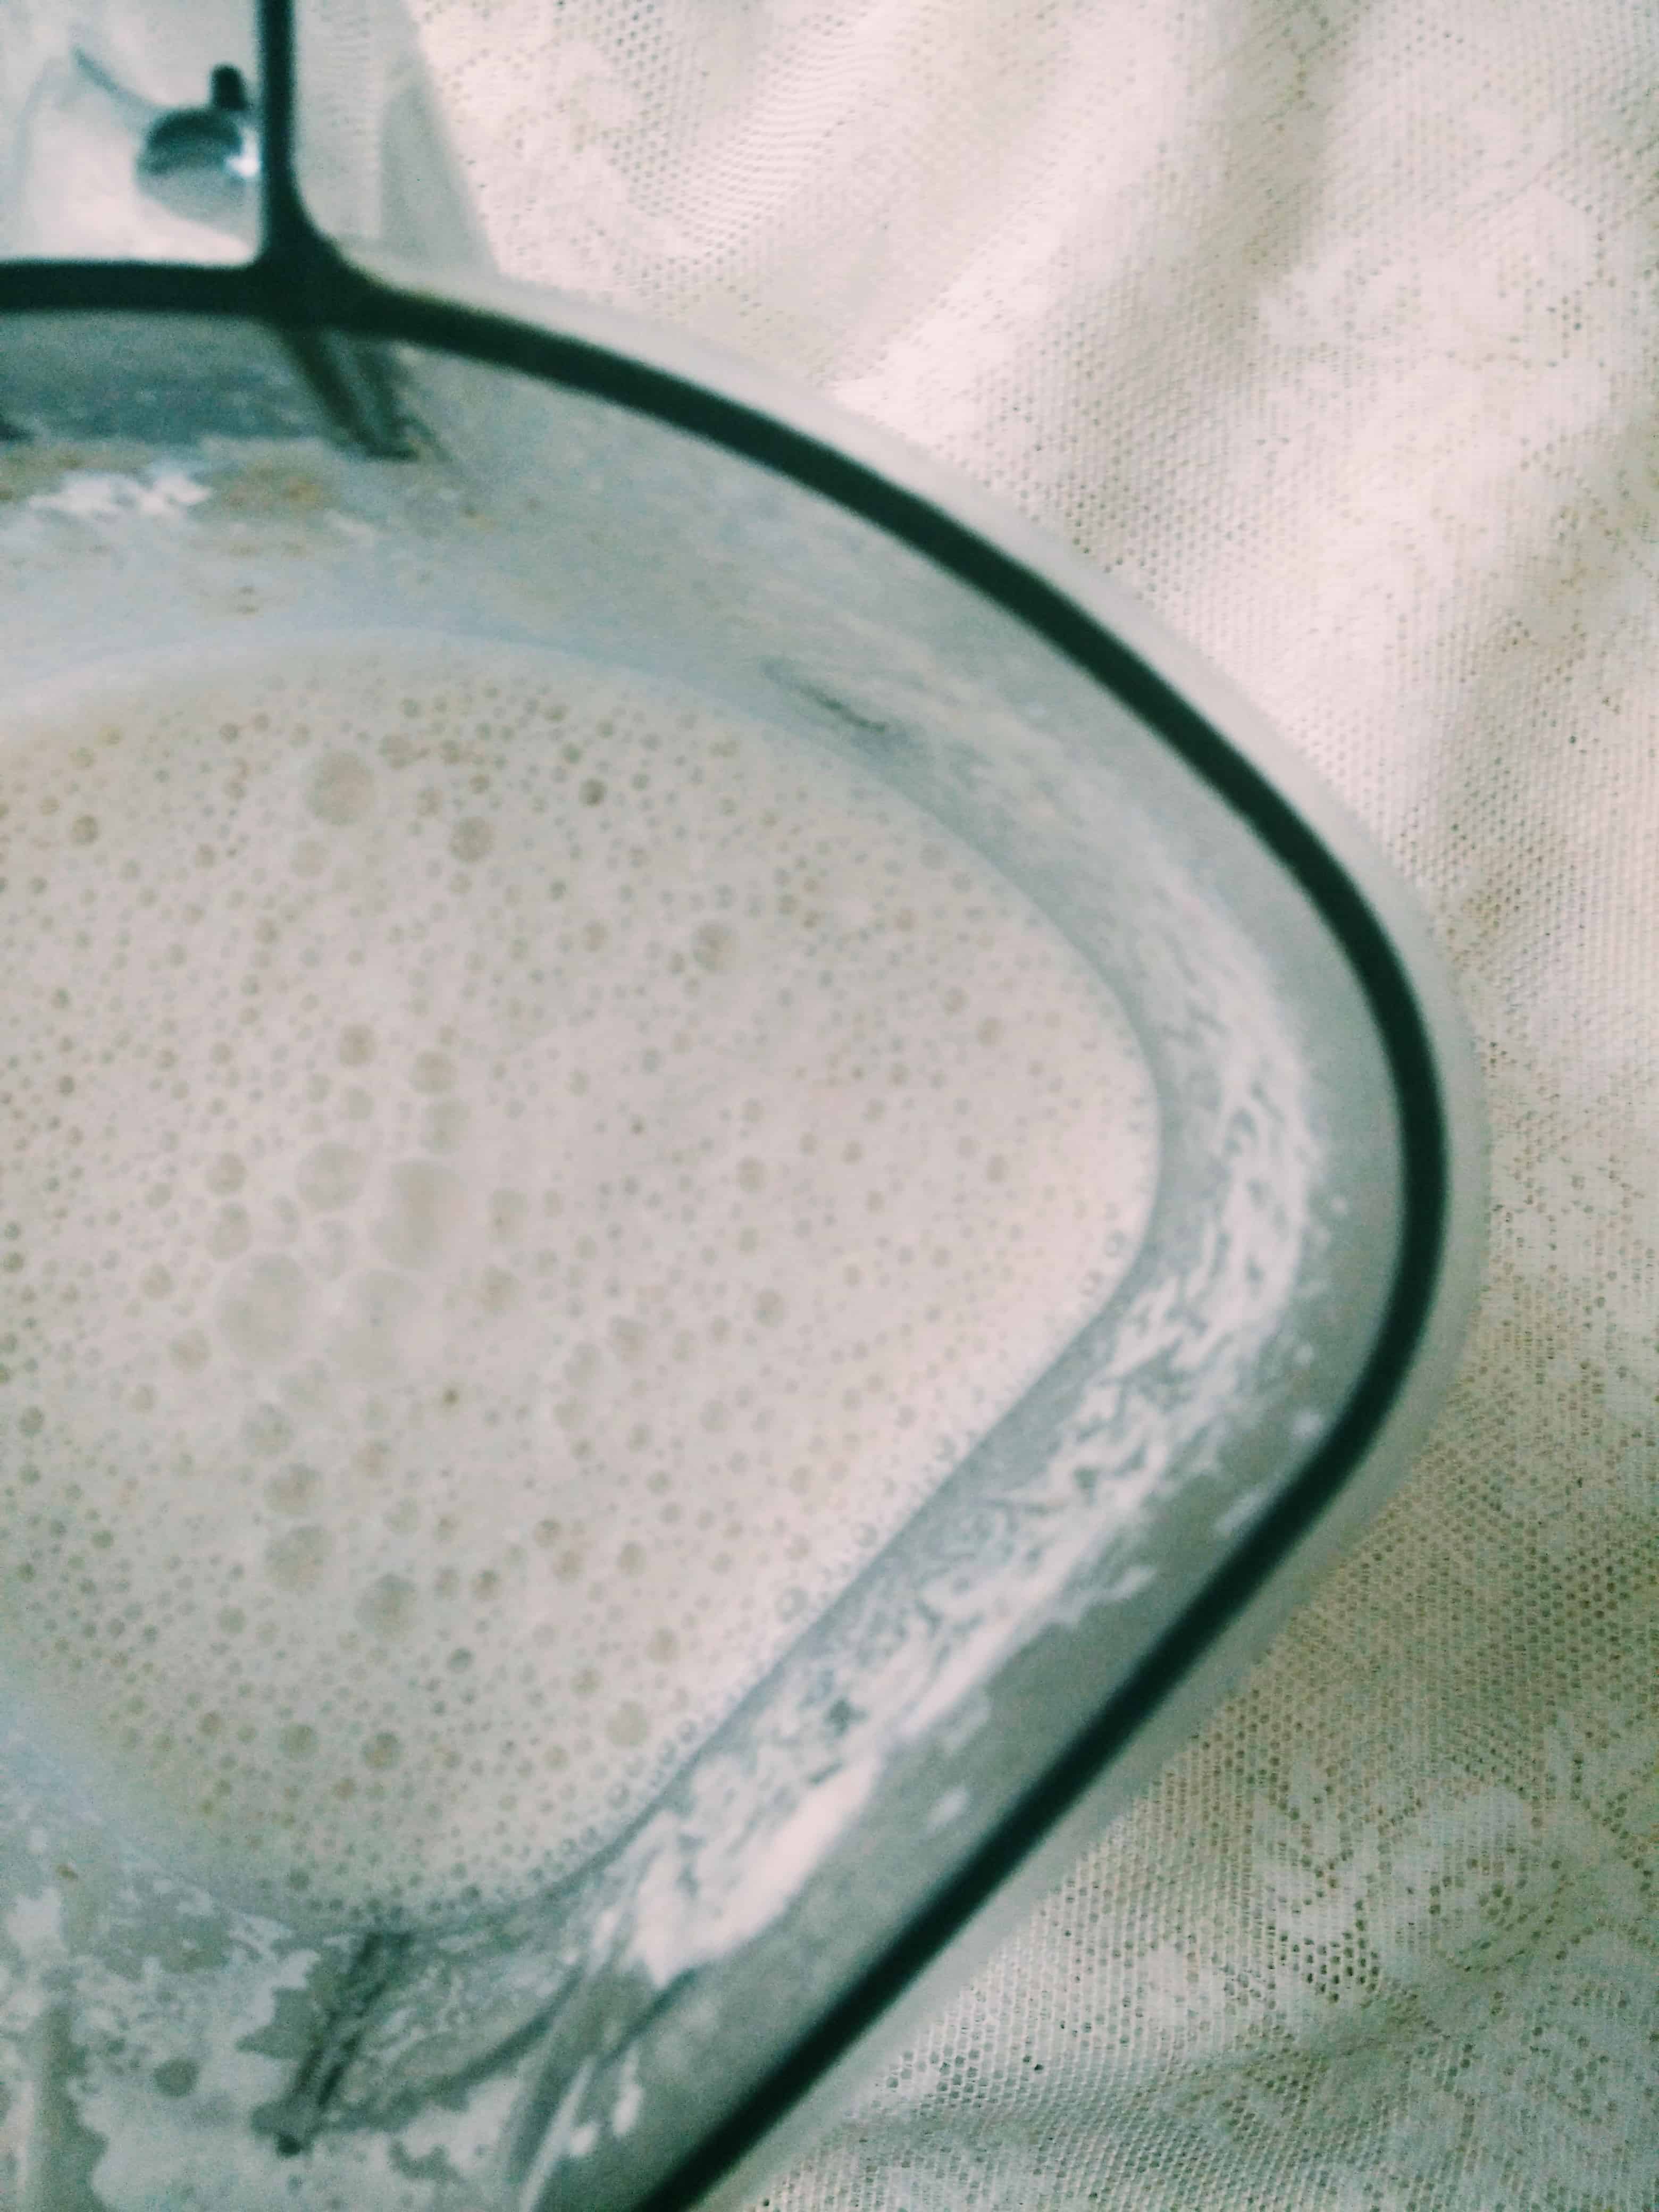
Step 2: Blend them with water for 3-4 minutes at high speed.
Step 3: Strain through a cheesecloth.
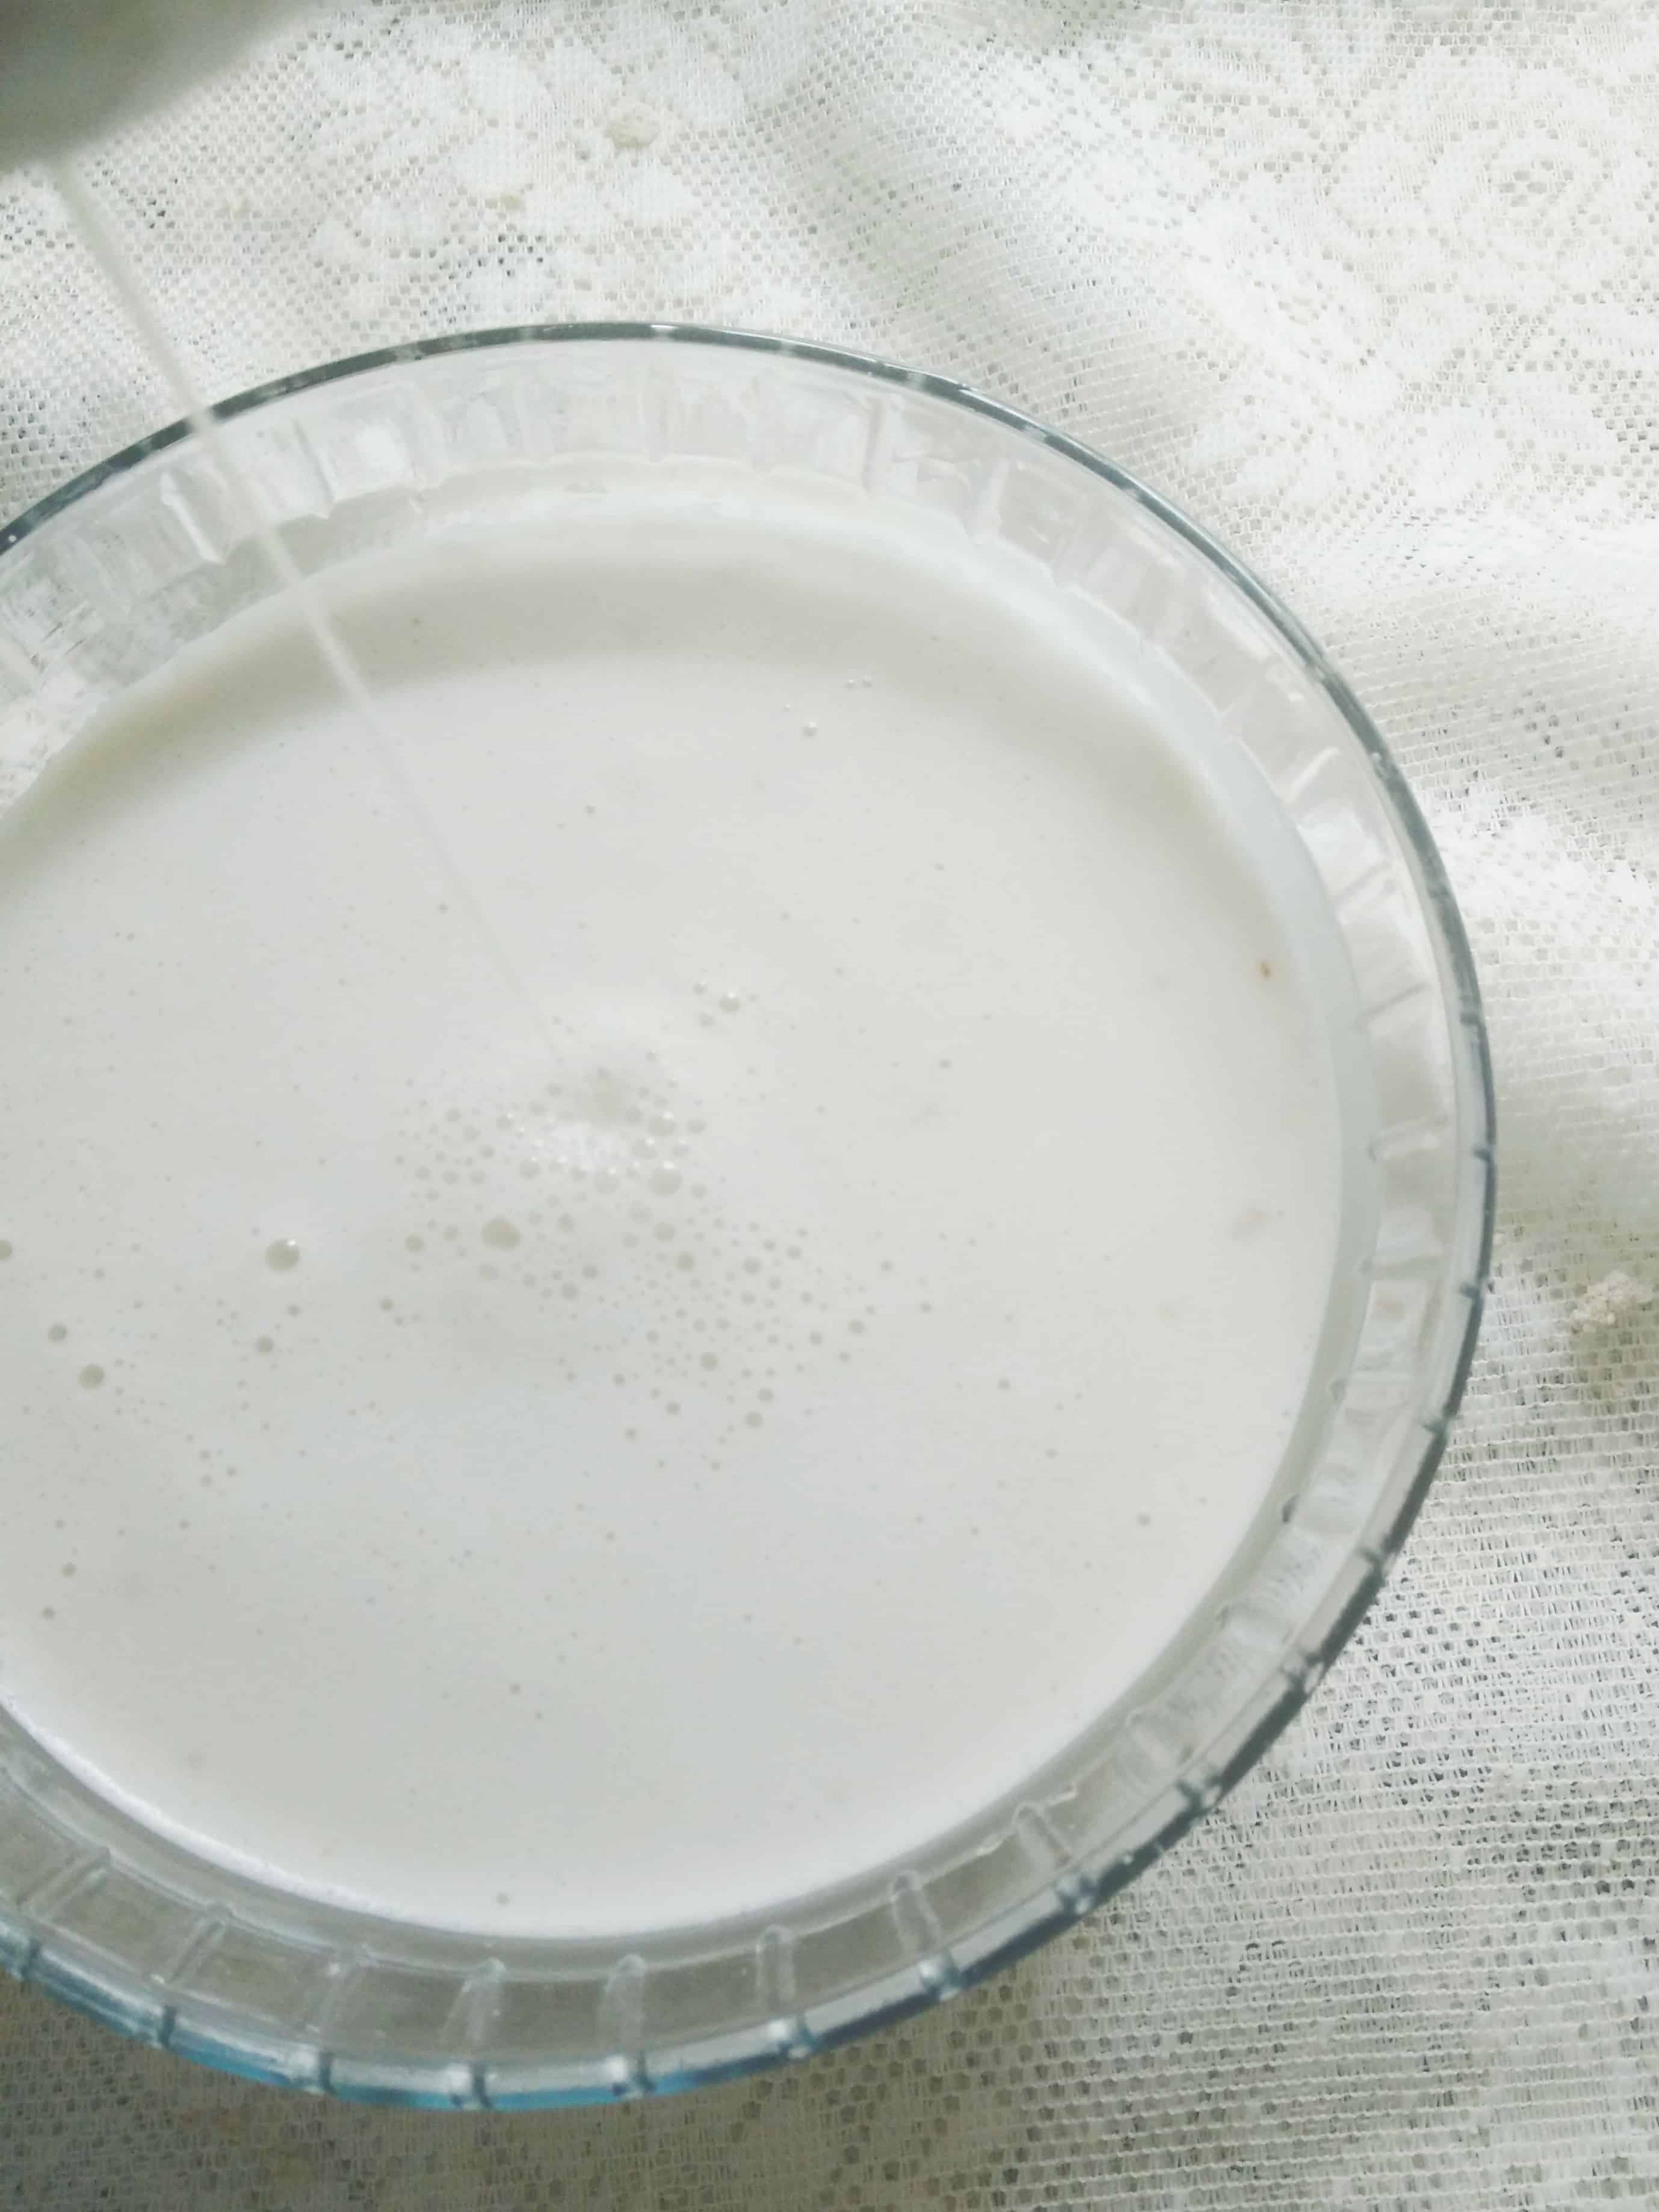
Step 4: Store in the refrigerator in a pitcher or bottle for up to 4 days.
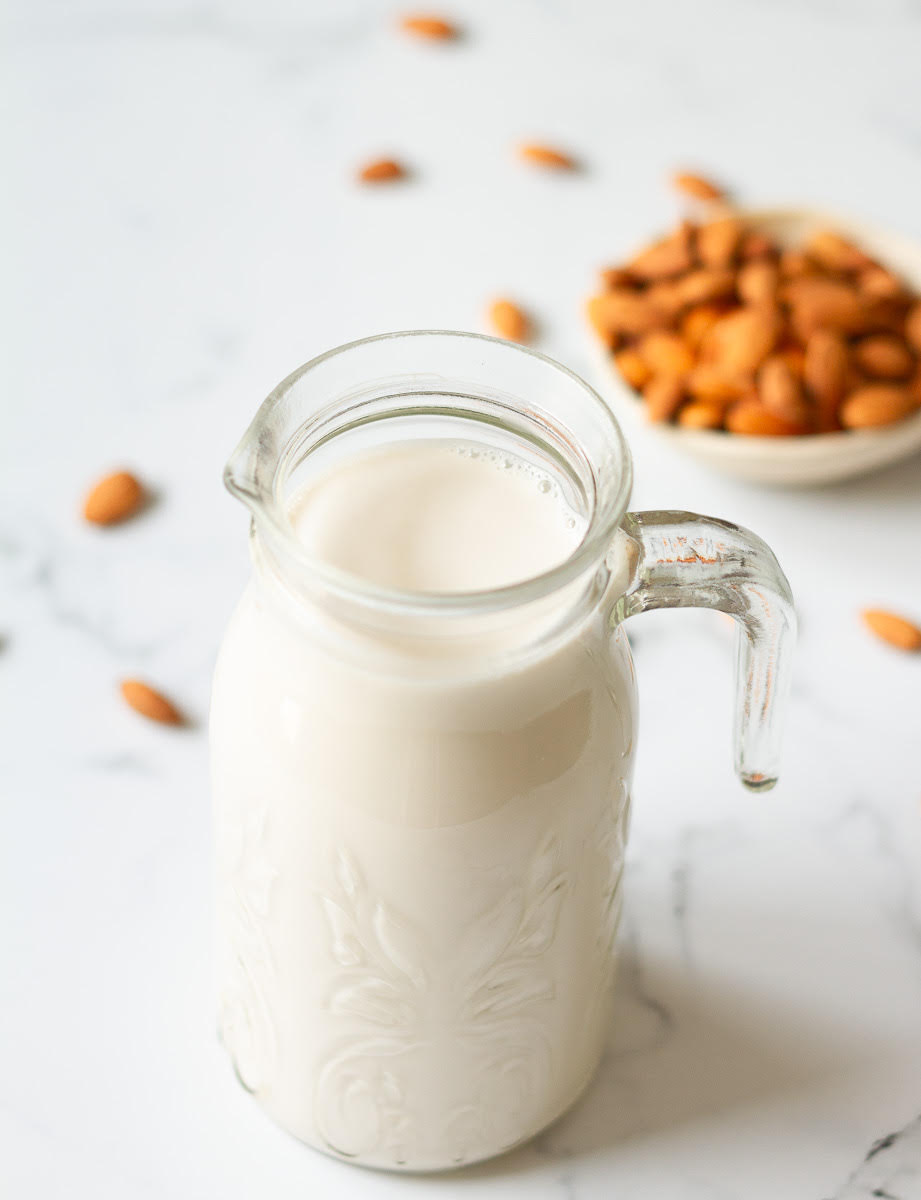
Recipe Notes
- You can peel the soaked almonds after rinsing them well and then grind with the water. You won't need to strain the mixture.
- Save the leftover almond meal. Spread it out in a pan and roast in a 180C oven for about 20 minutes till dry and golden. Sprinkle on top of your smoothies, and cereal; add in your baking, or curries or even in place of breadcrumbs. No food waste!!
Flavor Variations For Homemade Almond Milk Recipe
- Sweet almond milk - add 5-6 dates or 4 Tbsp honey, 1 tsp cinnamon, 1 tsp vanilla extract.
- Chocolate almond milk - add 1 Tbsp of cocoa powder to sweet almond milk. Add additional sweetener if required.
- Mango almond milk - add half a mango to a cup of almond milk. Blitz and enjoy.

How To Use
Almond milk is super versatile. You can drink it as-is or add various flavors as mentioned above.
It's great for adding to your coffee, tea, and smoothies such as my pear blueberry smoothie!
I love using it for my baking as well! I have countless recipes on the blog with almond milk. For starters, you can try my eggless brioche recipe, vegan cinnamon rolls, baked cinnamon donuts, carrot cake baked oatmeal, and lemon poppyseed cupcakes!
📖 Recipe

Homemade Almond Milk Recipe
Ingredients
- 1 cup Almonds
- 3 cups Water
Instructions
- Put the almonds in a bowl, pour over enough water to cover them. Soak them overnight ( 8 – 10 hrs)
- Drain and rinse them well. Place them in a blender with the water.
- Blend at high-speed for 3-4 minutes.
- Place a cheese cloth over a large bowl and carefully pour the blended mixture over it.
- Gently squeeze the cheesecloth to extract the last bit of milk.
- You can blend the leftover almond meal with some more water and strain it again.
- Pour the milk in a glass jar/ jug. It should keep well for up to 4 days in the refrigerator.
Video
Notes
- You can peel the soaked almonds after rinsing them well, then grind them with water. No straining is required!
- Save the leftover almond meal. Spread it out in a pan and roast in a 180C oven for about 20 minutes till dry and golden. Sprinkle on top of your smoothies, and cereal; add in your baking, or curries or even in place of breadcrumbs. No food waste!!




Mk says
This is one of the least fussy almond milk recipes I’ve come across! which food processor or mixer do you use to blend the almonds?!
Natasha Minocha says
Thank you so much! I use Vitamix:)
Sonia trakroo says
I will definitely try this 🙂 .
You don't need to peel the almonds after soaking?
natashaminocha says
Thank you for stopping by Sonia! Yes, you can peel the almonds after soaking. Or grind it with the peel and then strain the milk.Some don't even strain..its very good either ways. Please do let me know how it worked out for you.xx 🙂
Shilpi Dutta says
O wow this was simple! Thanks for sharing 🙂
natashaminocha says
Thank you Shilpi!Hope you'll try it !:)