
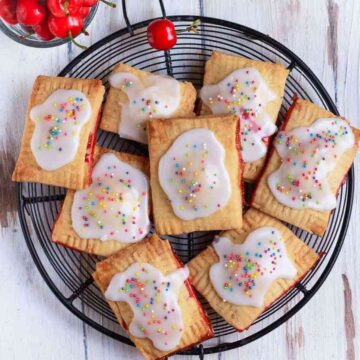
Stuffed with jam, and topped with lemon glaze and sprinkles, these enchanting, comforting, and cute easy pop tarts are irresistibly good. You’ll never wish for the store-bought versions again!

They are lovely for breakfast or an evening snack. They are adorably cute to look at and a tremendous hit! Once you make homemade pop tarts, you’ll never want the boxed ones!
Jump to:
What Are Pop -Tarts
Pop tarts (jam tarts or jam-filled hand pies) are rectangular, flaky pastries filled with sweet jam. Popular as a quick and sweet breakfast treat, they are a great hit with the kids ( and adults alike!).

Why You’ll Love This Recipe?
Kids ( and adults too!) will love these perfectly tender and flaky pop tarts.
I loved it because, unlike what the world tells you, making pastry at home is not hard. And homemade pastry makes these pop tarts so so much better!
Plus, you have full control over how much sugar you add to homemade tarts.
And finally, you can switch the pop-tart flavors every time!
Ingredients
Flour: I used all-purpose flour for this recipe. It gives a lovely tender pastry. You can use wholewheat flour as well. to make the pop-tart pastry at home. Or you can try the quicker version of this recipe and use store-bought puff pastry instead, like I did for my strawberry turnovers!
The butter needs to be chilled and cut into cubes. I used regular salted butter. If you use unsalted butter, please add a quarter teaspoon to the flour.
Powdered sugar sweetens the pastry dough.
Water has to be chilled.
Jam: I used strawberry jam for these copycat homemade strawberry pop-tarts. You can use storebought or homemade.
Pop Tarts Flavors Variations
This is such a versatile recipe! The options for tart fillings are endless. So, go ahead and let your imagination run free with these homemade pop tarts. Use persimmon jam, cherry jam, mulberry jam, or even fig jam.
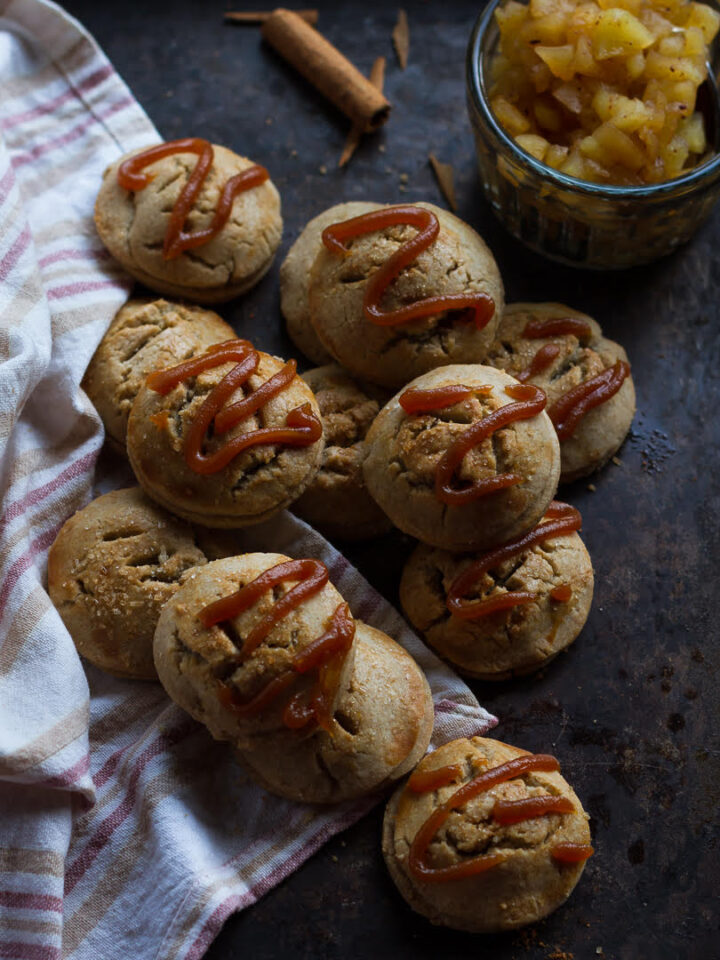
Not a jam fan? Add Nutella to the little tarts. Fill it with peanut butter and chocolate chips. Or try this cinnamon-spiced apple butter!
You can even try savory pop-tarts and fill them with cheese, sautéed mushrooms, BBQ chicken, or tofu!
How to Make Pop Tarts?
Step 1: Combine the flour and sugar in a large bowl. Rub the chilled butter in the mixture, using your fingertips. When it resembles coarse breadcrumbs, add iced cold water, 1 Tbsp at a time, just enough to bind the dough.
Step 2: Divide the dough into 2. Flatten each half into a disk. Wrap in cling wrap and refrigerate until ready to use. This should rest for at least an hour.
Step 3: Working with one half of the dough at a time, roll it out into a rough rectangle on a lightly floured surface.

Step 4: Cut the dough into 8 rectangles. Repeat with the other half of the dough.

Step 5: Spoon 1.5 teaspoons of jam in the center of half of the rectangles. Leave about 1/2" of the edges. Use a pastry brush or your fingers to wet the edges with water.

Step 6: Place another rectangle on top. Seal the edges with your fingertips and then use a fork to make an attractive pattern around each rectangle. This helps to seal the edges better.

Step 7: Prick each filled rectangle 4-6 times with a toothpick. Place the tray in the refrigerator for 20-30 minutes. Bake the chilled/frozen tarts for 20-25 minutes until lightly golden brown on top.

Step 8: Once the pop tarts are ready, let them cool completely. Drizzle over some glaze and immediately top with sprinkles. Serve and enjoy!
Pro Tips
- The flour, the water, and the butter need to be chilled. If needed, add ice cubes to the water to keep it cold.
- Don’t overwork the dough. Instead of kneading, bring it together till it feels sticky and moist.
- I really recommend making the pastry dough the night before. It’ll make the rest of the easy pop tarts recipe a breeze. Cover it with cling wrap and refrigerate it. I left it overnight, of course, but even an hour will do wonders!
- I used a scale to keep the pastry dough pieces somewhat even in size. You can eyeball it, too.
- Don’t skip refrigerating the assembled strawberry pop-tarts. It’s the secret to flaky, buttery pastry. When they are chilled, bake till golden brown!
- Always line the baking tray with parchment or Silpat for easy clean up as the filling does ooze out.

How To Serve
I used the littlest amount of sugar in the dough of these easy pop-tarts. The strawberry jam gave them all the sweetness they needed. We’re not big on overly sweet treats at my home.
But I did add a lemon glaze to the easy homemade strawberry pop tarts for some oomph. The lemony tang was just the kick the tarts needed. Remember to cool the tarts completely before you glaze.
For the final touch, I added some colorful sprinkles. Sprinkles make everything better!
For a bigger breakfast spread, serve the copycat strawberry pop-tarts alongside strawberry chia pudding, date & fig smoothie, or a gorgeous mango matcha latte!
Recipe FAQs
I won’t recommend it as the filling and glaze will melt and spoil your toaster. Reheat for a few minutes in a preheated oven instead.
Pastry dough is tender. If it’s tearing while you roll it out, pop it back in the fridge. Cold dough is easier to work with. If the pop tarts tore while baking, it could be because you added too much strawberry jam. A little is enough. Too much, and it’ll ooze out. Or you didn’t use a fork to close the pop tart edges tightly.
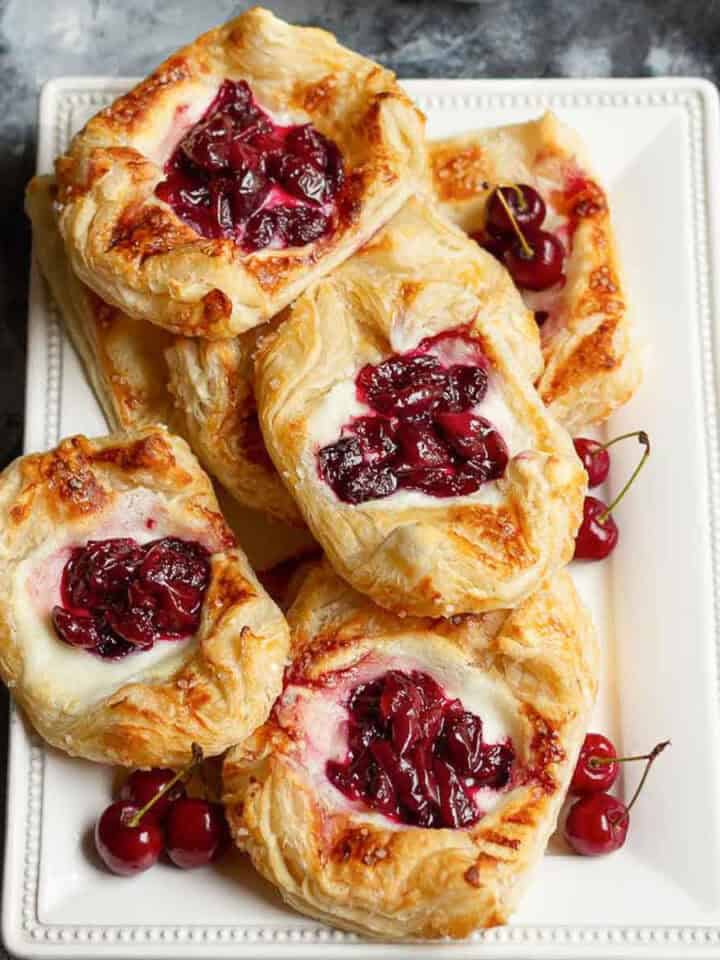
You absolutely can. Or even try using puff pastry like I did with my cherry puff pastry tarts.
The homemade pop tarts will keep for 2-3 days in an air-tight container at room temperature.


📖 Recipe
Easy Pop Tarts
Ingredients
- 2 cup All purpose flour
- 1/2 cup Butter, chilled, cut into cubes I used salted butter
- 1 tsp Powdered sugar
- 5-6 tbsp Chilled Water
- 2-3 tbsp Strawberry jam
Lemon glaze
- 1 tbsp Lemon juice
- 3-4 tbsp A handful of ice
- Sprinkles, Optional
Instructions
- Combine the flour and sugar in a large bowl. Rub the chilled butter in the mixture, using your fingertips. When it resembles coarse breadcrumbs, add iced cold water, 1 Tbsp at a time, just enough to bind the dough. It can be a bit scraggy at this point but don’t worry, it will come together. Using the palm of your hand, push the dough away from you 4-5 times until its smooth.
- Divide the dough into 2. Flatten each half into a disk. Wrap in cling wrap and refrigerate until ready to use. This should rest for at least an hour.
- When you’re ready to bake, keep a Silpat or parchment paper-lined baking tray handy and preheat the oven to 180C.
- Working with one half at a time, unwrap the dough and flour your work surface well. Roll out the dough into a rough rectangle and cut into 8 rectangles, approximately 2.5" *3.5".Repeat with the second half of the dough.
- Once you've got all the rectangles cut out. Spoon 1.5 teaspoons of jam in the center of half of the rectangles. Spread it out a bit, leaving about 1/2" of the edges. Use a pastry brush or your fingers to wet the edges with water.
- Place another rectangle on top. Seal the edges with your fingertips and then use a fork to make an attractive pattern around each rectangle. This helps to seal the edges better.
- Prick each filled rectangle 4-6 times with a toothpick or a fork. Place the tray in the refrigerator for 20-30 minutes.
- Bake the chilled tarts for 20-25 minutes until lightly golden brown on top.
- Once the pop tarts are ready, let them cool completely. Drizzle over some glaze and immediately top with sprinkles, if using. Let the glaze set, about 5 minutes. serve and enjoy!
Lemon Glaze
- Combine lemon juice and icing sugar in a small bowl. Whisk until smooth and thick.
Notes
- The flour, the water, and the butter need to be chilled. If needed, add ice cubes to the water to keep it cold.
- Don’t overwork the dough. Instead of kneading, bring it together till it feels sticky and moist.
- I recommend making the pastry dough the night before. It’ll make the rest of the easy pop tarts recipe a breeze. Cover it with cling wrap and refrigerate it. I left it overnight, of course, but even an hour will do wonders!
- I used a scale to keep the pastry dough pieces somewhat even in size. You can eyeball it, too.
- Don’t skip refrigerating the assembled strawberry pop-tarts. It’s the secret to flaky, buttery pastry. When they are chilled, bake till golden brown!
- Always line the baking tray with parchment or Silpat for easy clean up as the filling does ooze out.


Alem1962 says
Thank You for Sharing this informative article! Very well-written