
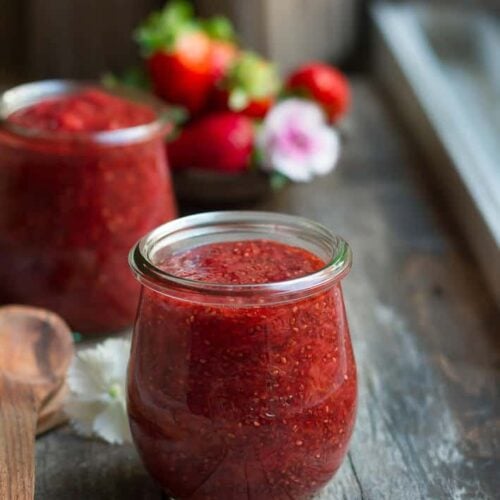
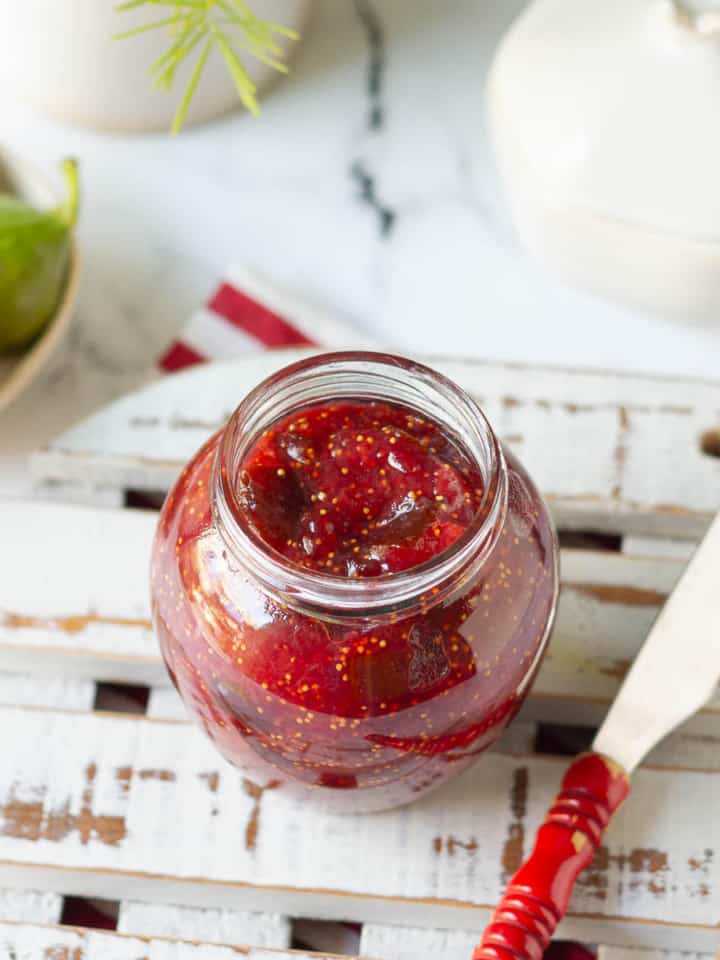
The strawberry chia jam flavor is so fresh that it tastes like a plump strawberry plucked from a tree. The homemade jam has no refined sugar, is vegan, and needs only 5 ingredients!
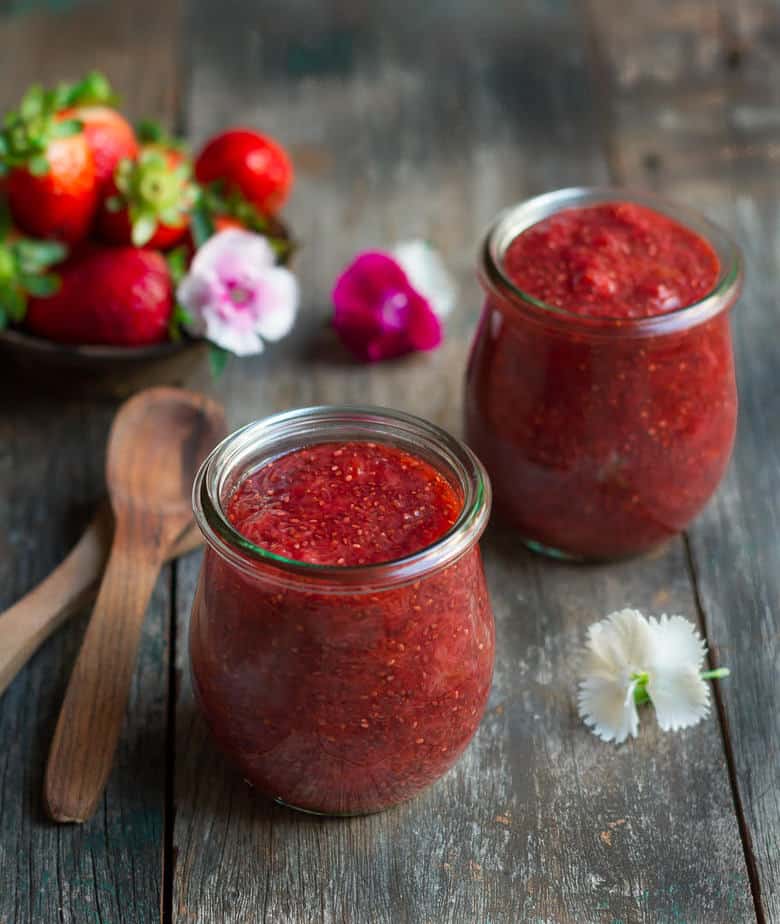
Strawberry chia jam is my go-to for a quick, homemade jam. It comes together in minutes. It needs no pectin. No complicated steps. Just simple, wholesome goodness. The chia seeds thicken it naturally, making a perfectly sweet, slightly tangy jam that’s great on crêpes, in jelly-filled donuts, toast, yogurt, or even straight off the spoon (no judgment here!).
Jump to:
Why Make Jam At Home?
Making strawberry chia jam is so simple, you won’t believe it! Seriously, if you’ve ever thought homemade jam was complicated, this recipe will change your mind. And once you taste it, you’ll never want store-bought jam again.
The best part? You control the sweetness—no additives or preservatives, just pure, fresh flavor. The juicy strawberries are the star, and it’s the perfect way to use up berries that are a little past their prime. No waste, just delicious homemade jam in minutes!
Chia Strawberry Jam Ingredients

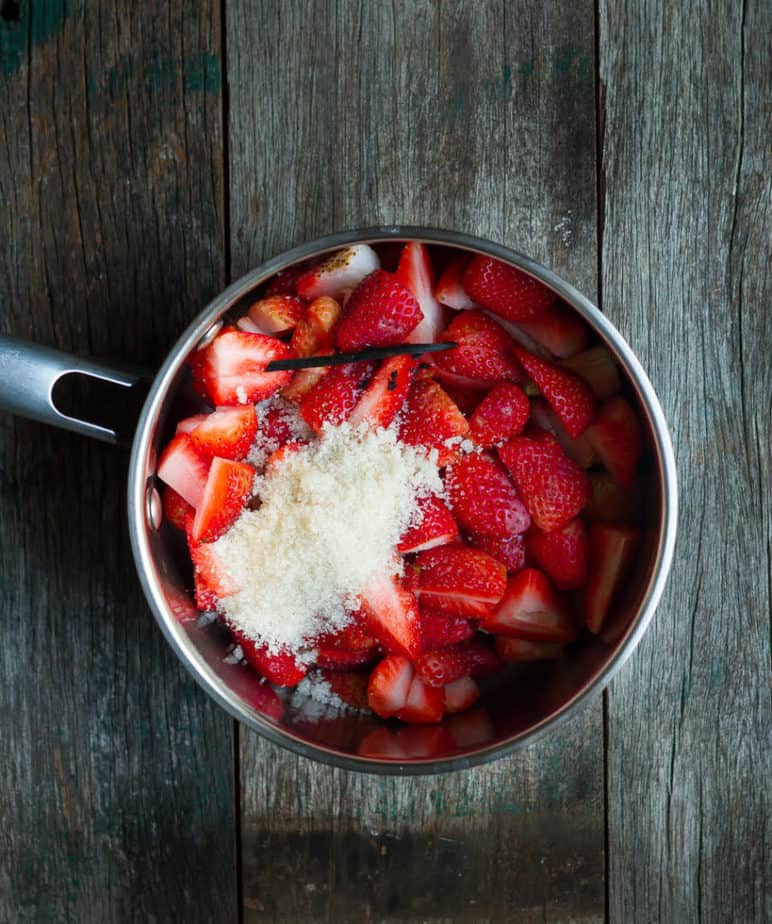
Strawberries: Fresh is best, but frozen works too—just thaw them first! I was feeling lazy, so I quartered my strawberries. You can chop them fine or rough. It doesn’t matter, as they’re all cooked through.
Sugar: I used raw sugar for this recipe. Adjust to taste based on how sweet your strawberries are.
Chia seeds: Once soaked in a liquid, chia seeds expand almost ten times. This allows the jam to thicken naturally and become gel-like very quickly. They also add a wonderful texture and a mouthful of healthy goodness!
Lemon juice: A splash adds the perfect touch of tartness to balance the sweetness.
Vanilla bean: This is optional but adds a lovely flavor to the chia seed jam.
Please see the recipe card for full information on ingredients and quantities.
Variations
Swap the fruit: Almost any fruit works in this recipe! Try plums, peaches, gooseberries, or raspberries—whatever you love.
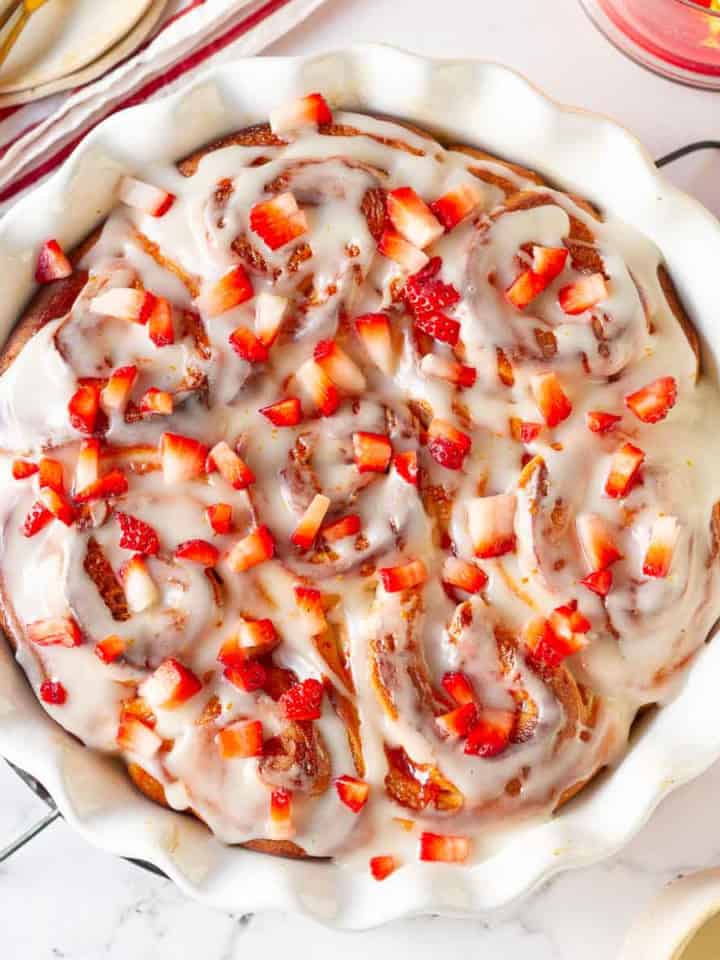
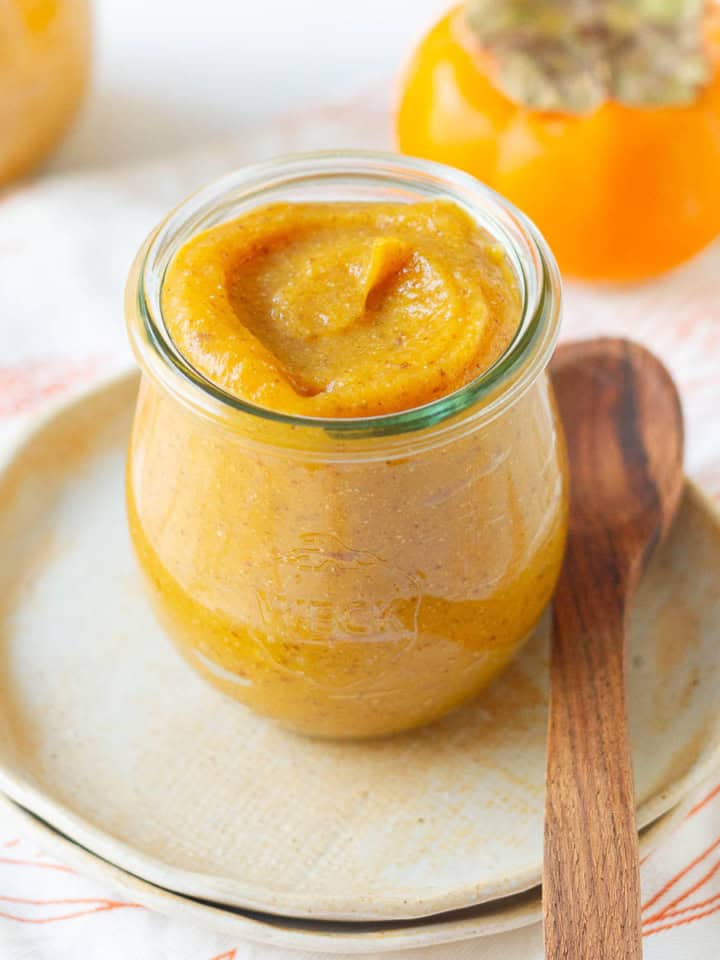
New flavors to try: If you’re into this easy strawberry chia jam, you’ll definitely want to try mulberry chia jam or a cozy persimmon jam next!
How To Make Strawberry Chia Jam?
Homemade strawberry chia seed jam is completely different, from the amount of sugar it has to the way it sets. You’ll fall in love with its deliciousness.
Step 1: Chop your strawberries.
Step 2: In a heavy-bottom saucepan, add the berries, sugar, and vanilla pod.
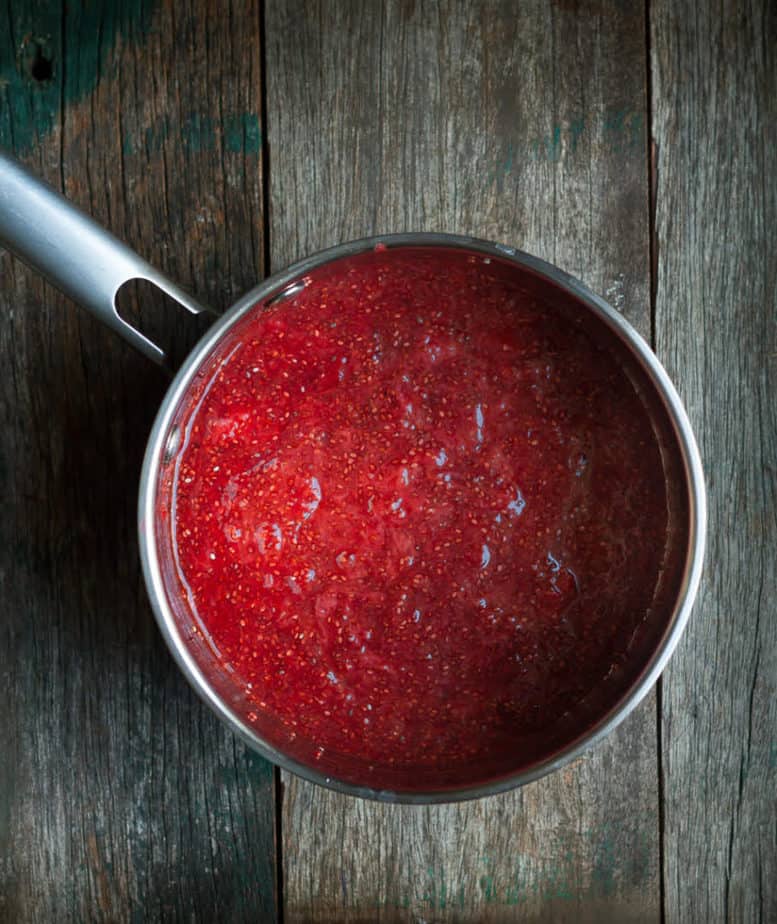
Step 3: Cook on low heat for 10 to 12 minutes, stirring occasionally. The strawberries should become soft and mushy and release their juices.

Step 4: Blend the cooked strawberries using a hand blender.
Step 5: Add the chia seeds. Mix and cook again for 2 to 3 minutes.
Step 6: Do a taste test and then adjust for sweetness with honey or maple syrup.
Step 7: Take off the heat and add a little bit of lemon juice.
Final step: Let the jam cool. It thickens as it cools. Then transfer to a jar.
Pro Tips
- If your strawberries seem a little dry, and you’re worried about them burning, pour a splash of water to help them along.
- You can blend the strawberries either using a fork or a hand blender. It gives the jam a chunky consistency that I love.
- You can purée the cooked strawberries completely too if you prefer a silky, smooth jam.
- Prefer sugar over honey or maple syrup? Go for it during step 6! Just keep in mind you’ll need to cook the jam about 5 minutes longer.

How To Serve
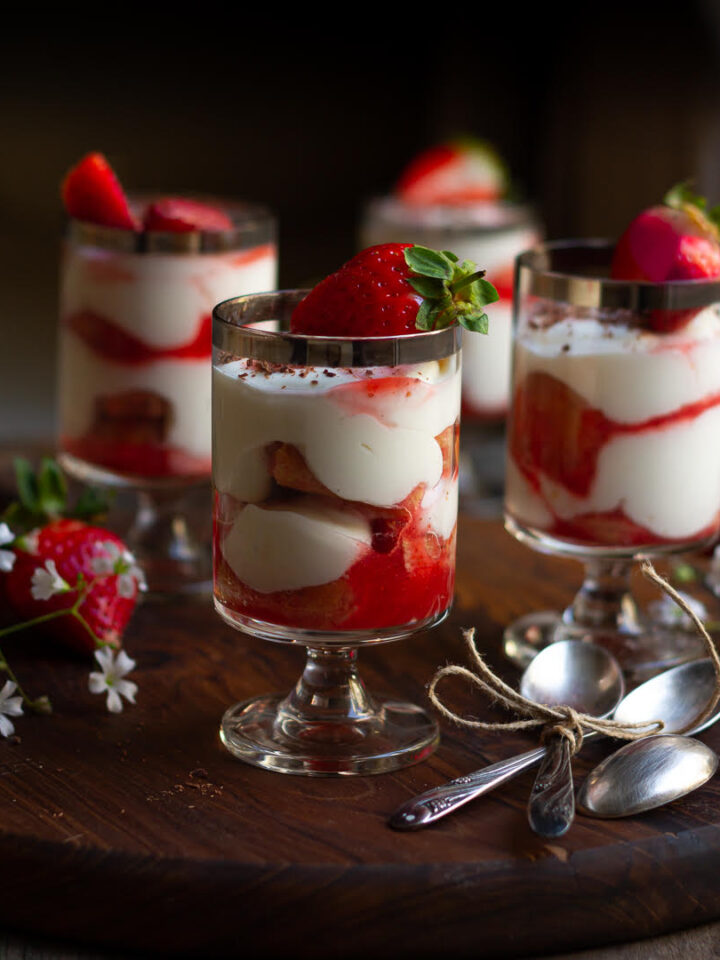
Oh, the possibilities are endless with chia seed strawberry jam. We love a healthy dollop of strawberry chia jam on toasted homemade bread or sandwiched in an English muffin. I haven’t tried it with sourdough discard bread yet. But I just know the flavors will be out of this world.
You can stir it in baked oatmeal, plonk it on cinnamon pancakes, or use it as a scone topping. A PB&J sandwich is another option. Use it as a filling to make strawberry turnovers or pop-tarts.
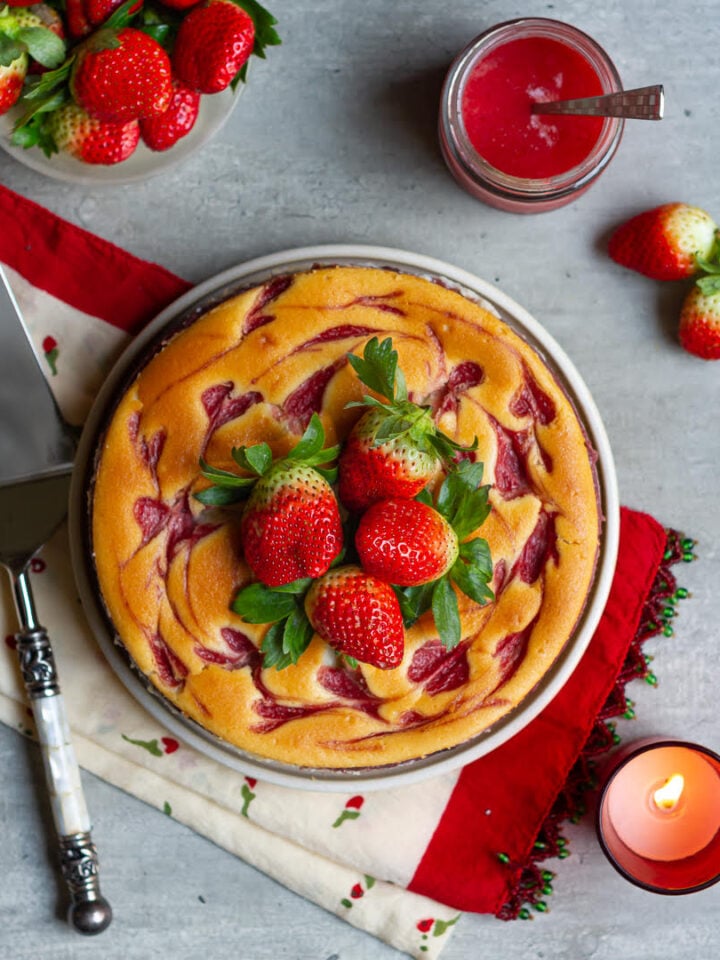
You can even blend it in a plain vanilla cake batter and then bake for a touch of strawberry flavor, as in my strawberry jam cake. Something very similar to what I did with my orange marmalade cake.
For me, it isn’t a jam. It’s a dessert spread. I simply spoon it into my bowl of yogurt topped with matcha granola and fresh fruit to satisfy the sweet-tooth craving.
Now you see why my batch is threatening not to last even two weeks? Too many ways to enjoy strawberry chia jam.
If you make a bigger batch or plan to store it for a longer time, please sterilize your mason jars. I’ve given the step-by-step process in my DIY-infused oils blog.

Recipe FAQs
Chia seeds are flavorless, so while they don’t add taste to strawberry chia jam, they do give it a ton of texture. As they soak the strawberry juices, they expand to almost 10 times their original size, which makes the jam gel-like very quickly. What I mean to say is that, with chia seeds, you don’t have to cook the jam for hours to thicken it. That also helps keep the flavor rich and fresh.
Yes, you can! This recipe for strawberry jam is refined sugar-free as it uses raw sugar. However, you can leave it out so long as your strawberries are sweet enough. You can also sweeten it lightly after it's cooked, with a tablespoon of honey or maple syrup if you wish.
It is an entirely optional step. Please feel free to skip it. Vanilla adds flavor and depth to the jam. If you don’t have a pod, use good-quality vanilla extract. You can remove the pod after the jam is cooked and cooled.
This small-batch strawberry jam lasts about 10 days in an air-tight jar in the refrigerator. If you want to make the jam last longer, please follow proper canning instructions.

📖 Recipe
Strawberry Chia Jam
Ingredients
- 3 cups Strawberries, quartered
- 1 Vanilla bean, split lengthways Optional
- 1/4 cup Raw sugar You may need more depending on the sweetness of your fruit
- 1/4 cup Chia seeds
- 1-2 tsp Lemon juice
- Maple syrup/ Honey Optional
Instructions
- Combine the quartered strawberries, vanilla pod, and raw sugar in a heavy-bottomed saucepan.
- Cook these on low heat, covered. Stir occasionally, until the strawberries soften and release their juices - about 10-12 minutes.
- Now you can - use a hand blender ( or a fork) to blend the cooked strawberries a bit. It will give you jam with a chunky consistency. This is what I did.
- Or you can also puree the strawberries completely if you relish jam with a smoother texture.
- Or you can leave the mixture as is.
- Now add in the chia seeds and give the mixture a good stir.
- Cook for 2-3 minutes and take it off the heat.
- Taste and adjust for sweetness, using honey or maple syrup. If you want to add more sugar, cook it for another 5 minutes on low heat.
- Take it off the heat and add lemon juice to balance the flavors. Stir well and let the jam cool.
- The jam will thicken as it cools. Store in an air-tight container in the refrigerator for upto 10 days. Enjoy!
Notes
- If your strawberries seem a little dry, and you’re worried about them burning, pour a splash of water to help them along.
- You can blend the strawberries either using a fork or a hand blender. It gives the jam a chunky consistency that I love.
- You can purée the cooked strawberries completely too if you prefer a silky, smooth jam.
- Prefer sugar over honey or maple syrup? Go for it during step 6! Just keep in mind you’ll need to cook the jam about 5 minutes longer.


Debbie says
This recipe is exactly what I was looking for! Just wondering if I was to it can be put it in small mason jars and if it would last longer do it so? Or does it still have to be eaten within 10 days?
Thanking you in advance,
Debbie
Natasha Minocha says
So glad to hear that, Debbie!
Since this jam is low on sugar, it will spoil sooner than regular jams. But if you sterilize your jars, and refrigerate the jam, it should increasethe shelf life a bit. Maybe a month or so. Hope this helps.:)
Shubra says
I love chia jams, this one was so good! I added more sugar since we like sweeter jam. very tasty
Natasha Minocha says
I'm so glad you liked it! Thanks for stopping by, Shubra xx