

If you love the combination of chocolate and peanut butter, you are in for a treat with this easy 4-ingredient chocolate peanut butter pudding! Rich, creamy, and deeply chocolatey, this no-bake dessert comes together in minutes using simple pantry ingredients - no oven, no eggs, no fuss!
This chocolate peanut butter pudding is luscious, creamy, and perfectly balanced - not overly sweet and with just enough peanut butter to shine through! Whether you need a quick weeknight treat or want something impressive yet effortless for your guests, this recipe delivers every single time!
Jump to:
Why You'll Love This Recipe
✨ Rich, creamy, and intensely chocolatey. It really hits all the right spots!
✨ Only 4 ingredients - Made with ingredients you probably already have!
✨ No-bake and super simple - No oven required and completely fuss-free
✨ Endlessly customizable - swirl in more peanut butter, make it sweeter, add your favorite toppings
Recipe Ingredients
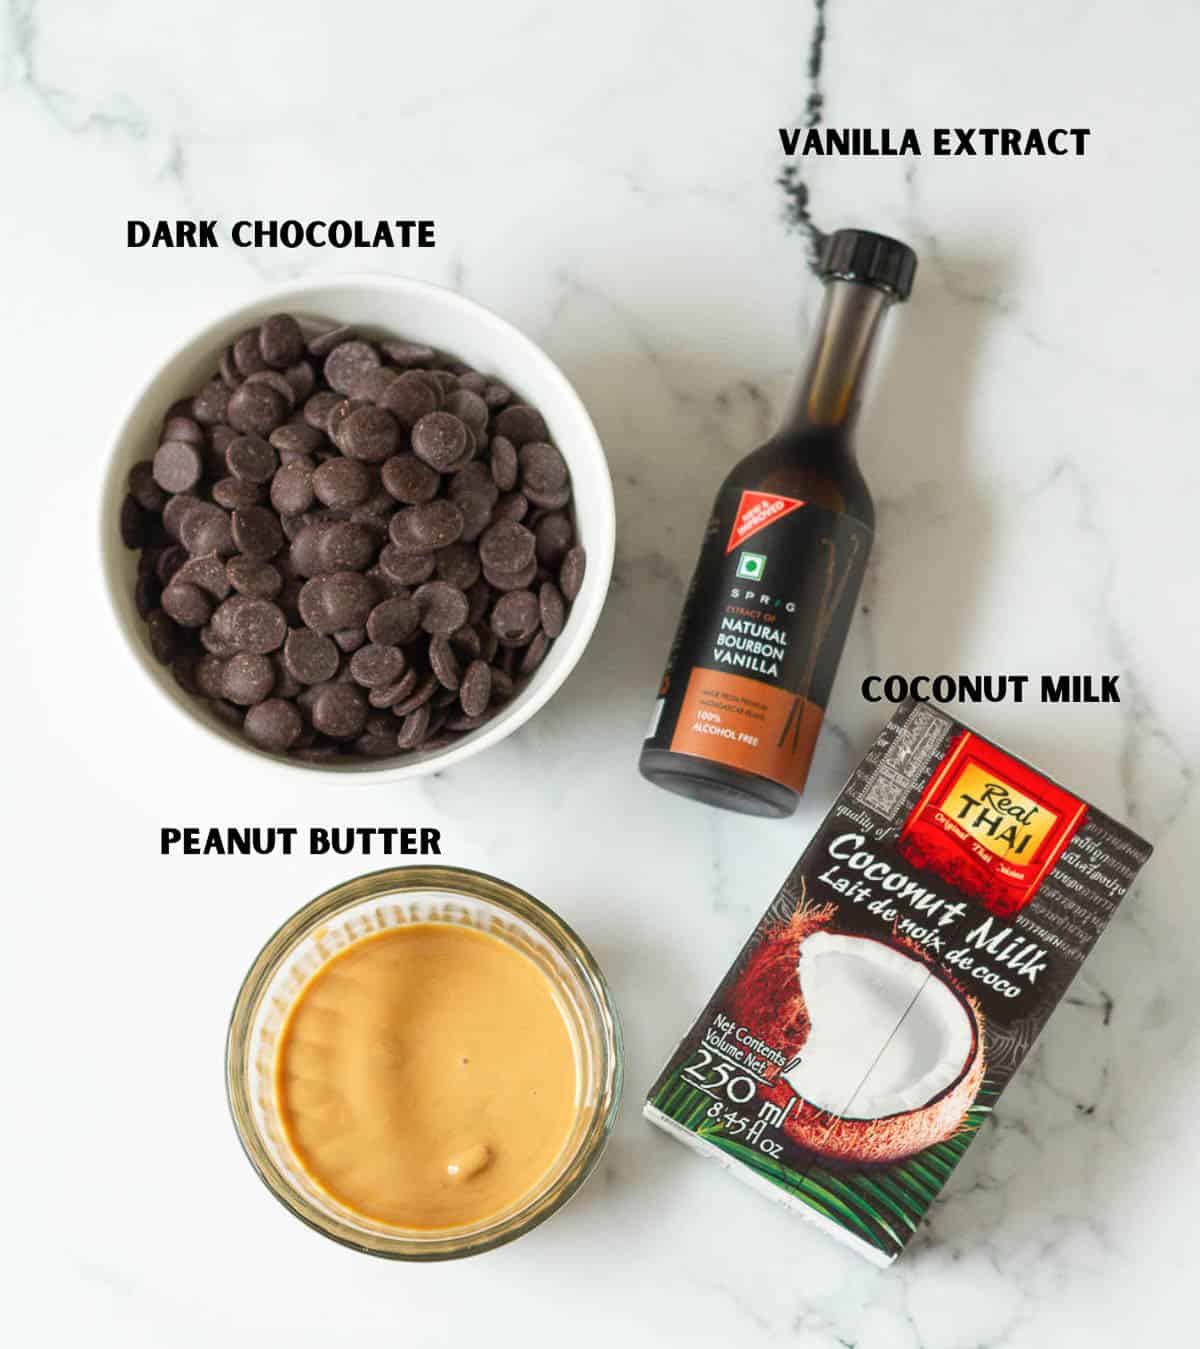
Chocolate: I used Callebaut 55% dark chocolate, but feel free to use a darker chocolate or a lighter one. Milk chocolate works too, as does dairy-free chocolate. Since this recipe has so few ingredients, use the best-quality chocolate you can find.
Coconut Milk: I prefer full-fat coconut milk, as it's creamier and richer. But you can use any milk you prefer - cashew milk, almond milk, oat milk, or regular cow milk. Just keep in mind that lower-fat milks will result in thinner pudding.
Peanut butter: Unsweetened, creamy peanut butter was my choice. You can use crunchy as well.
Vanilla extract: I like how vanilla adds a luscious depth to the pudding. Use store-bought or homemade vanilla extract.
Sea salt: Not essential, but it really balances the flavors and makes the chocolate pudding more flavorful!
Please see the recipe card for full information about ingredients and quantities.
Variations
This eggless chocolate pudding recipe is so versatile! It's so decadent and delicious as is, but you can also add any flavor you like :
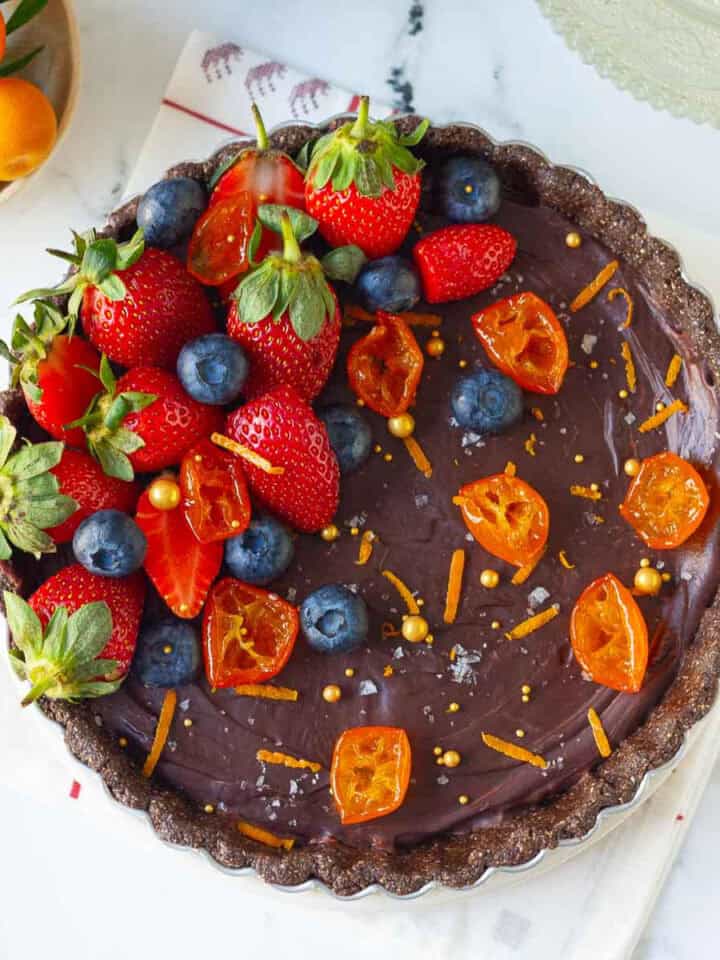
- Orange zest, as in my chocolate orange tart
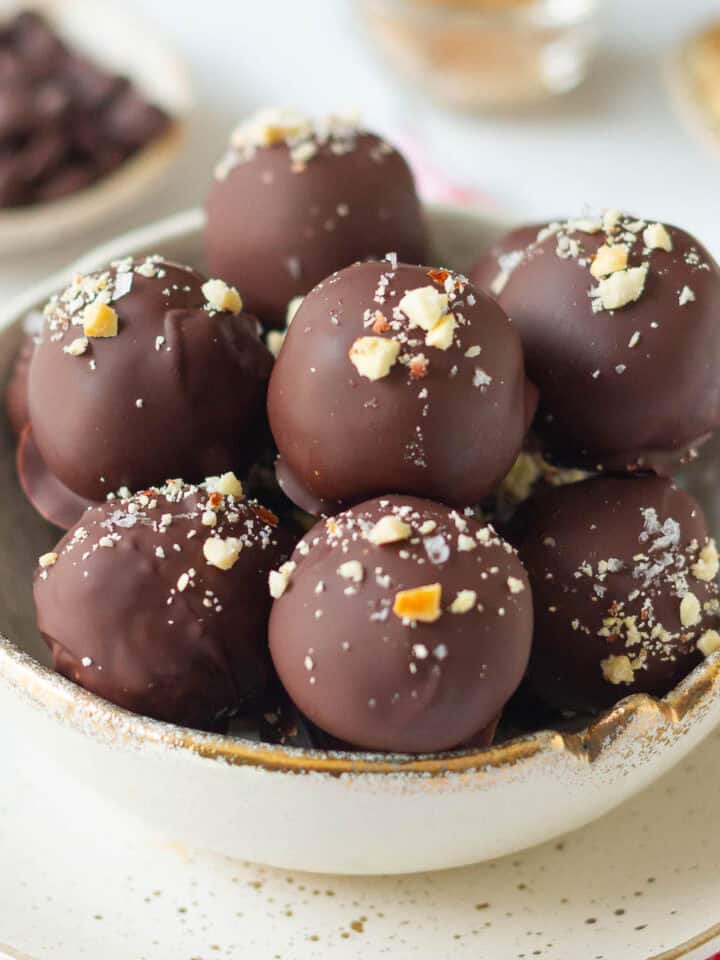
- Baileys, like in my Baileys chocolate truffles
- Chili powder, as in my chili chocolate pudding
- Chai masala, as in my chai-spiced chocolate truffles
How To Make Chocolate Peanut Butter Pudding
Recipe Video
Step-By-Step Instructions
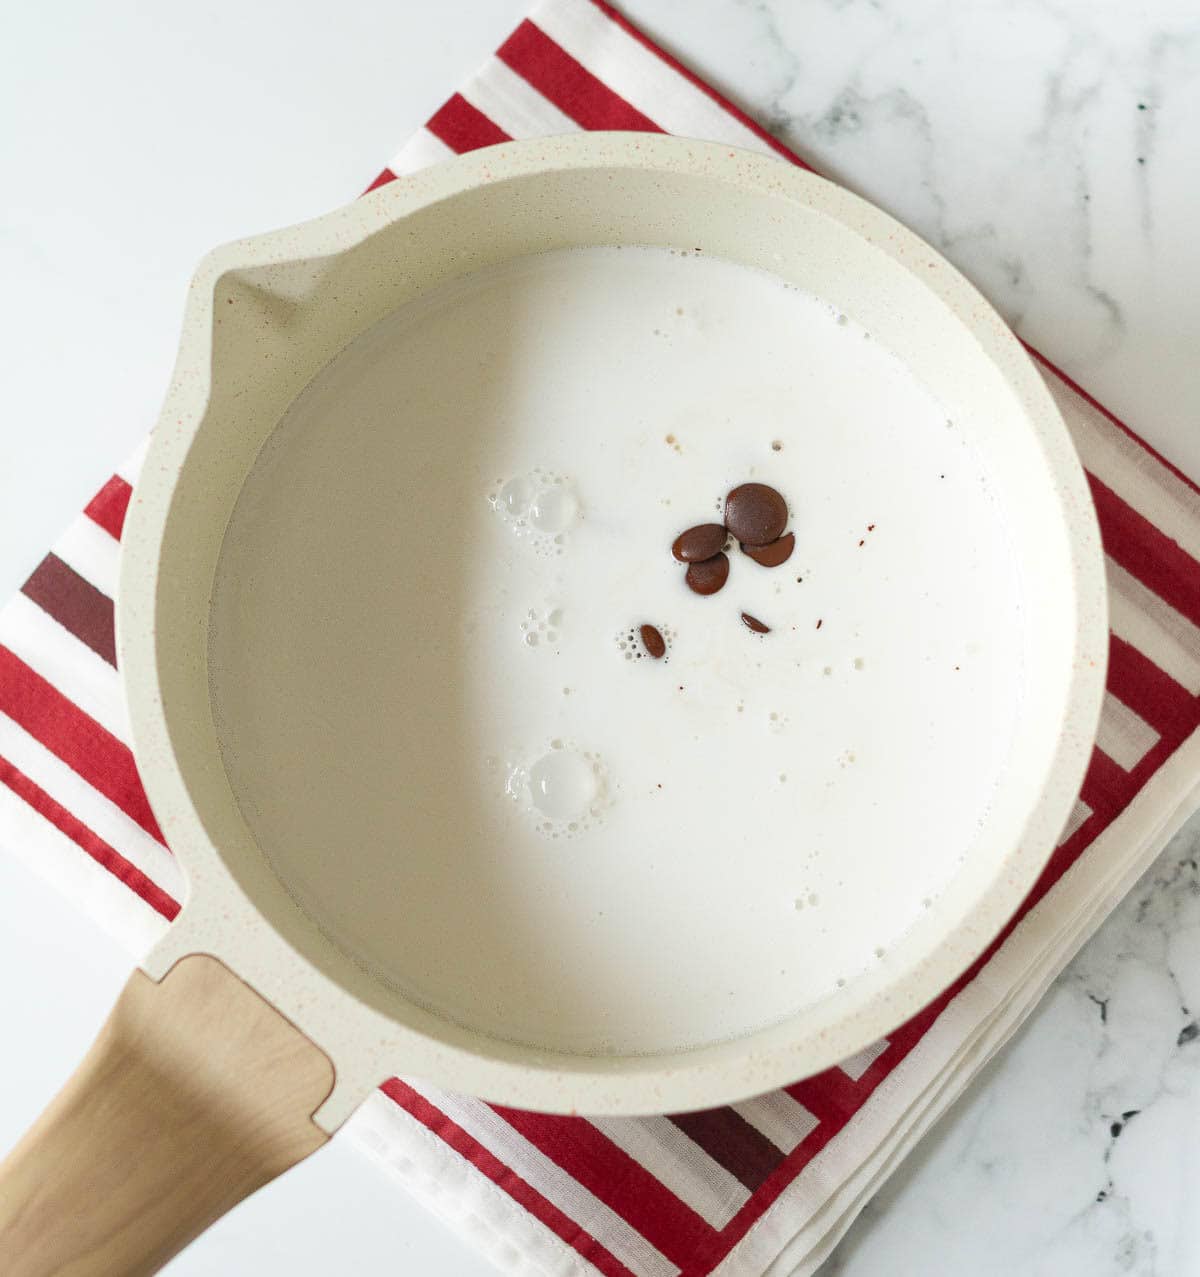
Step 1: Add coconut milk to a saucepan and bring it to a gentle simmer. Turn off the heat and add the chocolate.

Step 2: Keep stirring till the chocolate melts, and you have a thick, glossy mixture. Whisk in the peanut butter. Mix well.

Step 3: Let the mixture cool for a few minutes before adding in the vanilla extract.

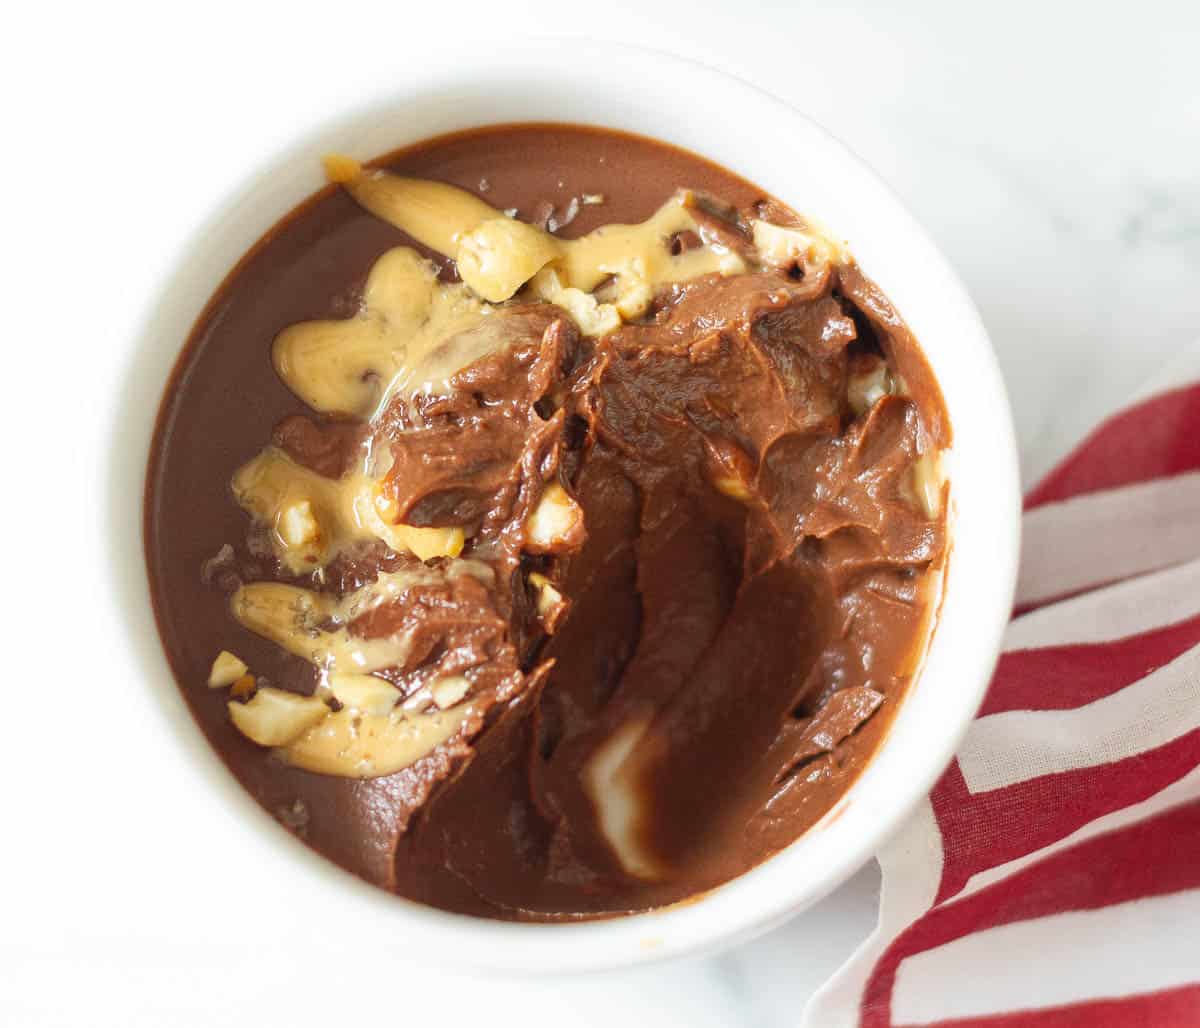
Step 4: Pour into your serving dishes and refrigerate for 1-2 hours or until set.
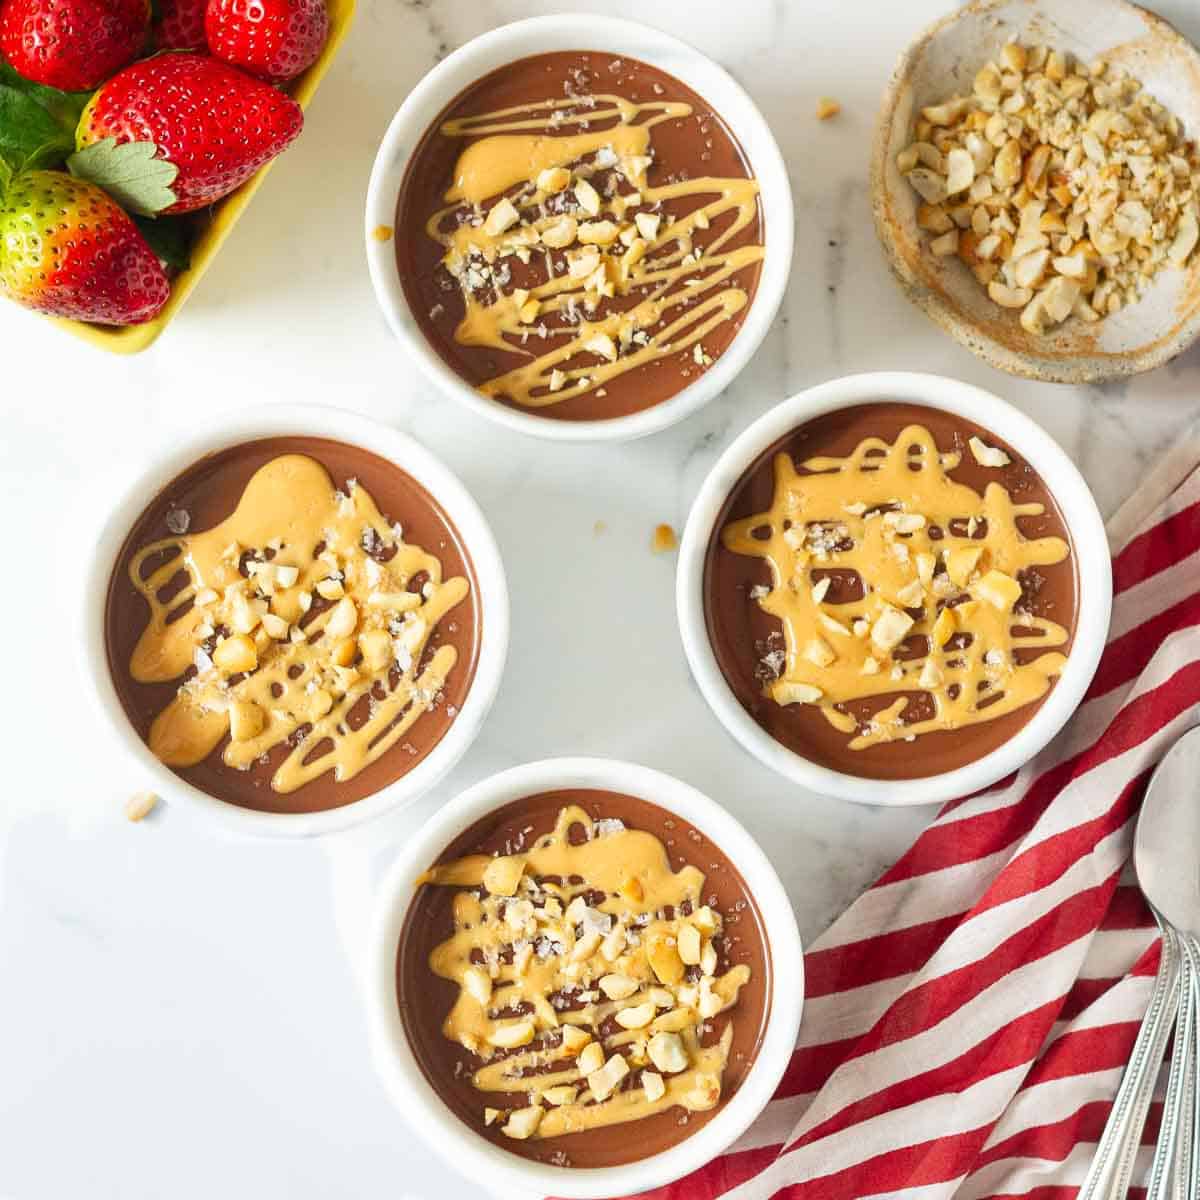
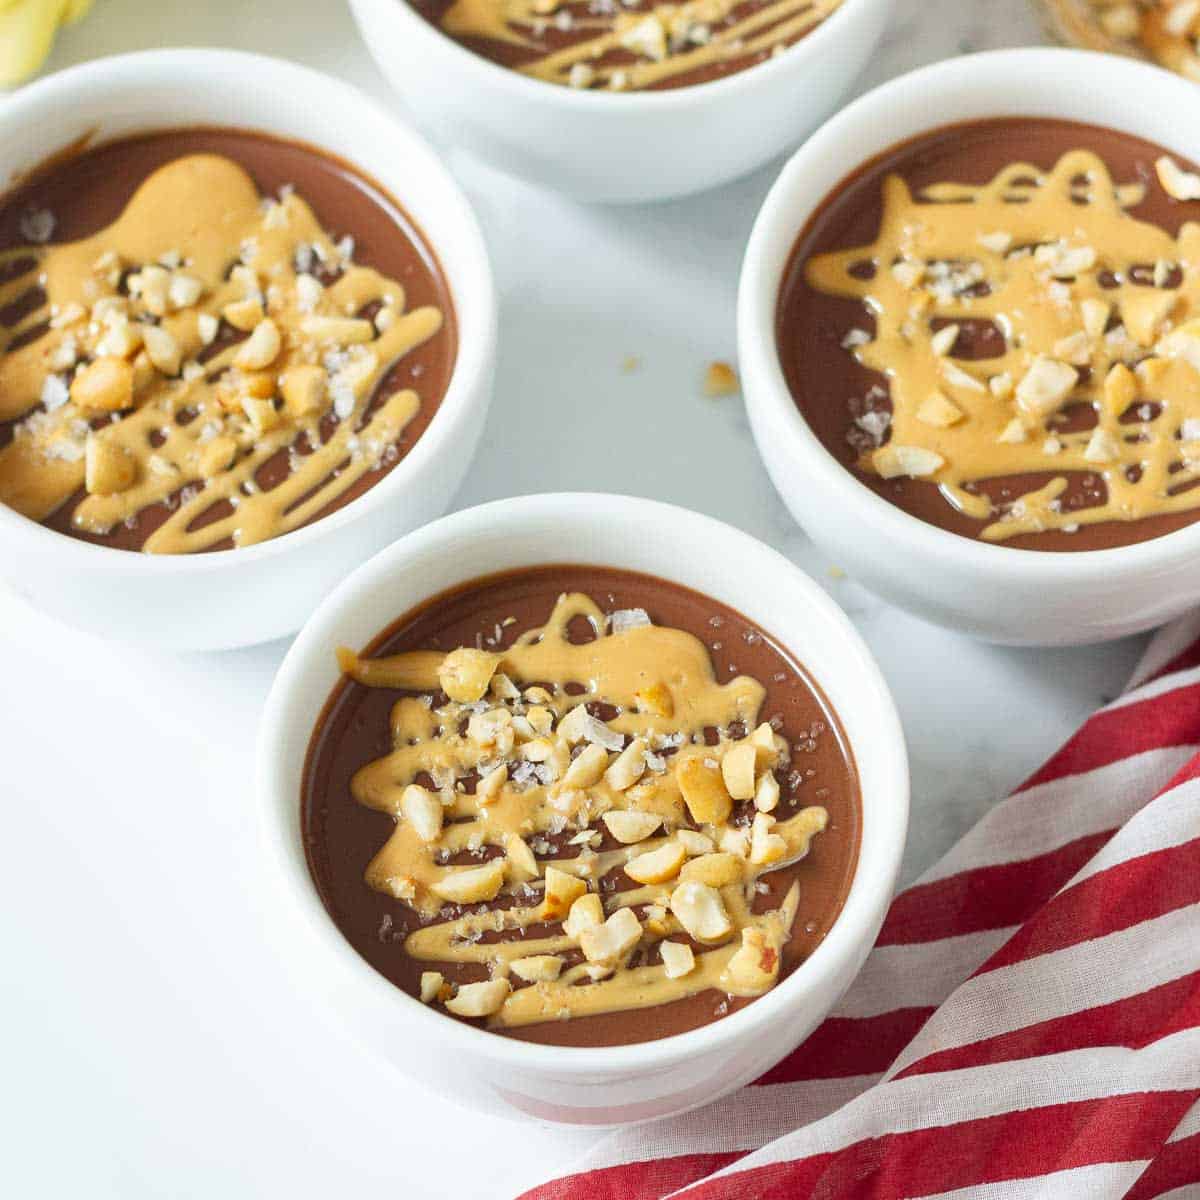
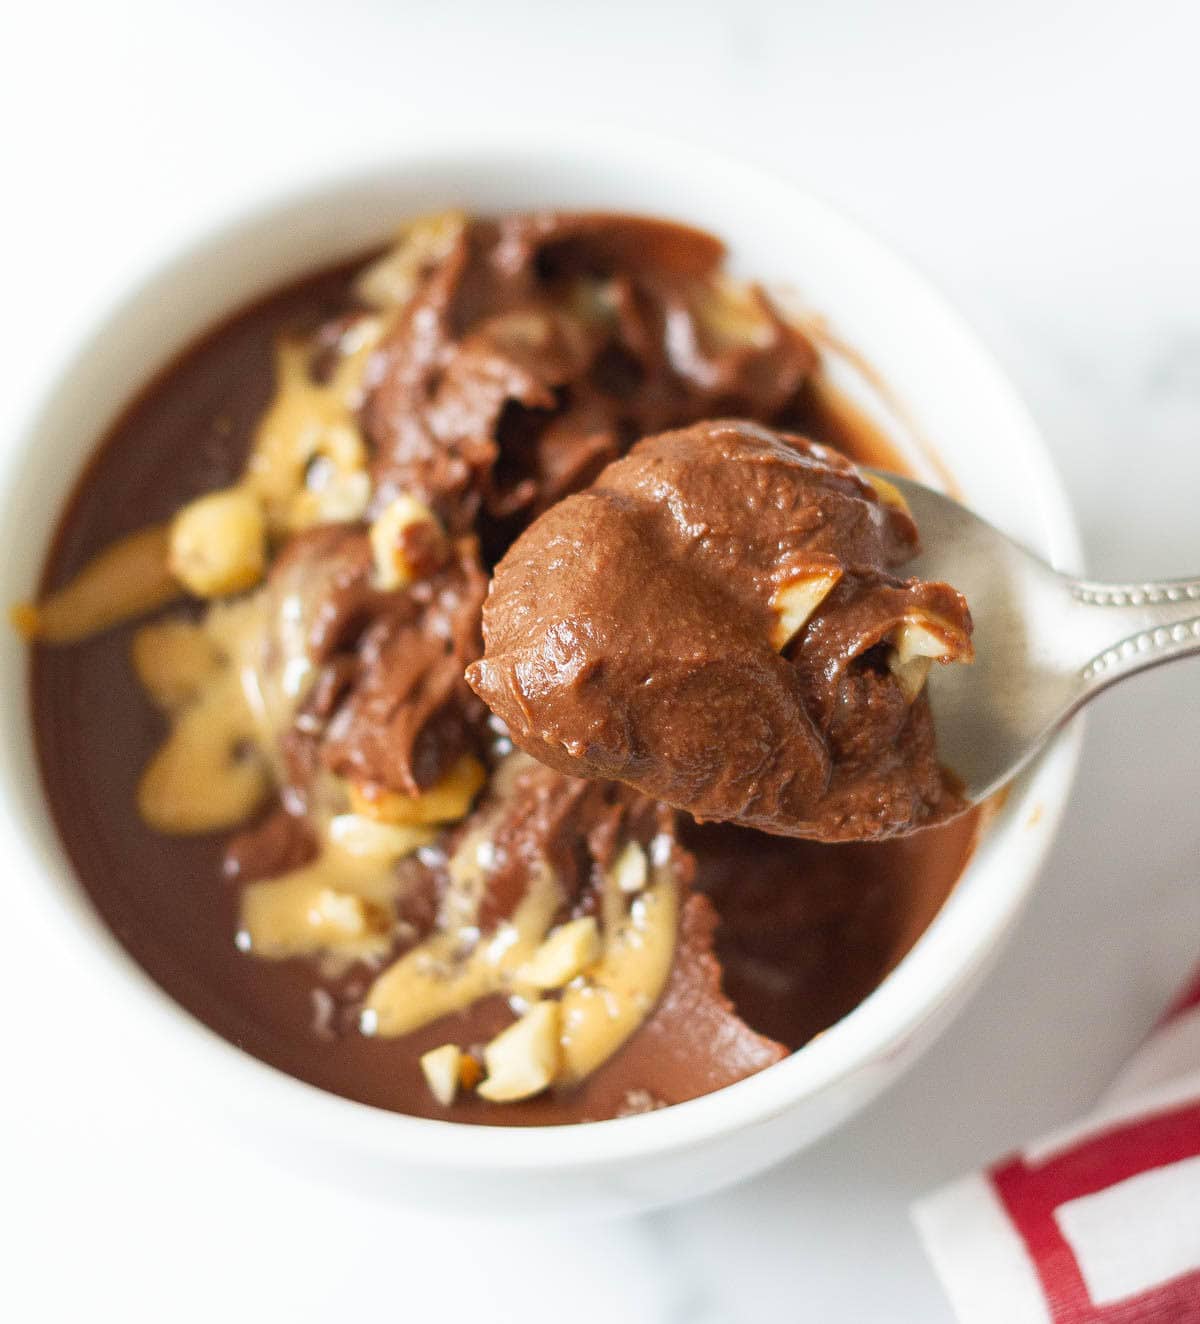
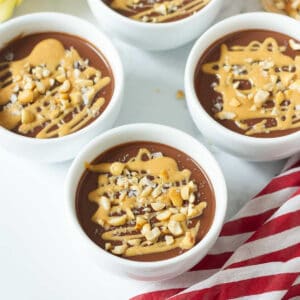
Step 5: Garnish with melted peanut butter, chopped roasted peanuts, and sea salt. Serve cold!
Top Tips
- Use full-fat coconut milk for the creamiest texture.
- Since this recipe needs only 4 ingredients, the quality of the chocolate really matters. Please use bar or couverture chocolate for the smoothest, glossiest pudding.
- Make sure you turn off the heat before adding the chocolate. This allows it melt gently and prevents graininess.
- Whisk the peanut butter properly before adding it to the chocolate mixture to avoid lumps in the pudding.
- Chill for at least an hour. The pudding will thicken as it cools, so give it some time to set properly.
How To Serve
This chocolate and peanut butter pudding is wonderful as-is. I like to finish it with a drizzle of peanut butter, a sprinkle of sea salt, and roasted peanuts for that extra crunch and flavor.
You can also top it with:
- Caramel sauce
- Melted Biscoff
- Whipped cream
- Strawberry jam
- Stovetop apple butter
The chocolate pudding stays well in the refrigerator for up to 3 days.
Recipe FAQs
Yes, absolutely! You can use any plant-based milk or regular cow’s milk. Please choose full-fat milk for the creamiest texture.
The sweetness of this pudding depends on the sweetness of the chocolate you use. If you prefer it sweeter, you can stir in maple syrup or honey at the end.
This pudding is best served cold. The texture is best after chilling, when it becomes thick, creamy, and scoopable!
Absolutely! You can easily make this chocolate and peanut butter pudding a day before and let it chill in the refrigerator. Garnish before serving.
This peanut butter and chocolate dessert stays well in the refrigerator, covered, for up to 3 days.
More Delicious Chocolate Peanut Butter Treats


Half the joy of cooking is sharing it with others. That’s why I’m always eager to hear from you. So go right ahead & drop a comment or reach out on Instagram, Pinterest, YouTube, or Facebook. I hope you love this chocolate peanut butter pudding as much as we do!
📖 Recipe
Chocolate Peanut Butter Pudding
Ingredients
- 1 3/4 cup Coconut milk
- 1 1/4 cup Dark chocolate You can also use dairy-free chocolate
- 1/3 cup Peanut butter
- 1.5 tsp Vanilla extract
Topping
- Sea salt, chopped roasted peanuts, and peanut butter
Instructions
- In a thick-bottomed saucepan, pour coconut milk. Bring it to a simmer on medium heat.1 3/4 cup Coconut milk
- Turn the heat off and add the chocolate.1 1/4 cup Dark chocolate
- Keep stirring till the chocolate melts, and you have a thick, glossy mixture.
- Whisk in the peanut butter. Mix well and add vanilla extract.1/3 cup Peanut butter, 1.5 tsp Vanilla extract
- Pour into your serving dishes and refrigerate for 1-2 hours, until set.
- Top with melted peanut butter, sea salt, and chopped peanuts, serve cold. Enjoy!Sea salt, chopped roasted peanuts, and peanut butter
Video
Notes
- Use full-fat coconut milk for the creamiest texture.
- Since this recipe needs only 4 ingredients, the quality of the chocolate really matters. Please use bar or couverture chocolate for the smoothest, glossiest pudding.
- Make sure you turn off the heat before adding the chocolate. This allows it melt gently and prevents graininess.
- Whisk the peanut butter properly before adding it to the chocolate mixture to avoid lumps in the pudding.
- Chill for at least an hour. The pudding will thicken as it cools, so give it some time to set properly.


Leave a Reply