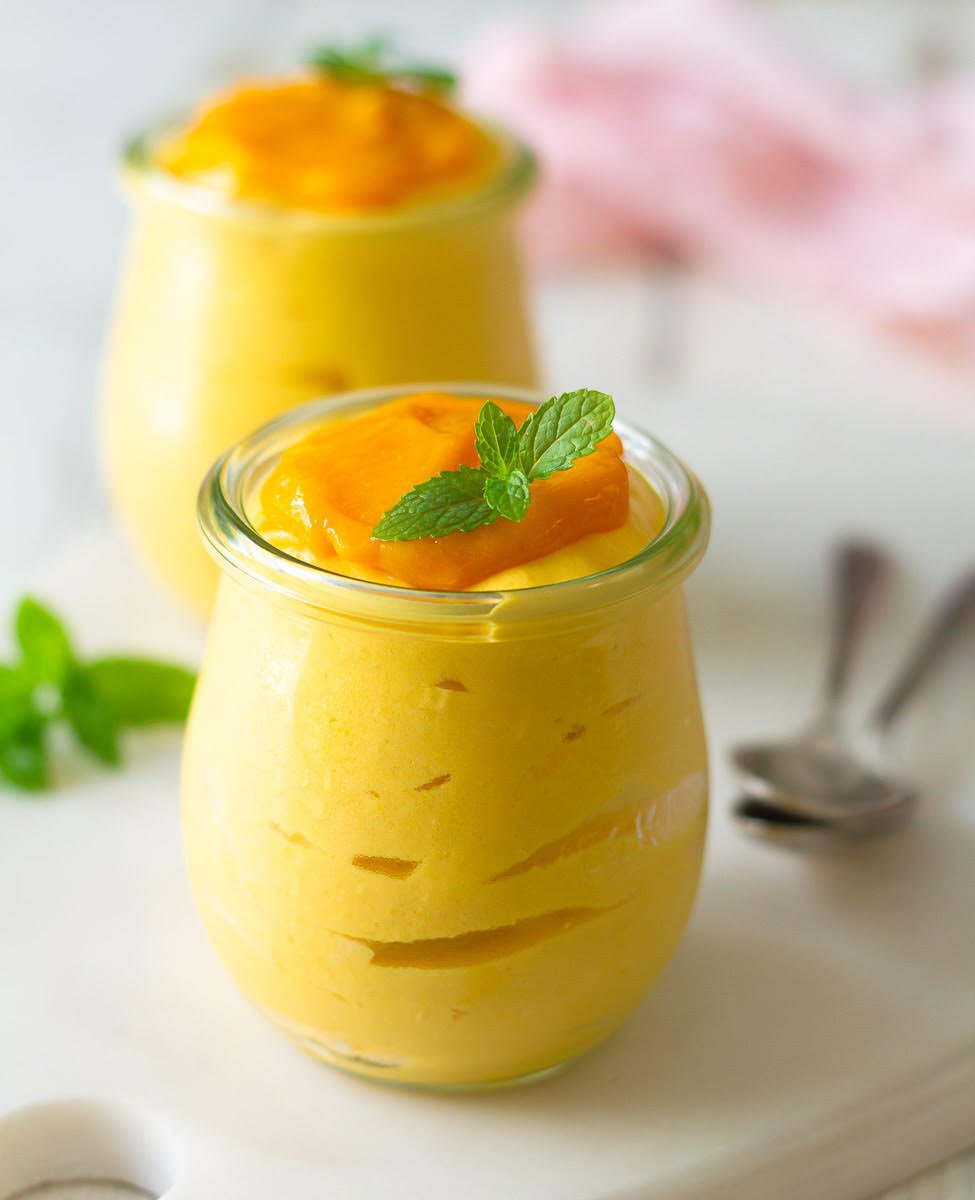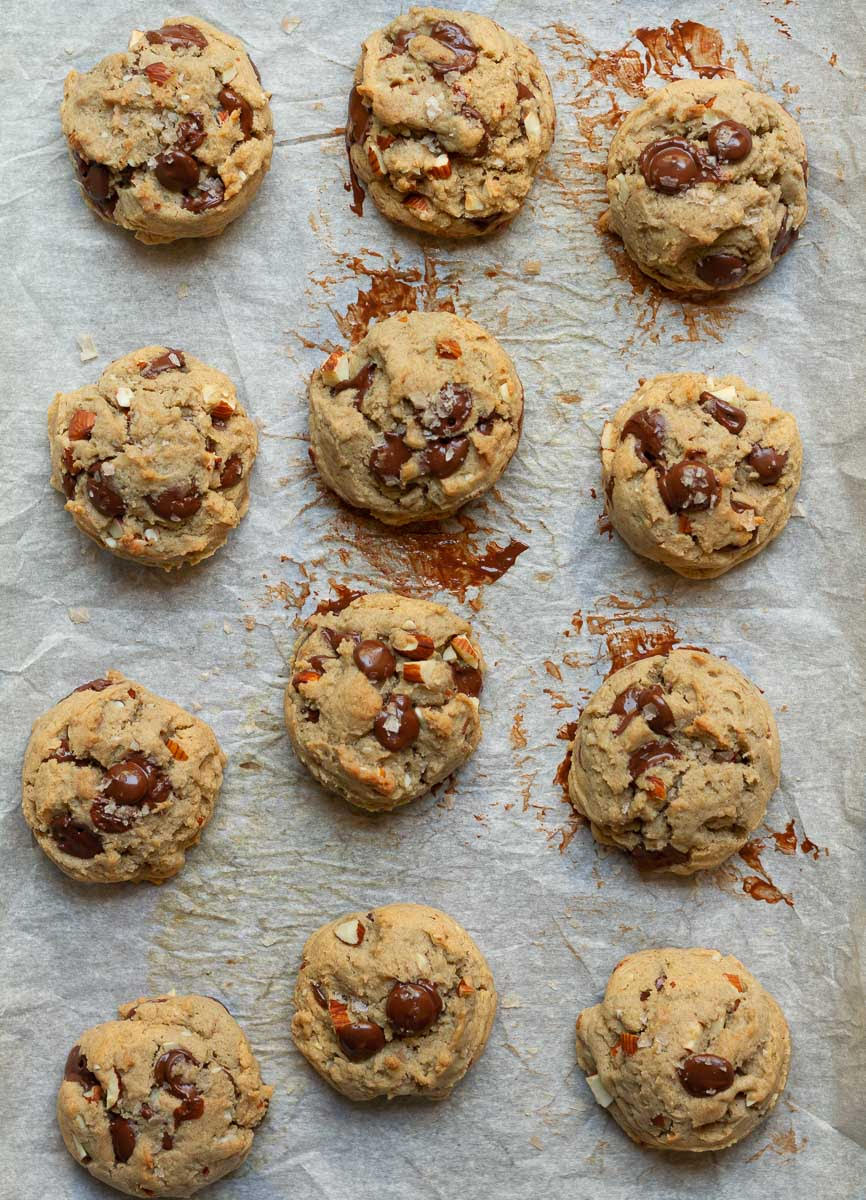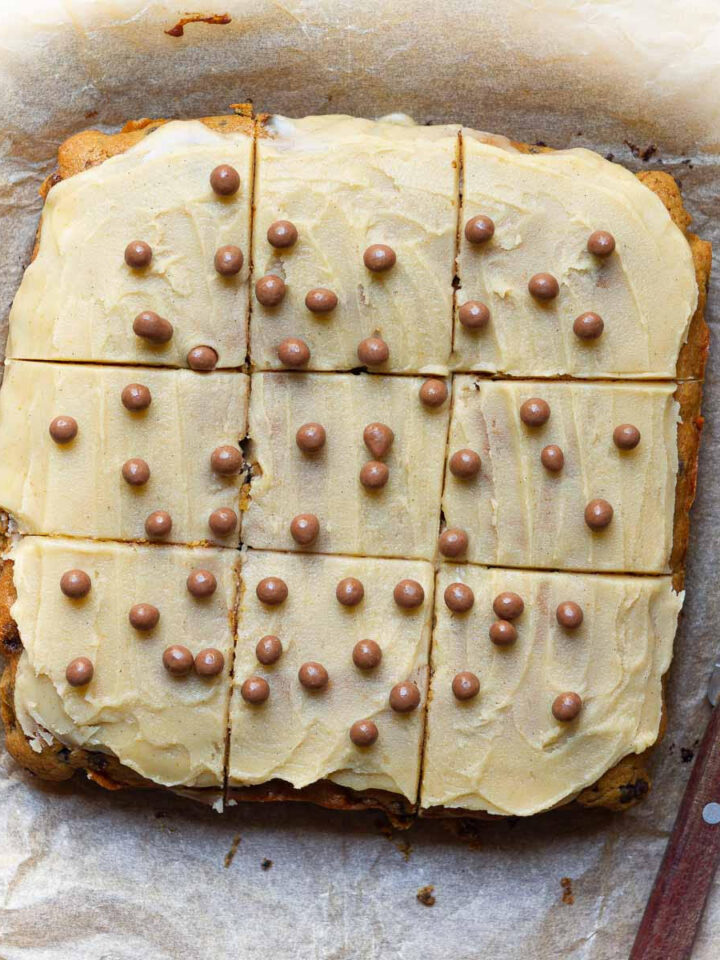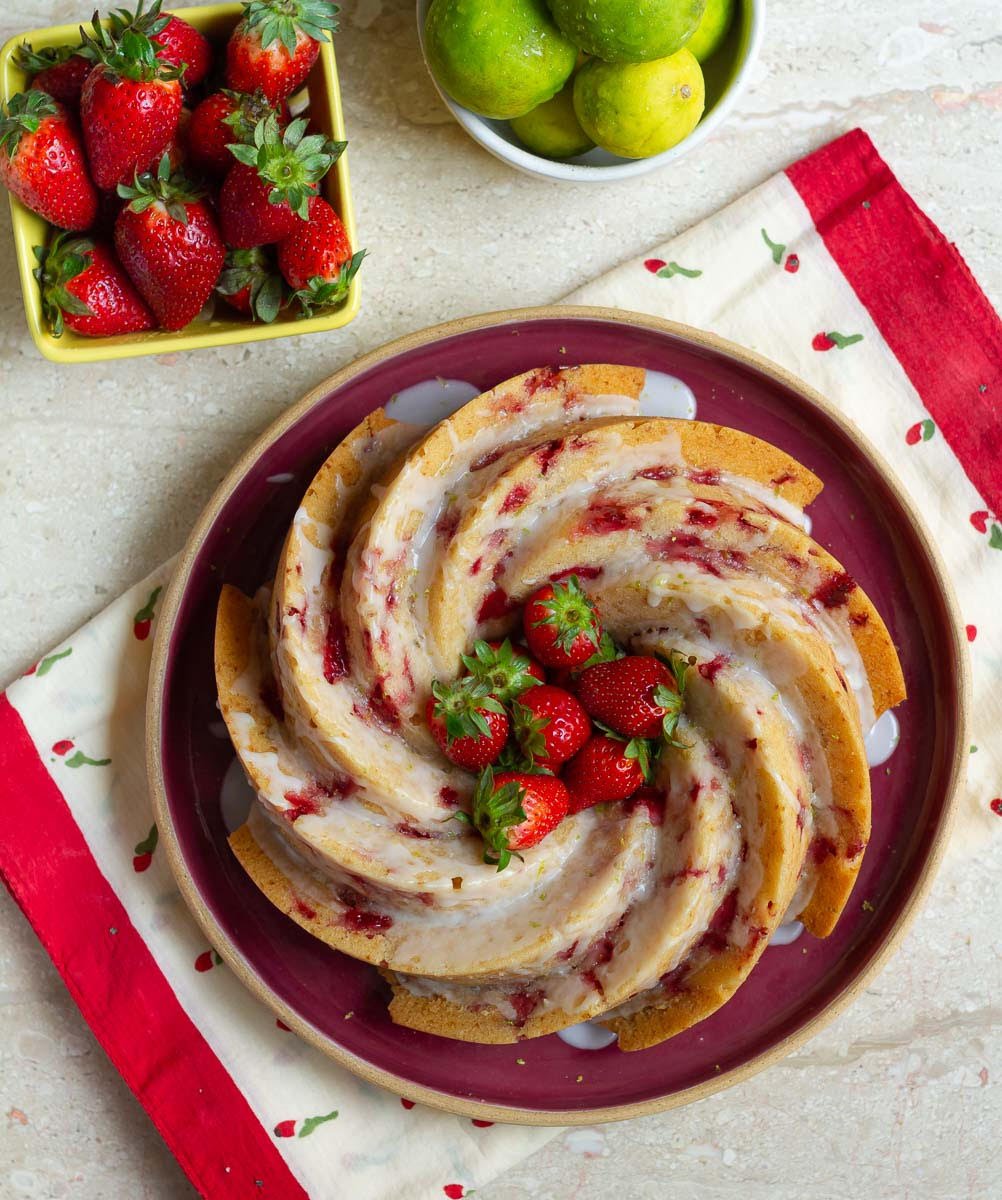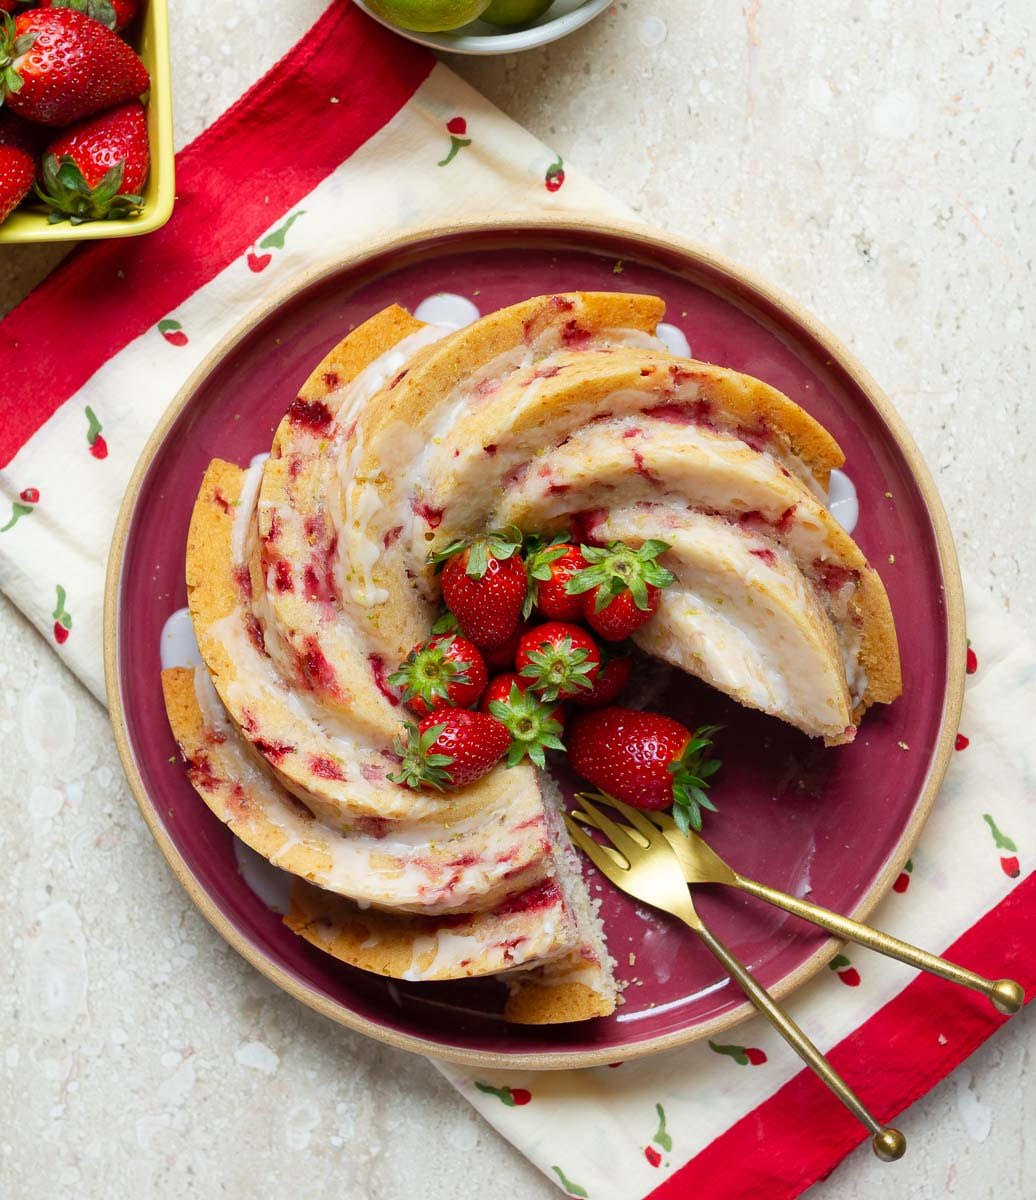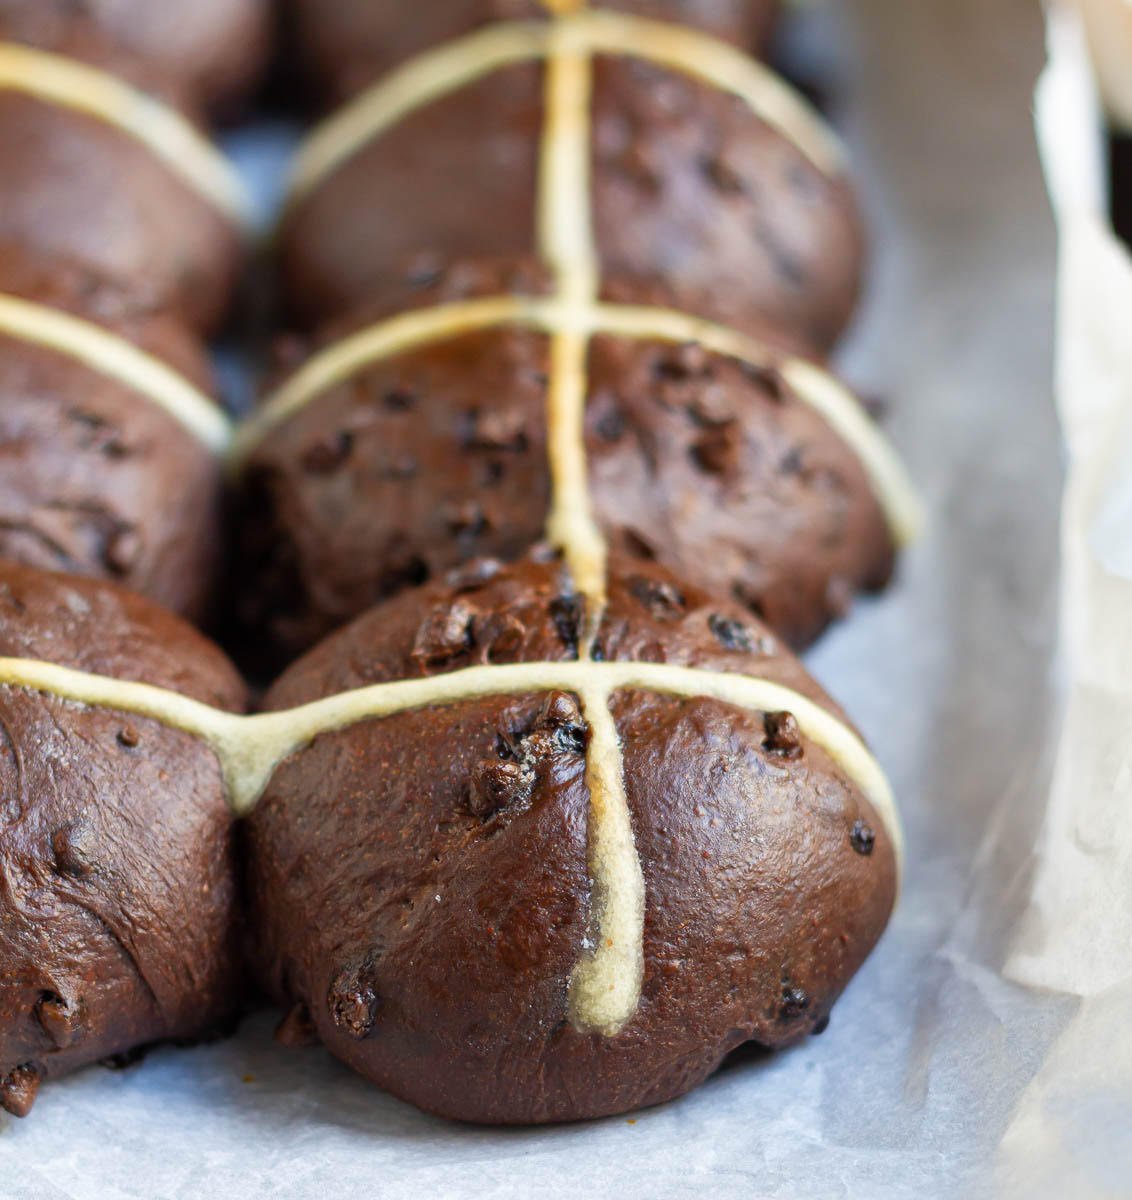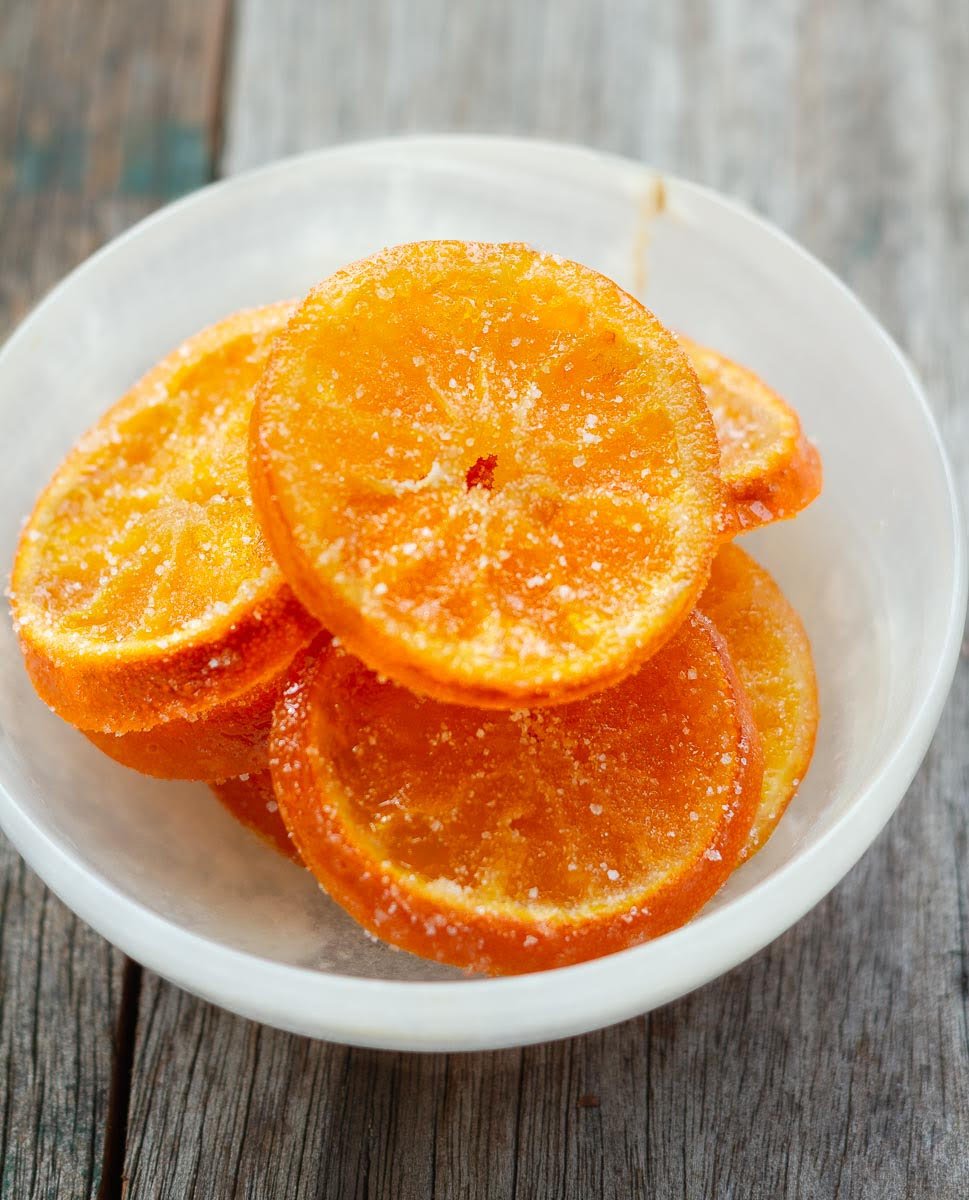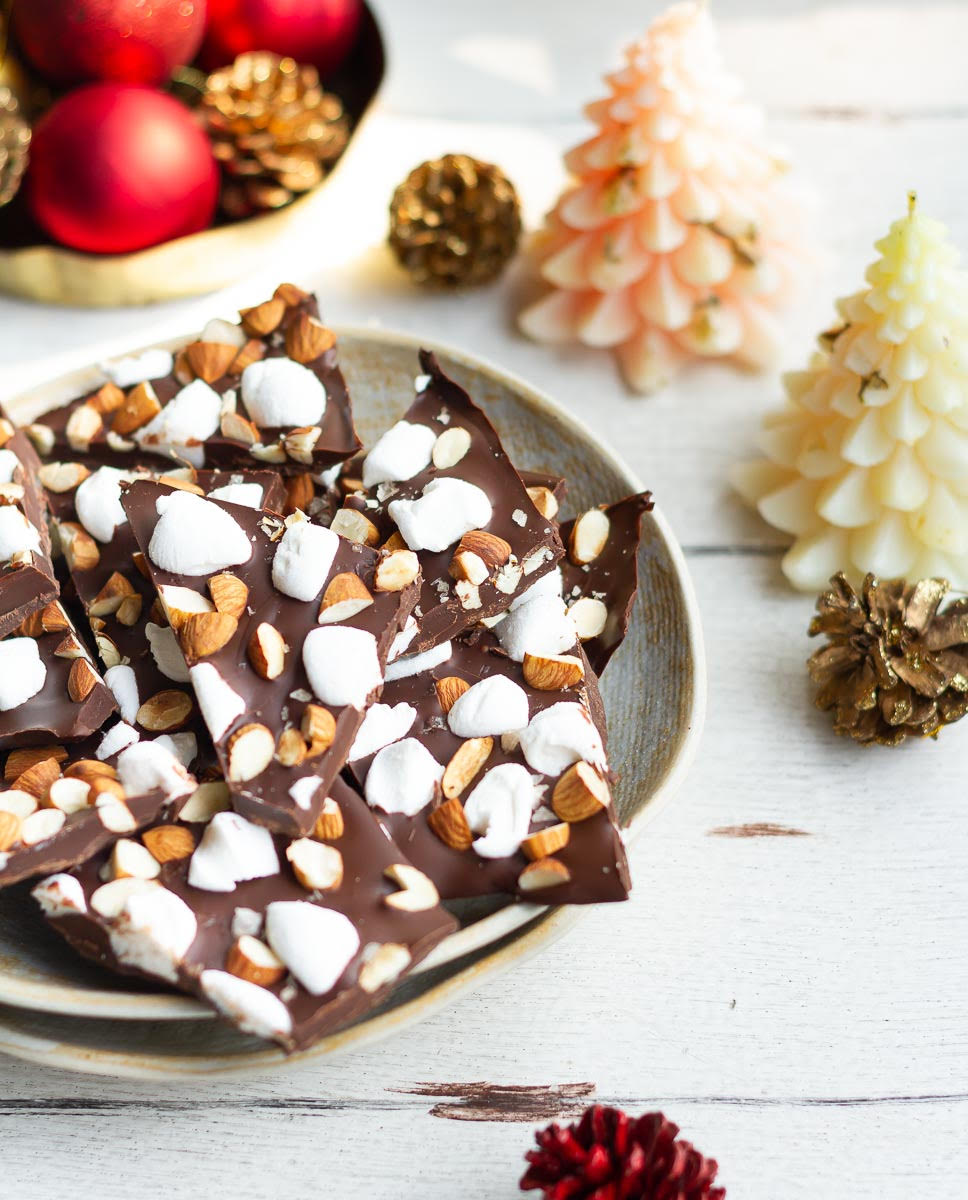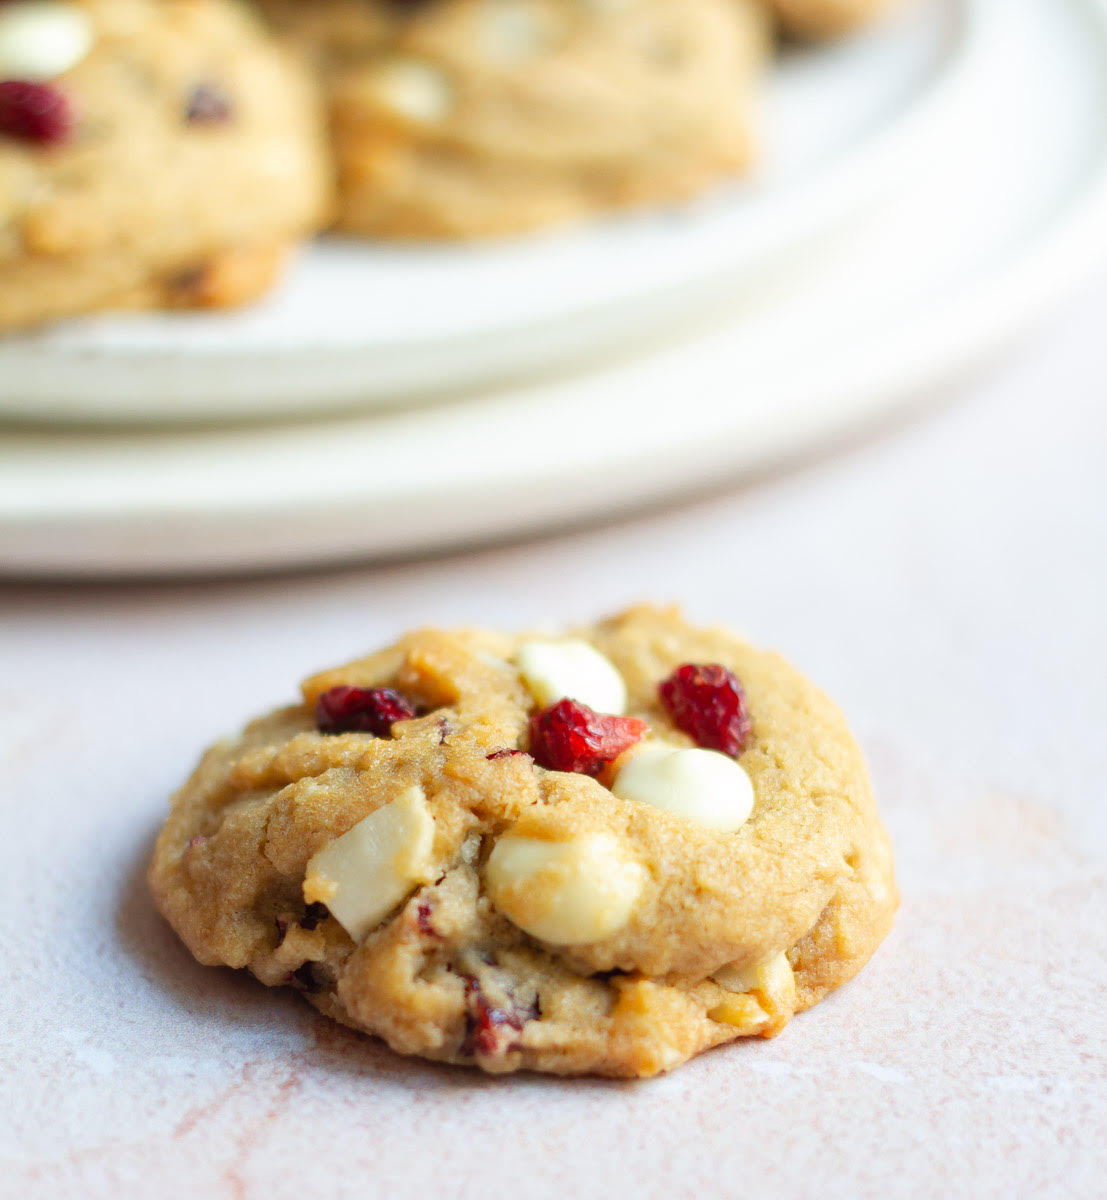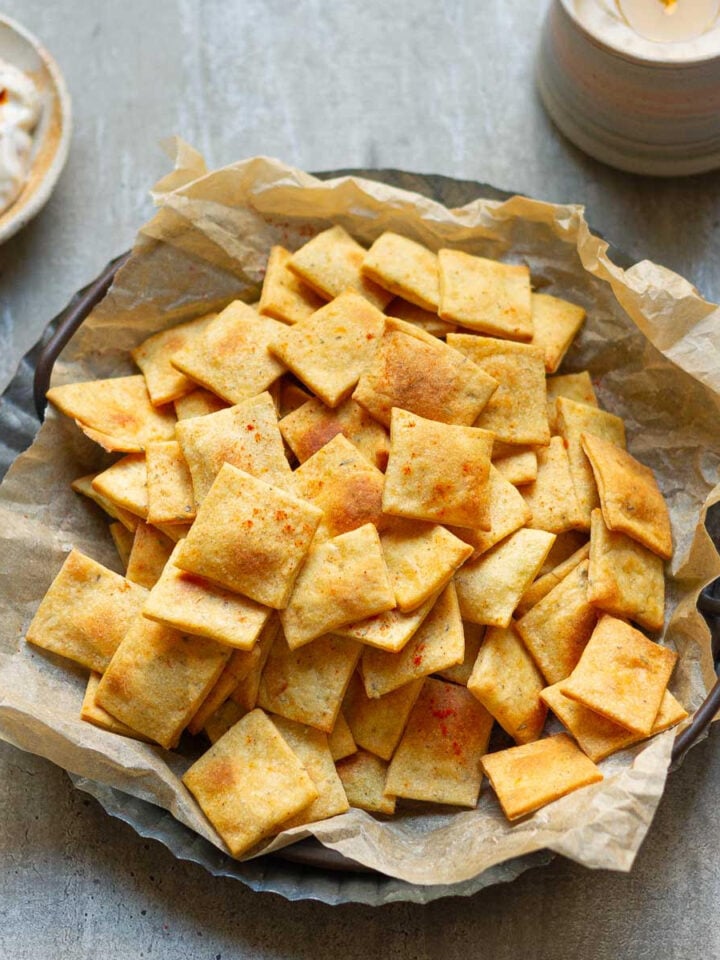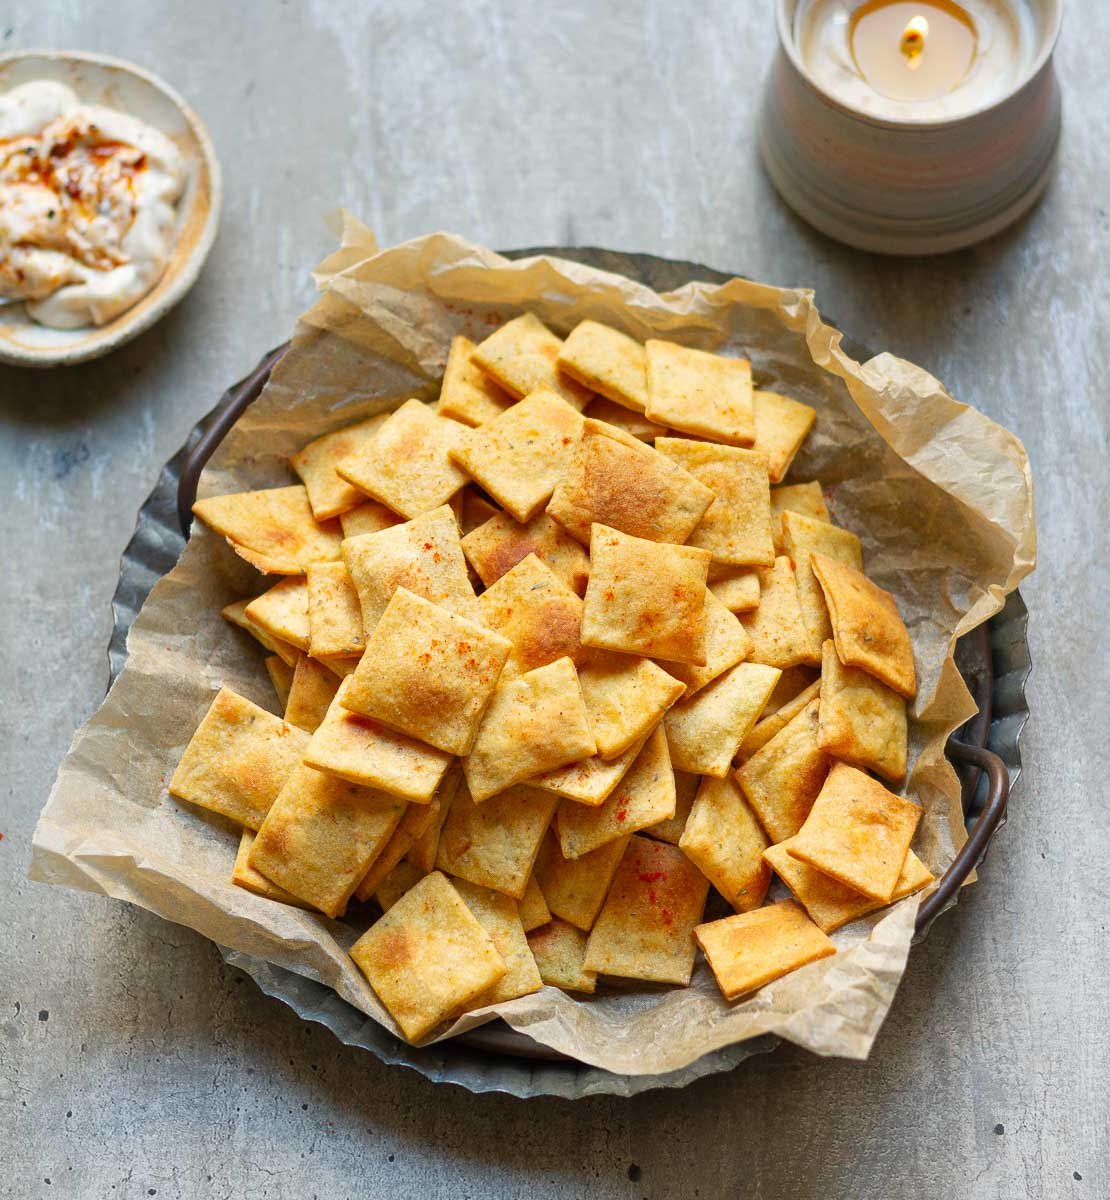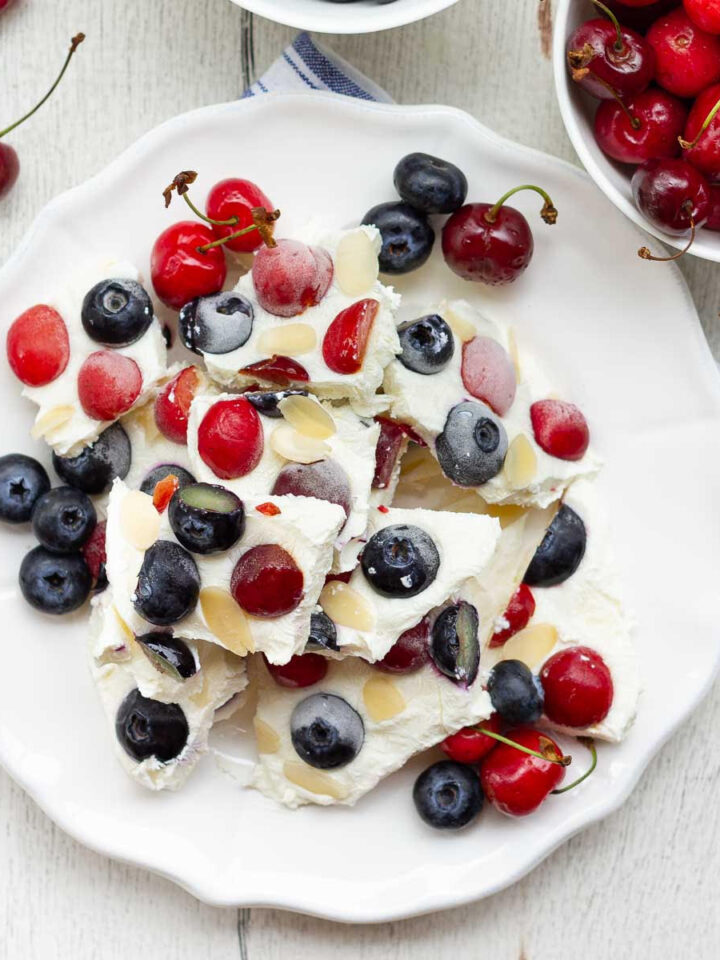
The frozen yogurt bark recipe is the perfect after-dinner sweet treat or a quick addition to a snack platter. Pretty to look at and delicious to eat. It's easy to make and can be customized to suit whatever fruits are in your refrigerator!

If you’re anything like me, these summer days have you craving something cold, creamy, and refreshing, but without the guilt or the fuss. That’s where this easy-peasy frozen yogurt bark recipe comes in. It’s super simple, incredibly customisable, and honestly, just so much fun to make!
[feast_advanced_jump_to]
Why You'll Love This Recipe
✨It’s a snack. It’s a dessert. It can also be your breakfast!
✨A fun kitchen project to involve kids for the summer.
✨You’ll love the sheer versatility and adaptability of the frozen bark!
✨You can bust out the red, white, and blue for the 4th of July dessert.
✨The taste is divine, and the frozen yogurt bark recipe is simple. With just a handful of ingredients and a dash of creativity, humble yogurt transforms into edible art.
Recipe Ingredients
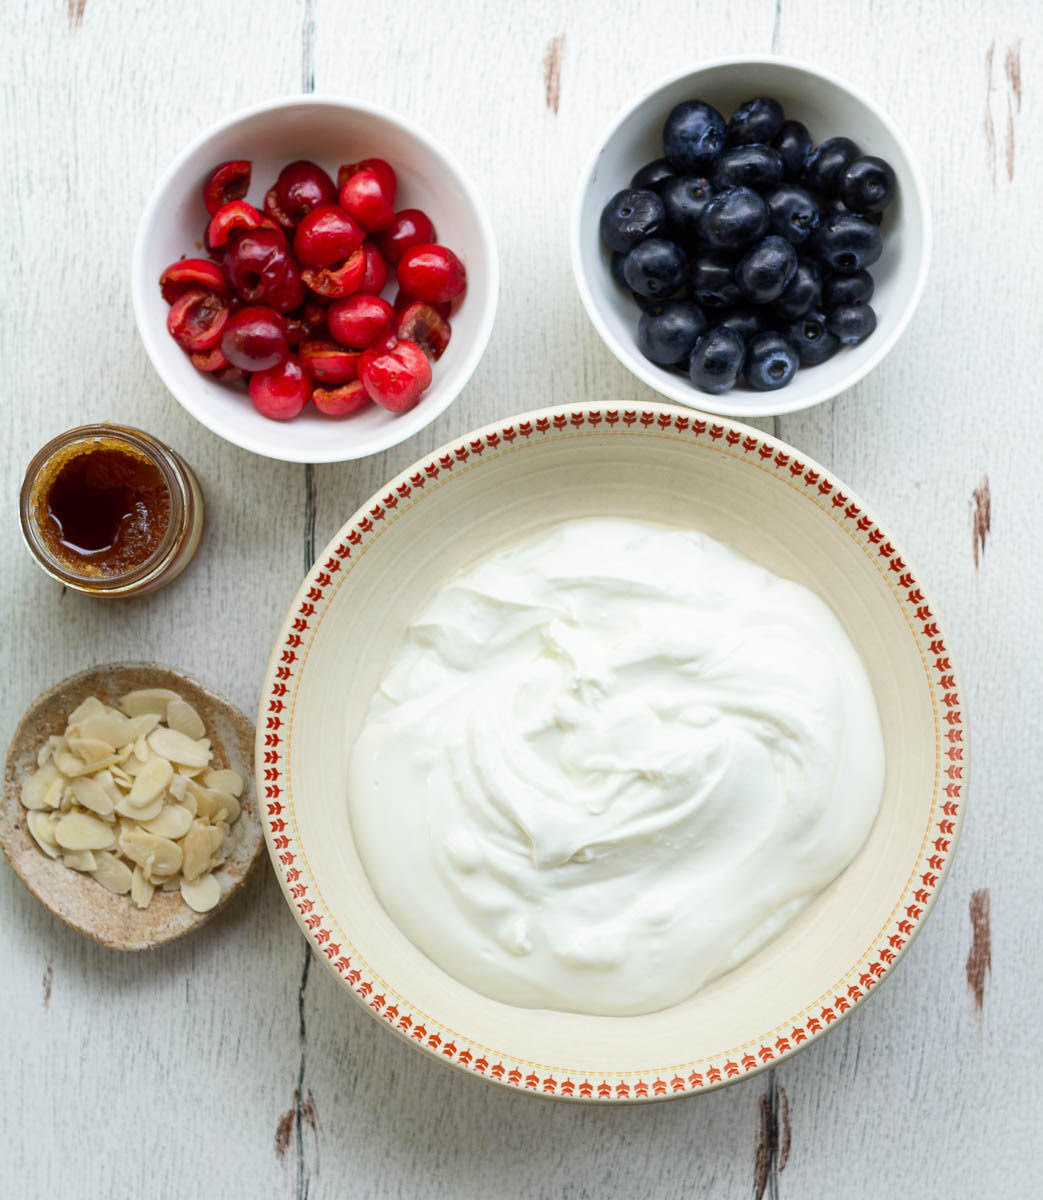
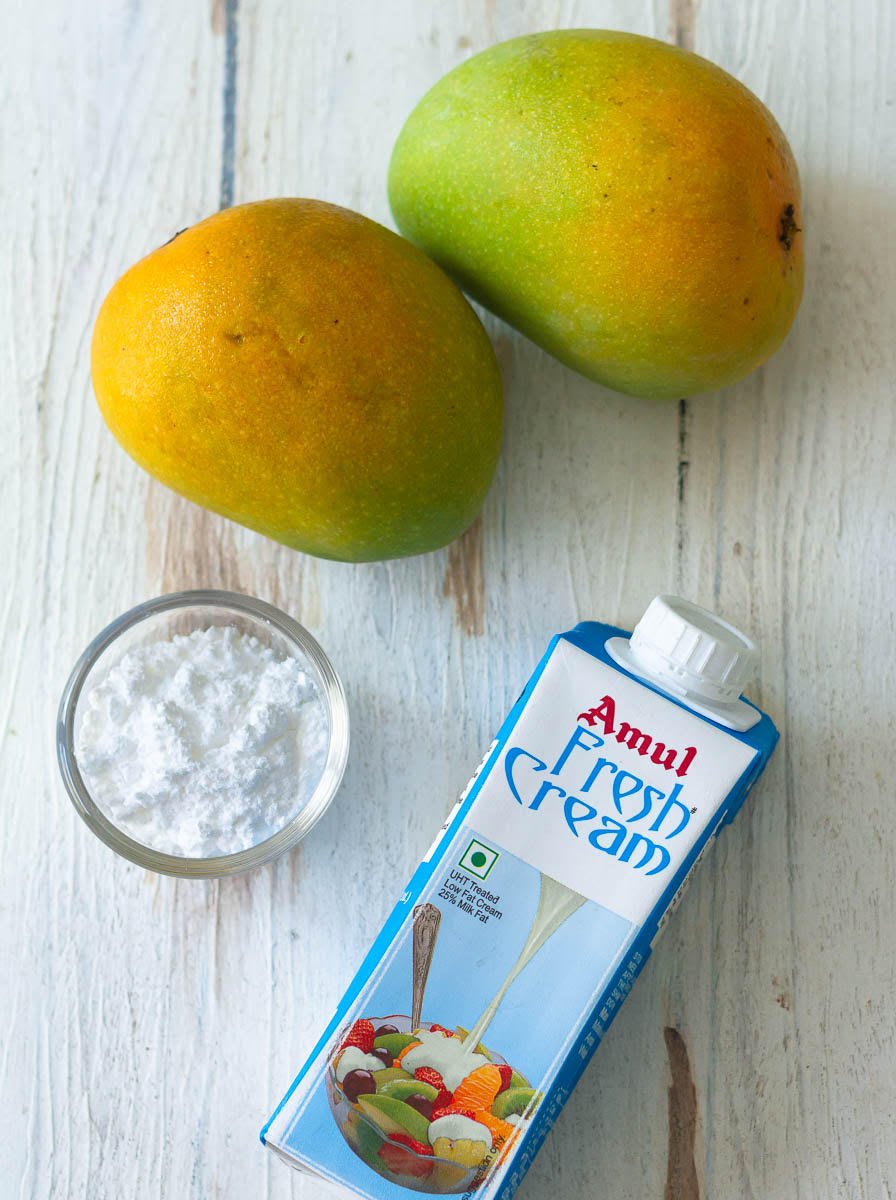
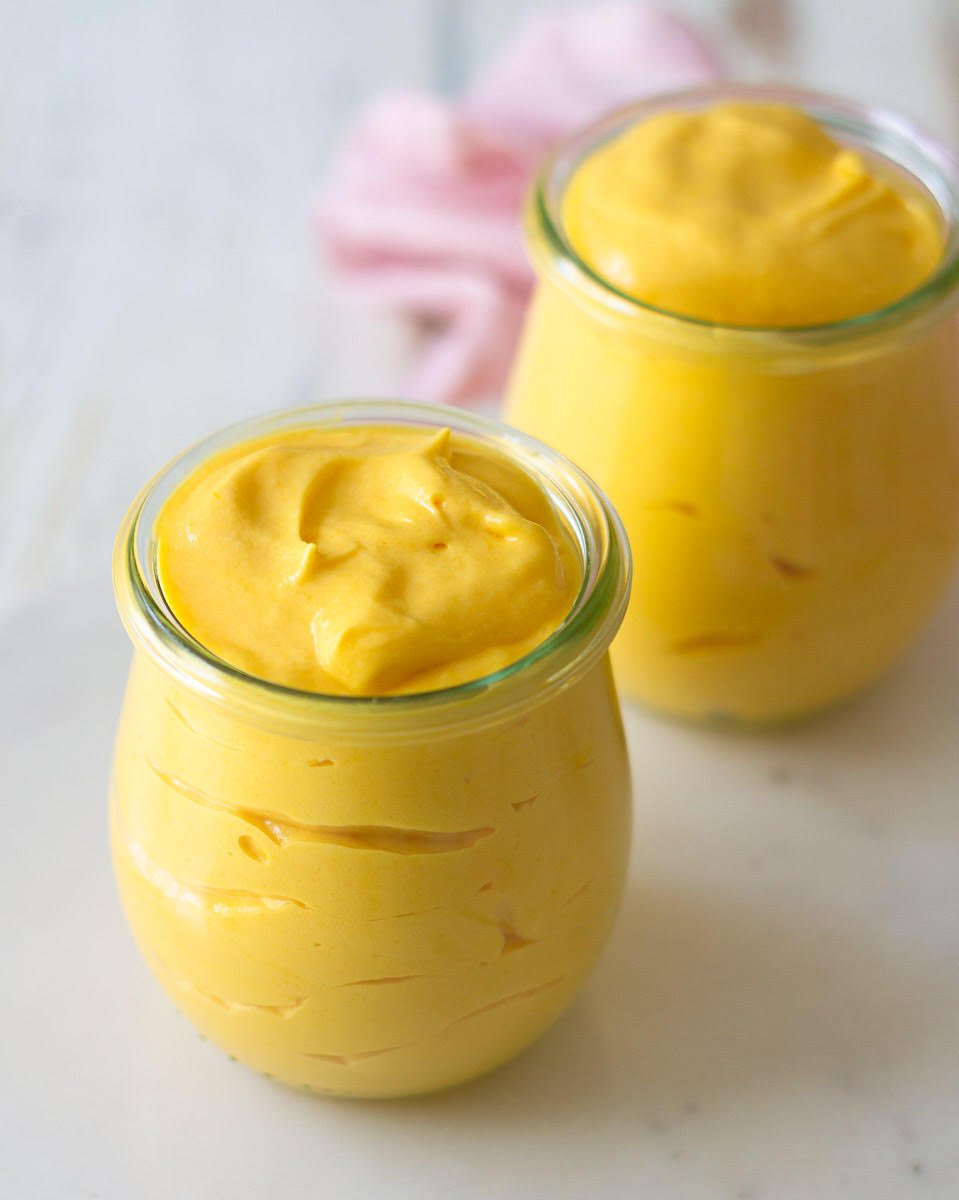
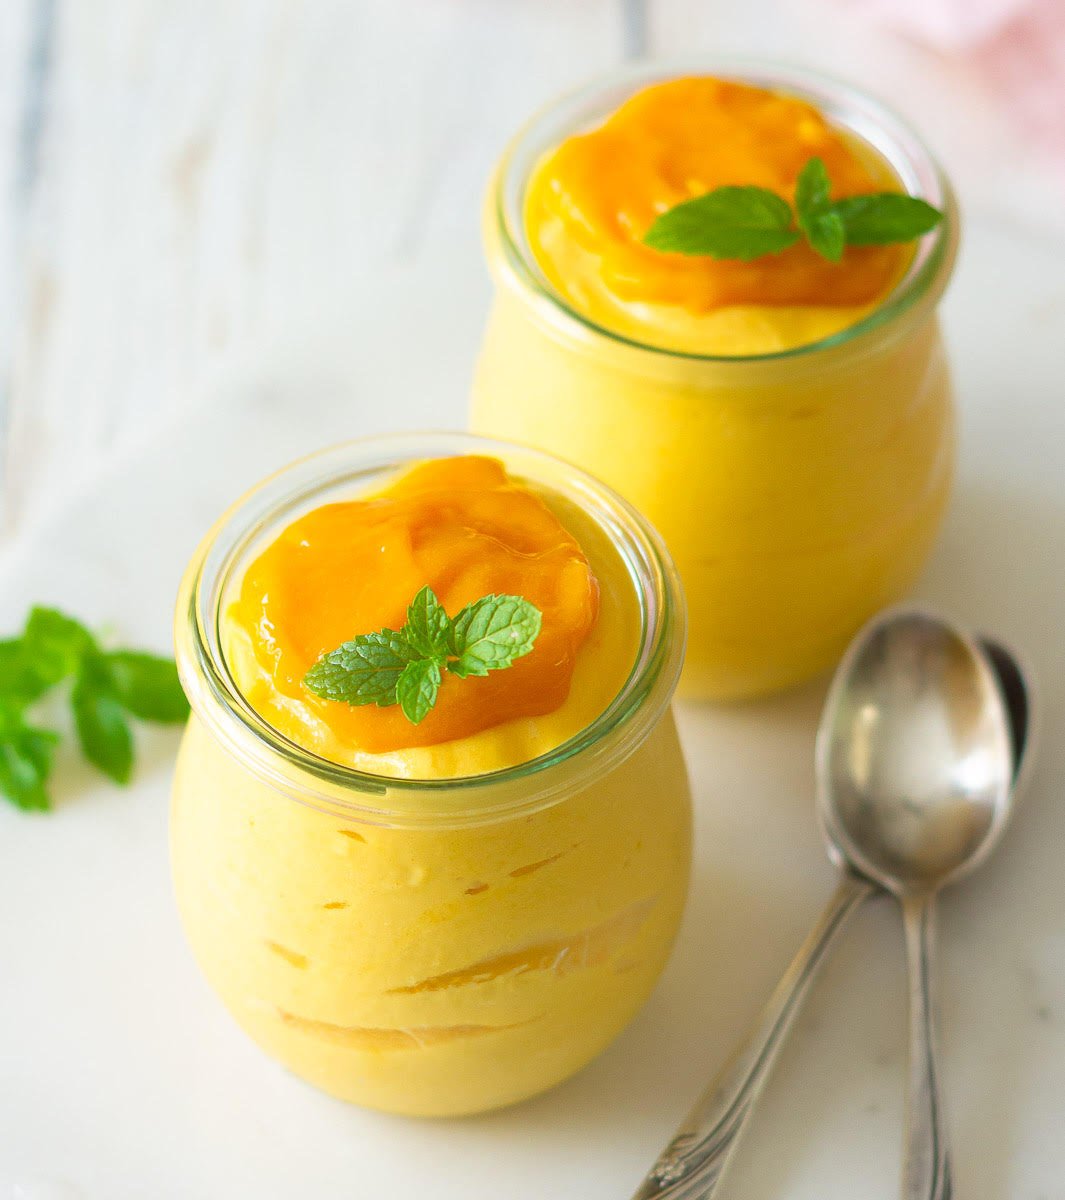
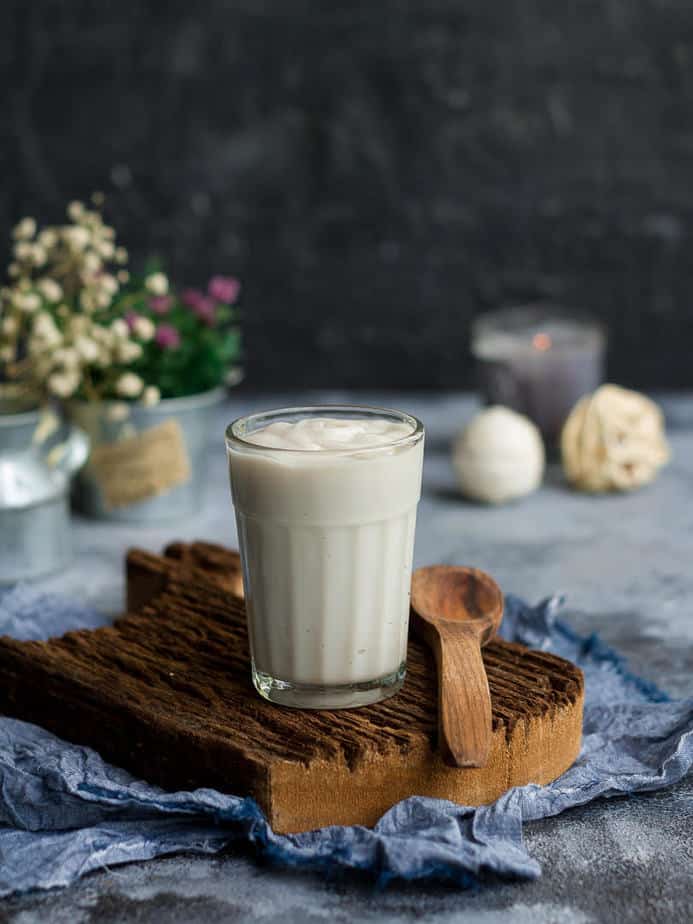
Yogurt: I prefer full-fat, plain Greek yogurt for the recipe. Why? Because it’s lusciously thick, which makes the frozen yogurt treat creamier.
- Substitute: homemade, hung yogurt. Give it plenty of time to drain, and I mean plenty. You want it to be super thick, with all the whey drained out.
Sweetener: I used honey in this recipe. This recipe is very malleable, so let your taste be the guide on how sweet you want the frozen yogurt bark.
- Substitute: maple syrup, agave syrup, or even powdered sugar.
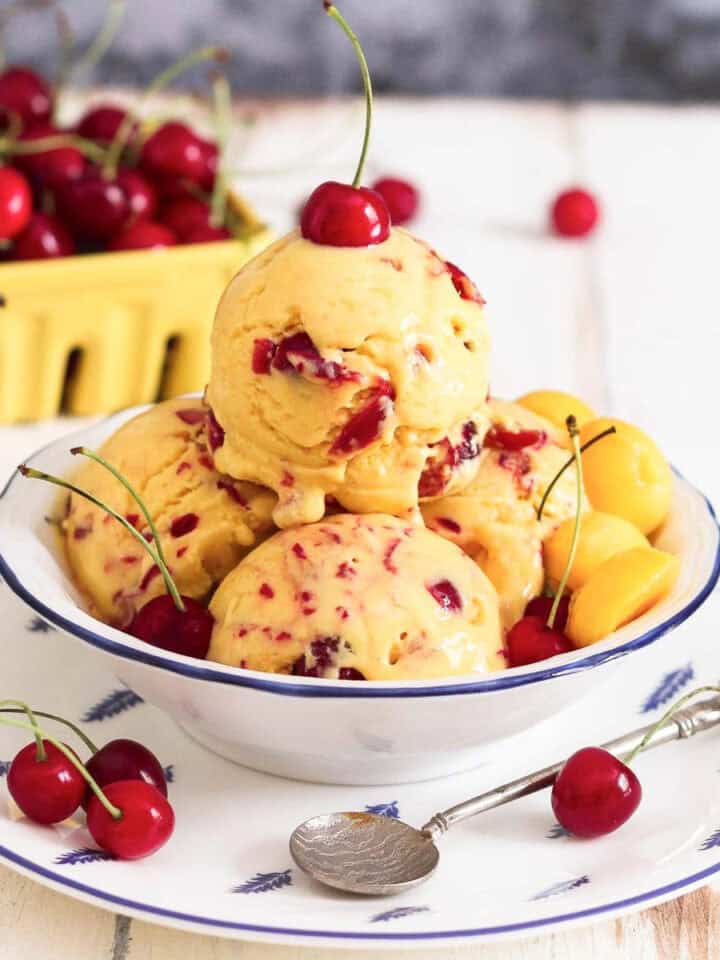
Fruits: Blueberries and cherries were my choice of fruit here. Please only use fresh fruit. Frozen fruit will mess up the texture.
- Substitutes: Go for any combination of fruits. Use strawberries or mangoes. Or peaches, raspberries, oranges, kiwis, apples, or grapes.
Nuts: You can leave out the almonds altogether. But if you itch for a little crunch, I recommend them.
- Substitutes: walnuts, pistachios, cashews, pecans, hazelnuts, or peanuts: go nuts with your choice!
Please see the recipe card for full information about the ingredients and quantities.
Variations
This recipe for frozen yogurt bark is so versatile! You can also play around with:
- A handful of chocolate chips
- A topping of shredded coconut
- A swirl of seed or nut butter
- A hint of vanilla extract or vanilla bean paste
- Some granola to make the yogurt bark heftier
- A sprinkle of lemon zest for the tang to counterbalance the sweetness
- A drizzle of rich, dark melted chocolate for that extra touch of decadence
Vegan frozen yogurt with berries: Use maple syrup and plant-based yogurt.
How To Make Frozen Yogurt Bark
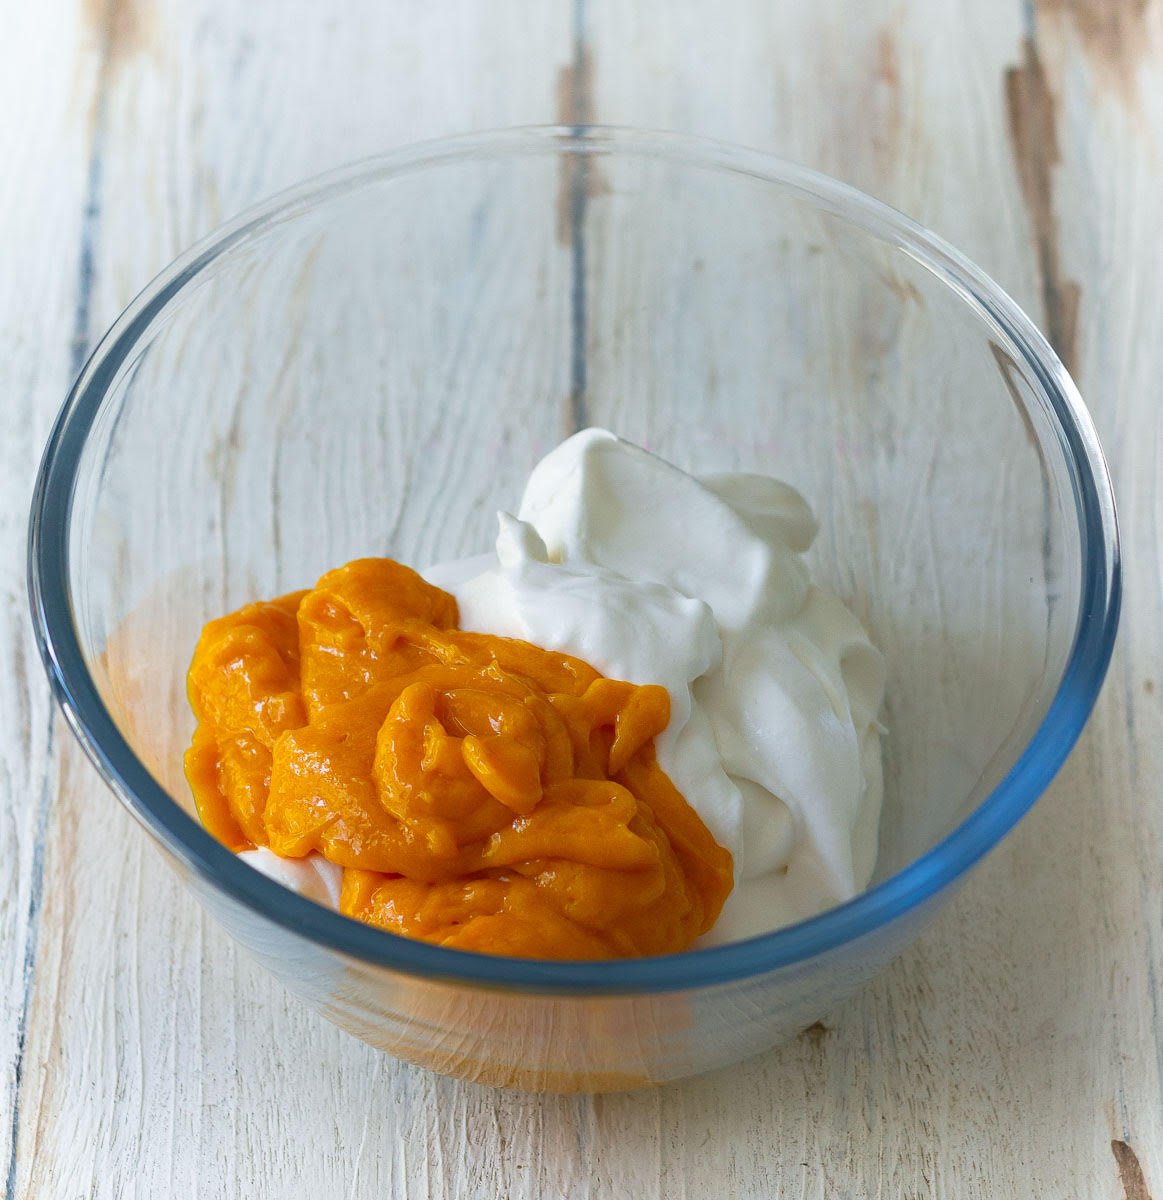
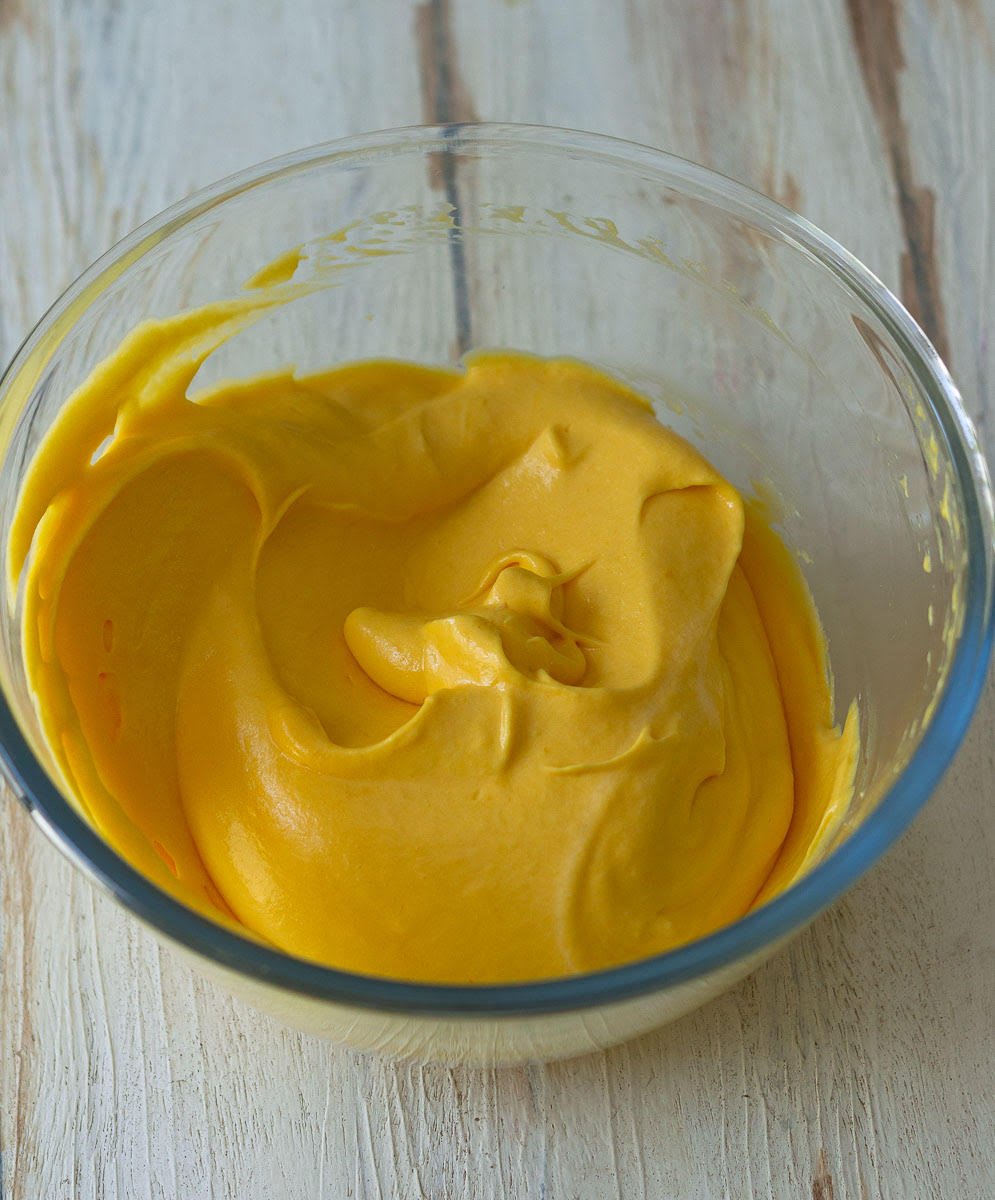
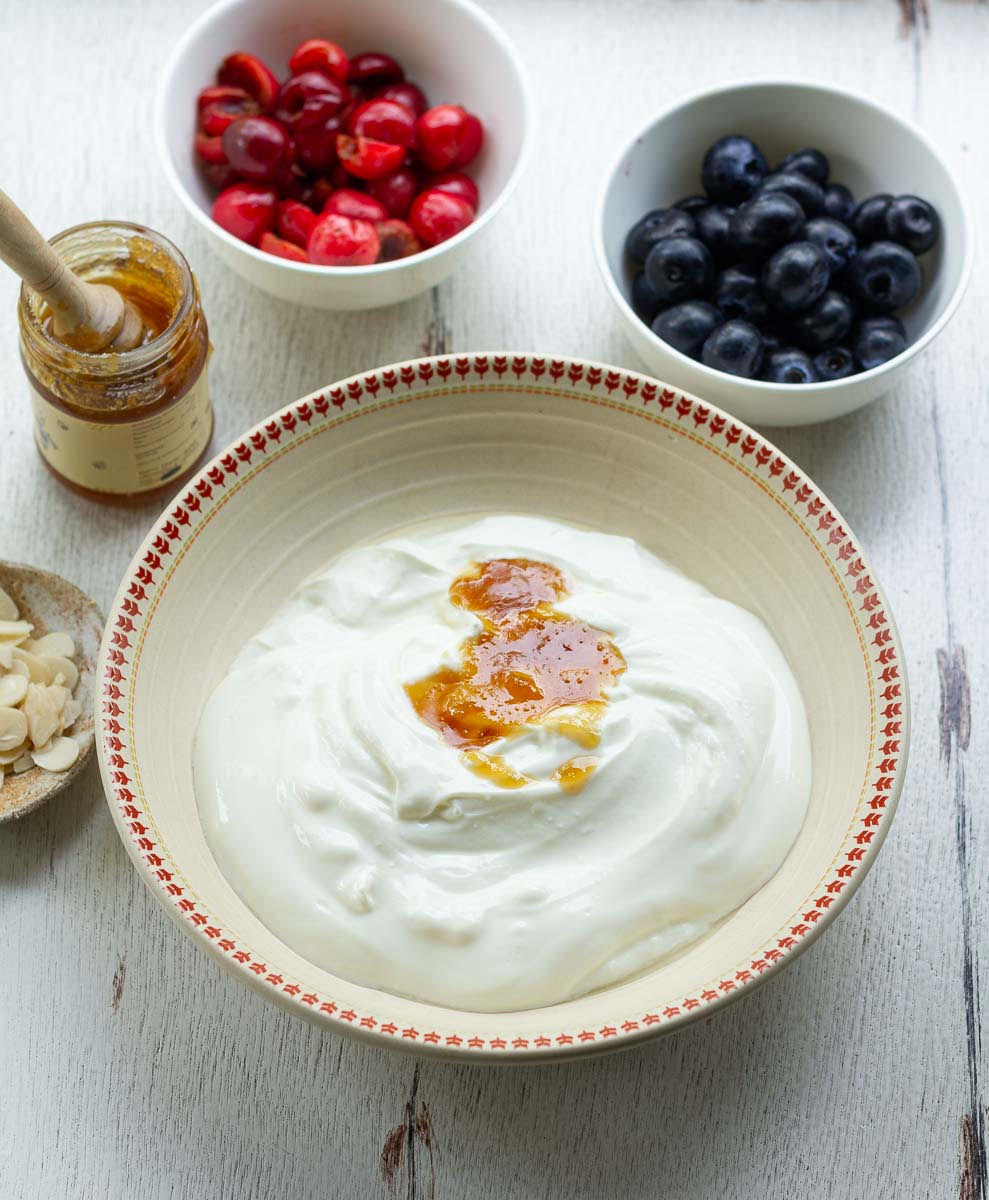
Step 1: In a bowl, stir the honey with plain Greek yogurt.
Step 2: Taste and adjust with more honey according to your taste.
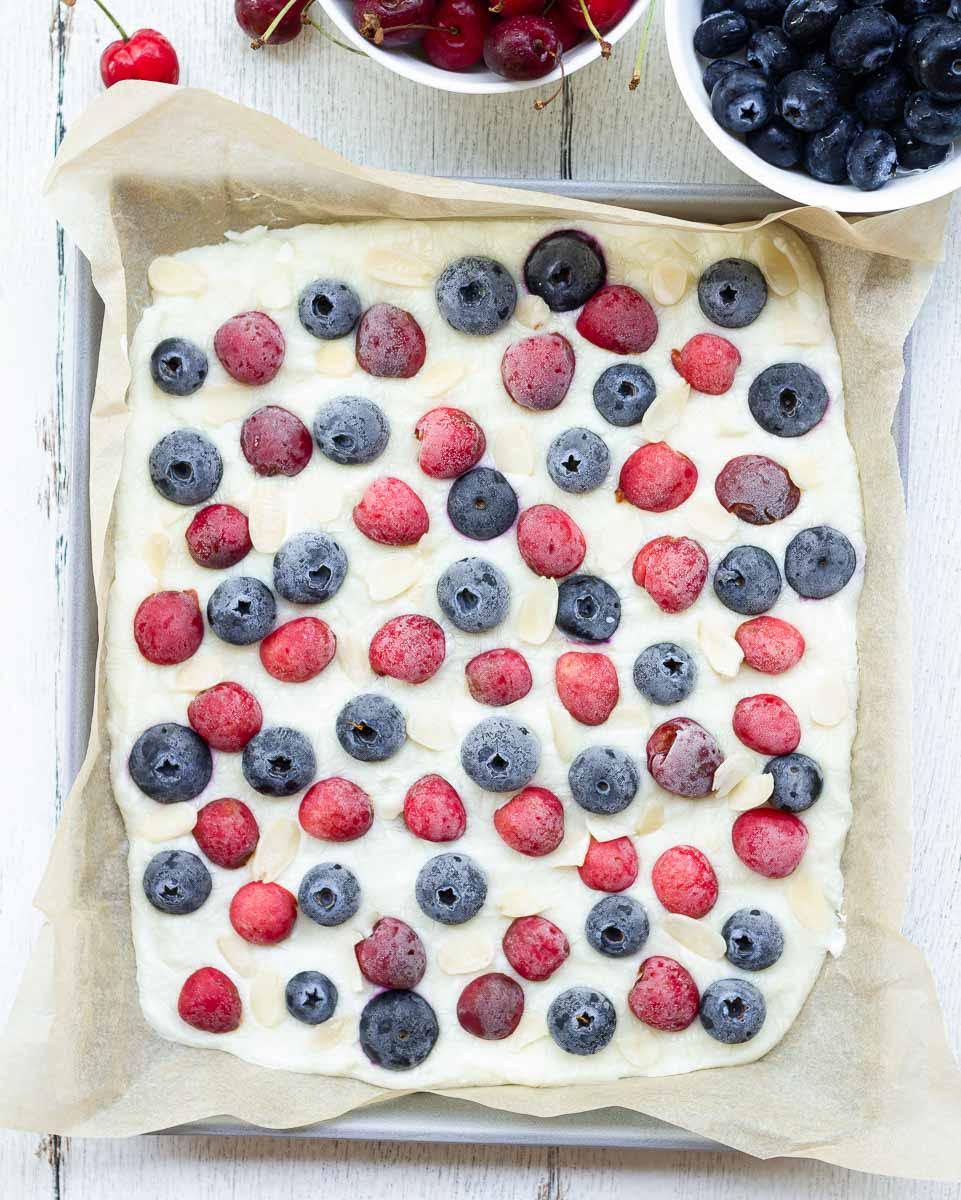
Step 3: Line a freezer-friendly tray with parchment paper and then spread the mixture on it. Keep it even and about a quarter-inch thick.
Step 4: Scatter the chopped fruits (I chose cherries and blueberries ).
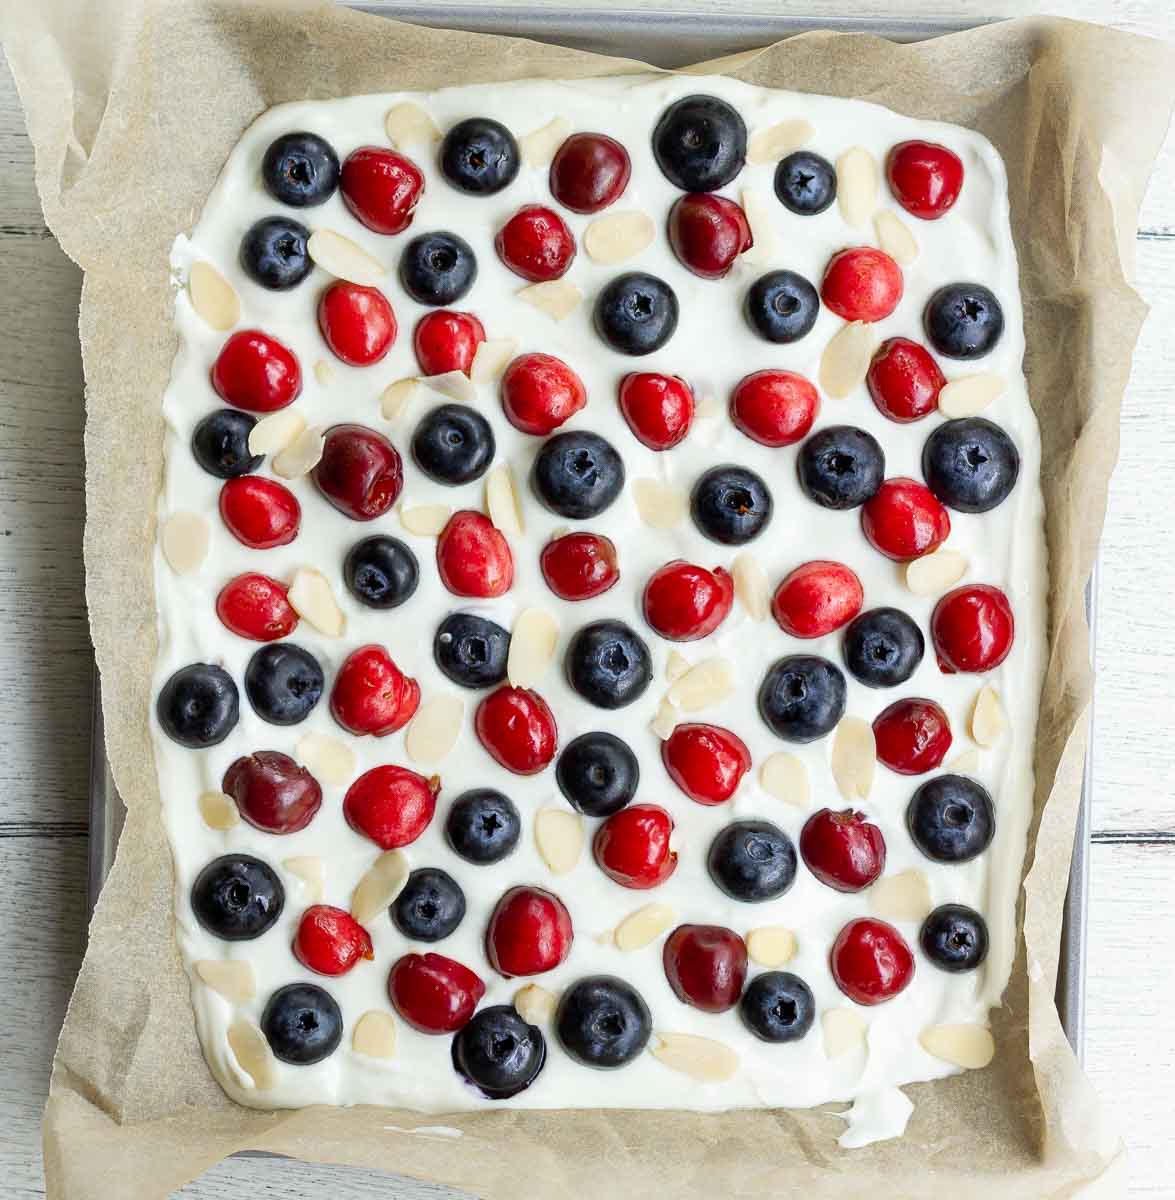
Step 5: Press down gently. Finish with almond flakes (they look pretty, and I love the crunch).
Step 6: Slide the tray into the freezer. Wait. Wait and wait some more. I like to freeze this overnight.
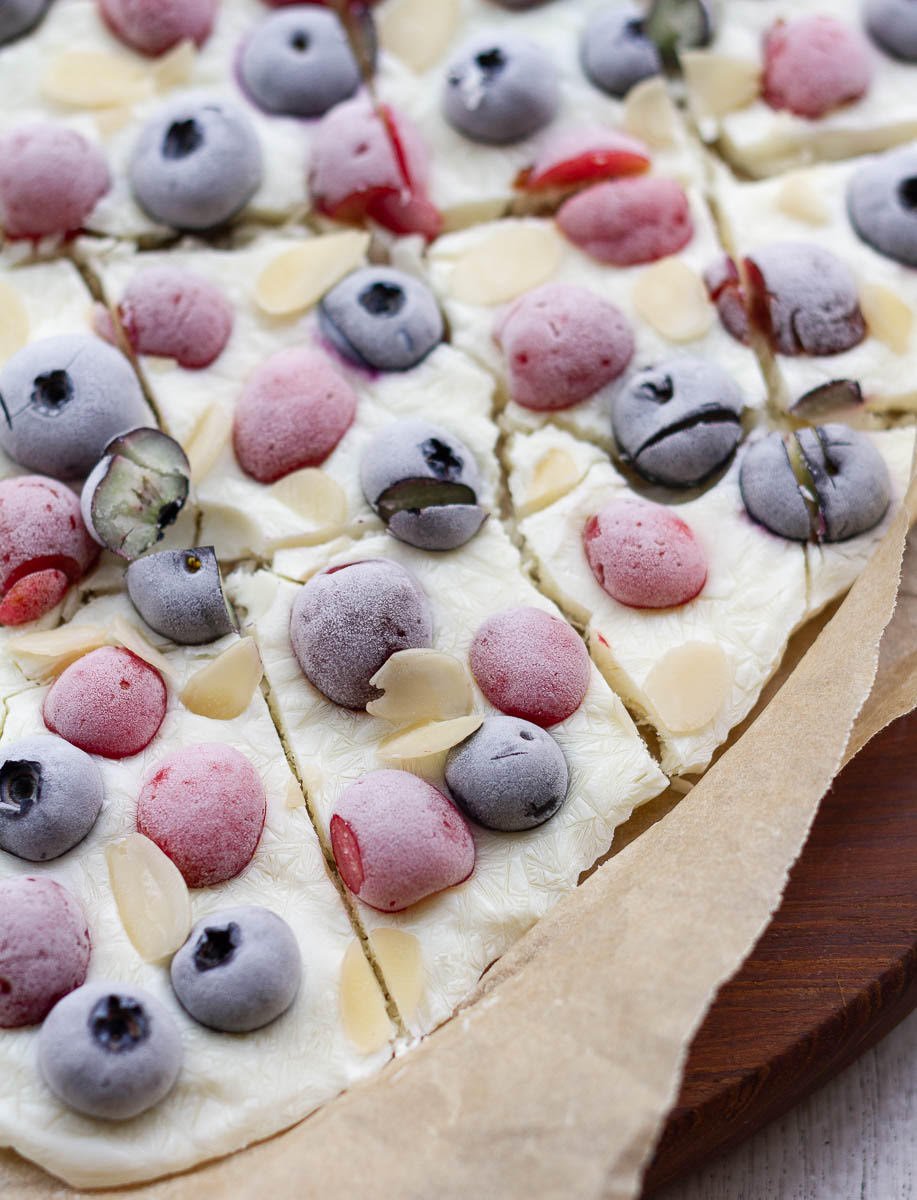
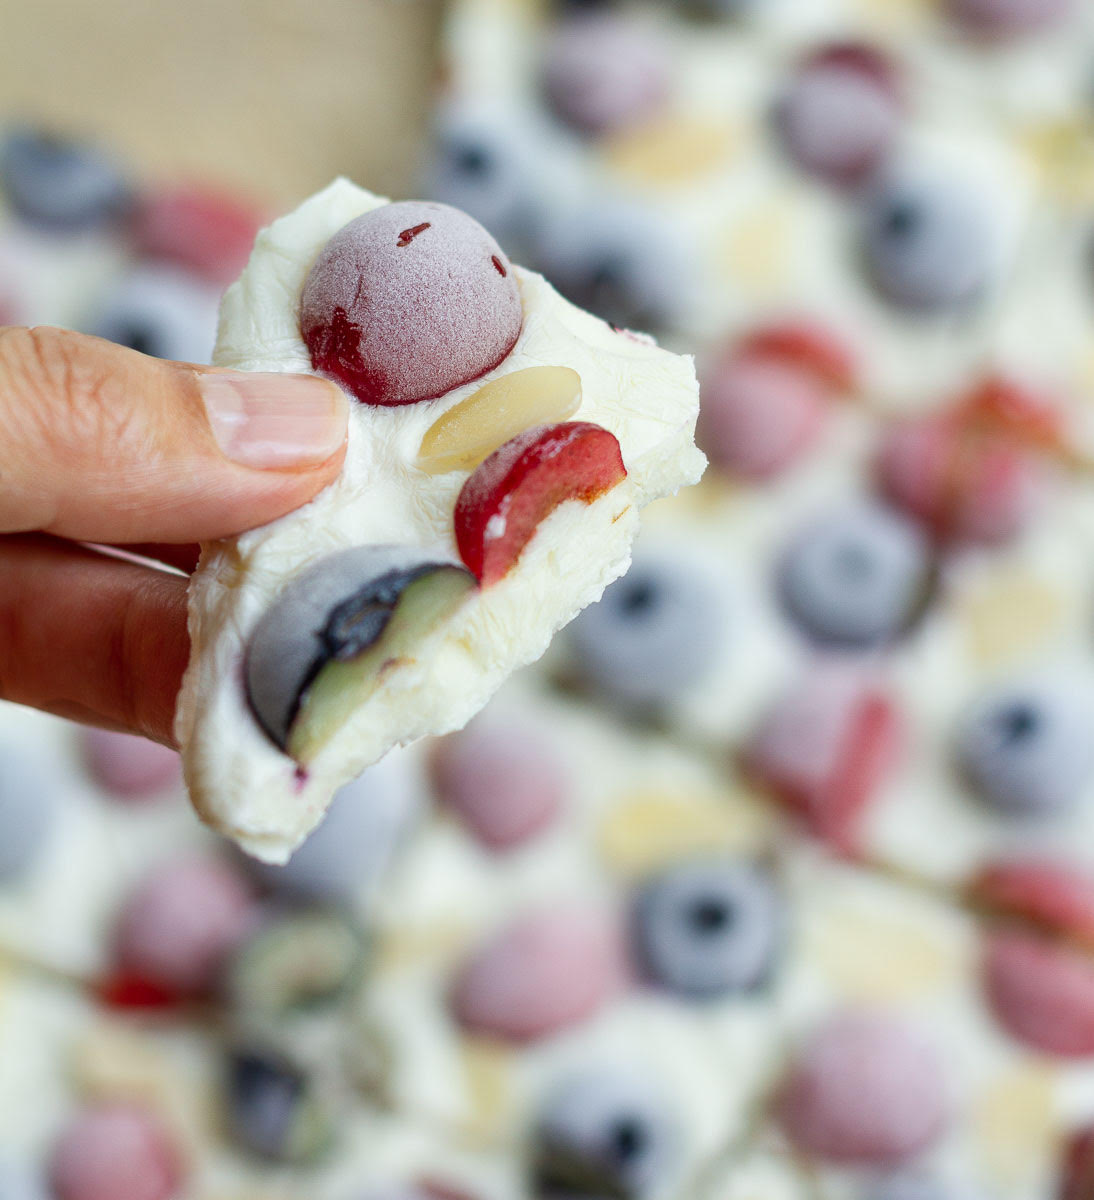
Step 7: Cut into pieces and enjoy!
Top Tips
Frozen yogurt bark recipes are ridiculously easy. There is nothing more to it than mixing, spreading, and freezing. But these few tips will help you along the way.
- When yogurt freezes, it will stick to the tray. Adding parchment paper makes sure you can remove the Greek yogurt bark with ease. Wax paper or foil works too.
- Be mindful when cutting your fruits. Cut them into smaller pieces for easier eating and cutting of the bark.
- Choose full-fat Greek yogurt for a creamier texture and better freezing.
Recipe FAQs
Frozen yogurt fruit barks are a tantalizing blend of yogurt, creativity, and frosty magic! As the name says, it’s a frozen dessert made by spreading yogurt on a sheet, then adding toppings like fruits and nuts before chilling it.
It’s a perfect summer treat that satisfies your cravings with refreshing goodness - luscious, creamy yogurt topped liberally with colorful, juicy fruits and crunchy nuts!
You want to give this frozen yogurt snack a minimum of 5 to 6 hours in the freezer. I like to freeze this overnight.
Always store yogurt bark in an airtight container in the freezer. It will stay well for a couple of weeks (that is, if, and it’s a big if, it lasts that long).


📖 Recipe

Frozen Yogurt Bark - Easy Summer Recipe
Ingredients
- 1.5 cups Greek yogurt, plain
- 3-4 tbsp Honey You can add more as per your preference
- 1/2 cup Blueberries
- 1/2 cup Cherries, pitted and halved
- 2-3 tbsp Almond flakes
Instructions
- Line a freezer-friendly tray with parchment paper.
- Combine the Greek yogurt and honey in a bowl. Taste and adjust for sweetness.
- Pour the yogurt onto the prepared tray and spread it evenly.
- Scatter the blueberries and cherries on top. Press them down slightly.
- Sprinkle the almond flakes and place the tray in the freezer for 6-8 hours or until frozen solid. I like to freeze overnight.
- Peel the parchment paper off the frozen bark carefully, cut it into pieces, and serve. Enjoy!
Video
Notes
- When yogurt freezes, it will stick to the tray. Adding parchment paper makes sure you can remove the Greek yogurt bark with ease. Wax paper or foil works too.
- Be mindful when cutting your fruits. Cut them into smaller pieces for easier eating and cutting of the bark.
- Choose full-fat Greek yogurt for a creamier texture and better freezing.