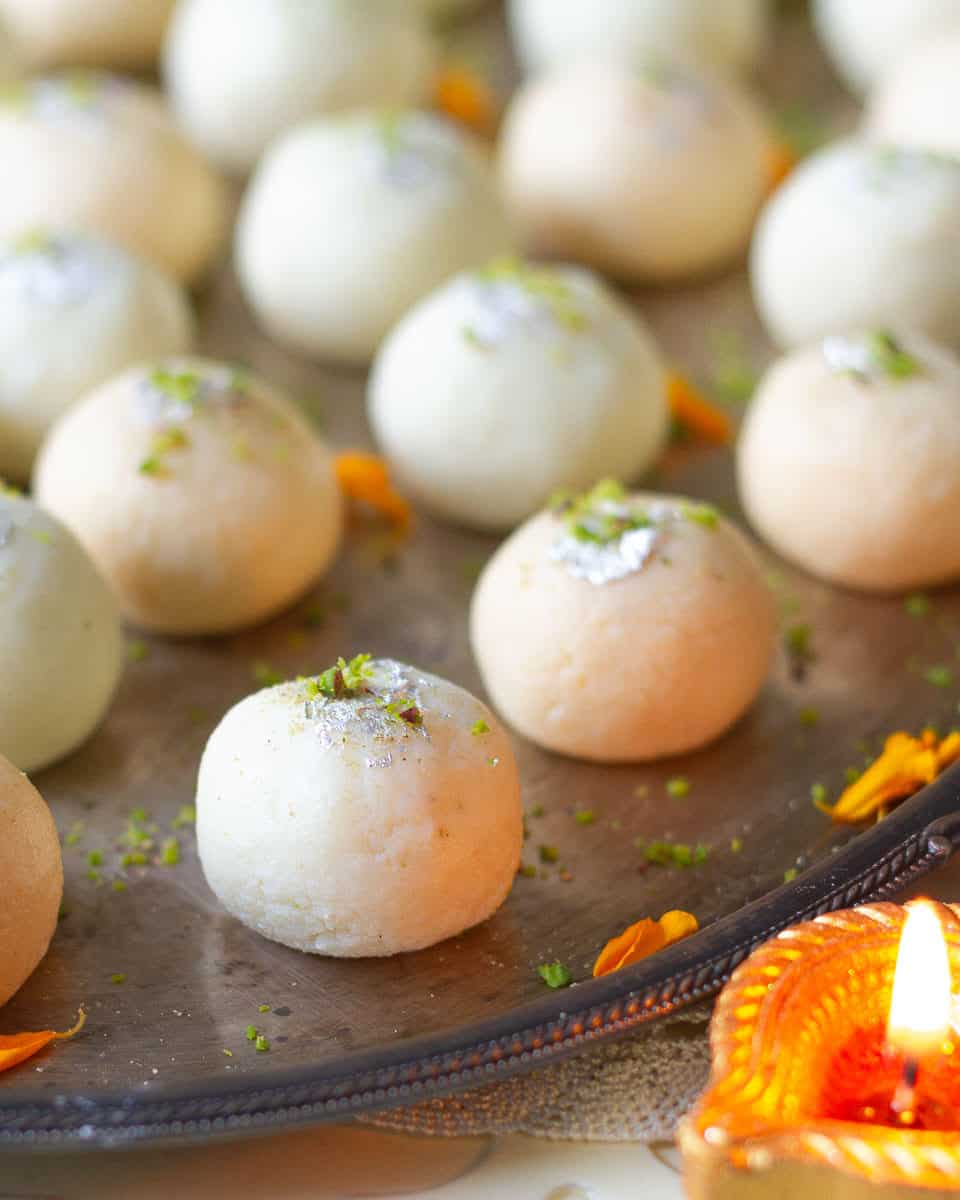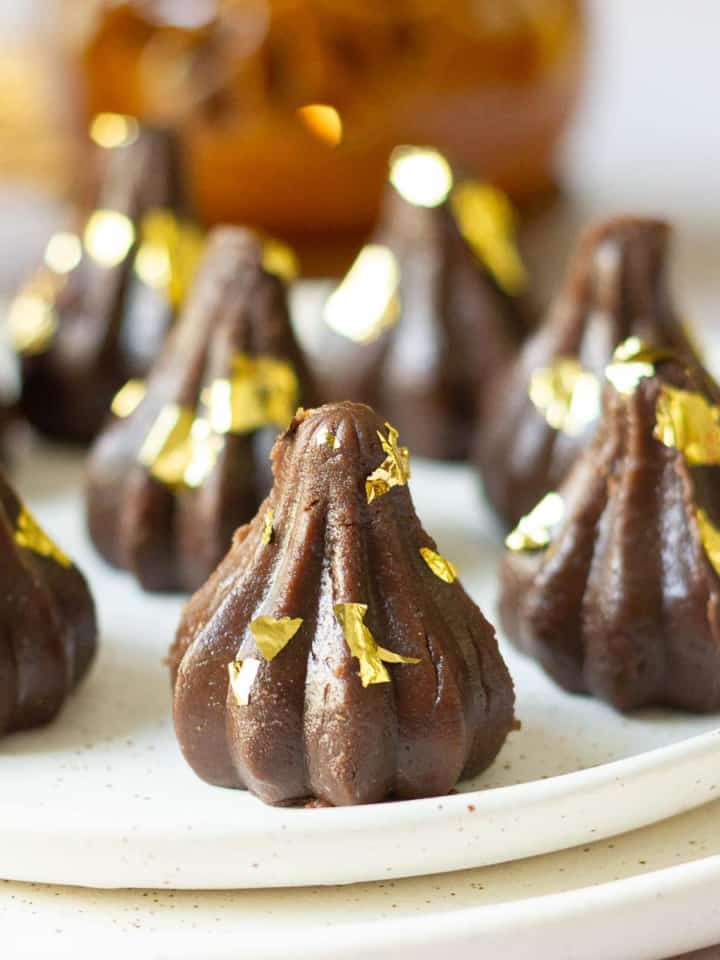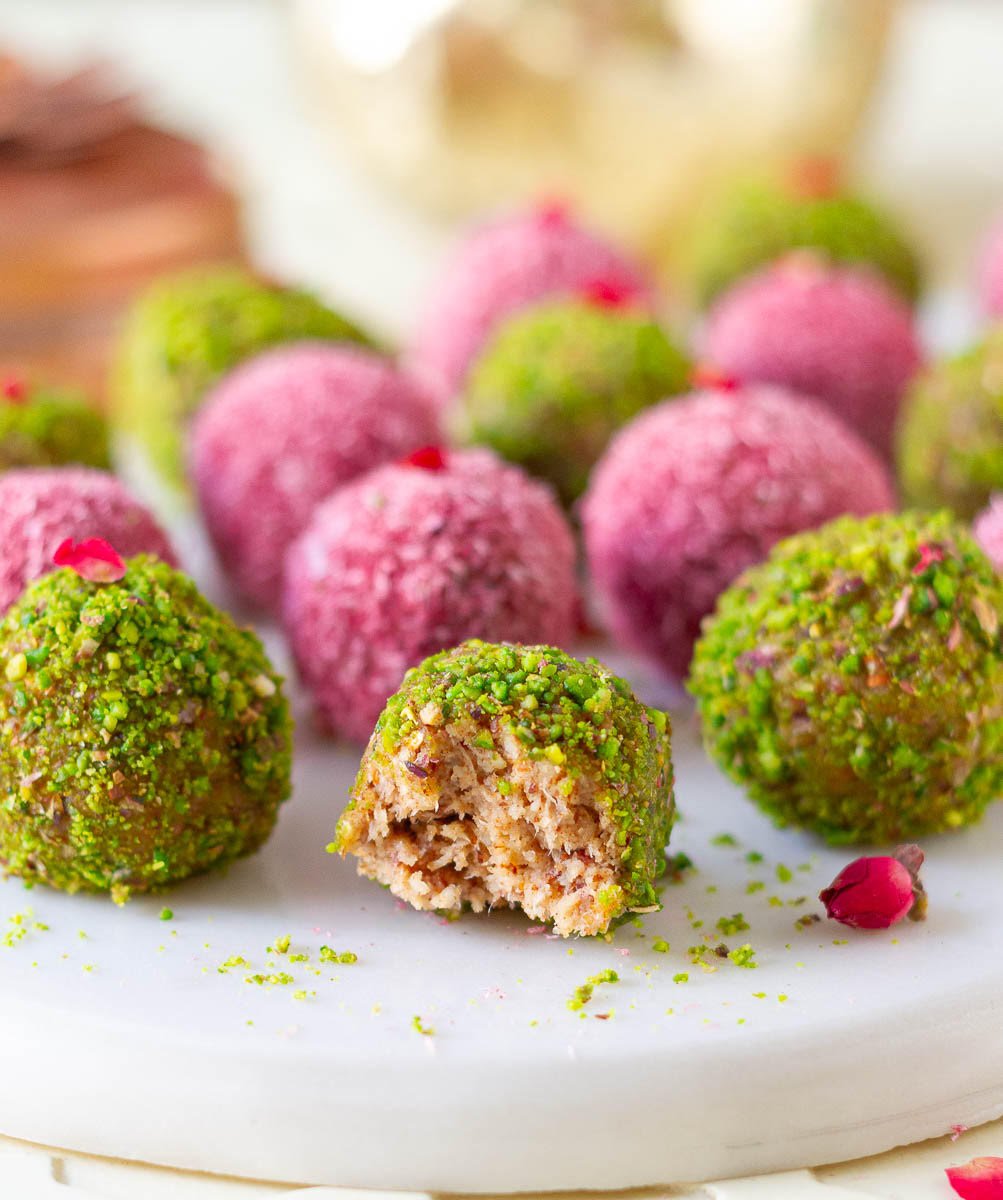
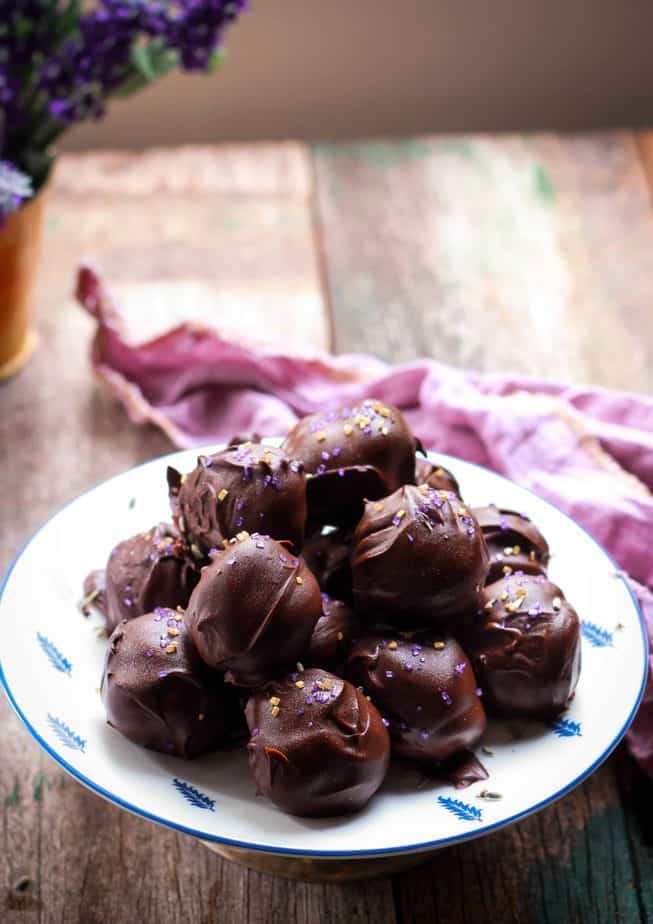
These easy Biscoff truffles are rich, fudgy, and delightfully indulgent! Made with 3 ingredients, they look fancy, taste incredible, and come together so quickly and easily!

The best part is how effortless it is to make these chocolate Biscoff truffles. The mixture firms up quickly in the fridge, so you can roll and coat the truffles without any fuss.
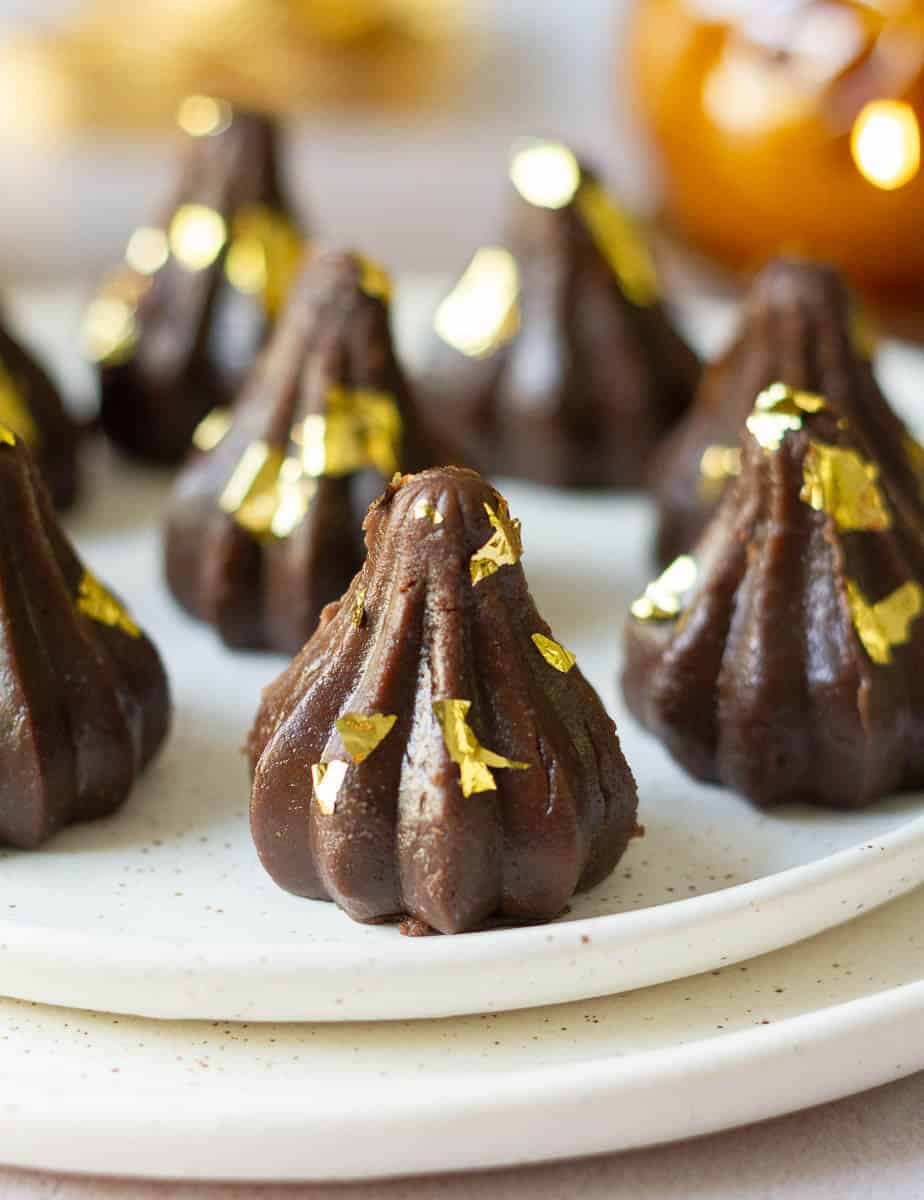
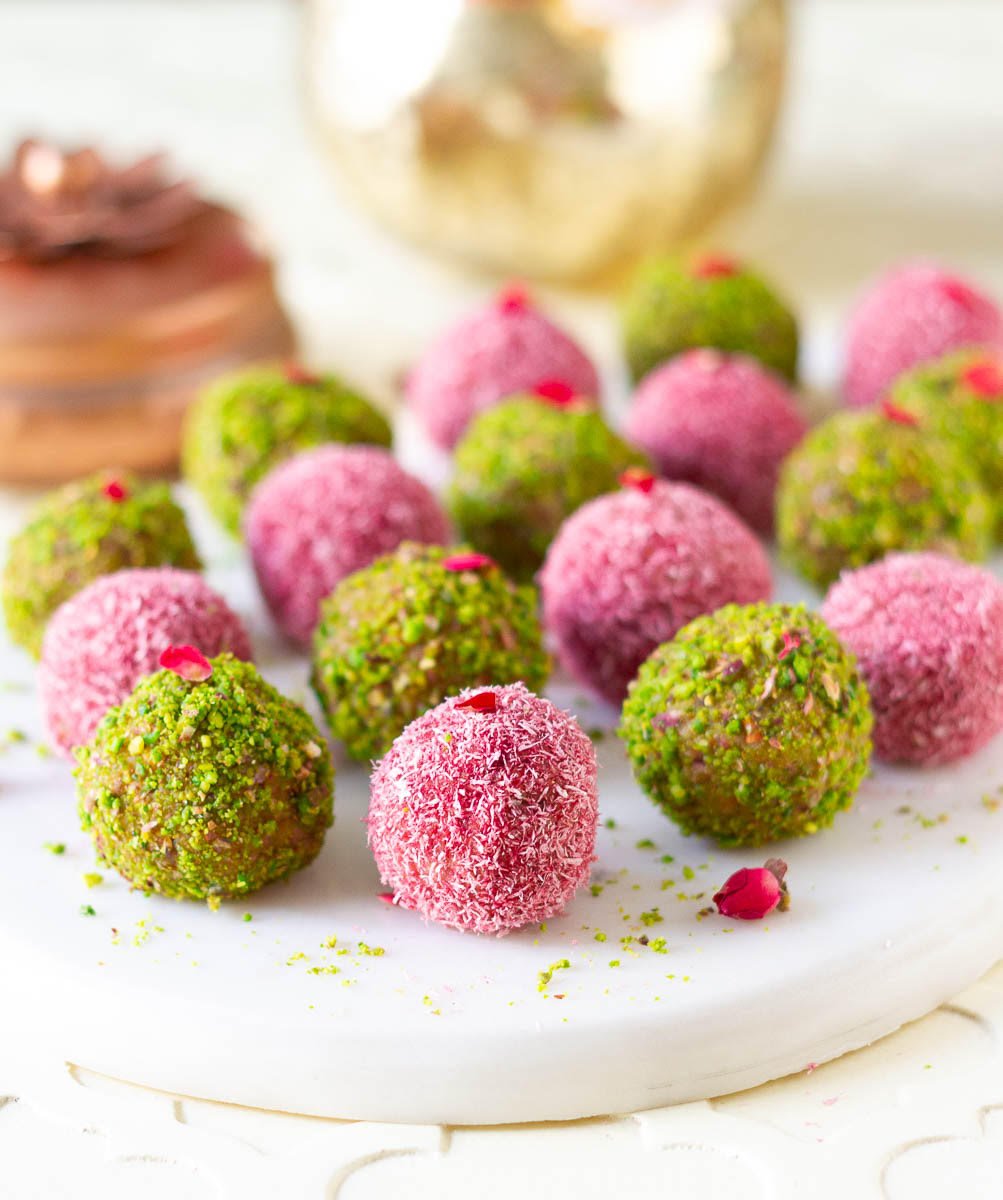
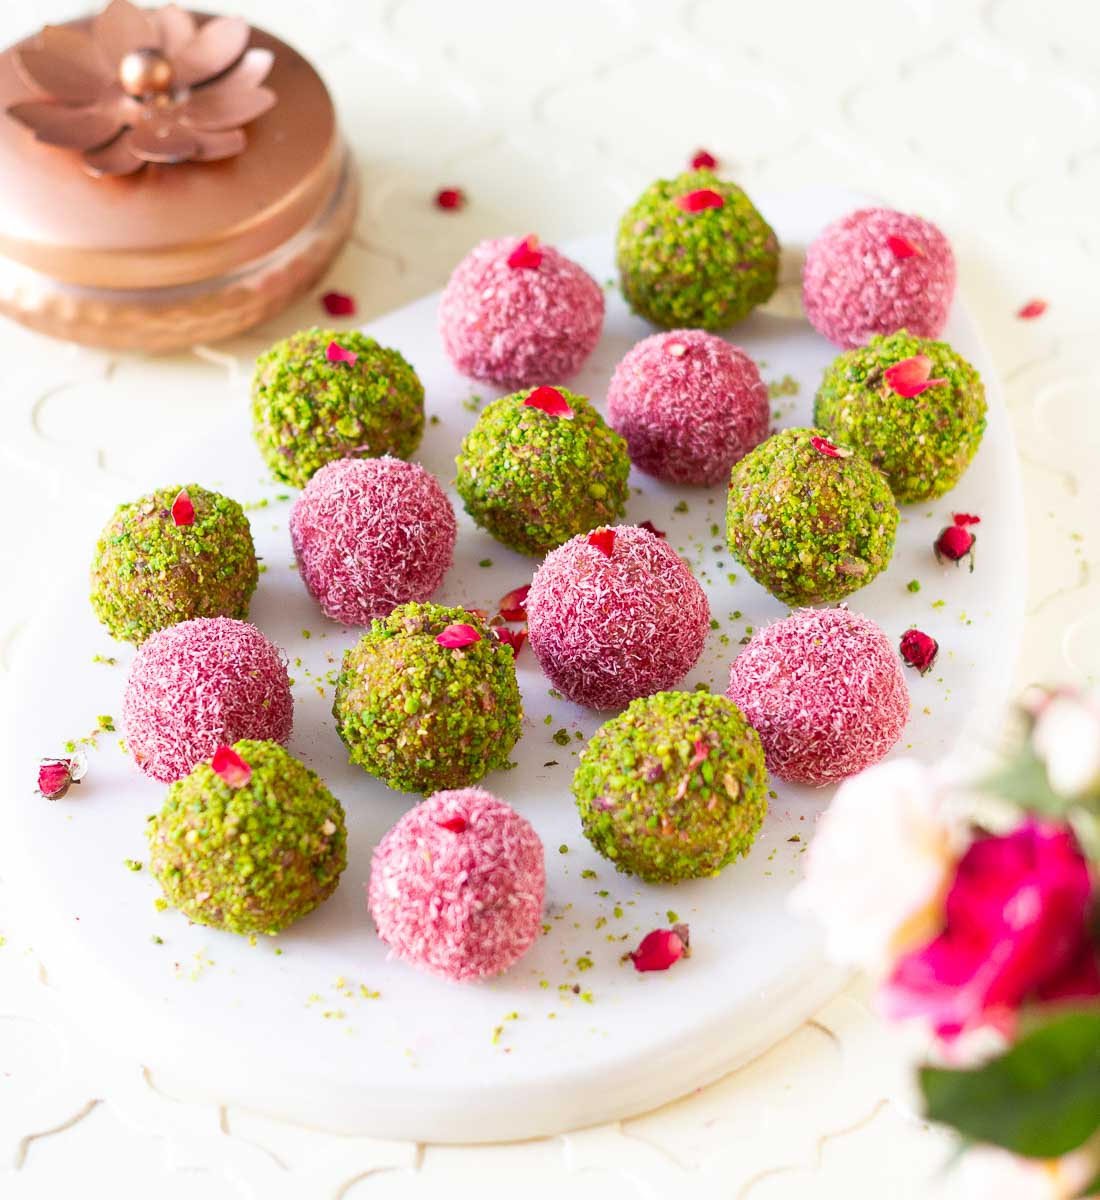
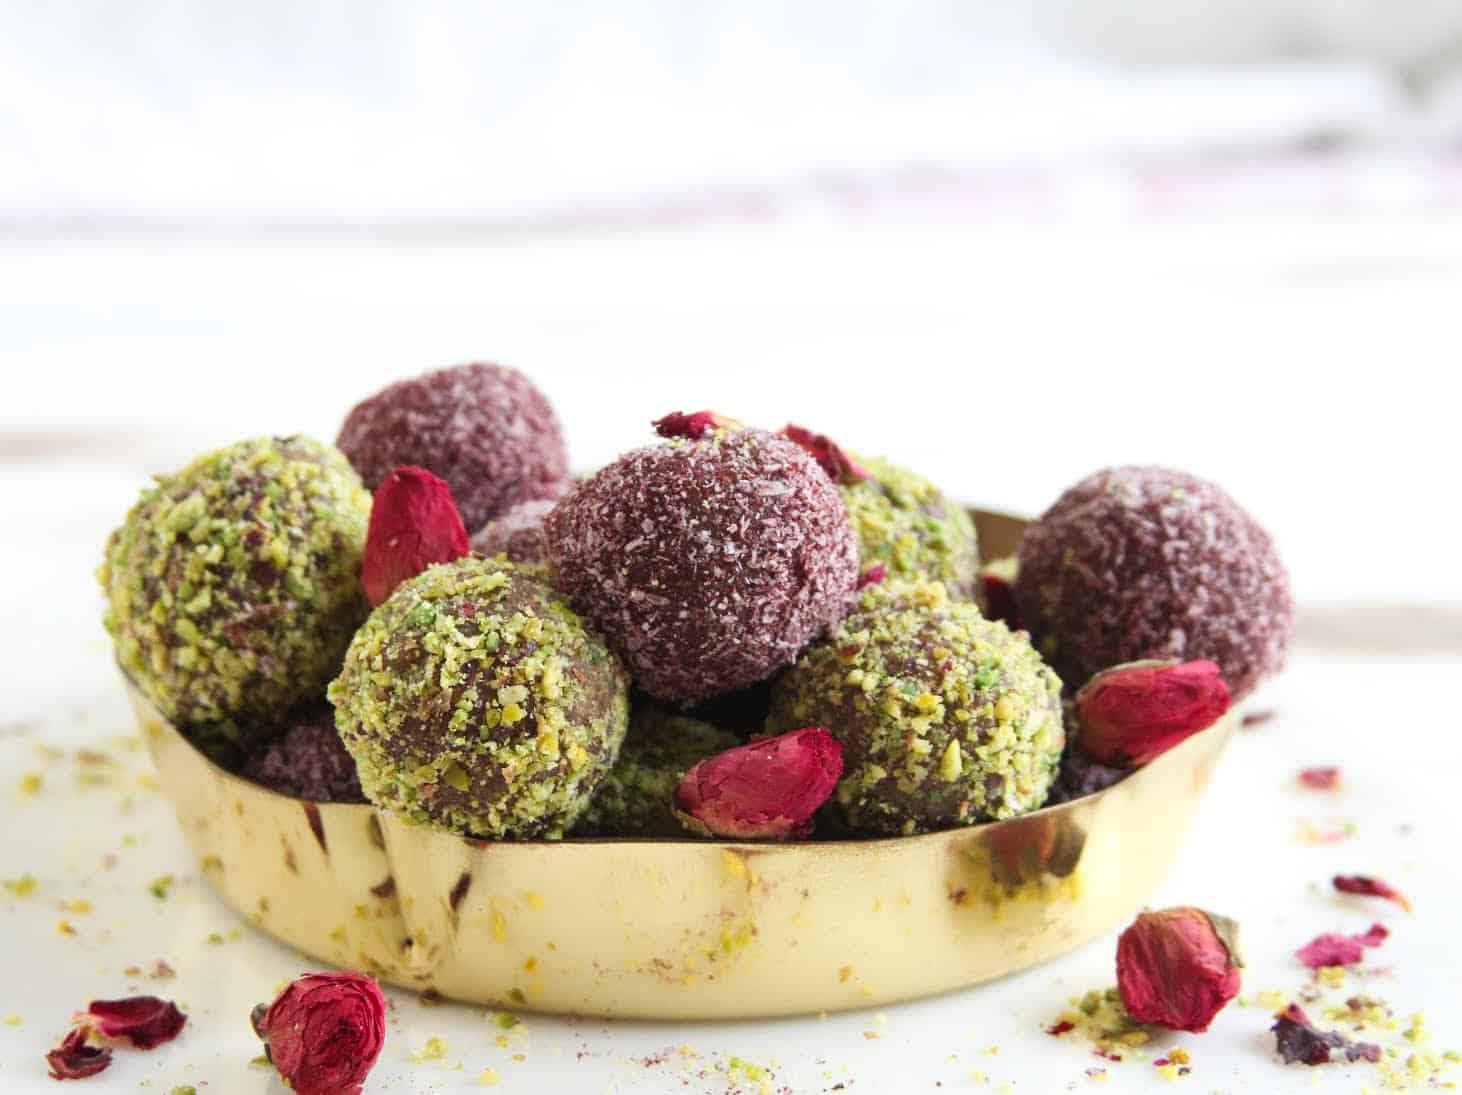
Each bite is luxurious, smooth, sweet, and lightly spiced. They are perfect for Holiday gifting, Holiday dessert platters, or anytime you want a simple yet special homemade treat!
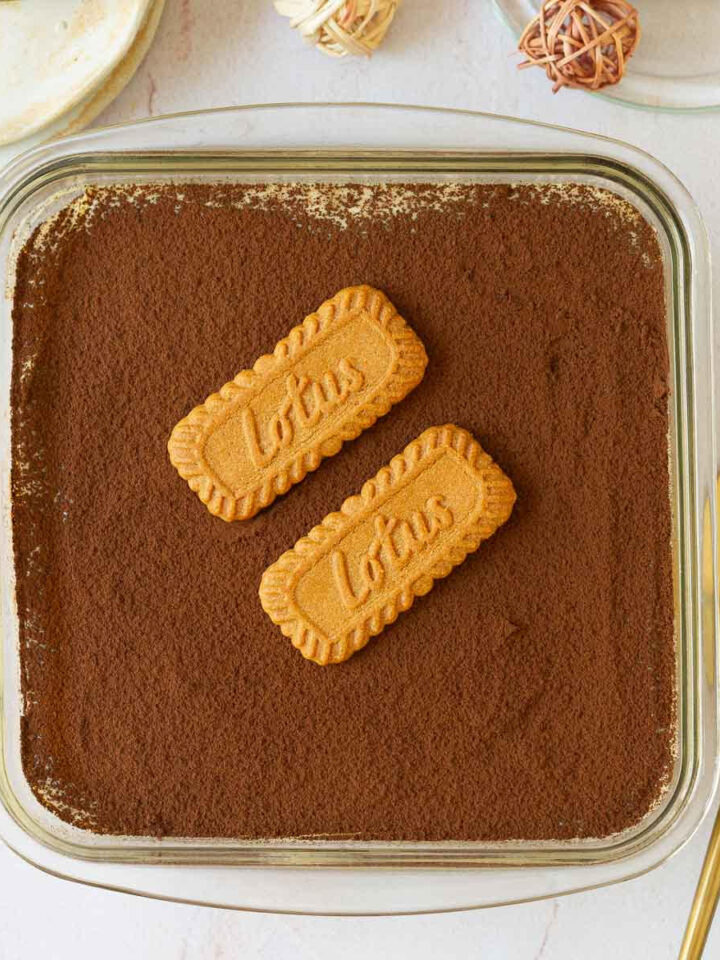
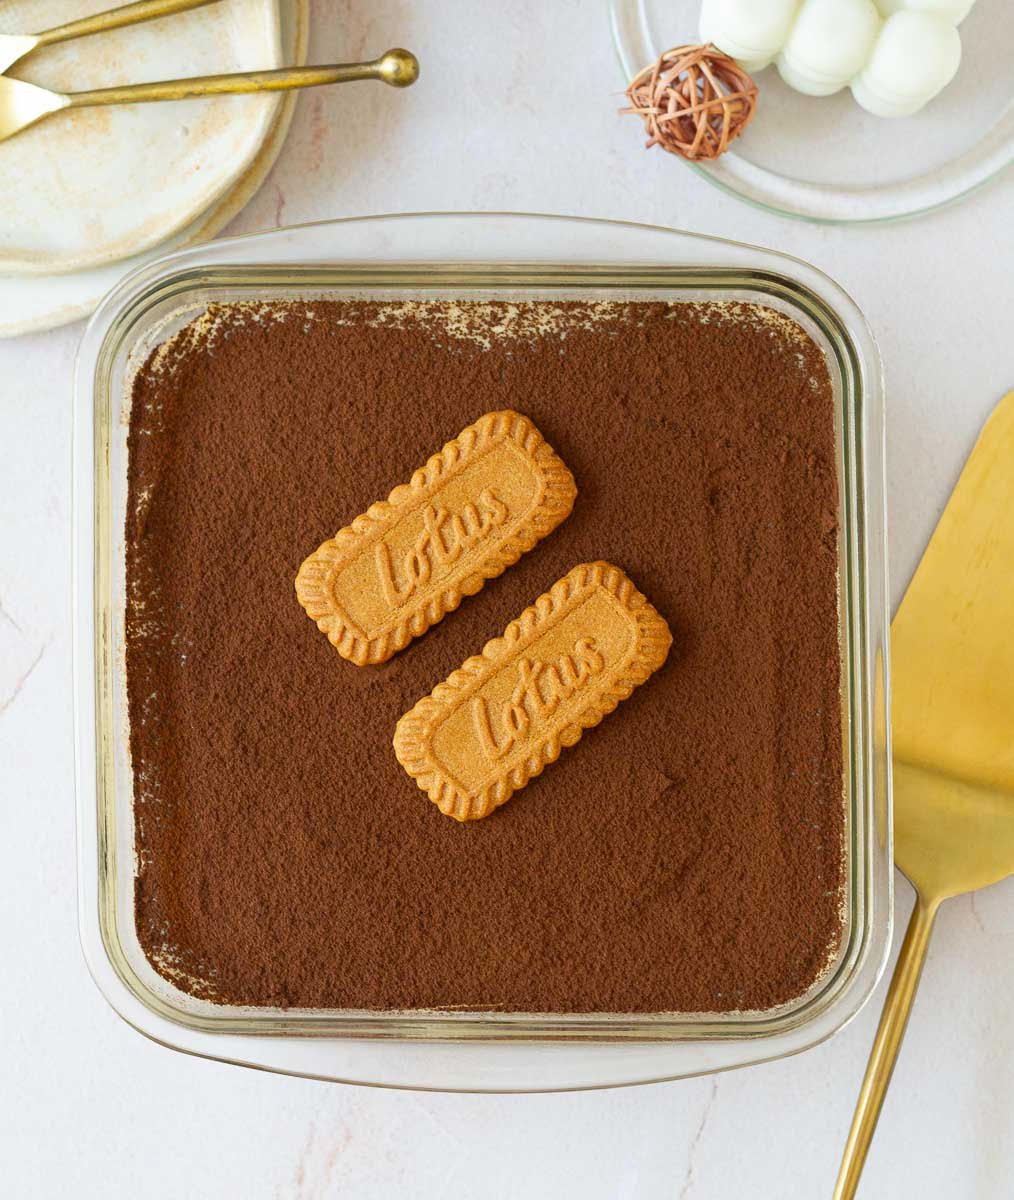
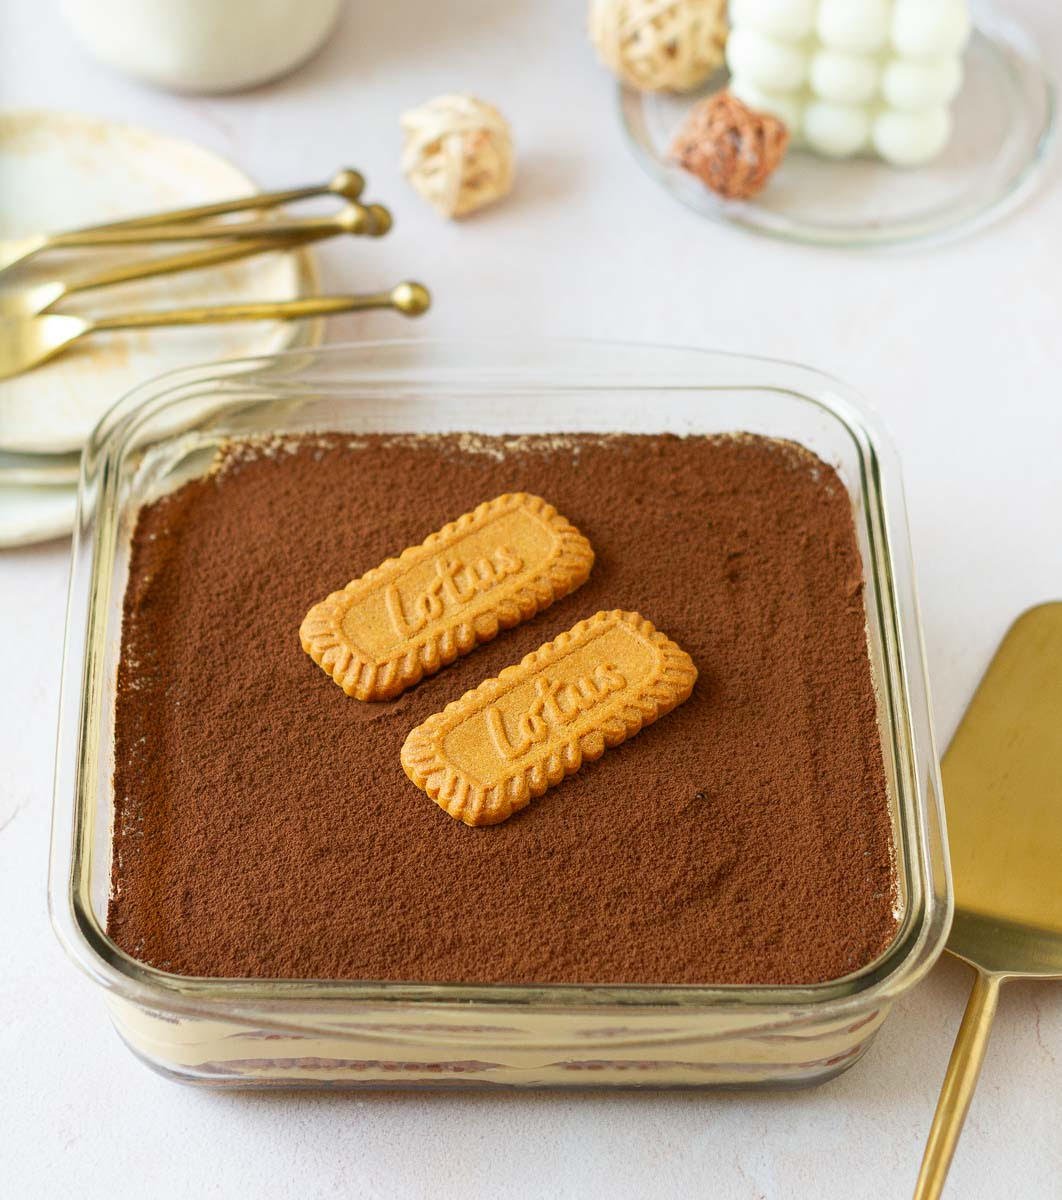
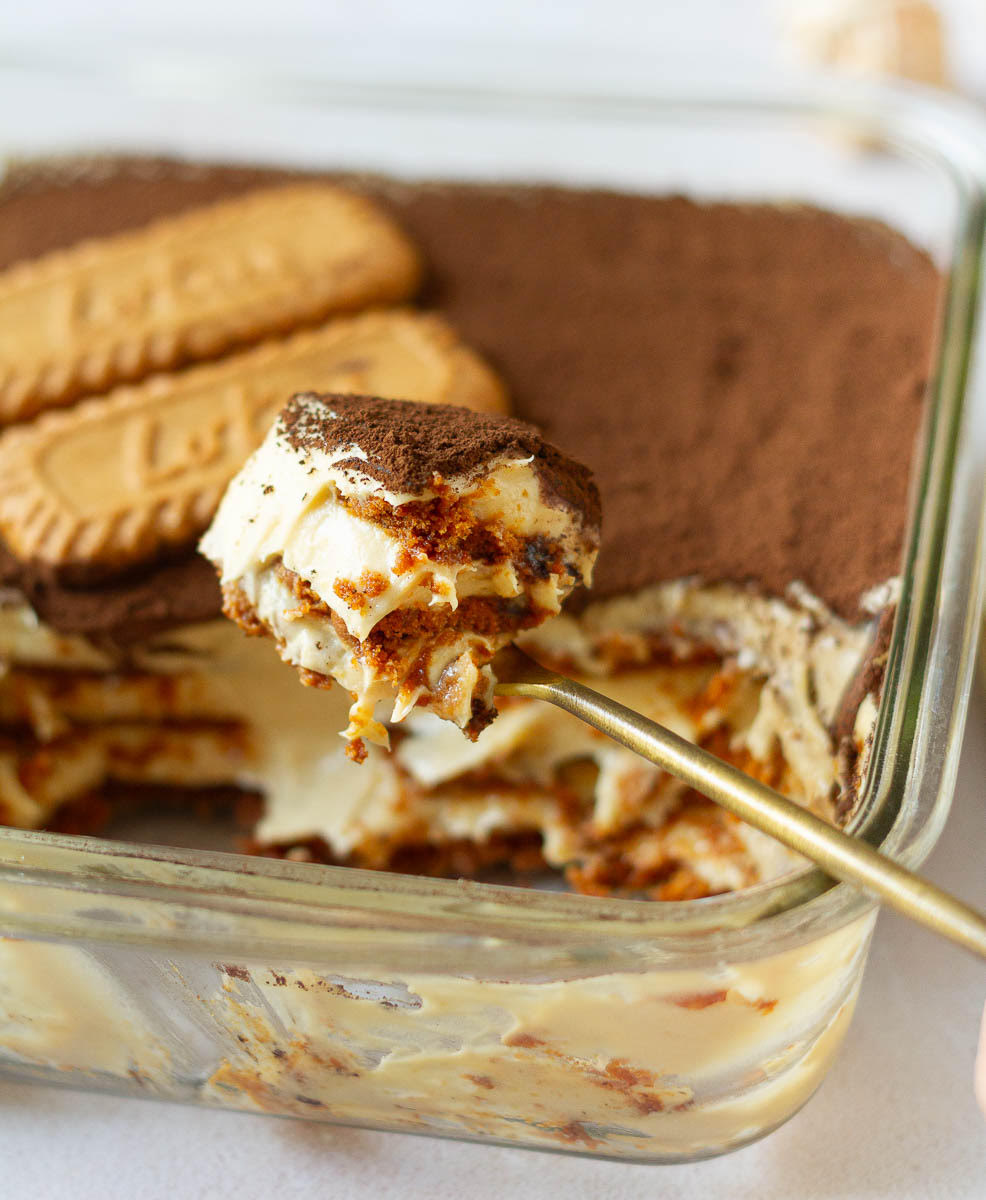
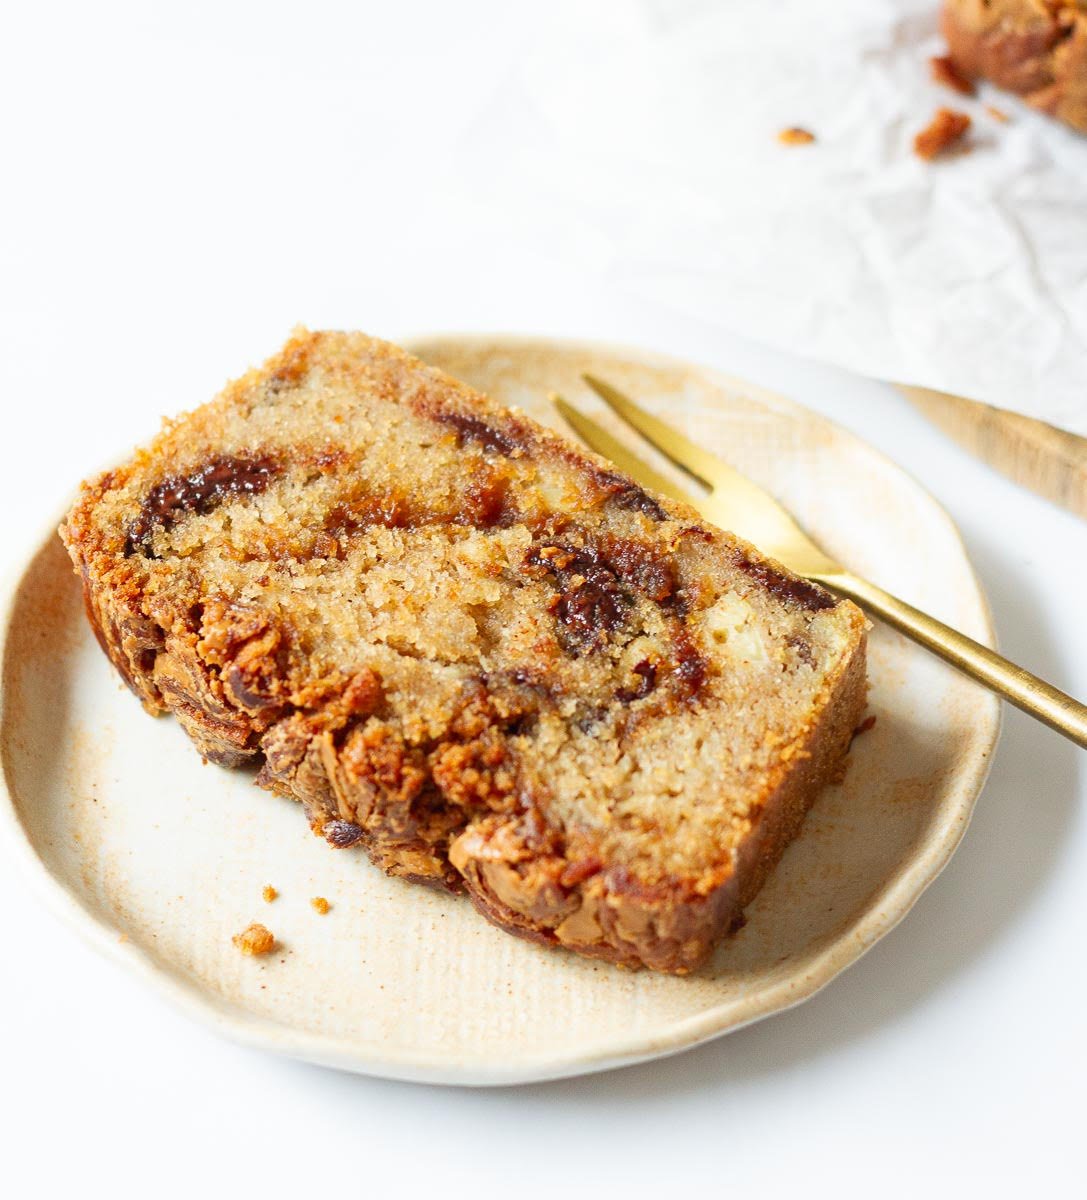
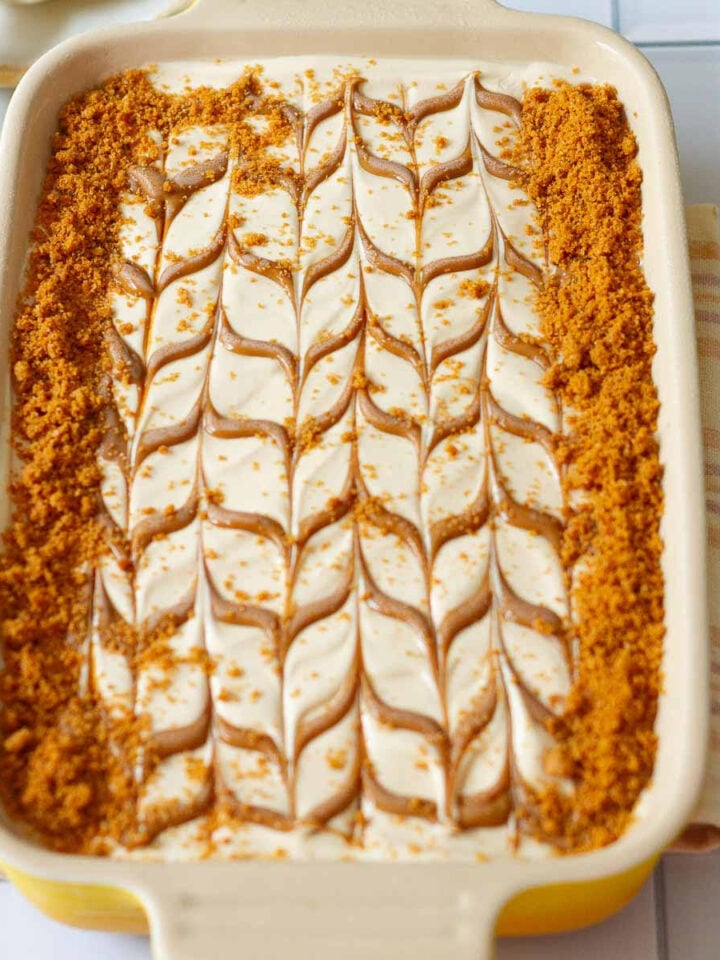
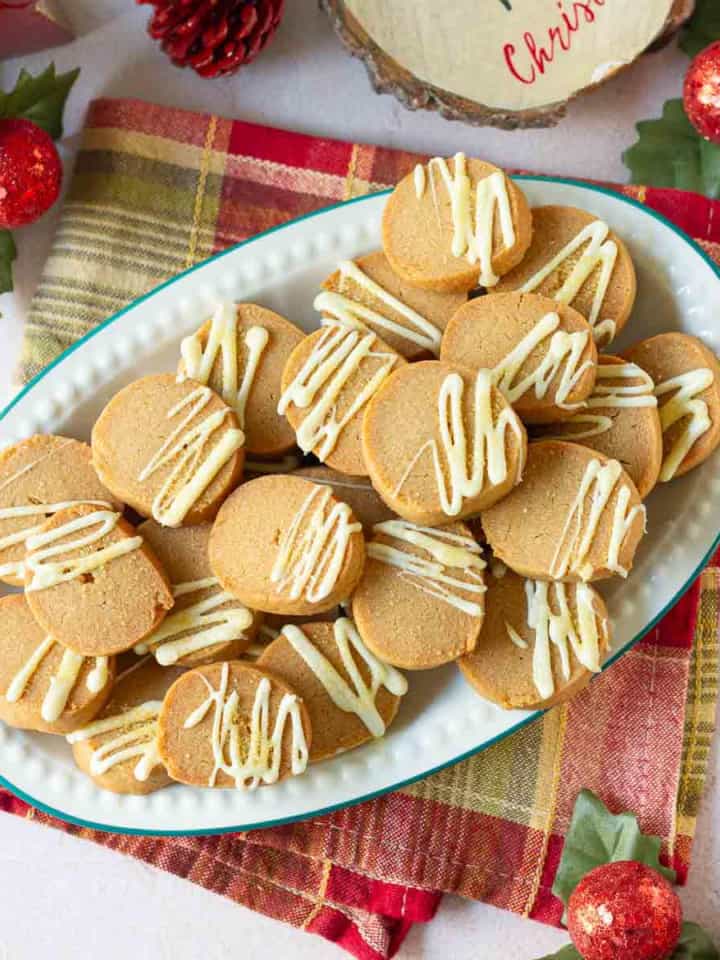
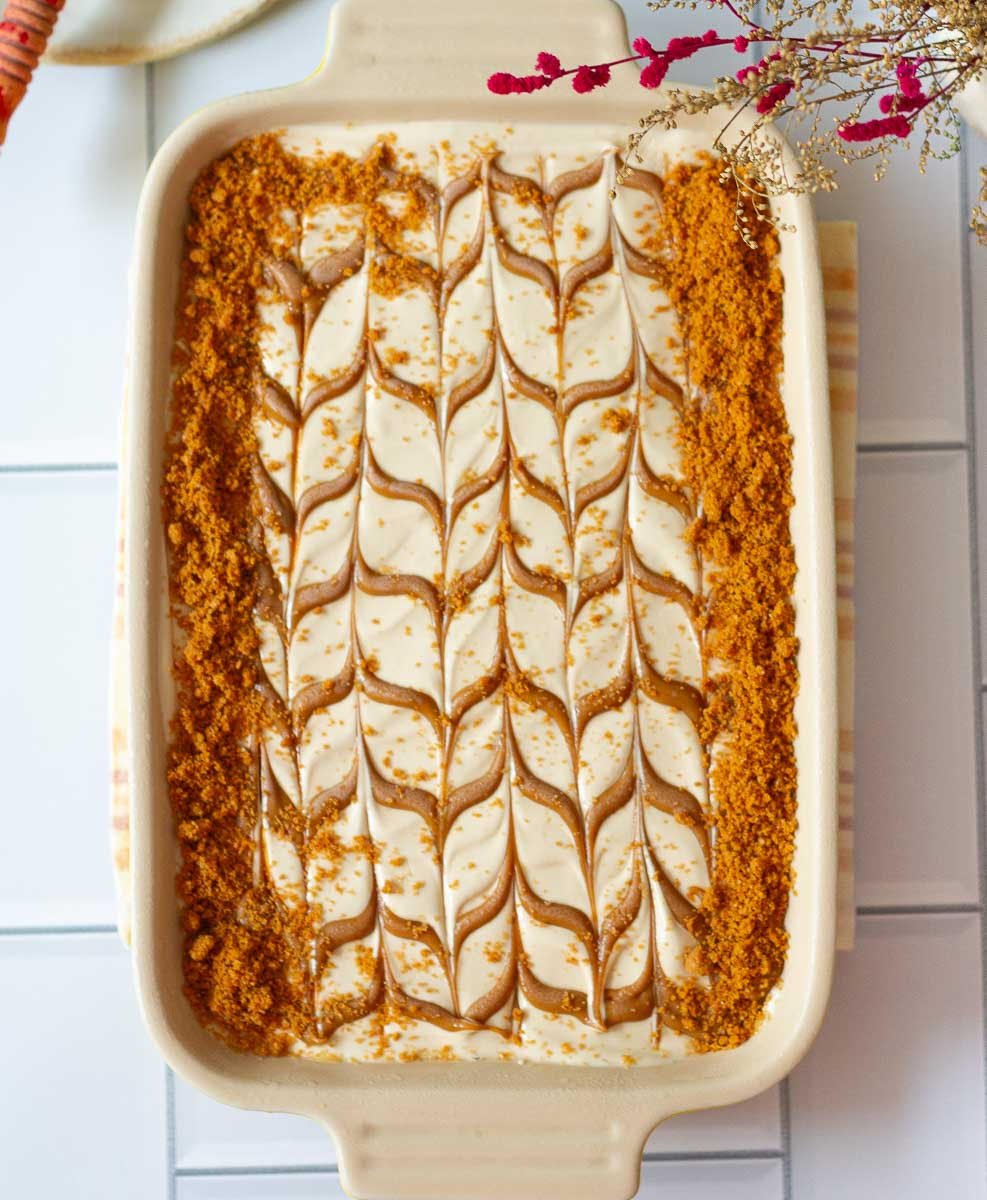
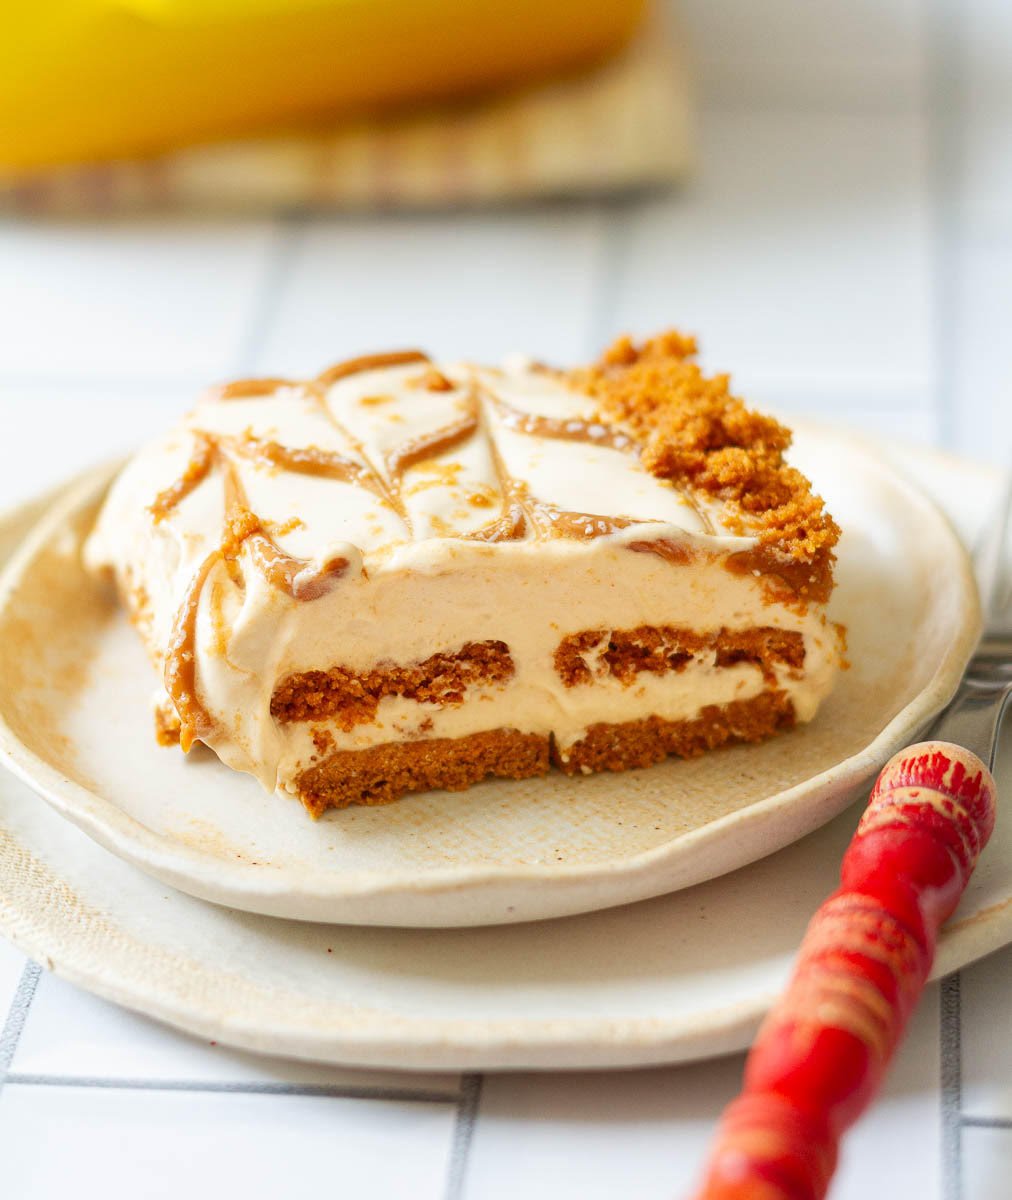
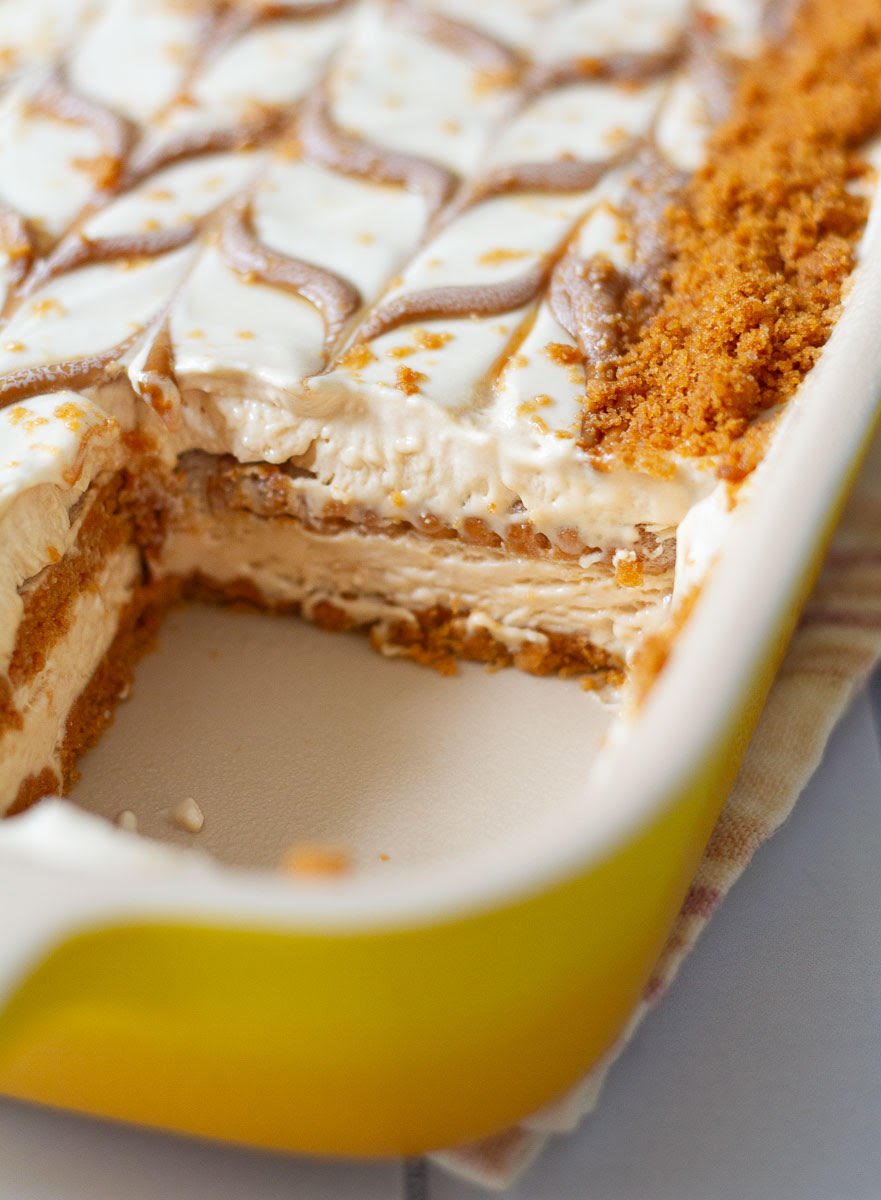
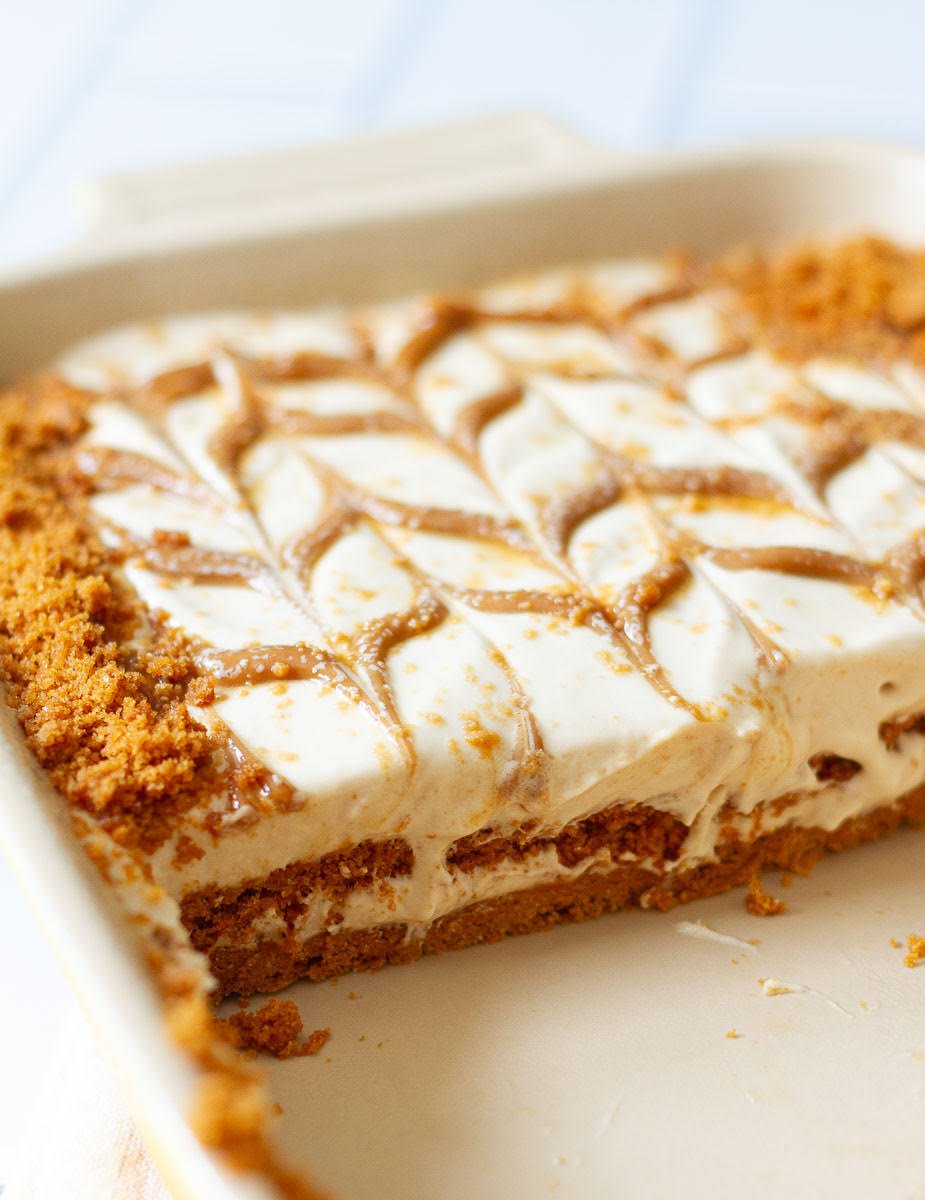
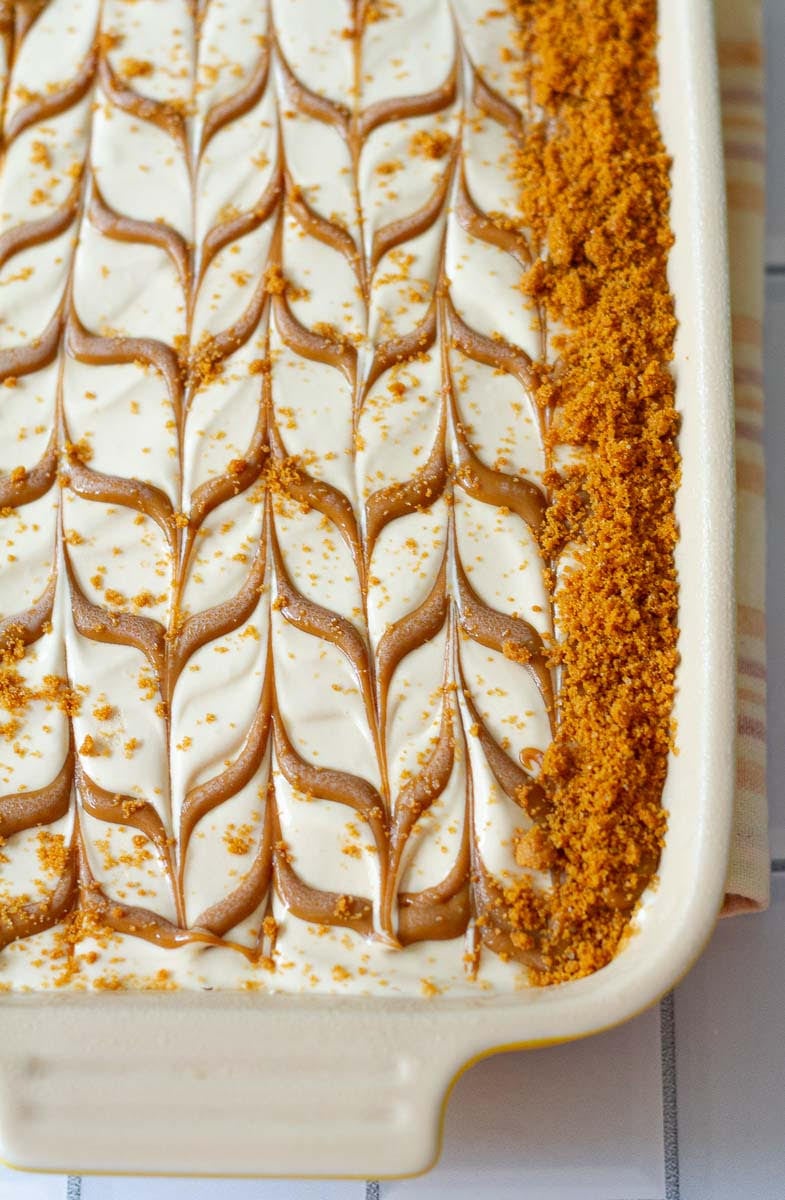
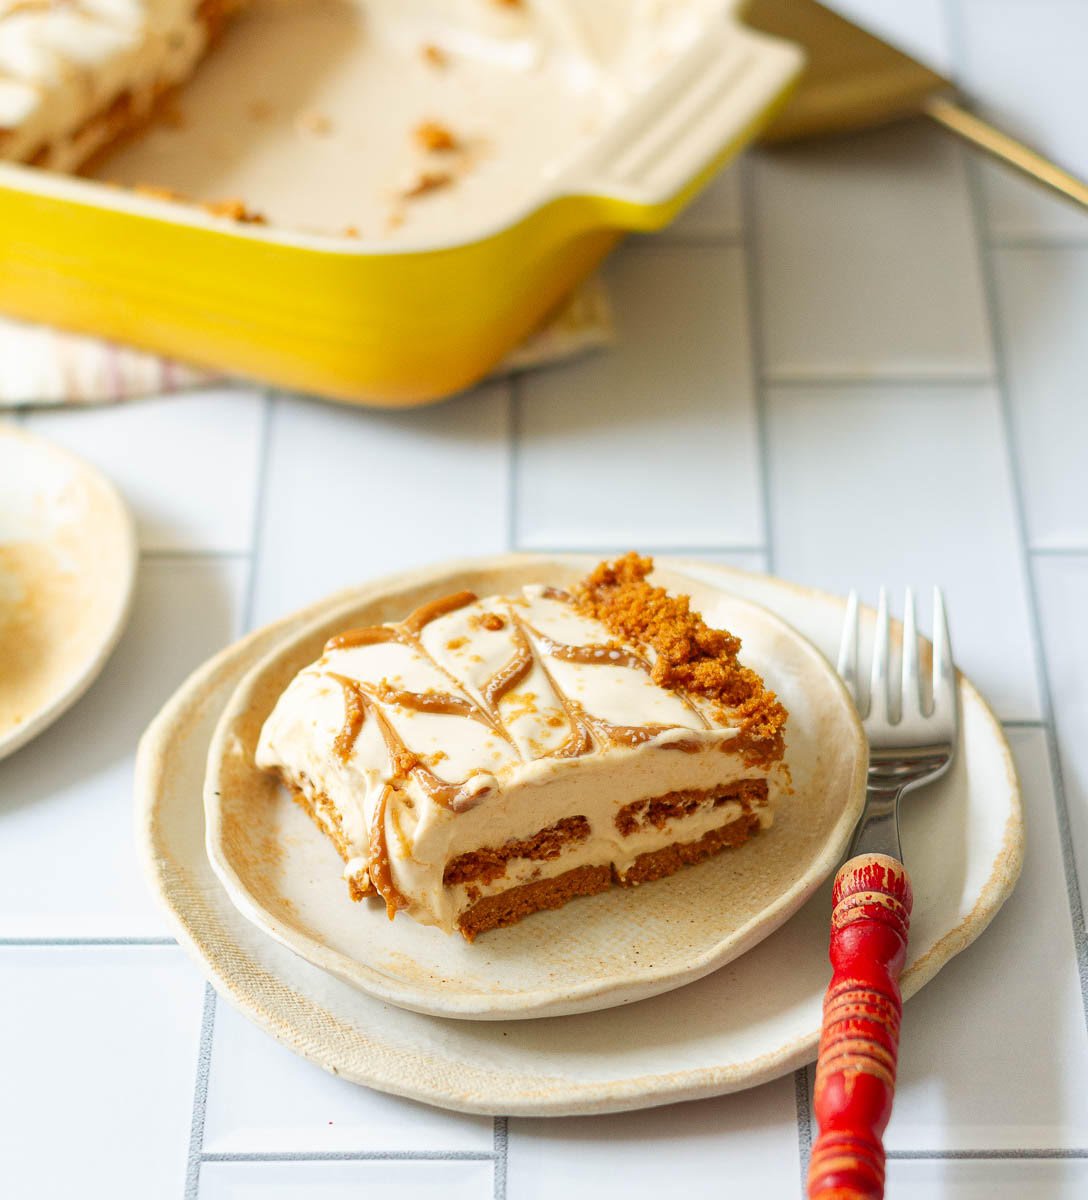
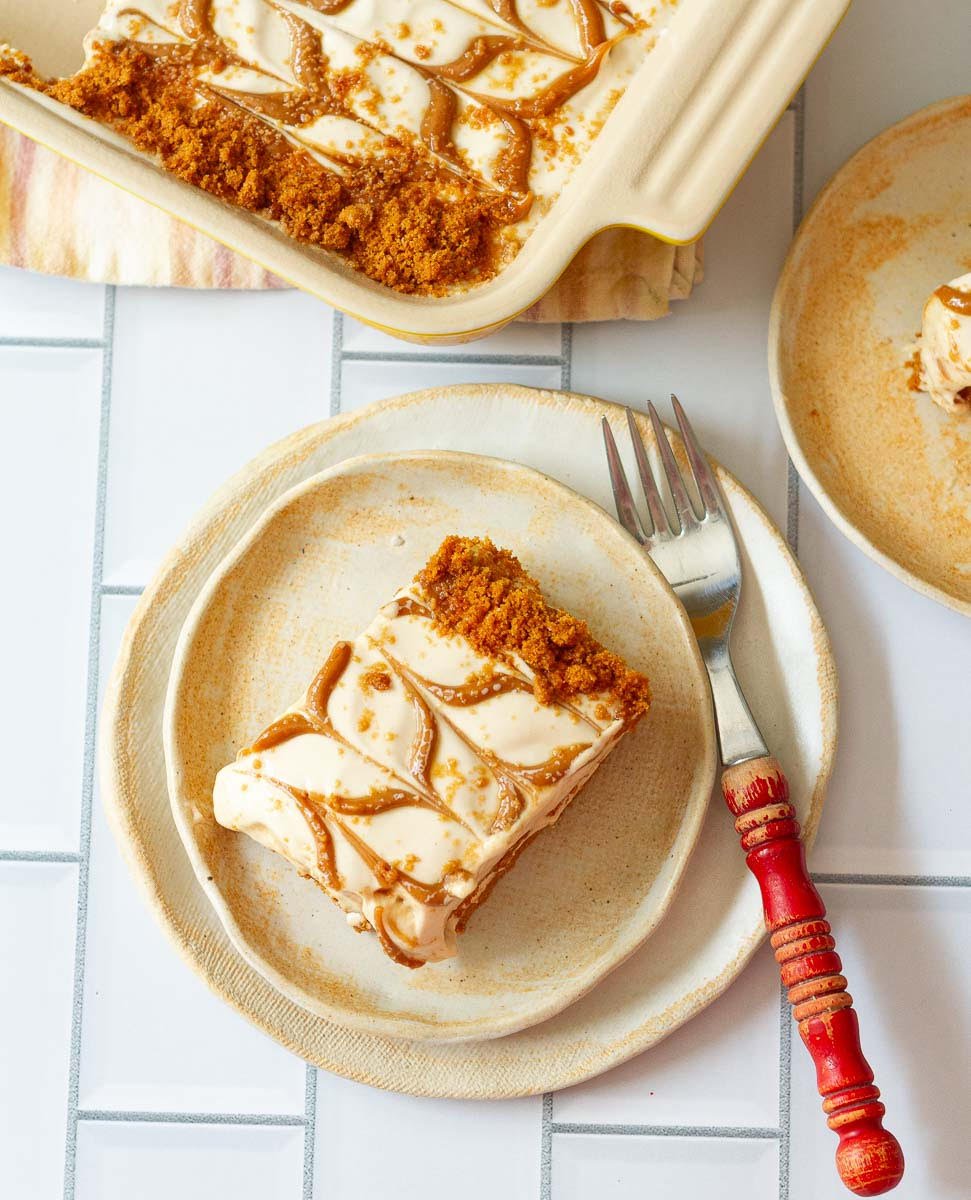
Love Biscoff? Then you must try this Biscoff tiramisu, Biscoff shortbread, and my super popular Biscoff icebox cake!
[feast_advanced_jump_to]Why You'll Love This Recipe
✨You only need 3 ingredients to make these Biscoff chocolate truffles! If you don't already have them in your pantry, you can easily find them in your supermarket or online!
✨Rich and creamy texture with that signature lightly spiced Biscoff flavor that everyone loves!
✨ Perfect for gifting! They look elegant and impressive, even though they are so easy to make.
✨It’s a holiday-friendly recipe you can make ahead. The recipe doubles beautifully and keeps well in the fridge - ideal for the busy holiday season!

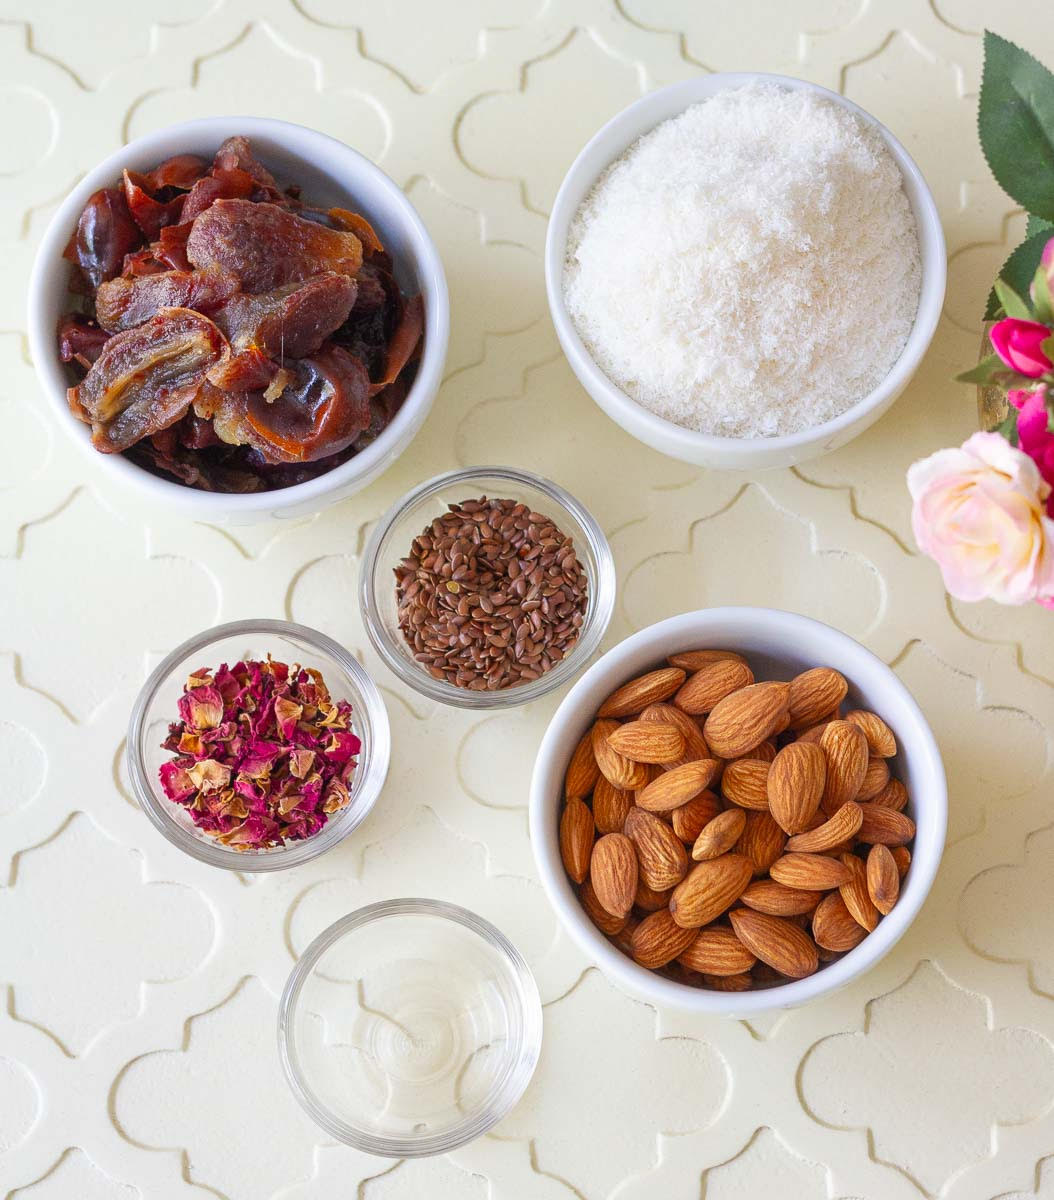
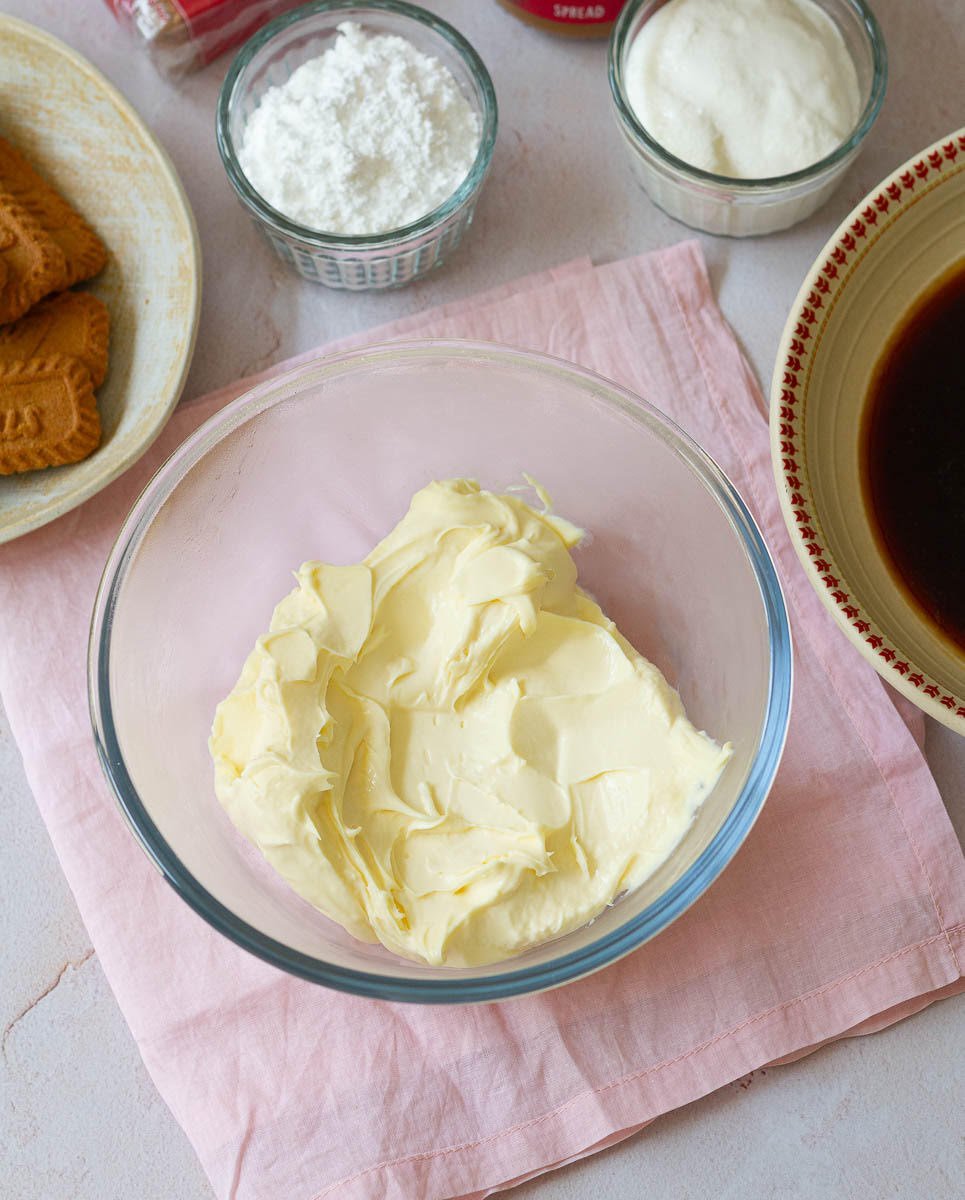
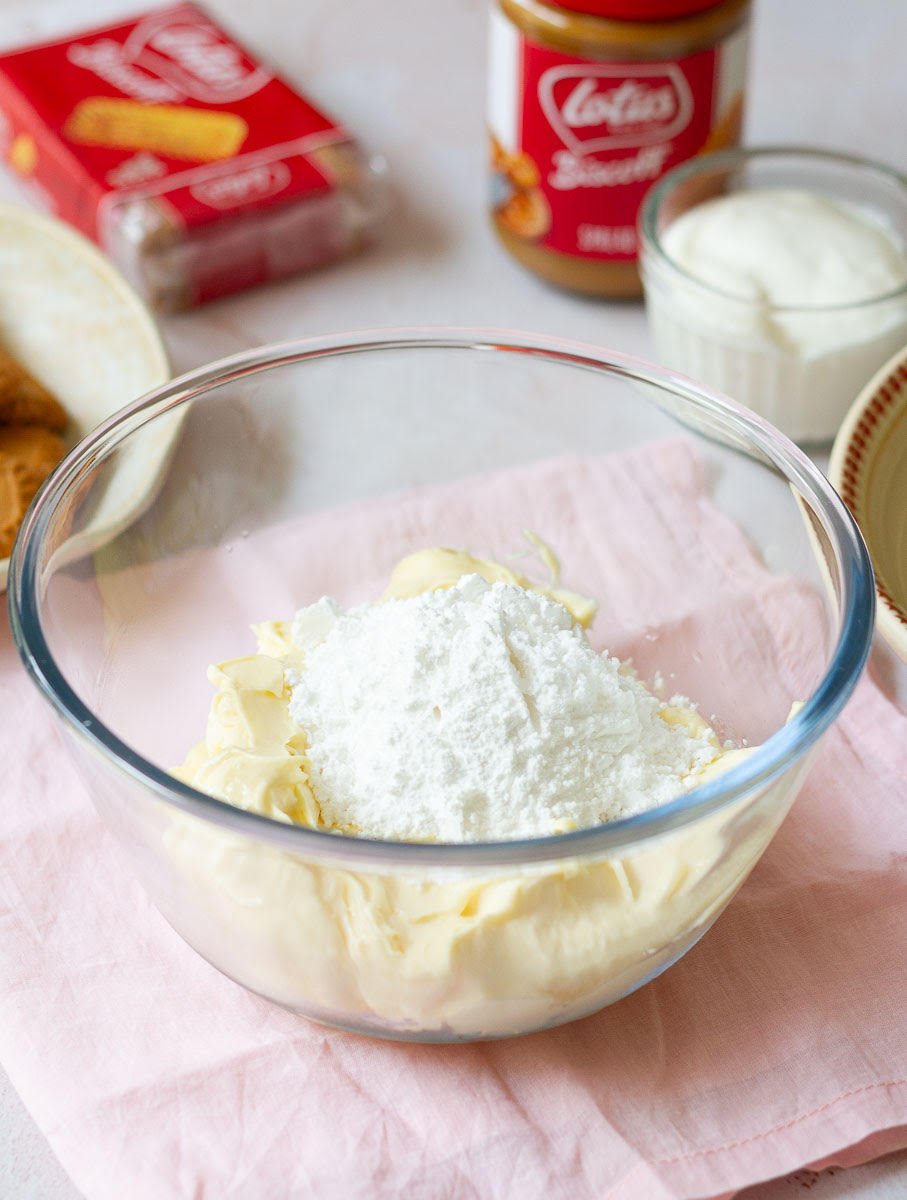
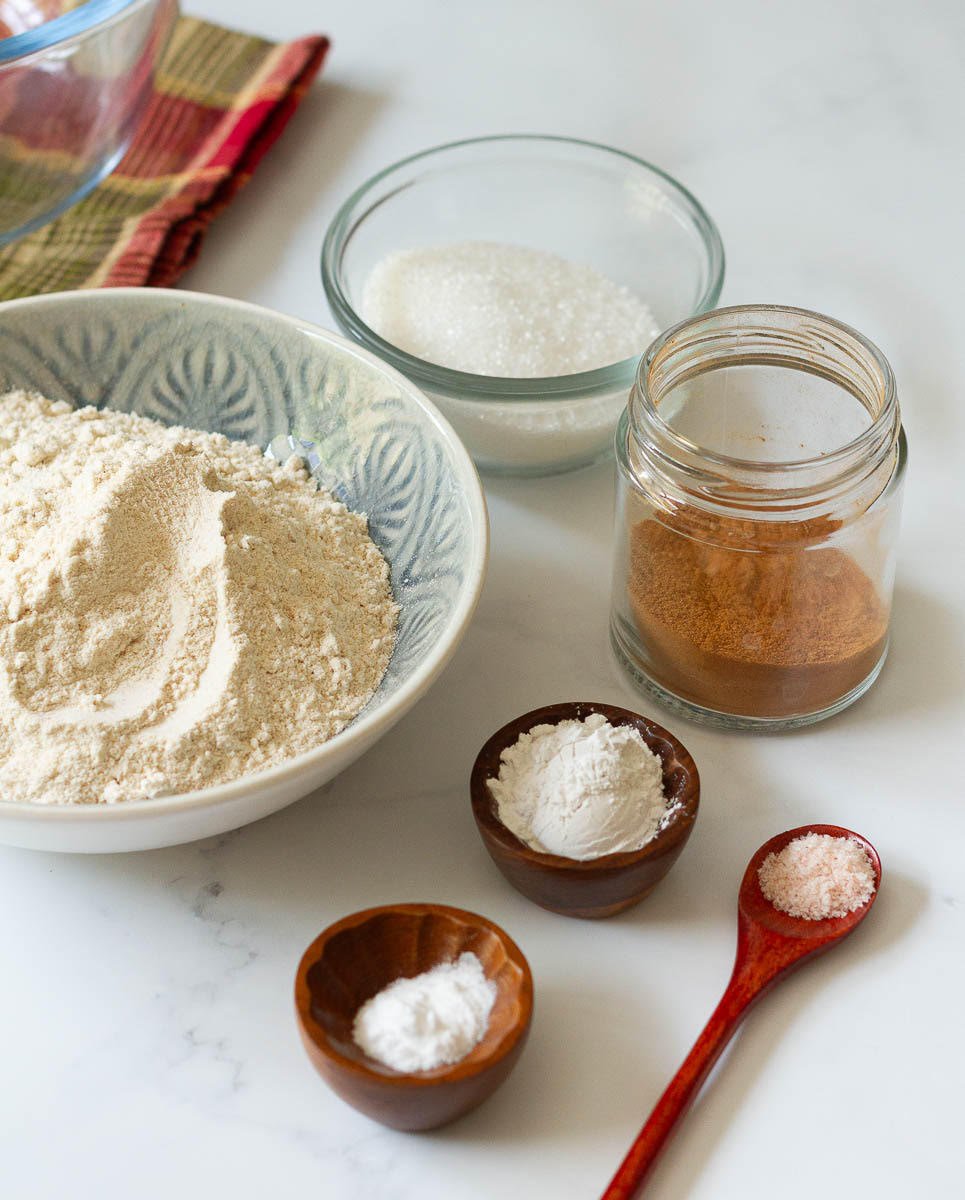
Biscoff Truffles Ingredients
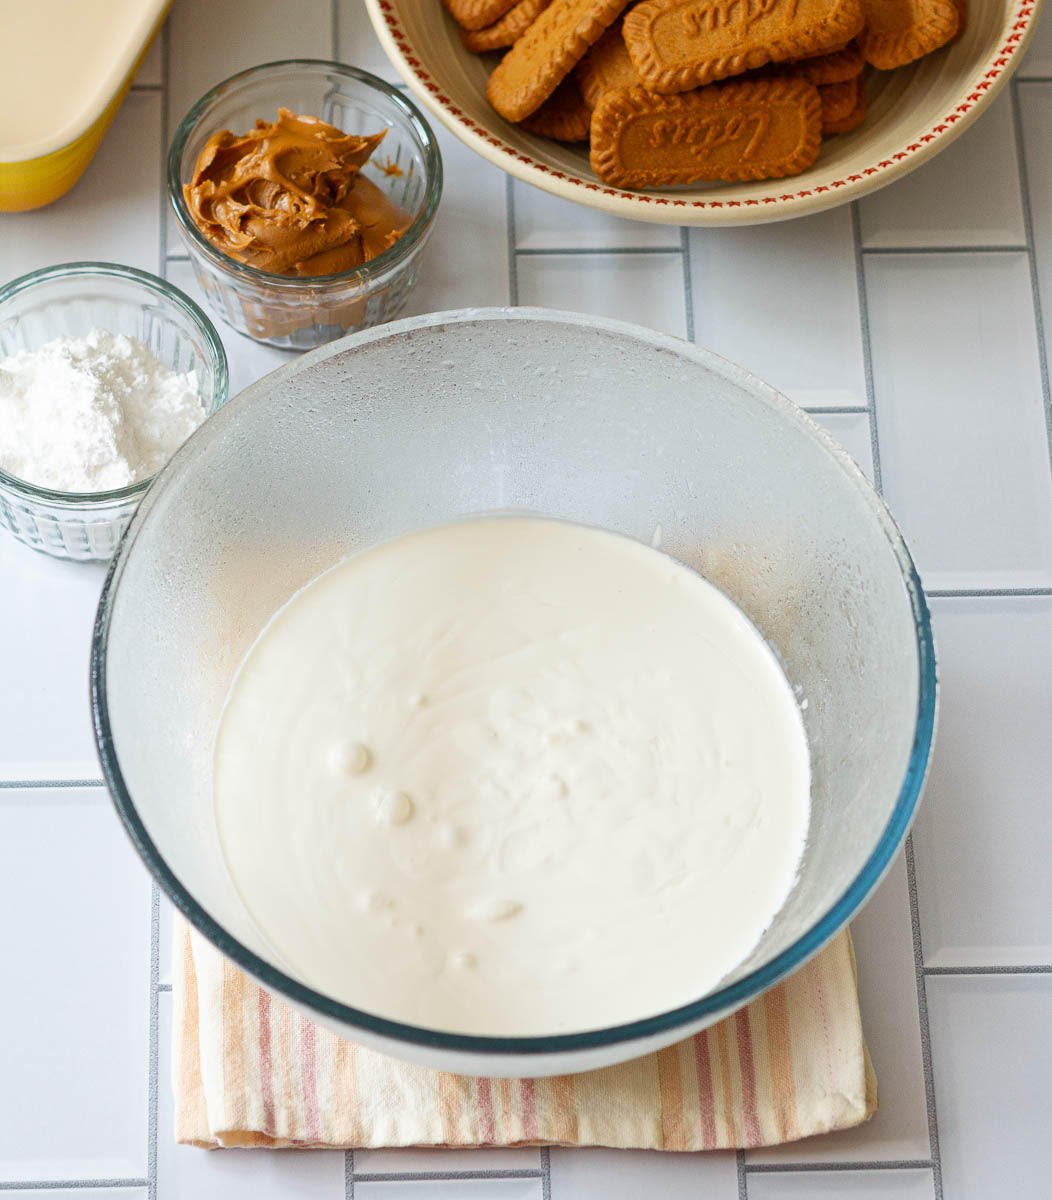
Cream: Helps create the smooth, melt-in-your-mouth ganache center. I used 25% fat cream. Full-fat cream also works well.
Chocolate: Use good-quality baking chocolate. I used 55% couverture for deep flavor. Prefer darker? Try dark chocolate Biscoff truffles with 70% chocolate.
Biscoff spread: The cookie butter is the star, adding warmth, caramel notes, and the signature Biscoff flavor.
Please see the recipe card below for full information about the ingredients and quantities.
Variations
- Biscoff gives the truffles a buttery, spiced flavor. Add ground cinnamon to increase the flavor, similar to chai-spiced truffles.
- A splash of rum, brandy, or cognac is a fantastic way to booze up the Biscoff truffle balls for Christmas, as I did with my Baileys truffles.
- Use milk chocolate for sweeter Biscoff truffles.
- Biscoff is naturally vegan! So, to make vegan Biscoff truffles, just swap cream for coconut cream and chocolate for dairy-free dark chocolate
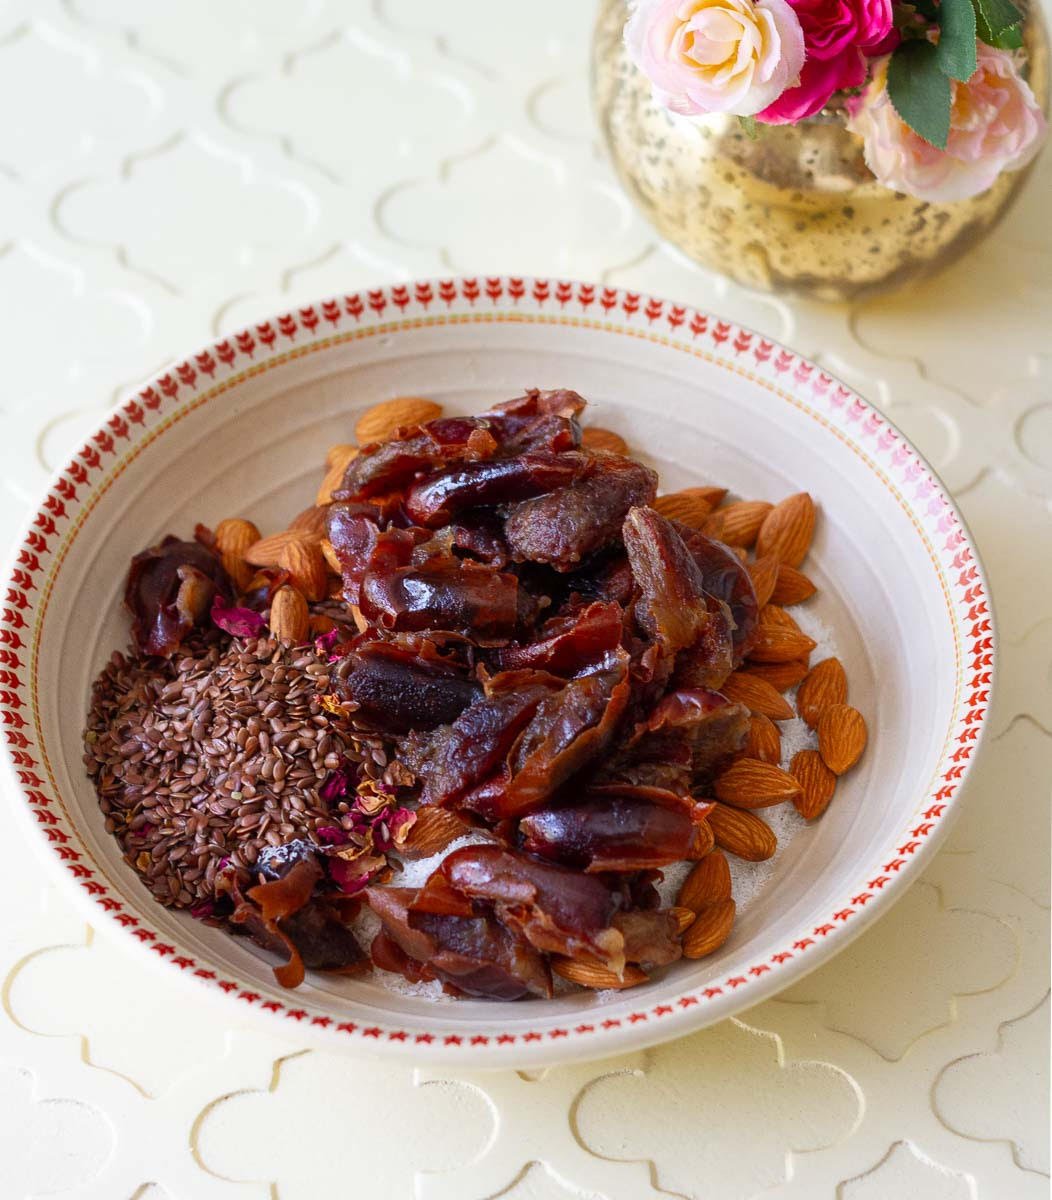
How To Make Biscoff Truffles
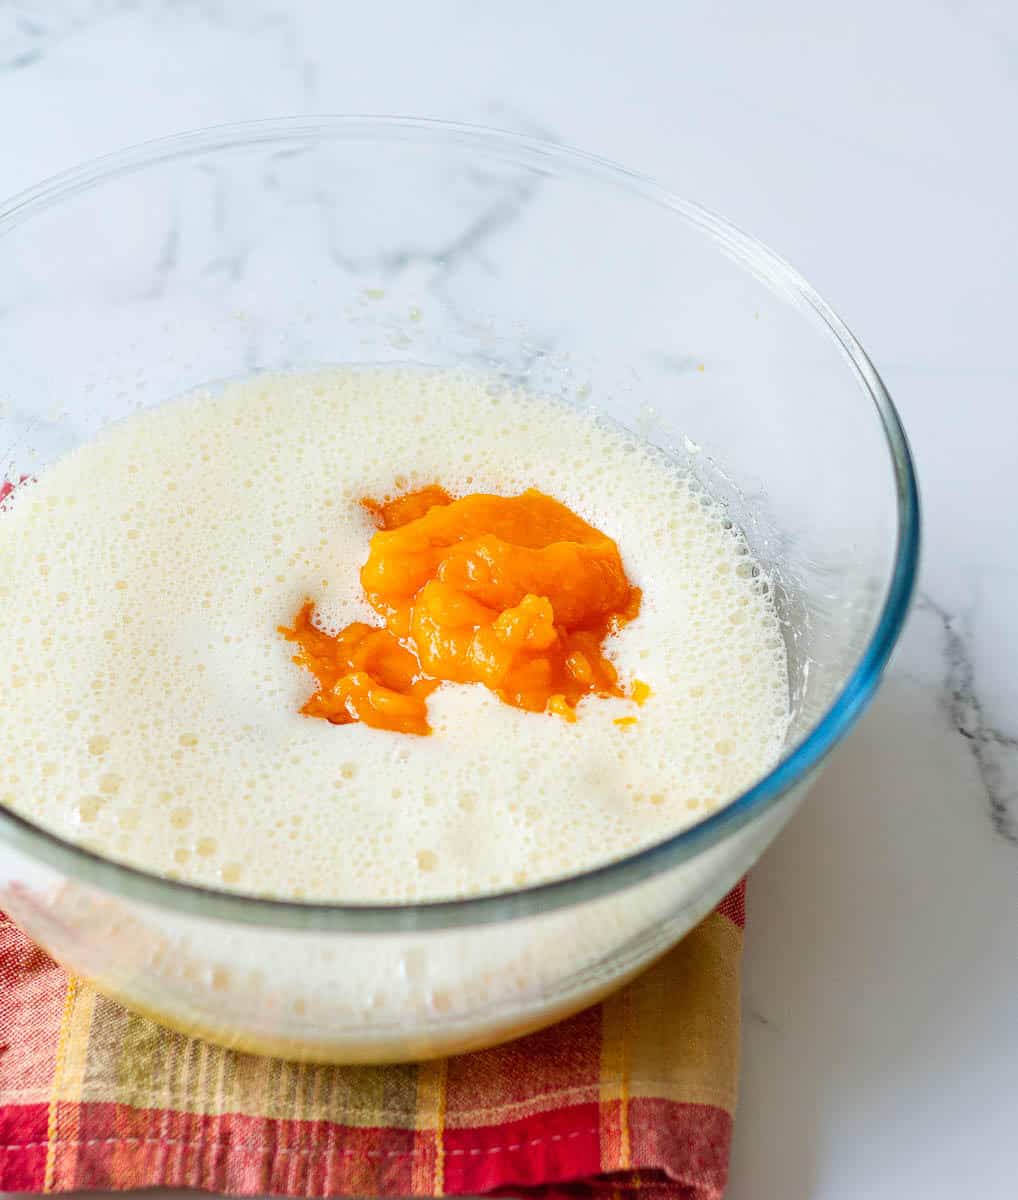
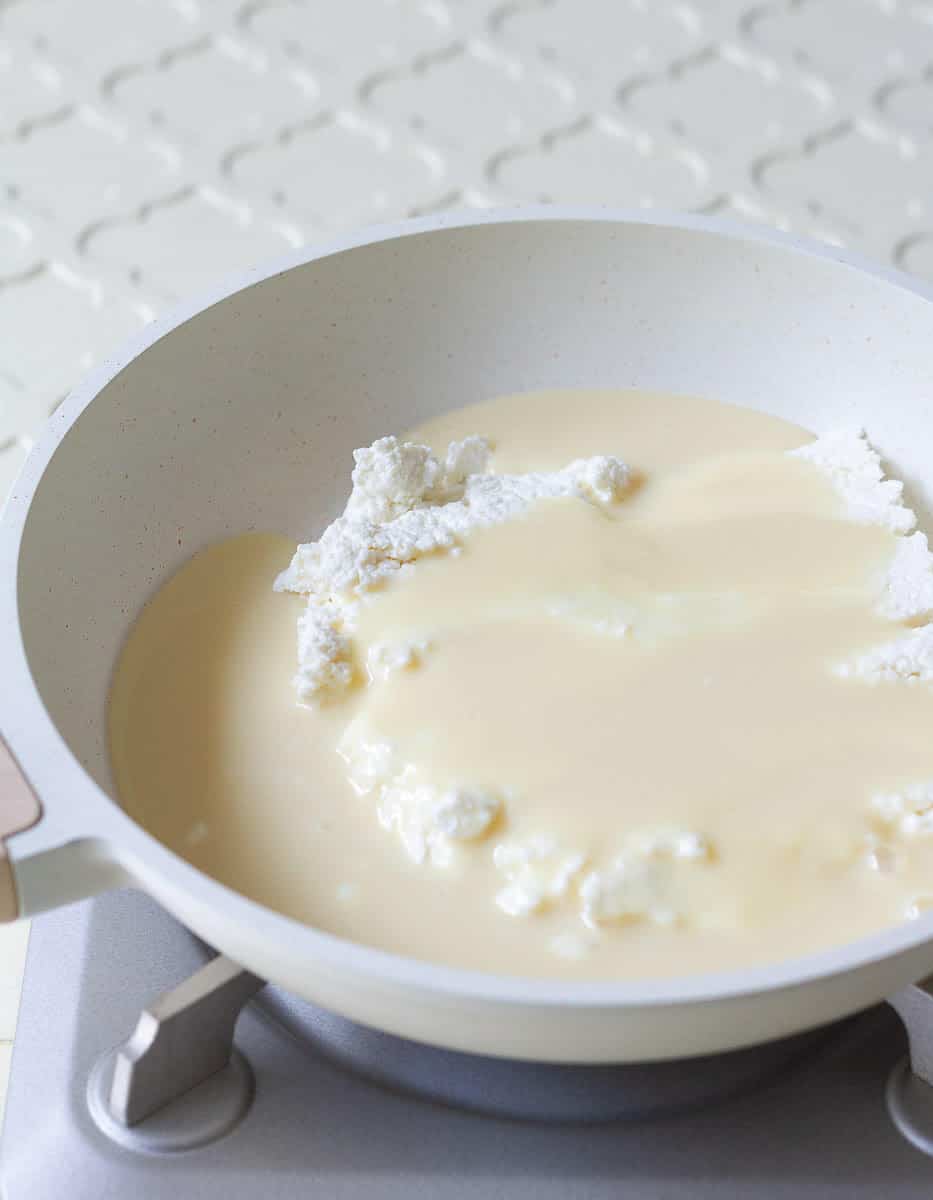
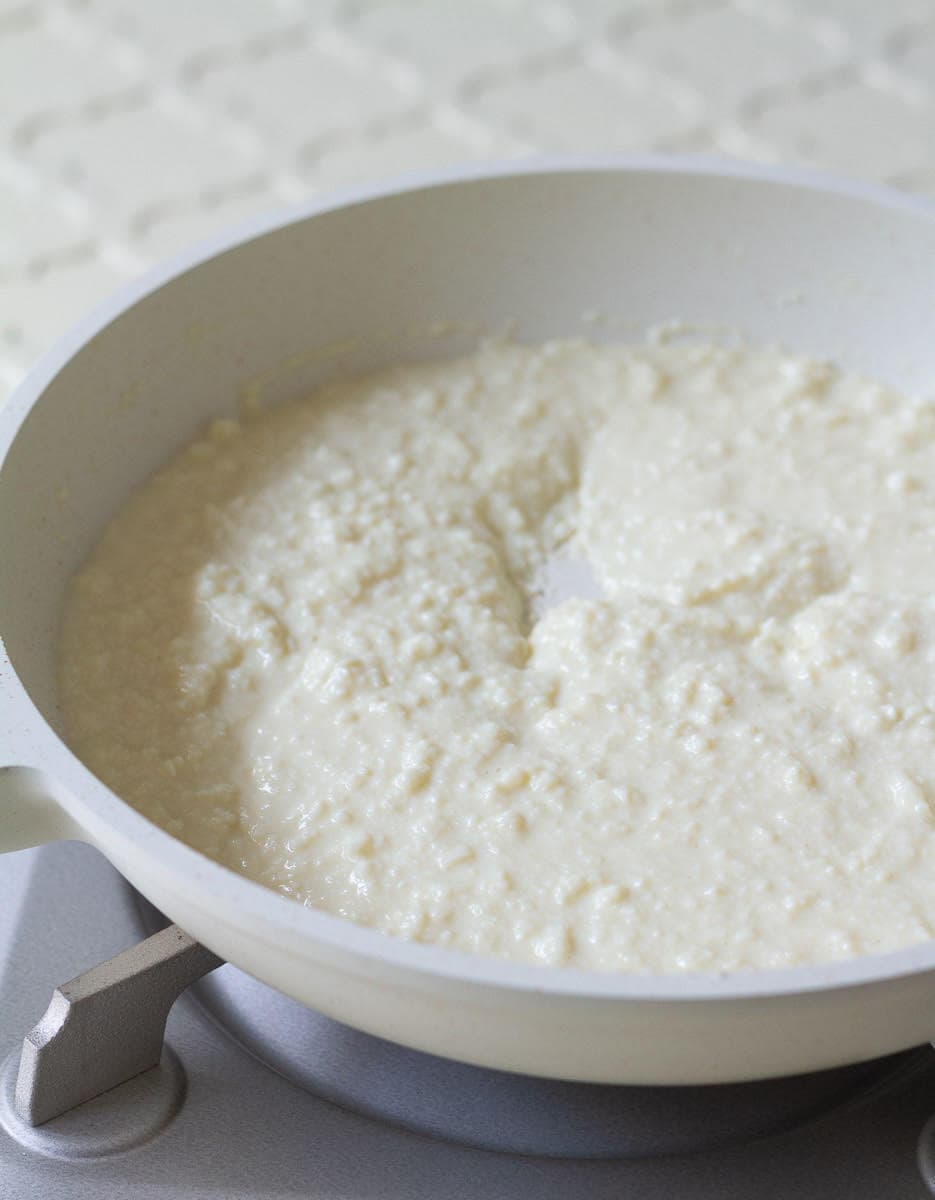
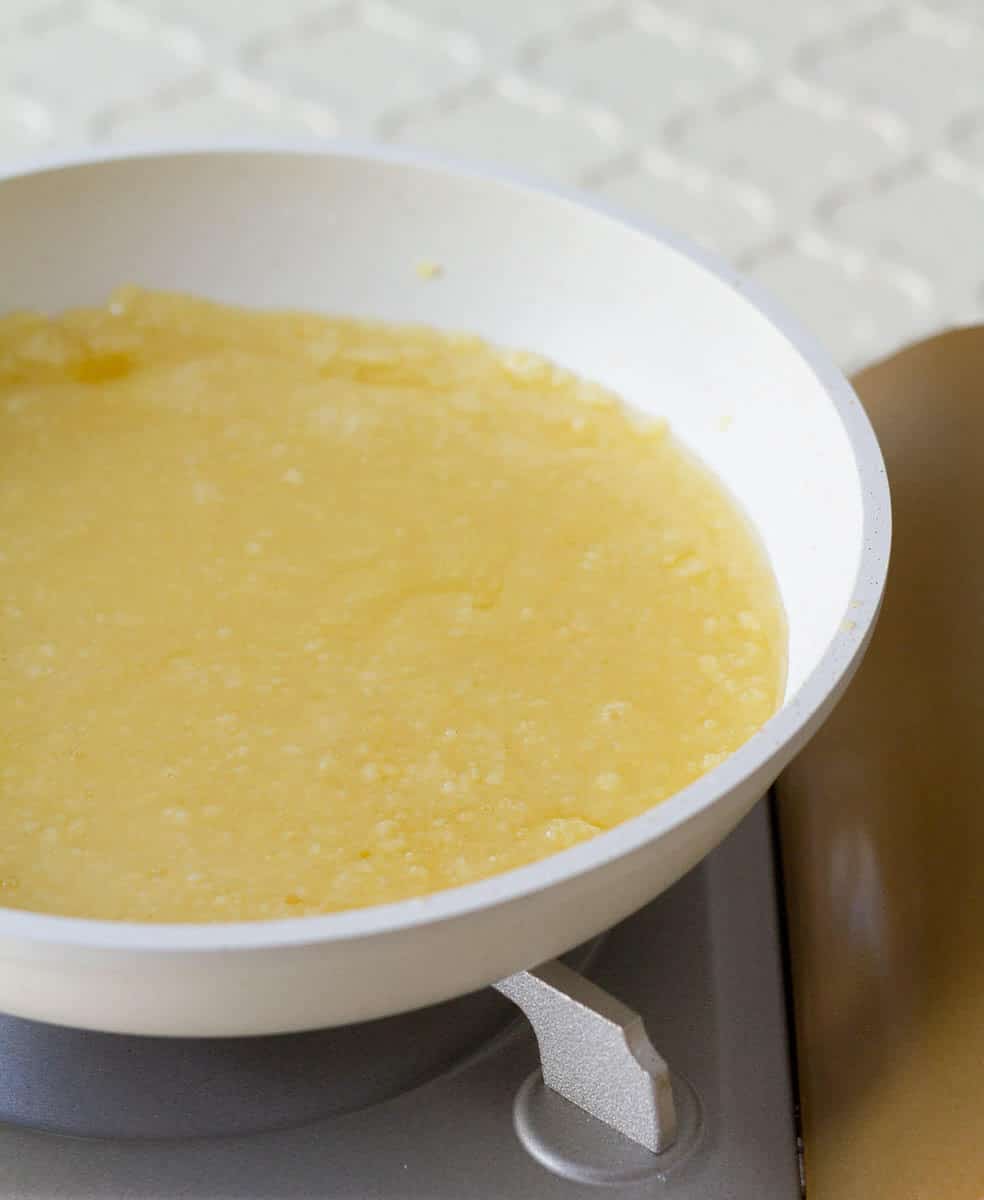
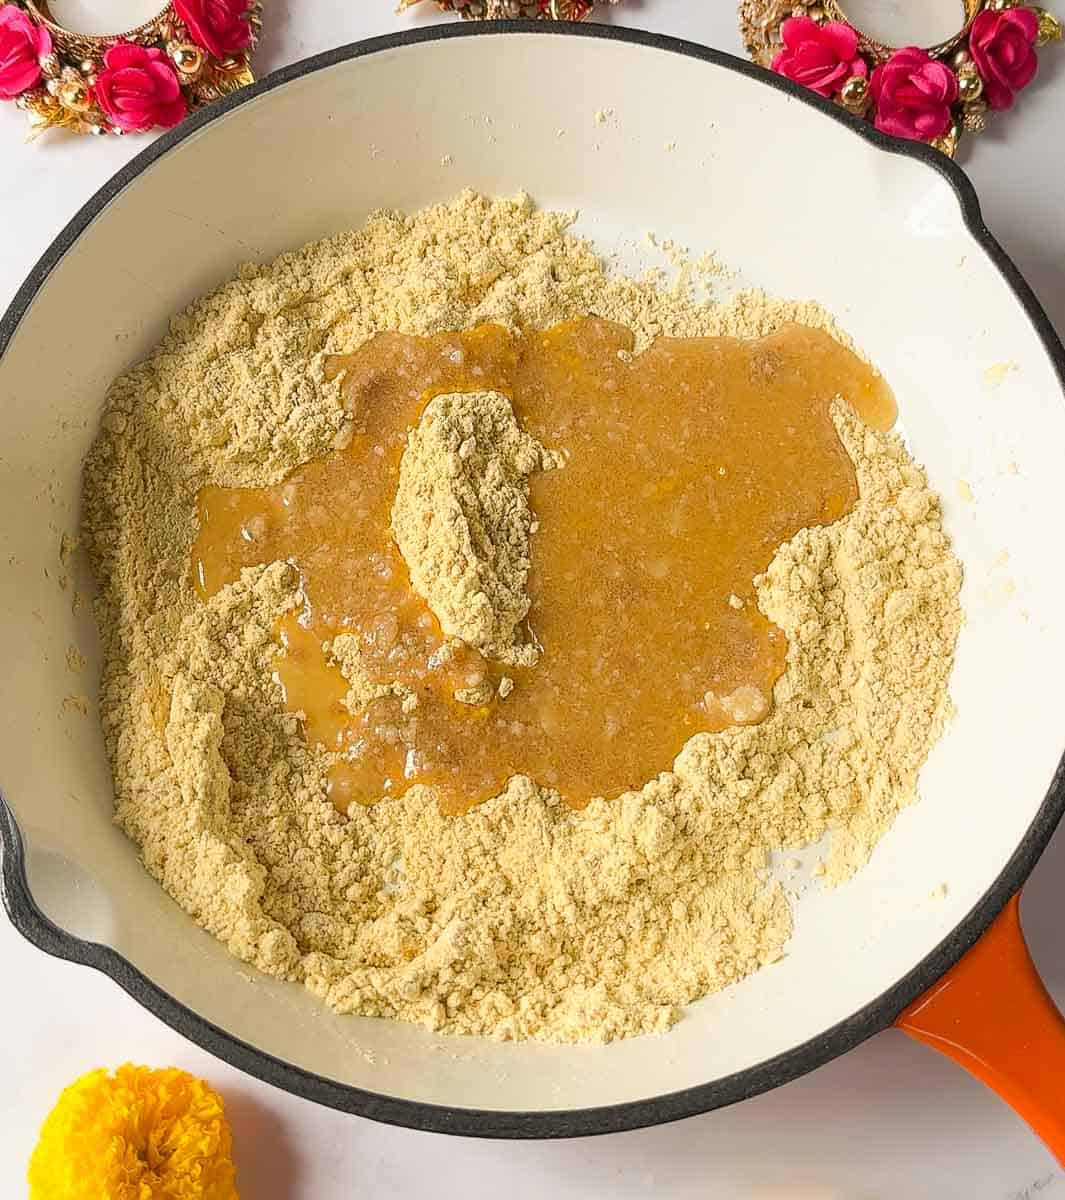
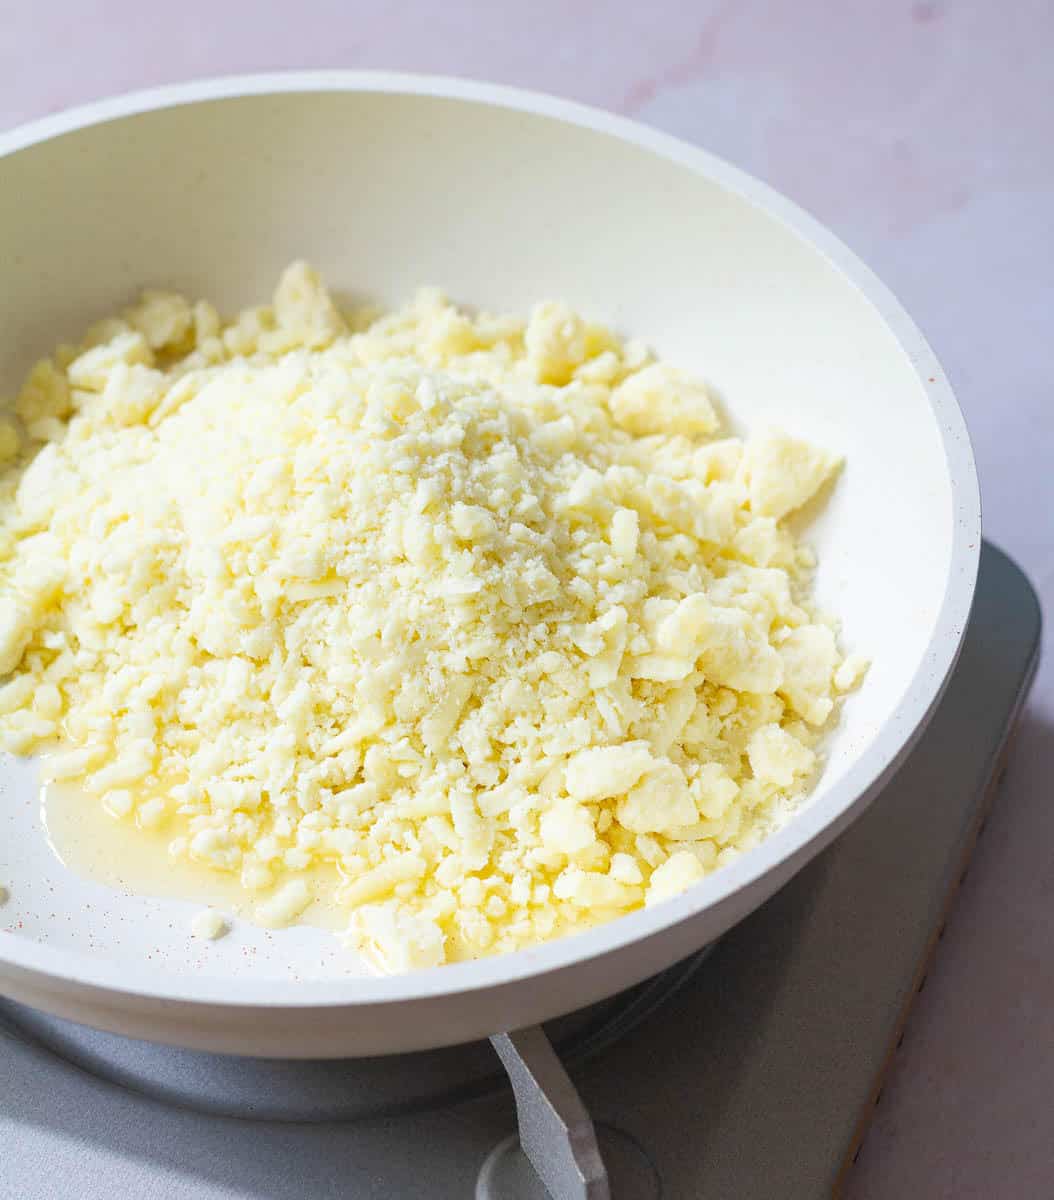
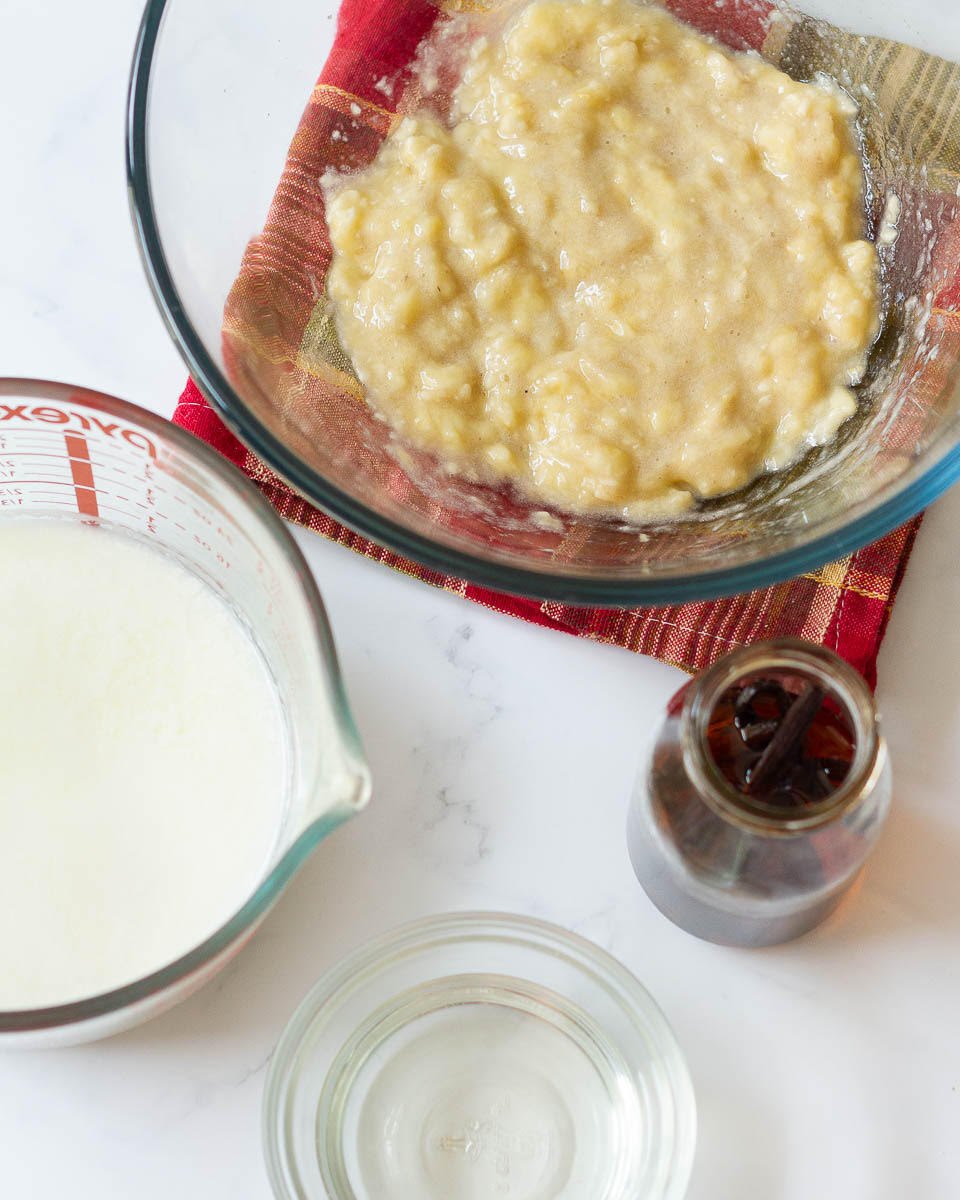
Step 1: Heat cream to a gentle simmer.
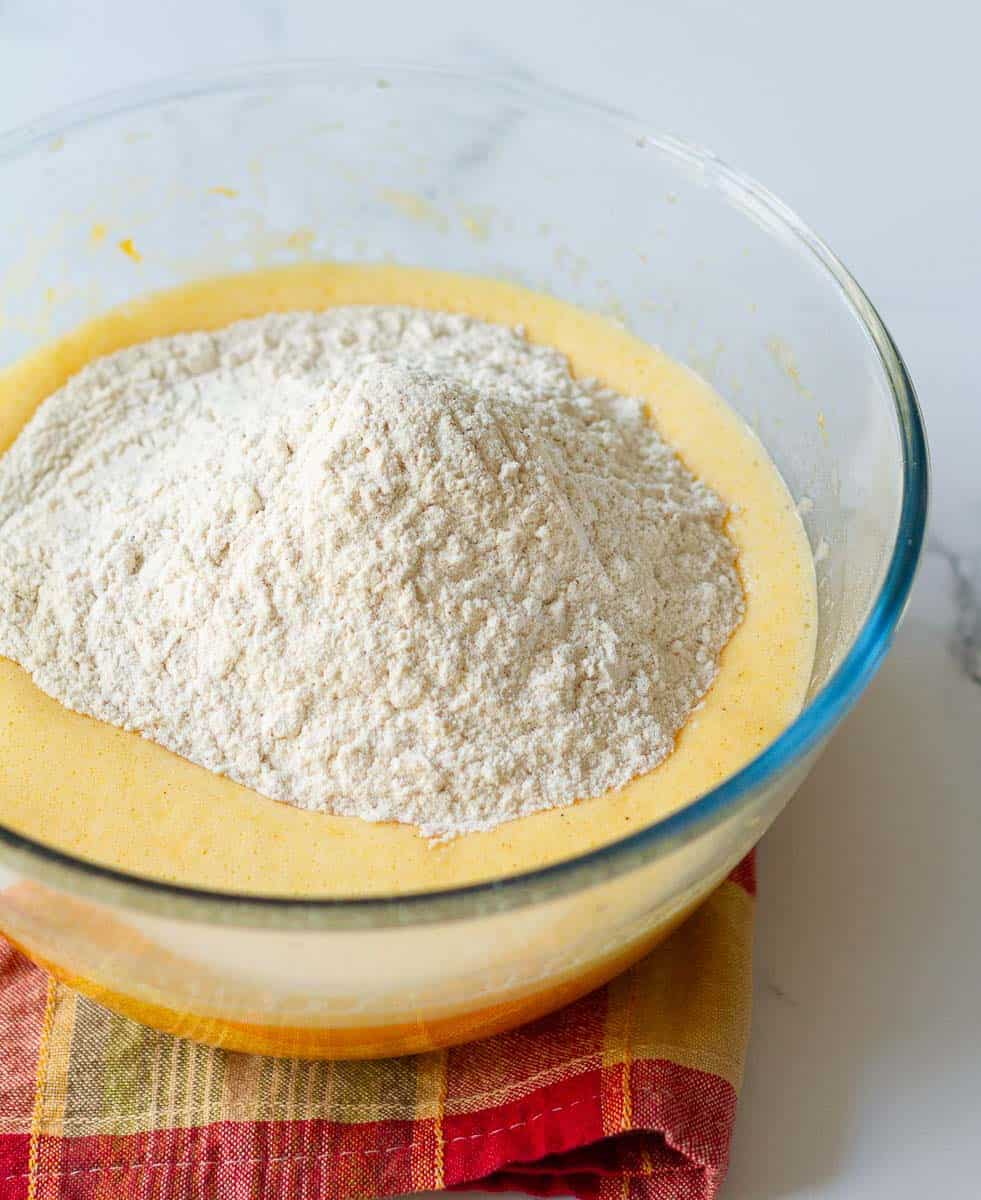
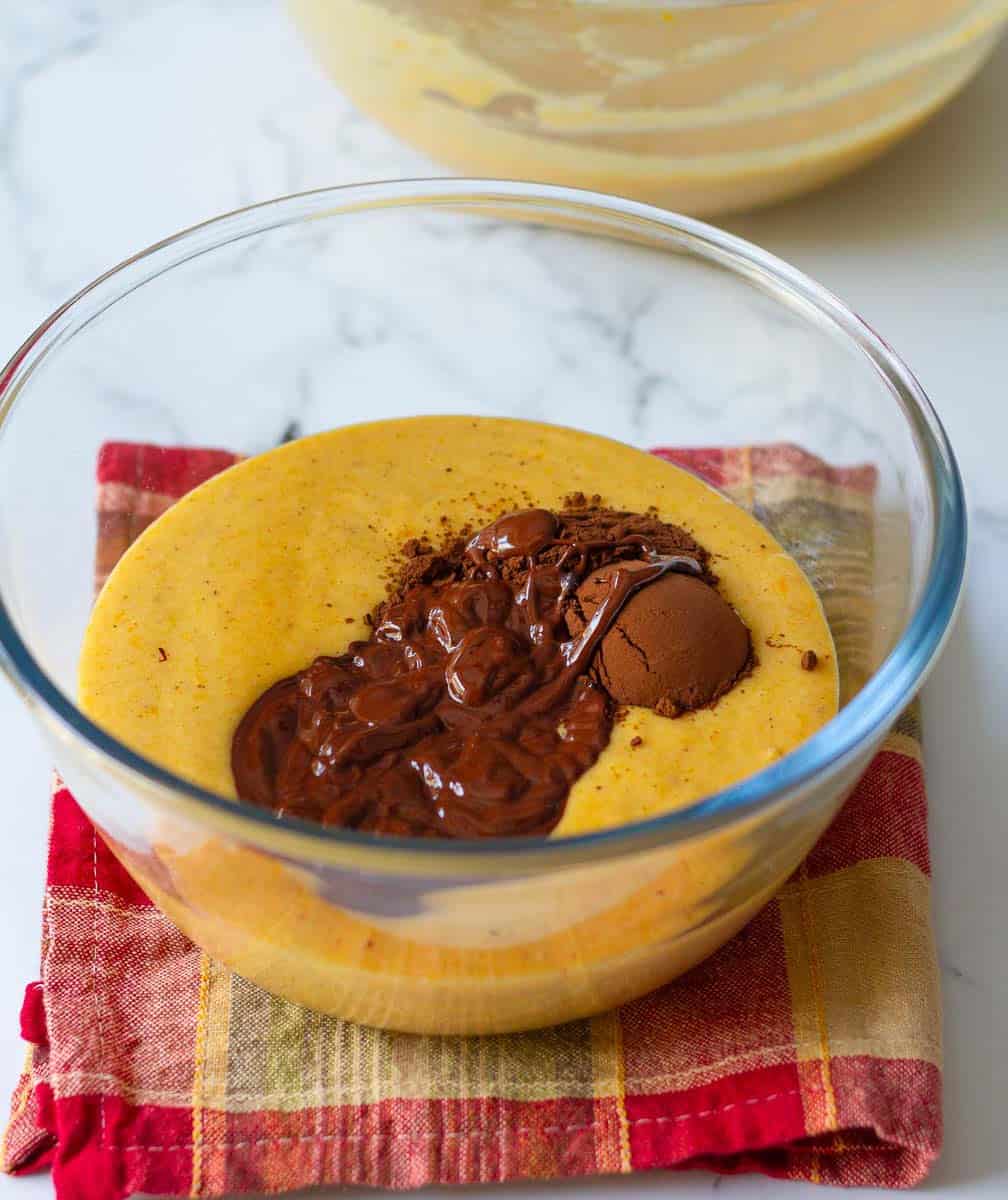
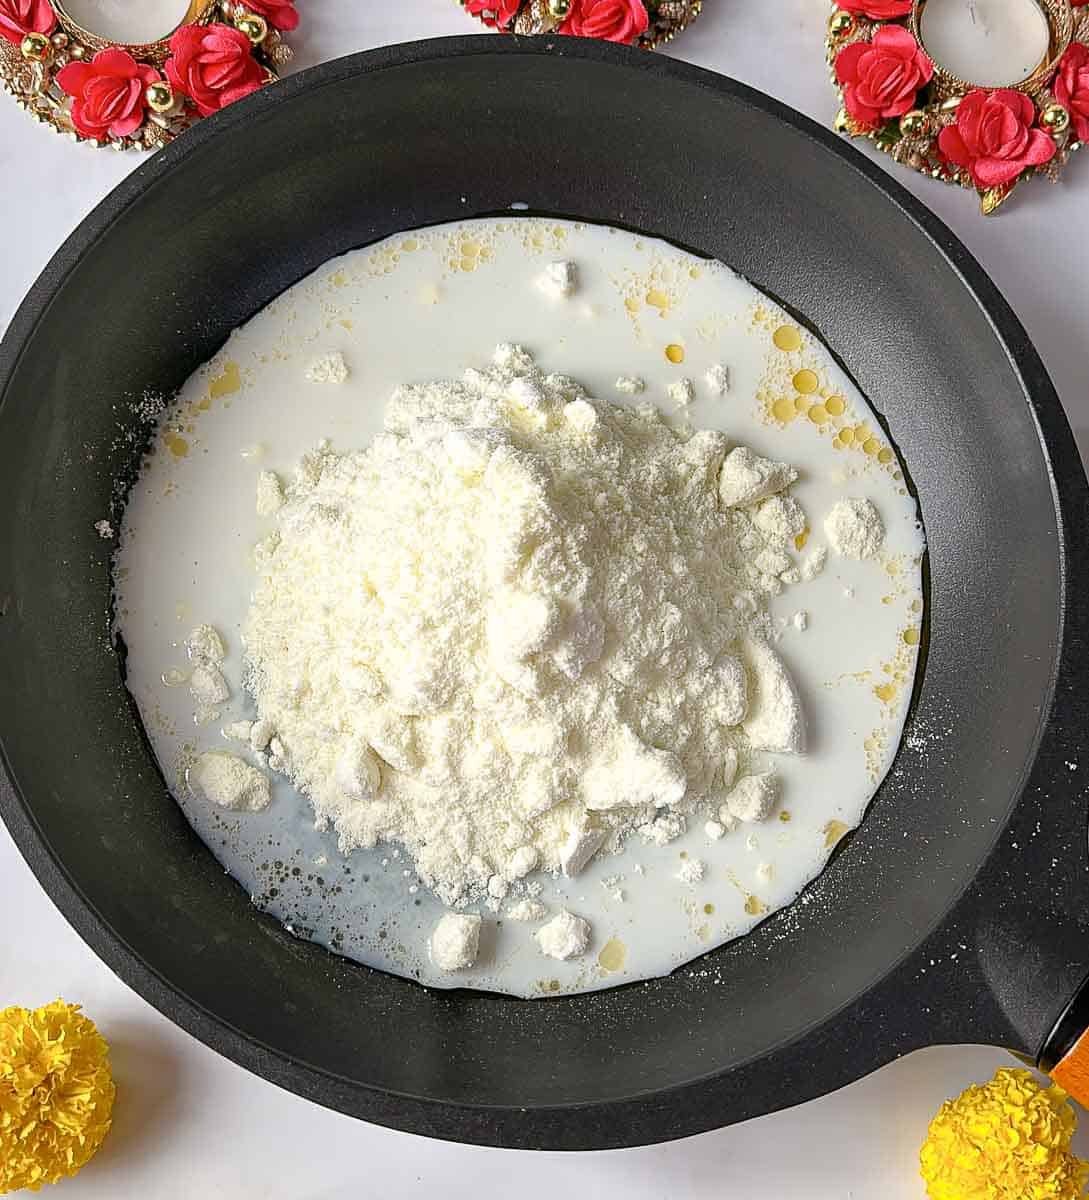
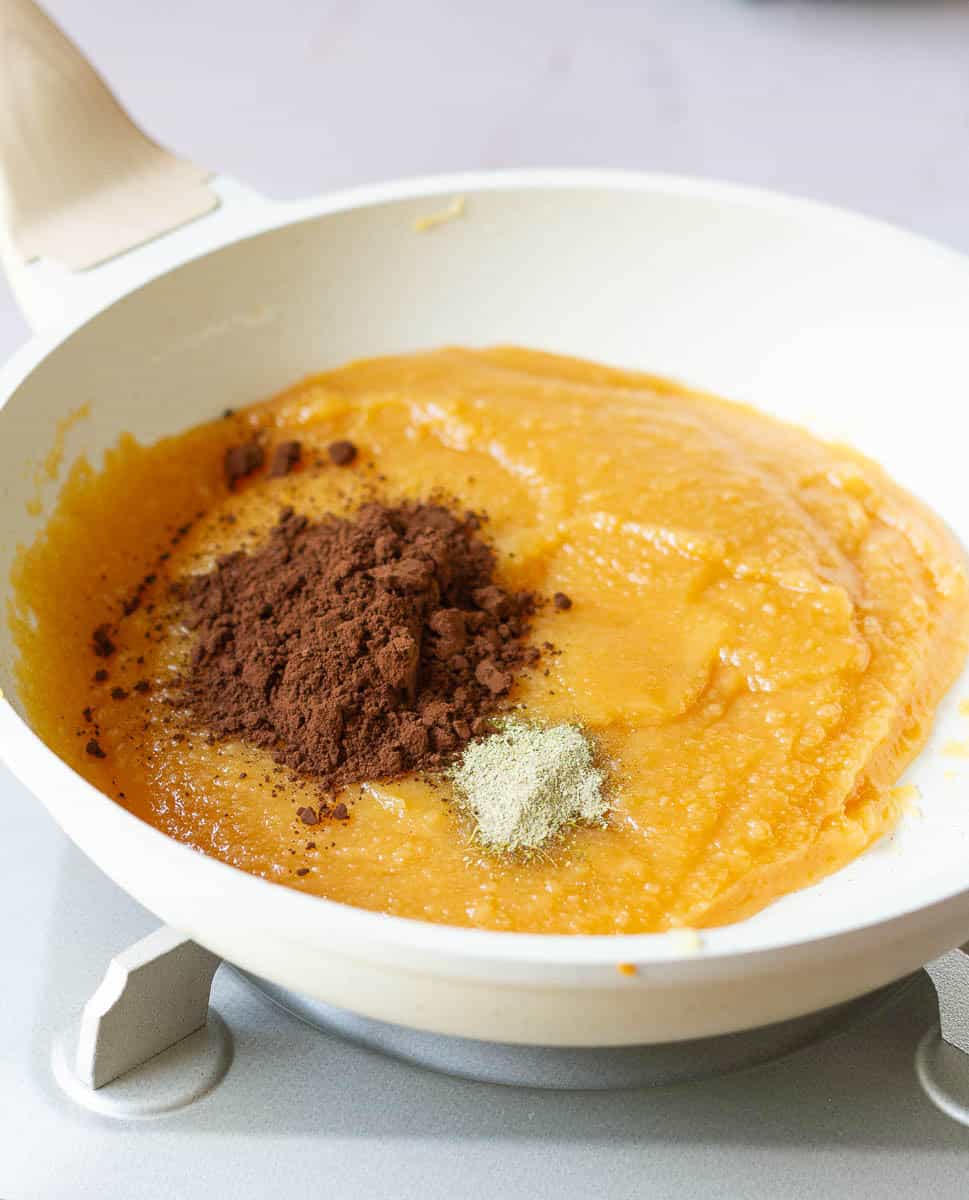
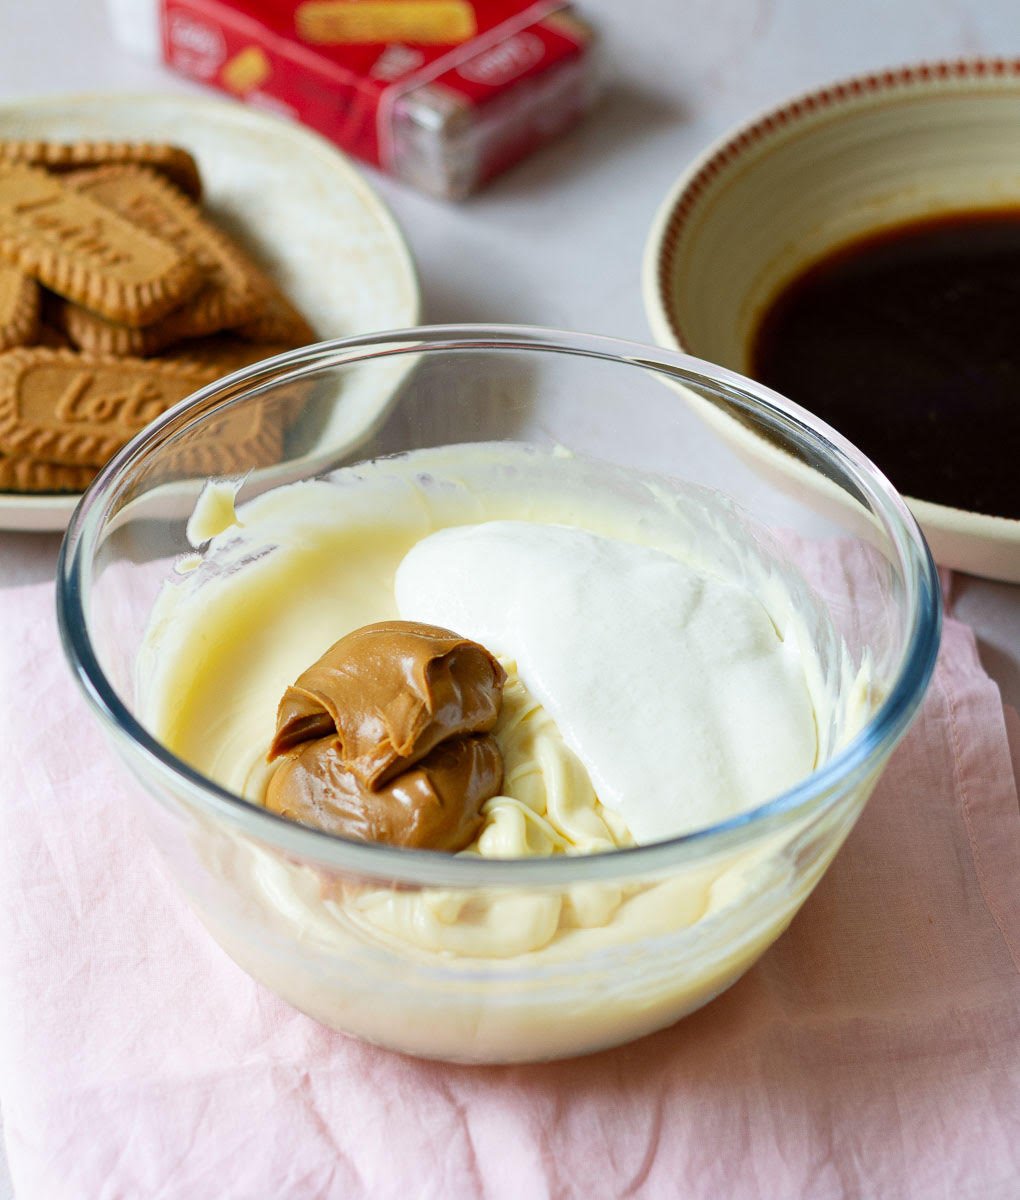
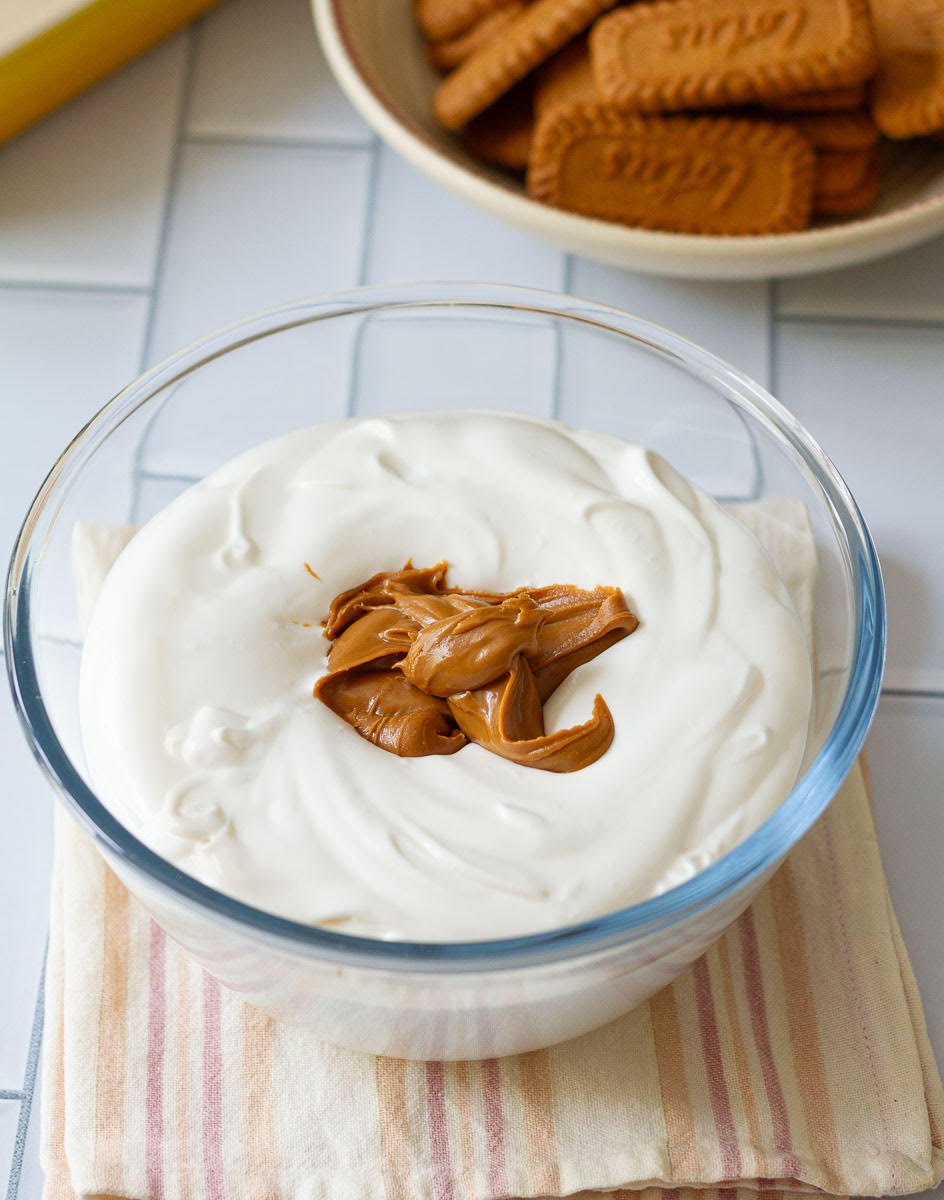
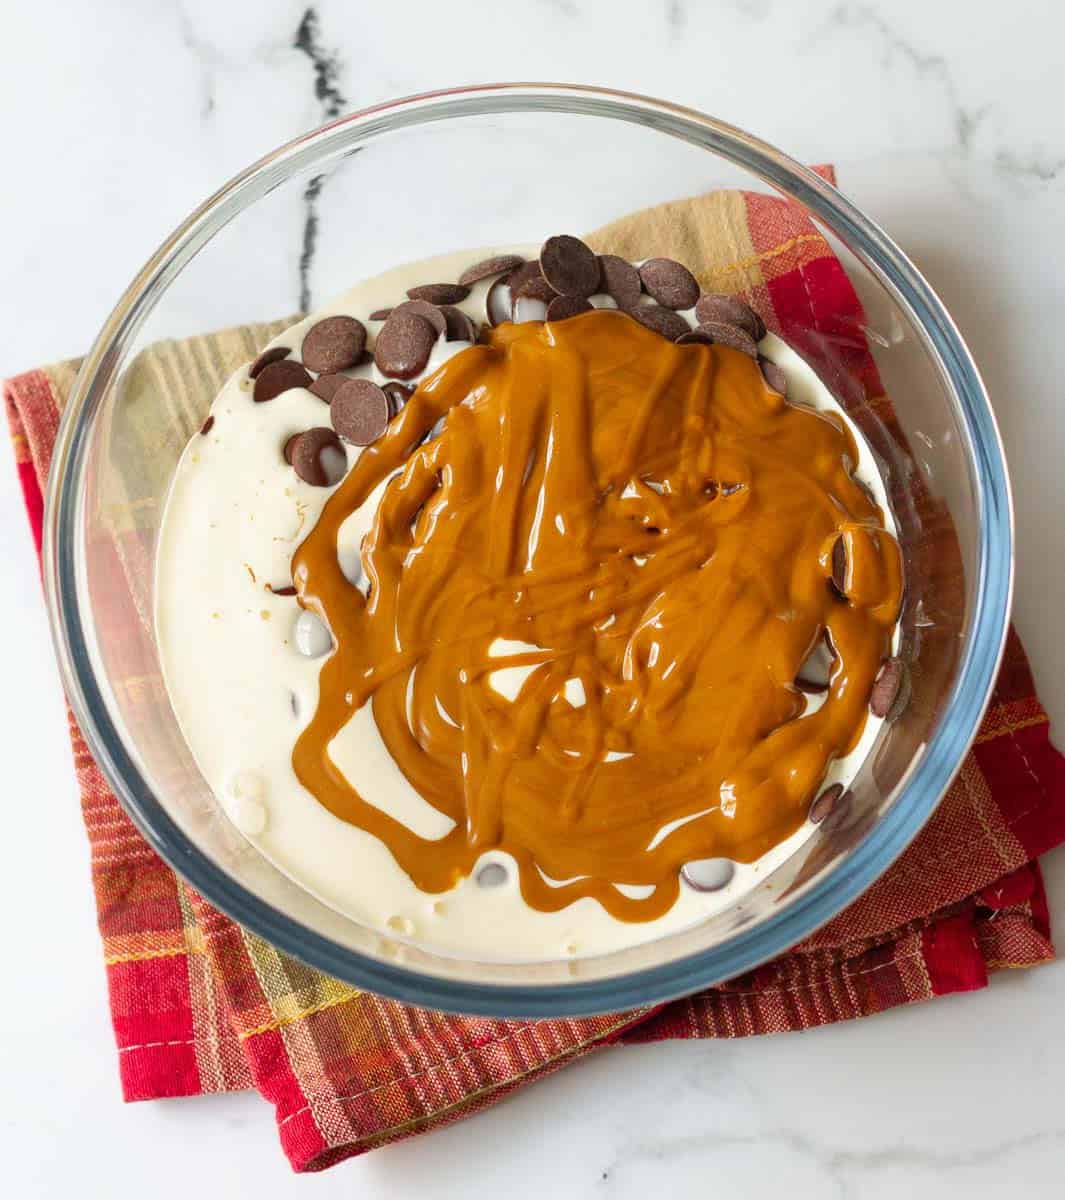
Step 2: Pour the cream over the dark chocolate and melted Biscoff spread. Let it sit for 2-3 minutes.
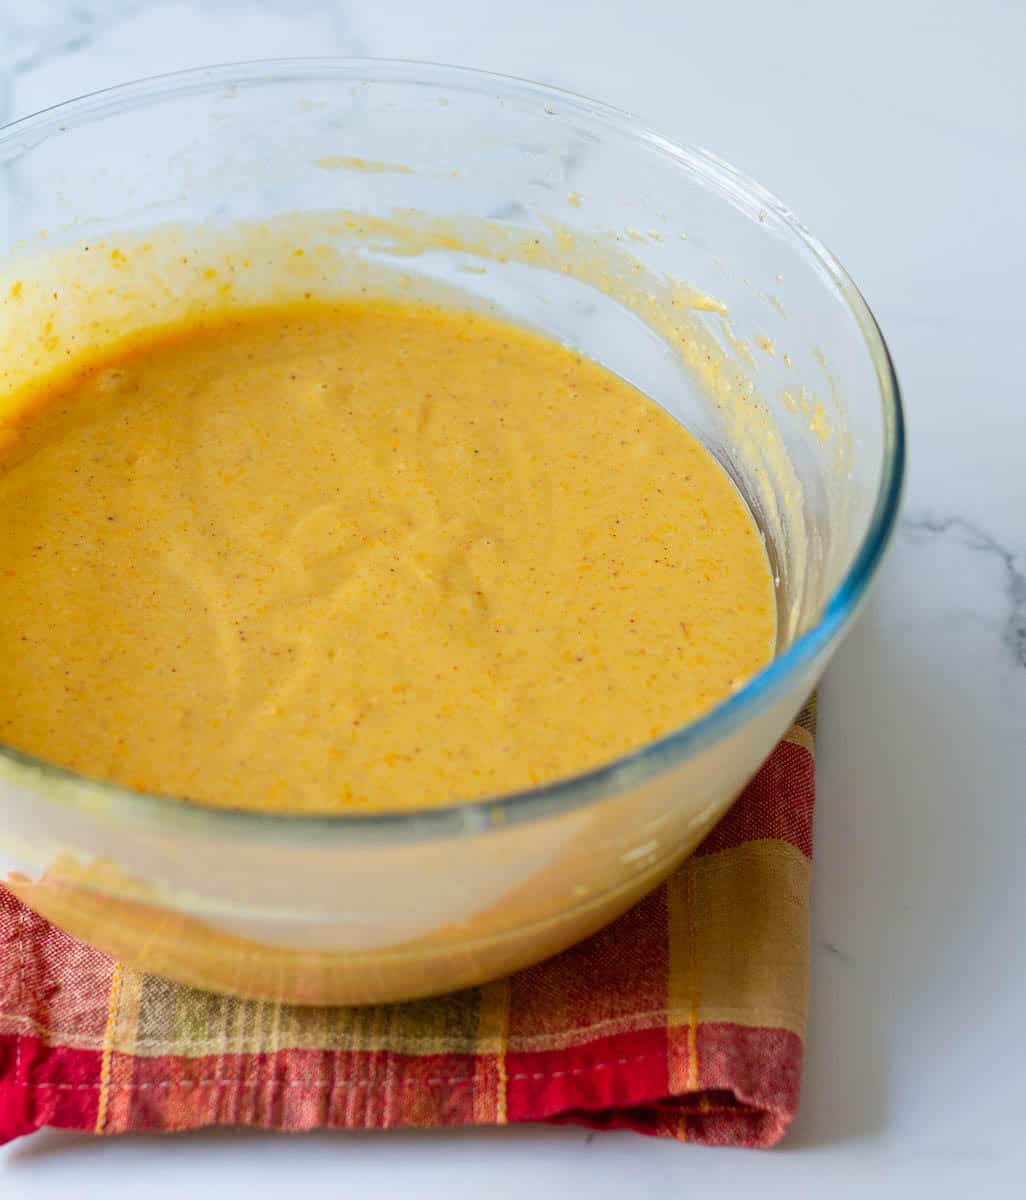
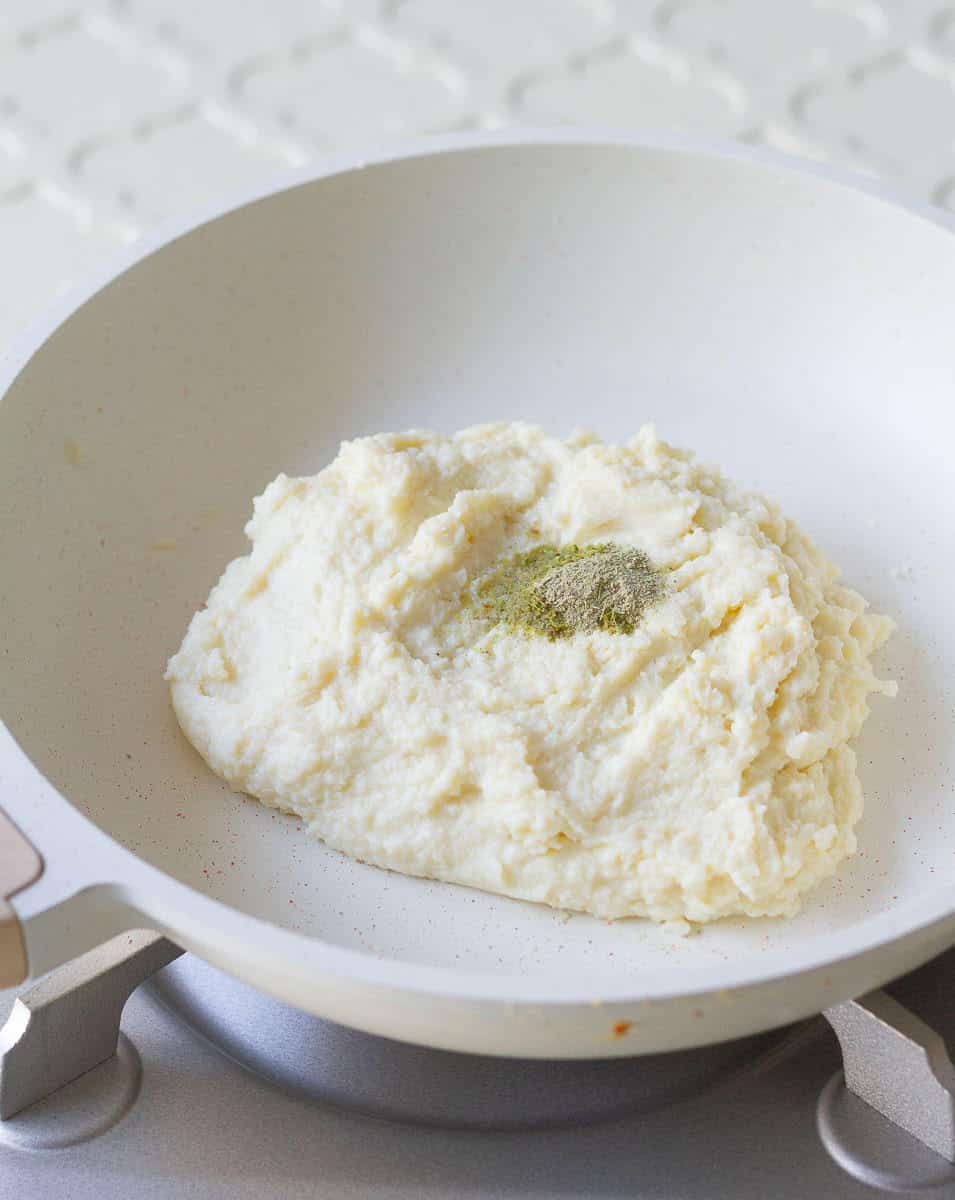
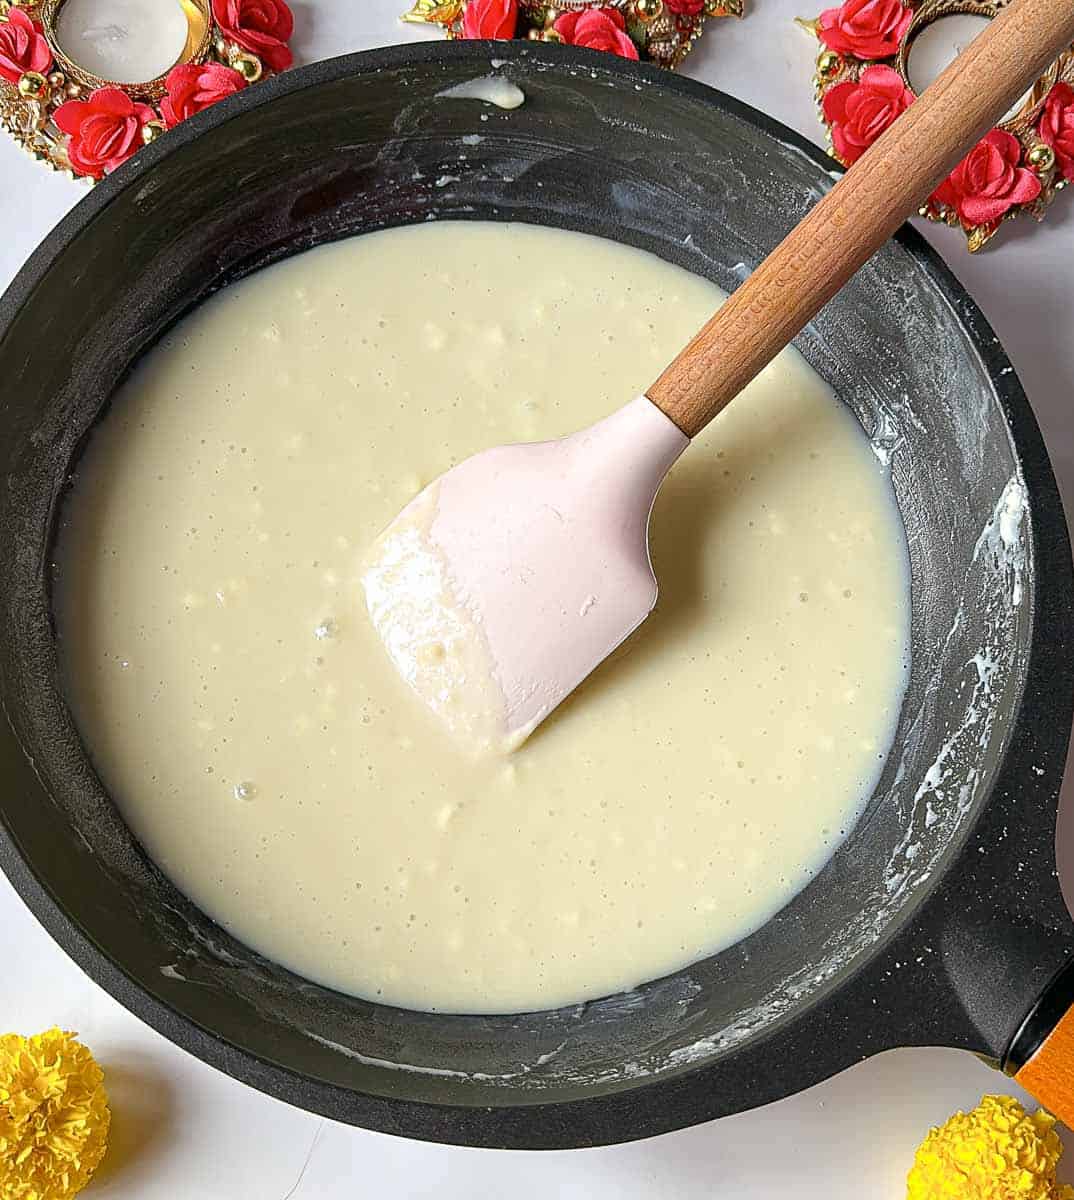
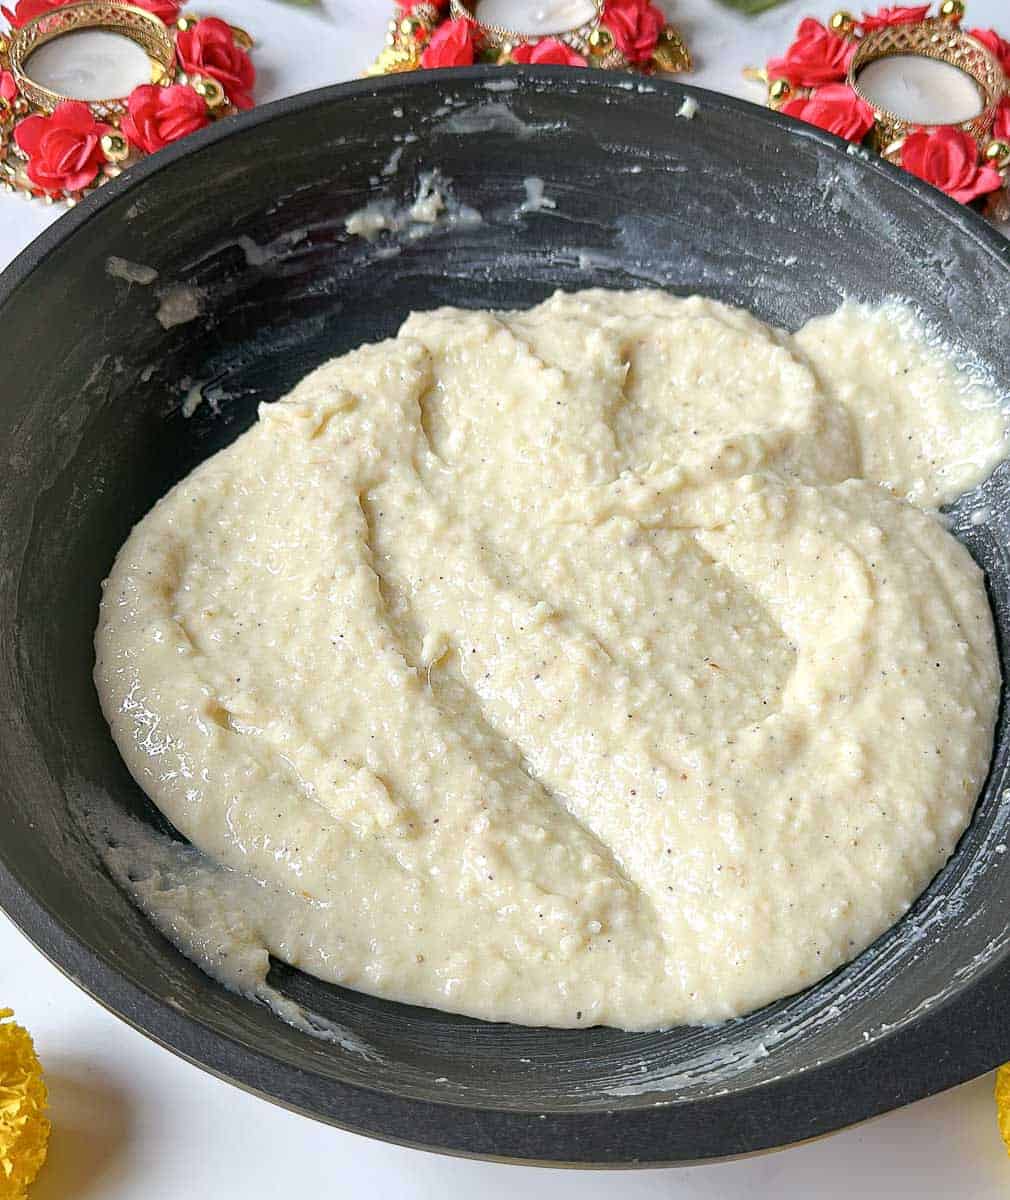
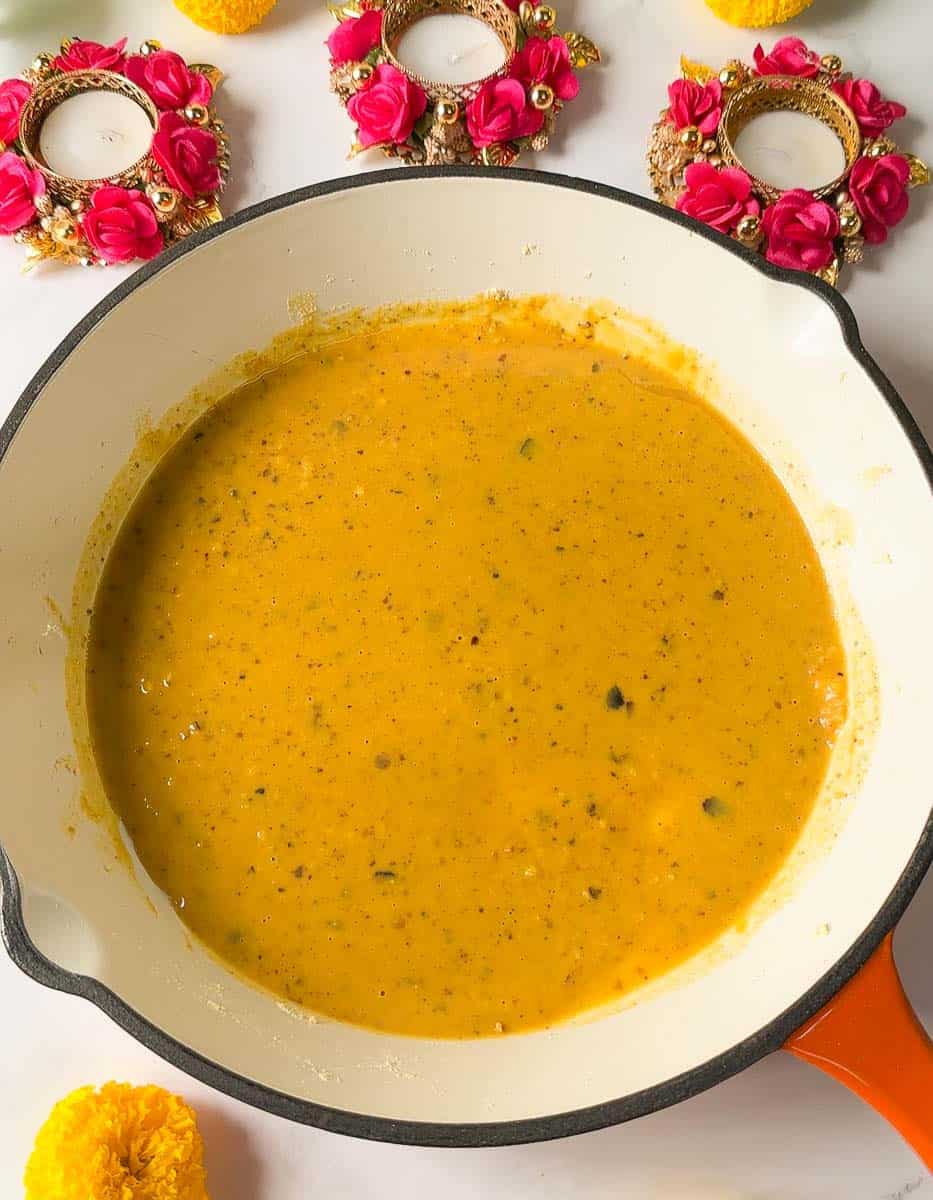
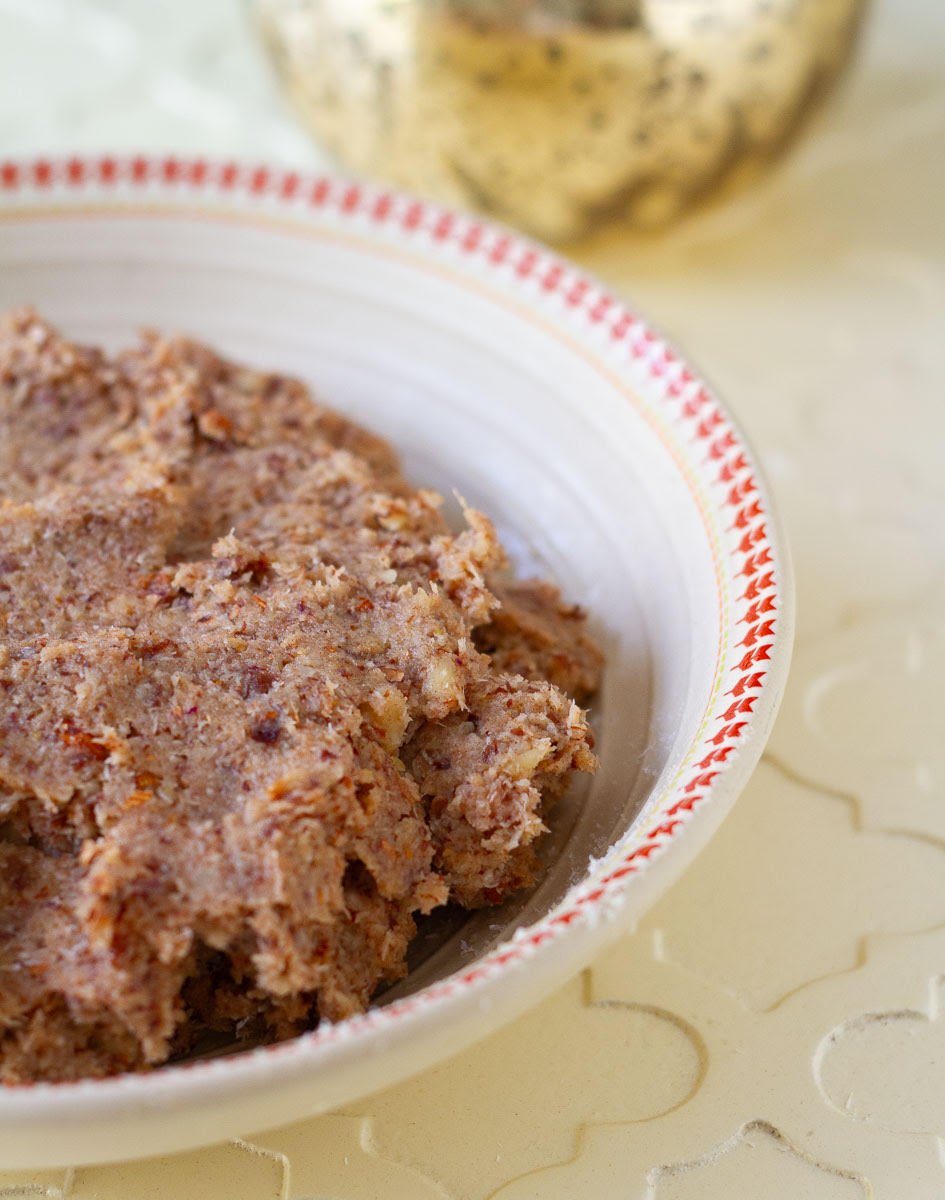
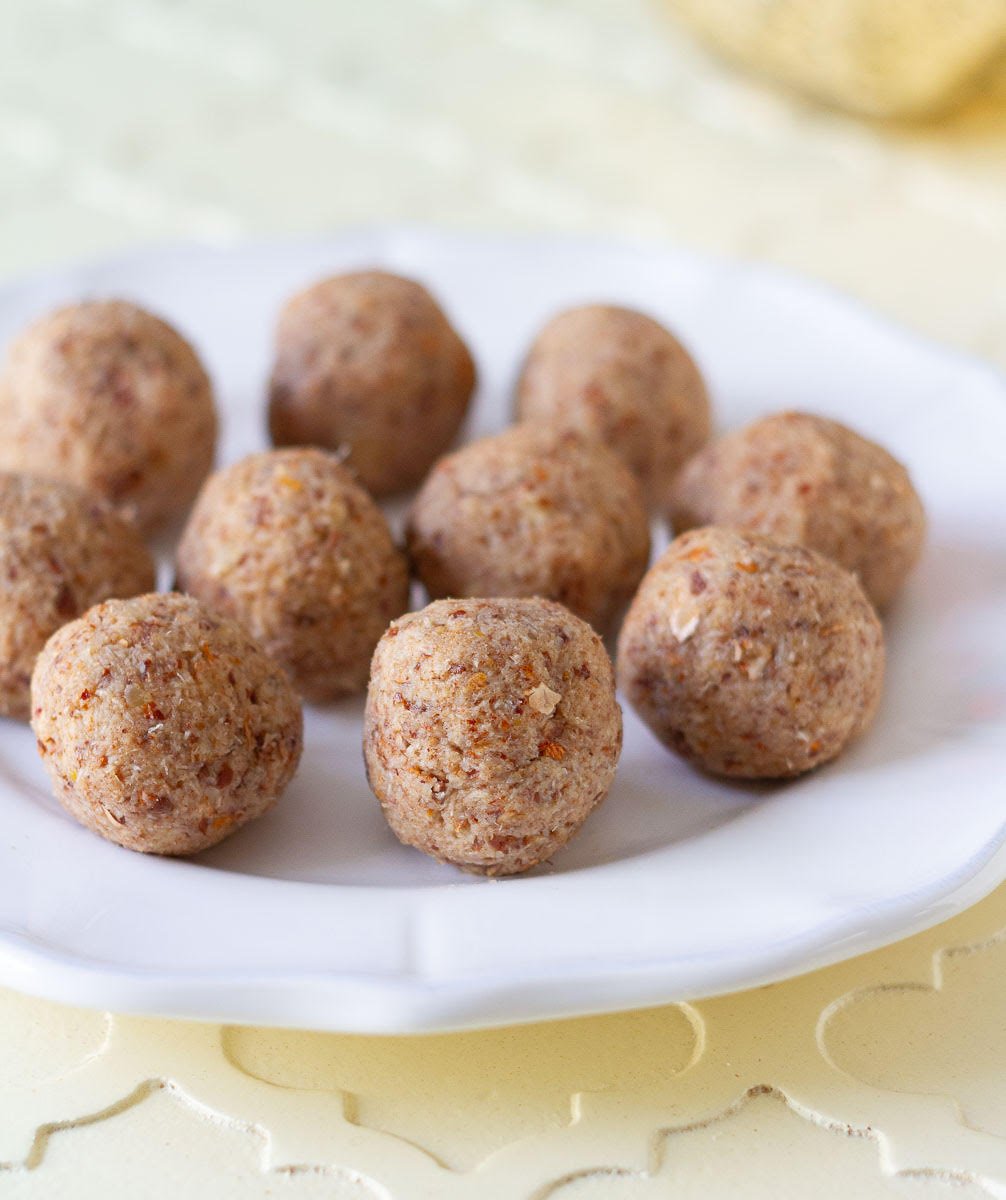
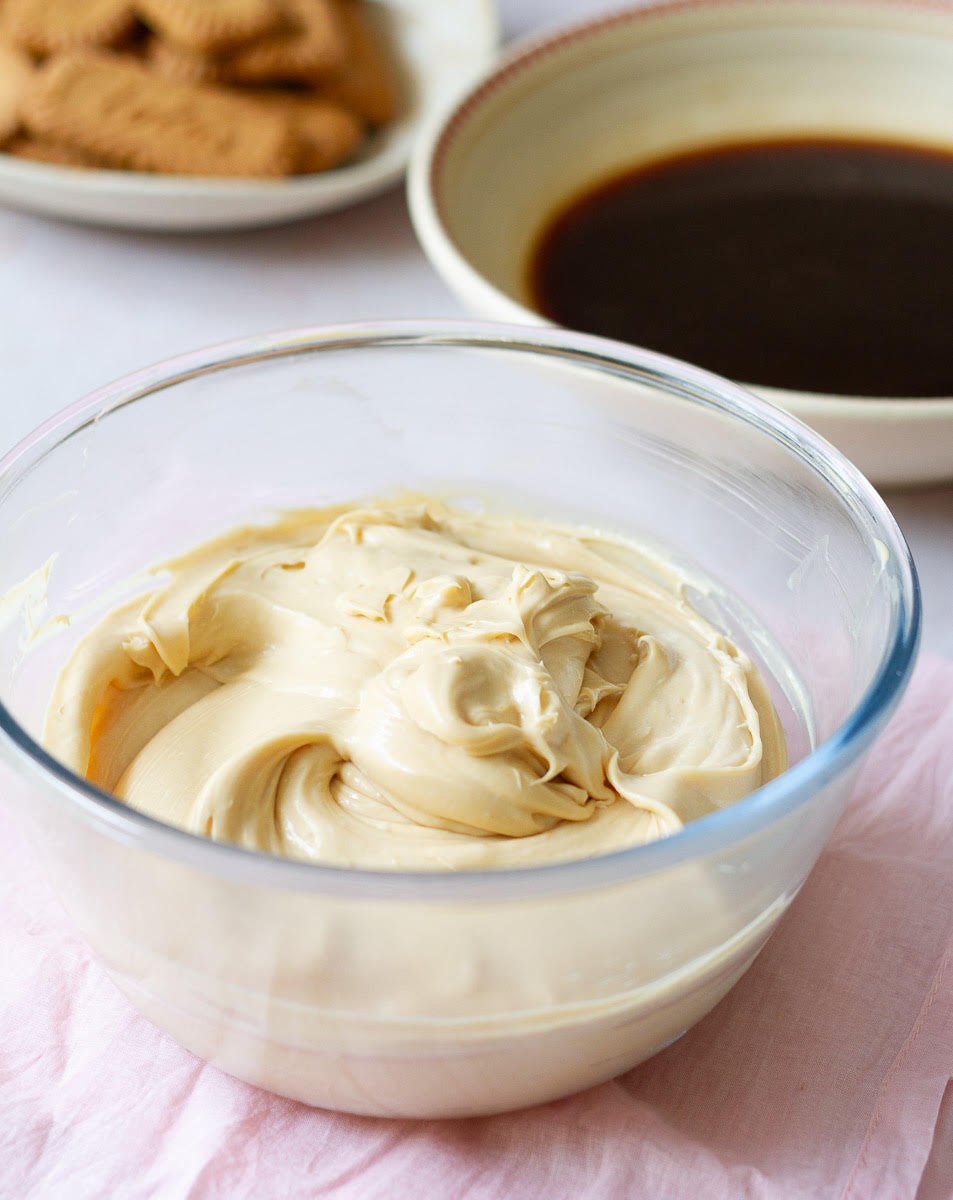
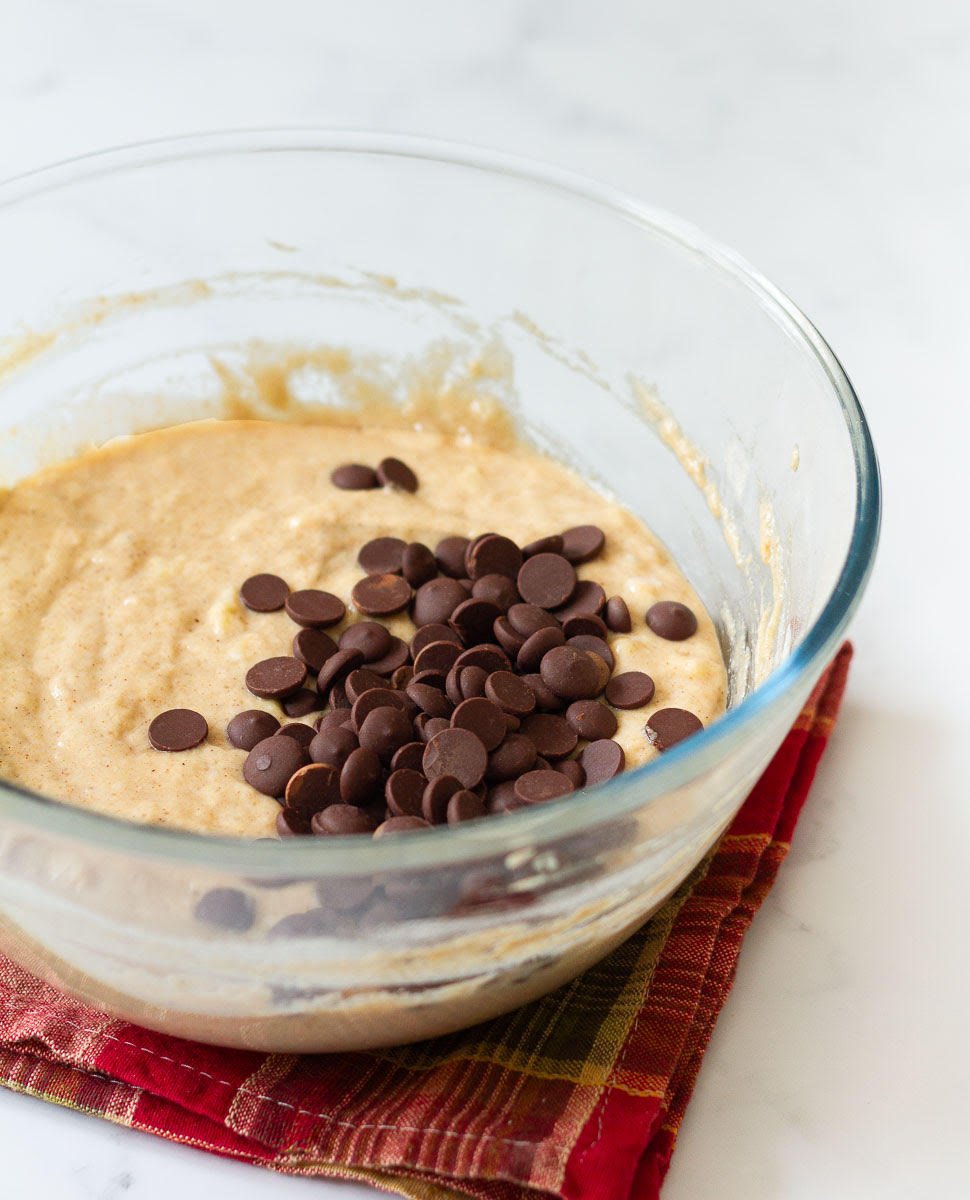
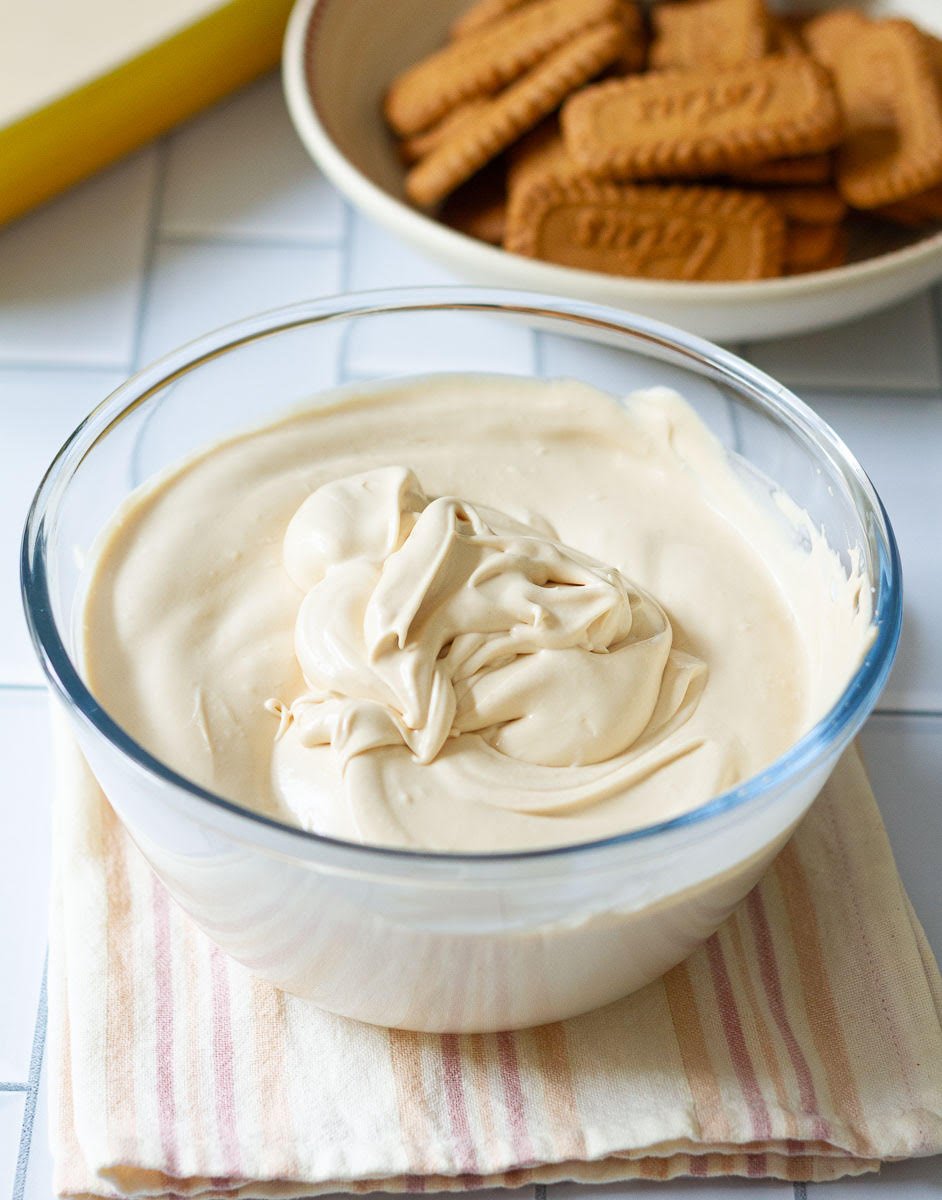
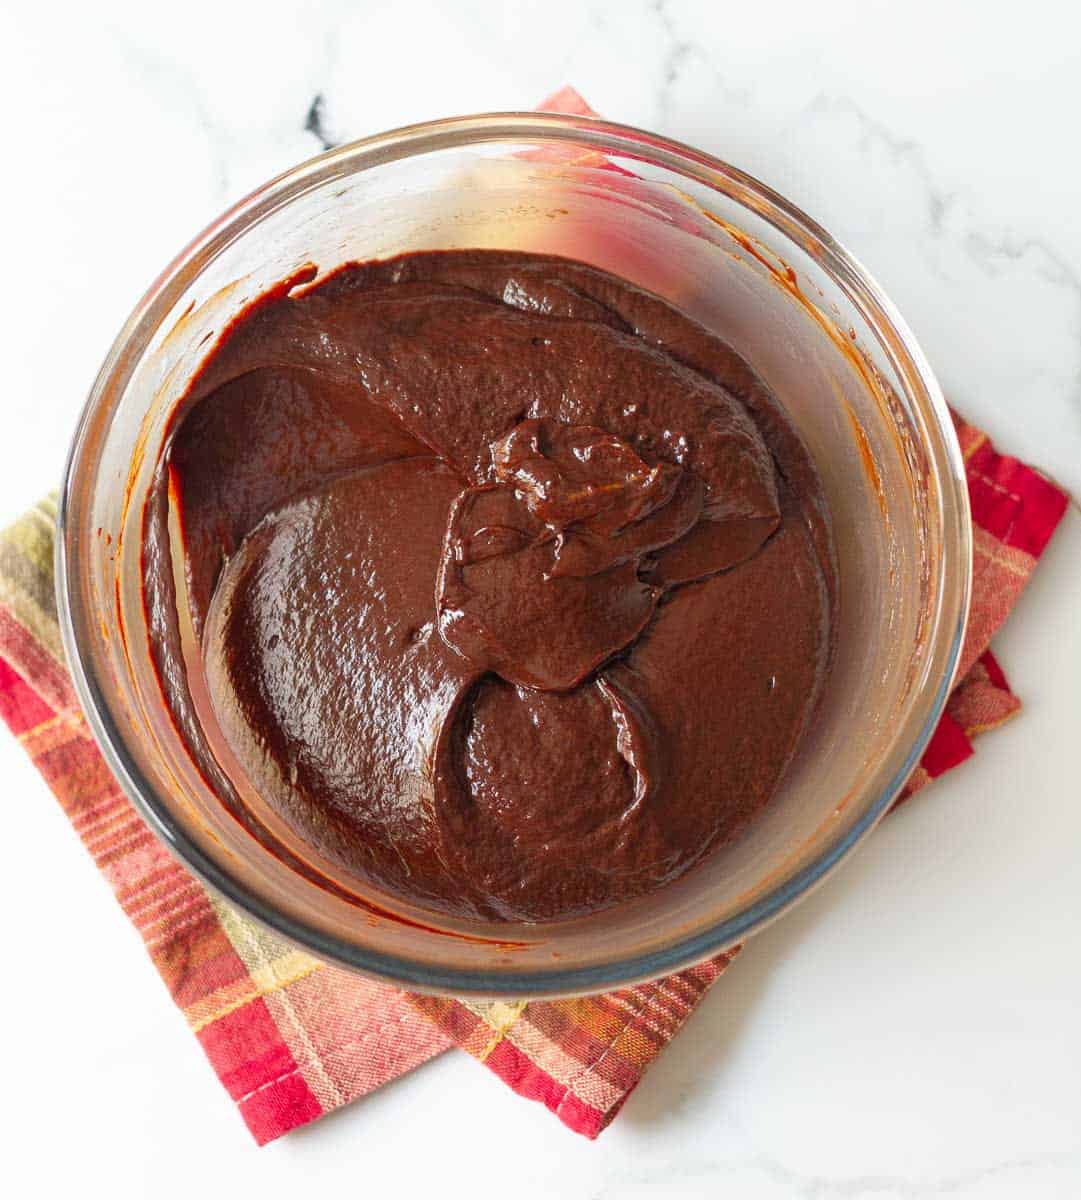
Step 3: Stir until you have smooth, thick, and glossy ganache.
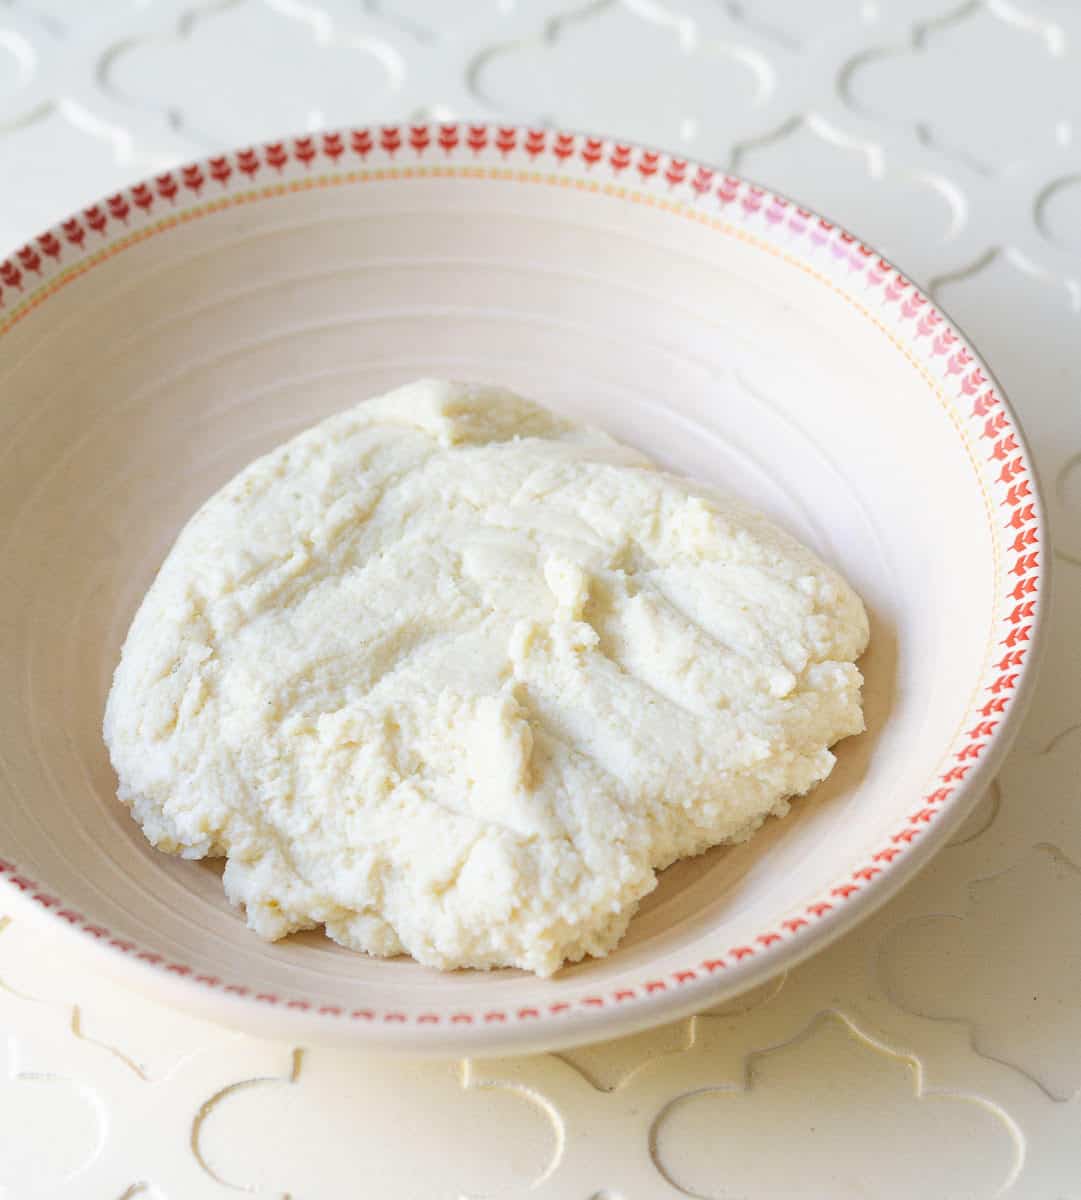
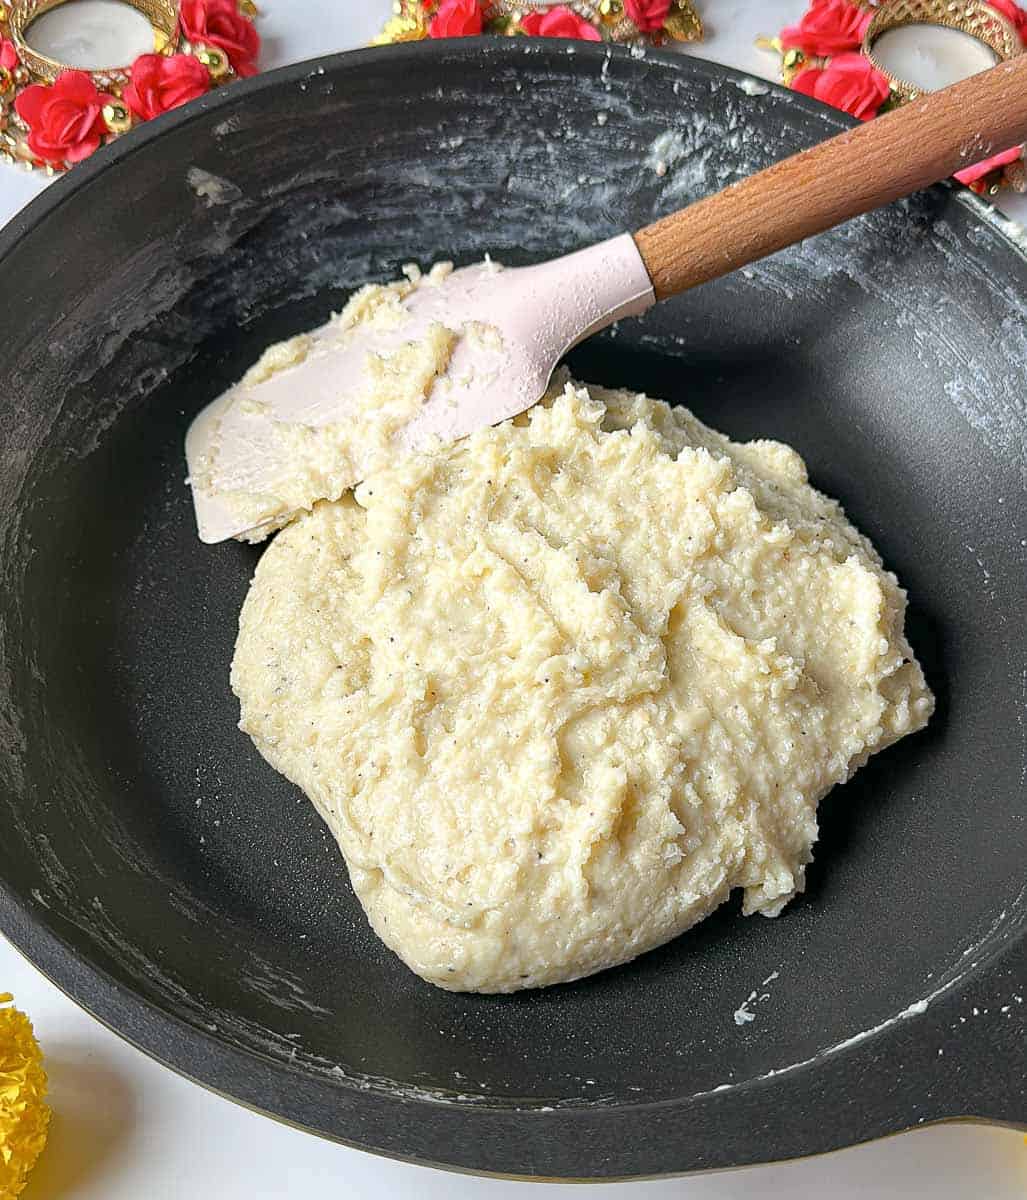
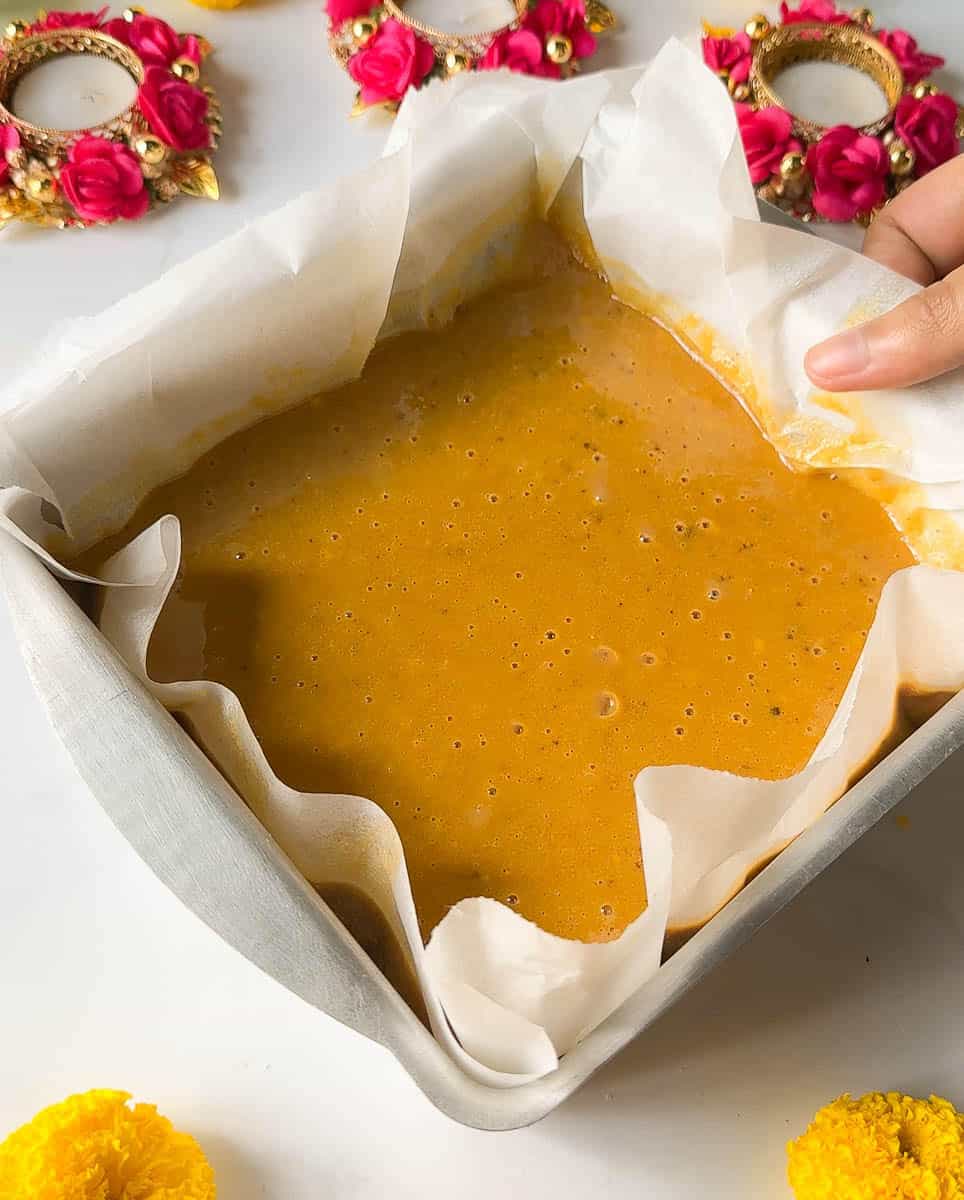
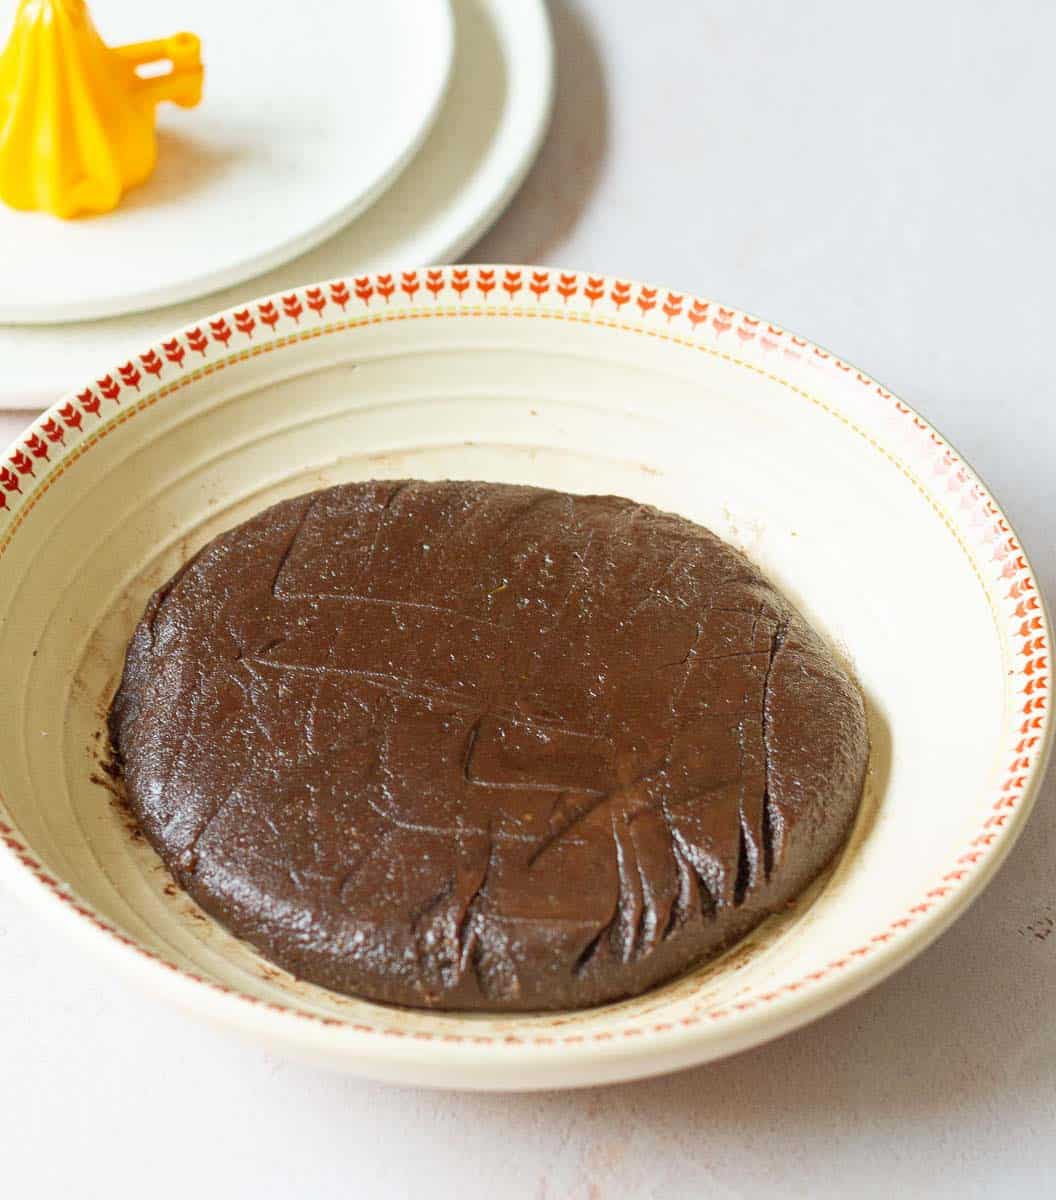
Step 4: Transfer to a shallow bowl and refrigerate until firm enough to scoop.
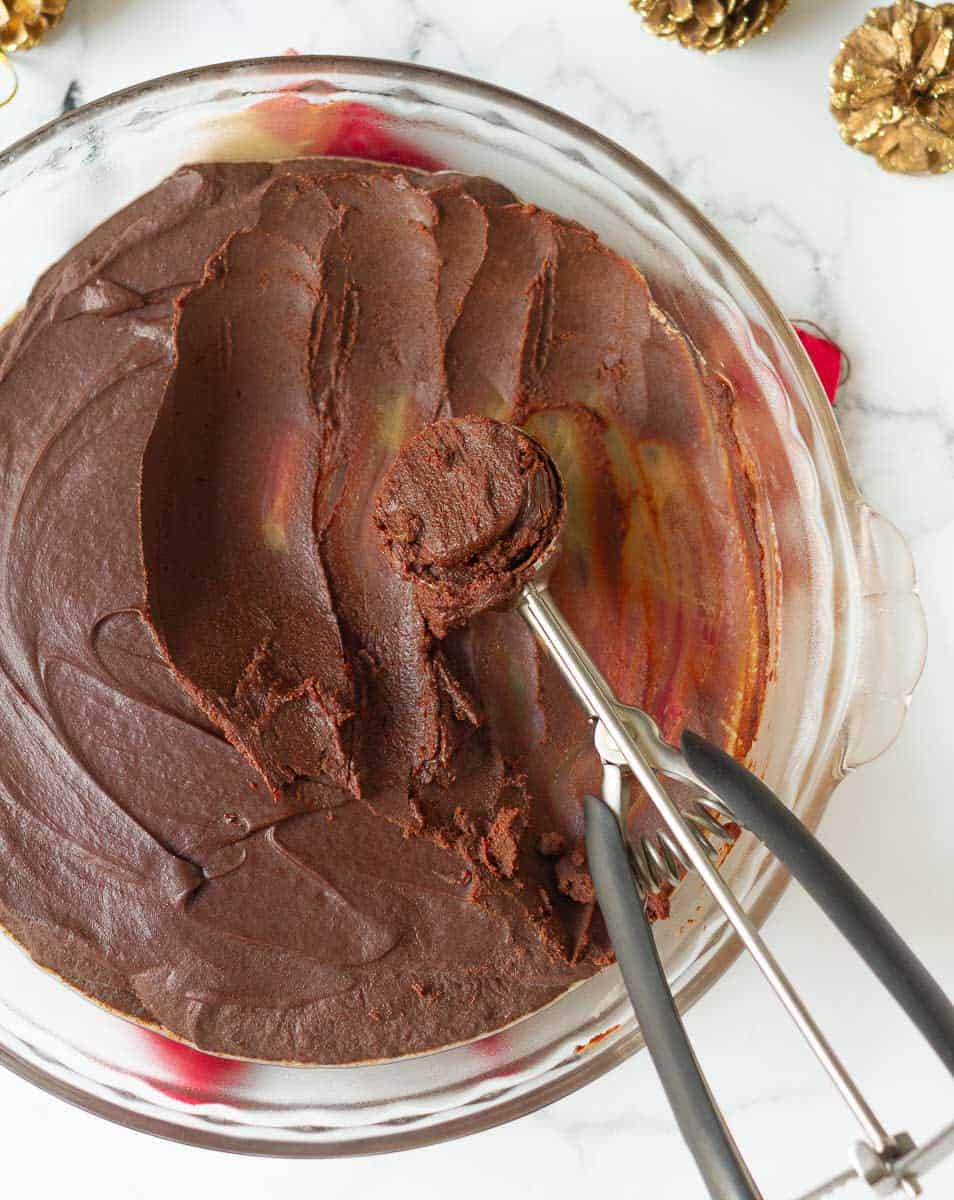
Step 5: Using a cookie scoop or melon baller, scoop out the truffle mixture in small portions. If you don’t either, use two spoons.
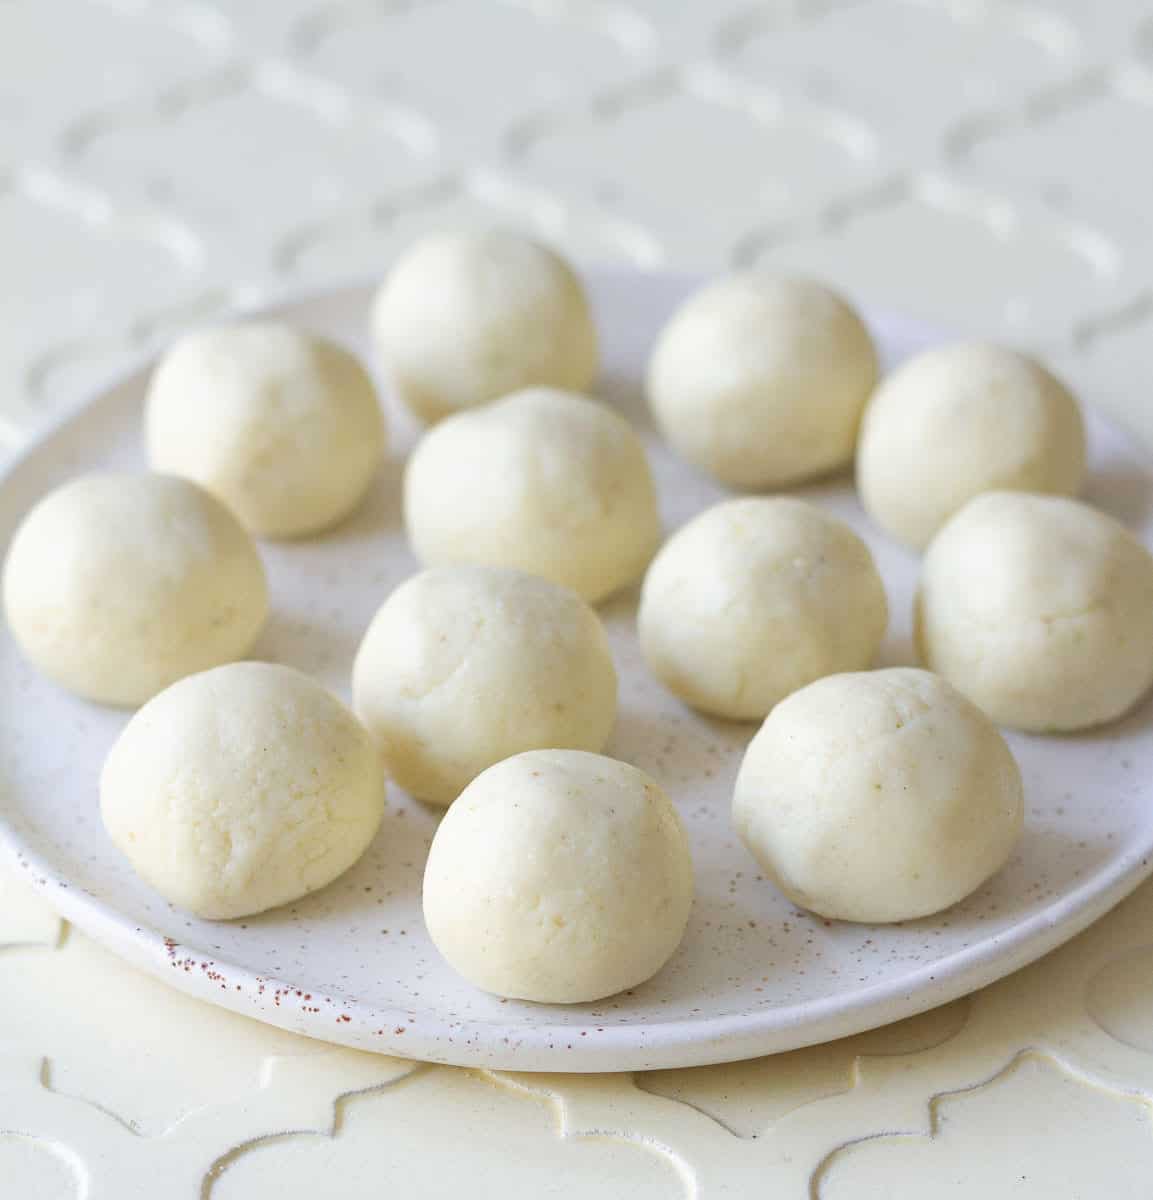
Step 6: Place the scoops back in the fridge to firm up - about 10 -15 minutes.
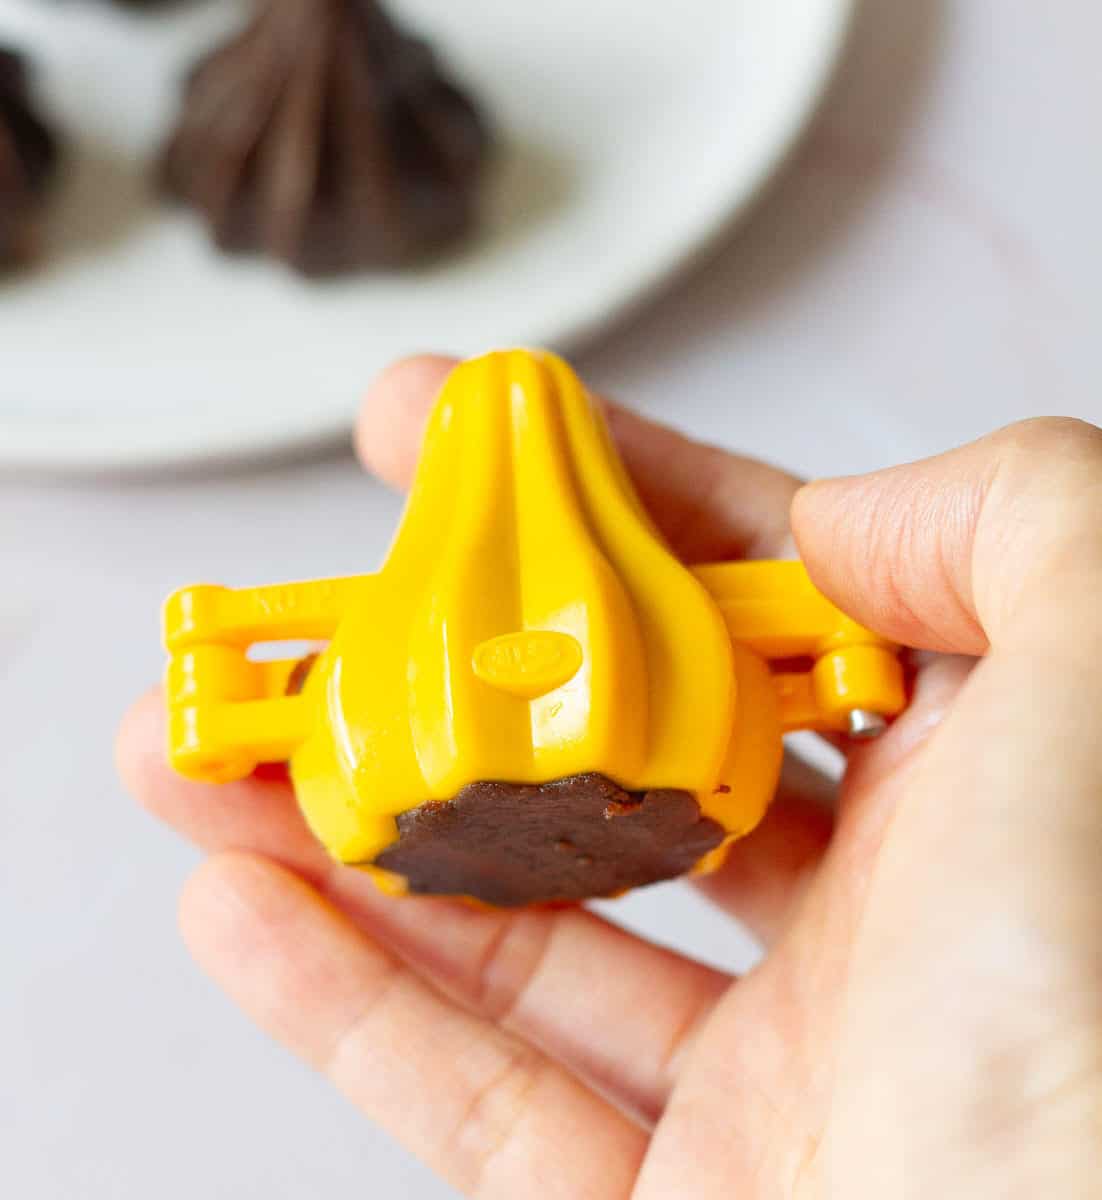
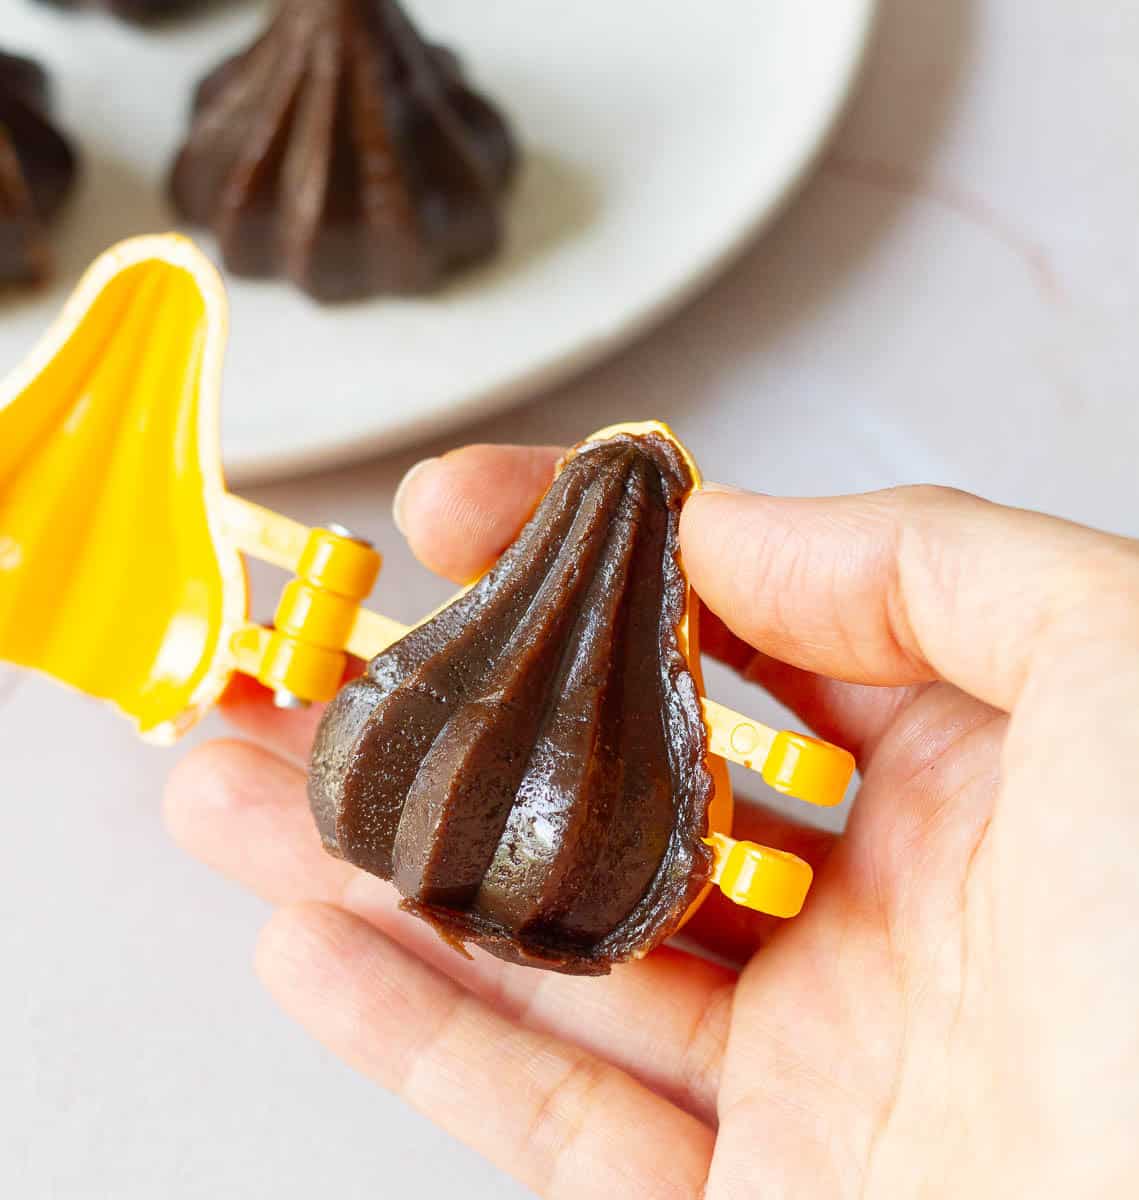
Step 7: After the scoops have firmed up again, roll them into smooth balls and dip them in melted chocolate.
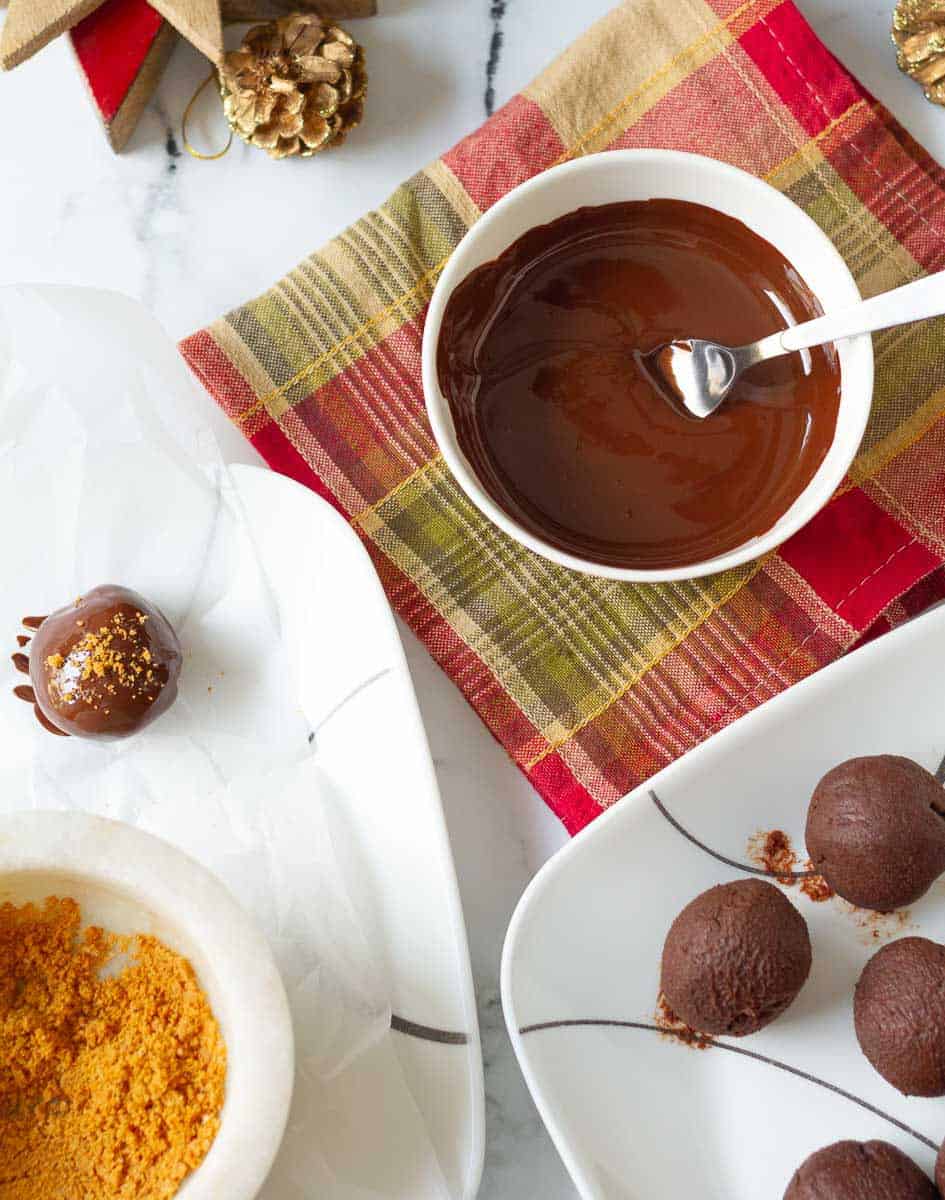
Step 8: Refrigerate again until the chocolate sets. Serve!

Pro Tips
- A kitchen scale is your best friend in this Biscoff truffles recipe because the cream-to-chocolate ratio is critical to getting that heavenly, fudgy bite.
- Don’t overheat cream. Hot cream can split or burn chocolate.
- Melt the Biscoff. It’s easier to mix.
- Make sure all your ingredients are at room temperature. They will melt and blend easily.
- A double boiler is safest to melt the chocolate. I explain in detail how to make one in my sourdough peanut butter brownie recipe. A microwave works in 20–30-second bursts.
- Chilling the cookie butter truffles is crucial before you roll and coat them. Skip refrigeration, and you’ll have a messy, melted mixture in your hands.
How To Decorate
You can keep these truffles simple. Put them in a tin with gingerbread kiss cookies, chocolate peppermint fudge, and lemon crescent cookies, and wrap them up as a Christmas gift!
You can also dress them up like holiday stars:
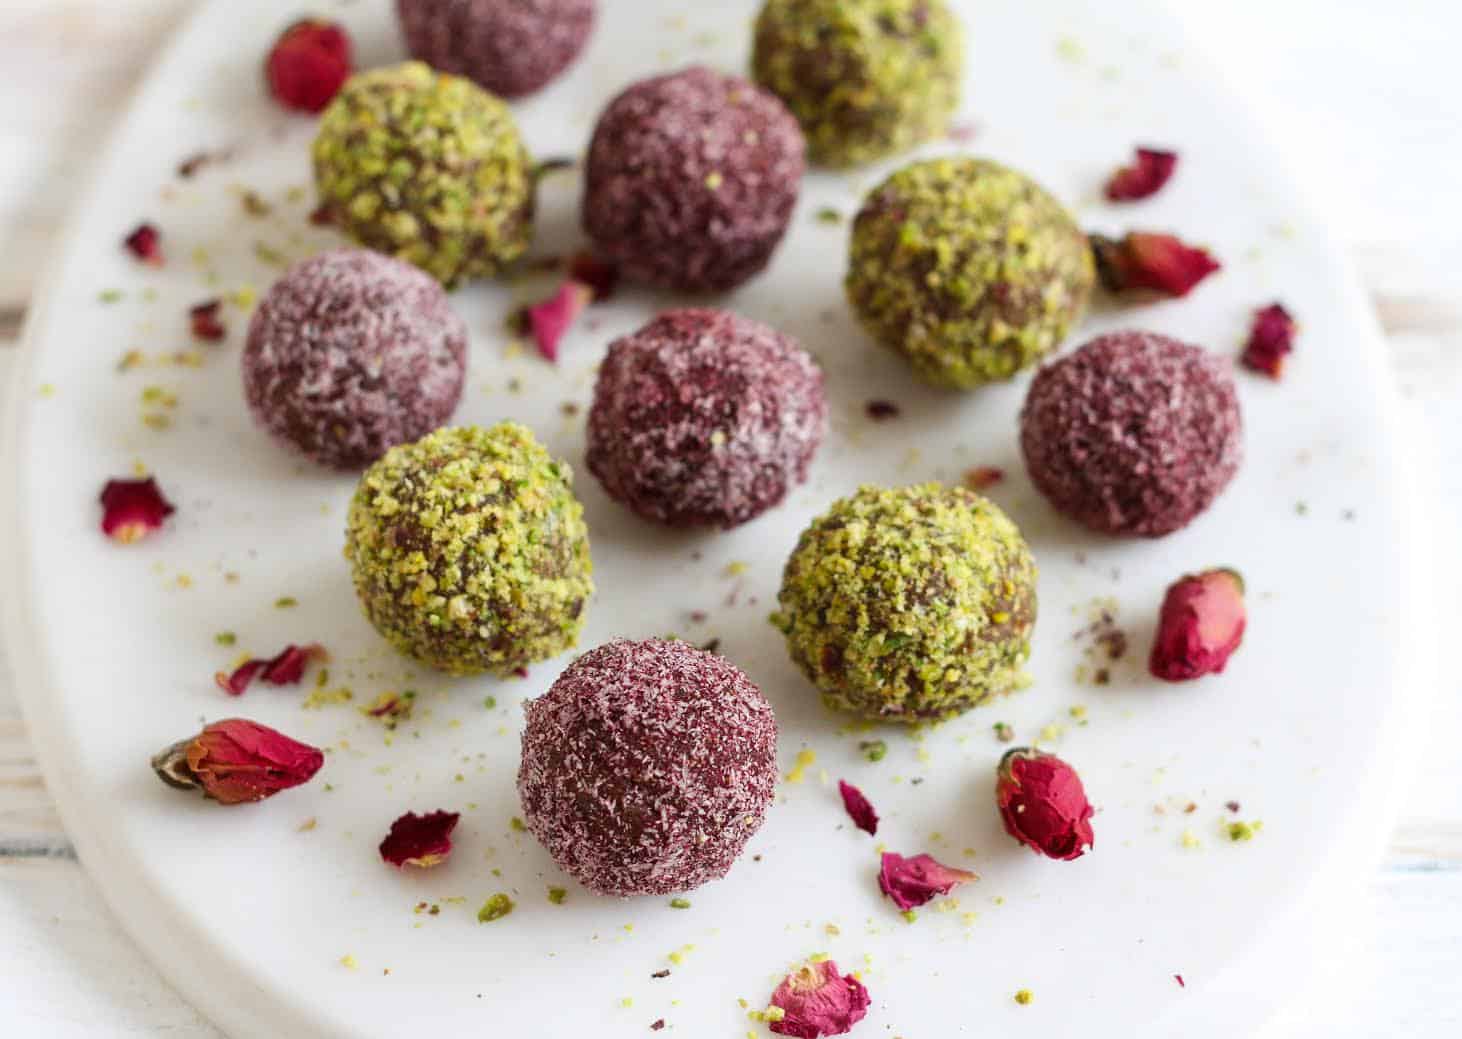
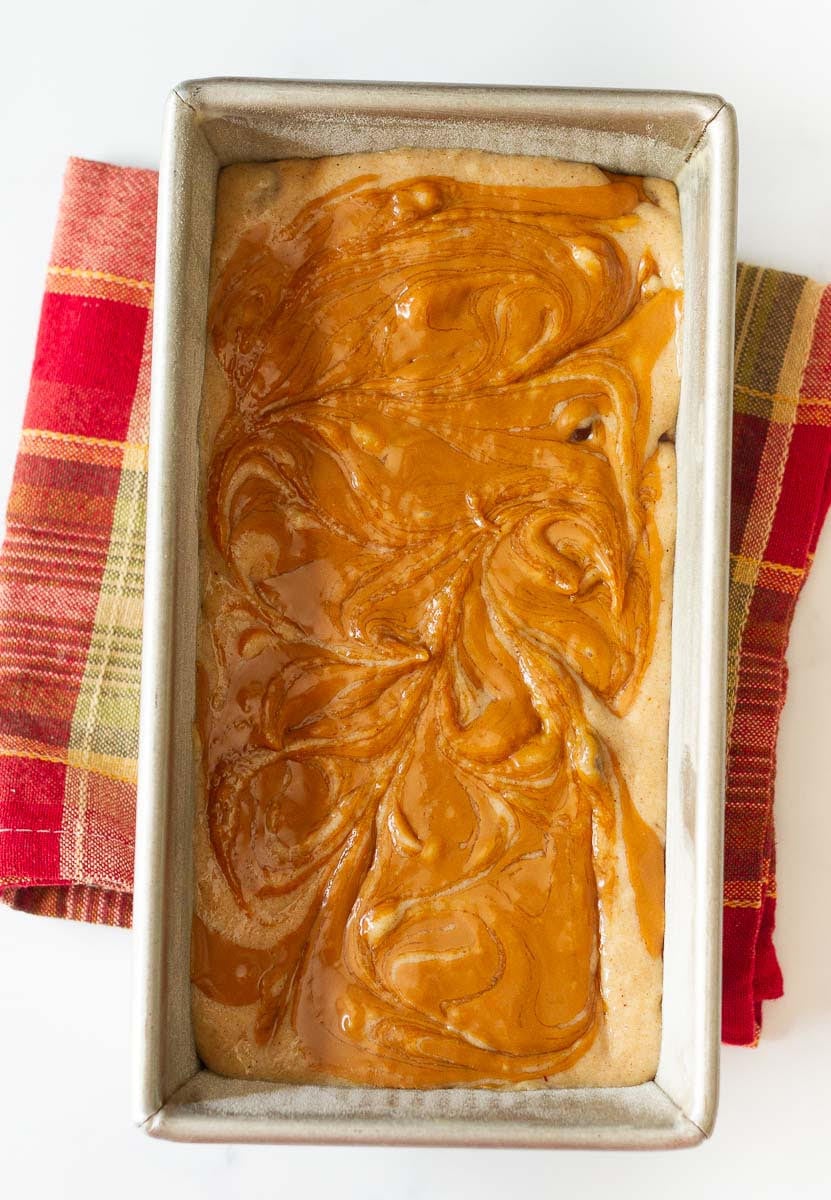
- Drizzle the Biscoff truffles with Biscoff spread.
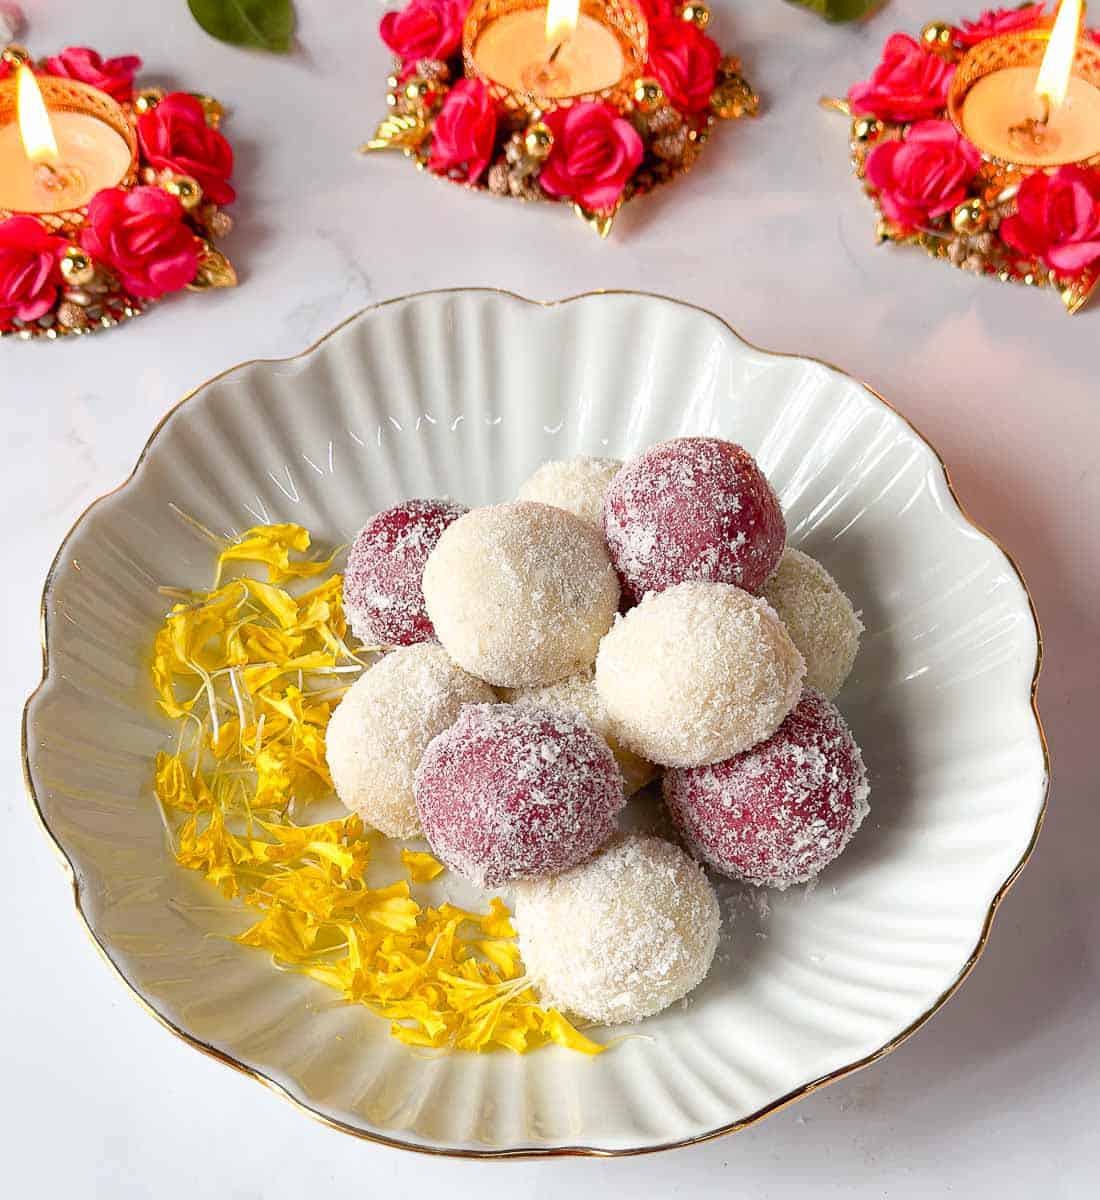
- Roll the truffles in crushed Lotus cookies. Do it immediately after you dip the truffles in melted chocolate. Otherwise, the crumbs will not stick.
- Dip in white chocolate for contrast.
- Add gold dust or sprinkles for party flair.

Recipe FAQs
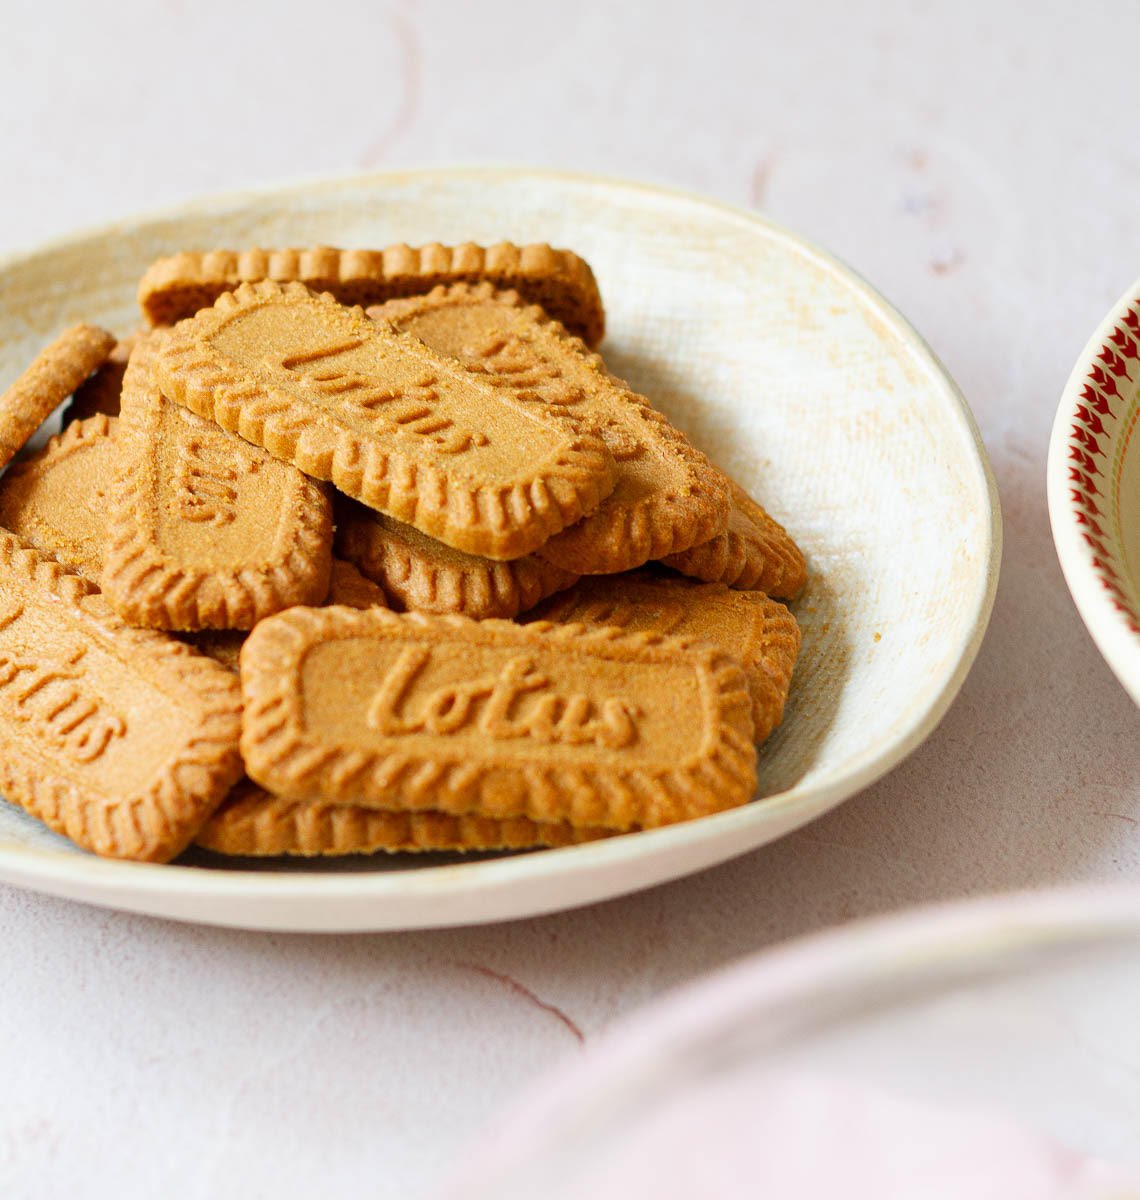
No. Biscoff is a spiced, shortbread-type cookie (also called Speculoos). Biscoff spread is a cookie butter made from these cookies. It’s similar to peanut butter in texture and consistency. The chocolate in these Biscoff truffles comes from the ganache.
Yes! They store beautifully for up to 2 weeks in the fridge
Yes, you can! Keep them in an air-tight container or freezer-safe bag for up to a month. Bring back to room temperature before serving.

📖 Recipe

Biscoff Truffles
Ingredients
- 3/4 cup Cream
- 2 1/4 cup Dark couverture chocolate, 55%
- 1/4 cup Biscoff spread
- 1/2 cup Dark couverture chocolate for dipping
- Crushed Lotus cookies / Melted Biscoff spread, for topping
Instructions
- Heat the cream in a small saucepan. On low heat, bring to a gentle simmer. Take off the heat immediately.
- Add the warm cream and melted Biscoff spread to 400 gms of chocolate chips in a medium-sized bowl.
- Set aside for 5 minutes. Gently stir till all the chocolate is melted and is smooth and shiny.
- Transfer to a shallow bowl and refrigerate for 50-60 minutes. Using a small cookie scoop or 2 small spoons, scoop out small balls. Place the truffle balls on a parchment-lined tray.
- Refrigerate the scooped-out portions for 20-30 minutes. Roll them into smooth balls and refrigerate again for a few minutes.
- Dip the truffles into melted chocolate. Refrigerate for a couple of hours till completely set.
- Store in refrigerator. Enjoy!!
- Drizzle with melted Biscoff or top with crushed Lotus cookies.If topping with crushed cookies, do so immediately after dipping the truffles in chocolate.For the drizzle, let the chocolate coating set for a few minutes before drizzling the melted Biscoff on top.
Video
Notes
- A kitchen scale is your best friend in this Biscoff truffles recipe because the cream-to-chocolate ratio is critical to getting that heavenly, fudgy bite.
- Don’t overheat cream. Hot cream can split or burn chocolate.
- Melt the Biscoff. It’s easier to mix.
- Make sure all your ingredients are at room temperature. They will melt and blend easily.
- A double boiler is safest to melt the chocolate. I explain in detail how to make one in my sourdough peanut butter brownie recipe. A microwave works in 20–30-second bursts.
- Chilling the cookie butter truffles is crucial before you roll and coat them. Skip refrigeration, and you’ll have a messy, melted mixture in your hands.