This quick pizza dough recipe is one of the easiest ways to make homemade pizza from scratch. Made with just 6 simple ingredients, it comes together in about 30 minutes and creates a crisp, golden crust that's sturdy enough for all your favorite toppings.

This easy pizza dough needs no complicated techniques, special equipment, or rise time. Perfect for weeknight dinners, pizza nights, and last-minute cravings! Simple to make, easy to work with, and great for making anything from a simple margherita pizza to a loaded one.
[feast_advanced_jump_to]Why You'll Love This Recipe
✨ This easy pizza dough recipe is truly a quick one! The dough goes from mixing bowl to oven in less than 30 minutes - which means homemade pizza is on the table even on busy weeknights!
✨ No special equipment or mixers are needed. The pizza dough comes together with just a handful of pantry staples and 5-6 minutes of kneading.
✨ This is one easy pizza dough, perfect for even beginners. It's forgiving, needs no rise time, and is easy to handle.
✨ It's a great make-ahead pizza dough. Make a double batch and freeze half for later.
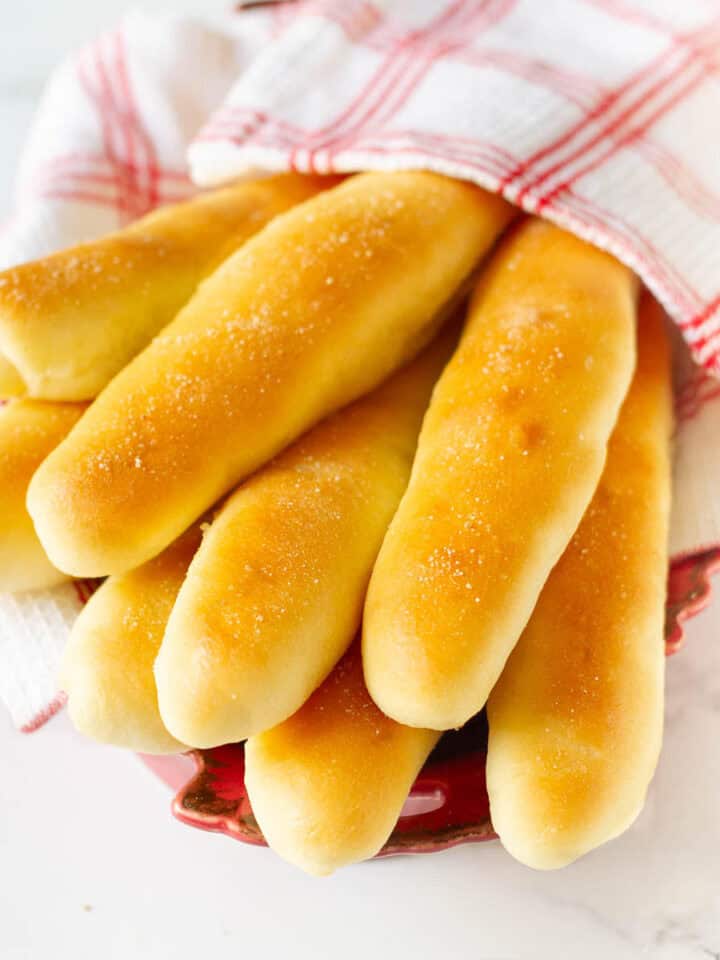
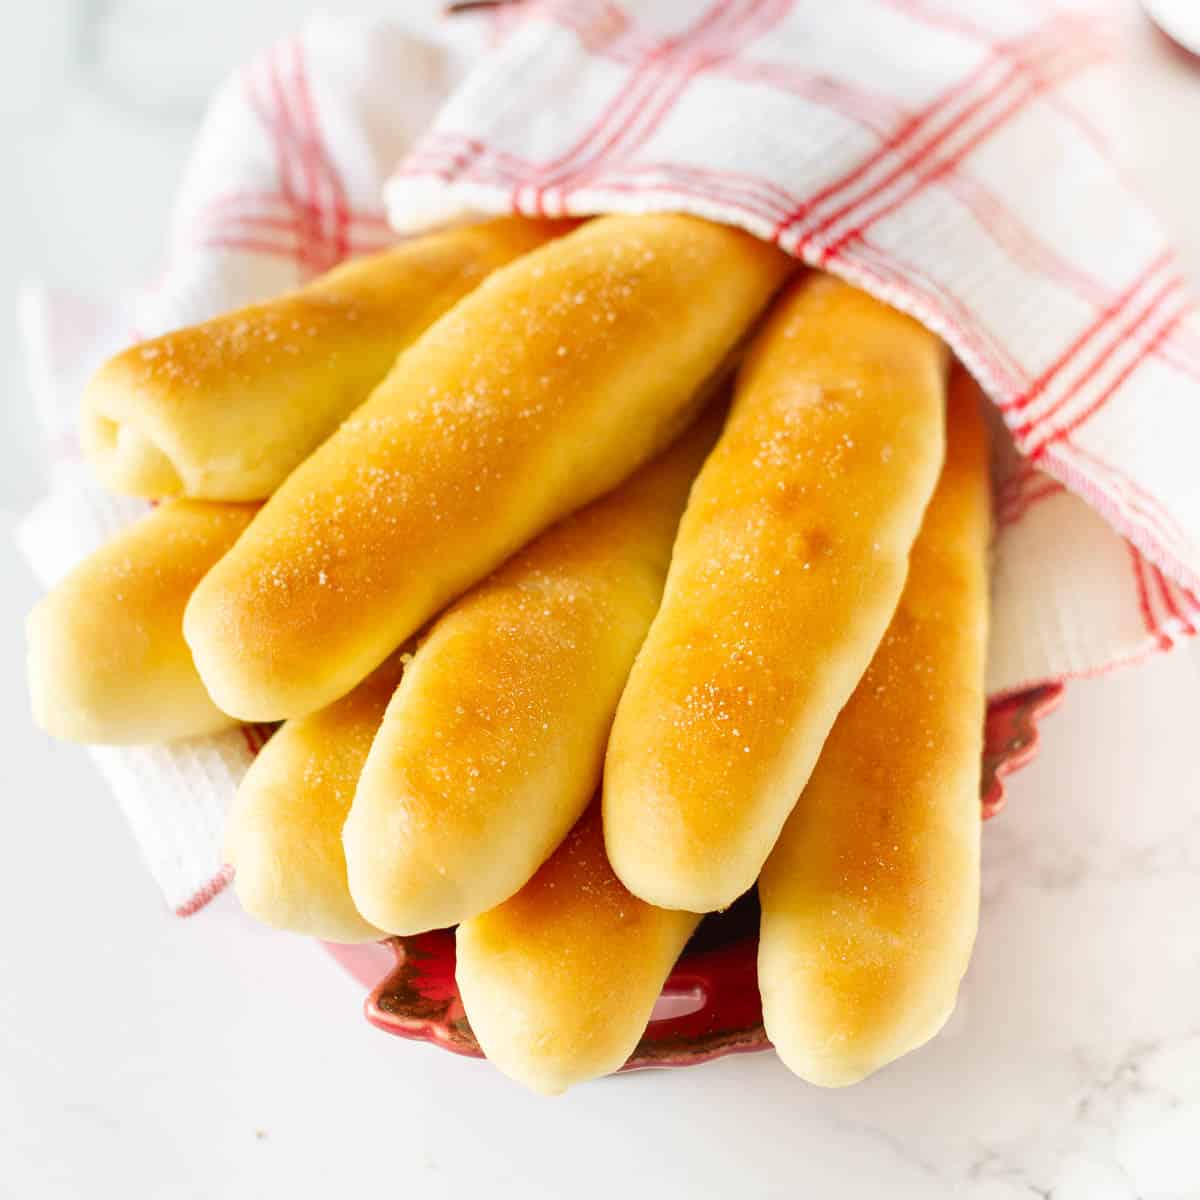
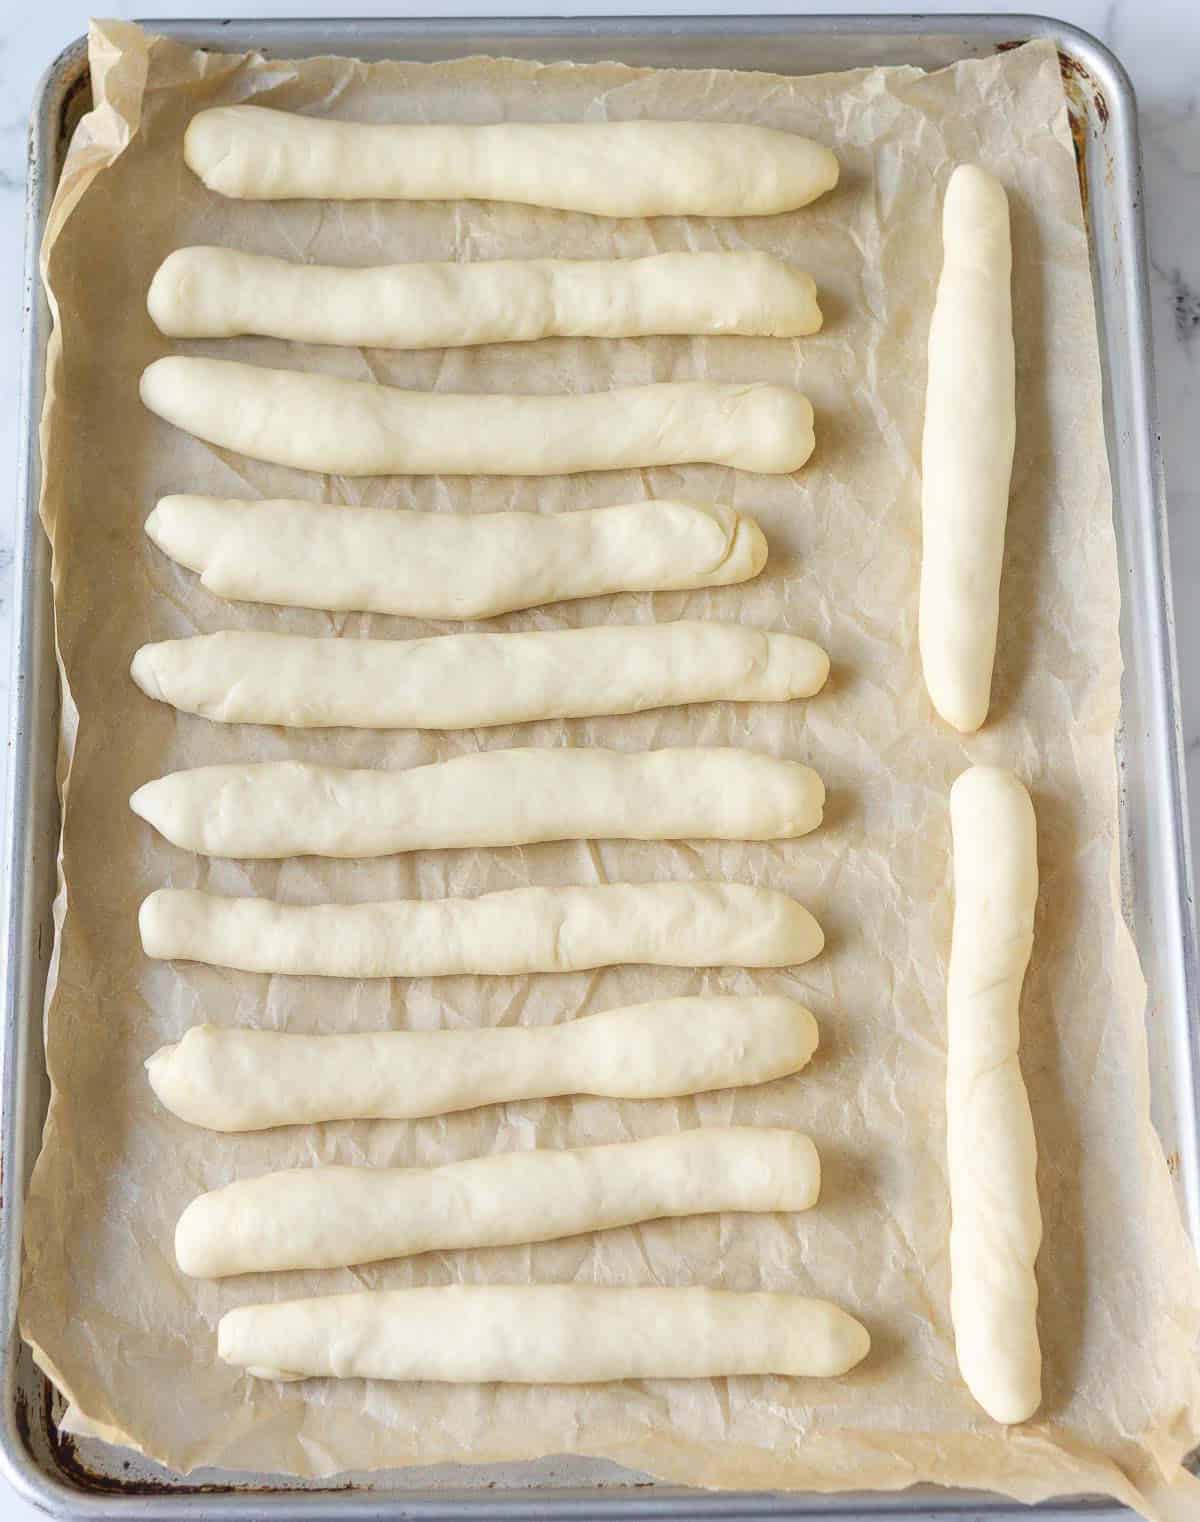
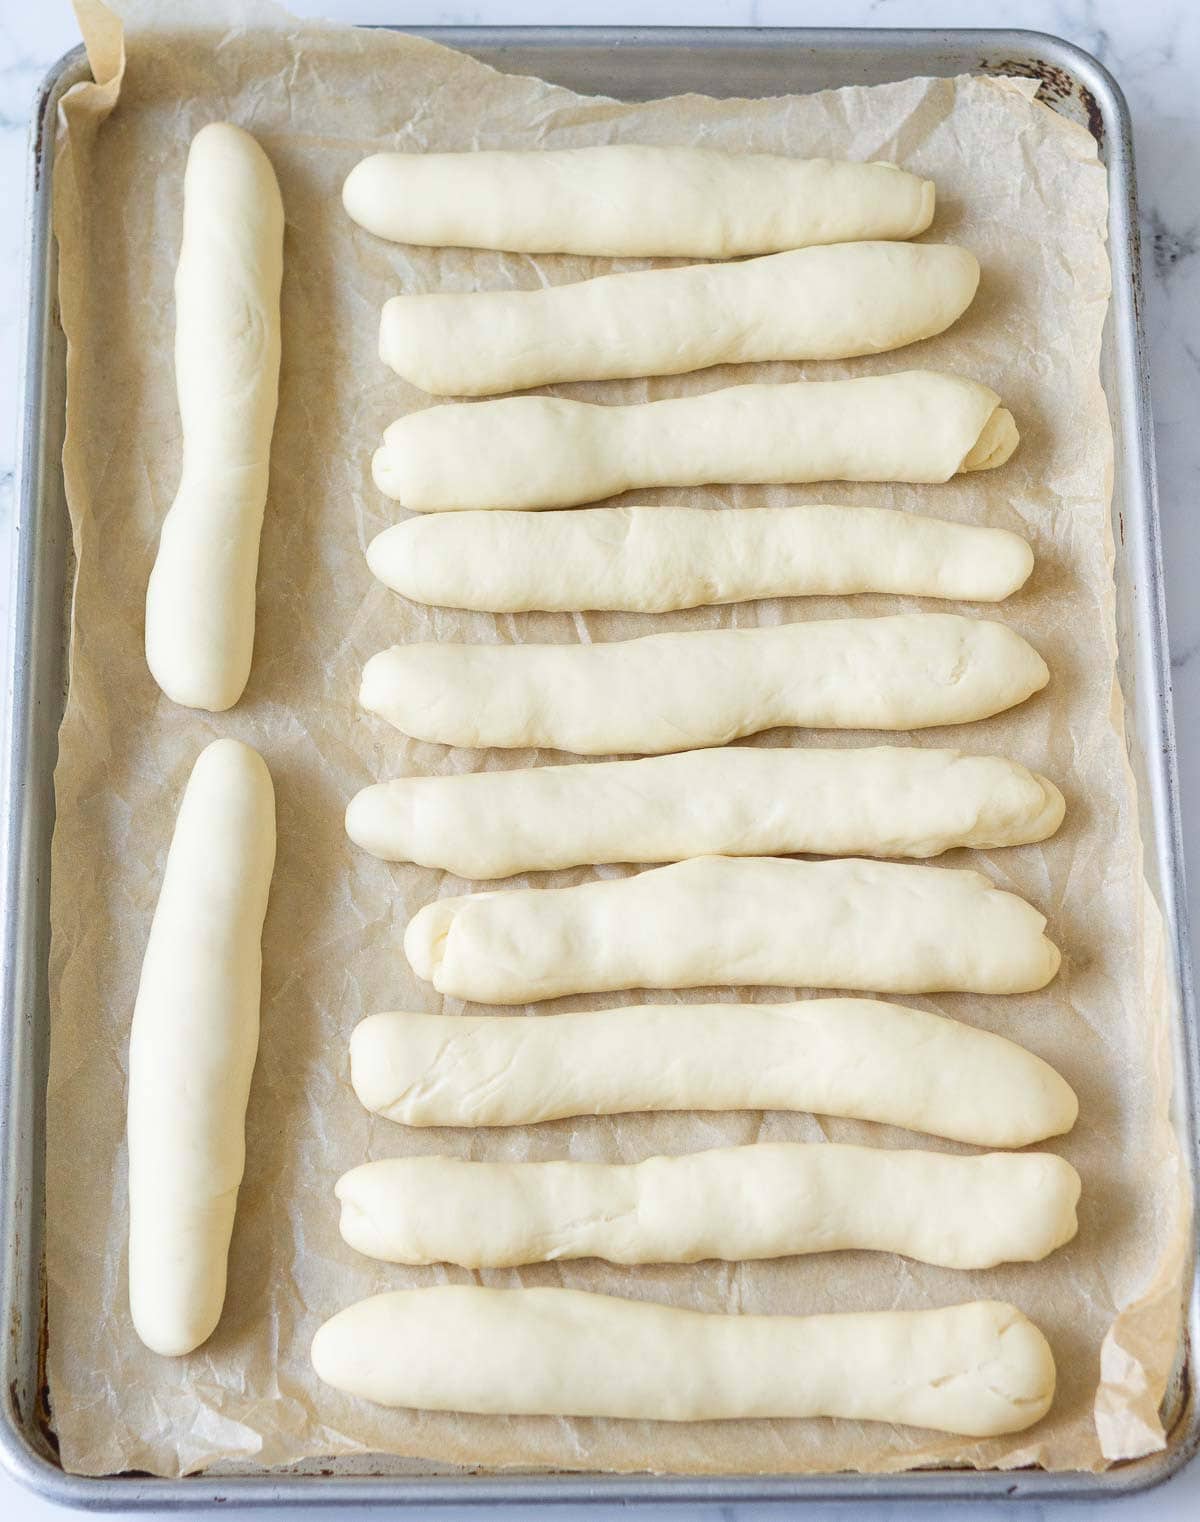
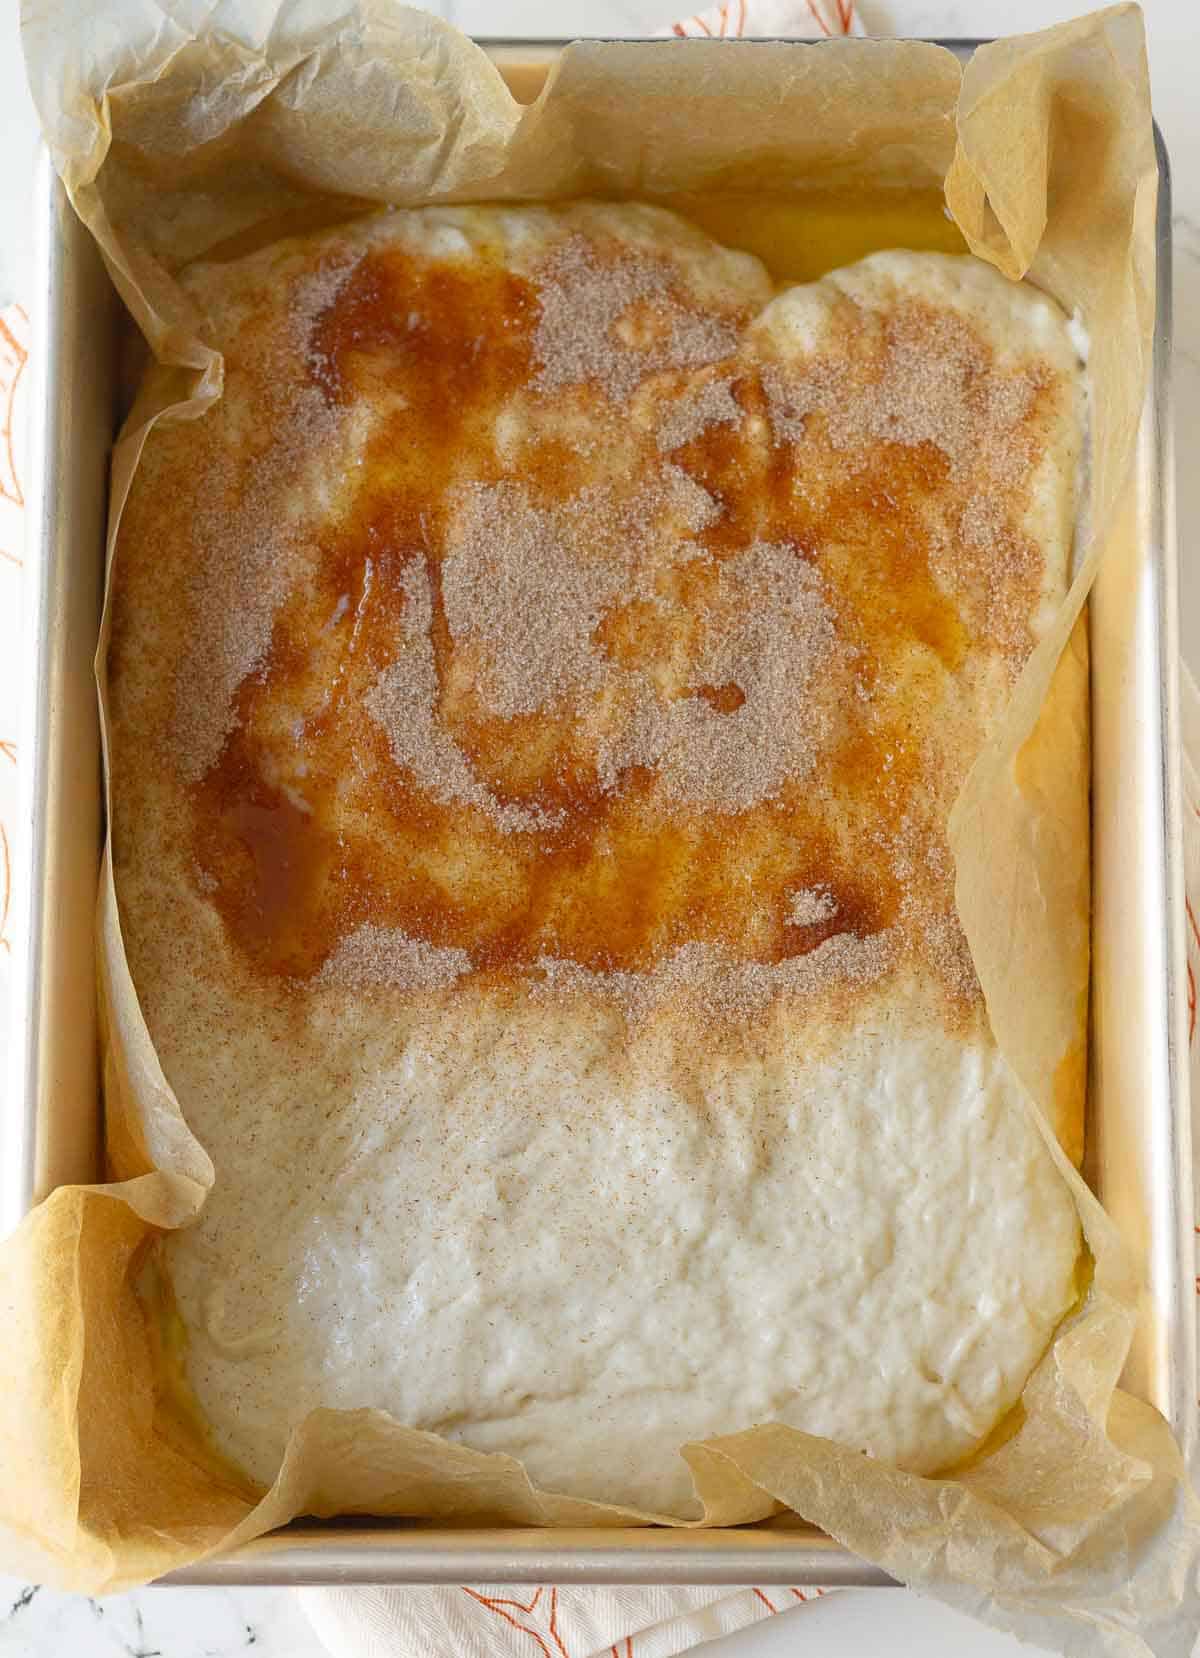
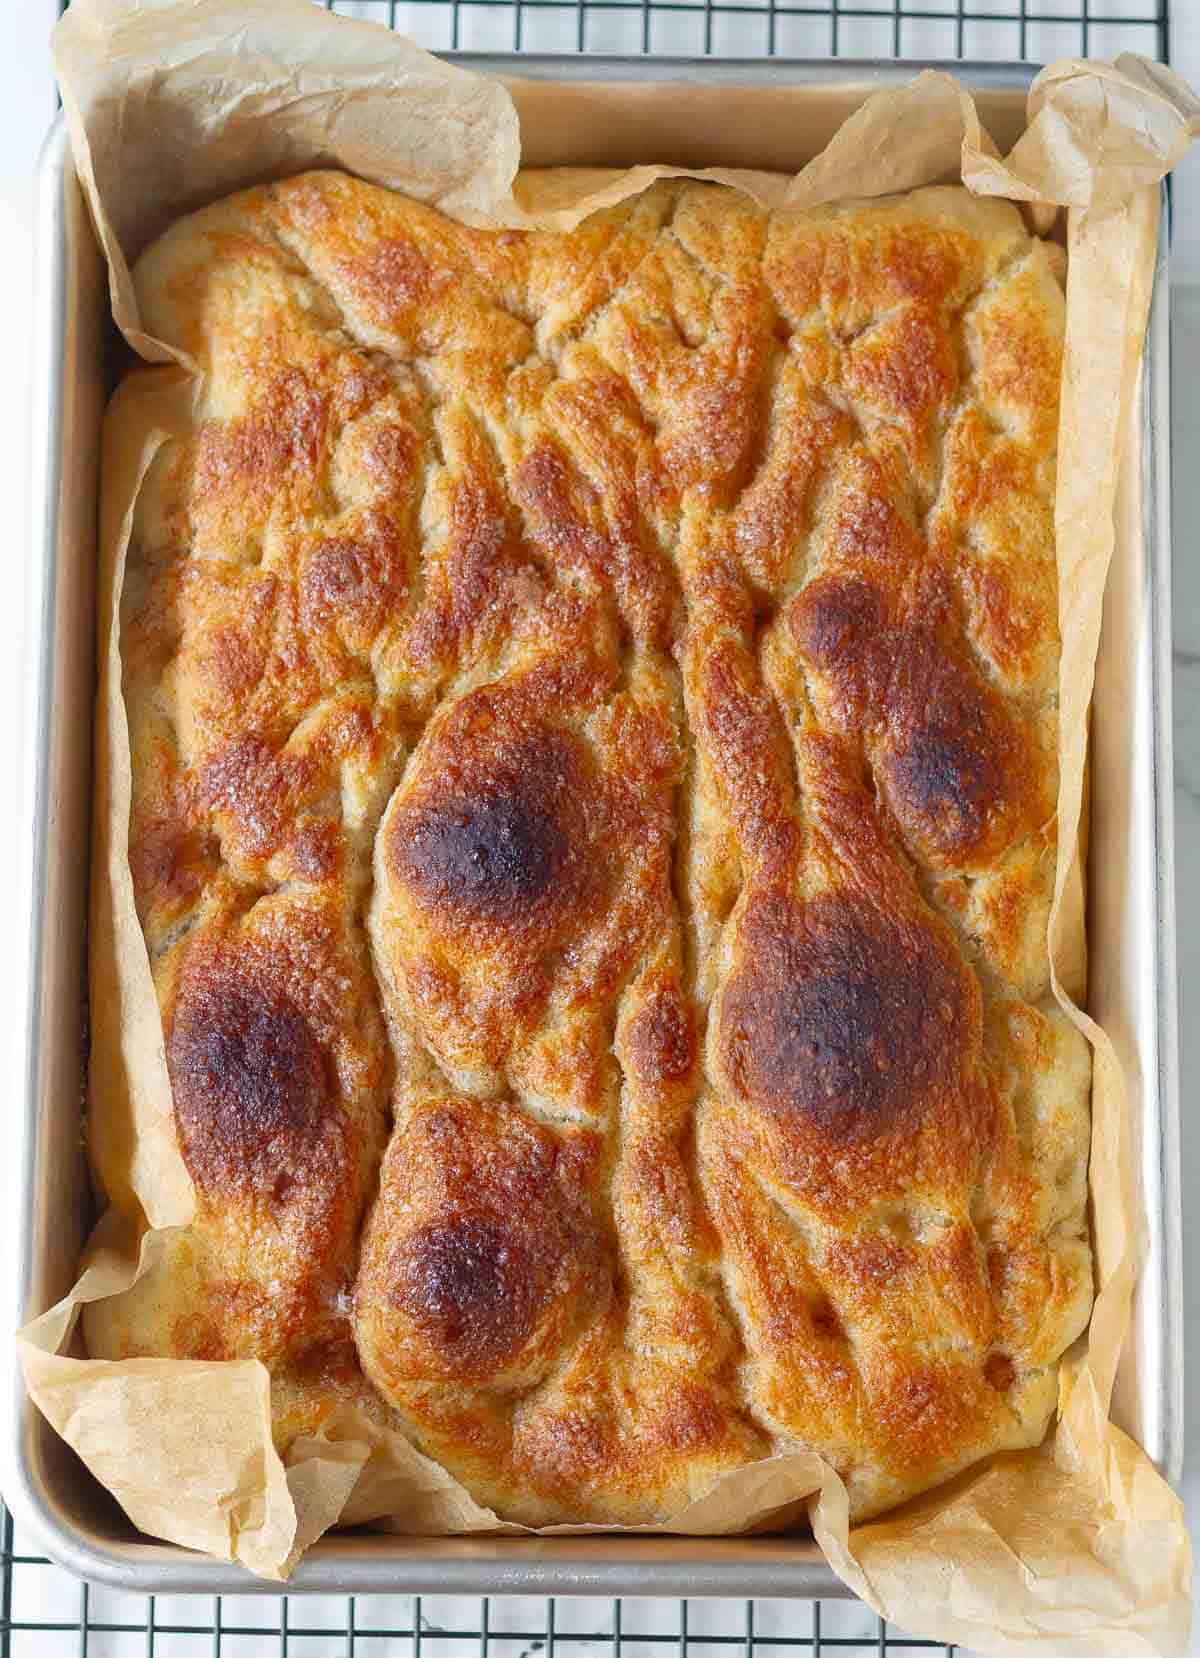
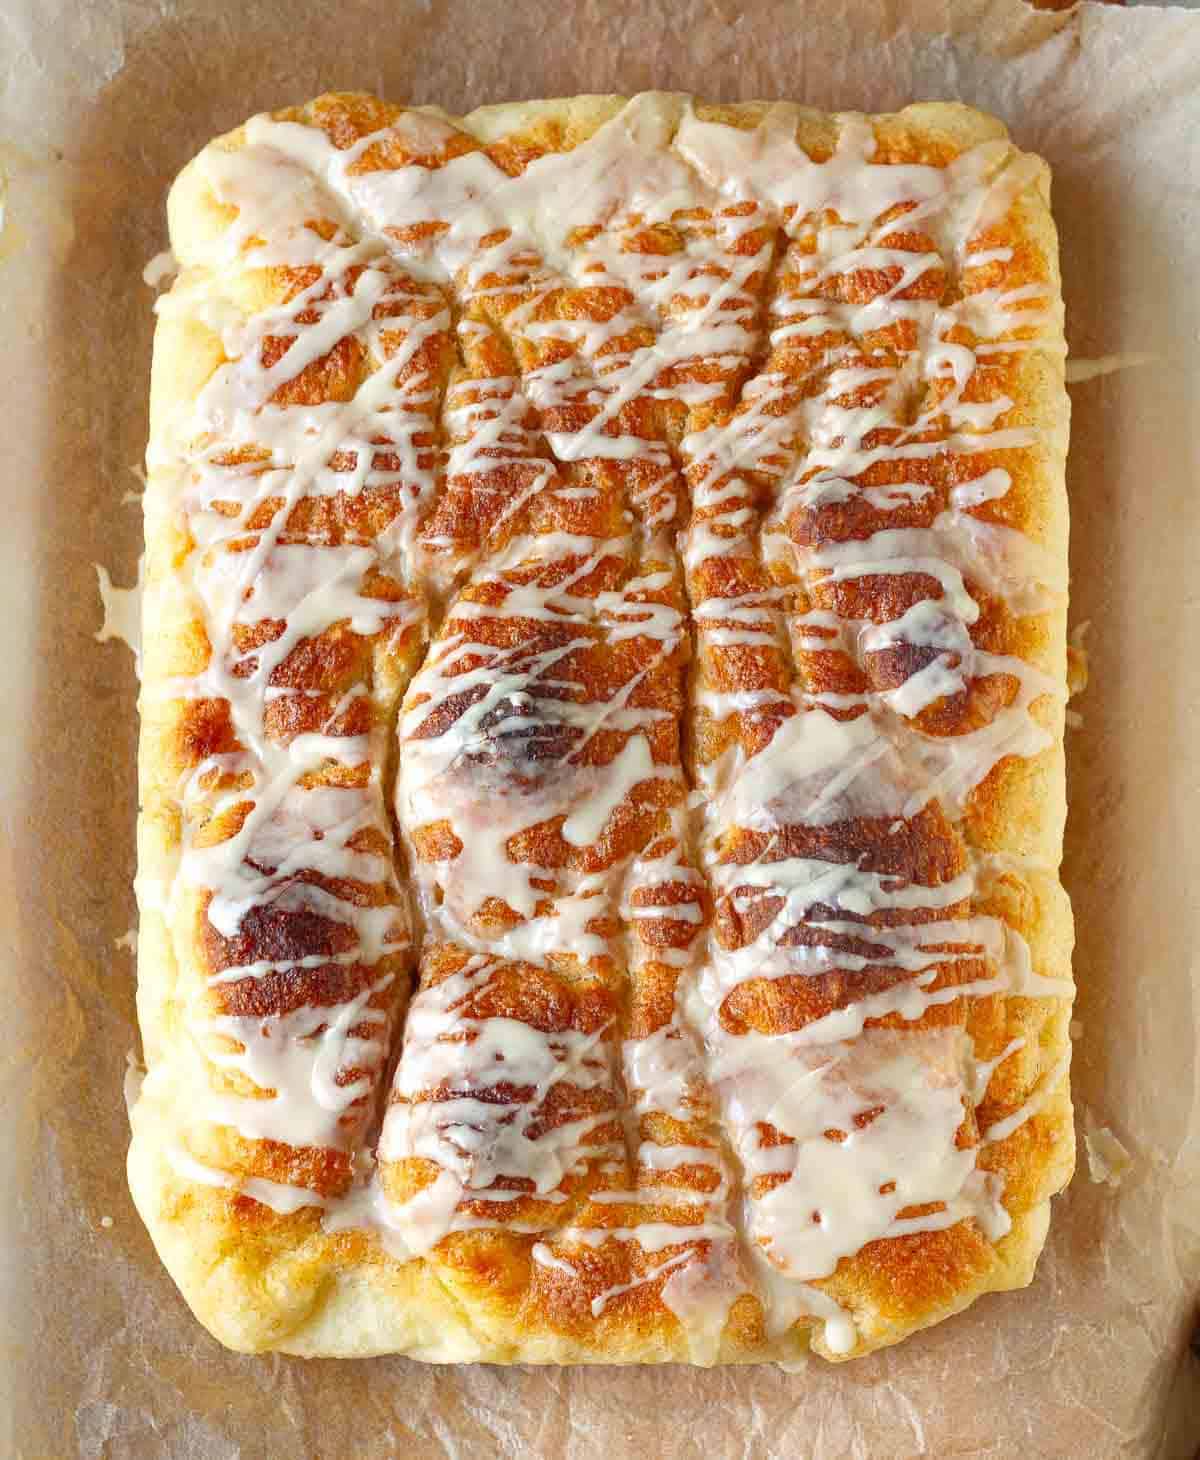
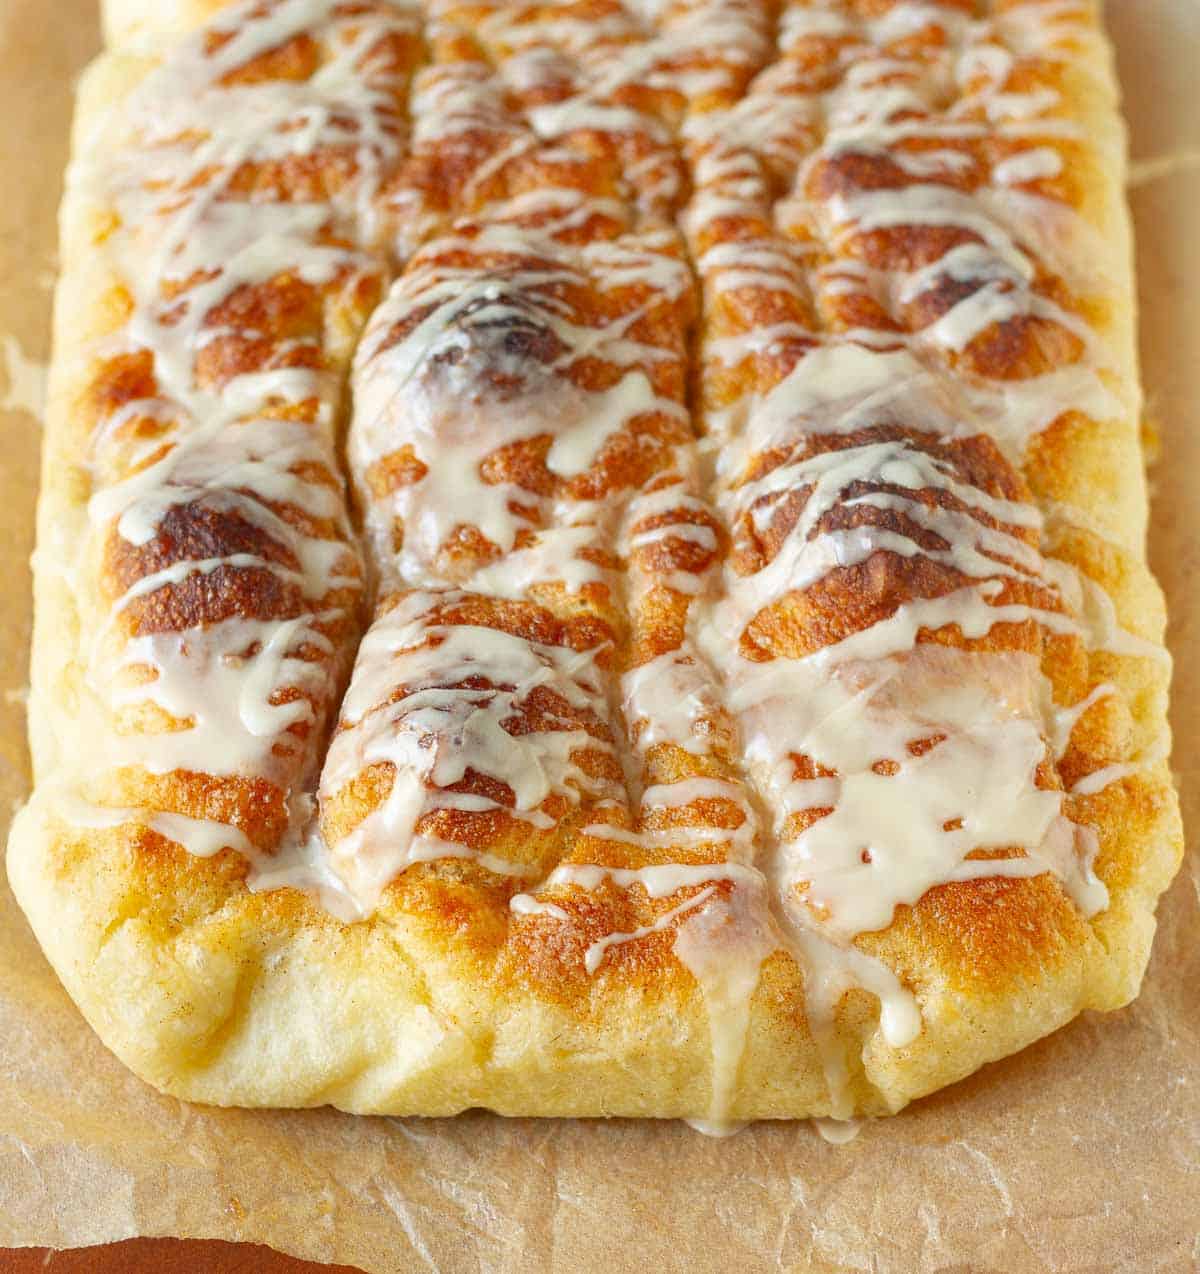
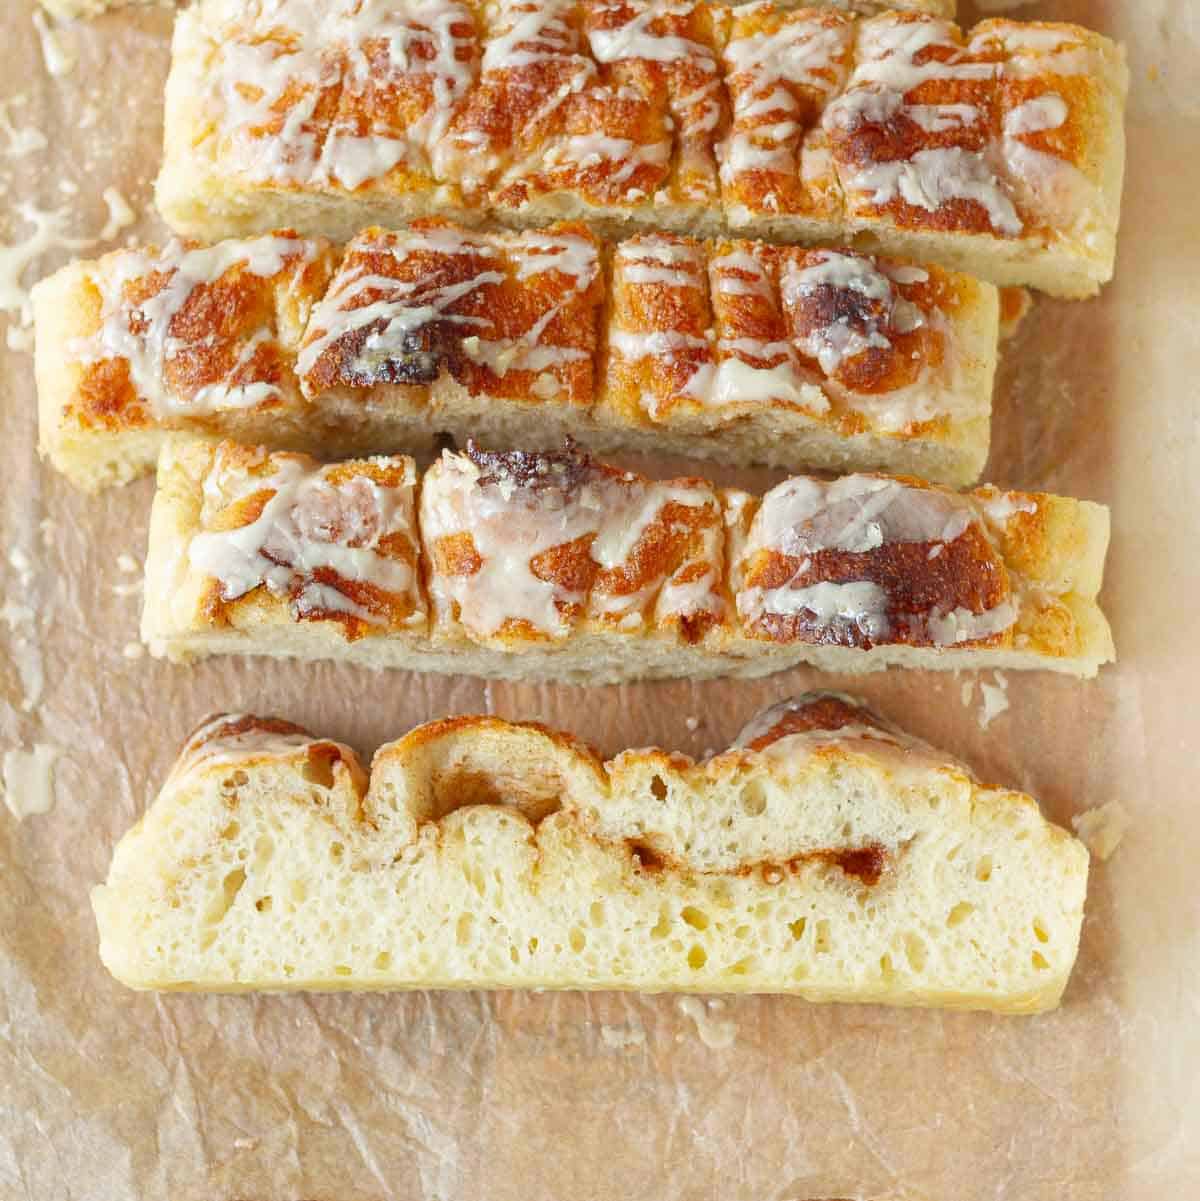
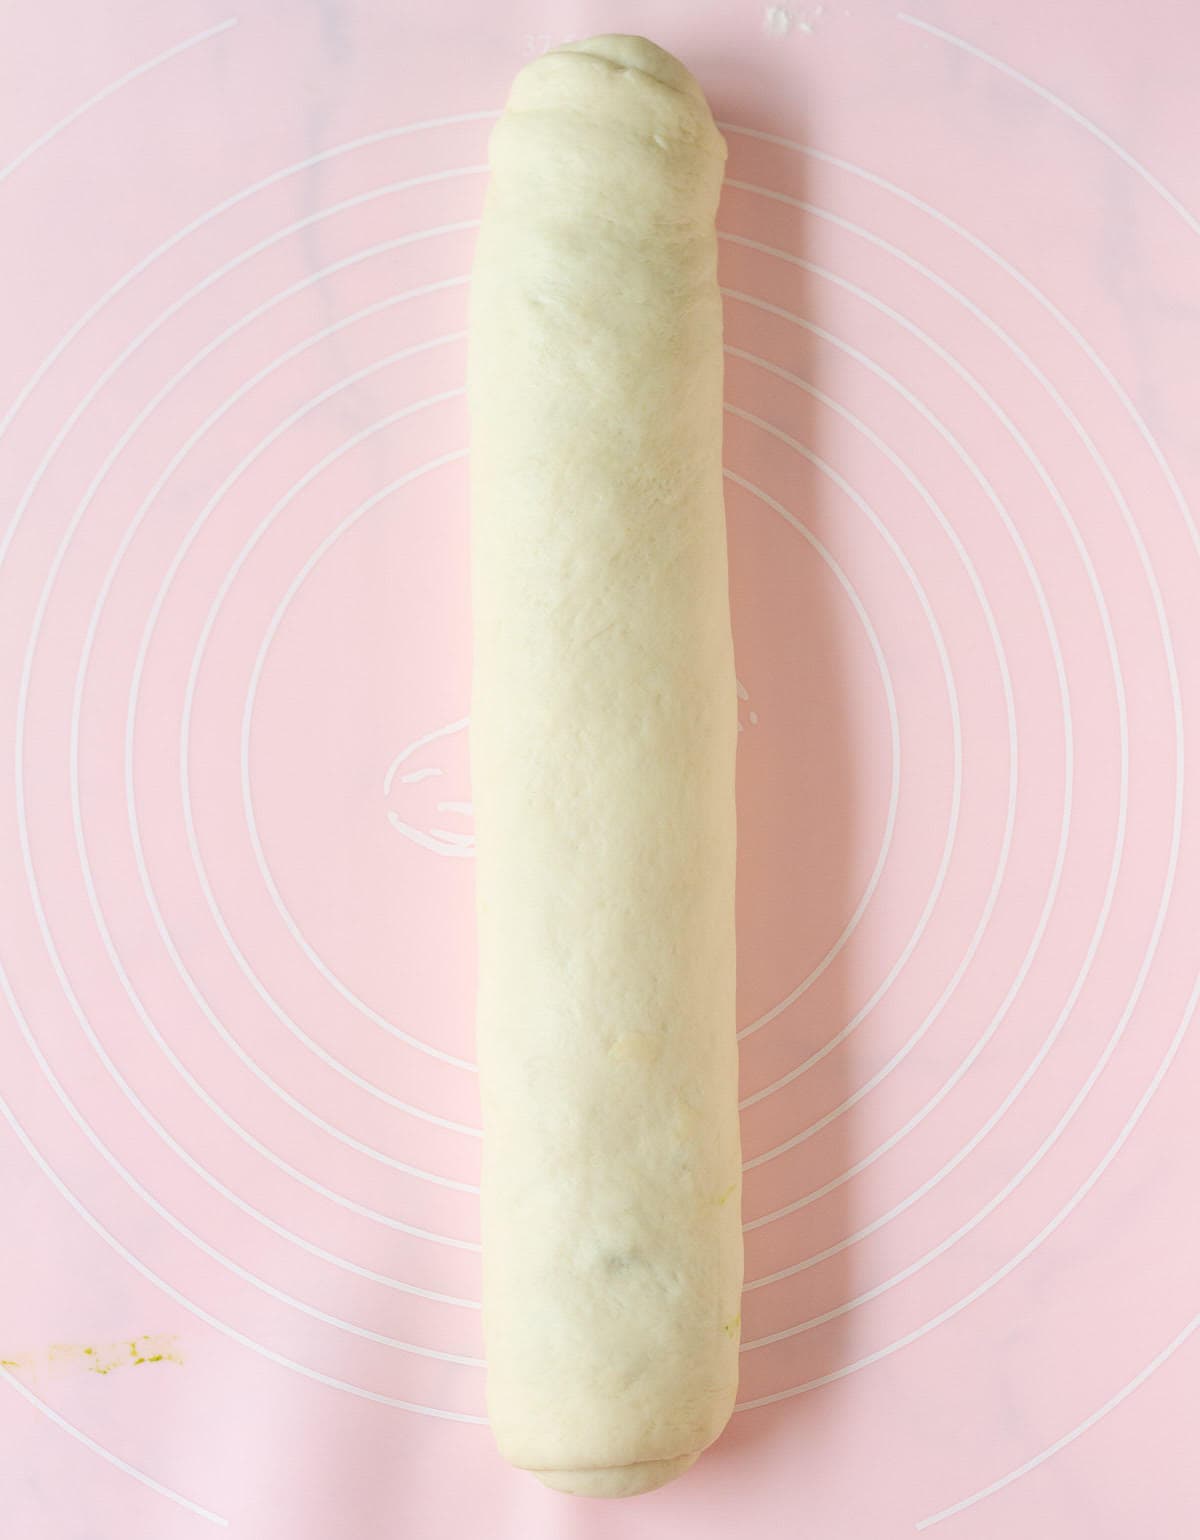
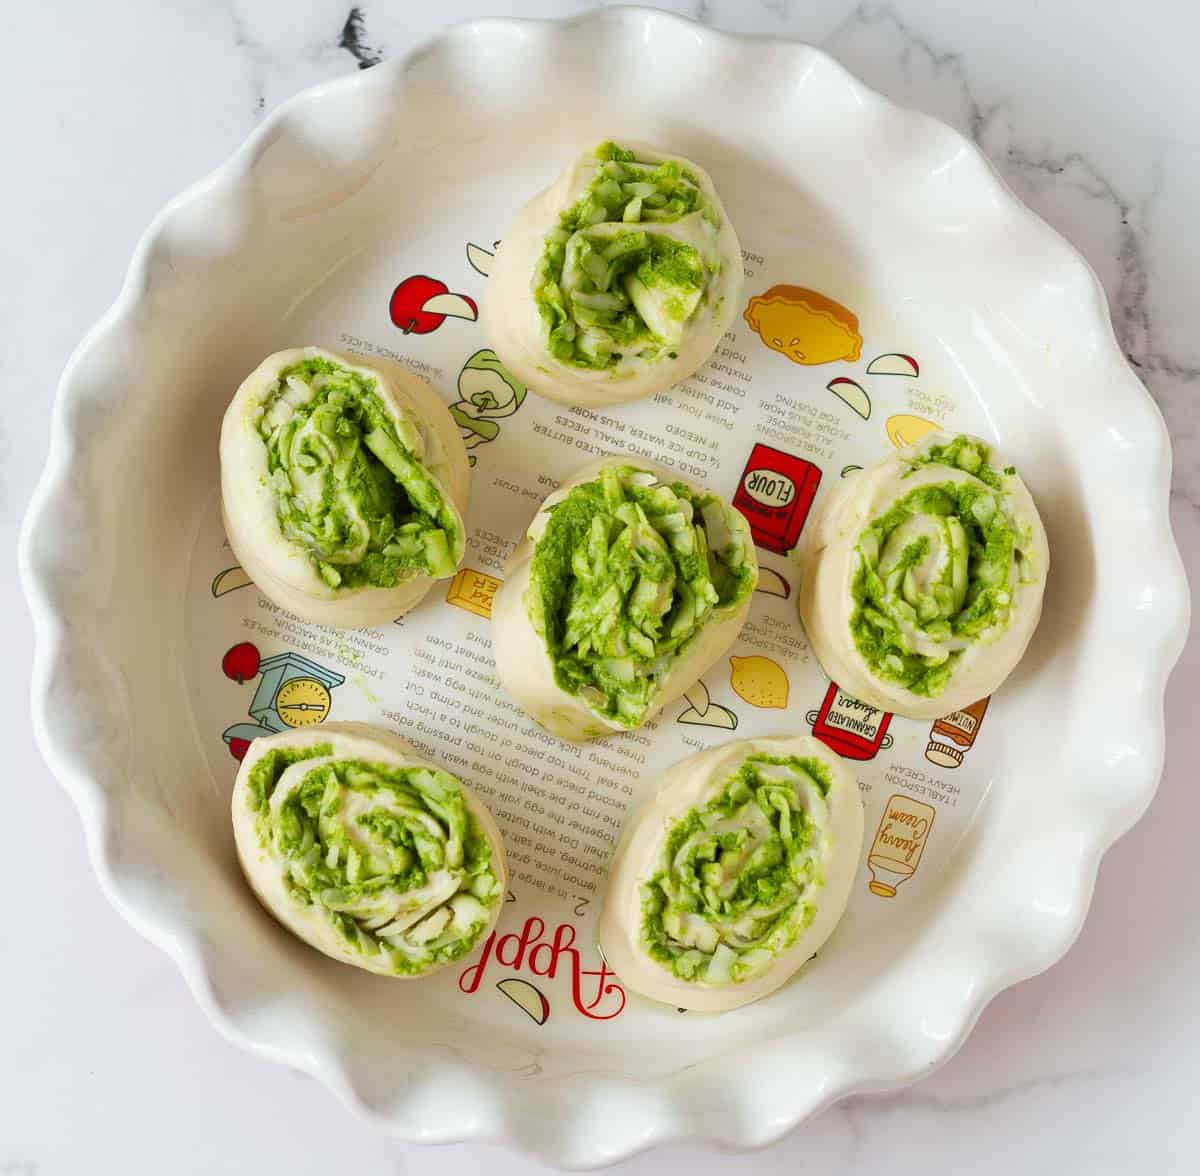
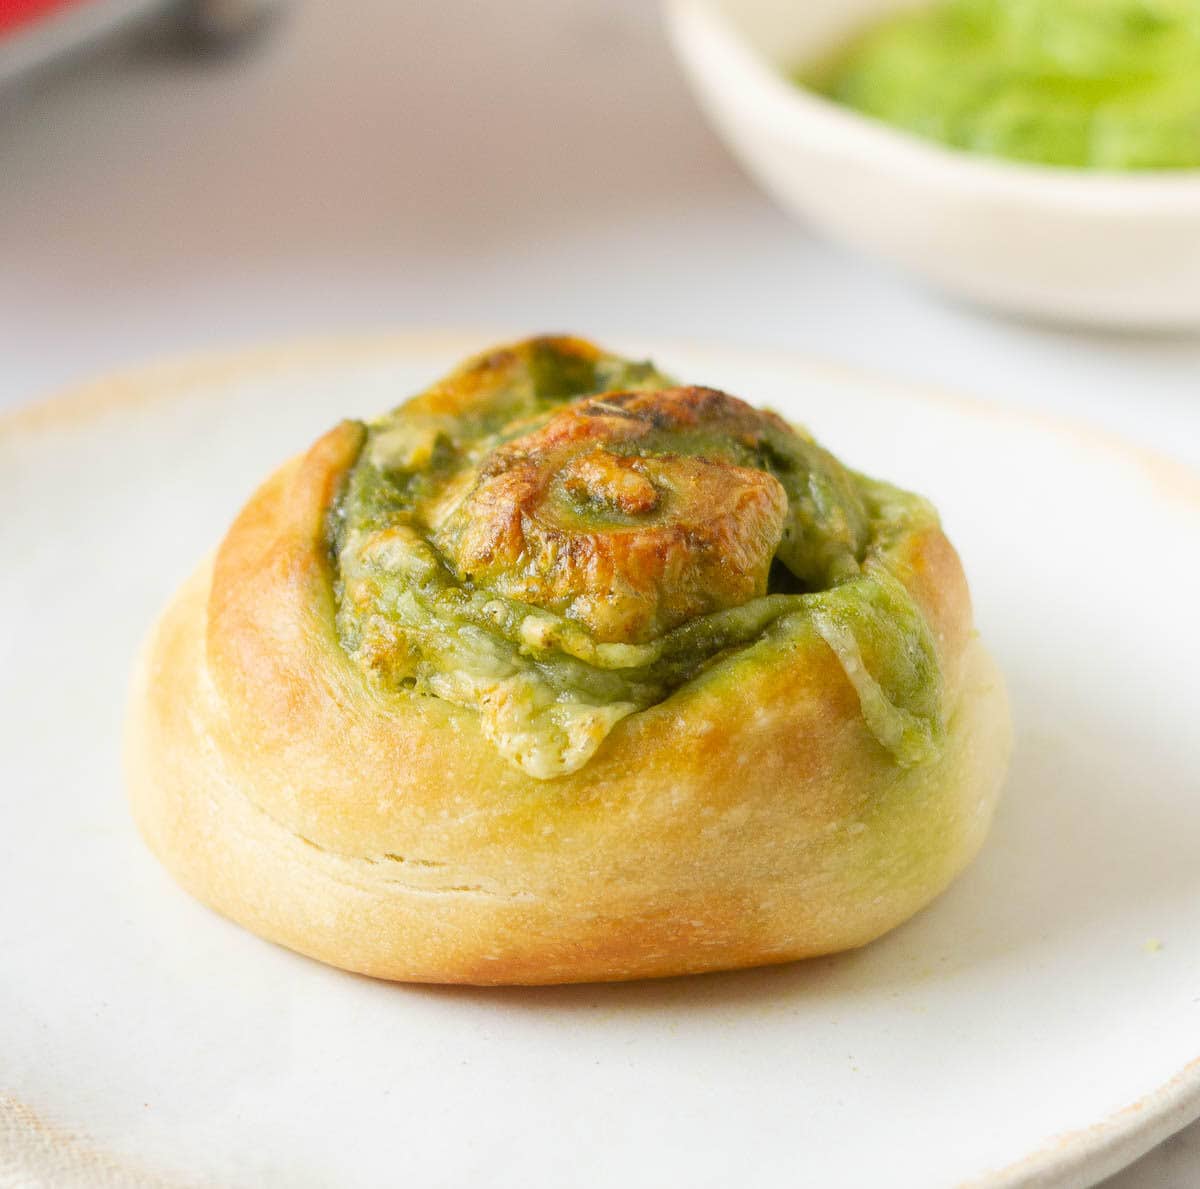
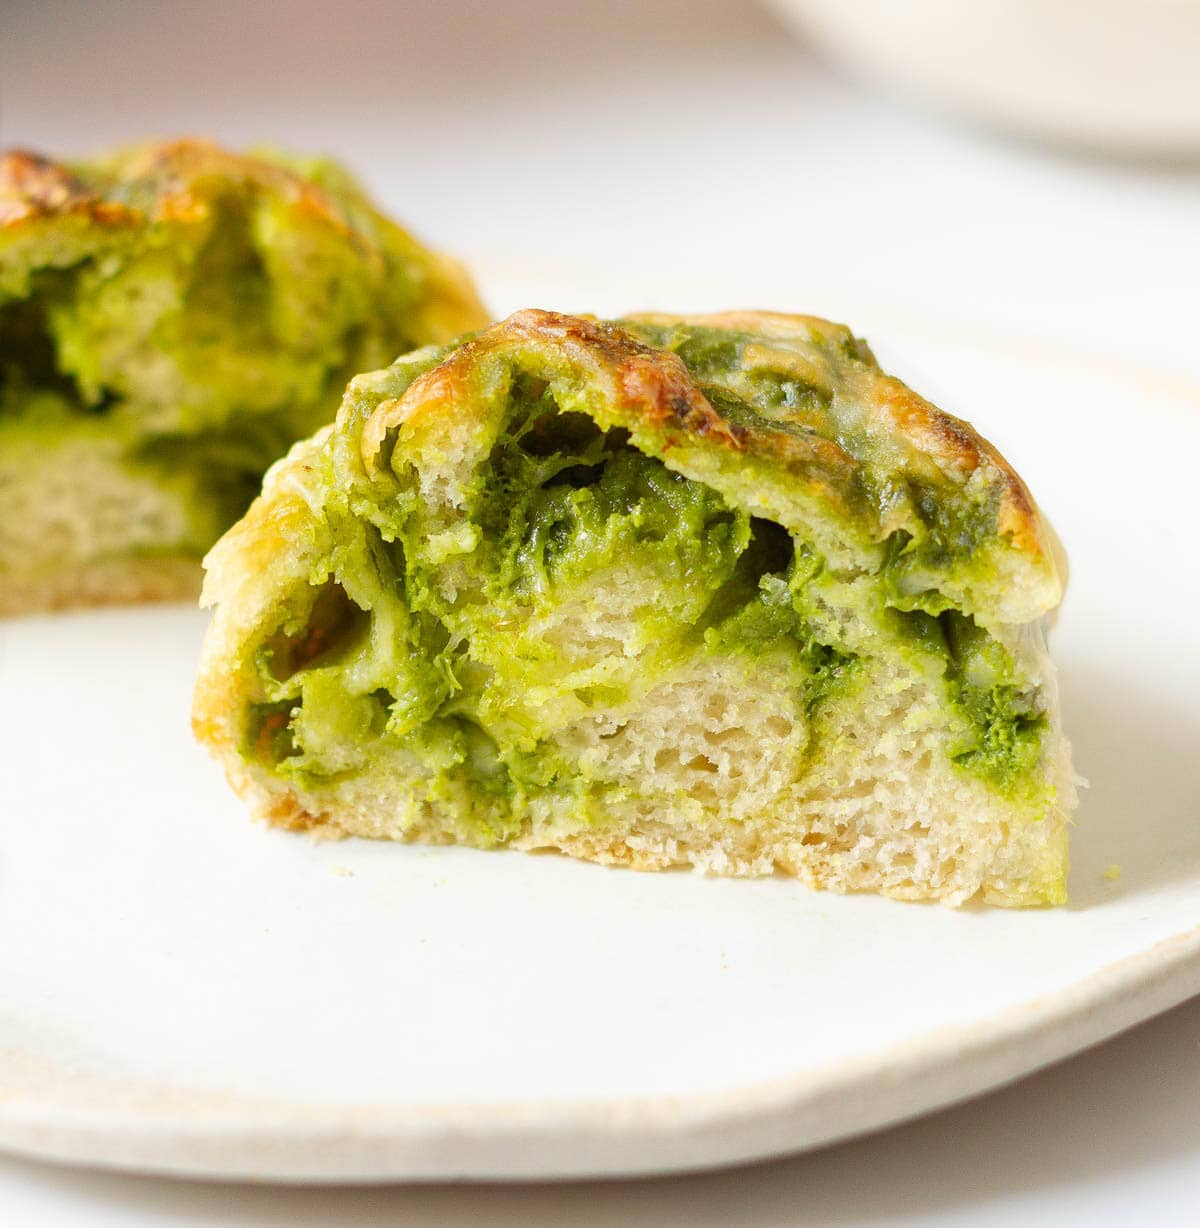
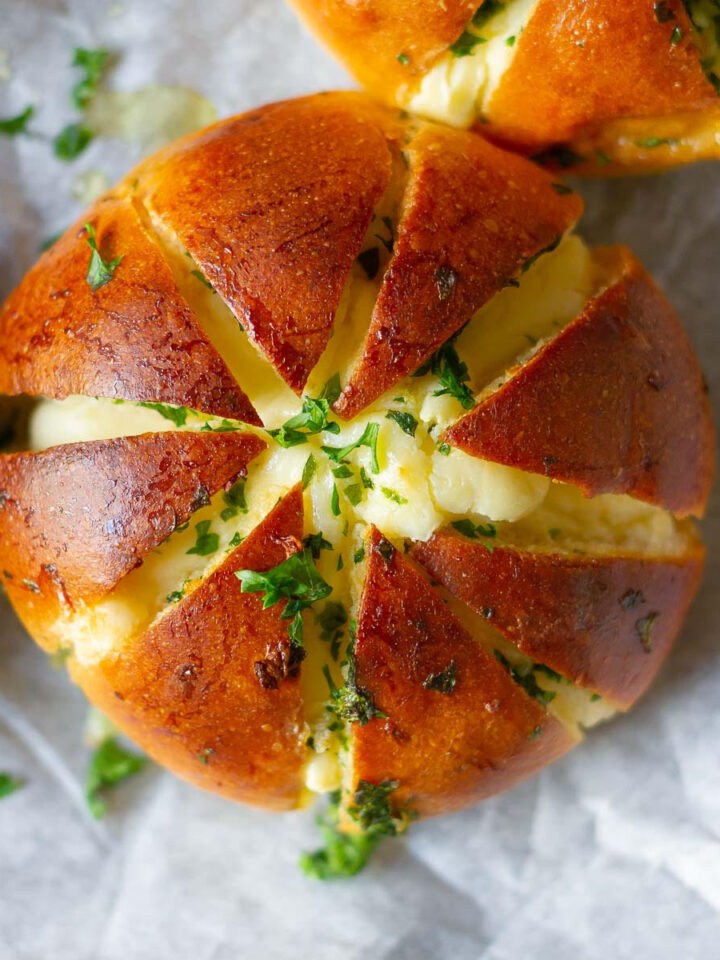
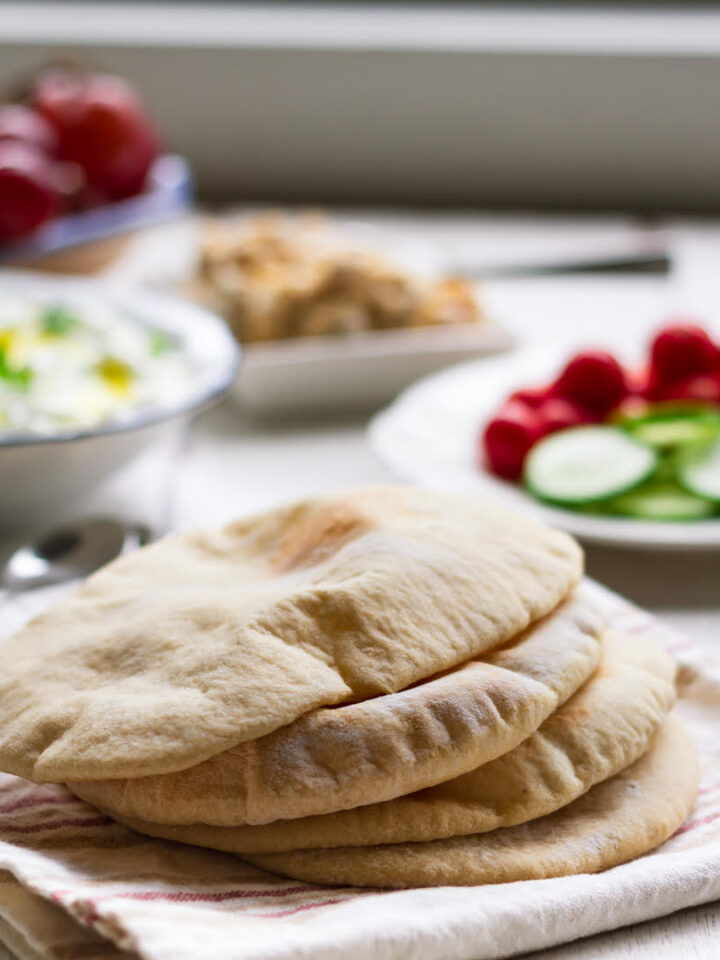
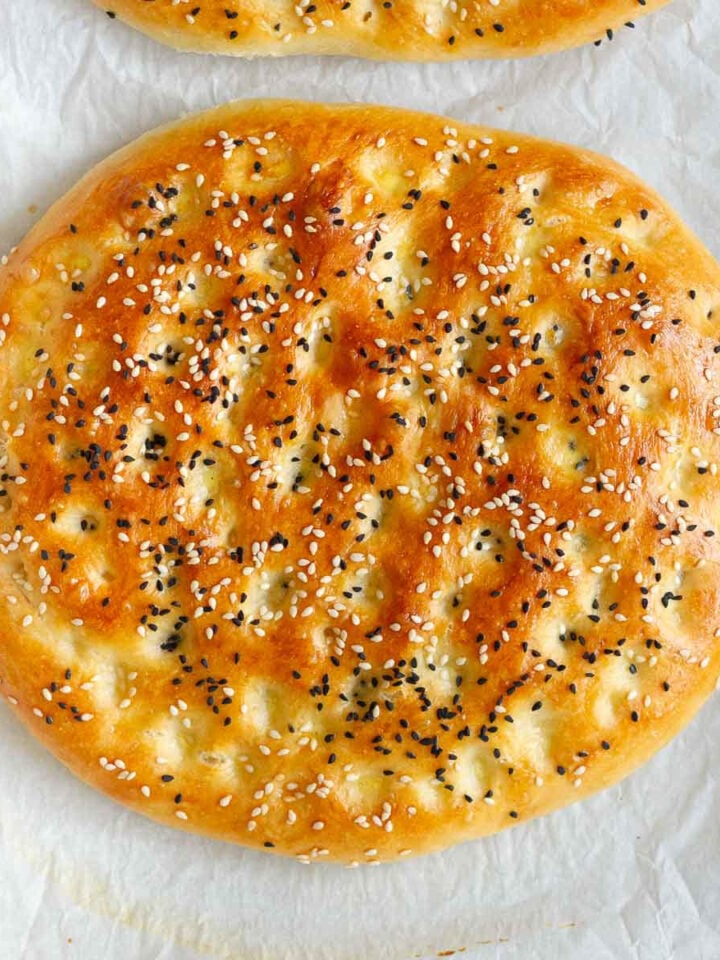
✨ You can use this simple pizza dough to make calzones, breadsticks, flatbread pizzas, and even Georgian cheese bread - khachapuri!
⭐️ Made this recipe? Please consider leaving a review. Your comments and star ratings help other readers find and trust my recipes.
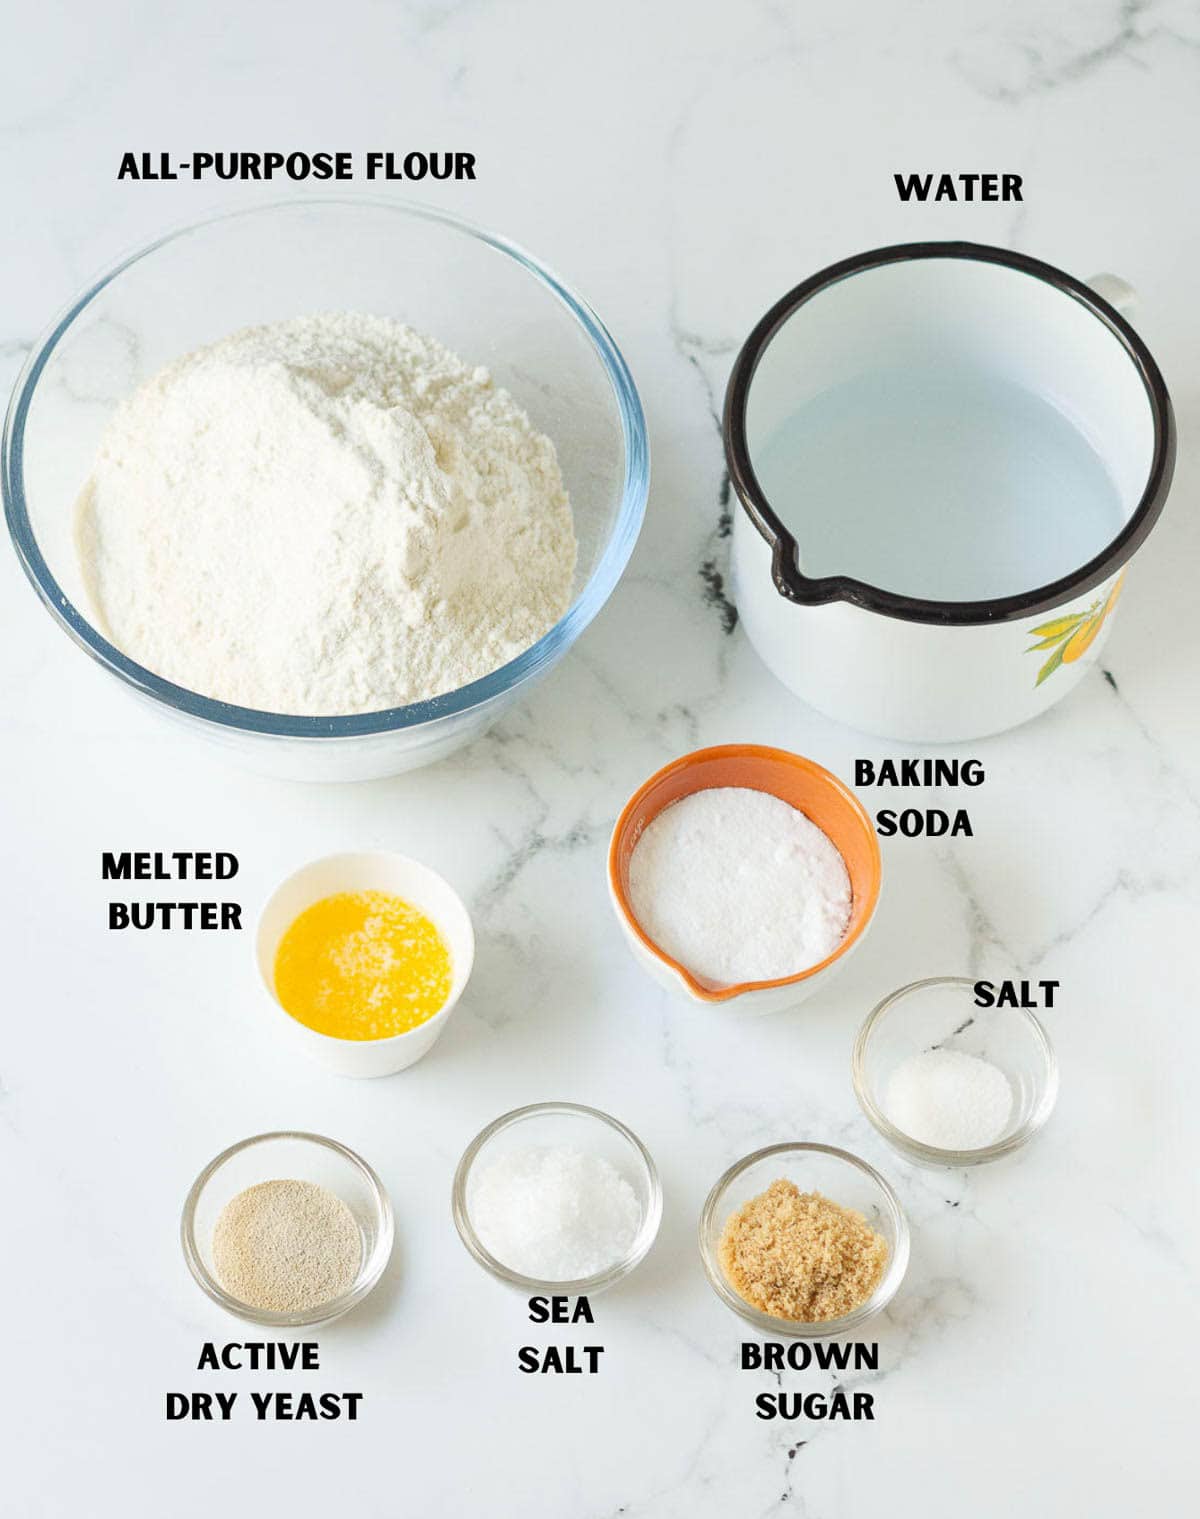
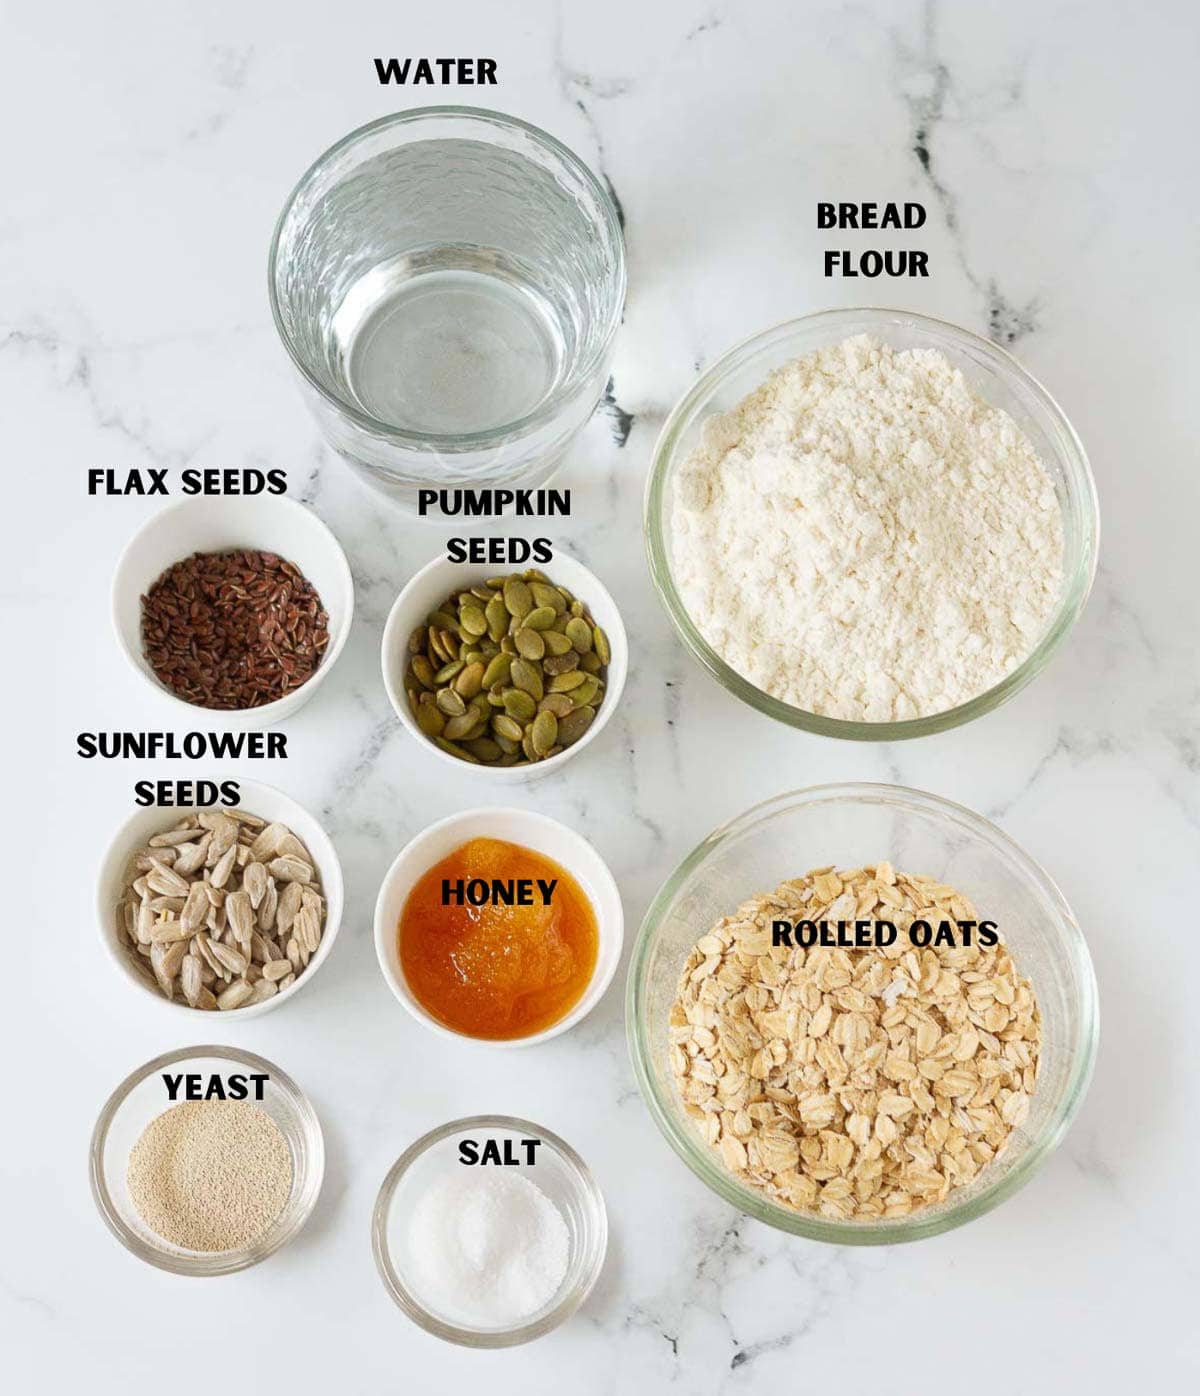
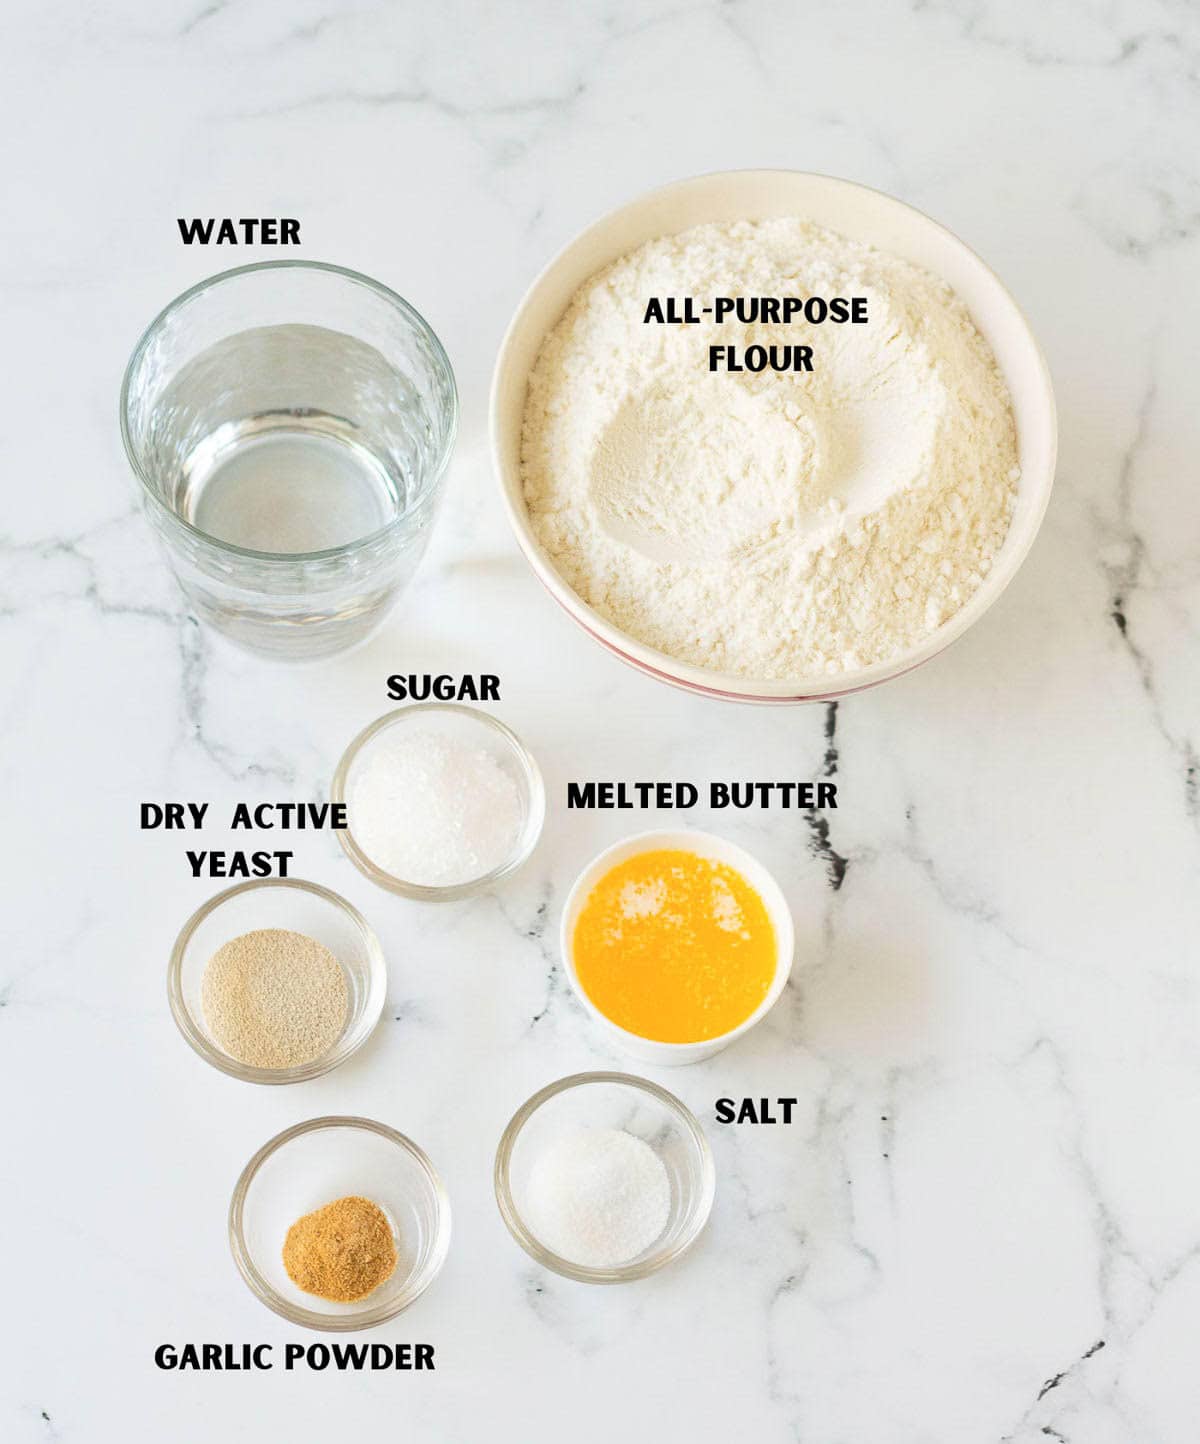
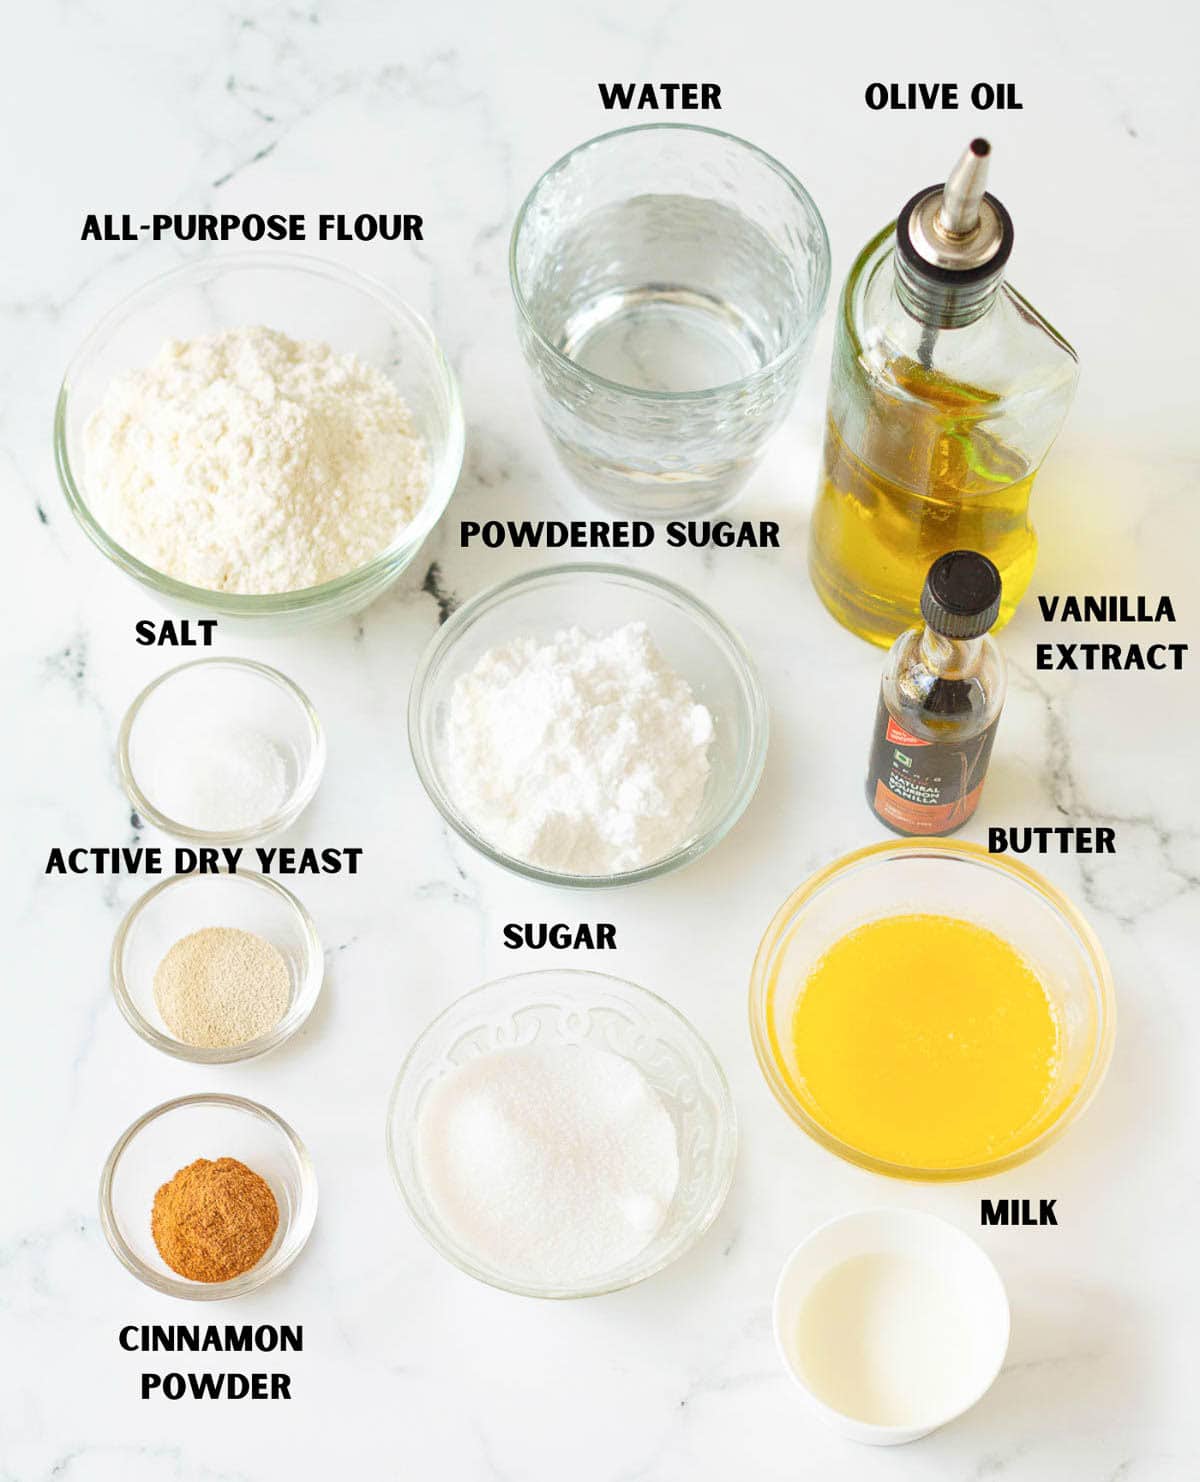
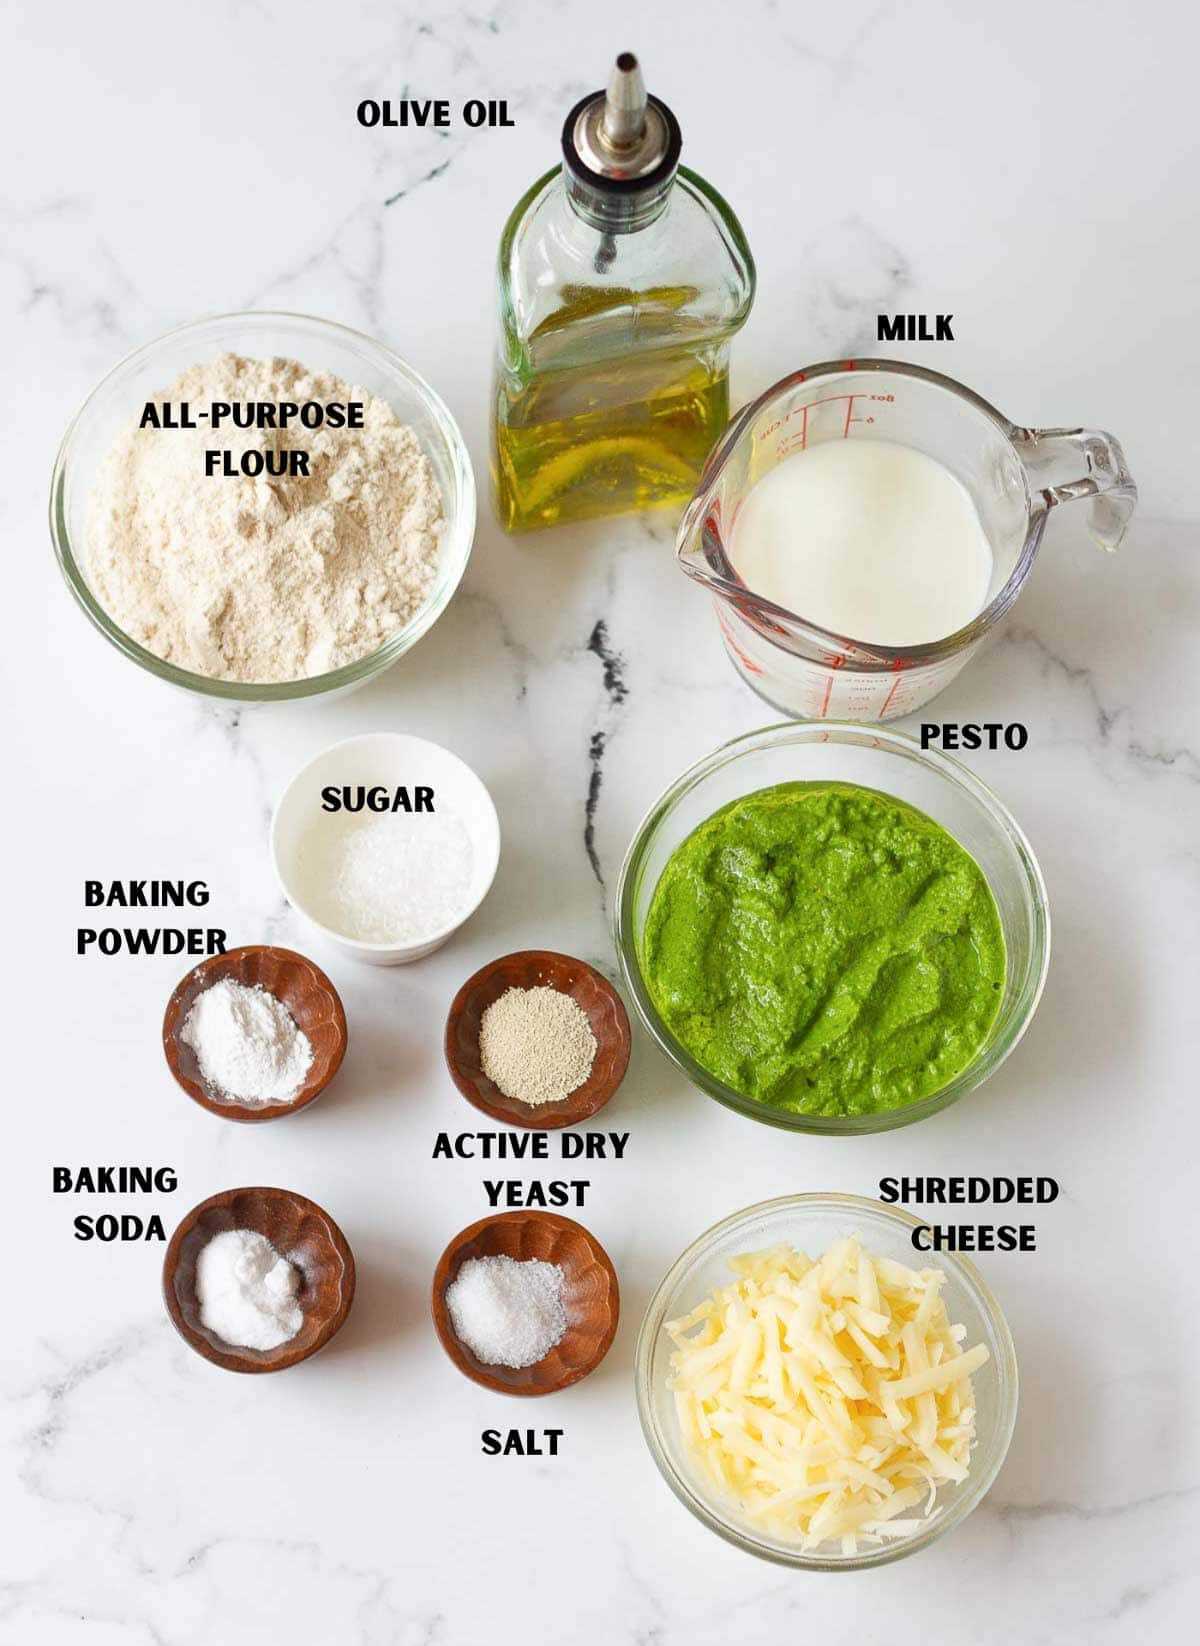
Recipe Ingredients
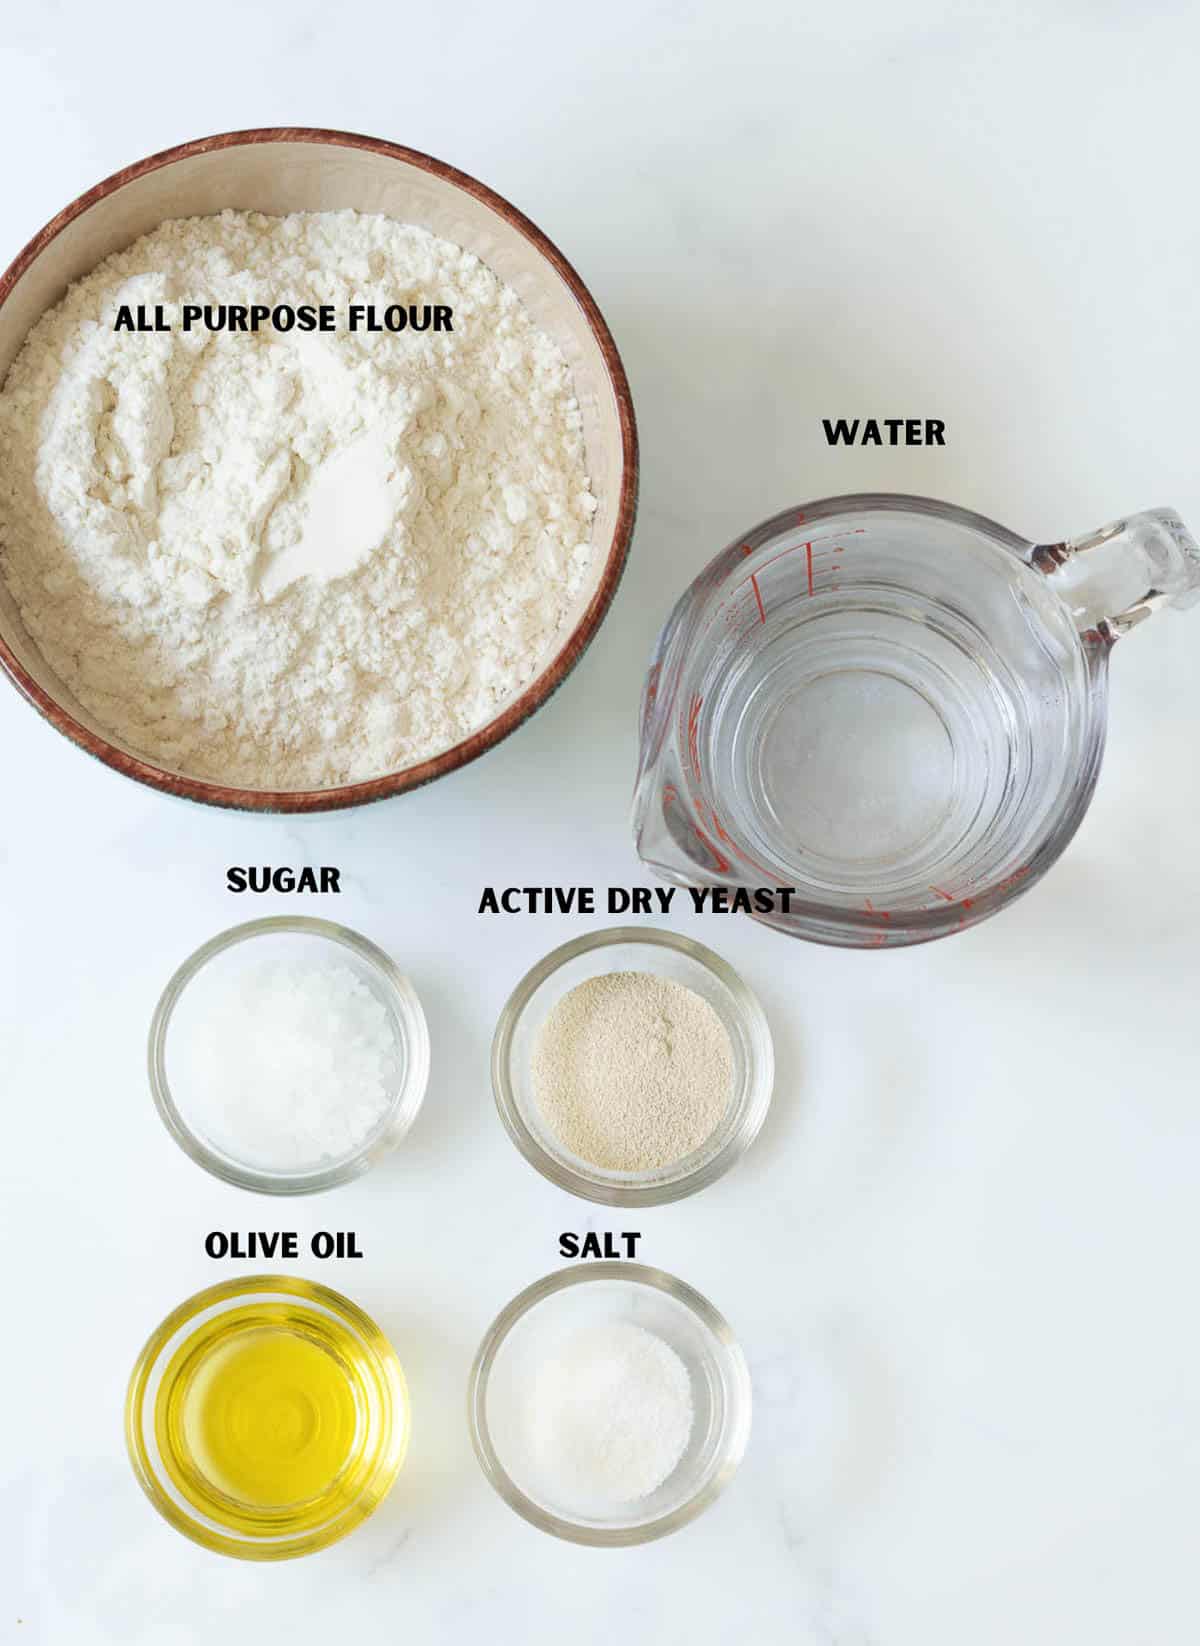
Flour: I like to use all-purpose flour. If you like a chewier crust, bread flour is a good substitute.
Yeast: I used active dry yeast. Instant yeast also works in a pinch. Make sure your yeast is fresh. You can check by dissolving 1/2 teaspoon yeast in 1/2 cup of water. If the mixture gets foamy and bubbly in 5-10 minutes, your yeast is good to use.
Water: Always use warm water. The ideal temperature at which yeast blooms is 40.5 °C or 105°F.
Sugar: Regular granulated sugar. This helps feed the yeast. Honey or agave syrup is a good substitute.
Olive oil: It adds flavor and richness and helps form a crispier pizza crust.
Salt: It enhances flavor.
Please see the recipe card below for full information about ingredients and quantities.
How To Make A Quick Pizza Dough
Recipe Video
Step-By-Step Instructions
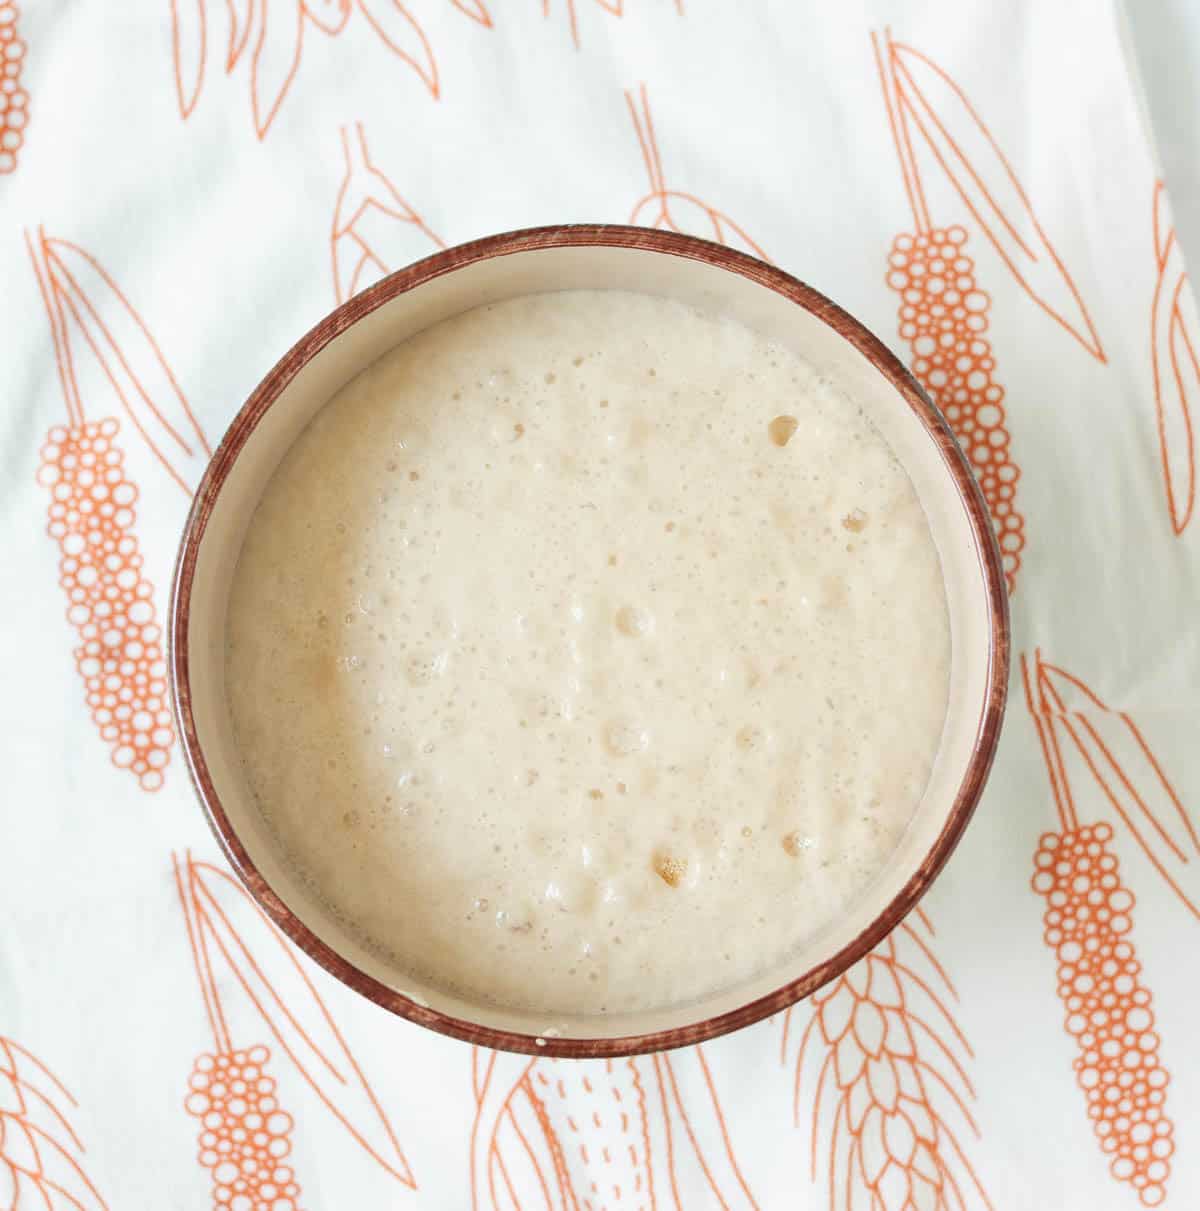
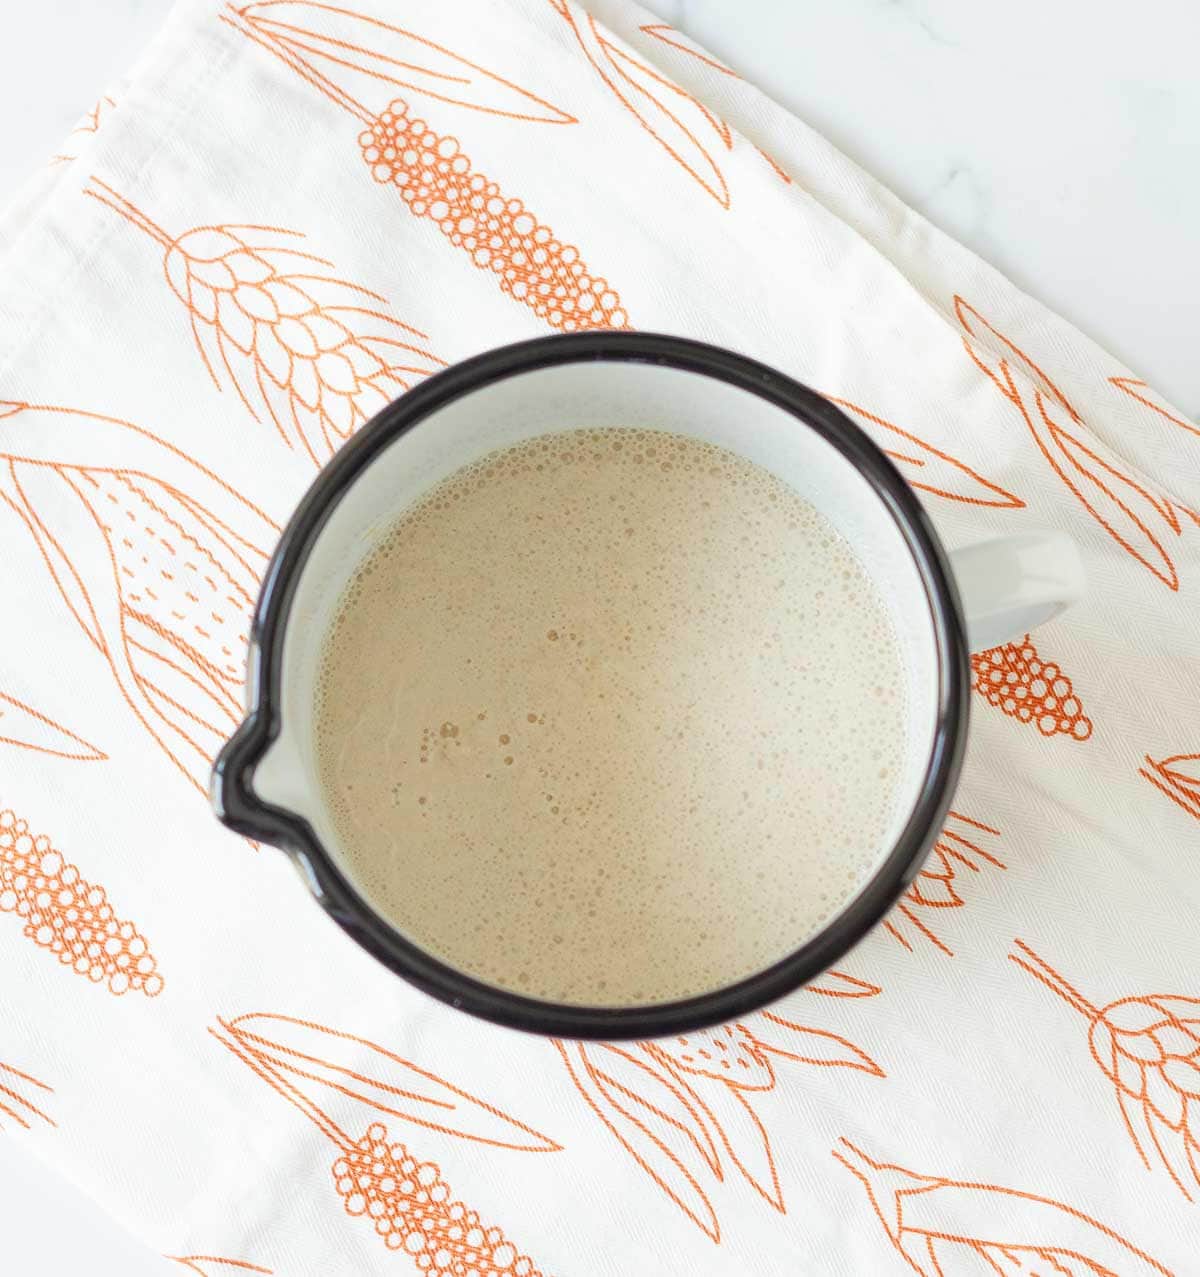
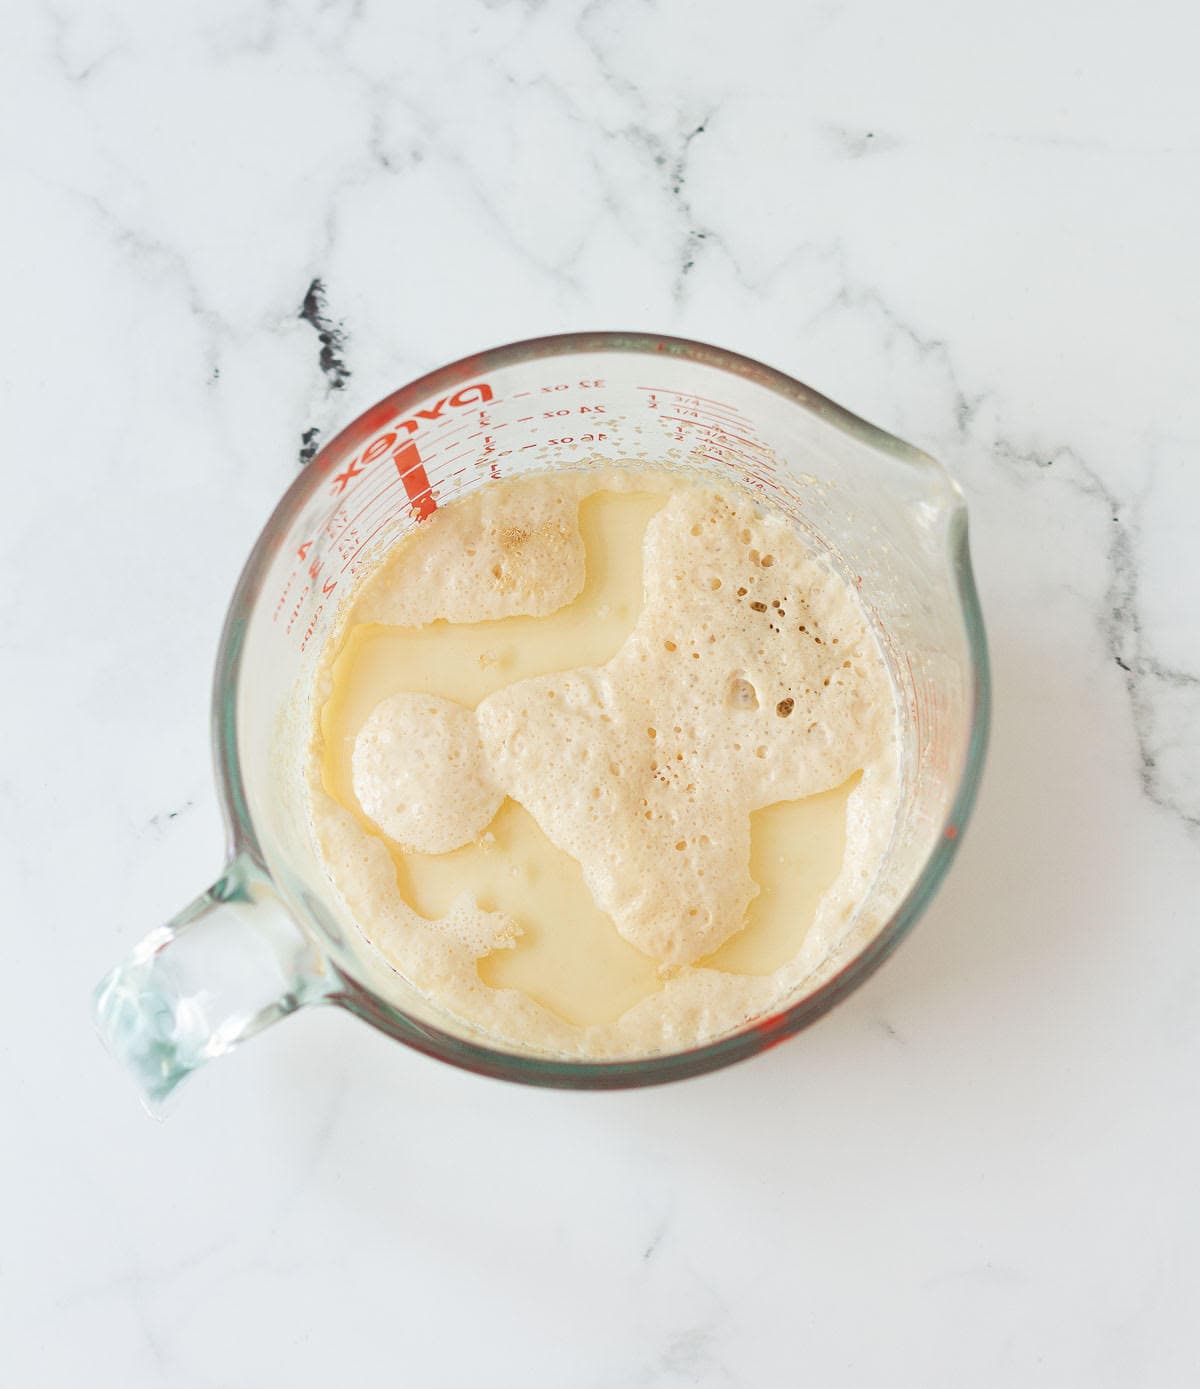
Step 1: Combine water, yeast, and sugar in a small bowl. Set aside for 5-10 minutes until bubbly and foamy.
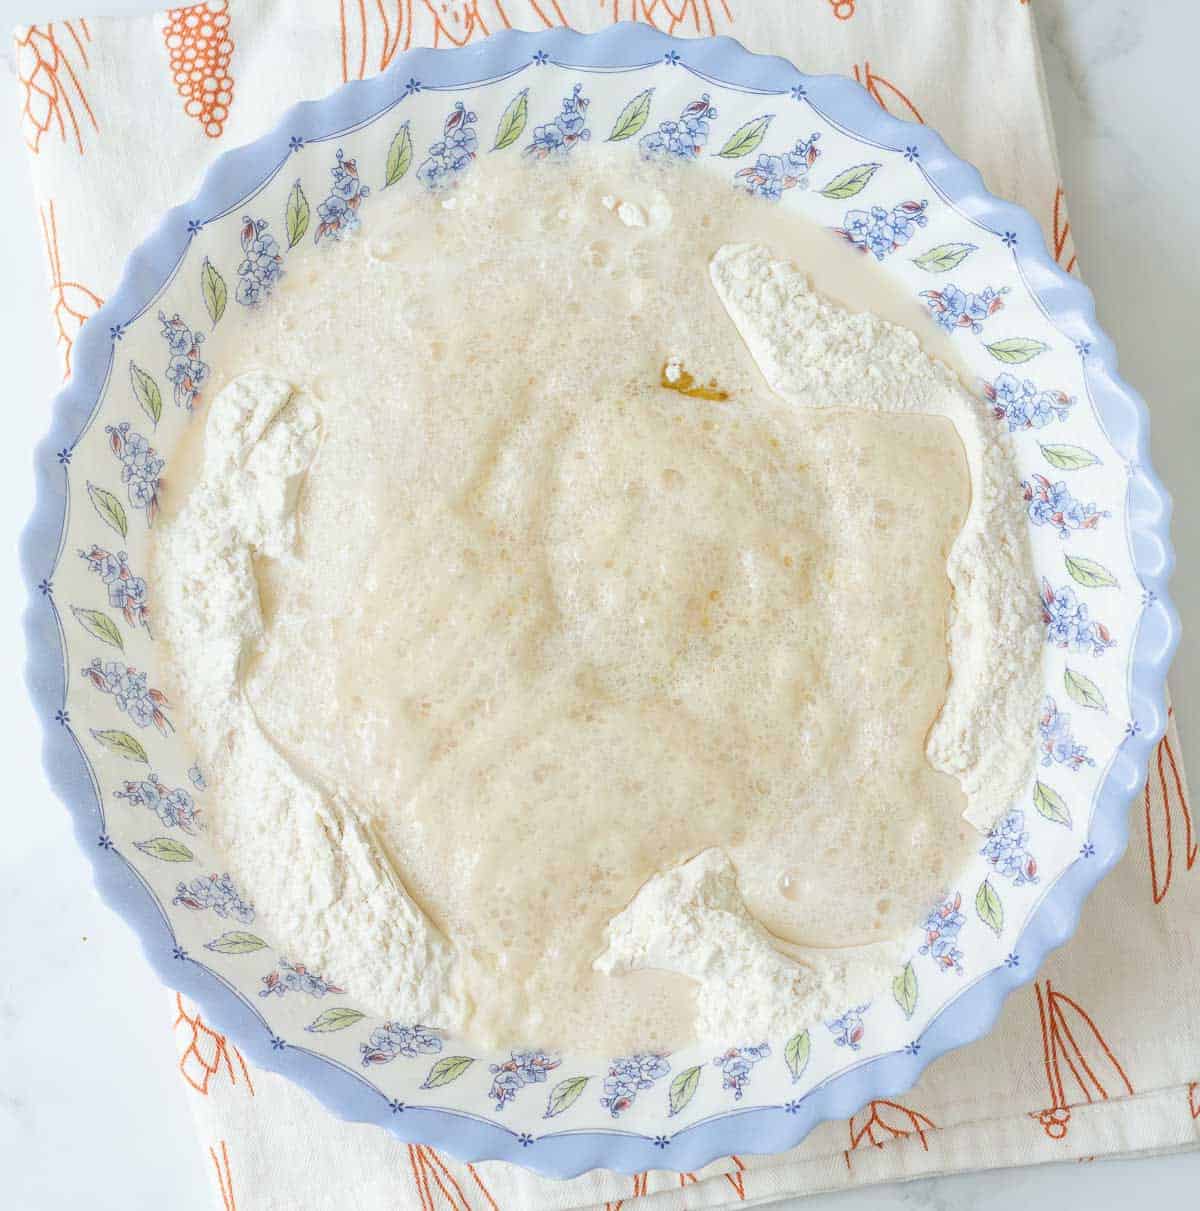
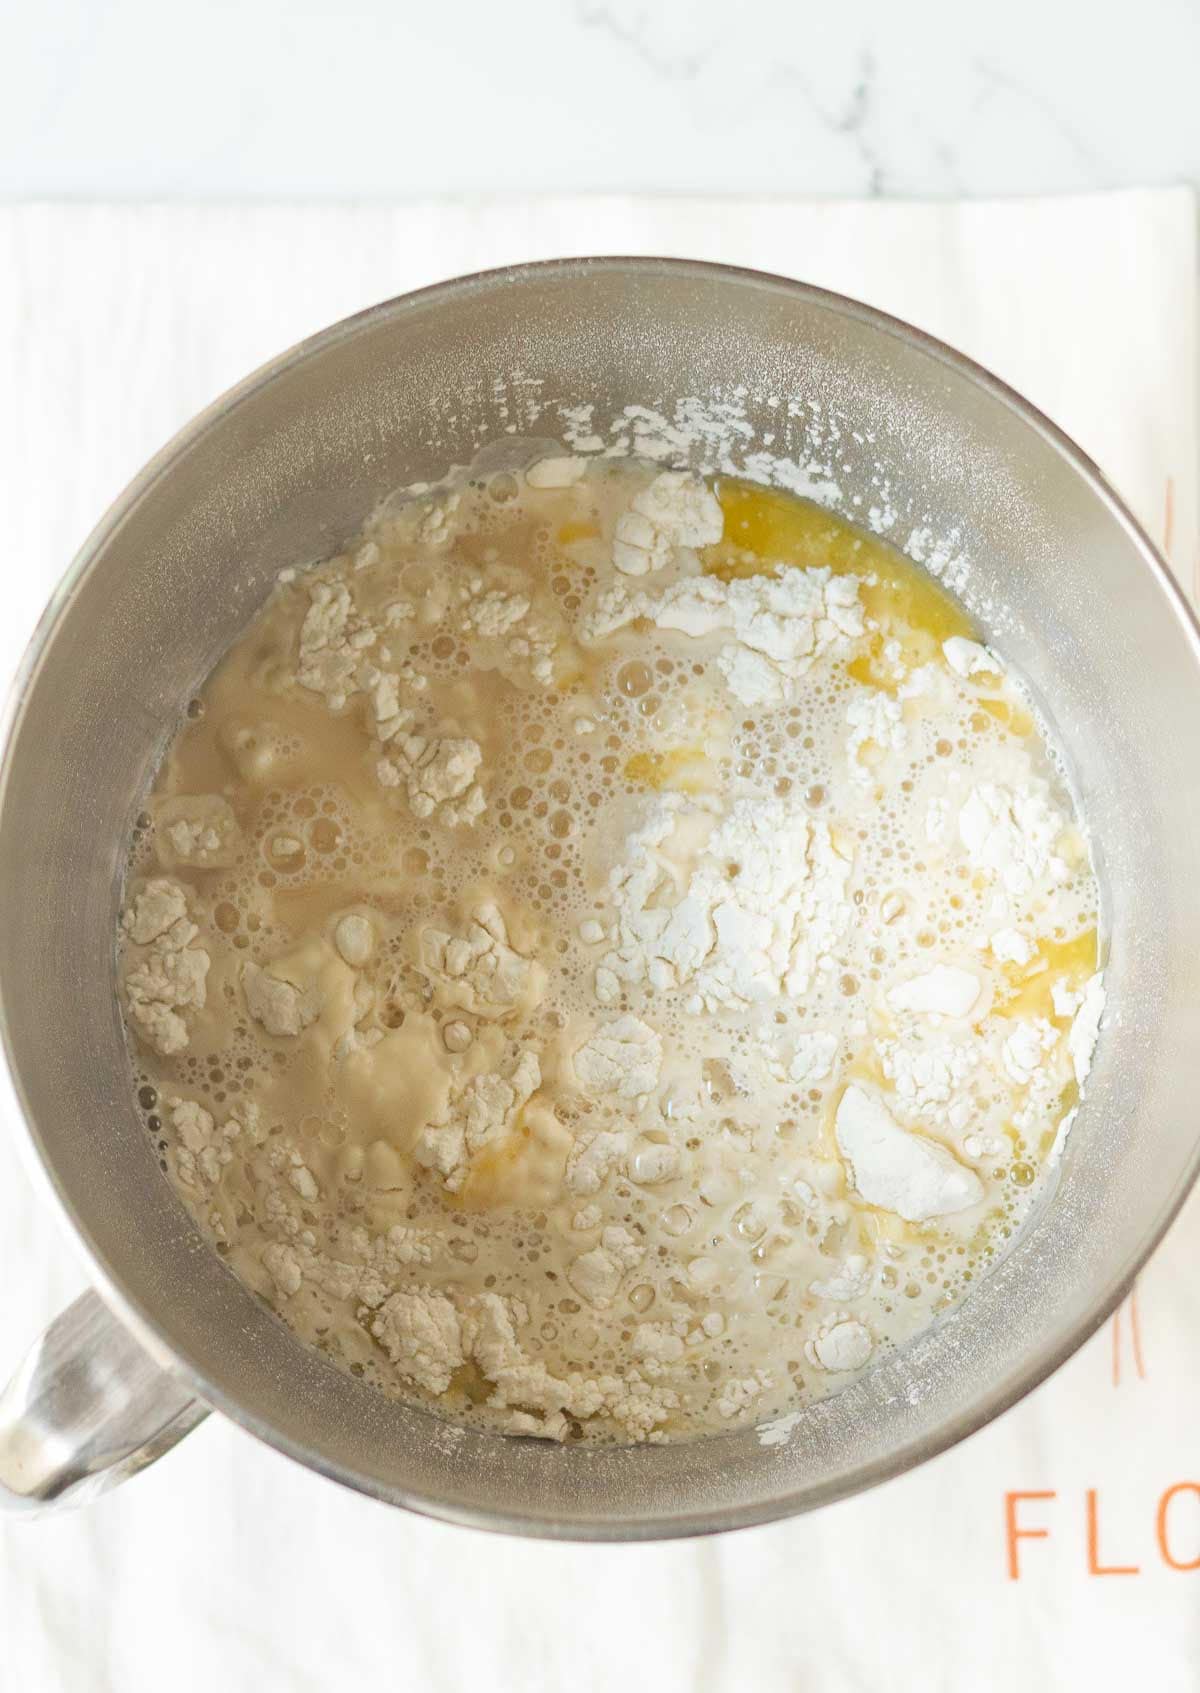
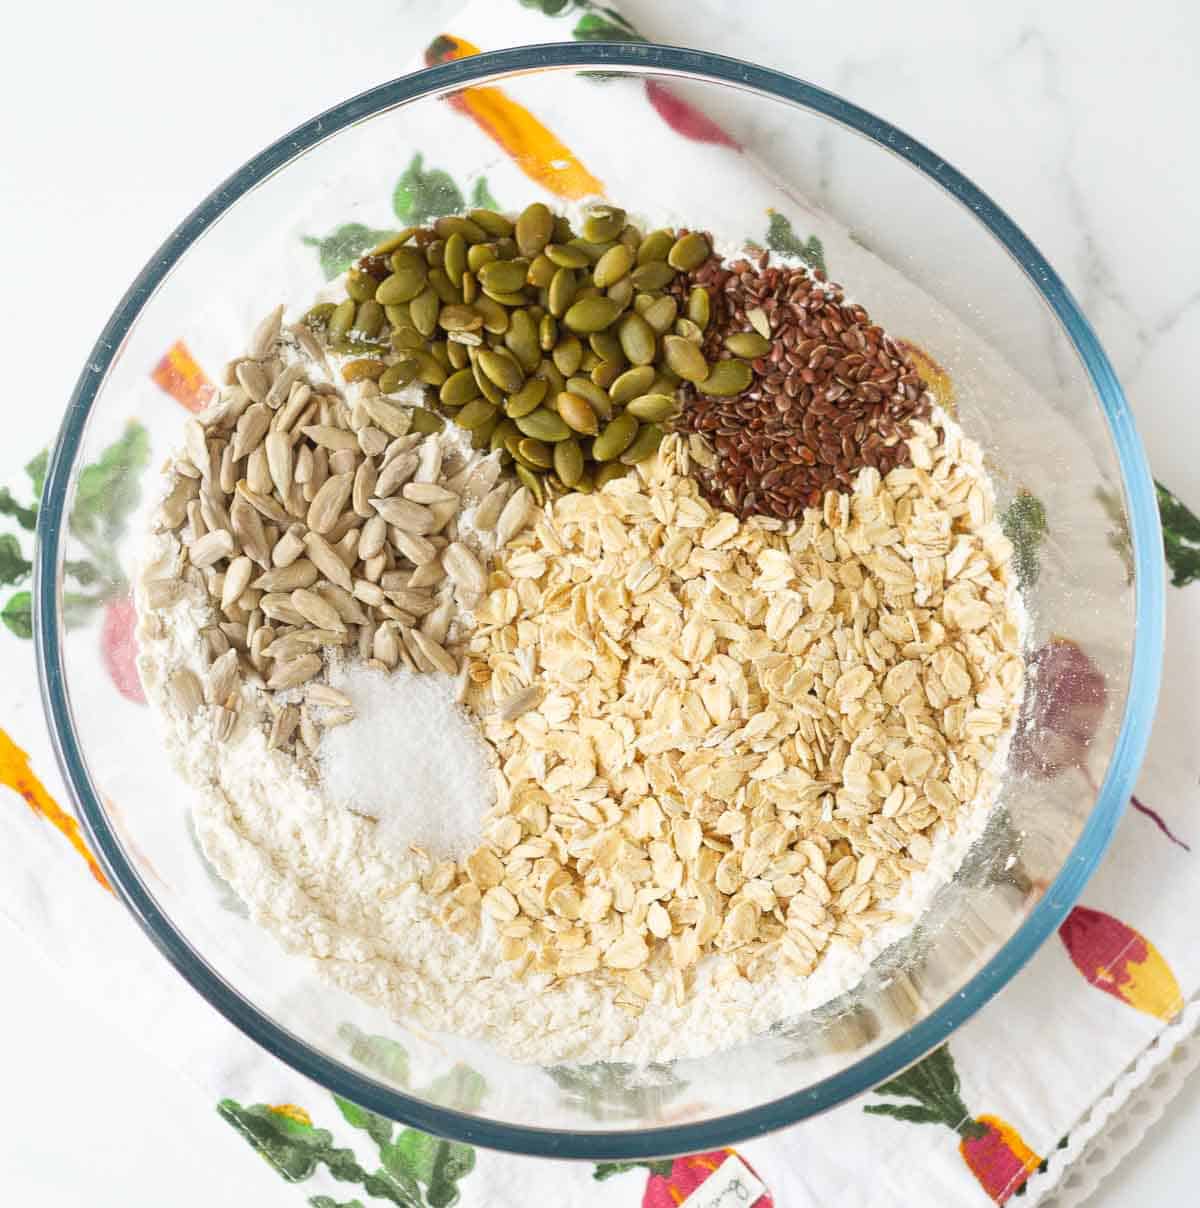
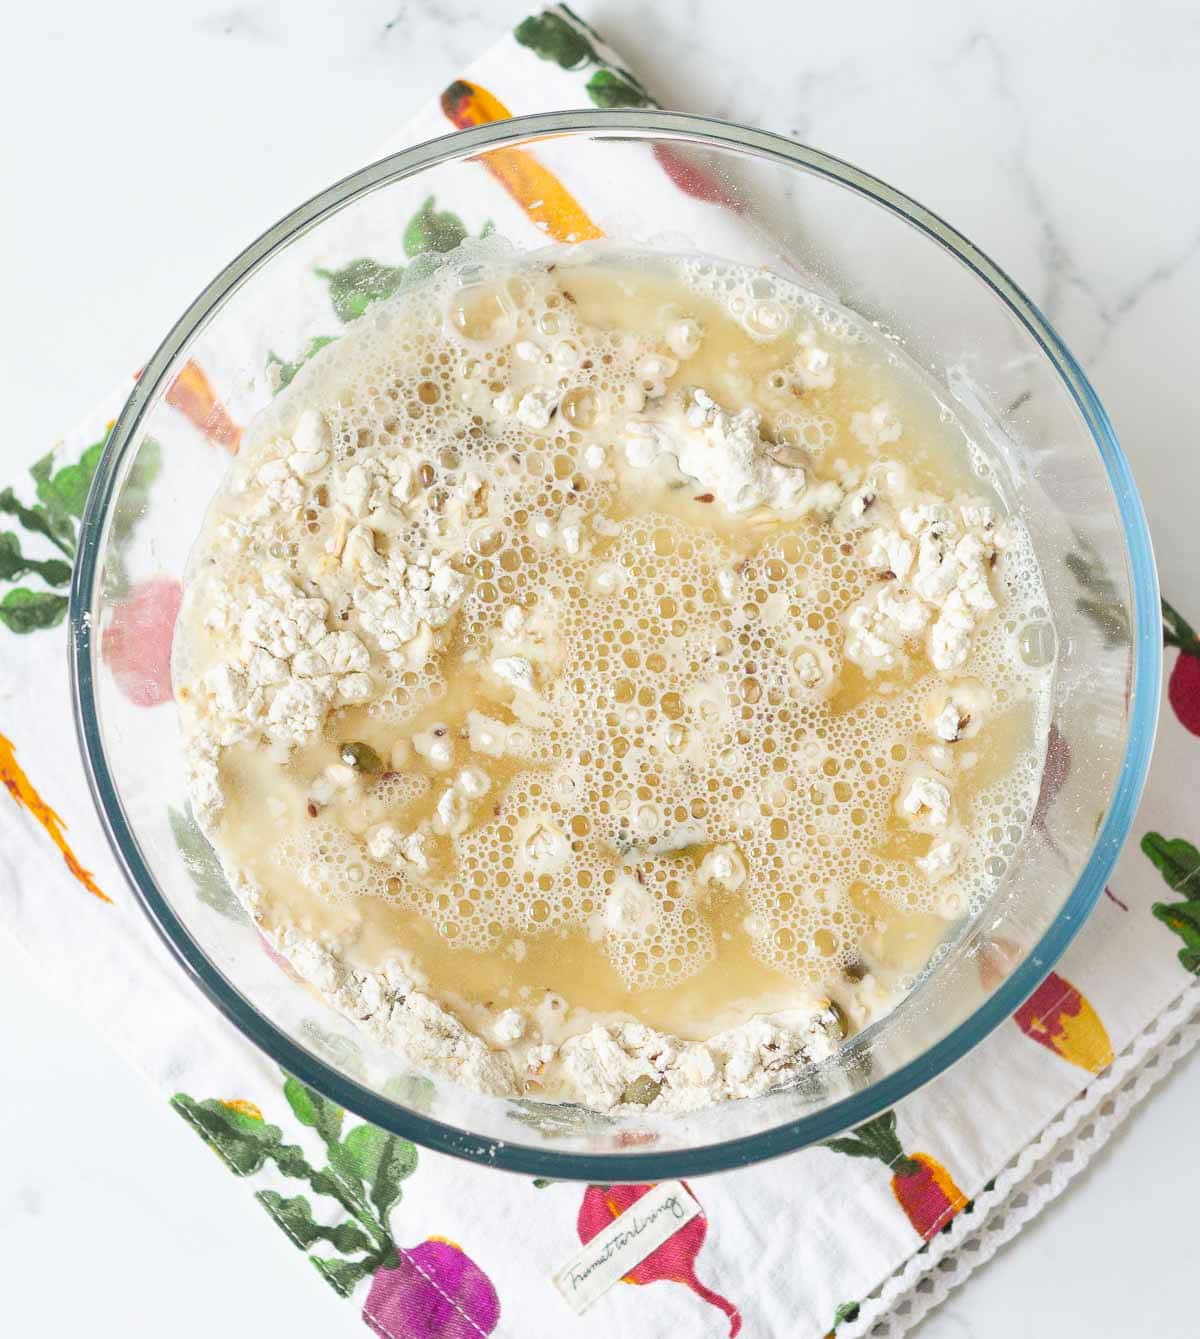
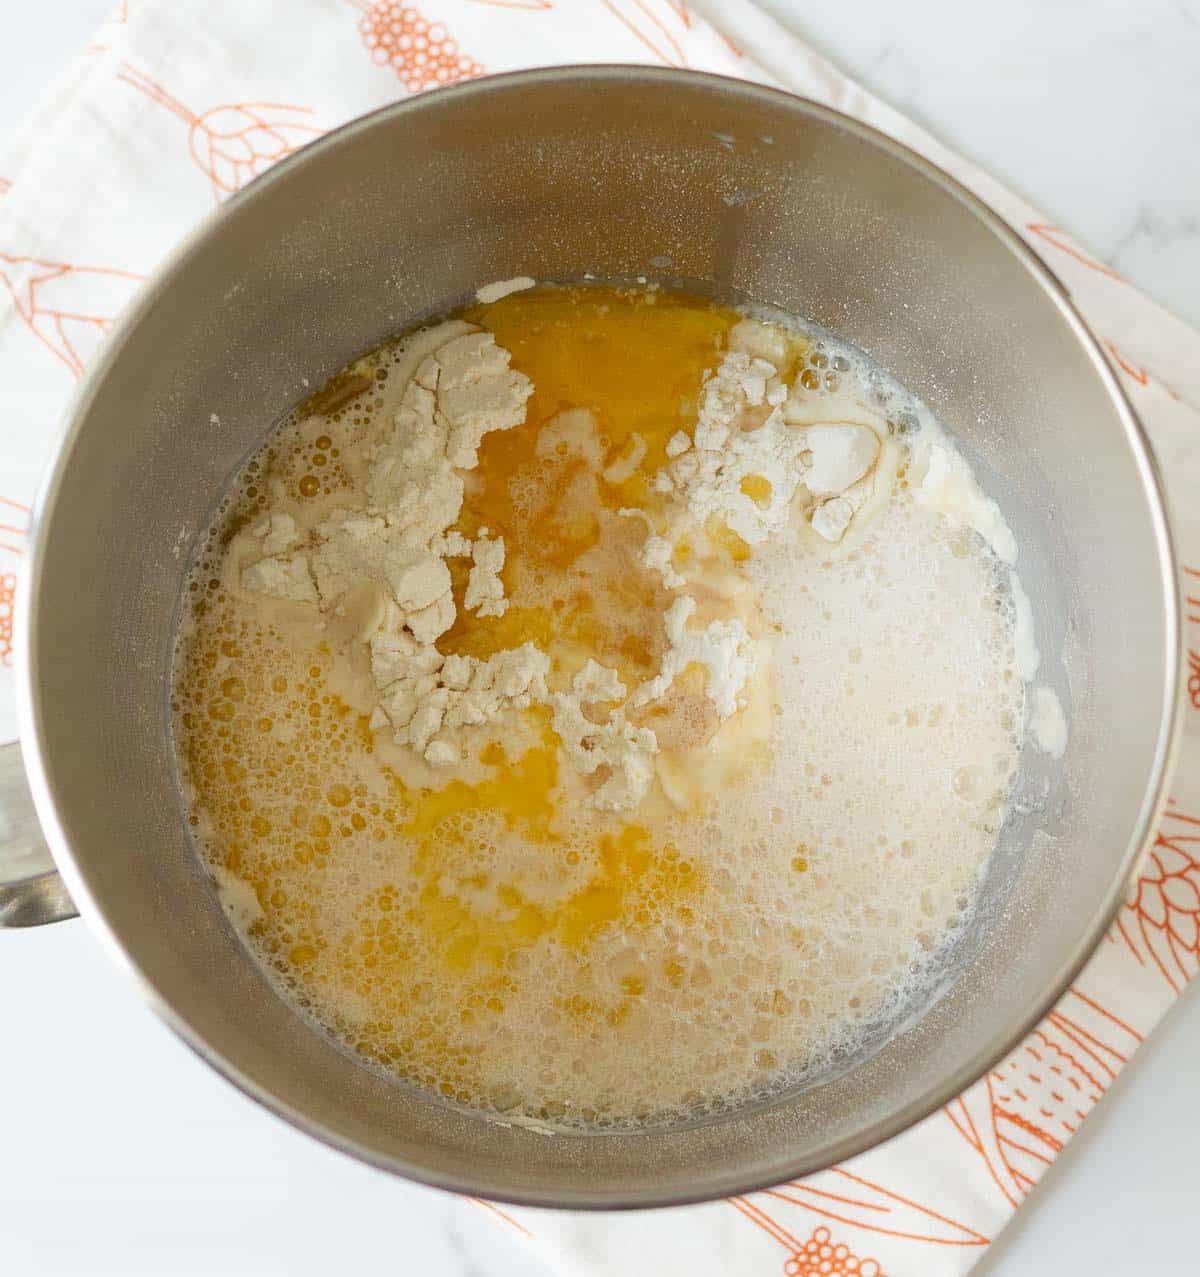
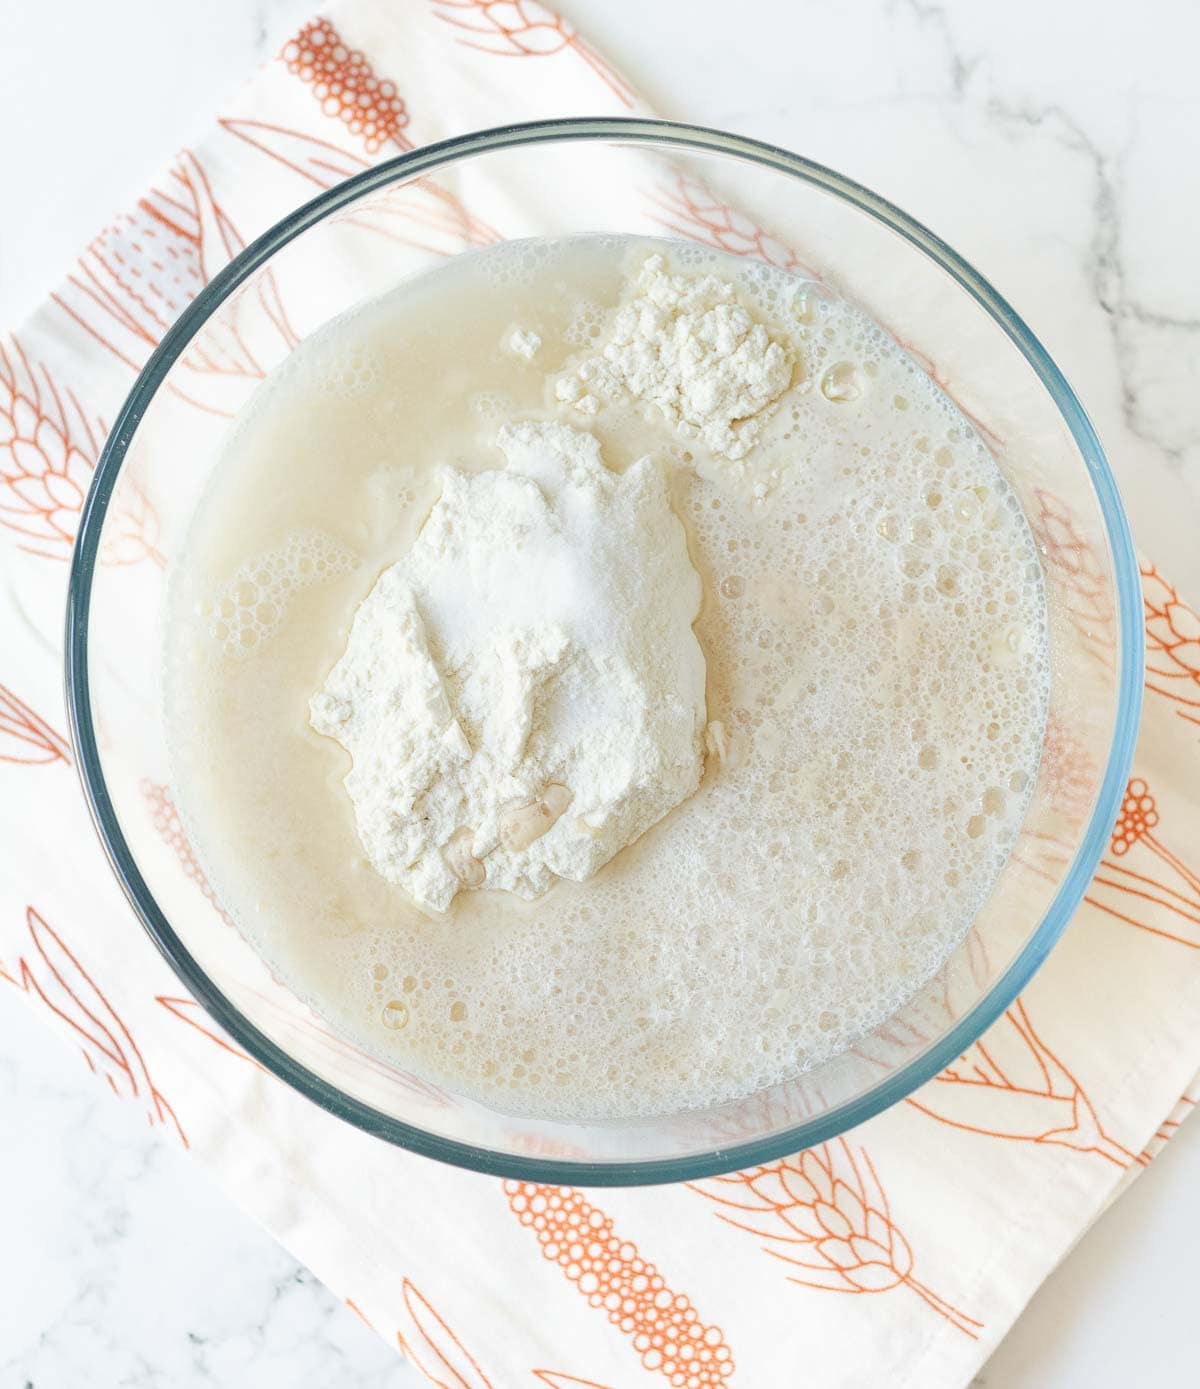
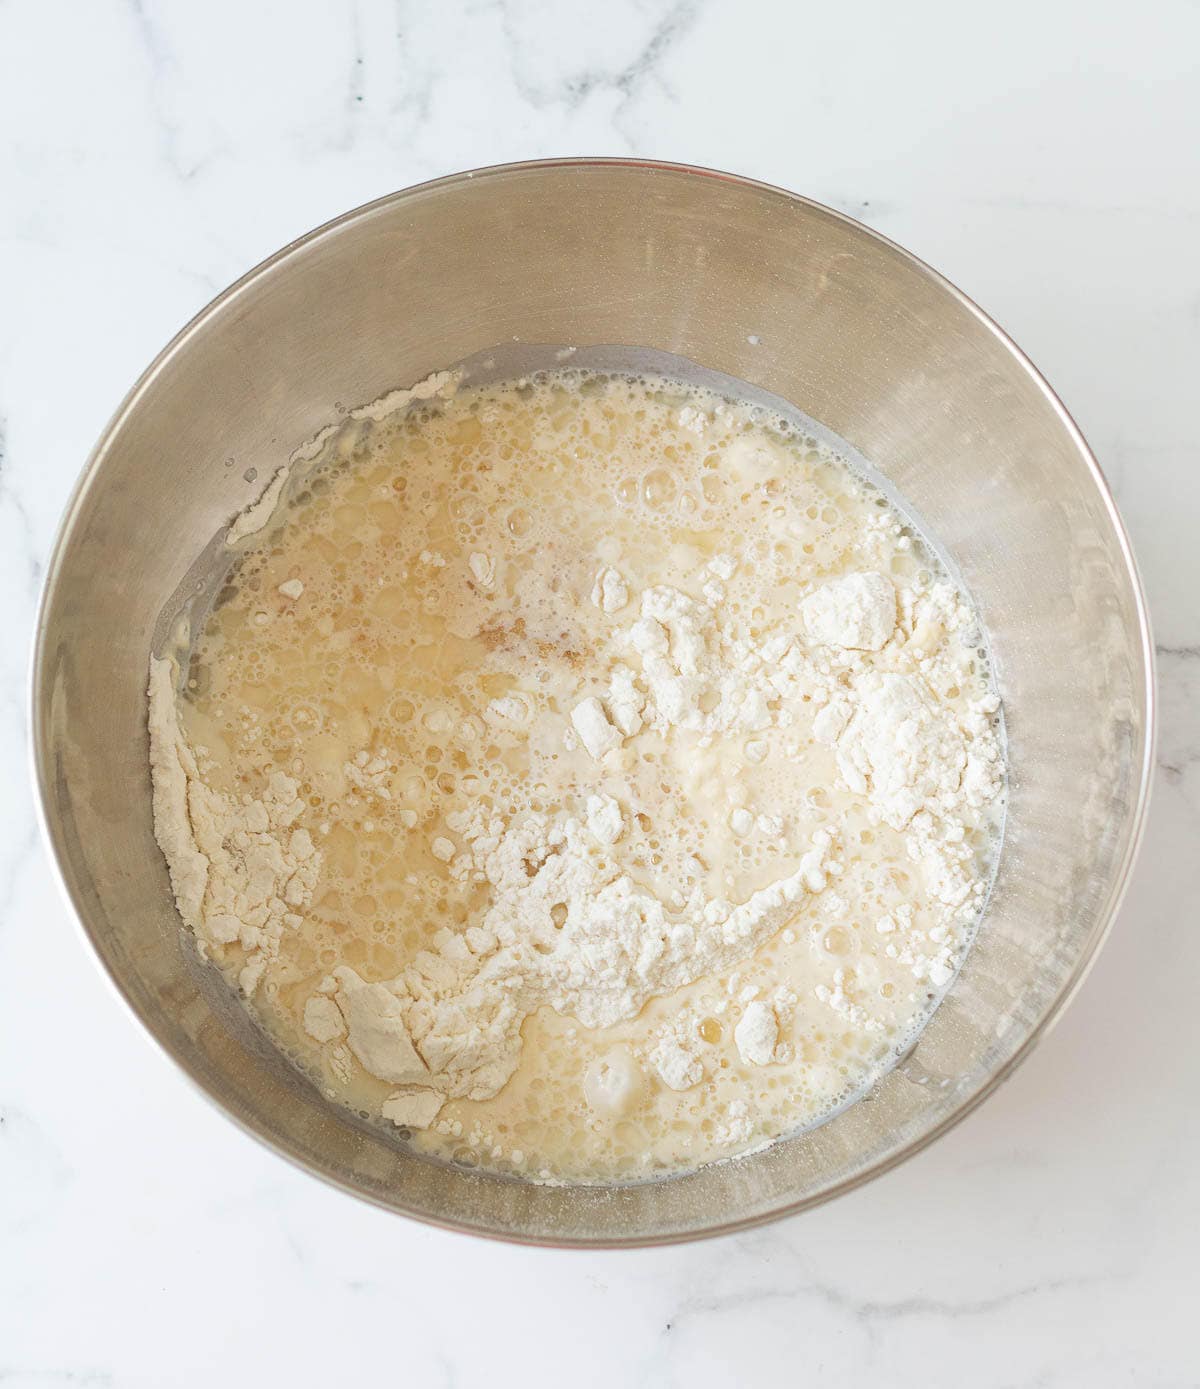
Step 2: In a large bowl, mix the flour and salt. Add the yeast mixture and olive oil.
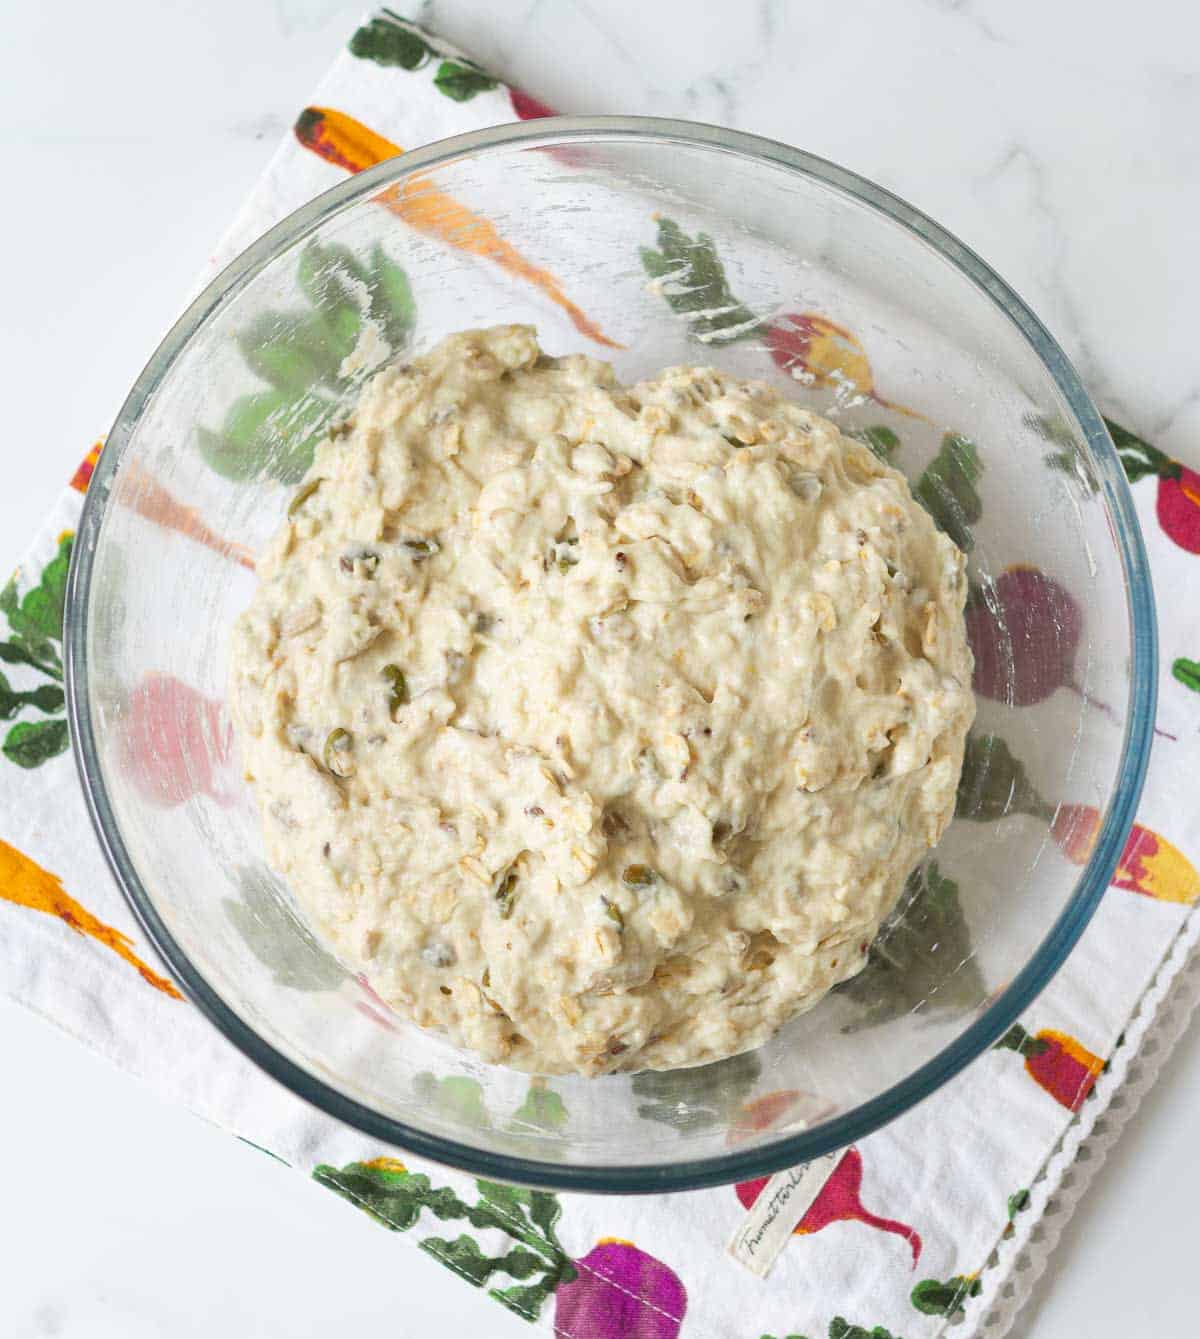
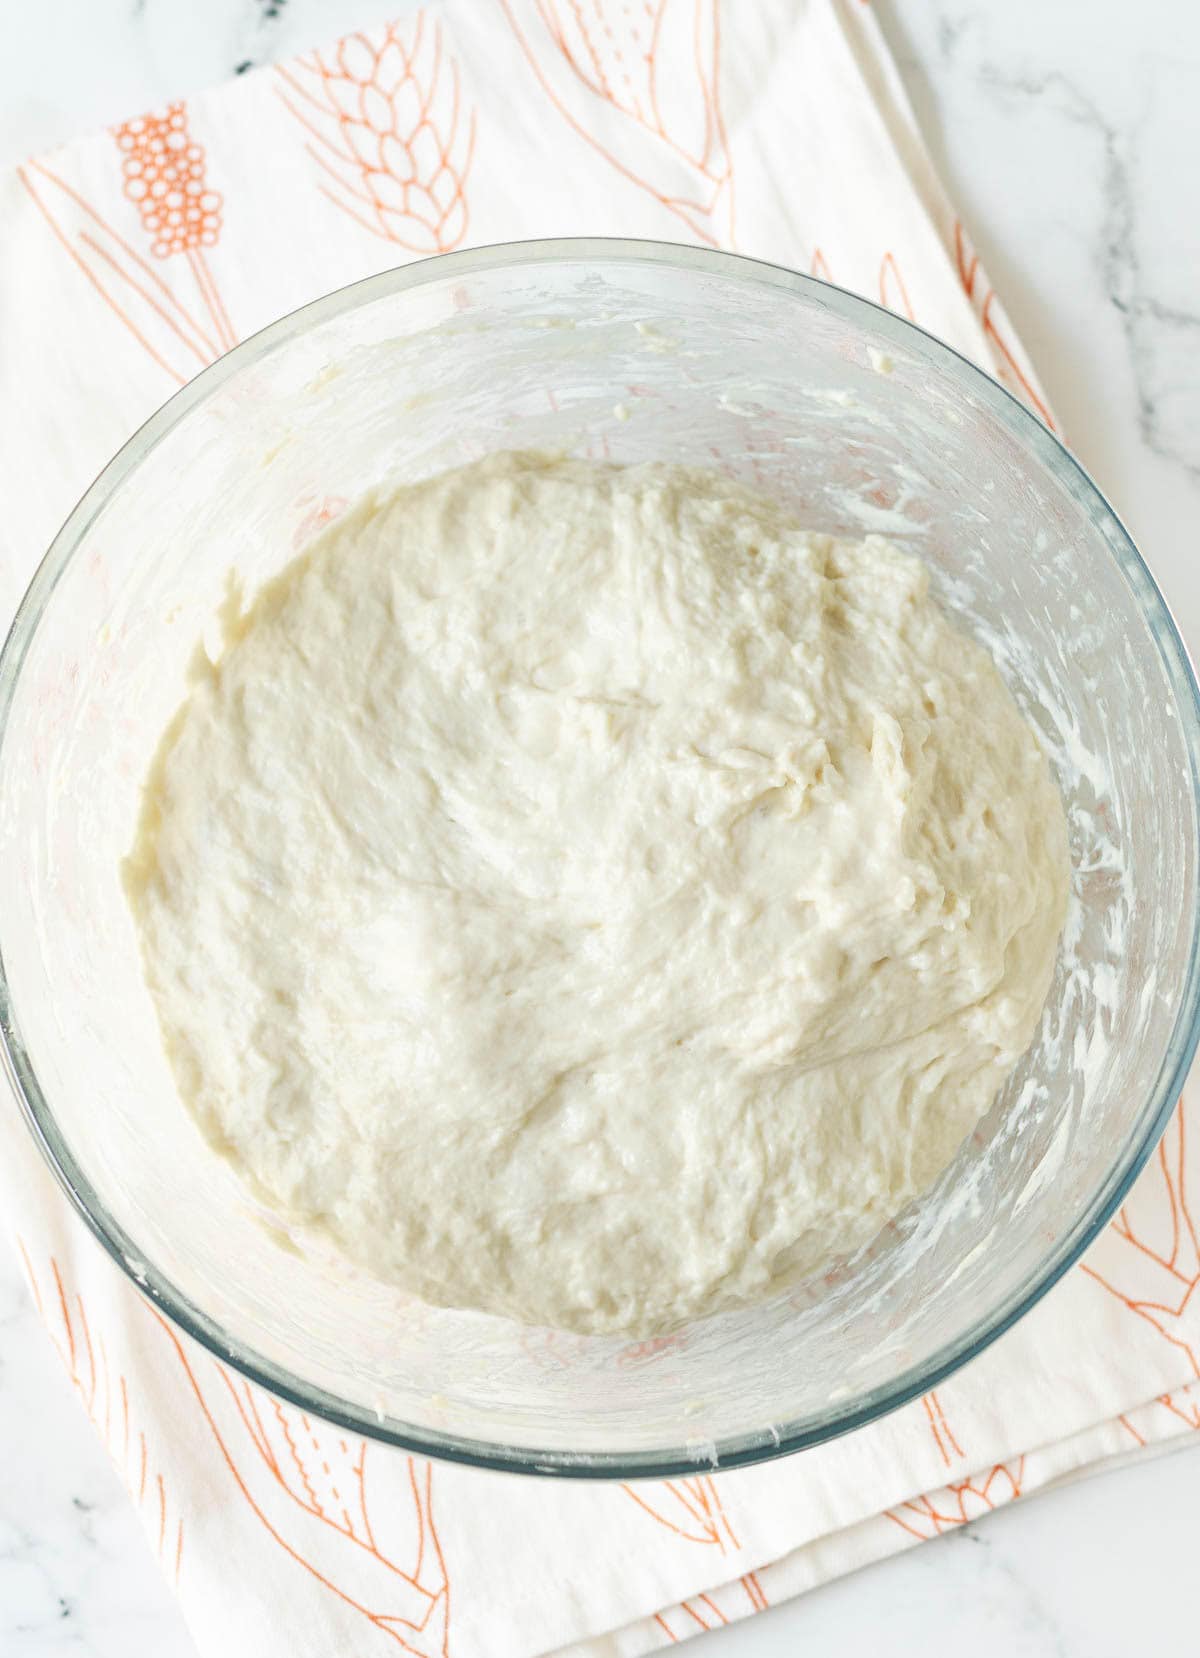
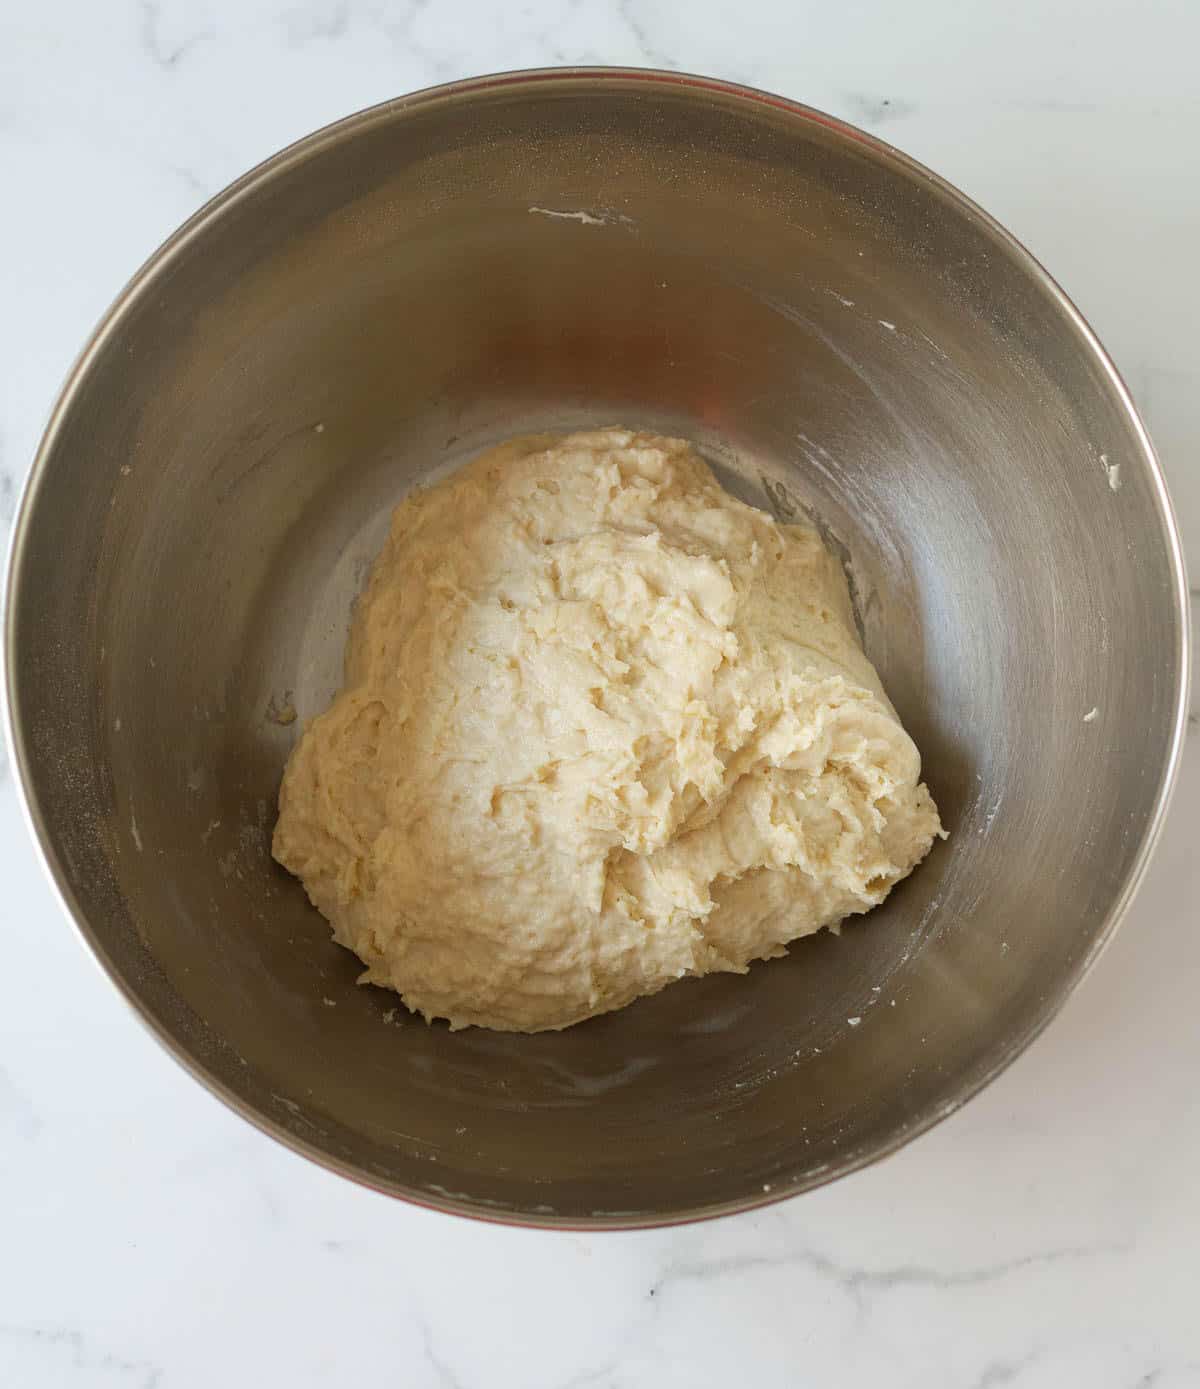
Step 3: Use a wooden spoon or spatula to bring the dough together into a rough ball.
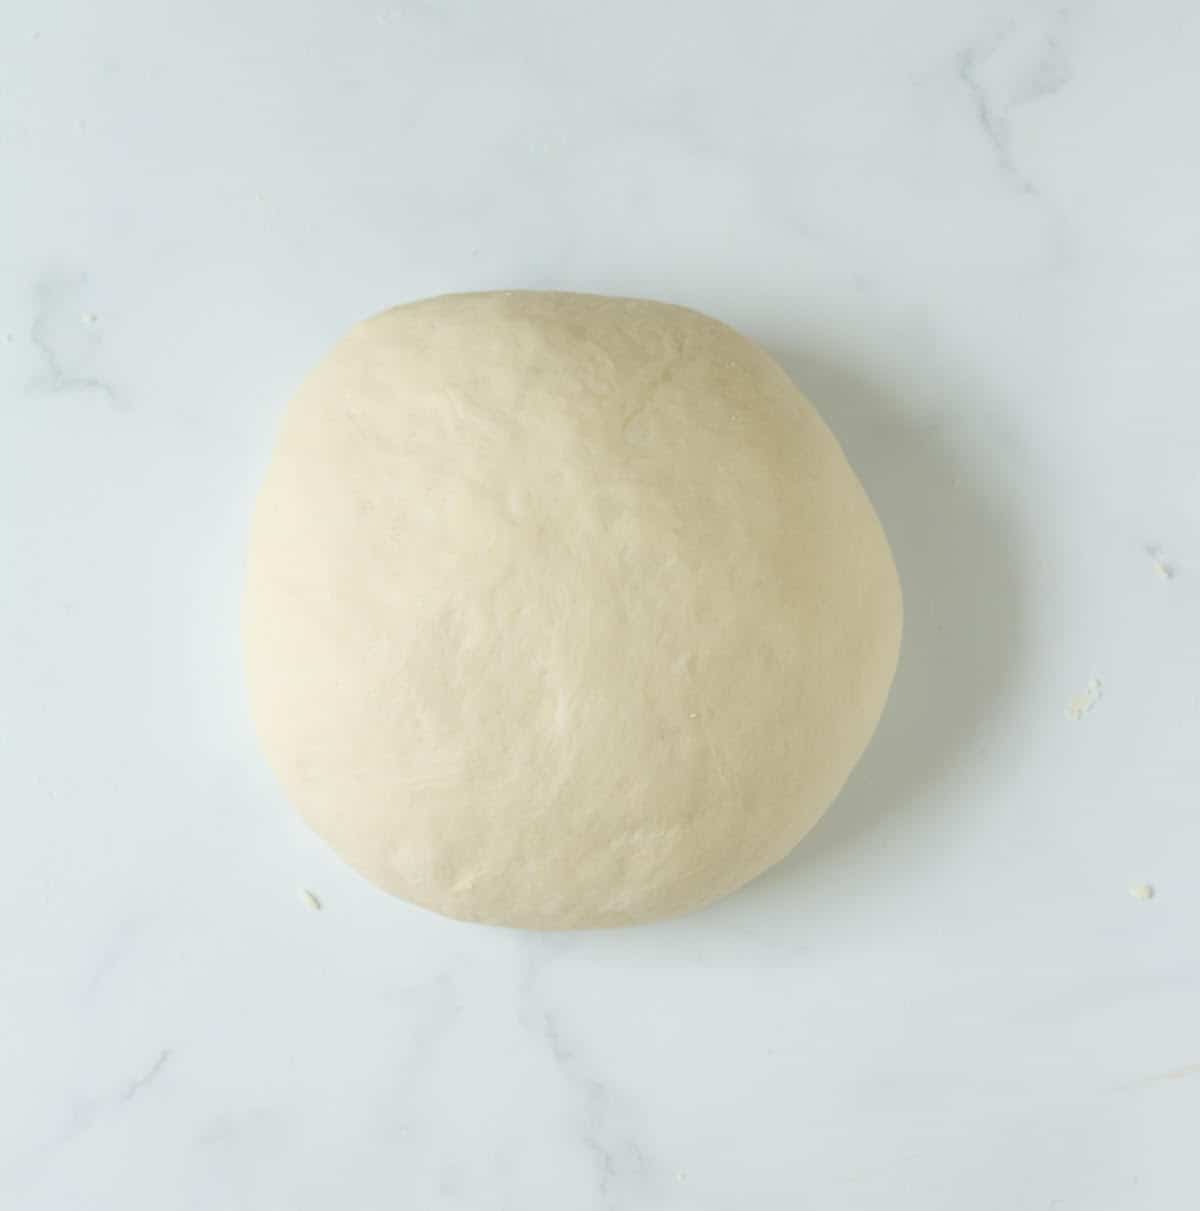
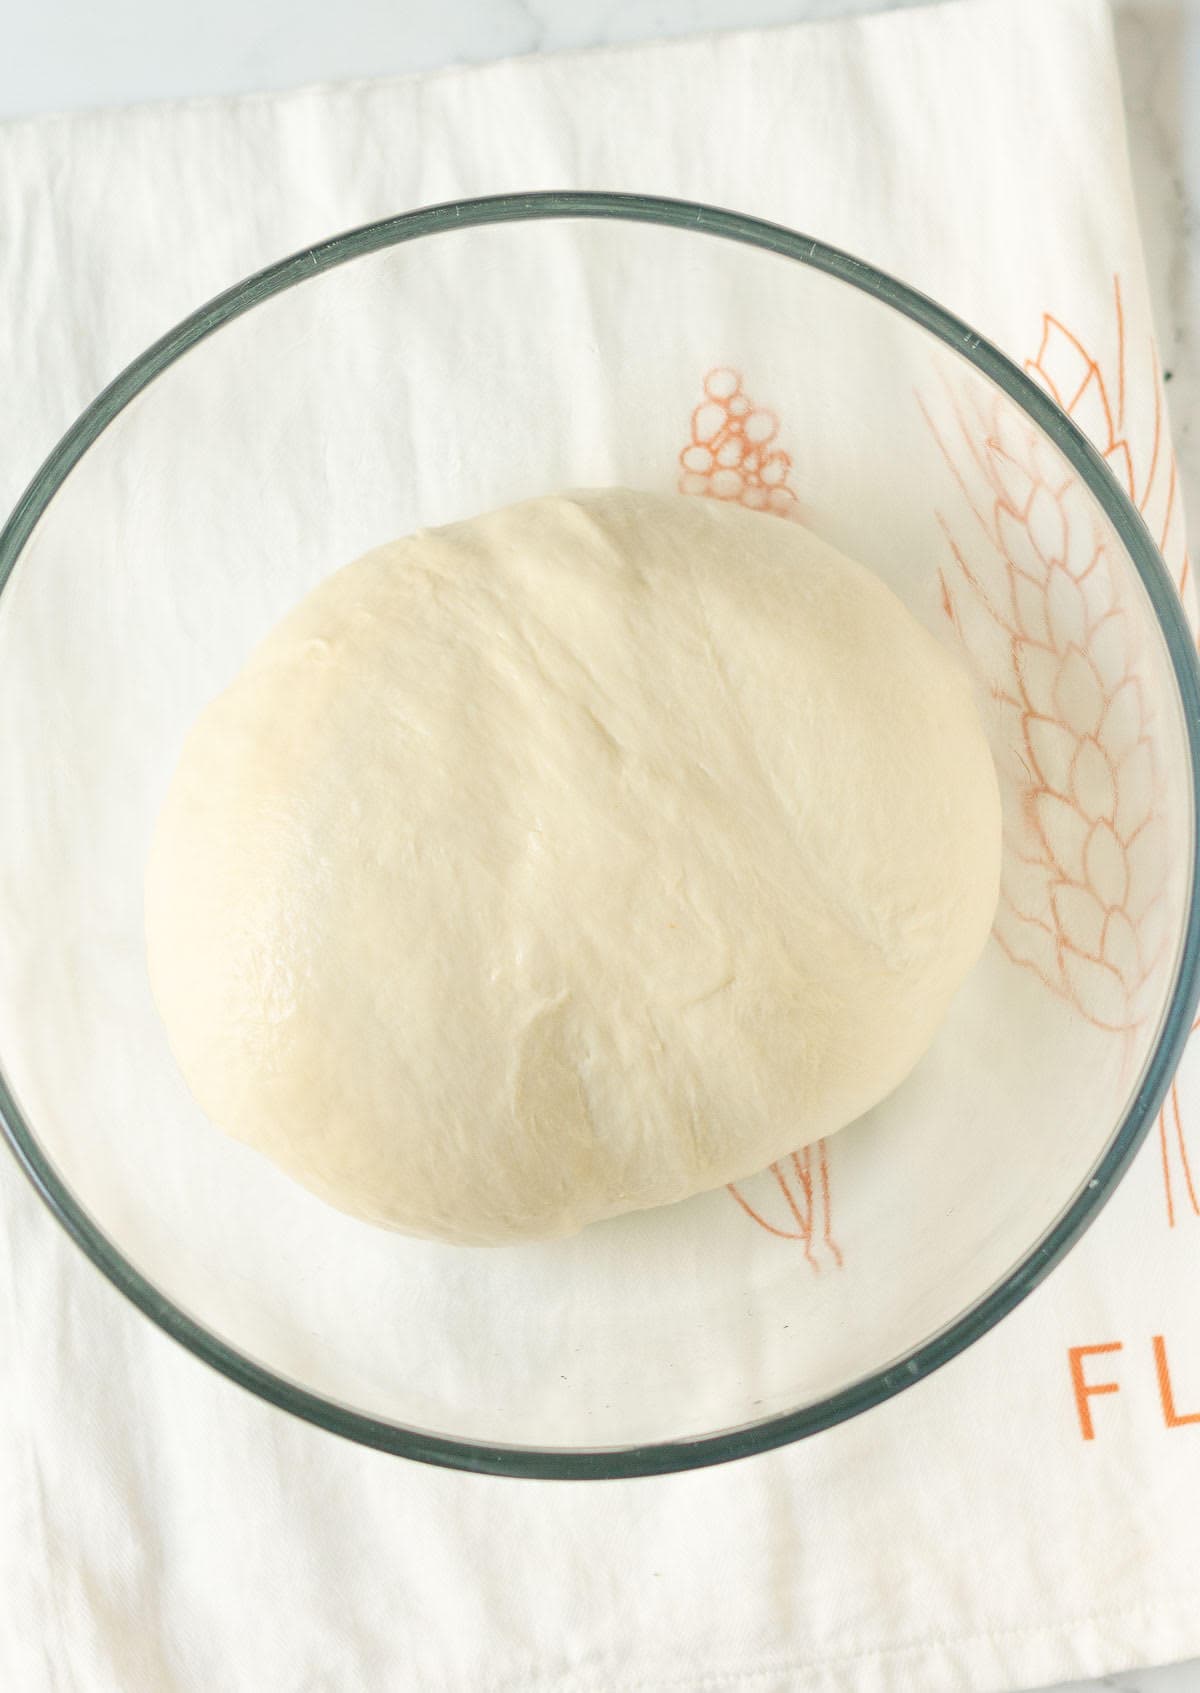
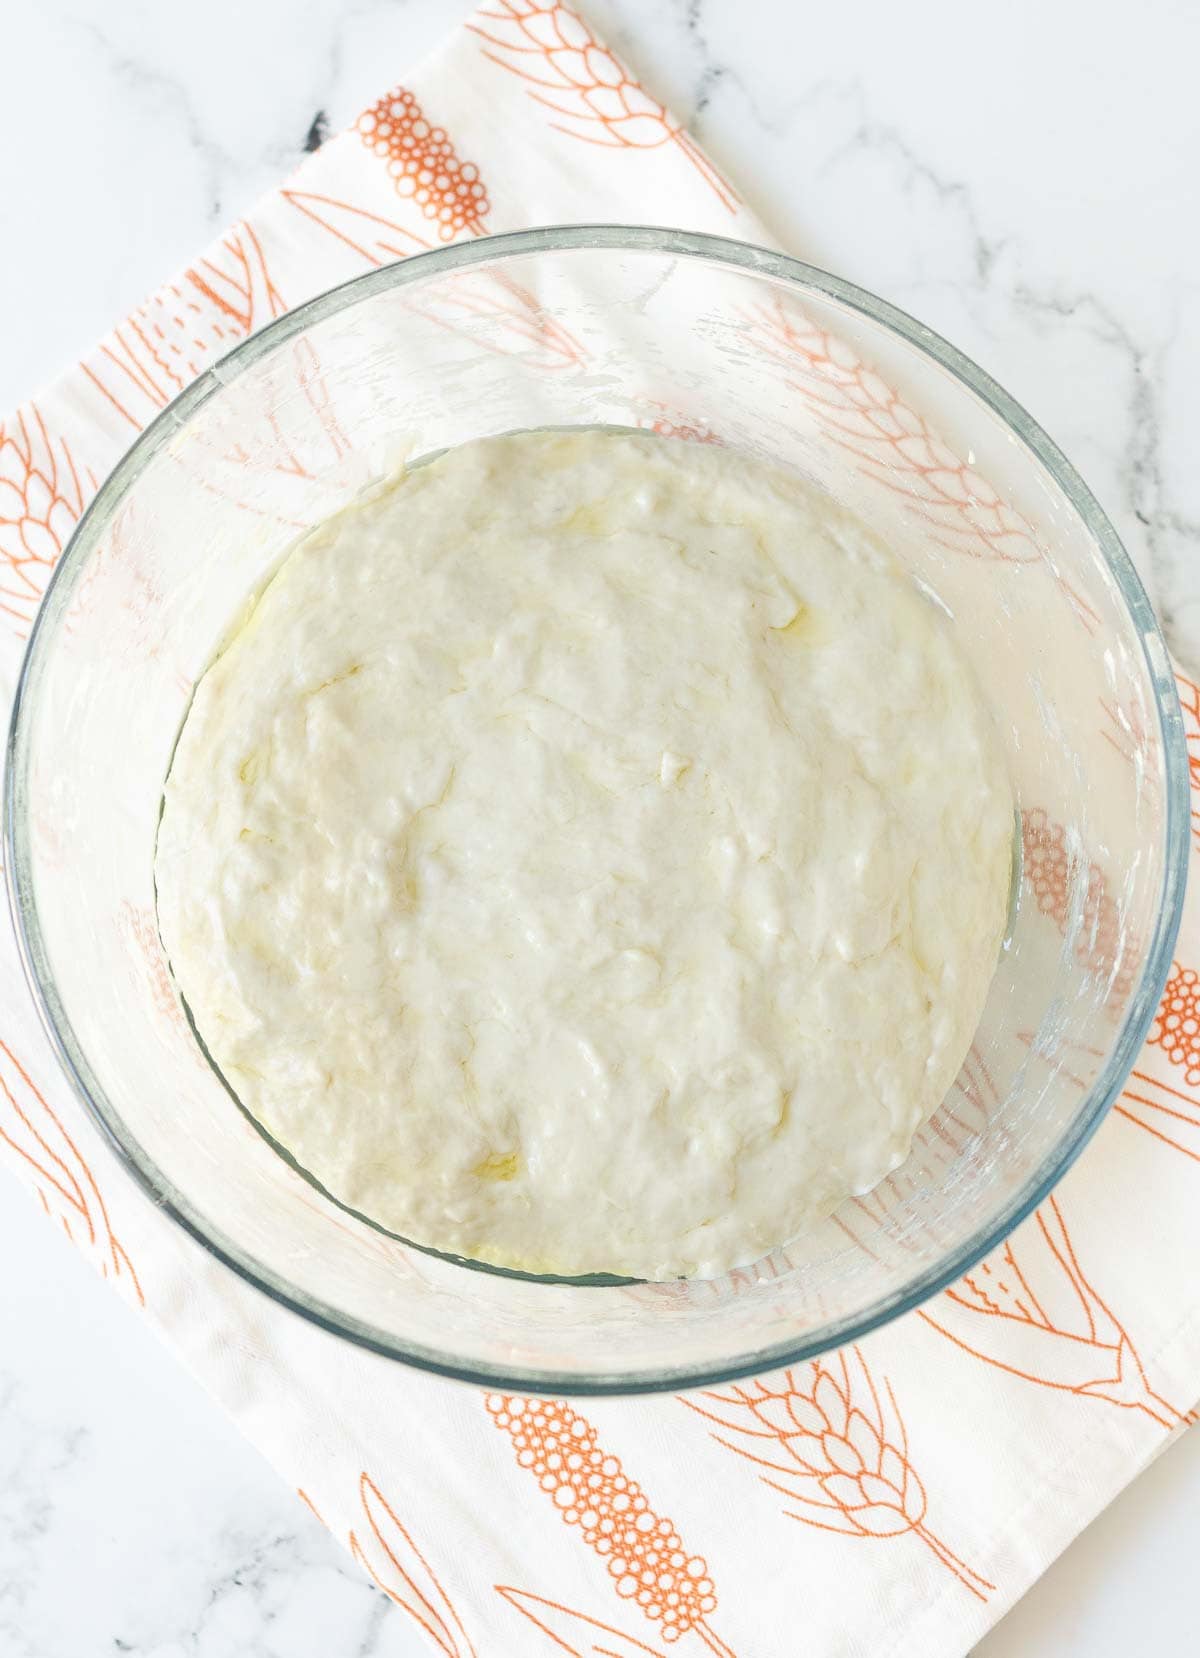
Step 4: Transfer the dough to a floured surface and knead for 5-6 minutes until smooth and slightly tacky. You can also knead the dough in your stand mixer.
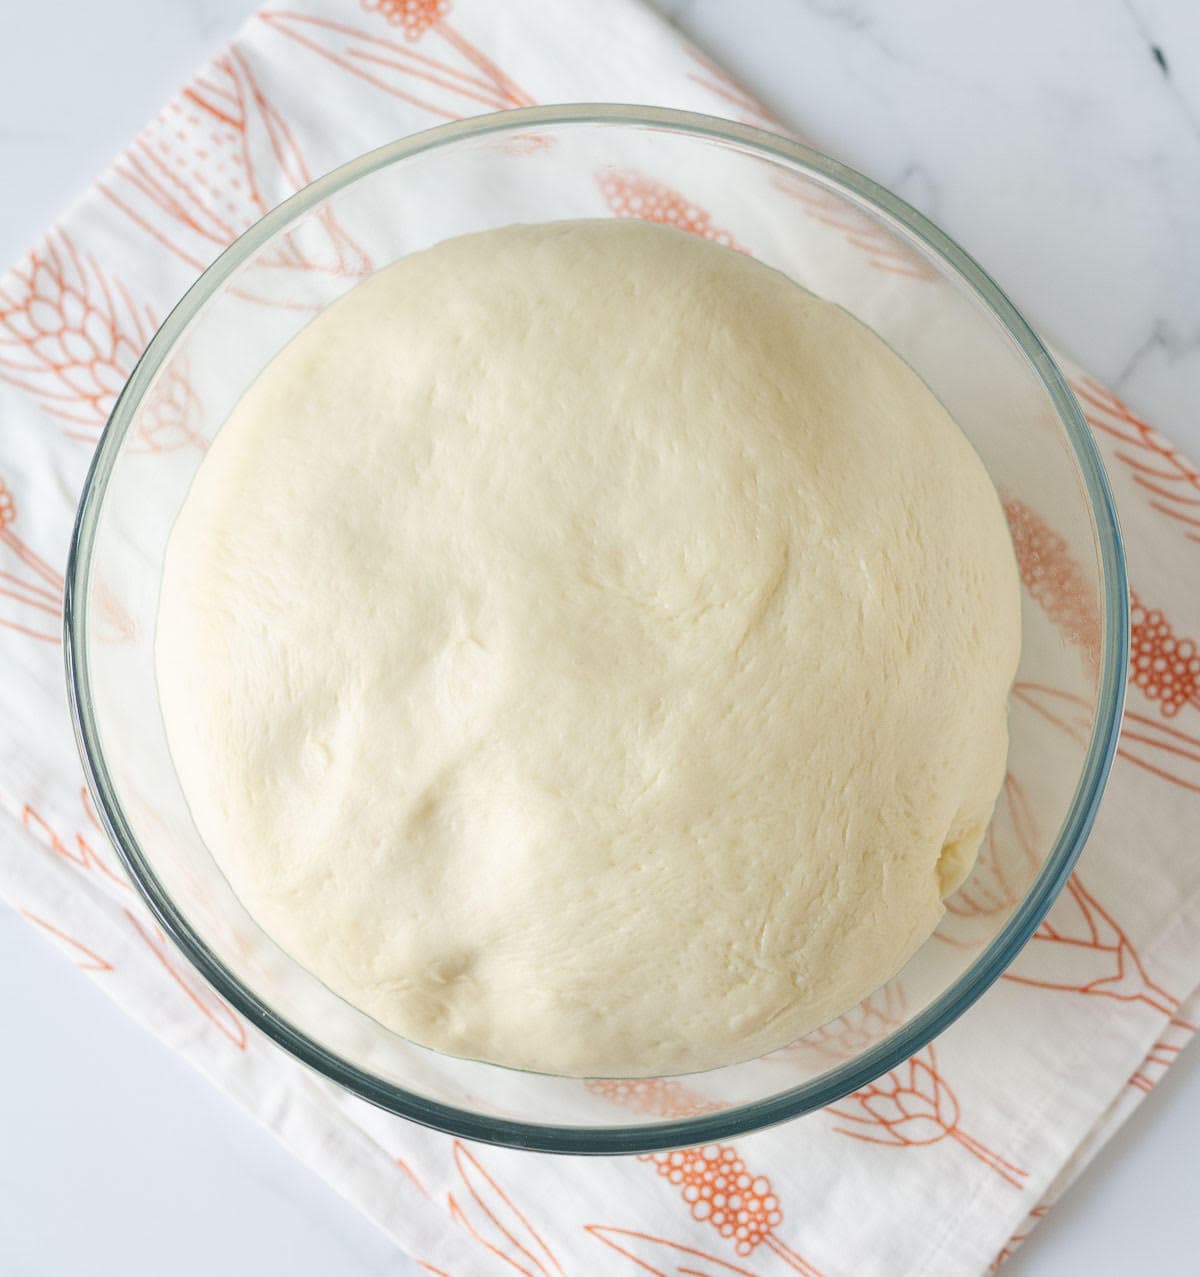
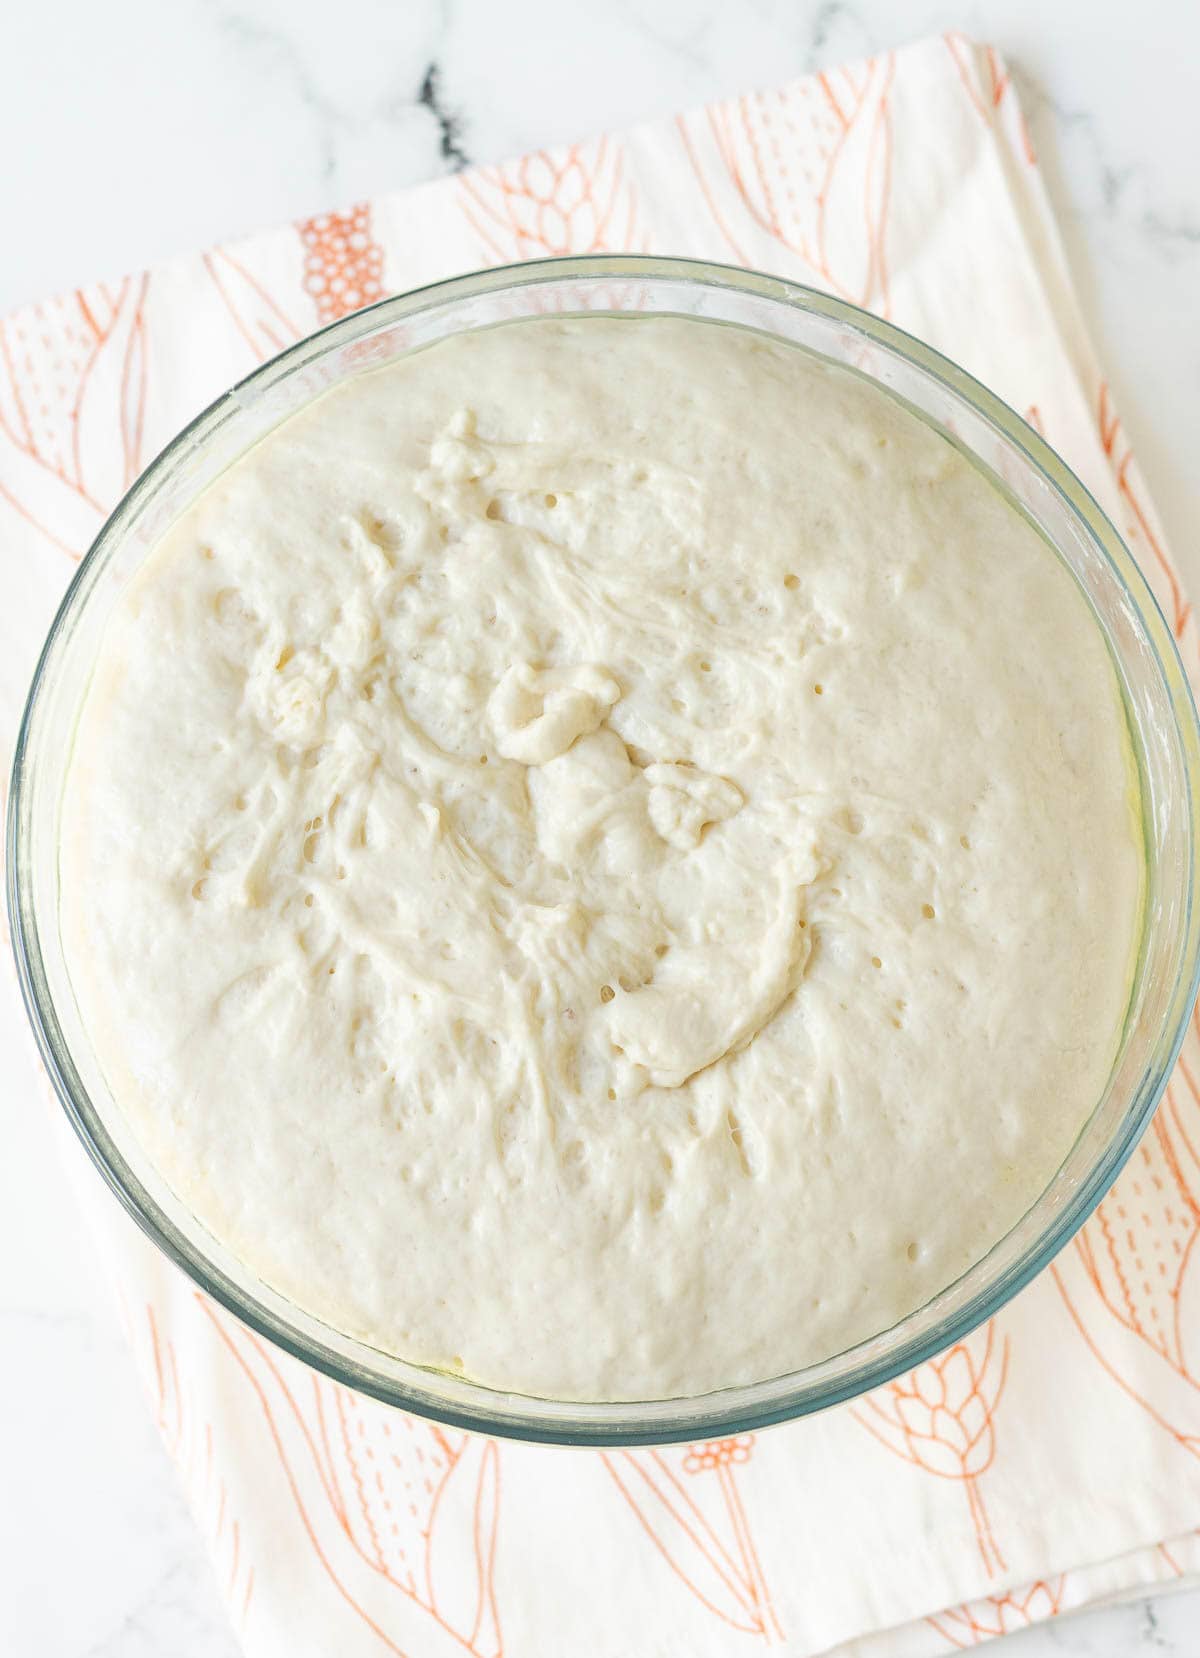
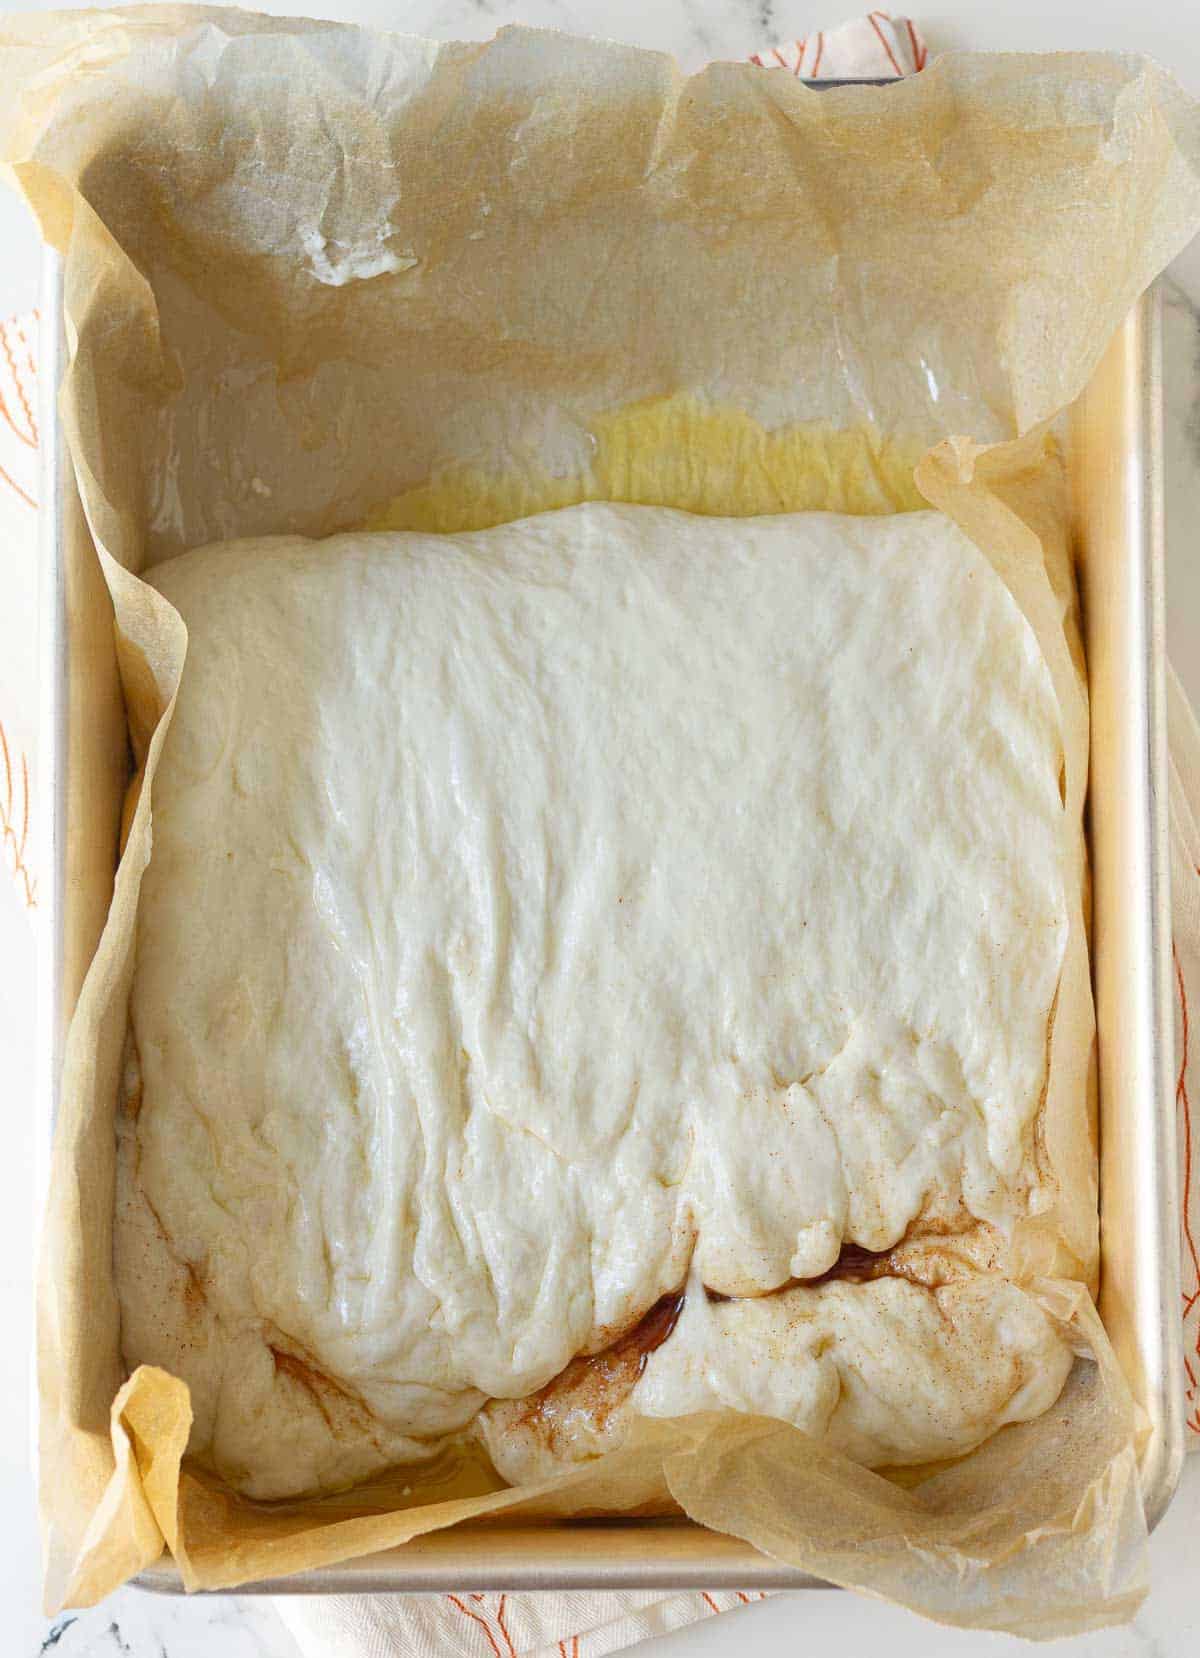
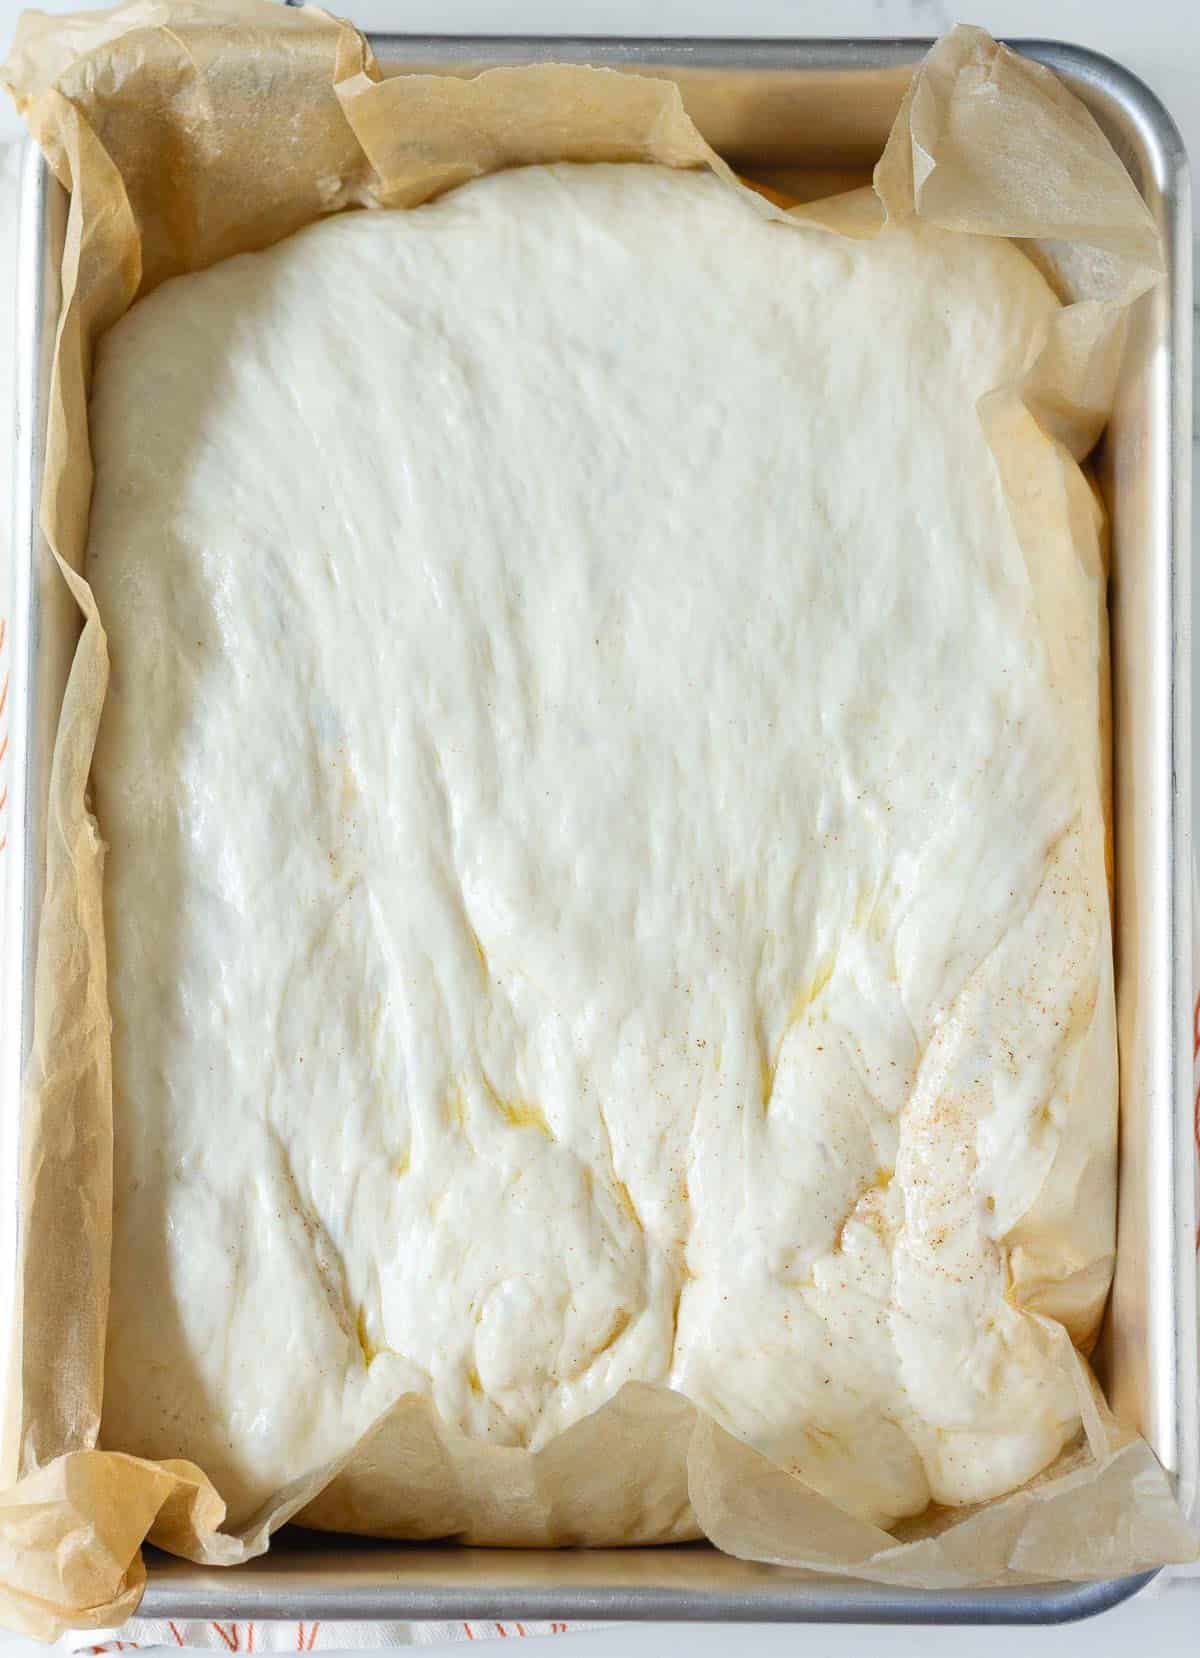
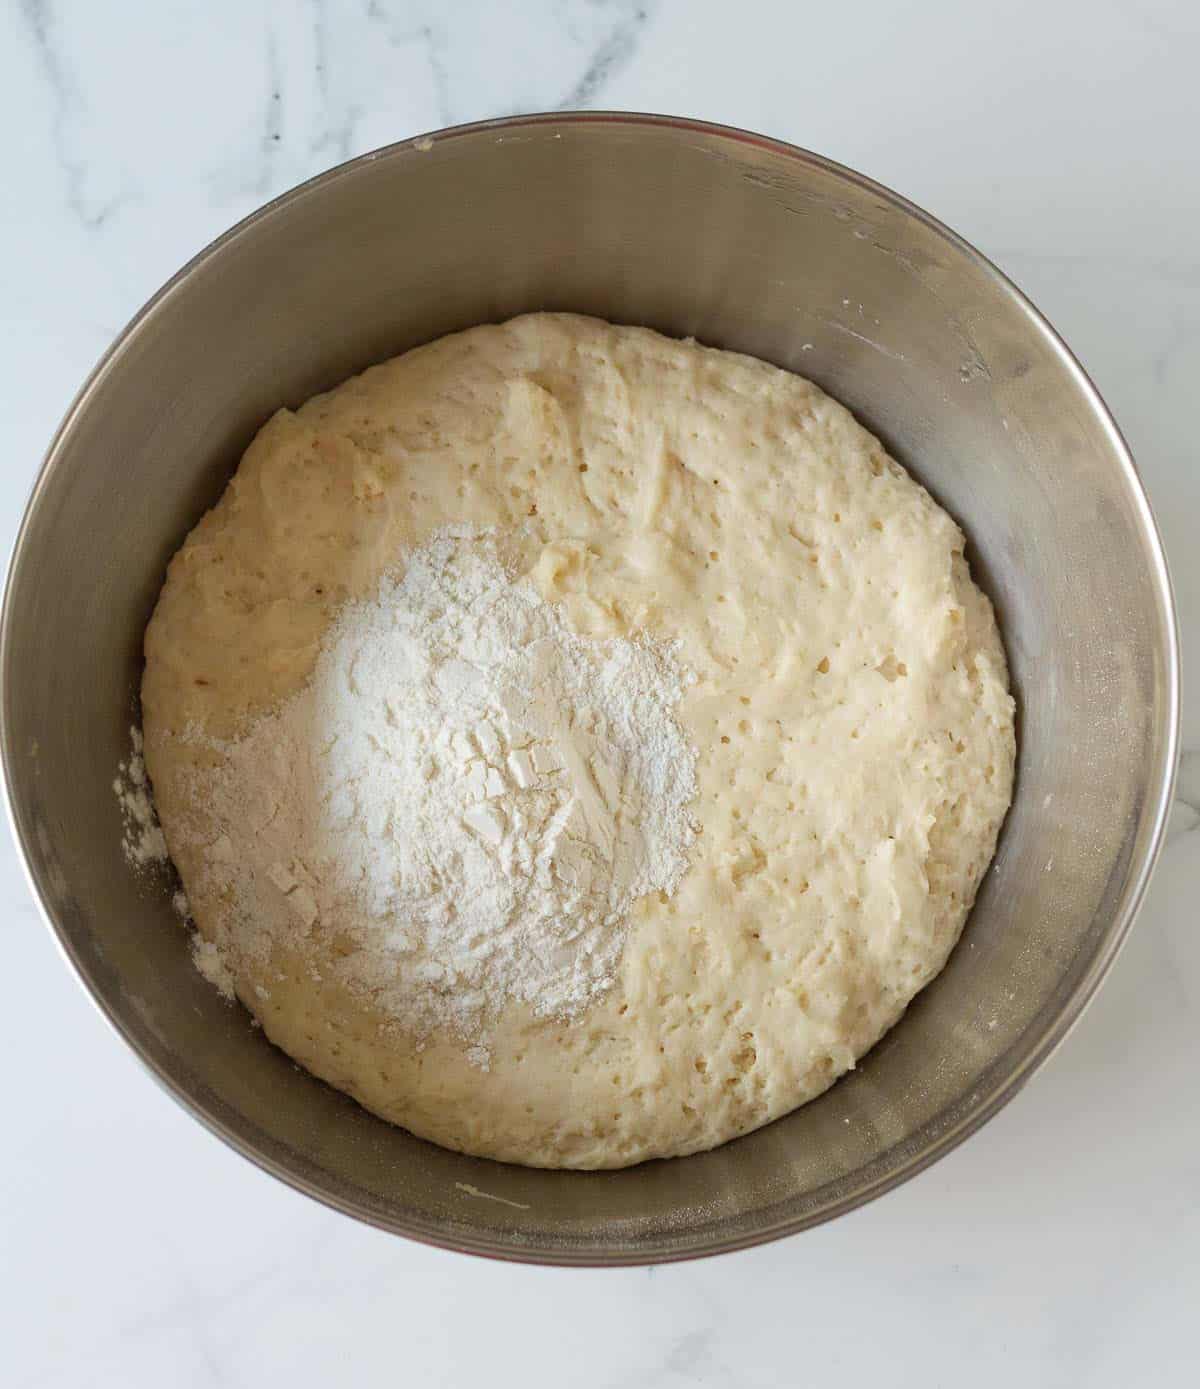
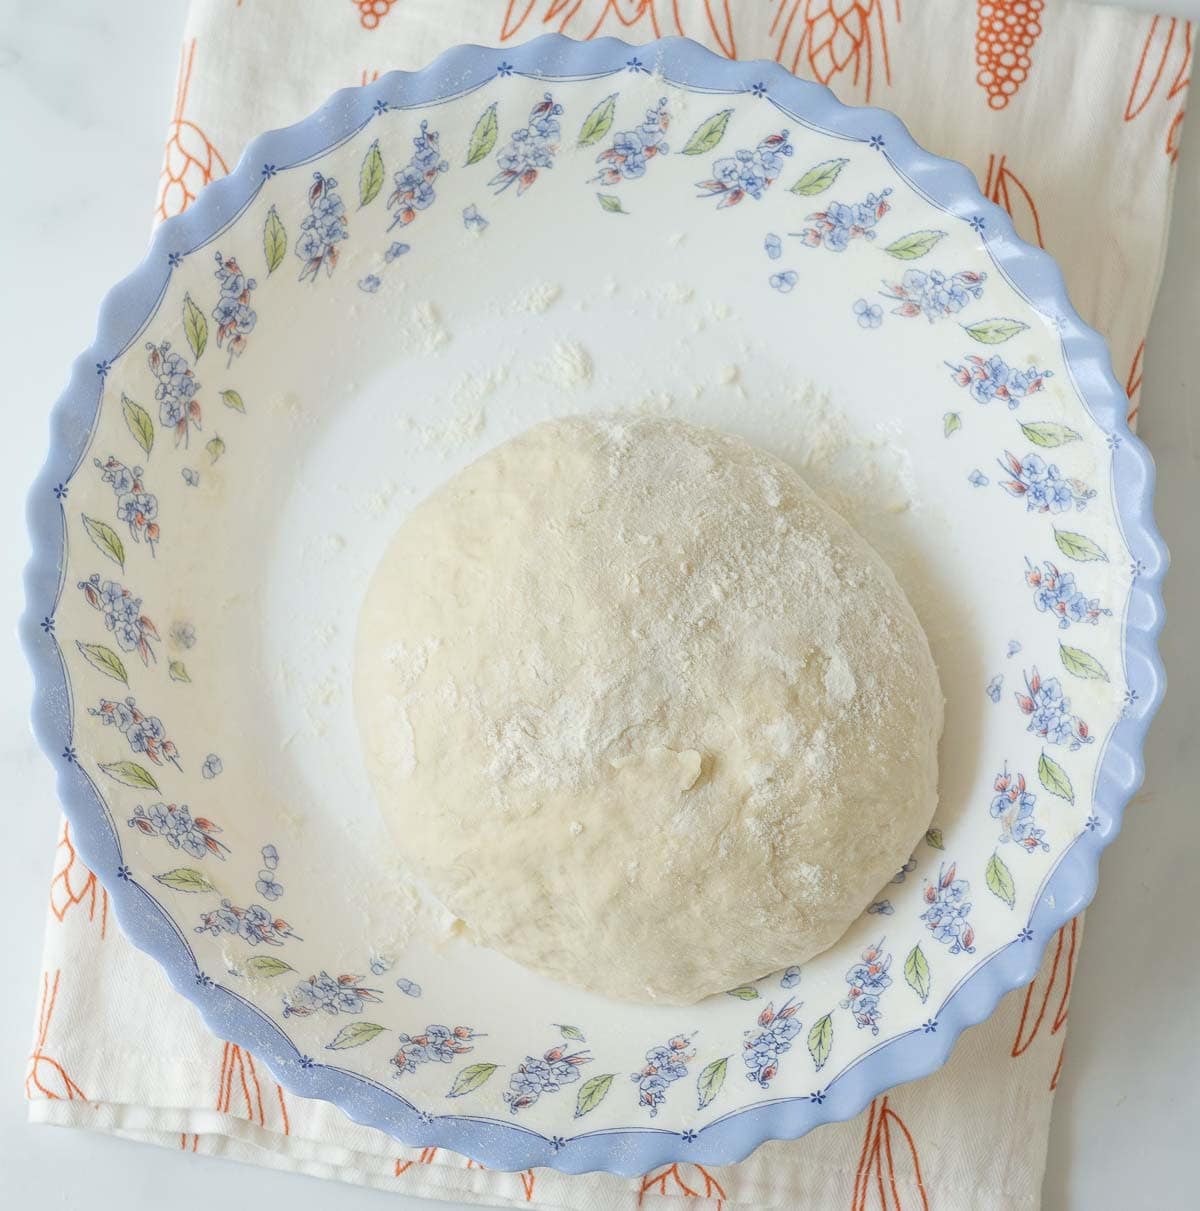
Step 5: The dough is ready to use now, but I like to rest it in a lightly greased bowl for 10-15 minutes. Cover with a damp kitchen towel.
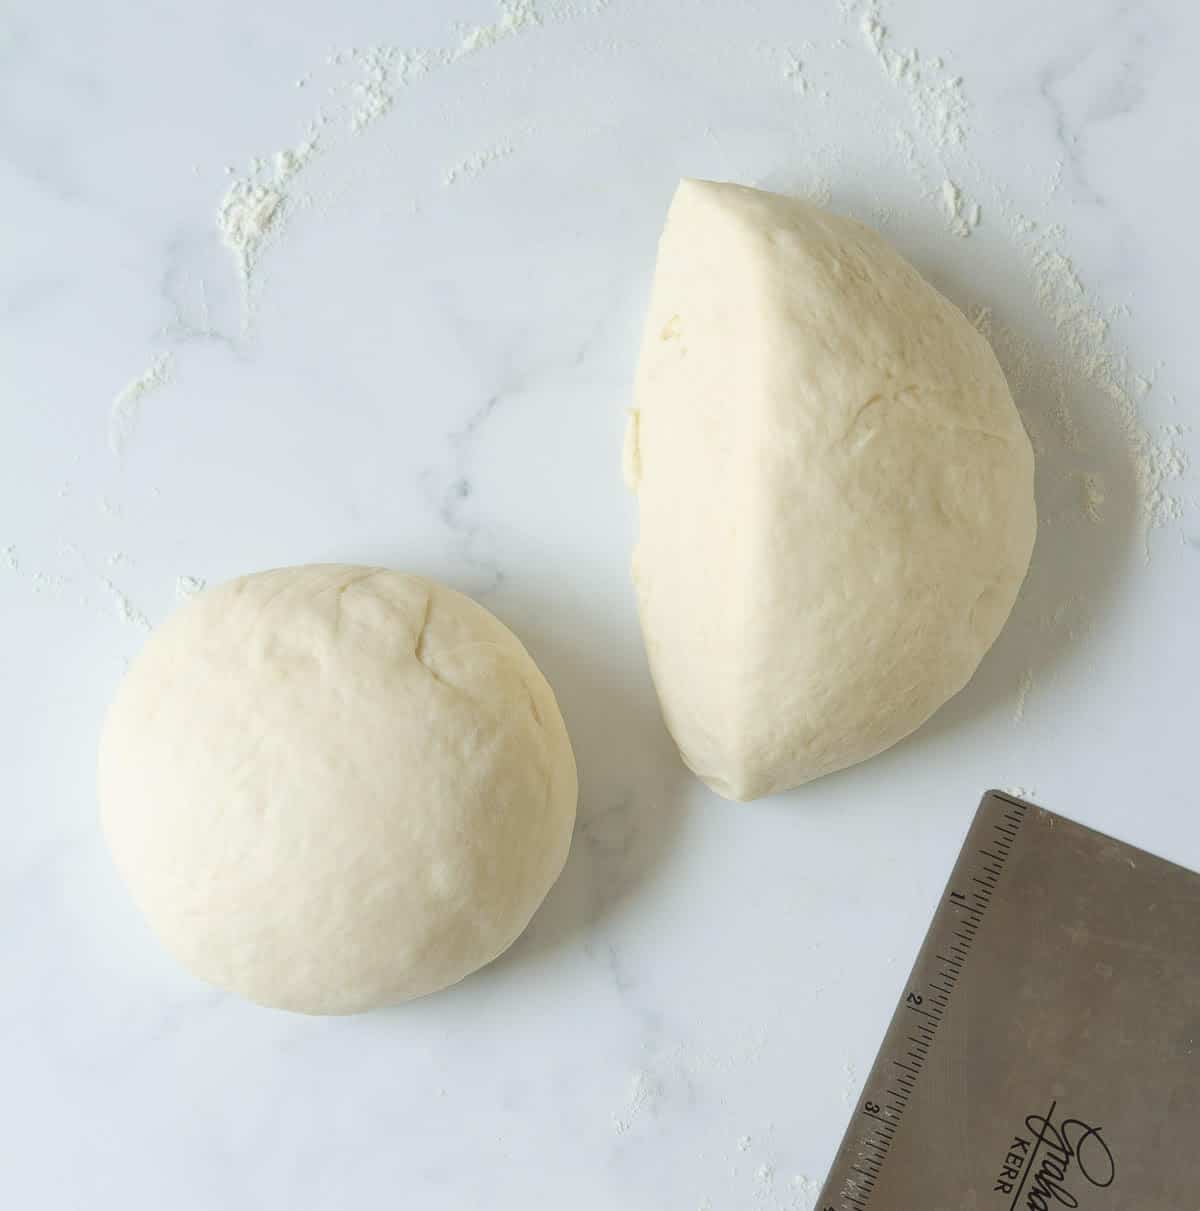
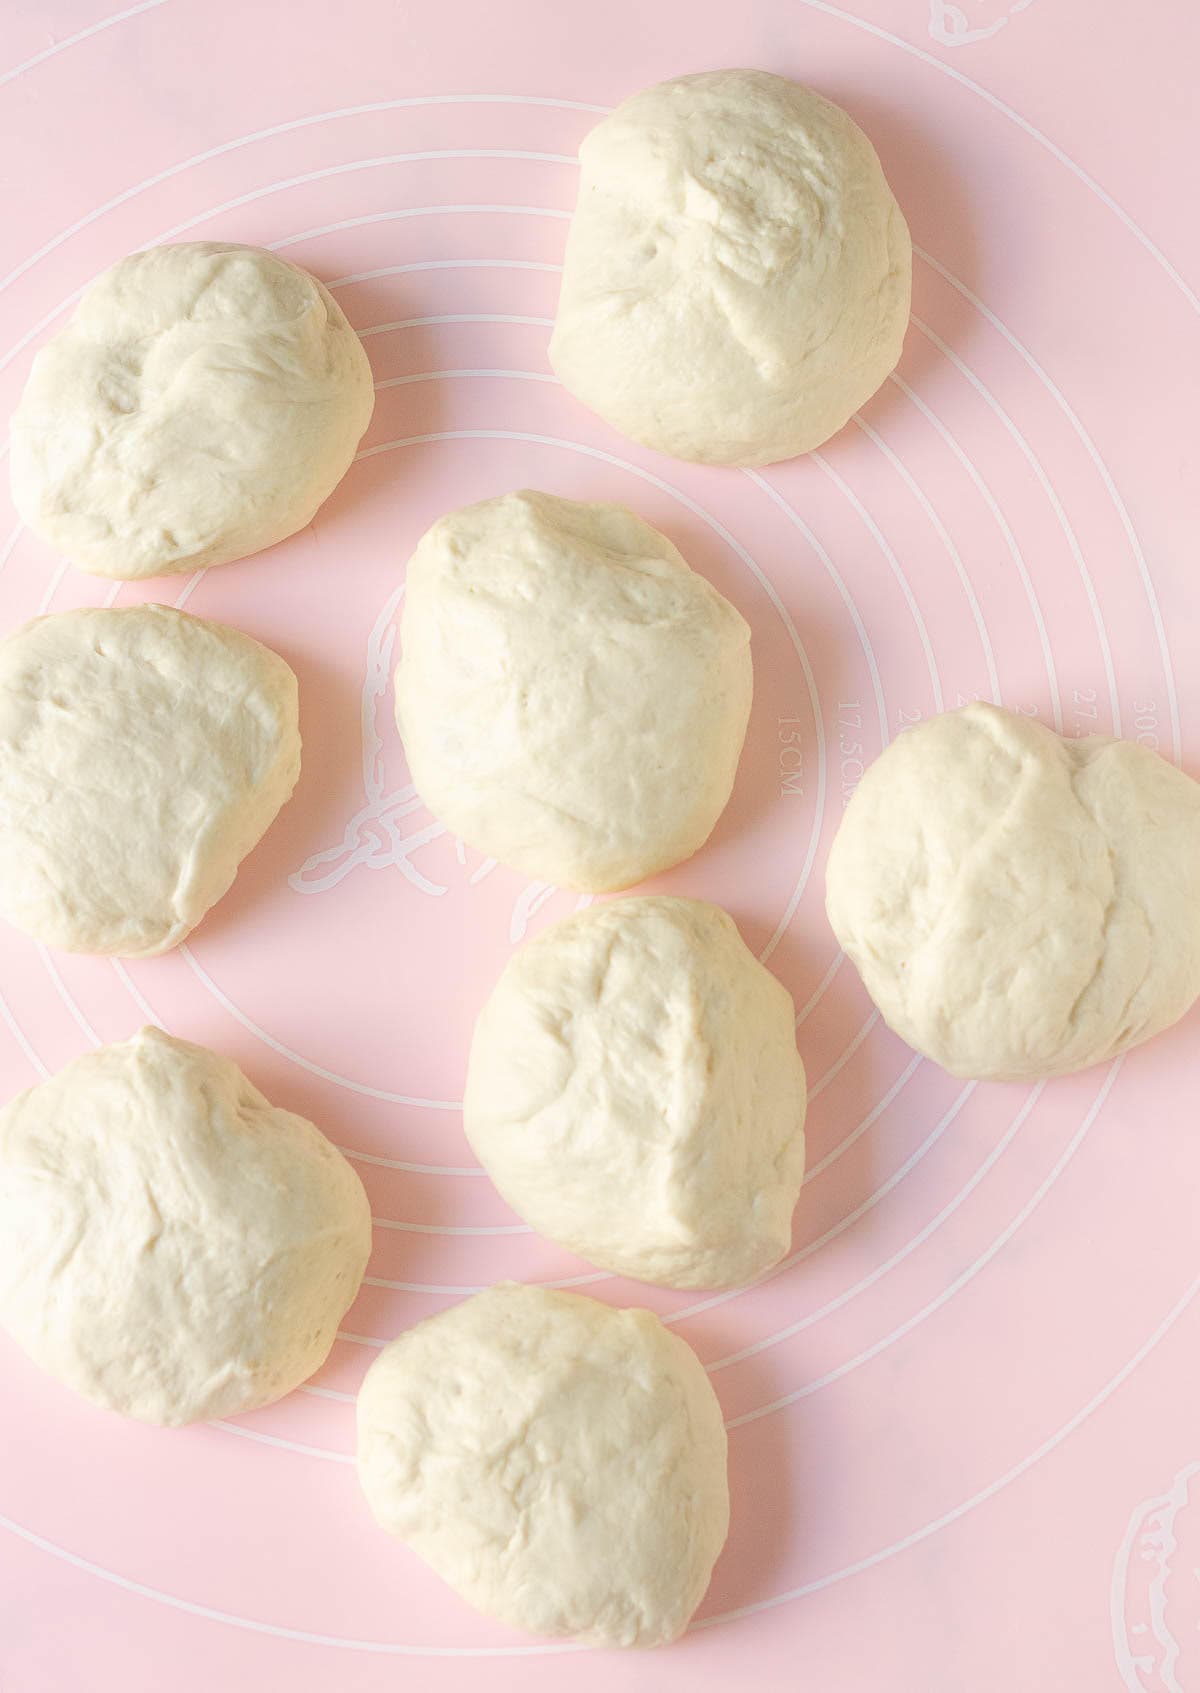
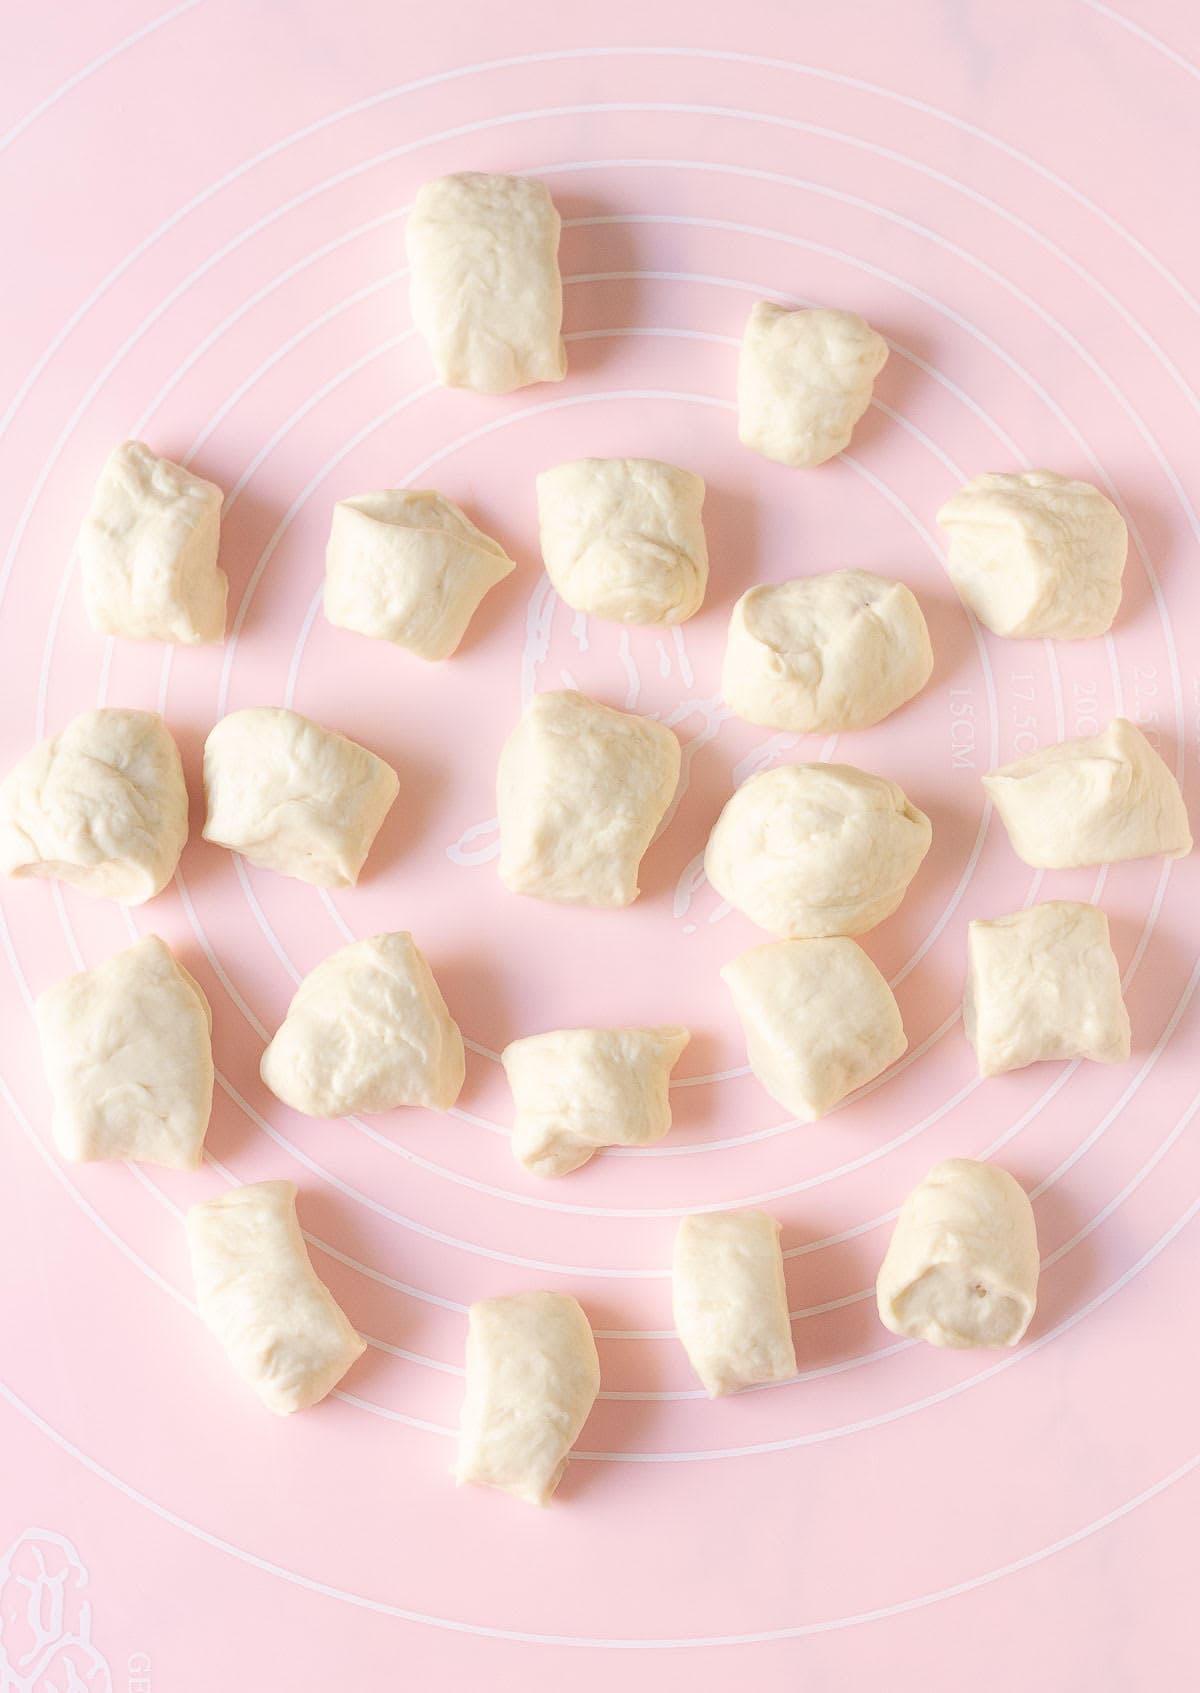
Step 6: Preheat the oven and line a baking tray with parchment paper. Turn out the rested dough on a lightly floured surface. Divide into 2 halves.
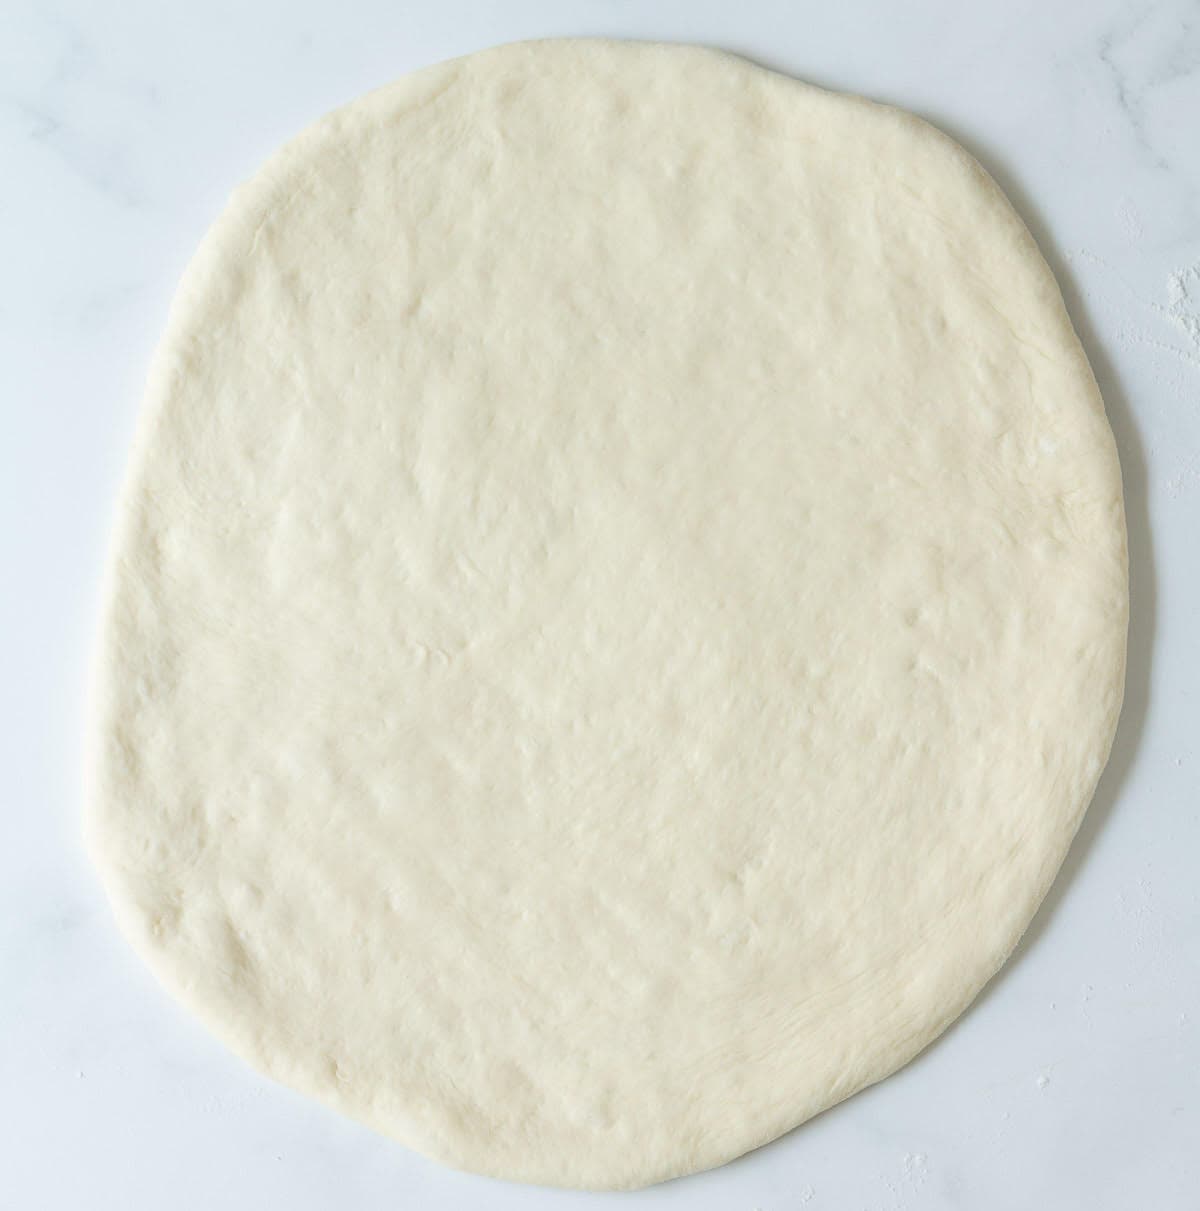
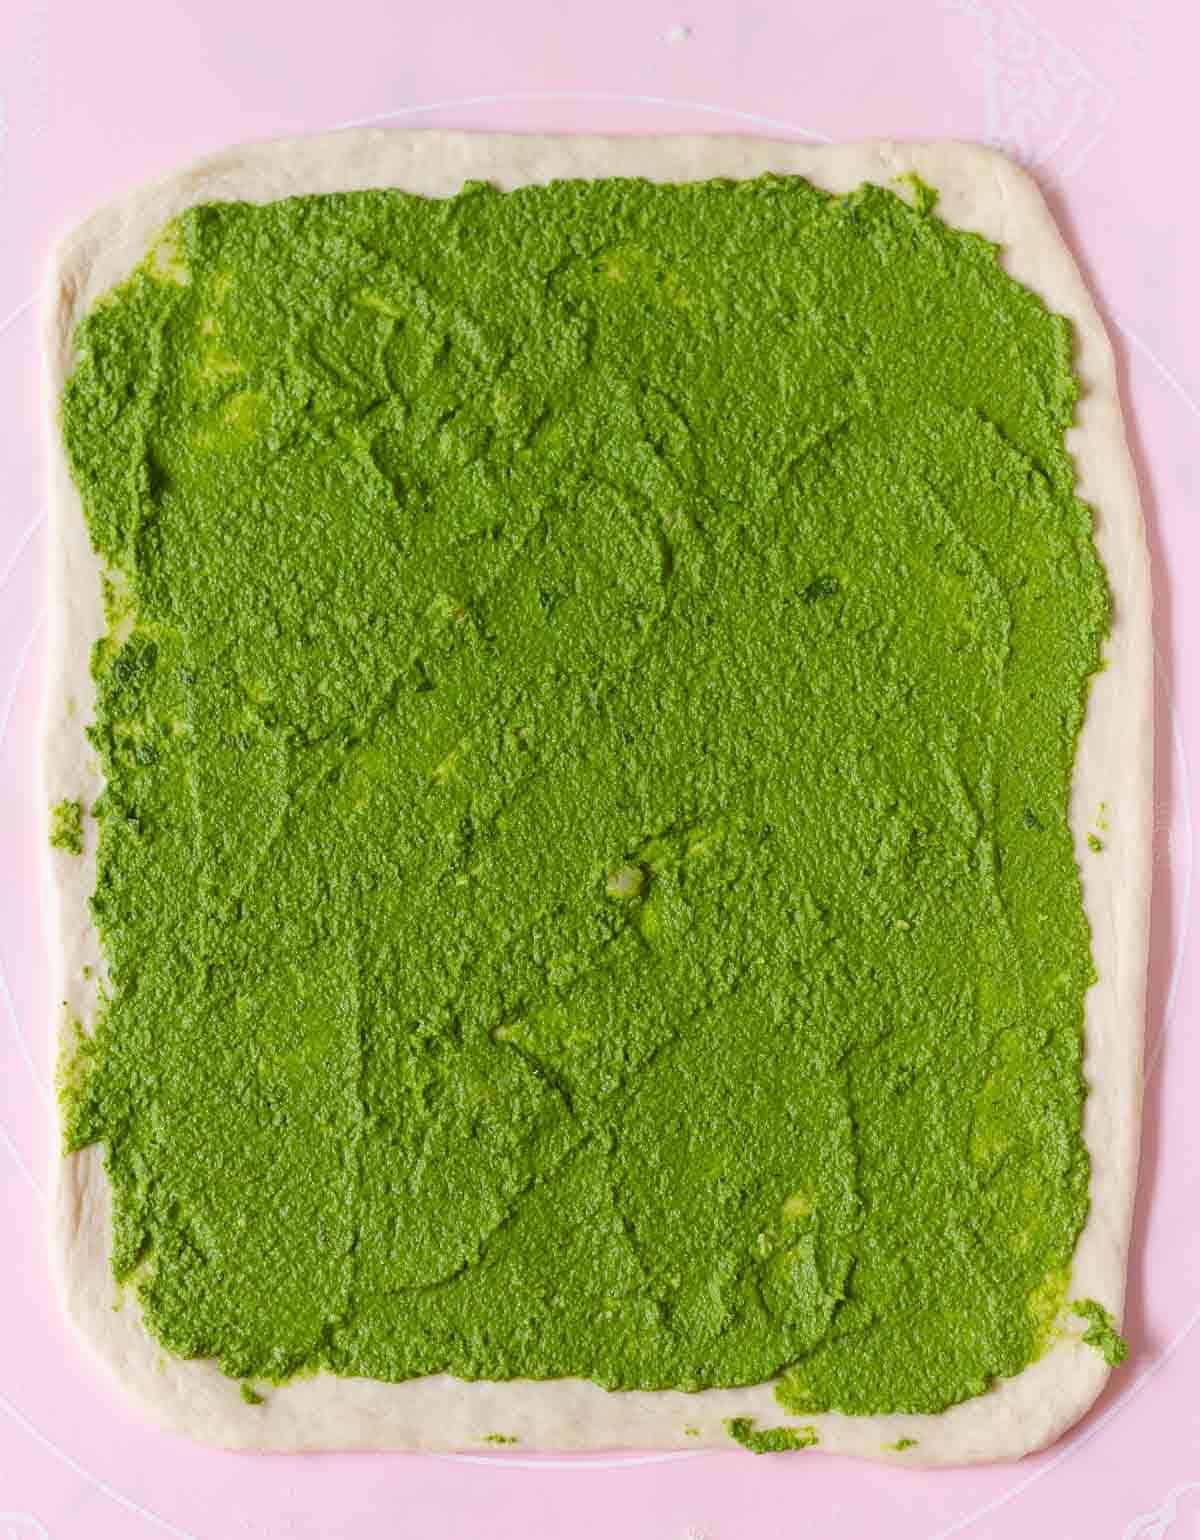
Step 7: Working with one half at a time, roll it into a 10-inch circle.

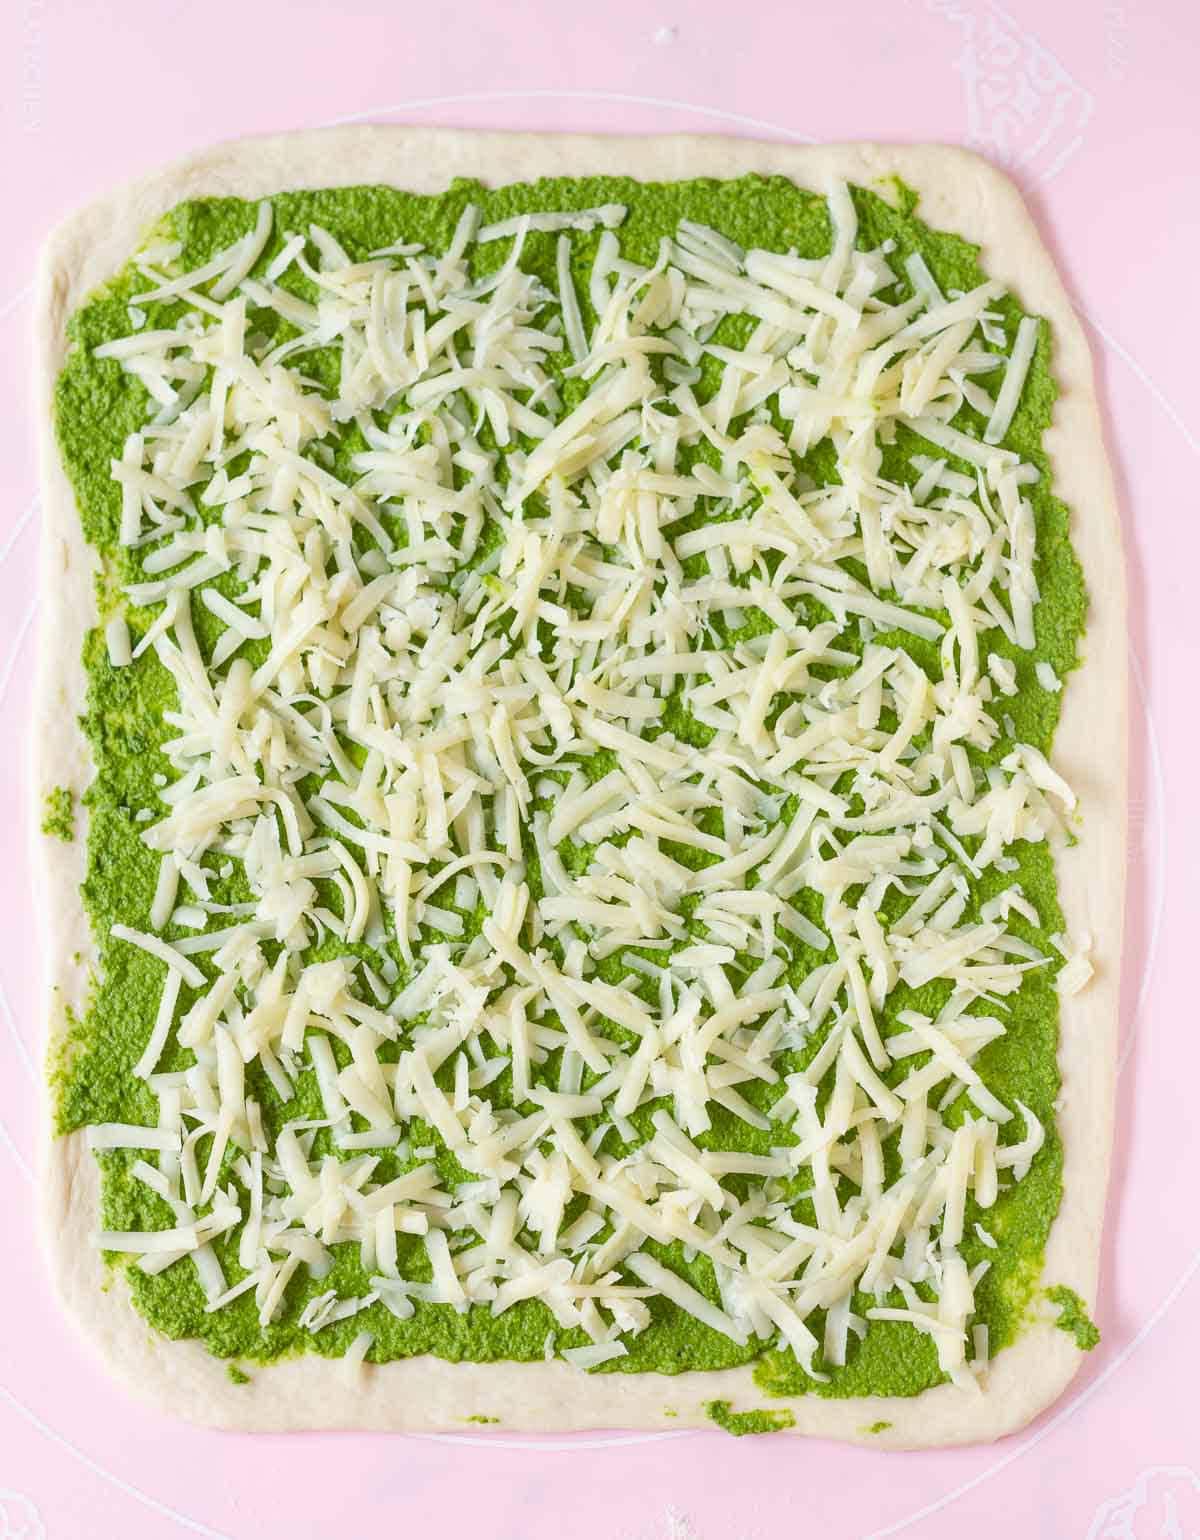
Step 8: Carefully place the dough on your prepared sheet. Top with homemade tomato sauce, grated mozzarella, and your favorite toppings.

Step 9: Bake for 12-15 minutes or until the crust is golden brown.

Top Tips
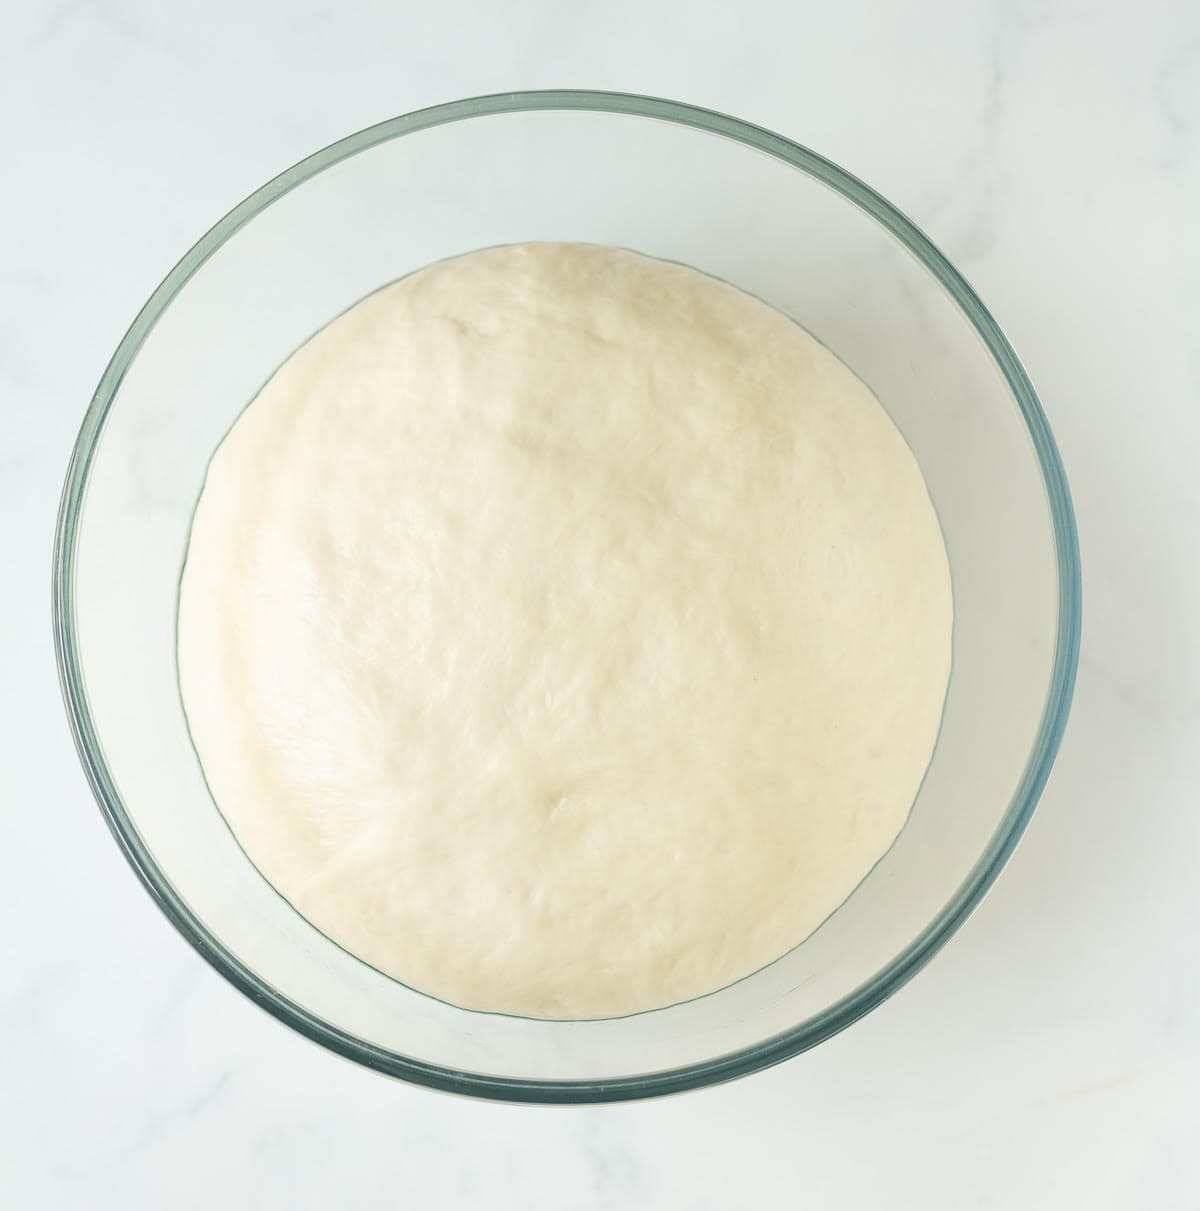
- The dough comes together very quickly and needs no time to rise. But I do recommend resting the dough for at least 10-15 minutes. This gives the dough time to relax, making it easier to shape.
- If you have the time, proof for an hour. Longer proof time will result in an airier, chewier, and more flavorful pizza crust.
- Don't add more flour than necessary to make a smooth, slightly sticky dough. A soft dough gives a thicker, lighter, crispy crust.
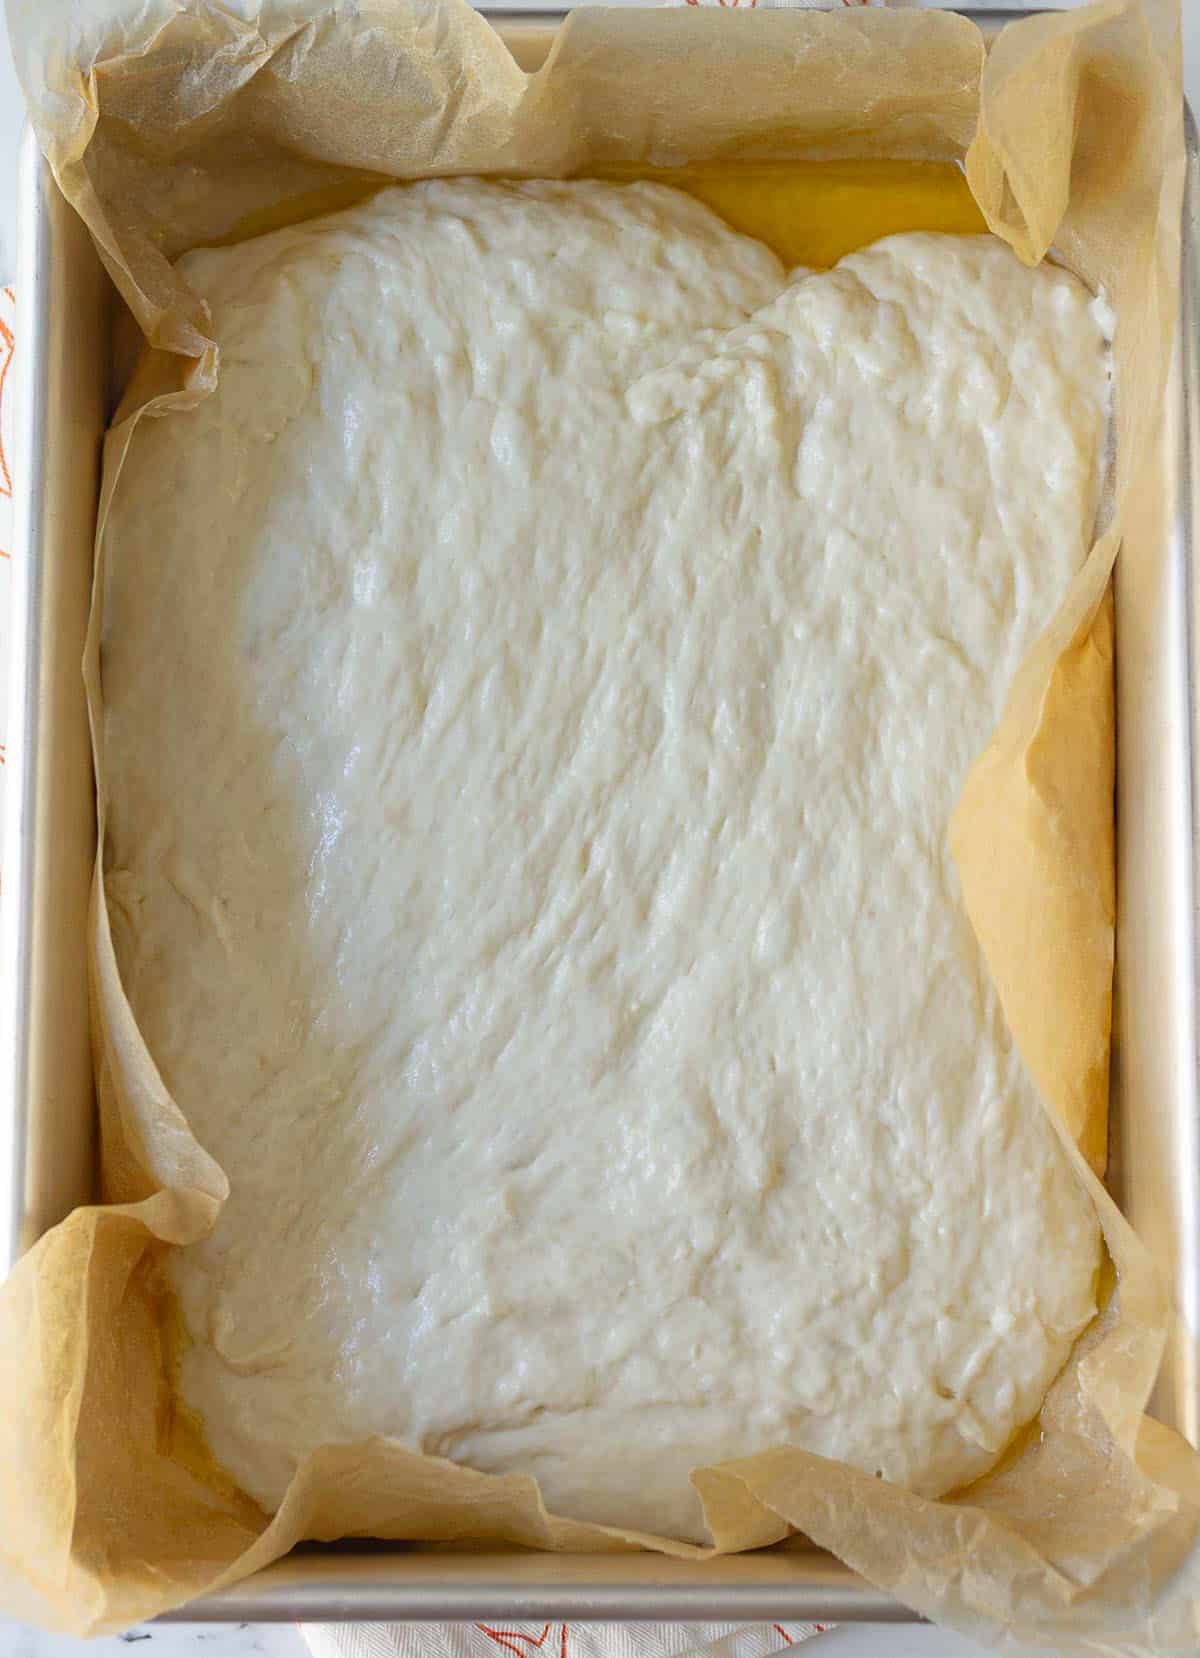
- This recipe makes 2 10-12" pizzas. You can also make one large sheet pan pizza or 5-6 small pizzas.
- I bake my pizzas on a baking tray. But you can also bake them on a hot baking steel, pizza stone, or a cast iron skillet to make a cast-iron pizza.
- For the crispiest crust, preheat your oven properly before baking. A hot oven gives the dough a better oven spring and a beautiful golden color.

Recipe FAQs
This homemade pizza dough can be made ahead of time. After kneading, place the dough in a lightly oiled bowl. Cover with plastic wrap and refrigerate for up to 2 days. Bring it to room temperature before shaping.
Yes, this dough can be easily frozen. Wrap the dough tightly and freeze for up to 1 month. Thaw in the refrigerator. You can also pre-bake the crust without toppings for 4-5 minutes, cool, wrap tightly, and freeze.
Yes, you can. But even a 10-15 minute rest makes a big difference. It allows gluten to relax, making it easier to shape. This also gives yeast time to start working so the dough gets a better oven rise.
Pizza dough should feel soft and slightly sticky. But if your dough is too sticky to handle, add a little flour, one tablespoon at a time.
Yes. Instant yeast can be mixed directly with the flour. It does not need to be dissolved in water first. Use the same amount mentioned in the recipe.

More Easy Flatbreads


Did you try this recipe? I'd love to hear how it turned out. Please drop a comment below or reach out on Instagram, Pinterest, YouTube, or Facebook. I hope you love this easy and quick pizza dough recipe as much as we do!
📖 Recipe

Quick Pizza Dough
Ingredients
- 1 cup Water
- 1 tbsp Active dry yeast
- 1 tbsp Sugar
- 1 tbsp Olive oil
- 2.5 cups All-purpose flour, divided
- 1 tsp Salt
Instructions
- Combine water, yeast, and sugar in a small bowl. Set aside for 5-10 minutes until bubbly.1 cup Water, 1 tbsp Active dry yeast , 1 tbsp Sugar
- In a large bowl, combine 2 cups of flour and salt.2.5 cups All-purpose flour, divided, 1 tsp Salt
- Add the yeast mixture and olive oil. Stir to combine until the dough starts to come together. If your dough is very wet, add the remaining 1/2 cup of flour as needed to form a rough ball. 1 tbsp Olive oil, 2.5 cups All-purpose flour, divided
- Transfer the dough to a floured surface and knead for 5-6 minutes until smooth and slightly sticky to the touch.Add extra flour, 1 tablespoon at a time, if needed while you are kneading.You can also knead the dough in your stand mixer.
- The dough is ready to use now. But I do recommend resting the dough for 10-15 minutes in a lightly greased bowl.Make sure the bowl is covered with plastic wrap or a damp kitchen towel to prevent the dough from drying out.If you have the time, let it proof for up to 1 hour.
- Preheat the oven to 250 C / 482 F. Line your baking tray with parchment paper.
- Divide the dough into 2 halves. Working with one half at a time, roll it into a 10-inch circle. Transfer carefully to the prepared tray.Top with tomato sauce, grated cheese, and your favorite toppings.
- Bake at 250 C / 482 F for 14-15 minutes or until the bottom of the crust is golden brown.
- Let the pizza rest for 5-10 minutes, slice, and serve. Enjoy!
Video
Notes
- The dough comes together very quickly and needs no time to rise. But I do recommend resting the dough for at least 10-15 minutes. This gives the dough time to relax, making it easier to shape.
- If you have the time, proof for an hour. Longer proof time will result in an airier, chewier, and more flavorful pizza crust.
- Don't add more flour than necessary to make a smooth, slightly sticky dough. A soft dough gives a thicker, lighter, crispy crust.
- This recipe makes 2 10-12" pizzas. You can also make one large sheet pan pizza or 5-6 small pizzas.
- I bake my pizzas on a baking tray. But you can also bake them on a hot baking steel, pizza stone, or a cast iron skillet to make a cast-iron pizza.
- For the crispiest crust, preheat your oven properly before baking. A hot oven gives the dough a better oven spring and a beautiful golden color.