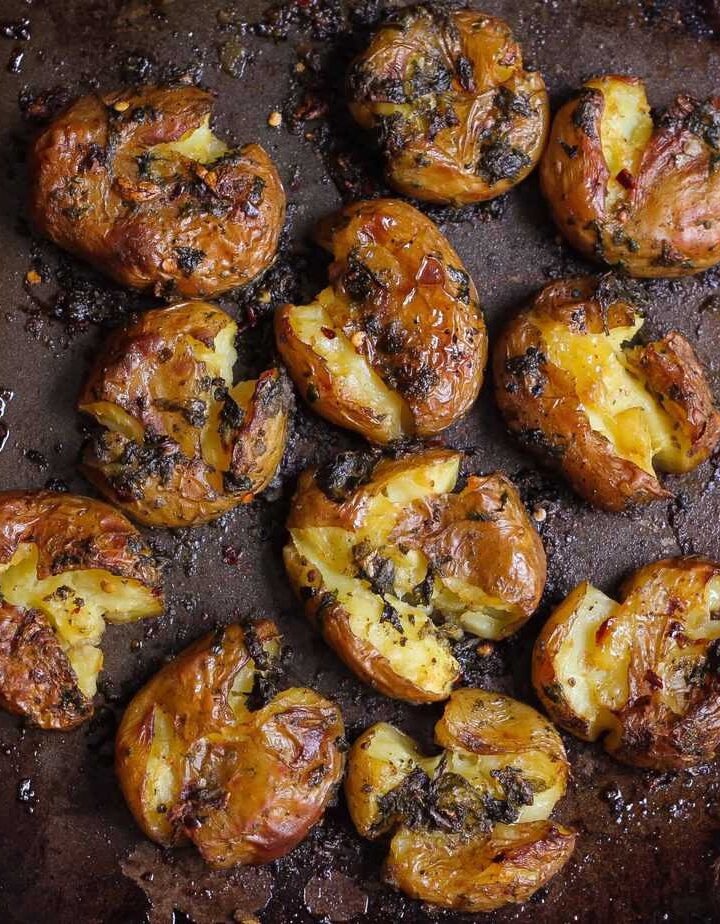
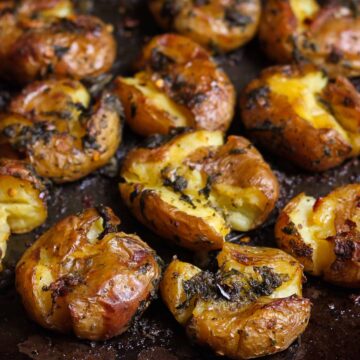
Hello, potato lovers! Get a load on these super crispy Garlic Basil Smashed Potatoes! Flavorful and fun to make, these crispy golden potatoes are a perfect side dish for your parties or weeknight dinners.

You are in for a real treat with these Garlic Basil Smashed Potatoes. Crisp on the outside, tender creamy on the inside. The classic flavors of fresh basil and garlic in every bite make these taters so special. And the addition of sea salt takes it up another notch.
How To Make
This recipe couldn't be simpler. First, potatoes are boiled in salted water until soft. I like to use my trusty pressure cooker for this.
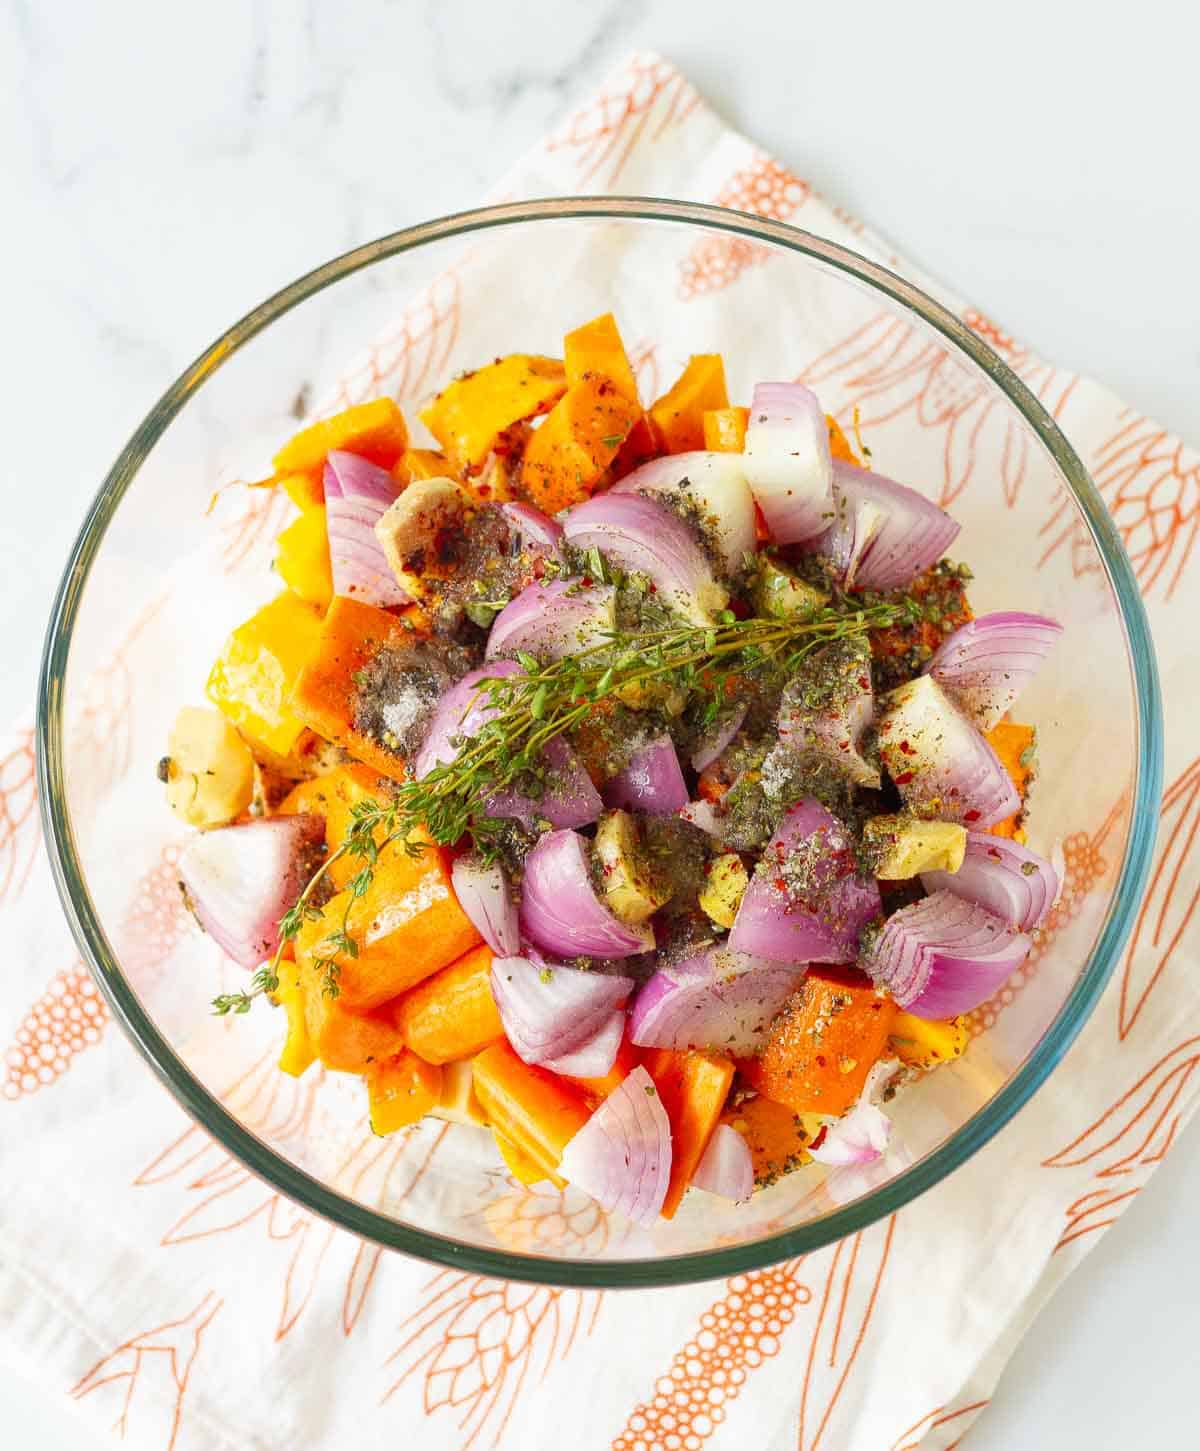
Then they are given a good massage with garlic basil paste.
Now the most satisfying part - smashing them with the palm of your hands! A fork will work well too. Since they only need to be flattened, make sure they aren't completely smashed! Also, don't worry about making them perfect..they are meant to be rustic and all scraggy...just adds to the charm!
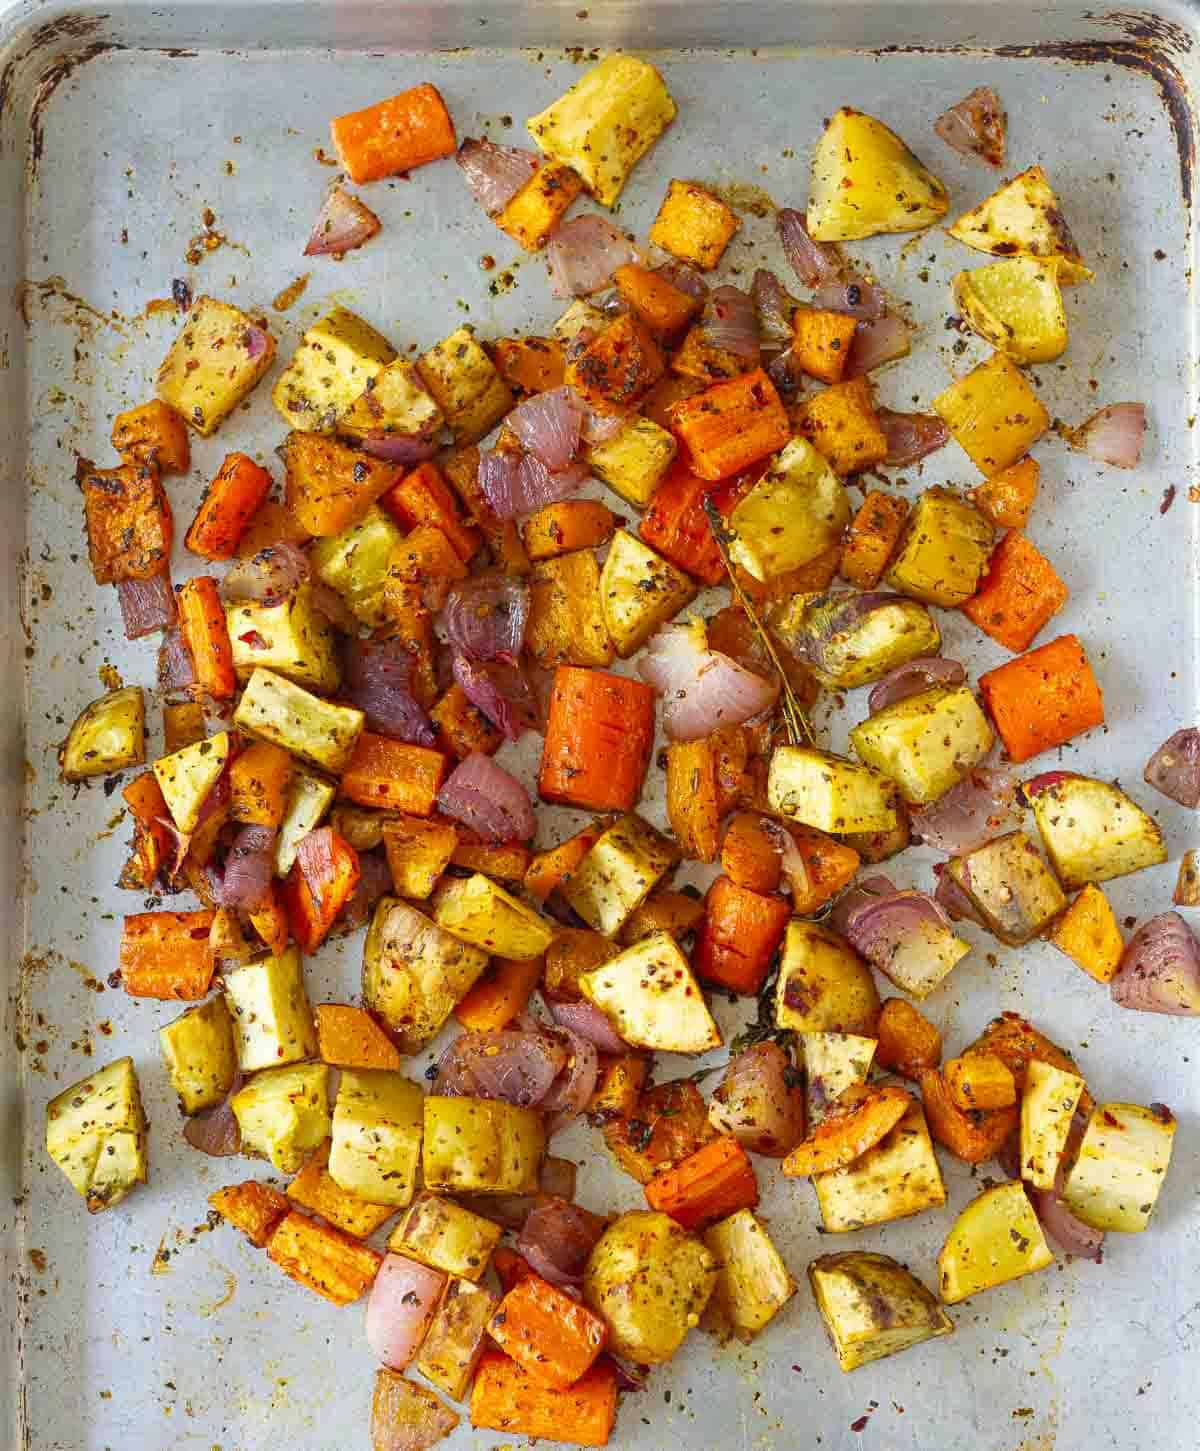
These taters are then baked for about 30 minutes till they are crisp and golden on the outside and tender, and buttery soft on the inside.


How Can I Serve These Smashed Potatoes
While these potatoes are wonderful eaten on their own, you could serve them any dip of your choice. Try my creamy avocado dip, whipped feta dip, or roasted pepper cashew sauce.
A drizzle of gochujang mayo, Yum Yum sauce, or spicy sambal oelek would add so much pizzaz!
You can even sprinkle some cheese on top before roasting them.
A dollop of sour cream or cashew ricotta cheese on top would be lovely. Add some dill to that, and you'll be in heaven!
You can use any herb you like - thyme, rosemary, mint. Use butter instead of olive oil. The flavor and serving combinations here are only limited by your imagination.
They are a gorgeous side dish you can serve with any main dish, be it meat, roast chicken, some grilled fish, a vegetable bake, pan-fried paneer, or tofu.
Serve them atop a roasted chickpea salad or lentil millet salad to make the salad heartier!

So, do give these delectable and healthy garlic basil smashed potatoes a try. Even if you're not a potato fan, you'll be addicted to them in no time, I promise!


📖 Recipe
Garlic Basil Smashed Potatoes
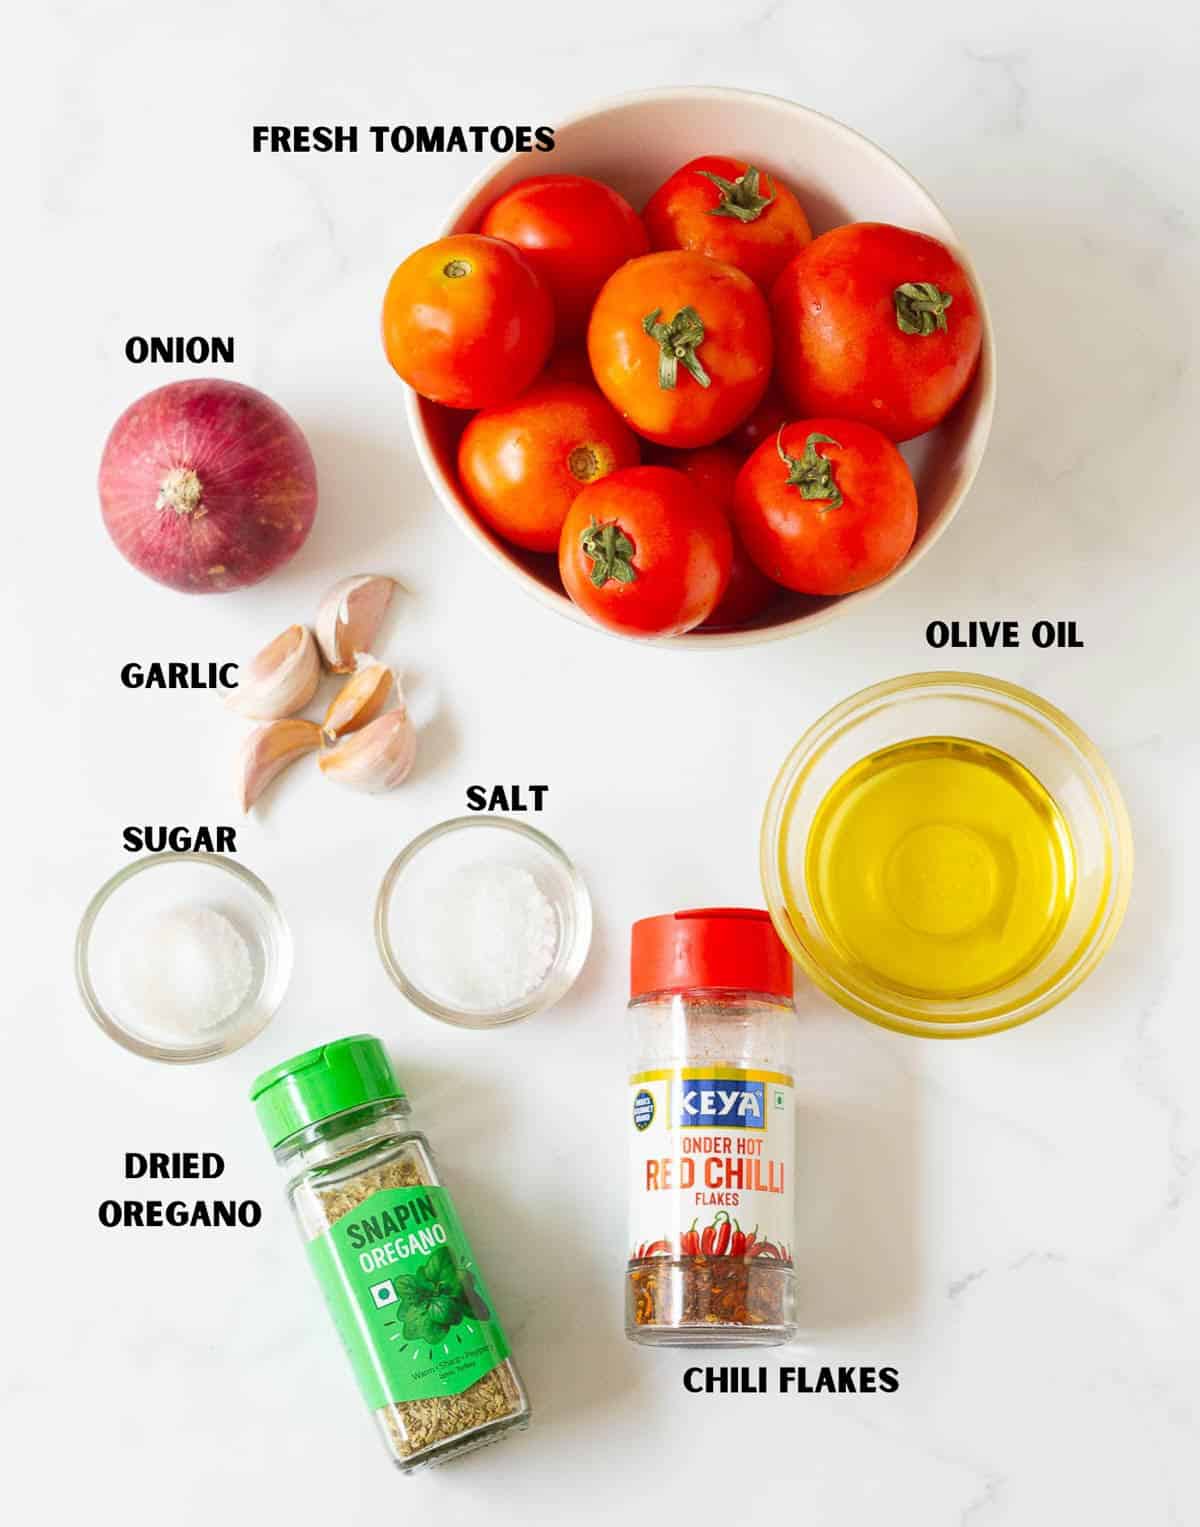
Ingredients
- 10- 12 small Potatoes
- 1/4 cup Fresh Basil Leaves
- 4 Garlic cloves
- 1 tsp Black pepper, coarsely ground
- 1/2 tsp Red Chilli Flakes
- 2 tbsp Extra virgin Olive oil
- Sea salt to taste
Instructions
- Boil the potatoes in salted water until soft and cooked through. I used my pressure cooker, which cooked the potatoes in 15 minutes. You can boil in a pot filled with water for 20-30 minutes, depending on the size of your potatoes. You can also steam or microwave them.
- Drain them and let them cool a bit.
- Preheat your oven to 225 C / 430 f and grease a baking tray. You could also line it with parchment paper or aluminum foil.
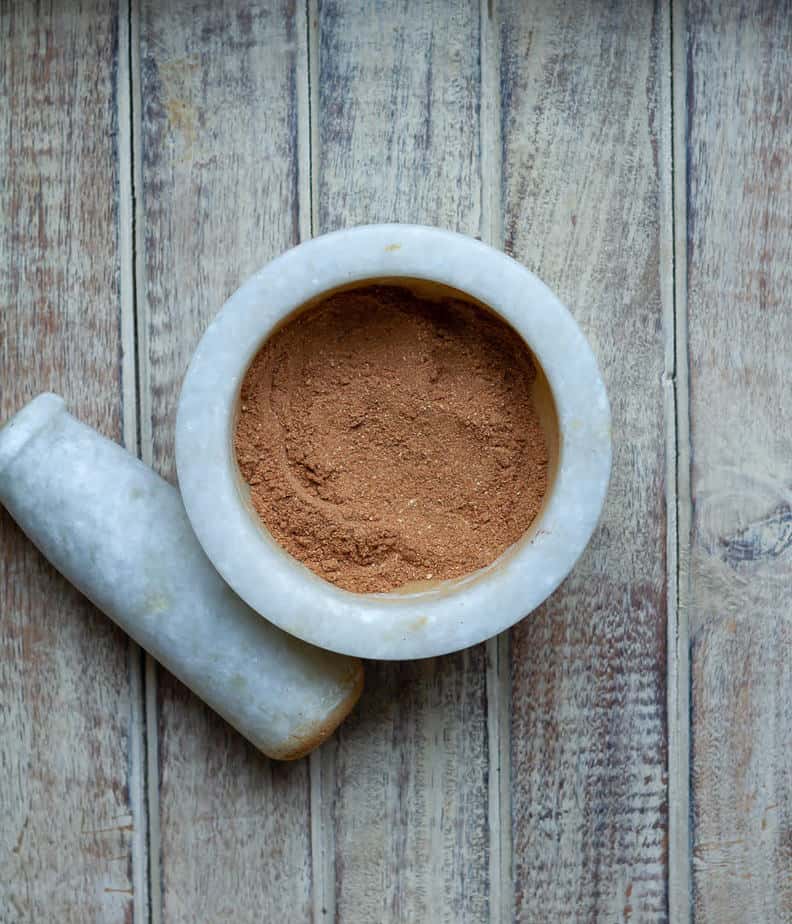
- Combine basil, garlic, red chilli flakes, pepper, salt, and olive oil in a mortar. Grind using a pestle until you get a paste. Don't worry about making it smooth. Alternatively, you could combine all ingredients in a food processor. Taste and adjust for seasoning.
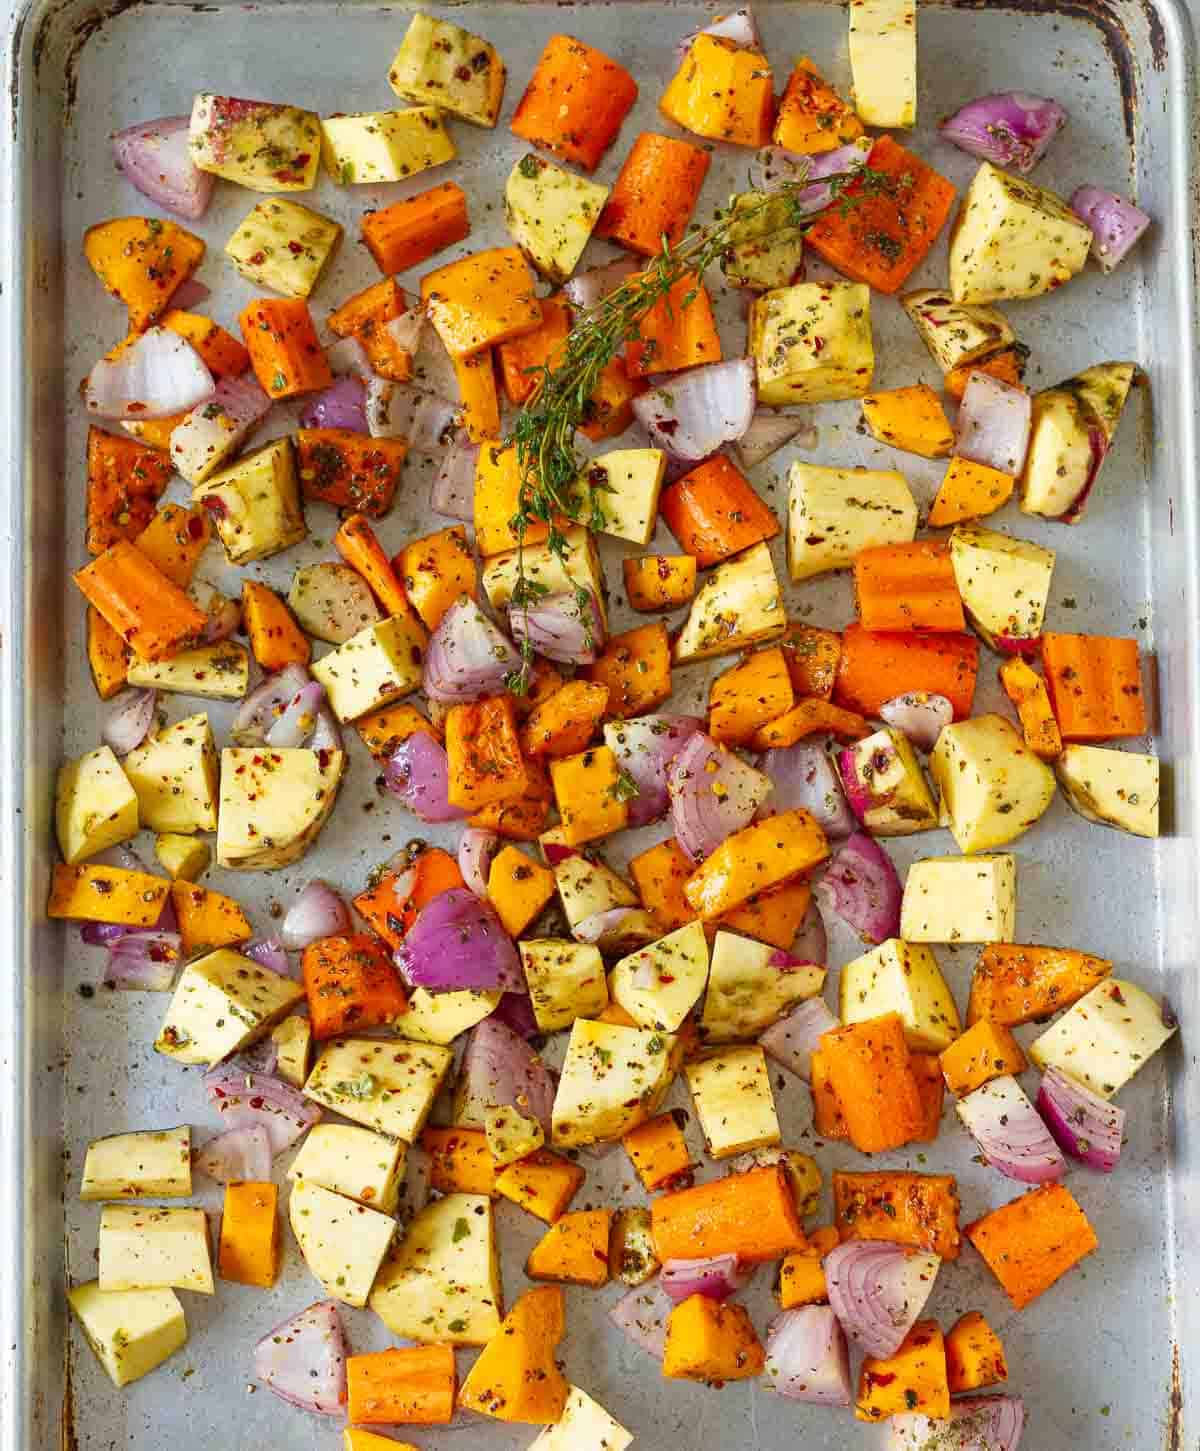
- Rub the boiled potatoes very well with half of this sauce. Now flatten them using the palm of your hand or a fork. Work the remaining sauce into the smashed potatoes, making sure every crevice gets the flavours in.
- Place on the prepared tray and bake at 225 C or 430 F for 30 minutes or until crispy and golden. Serve immediately and enjoy!