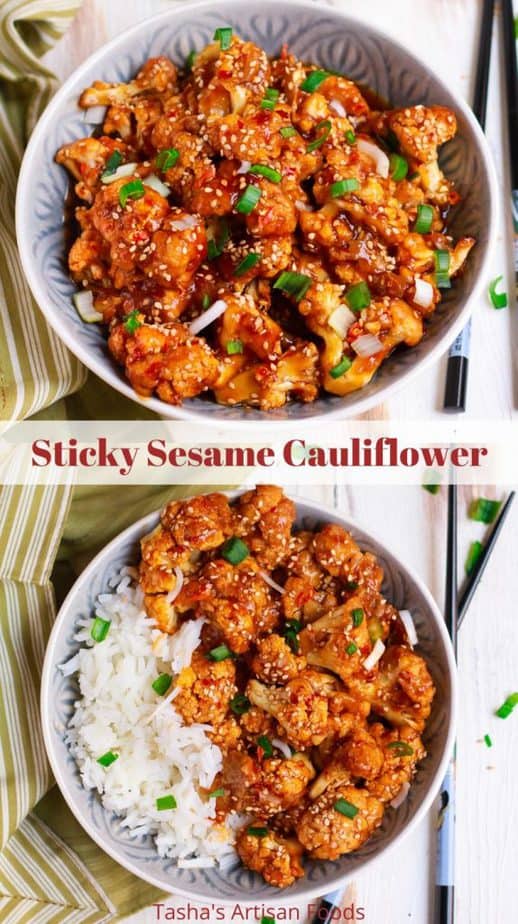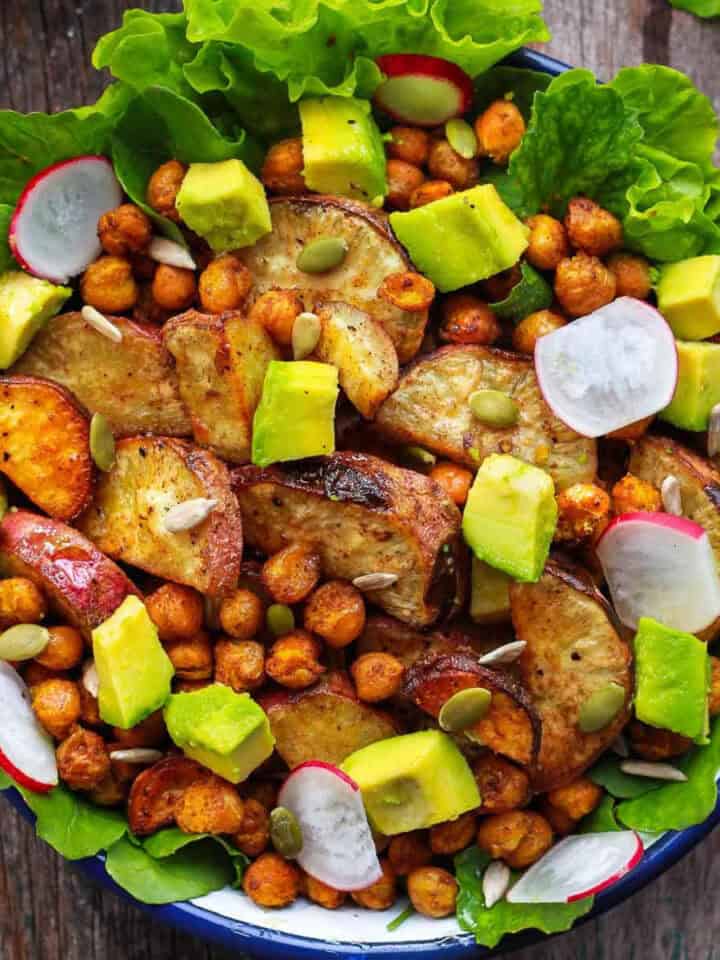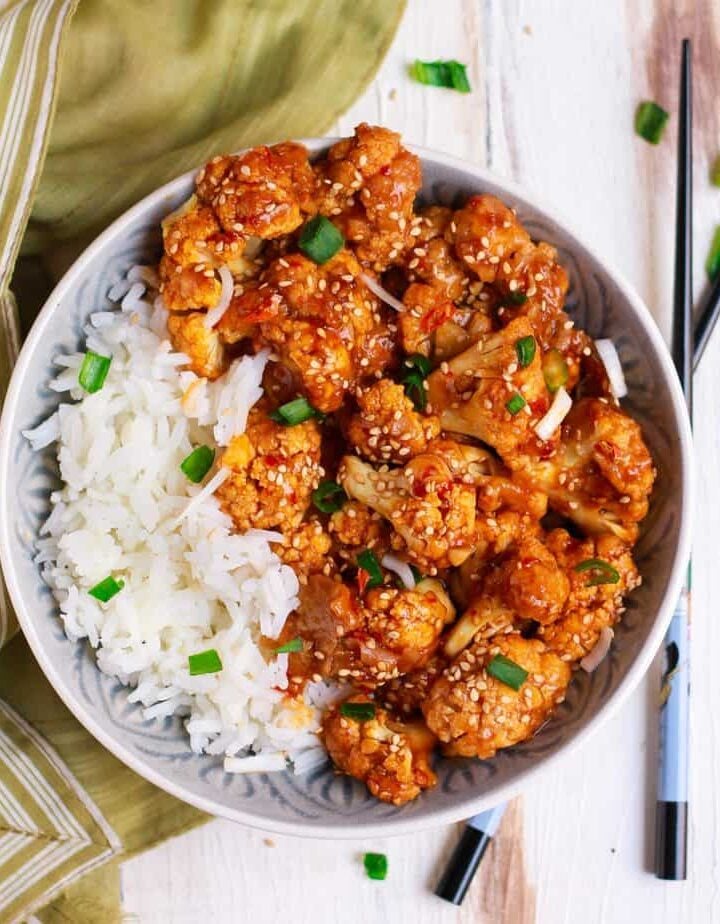
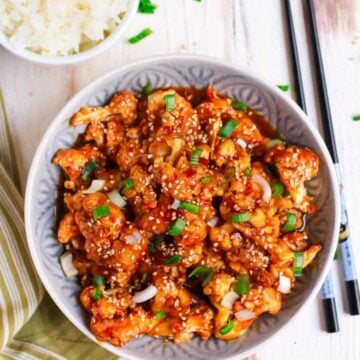
Crispy, crunchy, spicy, and sweet, the Sticky Sesame Cauliflower is as Asian as it can get. And it leaves you smiling in deep satisfaction.

Is it just my household or “can we order food, tonight?” a common refrain in yours too? Every other day one of my kids will try to guilt trip me into getting food delivered with their puppy dog eyes.
Considering I try the utmost to keep meals as healthy as possible, takeout is like a burr in my saddle. It is what spurred me to try recipes that are “better than takeout.” The first foray was with a delicious Raw Mango Rice and the second with a fantastic Spicy Tofu Stir Fry.
For my third attempt, I wanted an explosion of flavors that hit the craving for really good food bang on. Hence, the sticky sesame cauliflower recipe. So, shall we begin?

How to Make Sticky Sesame Cauliflower?
The sticky sesame cauliflower has been on my must-make list for a long while. With the vegetable in season, it was the perfect time to try it. My son insists it was the right time because he was tired of eating the same old ‘aloo-gobhi.’ Whatever the reason, the slightly hot, a little sweet and a whole lot delicious sticky sesame cauliflower was a total hit.
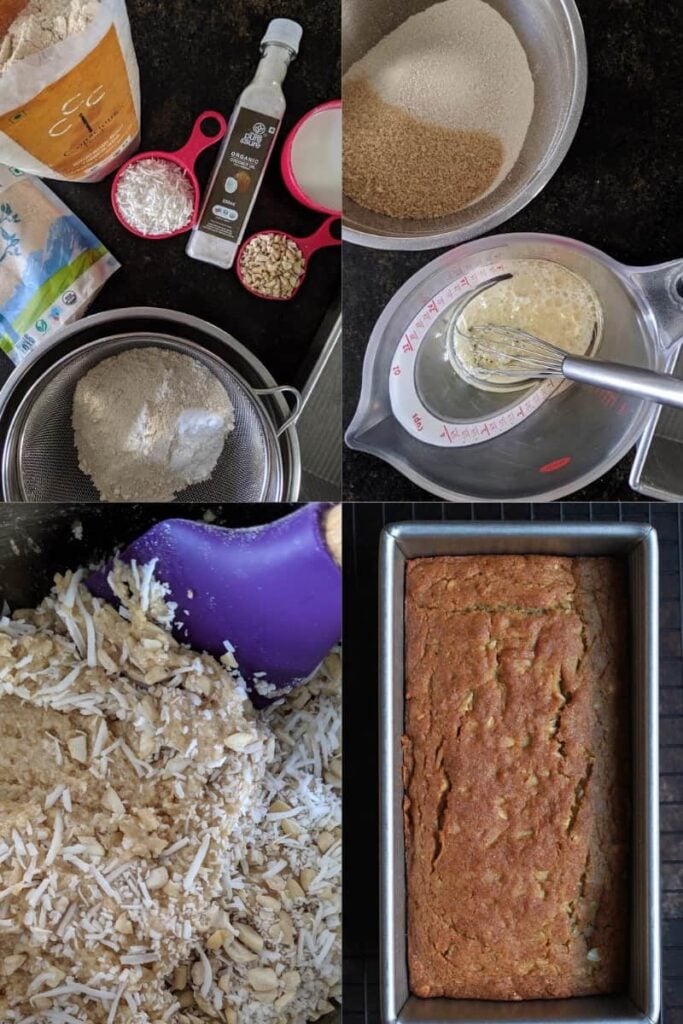
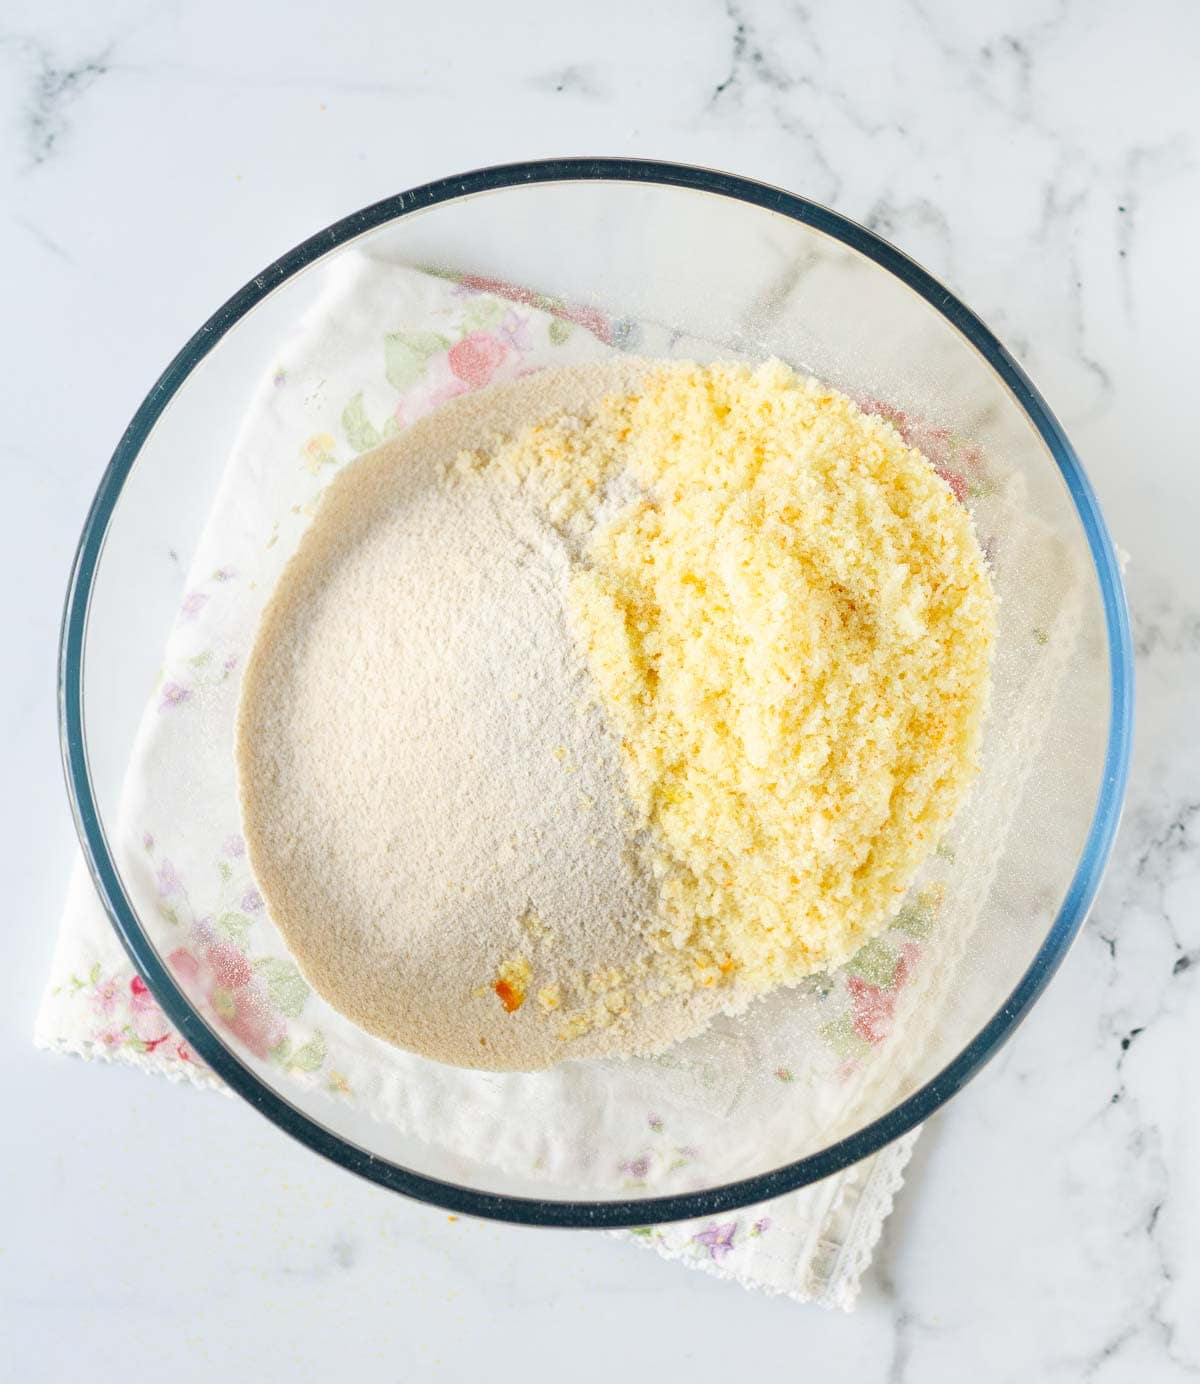
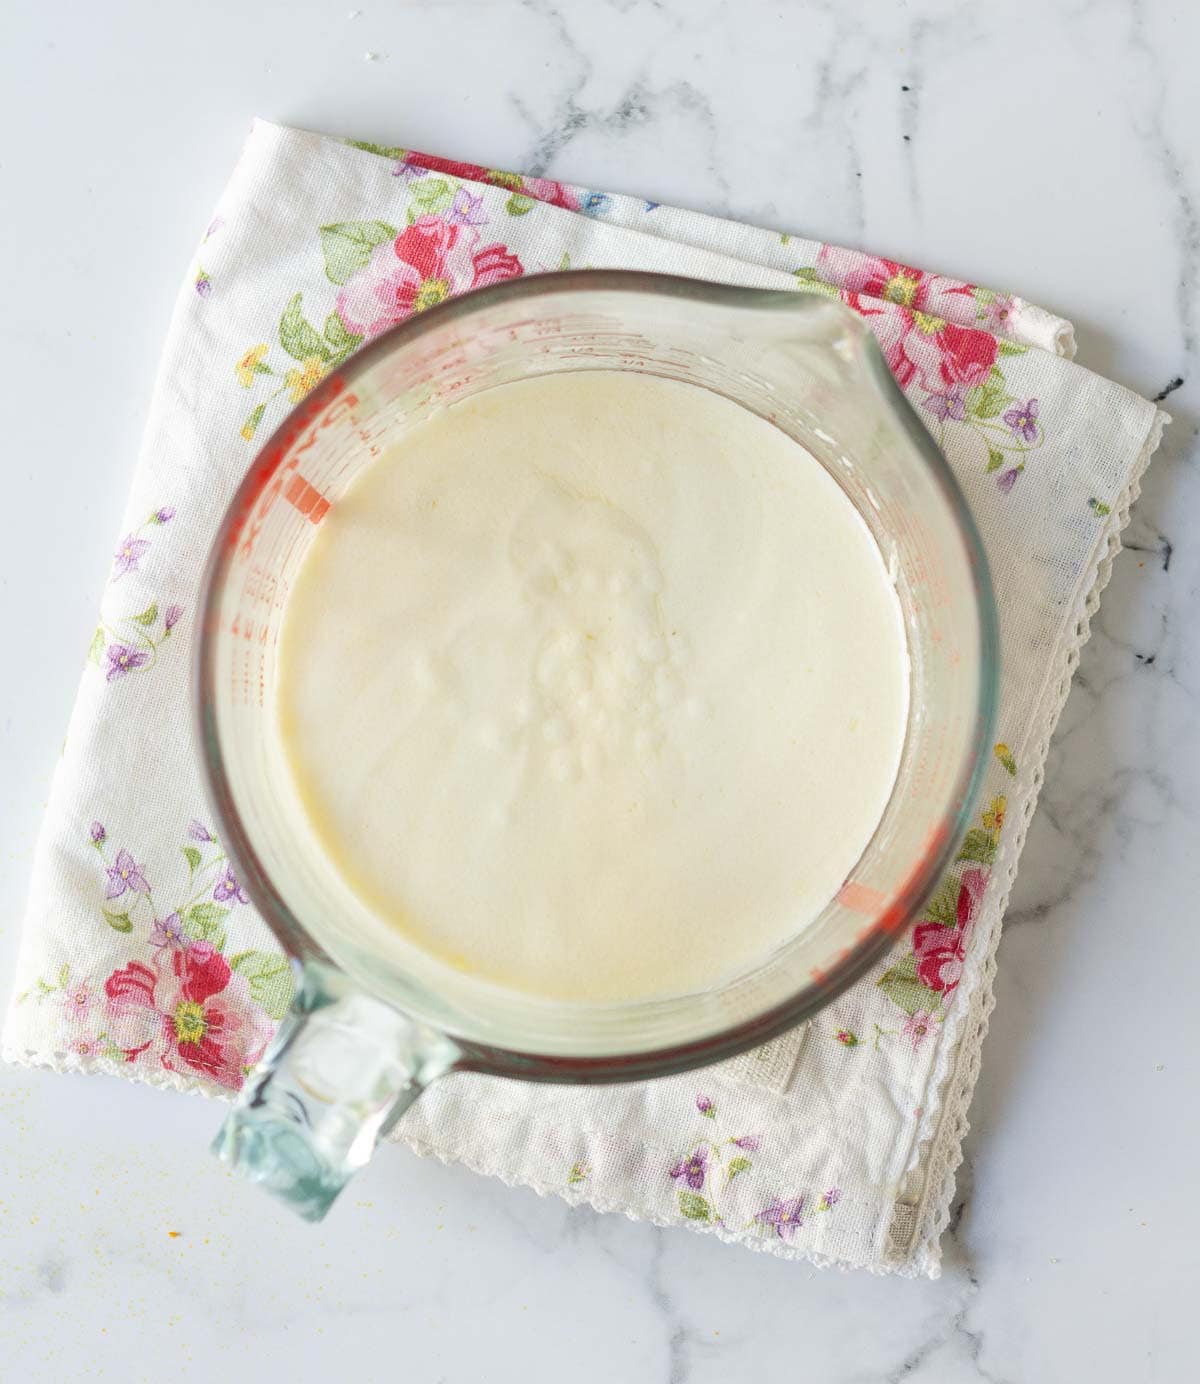
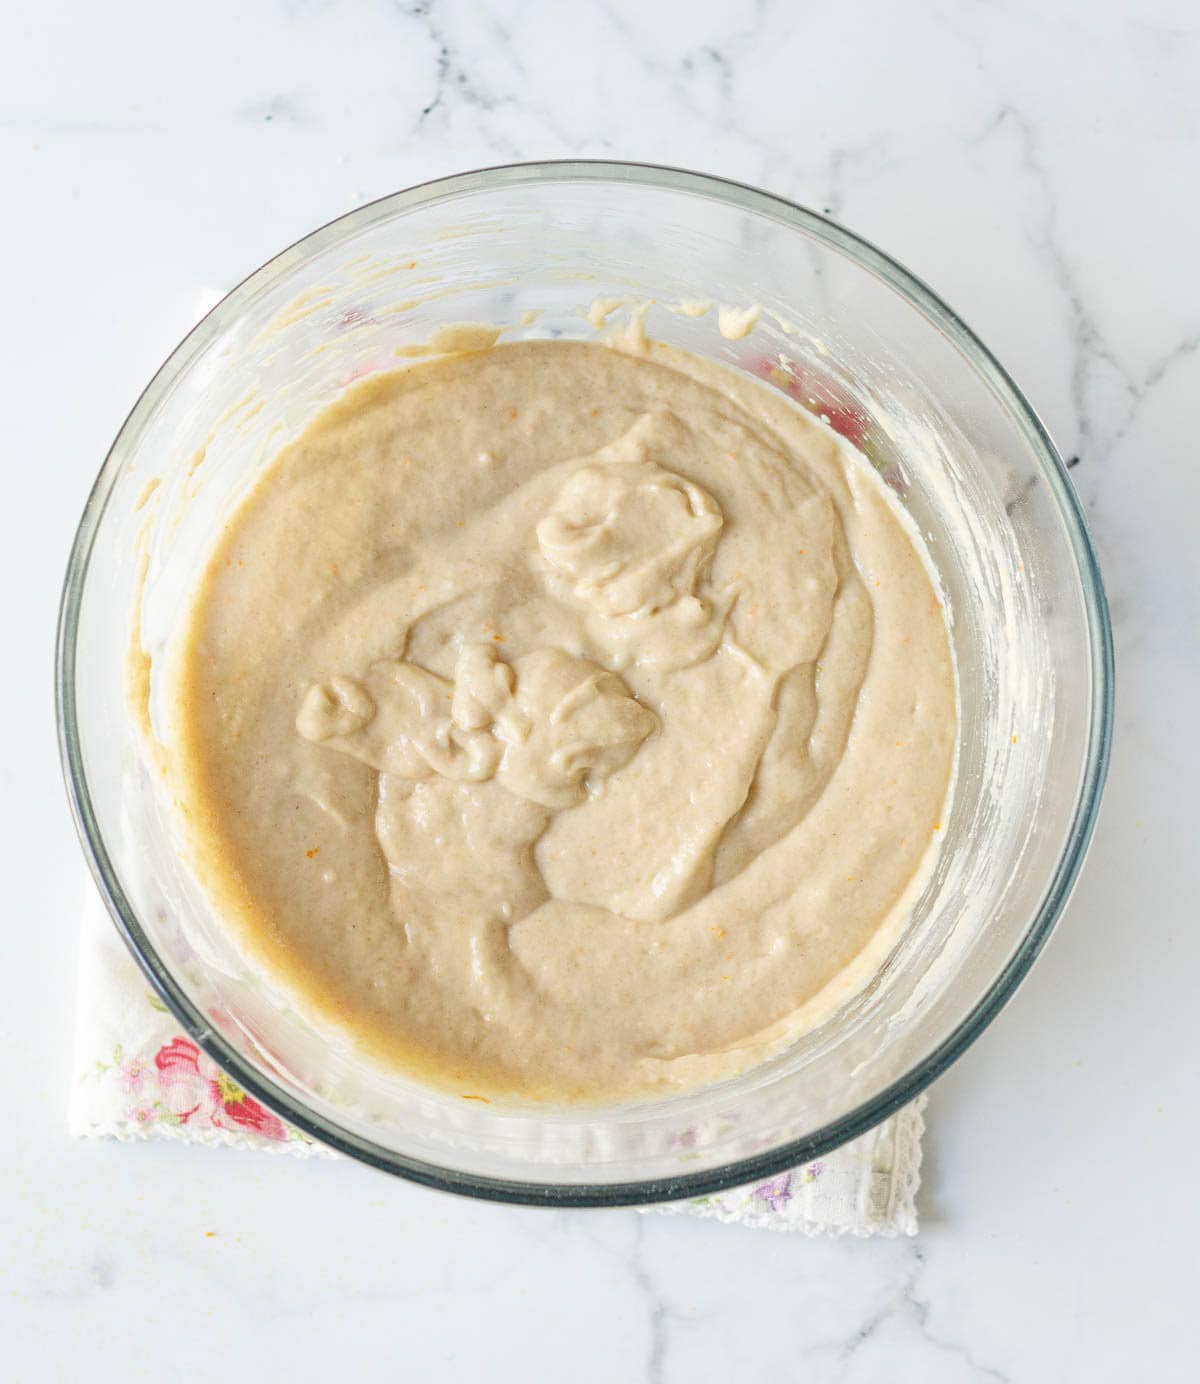
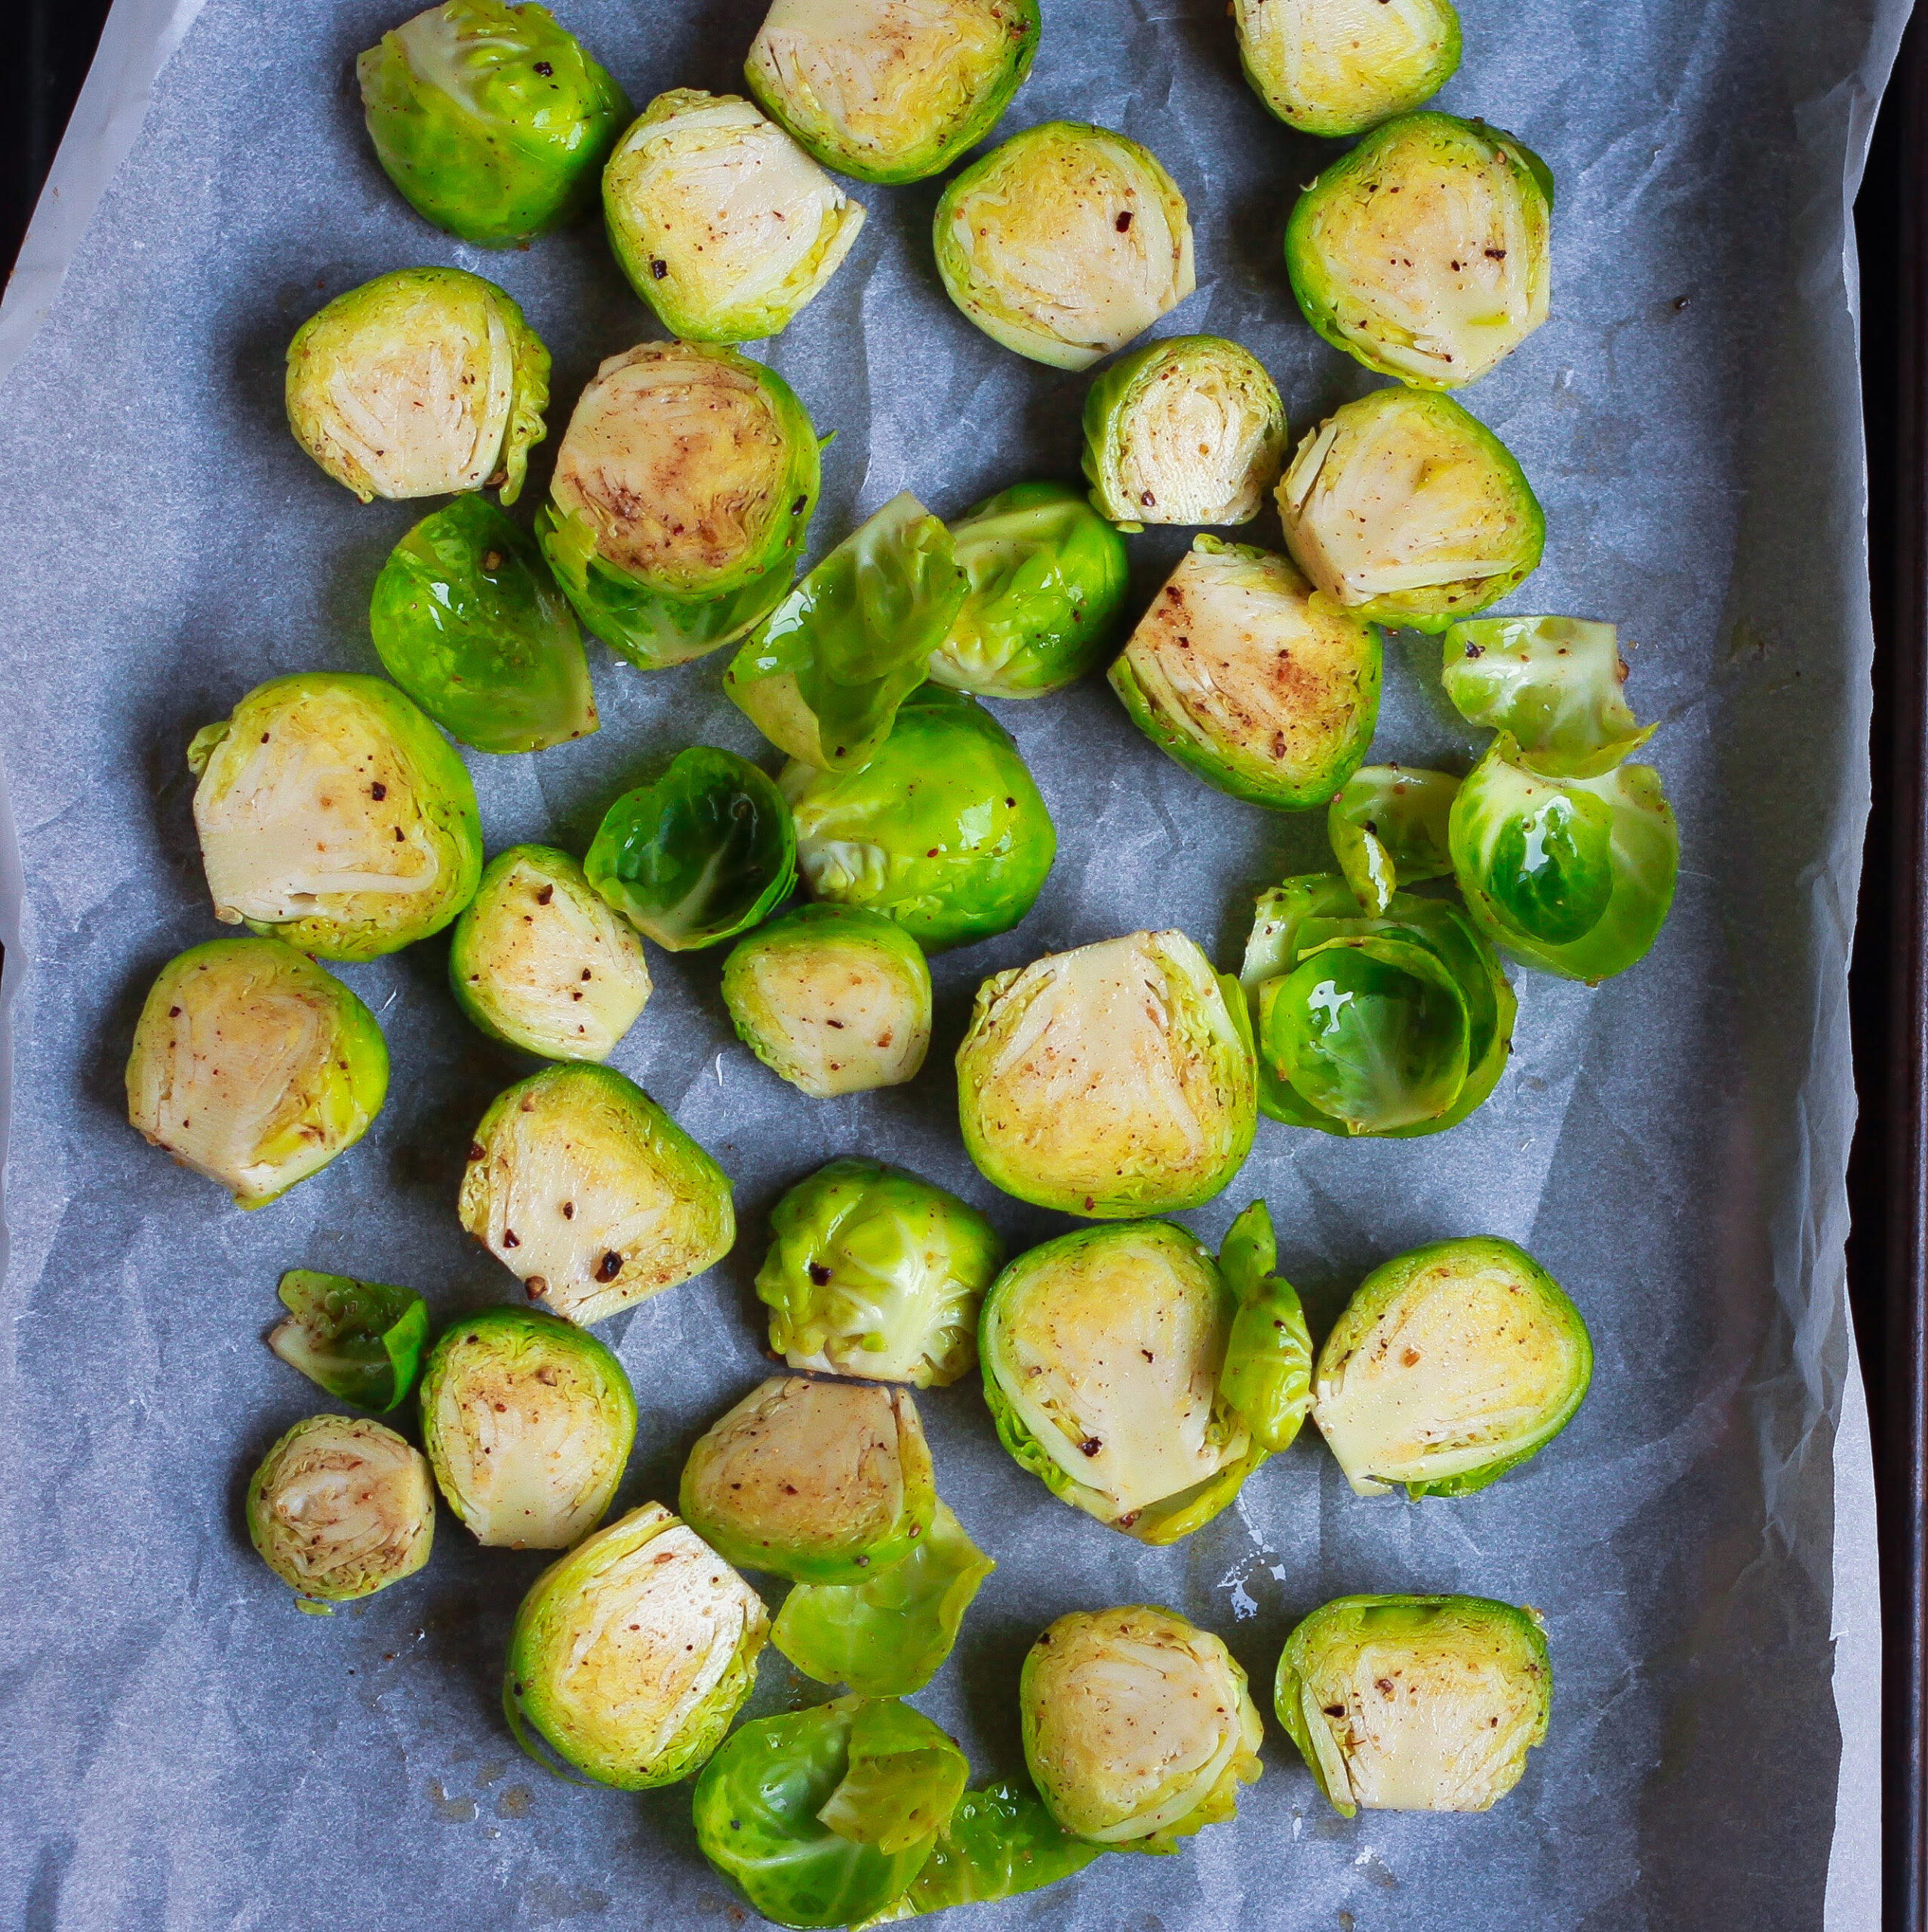
Start by cutting florets from the cauliflower. Don’t chop it too small and keep the sizes fairly similar (to bake evenly). Next, make a smooth, thick batter by mixing corn starch and rice flour (for amazing crunchy textures), garlic powder, a teaspoon of any vegetable oil with water.
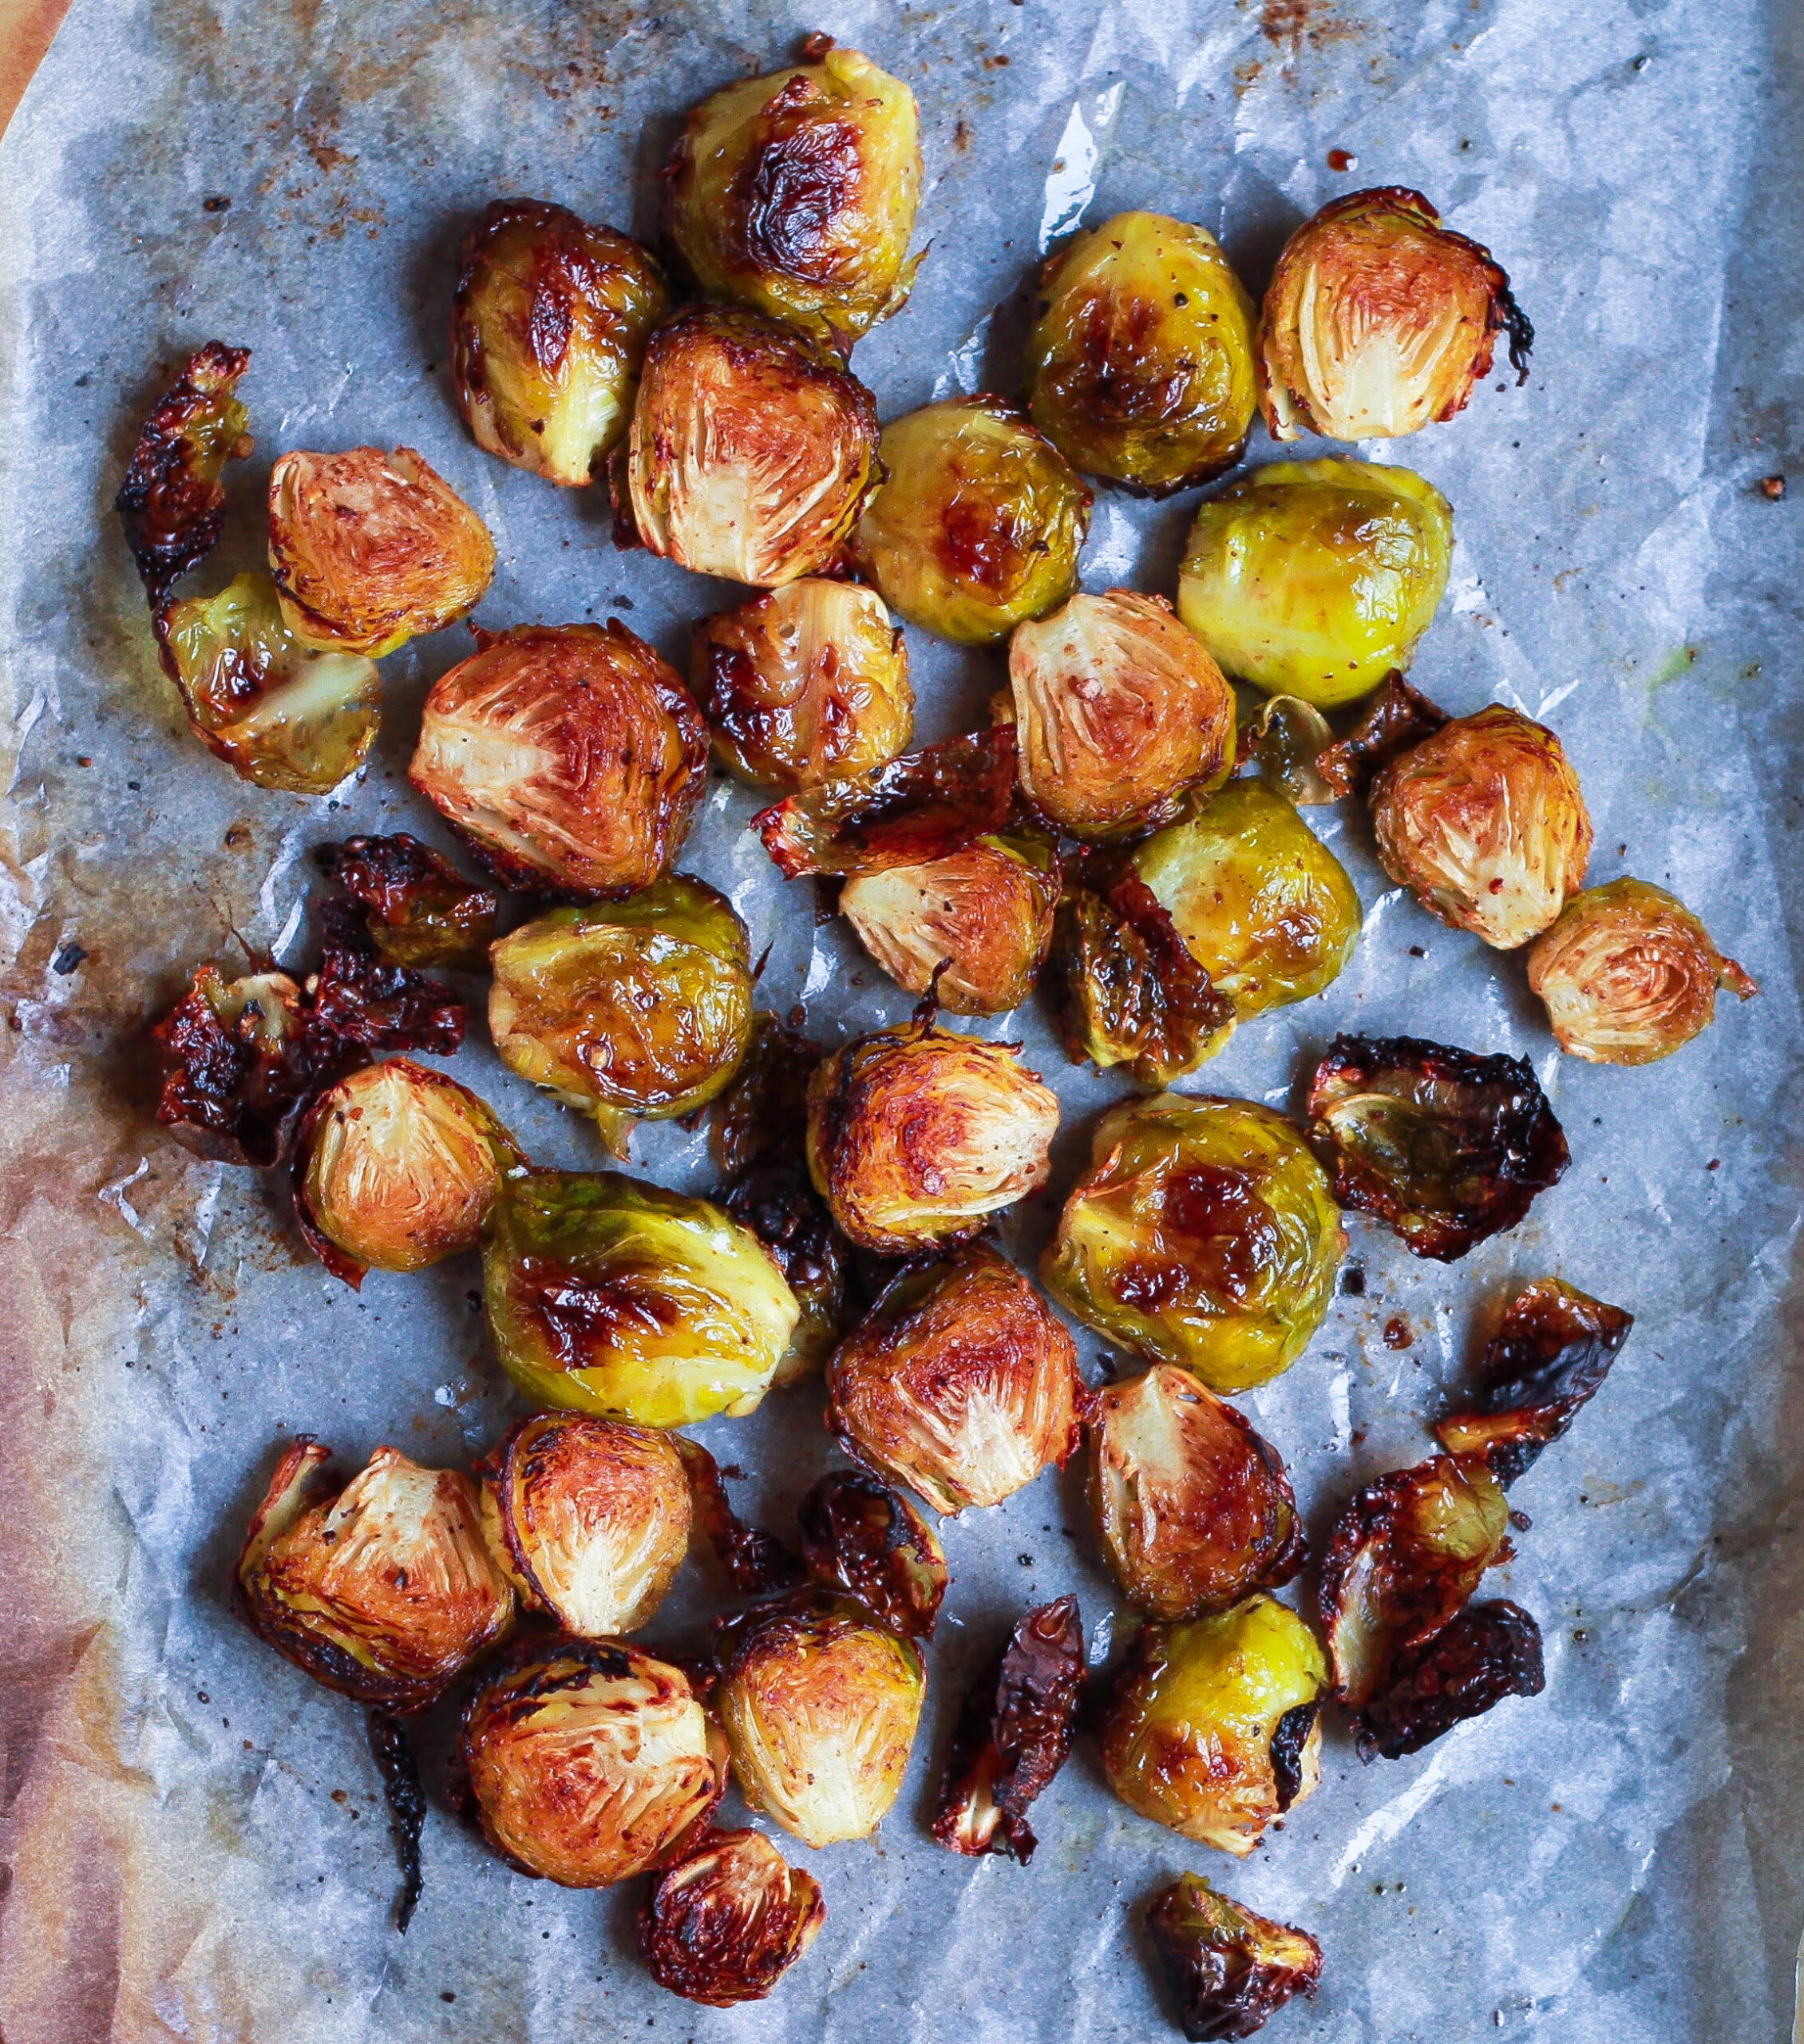
It’s the batter that bakes the cauliflower to a crisp. So, keep it rich. Toss the florets in it. Ensure they are coated well and then slide them in the oven till they are just done.


Making the sauce for sticky sesame cauliflower
While the cauliflower is turning into a gorgeous light golden, you have the time to make the unbelievably divine sauce. In a pan, heat soy sauce, chilli sauce, rice wine vinegar, sesame oil, and minced garlic and ginger.
I used sriracha because I love to turn the volume up on the heat. You can use any chilli sauce of your preference based on how hot you want the recipe. For the sesame oil, I prefer cold-pressed because it has the best flavor!
Once the sauce has cooked for about five odd minutes, whisk in a mixture of cornstarch and water to give it a slurry-like consistency. Now comes the sticky and yummy part of the recipe - add in some honey to the thickened sauce.
Combine the cauliflowers (which should be baked by now) with the sauce, and you’re done!

Quick notes
The sticky sesame cauliflower recipe is vegan-friendly. You simply substitute honey for maple syrup. If you chose to do so, add the syrup while heating all the sauce ingredients. I add the honey after taking the sauce off the stove because high temperatures leech away the condiment’s properties.
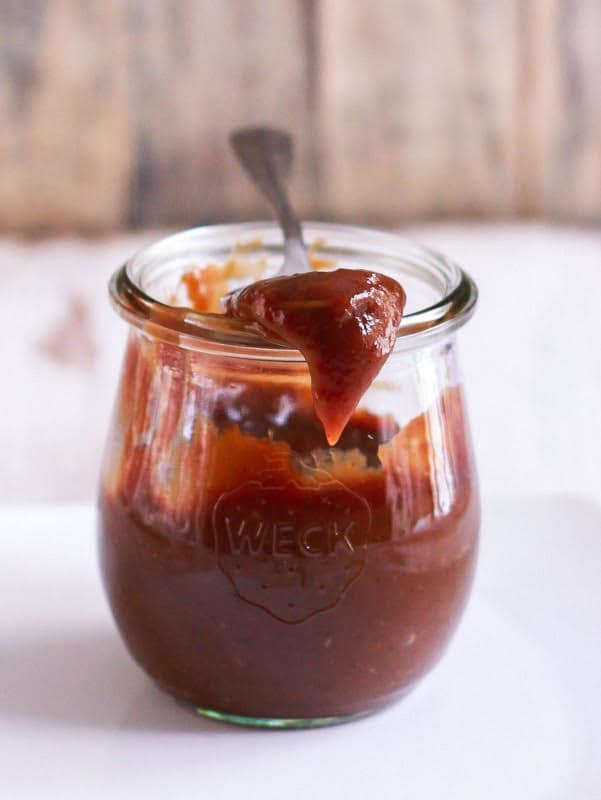
The recipe is uber-quick, but you can reduce the prep time further by making the sauce beforehand. Just reheat it with a touch of water (it tends to thicken with time) and then chuck in the cooked cauliflower. You’ll often find a jar of the sauce in my pantry because it is just so versatile and, to be honest, addictive. You can add it to mushrooms, chicken, and even tofu for some truly finger-lickin’ results.

Serving sticky sesame cauliflower
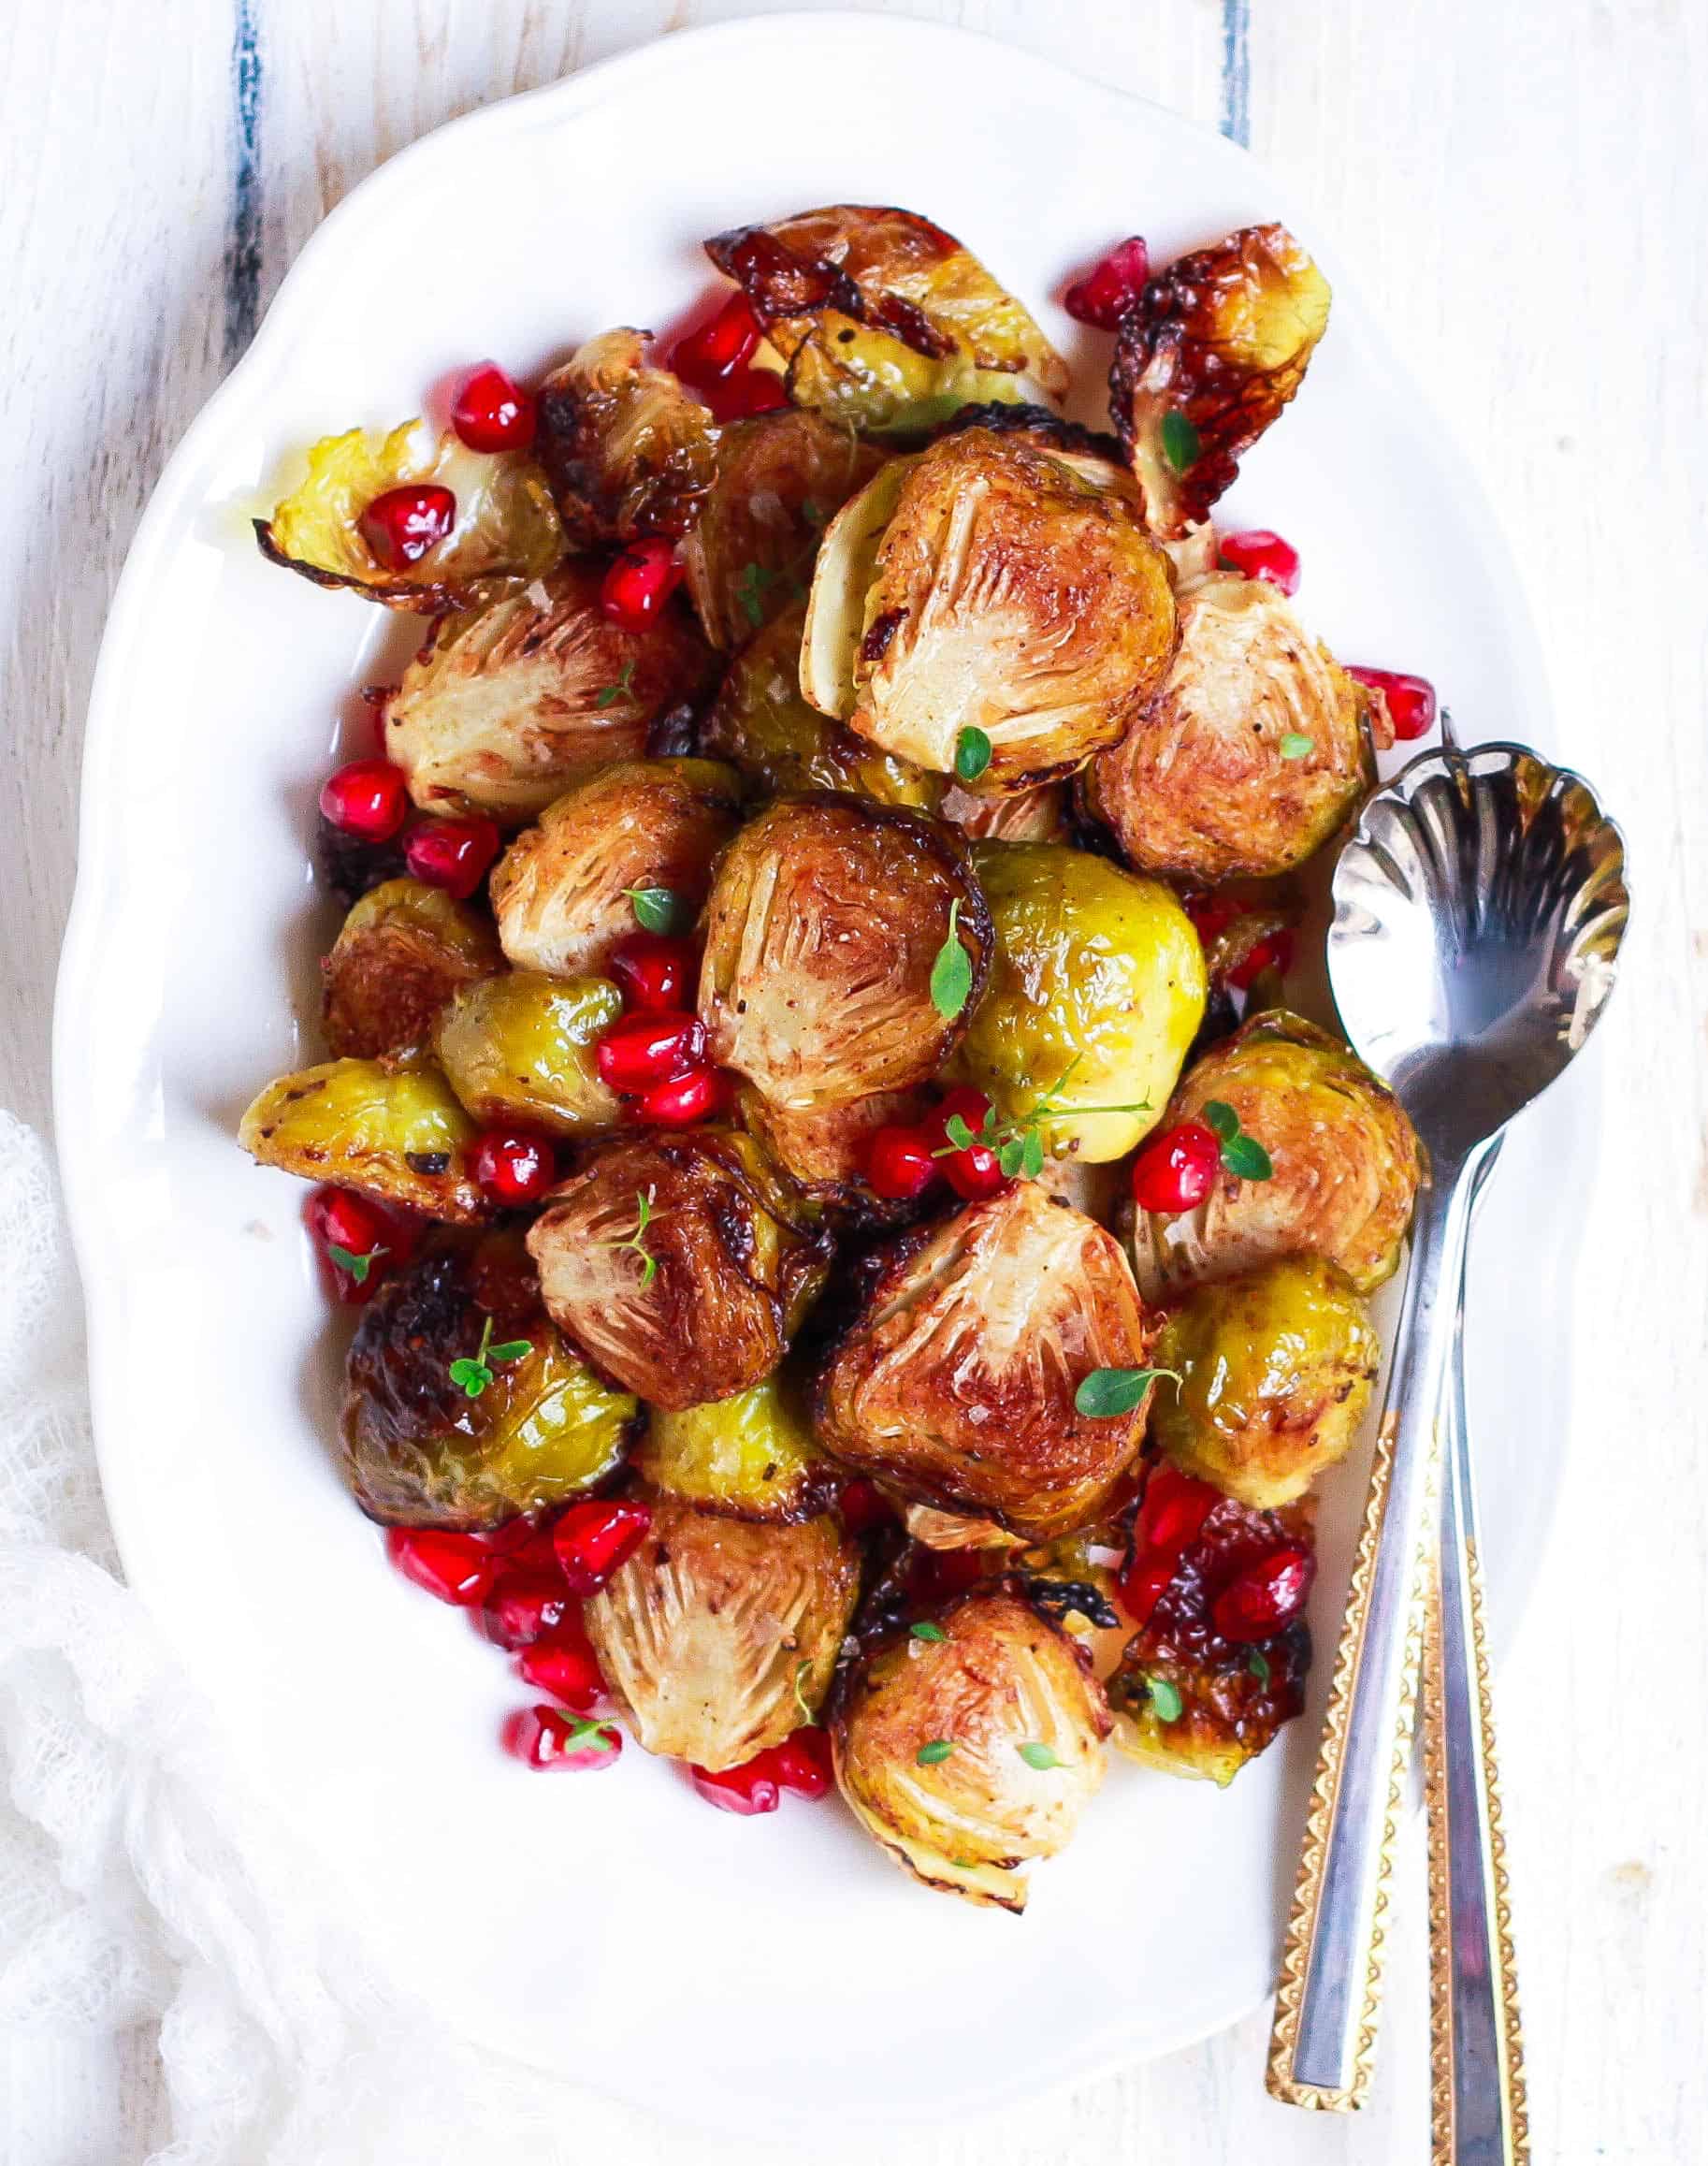
Each bite of the sticky sesame cauliflower hits all the senses. Not once do you realize, you’re eating cauliflower with such gusto!
The trick to keeping cauliflower sticky and crispy on the outside and soft on the inside is to serve it immediately after mixing the baked florets with the sesame sauce.
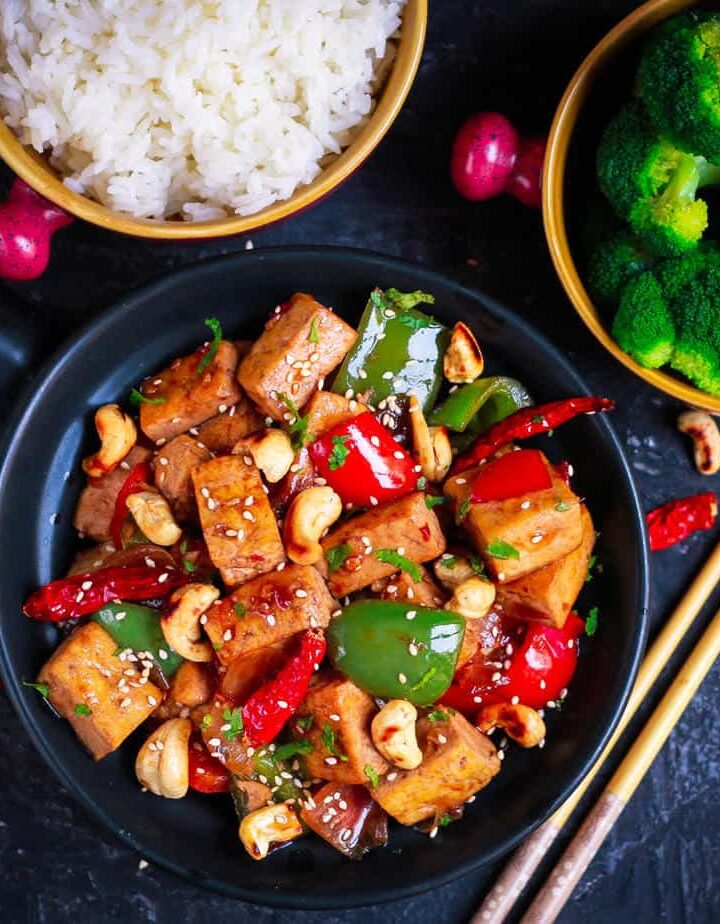
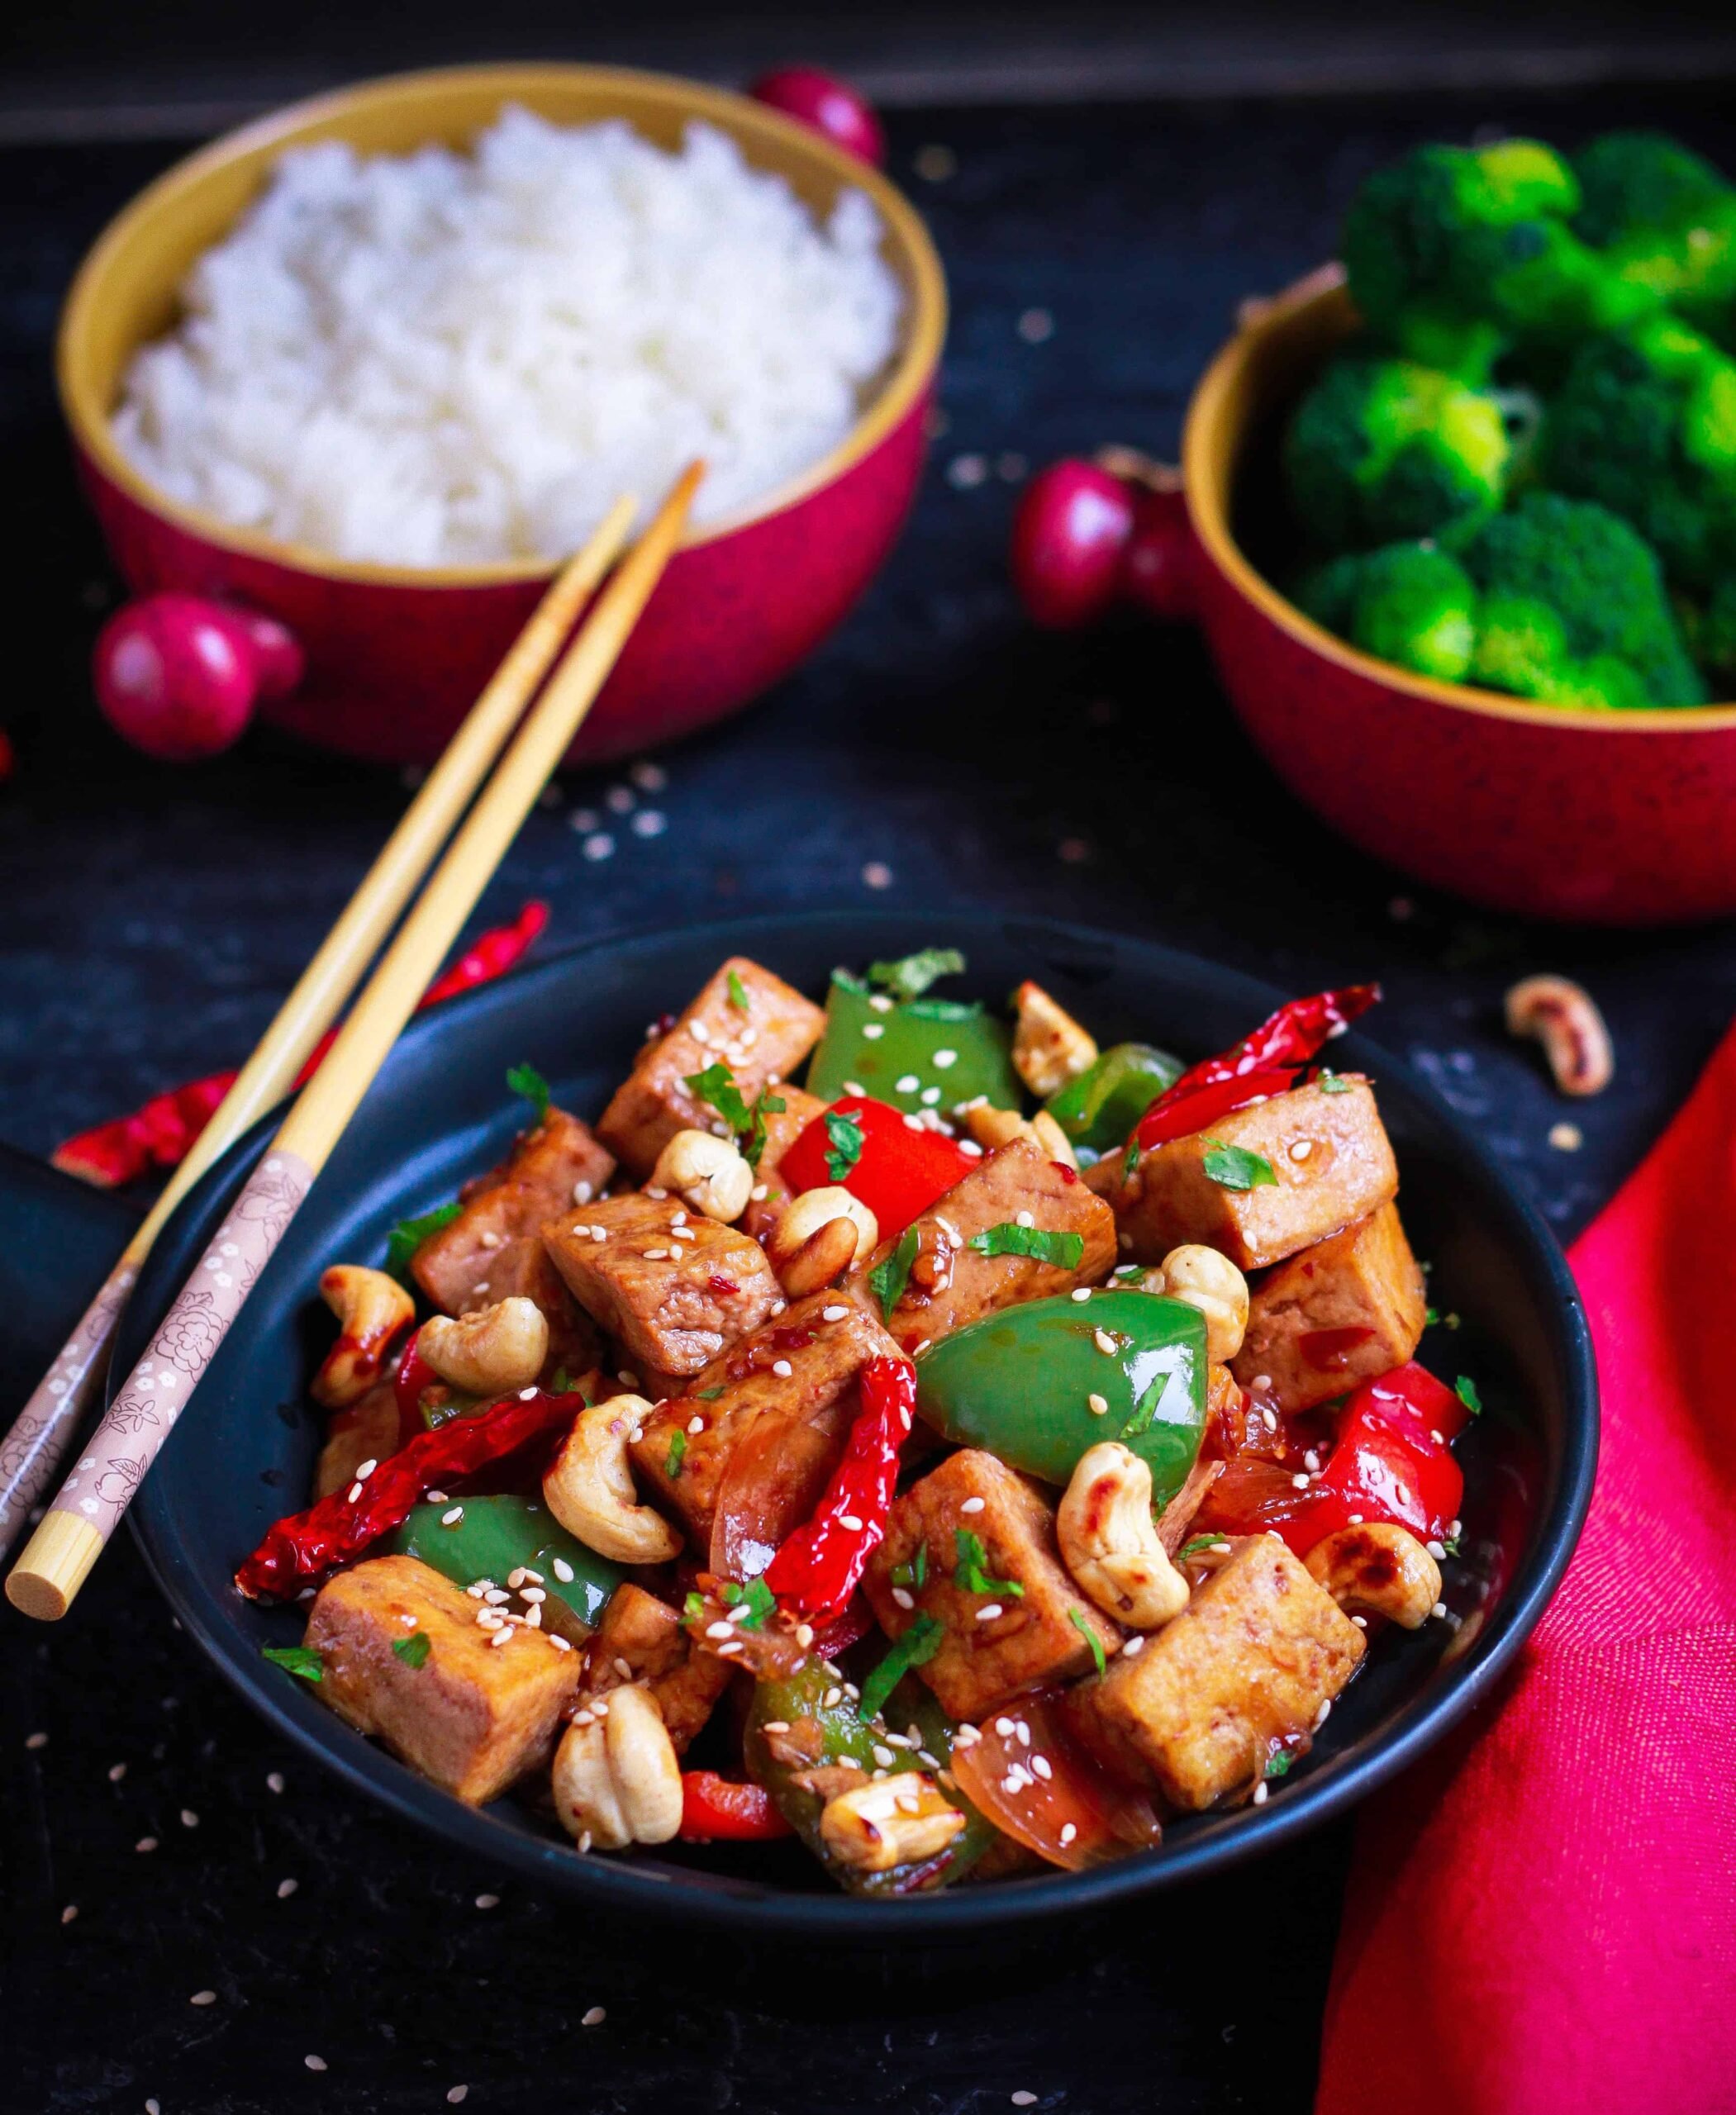
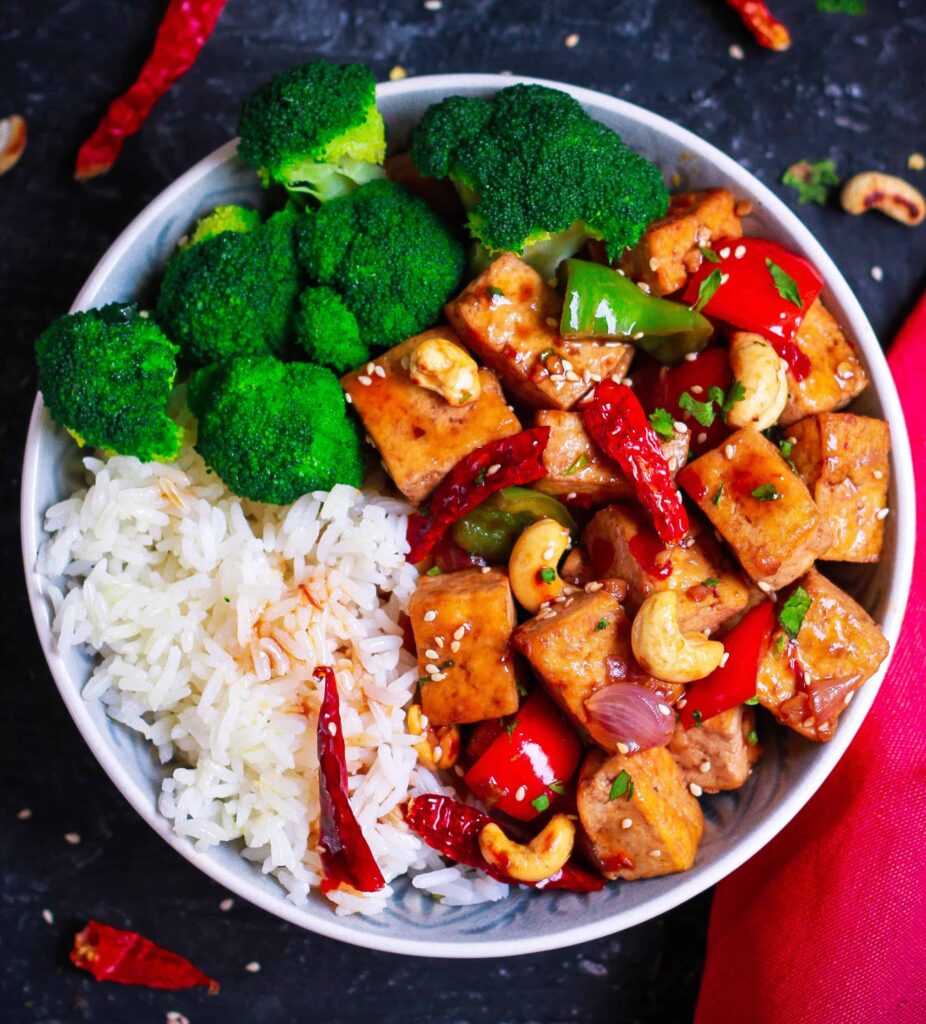
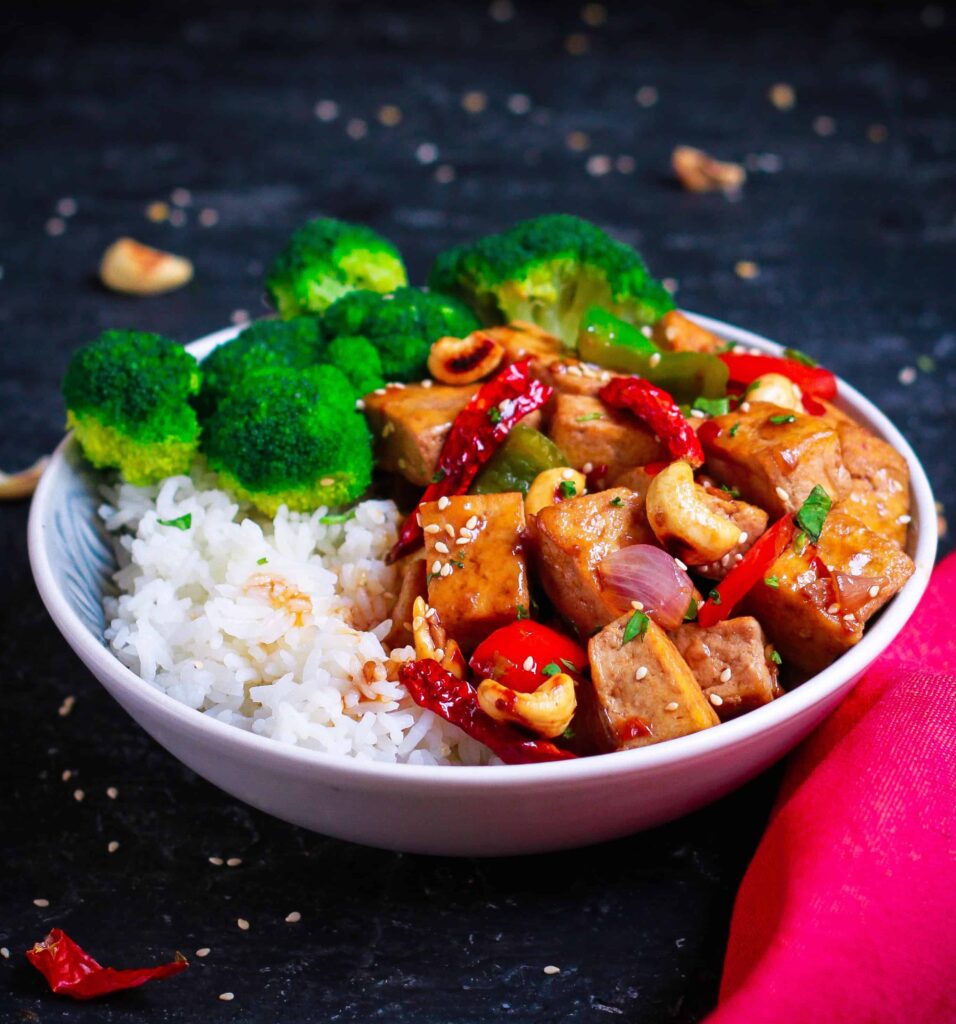
I love to plate it on a bed of Jasmine rice and then garnish with some green onions, red chili, and sesame seeds. You can switch the rice with noodles, and the recipe is still utterly delicious.

More healthy, quick recipes
- Thai Peanut Noodles
- Sticky Chili Sweet Potatoes
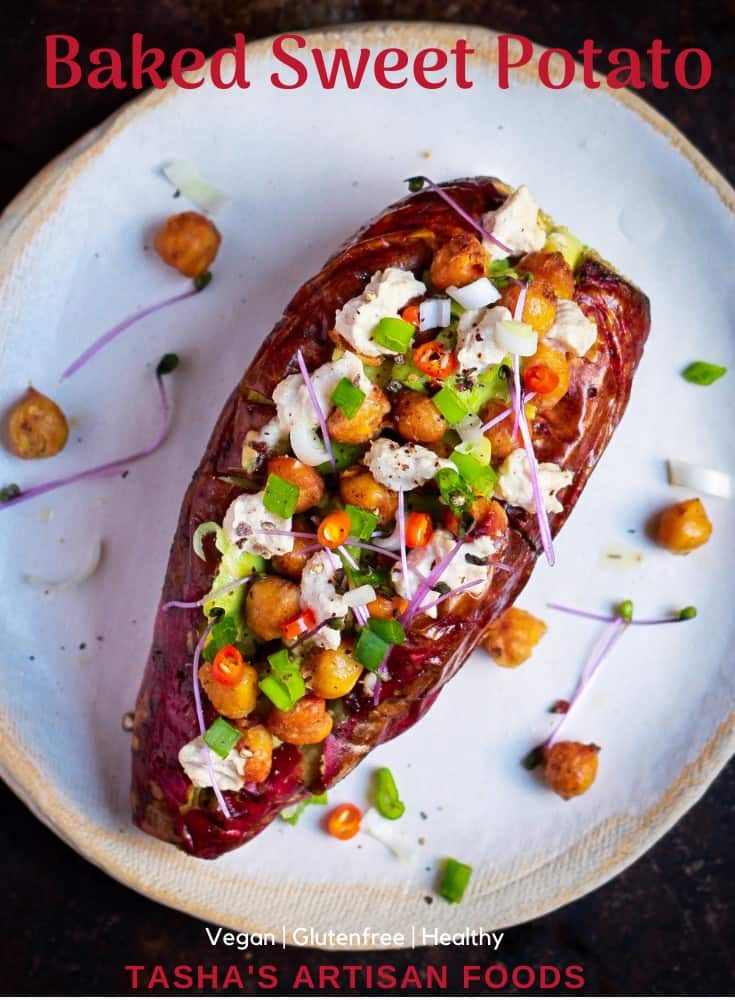
- baked sweet potatoes
- Spicy Tofu Stir Fry
- Spicy Keema Curry
I hope you give the sticky sesame cauliflower a whirl. It is healthy, and it tastes exactly like takeout from your favorite Asian restaurant. Plus, with minimal chopping and stove time, it's the best fuss-free cooking.
Trust me; words will fall short of how amazing it tastes.

I’d love to hear from you! Please tag me on Instagram @tashasartisanfoods, using the hashtag #tashasartisanfoods. You can also FOLLOW ME on INSTAGRAM, PINTEREST for more fabulous recipes! Do subscribe to Tasha’s Artisan Foods so you’ll never miss a recipe!
📖 Recipe
Sticky Sesame Cauliflower
Ingredients
Cauliflower
- 1 medium Cauliflower, cut into florets
- 1/3 cup Rice flour
- 1 tbsp Cornstarch
- 1 tsp oil
- 1/2 tsp Garlic powder, optional
- 1/3 - 1/4 cup Water
Sauce
- 1.5 tbsp Sesame oil
- 1/4 cup Light soy sauce
- 1 tbsp Rice wine vinegar
- 1-2 tbsp Sriracha Sauce adjust to taste (you add more if you prefer more heat)
- 1" Fresh ginger, finely minced
- 4-5 cloves Fresh garlic, finely minced
- 2-3 tbsp Honey/ maple syrup
- 1 Tbsp Cornstarch
- 1/4 cup Water
Garnish
- Sesame seeds, Spring onions, Sliced Chillis
Instructions
Cauliflower
- Preheat your oven to 200C / 392F. Line a baking tray with foil or parchment paper.
- In a small bowl, whisk together the rice flour, cornstarch, oil, garlic powder and water to make a smooth thick mixture.
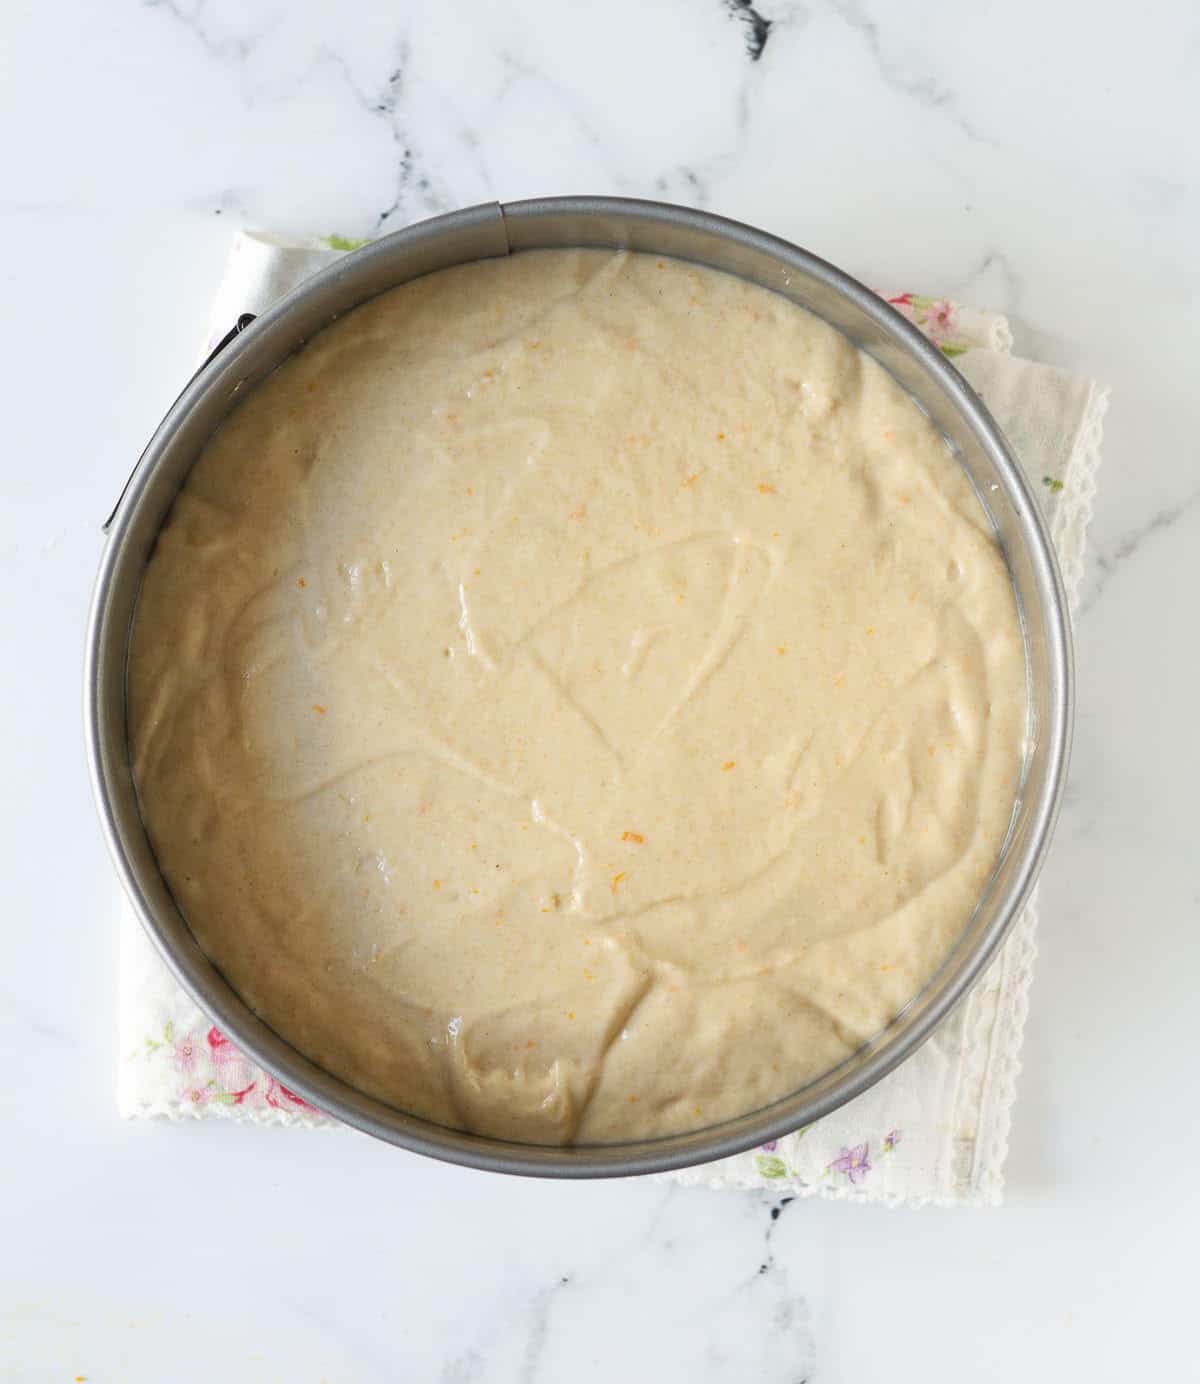
- Coat the cauliflower florets in this mixture and place in a single layer on the prepared baking tray.
- Bake for 20-25 minutes at 200 C / 392 F until just done. Don't let the cauliflower overcook. You want to retain the crunchy texture.
Sauce
- While the cauliflower is in the oven, combine sesame oil, soy sauce, rice wine vinegar, sriracha sauce, ginger, and garlic in a small saucepan and cook for 5-6 minutes. If using maple syrup, you can add that at this point too.
- Whisk cornstarch and water in a small bowl and add it to the simmering sauce.
- Cook till the sauce thickens another 2-3 minutes. Take it off the heat and add the honey to the sauce. Taste and adjust for seasoning.
Assembly
- Once the cauliflower is ready, toss it in with the sauce. Garnish with sesame seeds, spring onions, and chillis. Serve immediately. Enjoy!
Nutrition