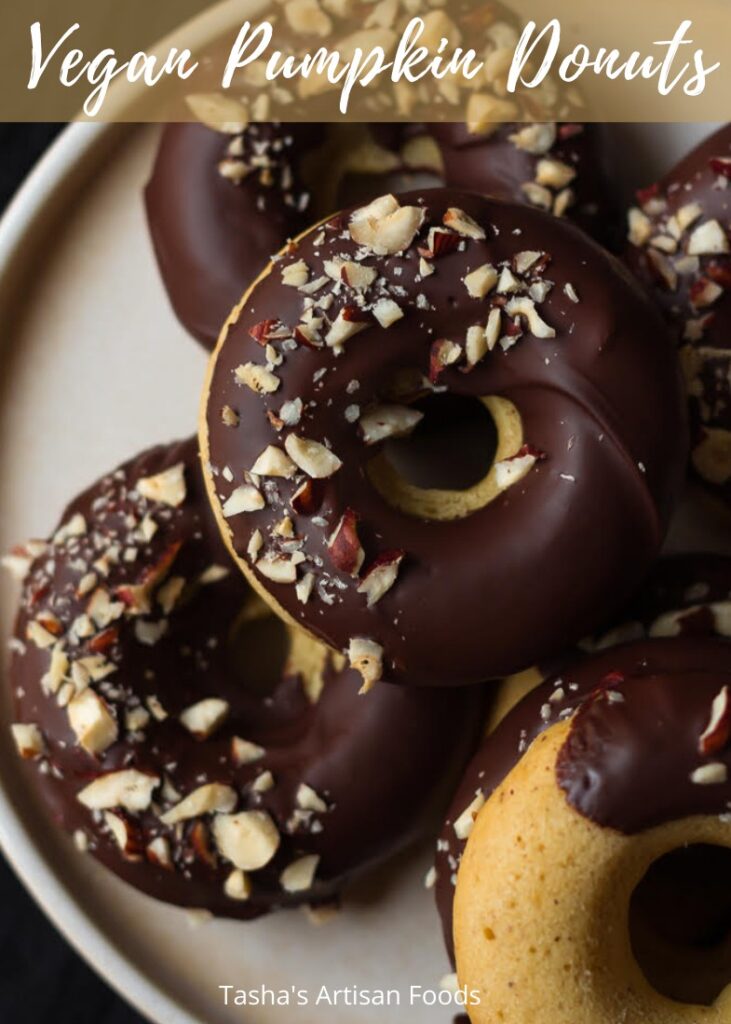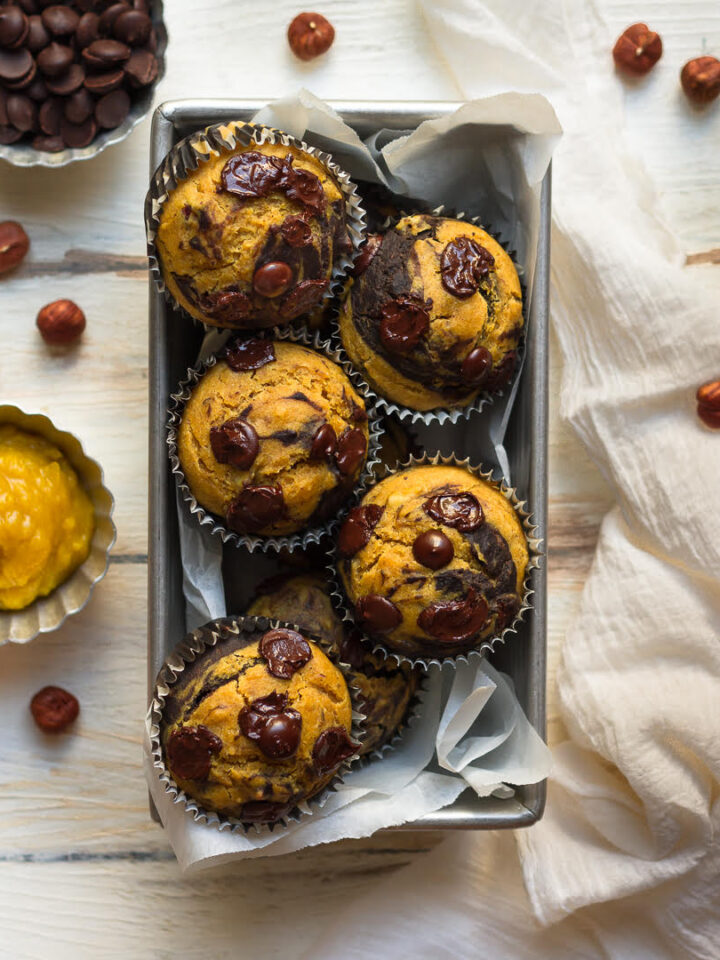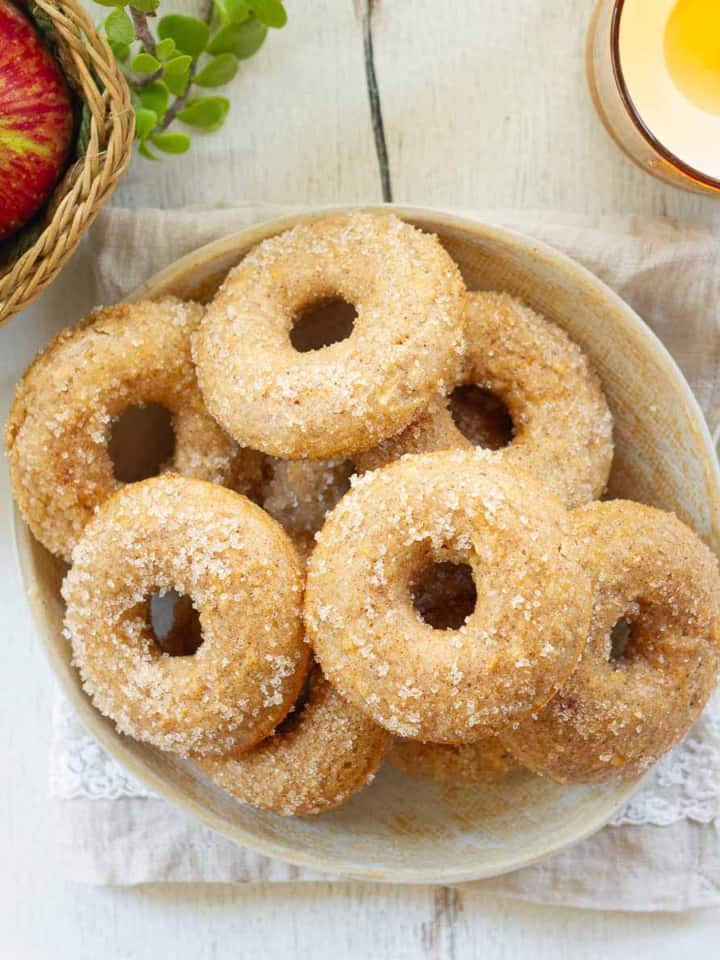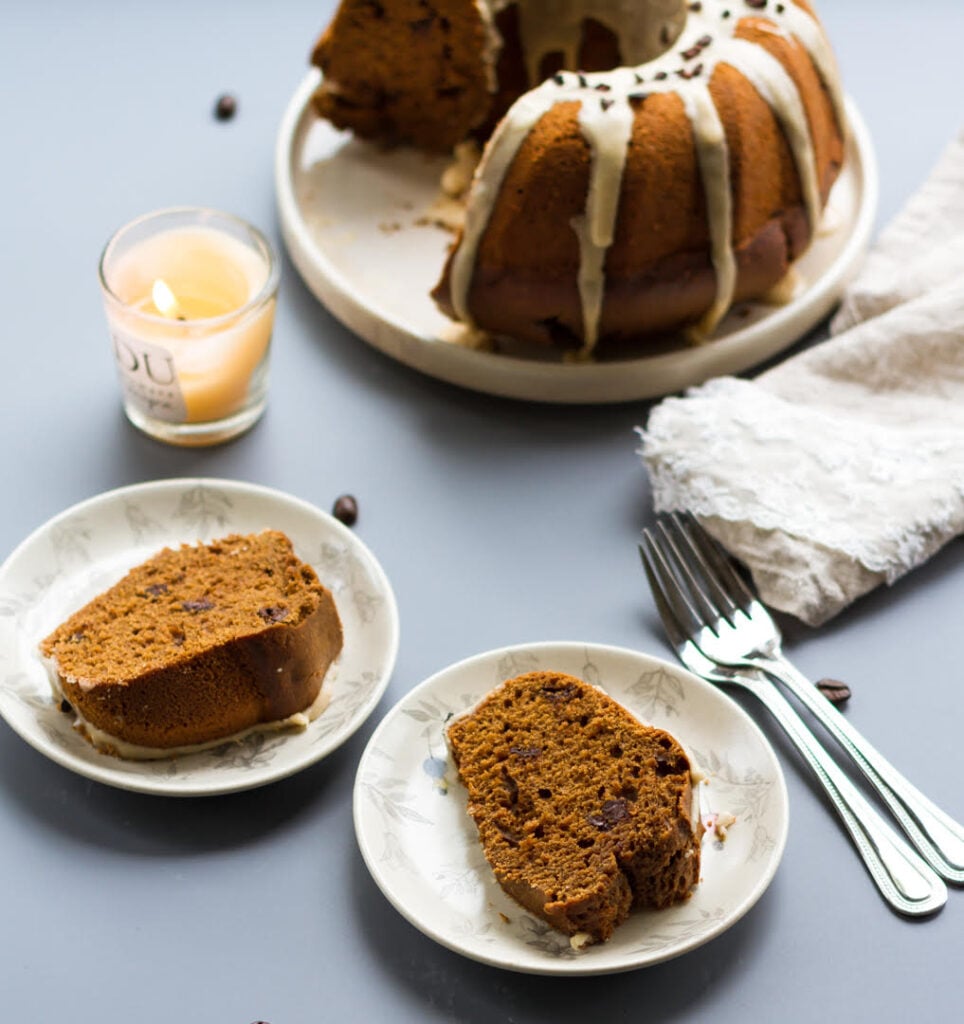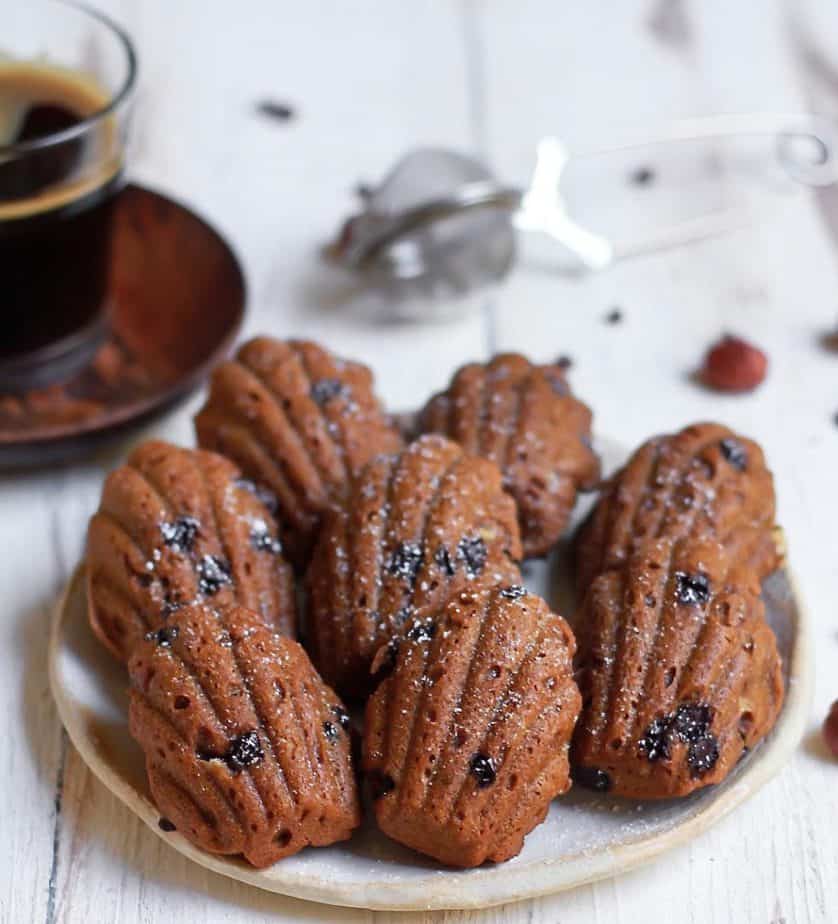
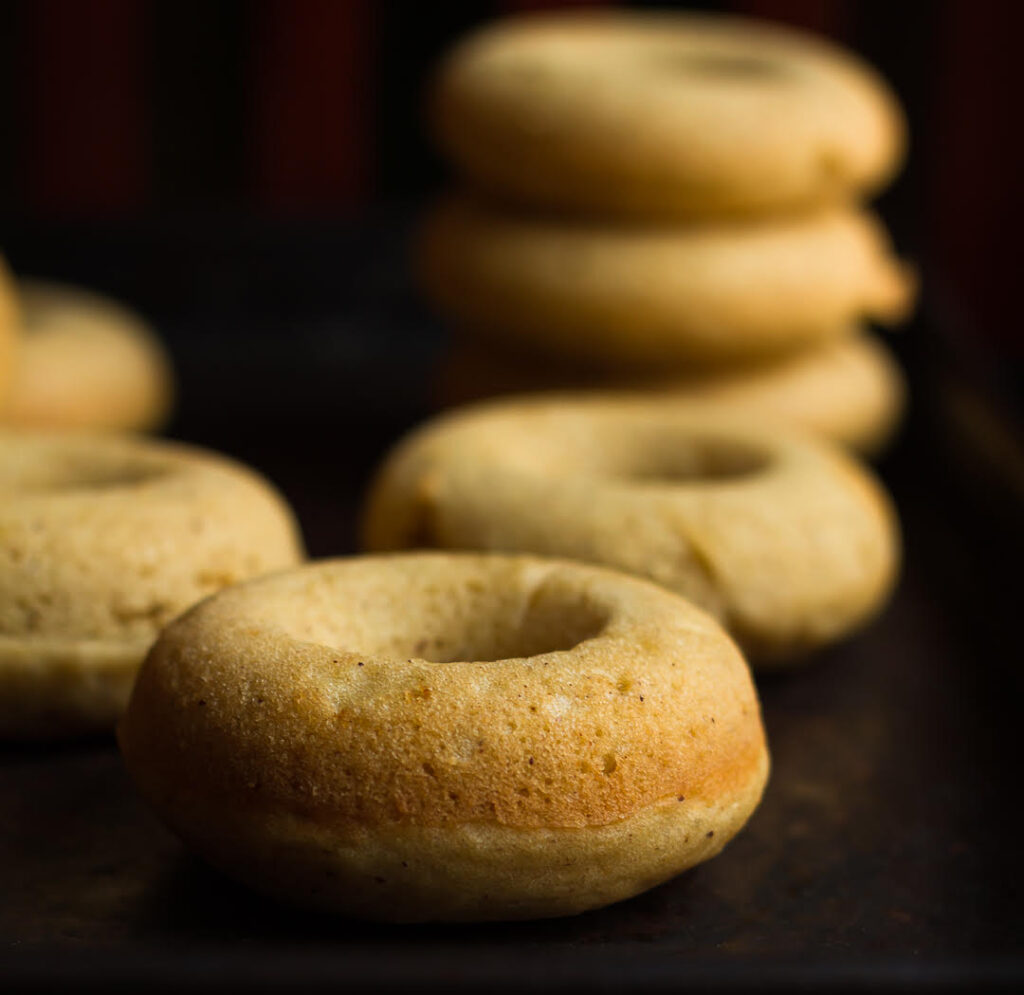
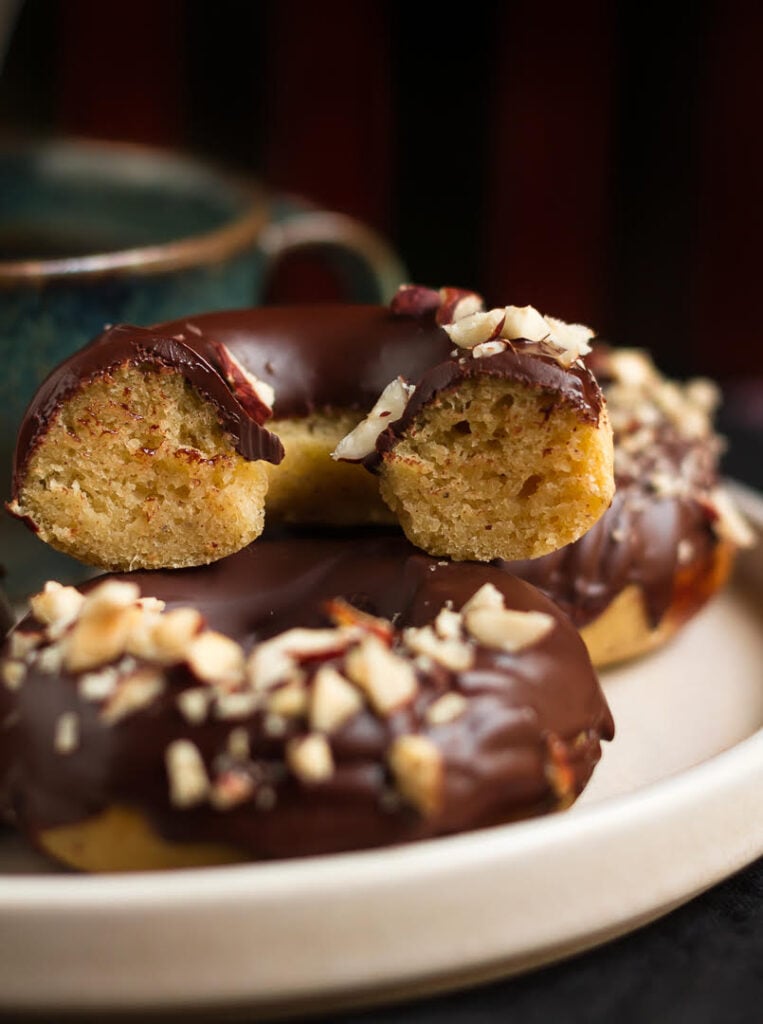
The vegan pumpkin donuts are tender, moist, and delectable. The aroma of cinnamon, cloves, ginger, and nutmeg coming through with every bite elevates these donuts to unforgettable.

The pumpkin lends a mild sweet earthiness to the donuts and also keeps them super moist. The buttermilk makes these donuts with pumpkin fluffy and tender! This recipe for vegan pumpkin donuts is a sure-shot winner!
How to make vegan pumpkin donuts?
From start to finish, the pumpkin donuts take 30 minutes, and if the pumpkin puree is already prepared, then even less. Not that the puree takes much effort.
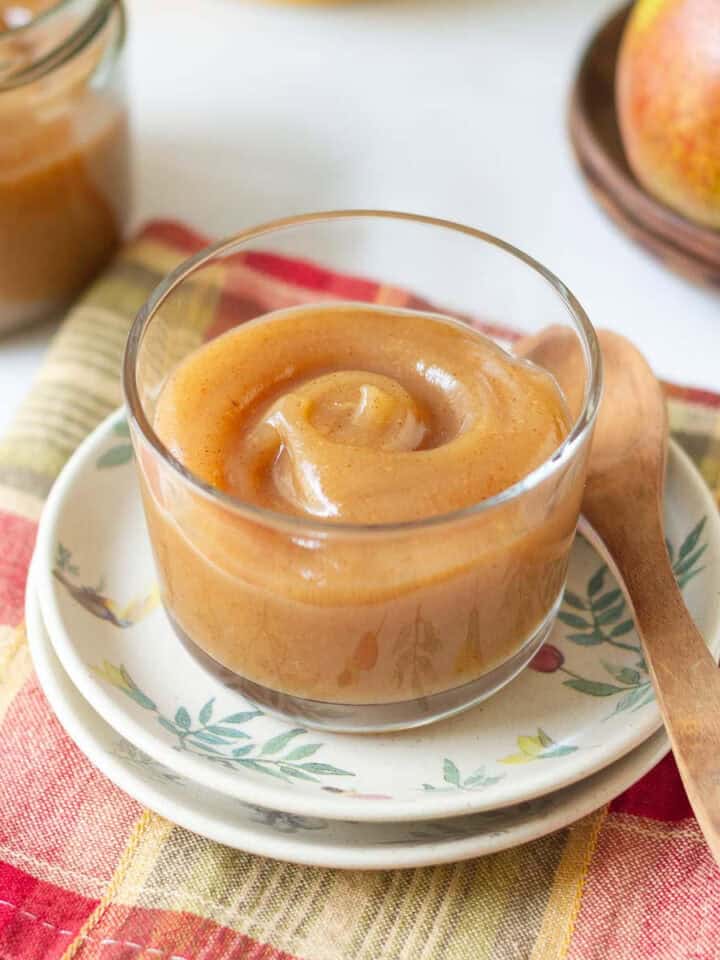
For the pumpkin puree:
Peel and dice your pumpkin. Now you have three options:
- Cook them in a little bit of water, in a saucepan with a lid tightly snapped shut.
- Toss them in a bit of oil and roast till they are soft.
- Use a steamer.
Irrespective of which method you use, in 15 to 20 minutes, you'll have soft, cooked pumpkin. You can puree it by mashing it with a fork or make it smoother by running it in a food processor.
Once the puree is ready, putting together the donut batter is quick work.
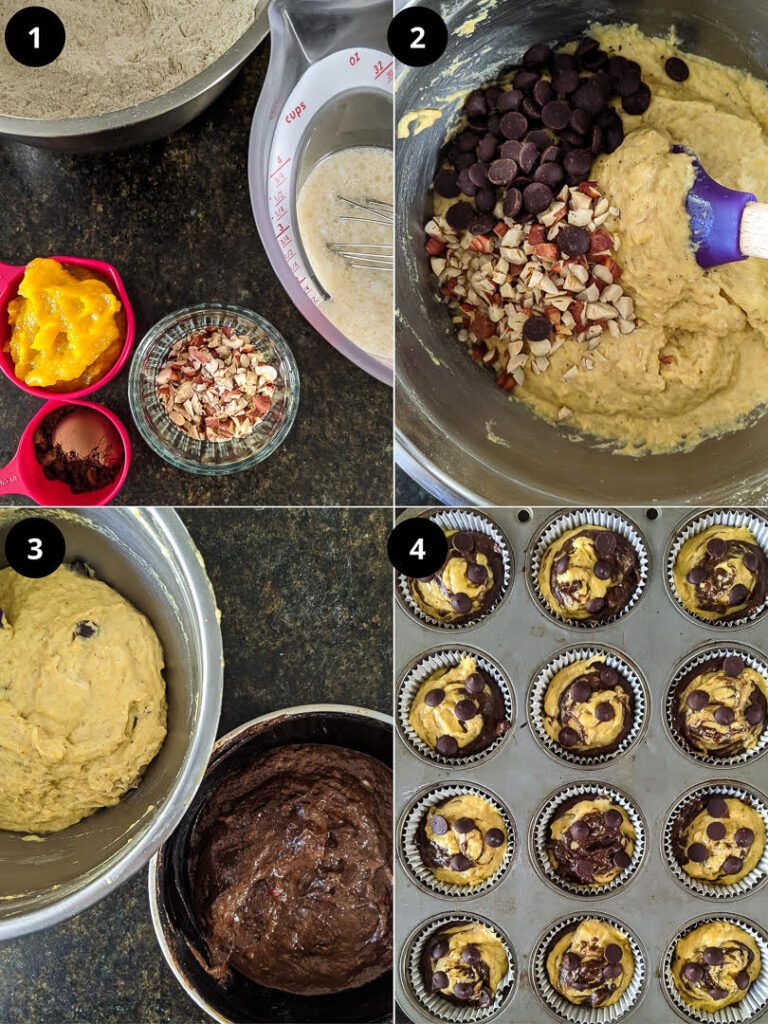
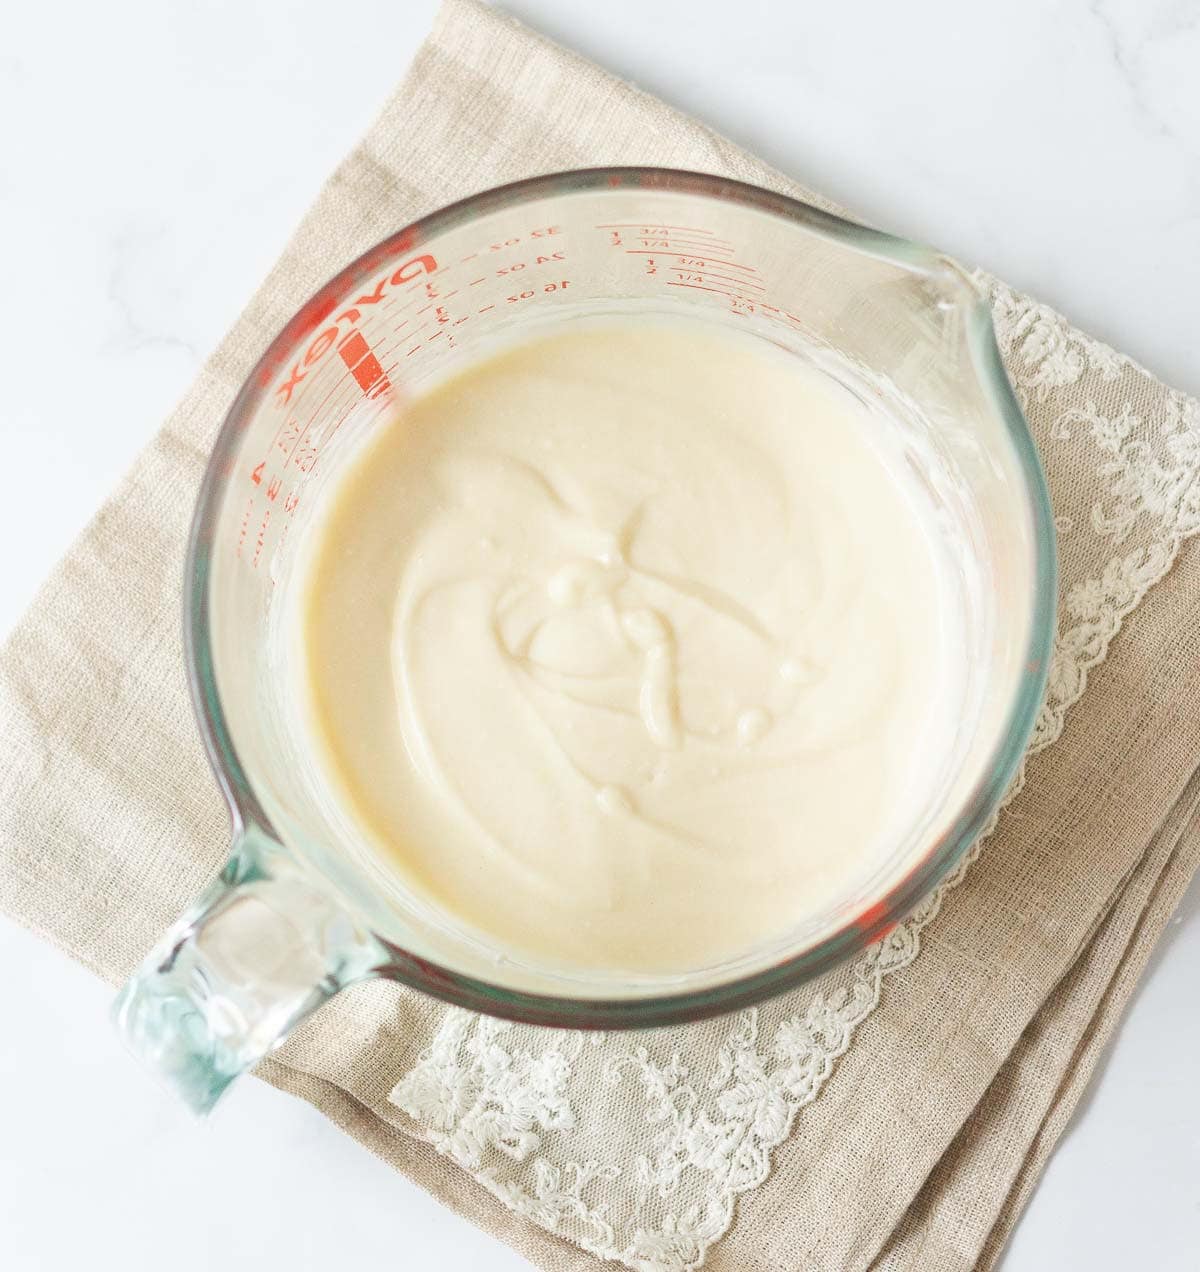
- Combine the almond milk and vinegar in a small bowl. Set aside for 5 minutes.
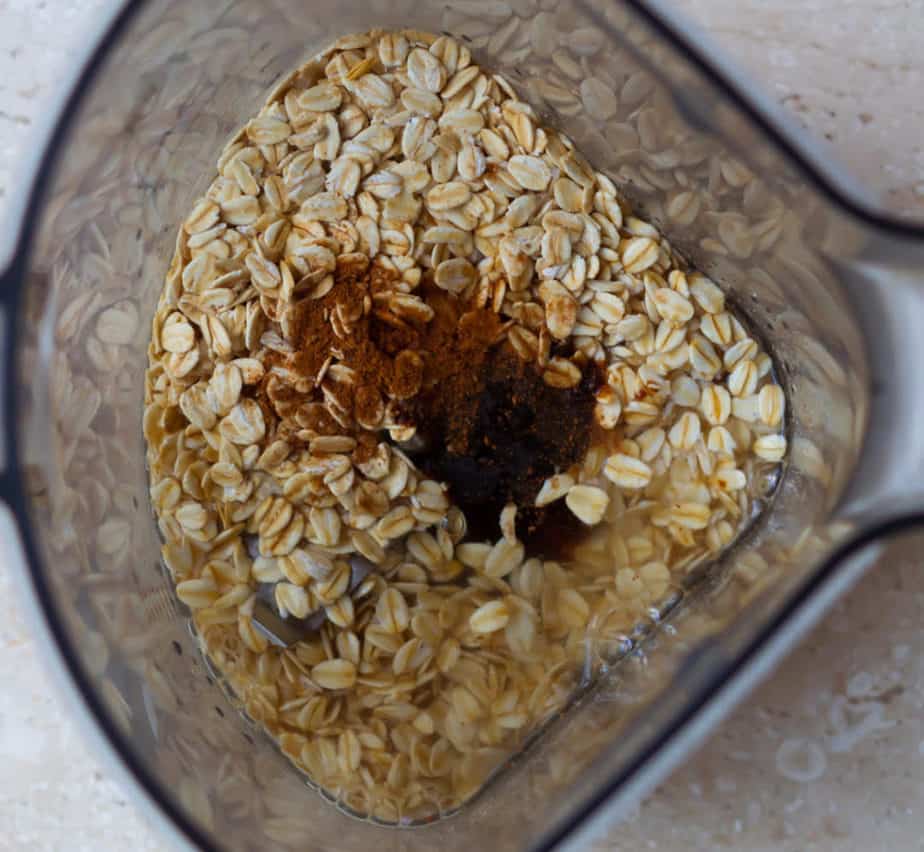
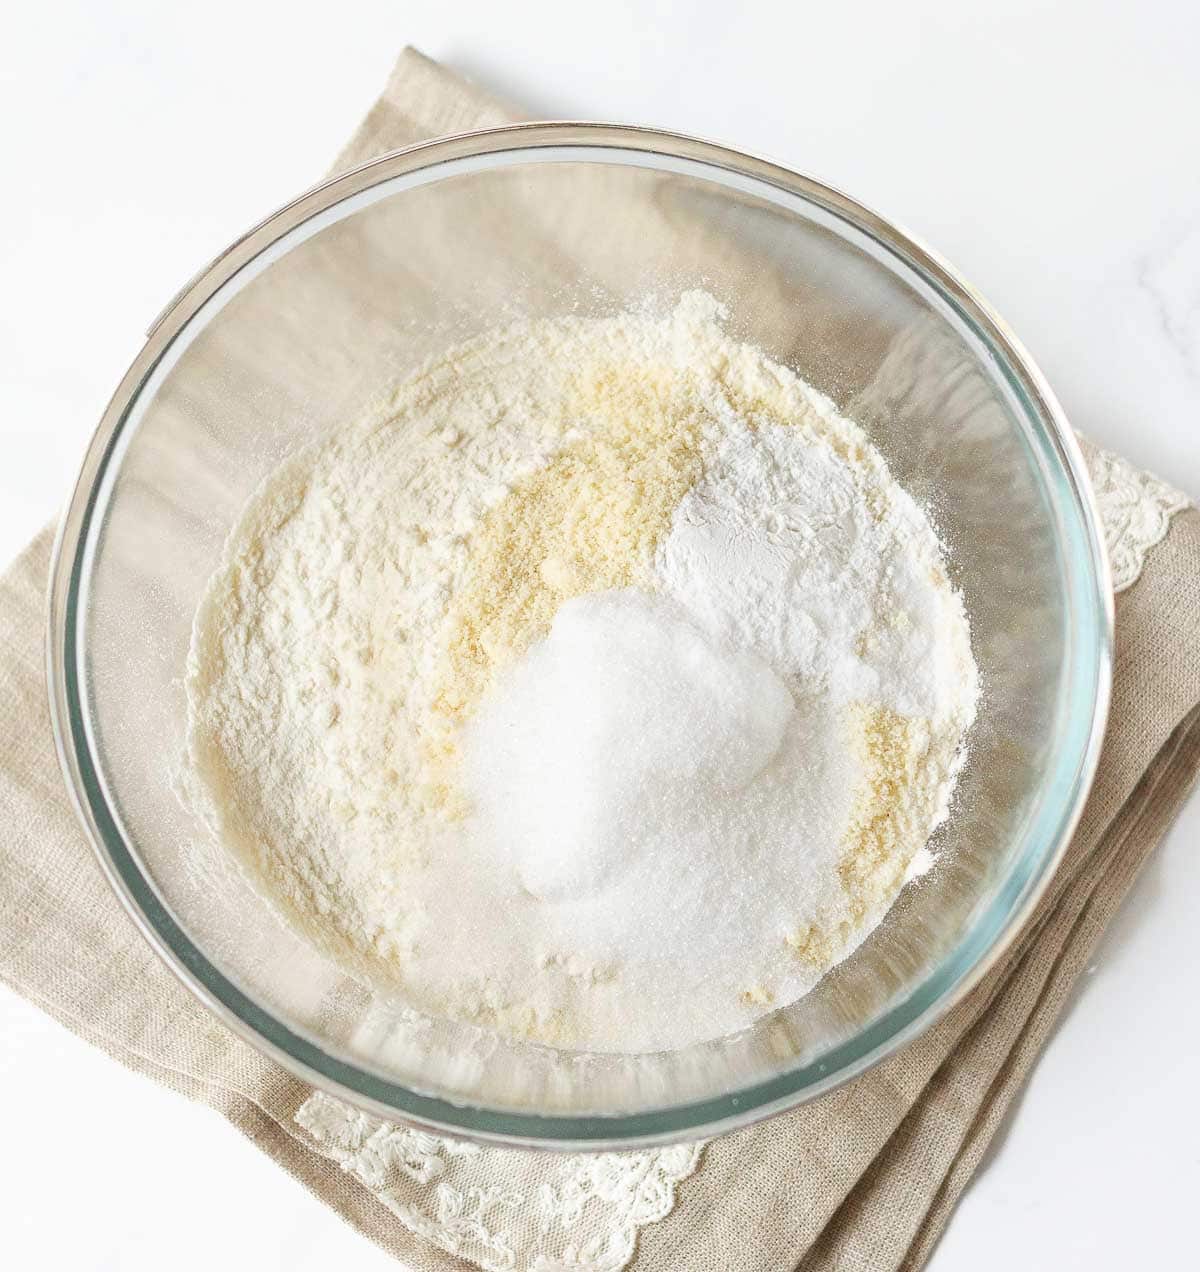
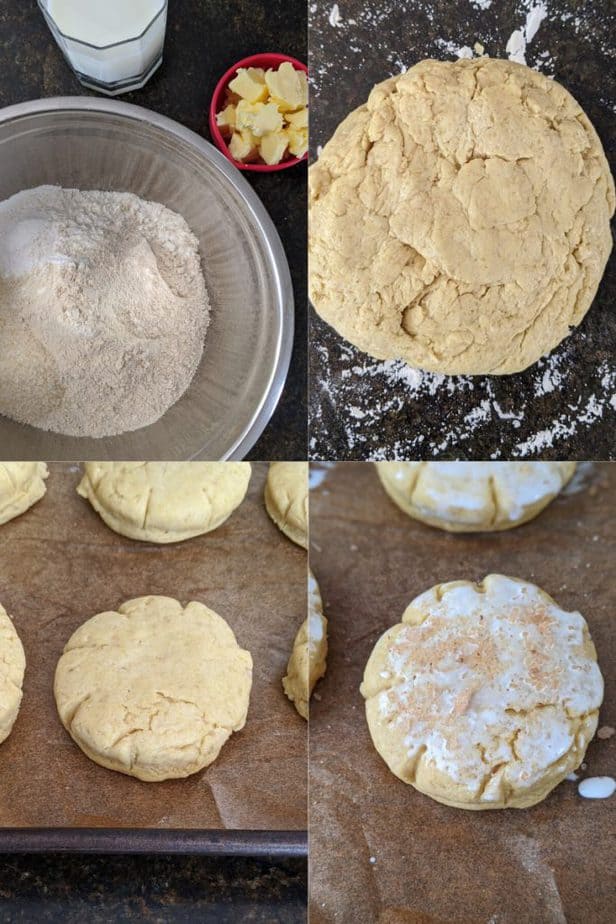
- Whisk all the dry ingredients- flour, baking powder, baking soda, salt, sugar, and pumpkin pie spice in a large bowl.
- Whisk all the liquid ingredients - almond milk mixture, pumpkin puree, coconut oil, and vanilla extract in another bowl.
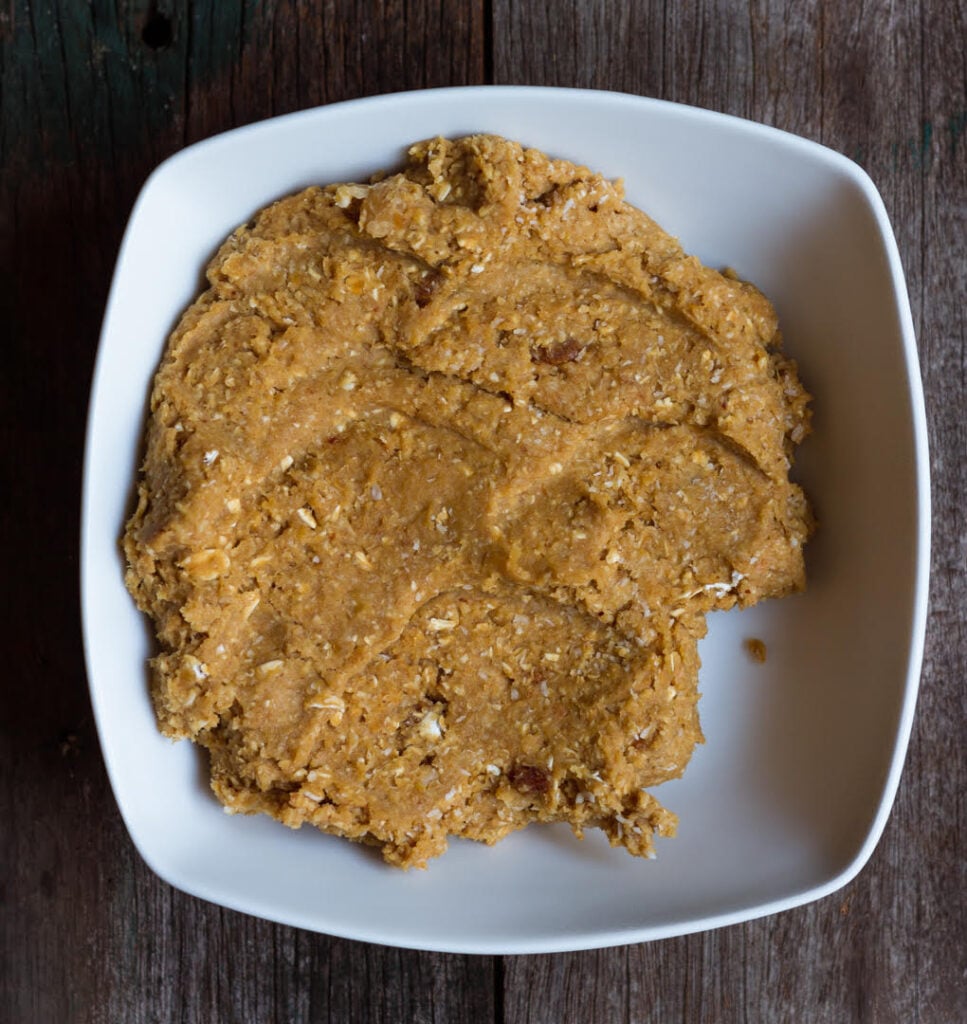
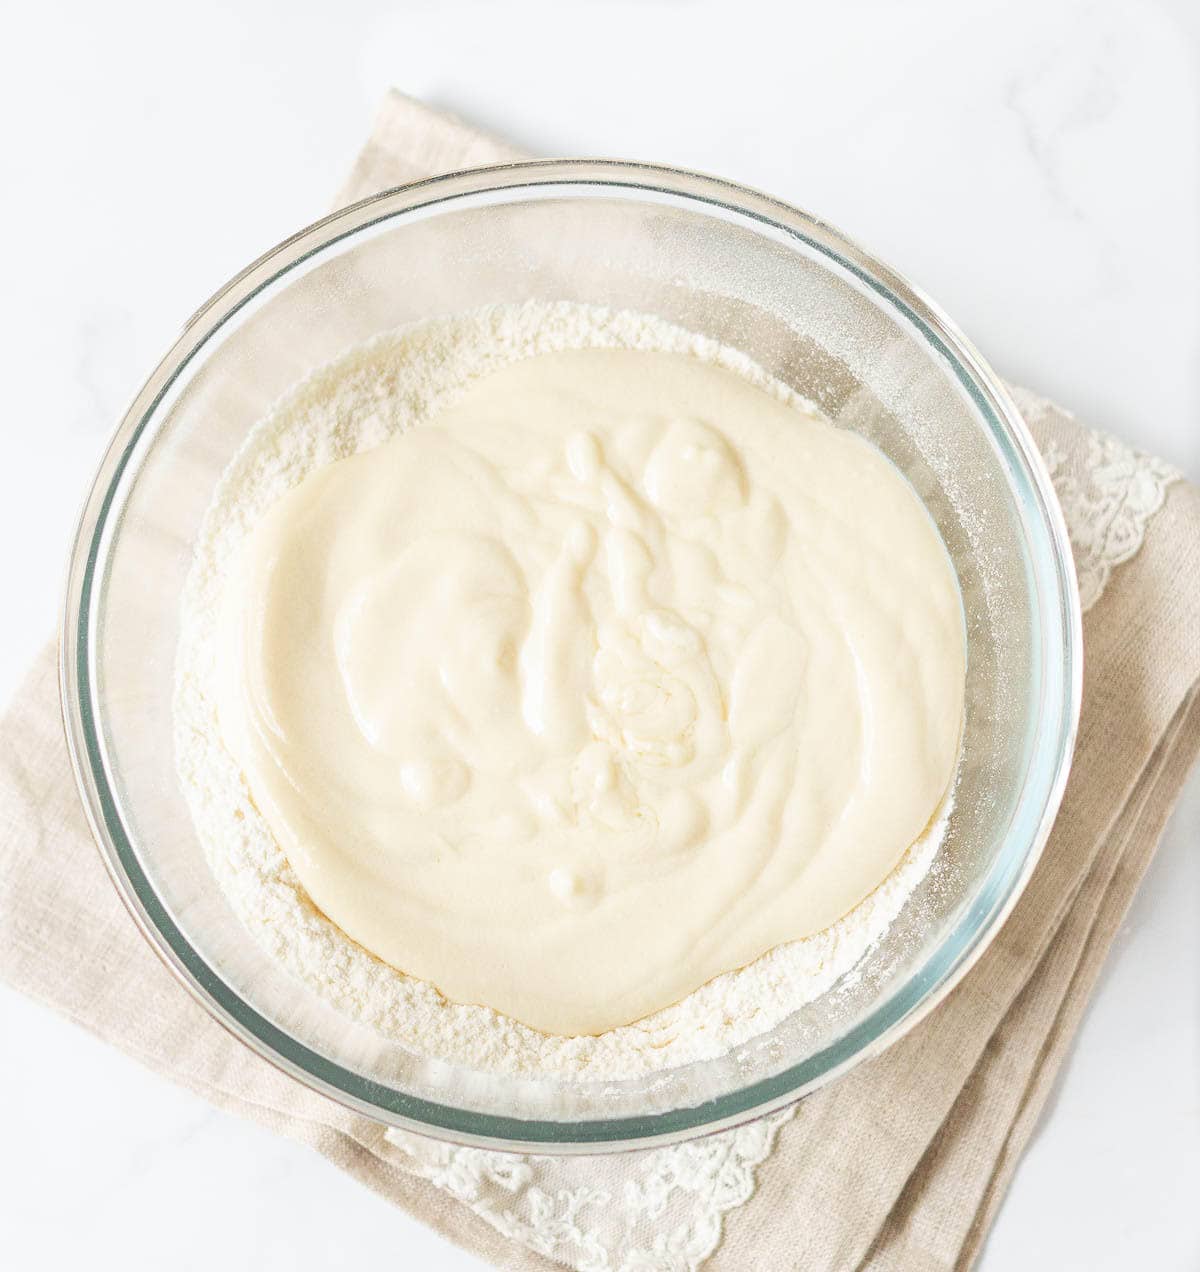
- Pour over the dry ingredients and mix until combined. You should get a smooth, thick pouring consistency batter.
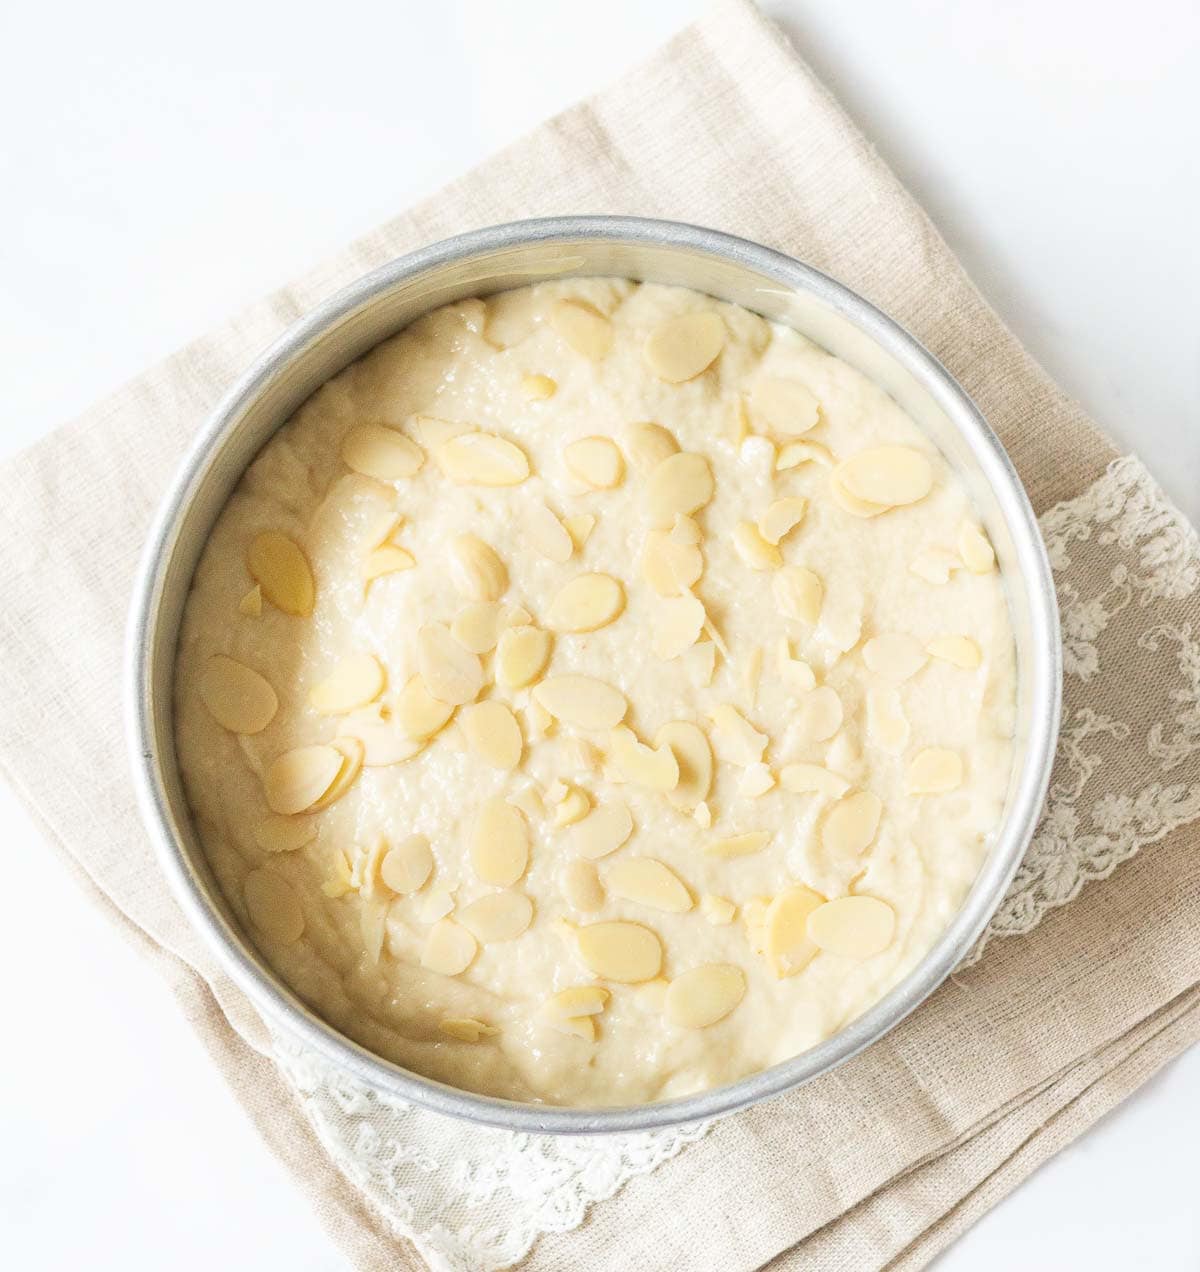
- Spoon or pipe the batter into the donut pan, filling 3/4 of the way.
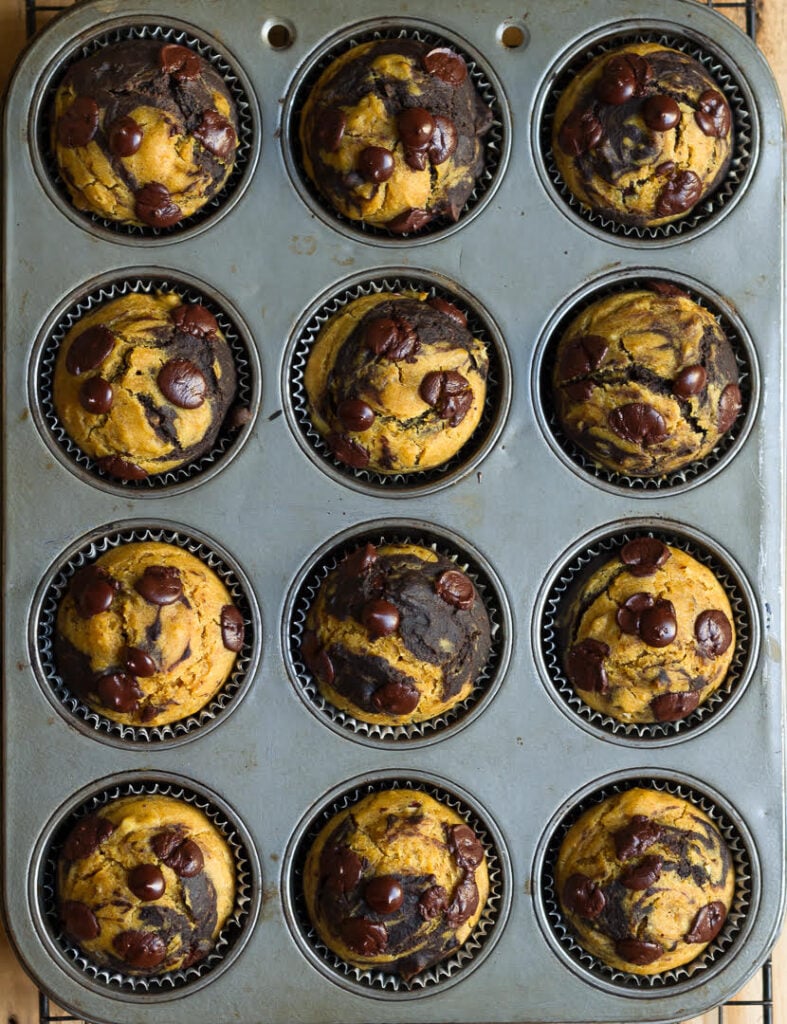
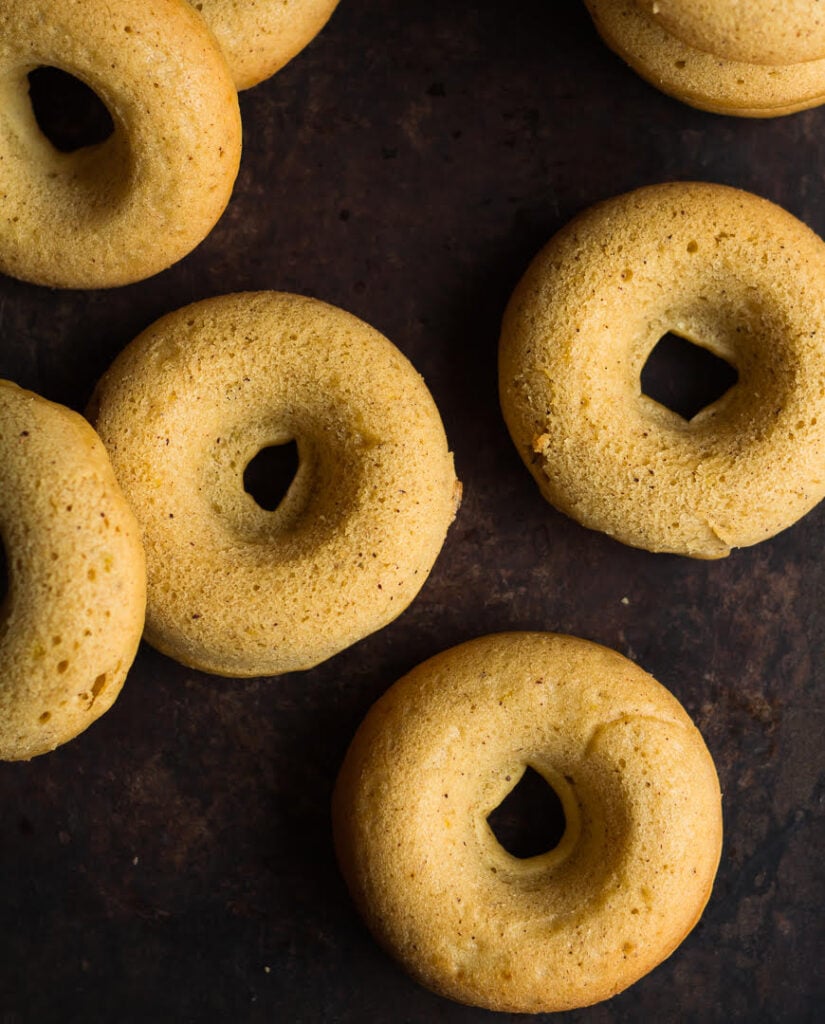
- Bake for 10-12 minutes or until a skewer inserted in the center comes out clean.
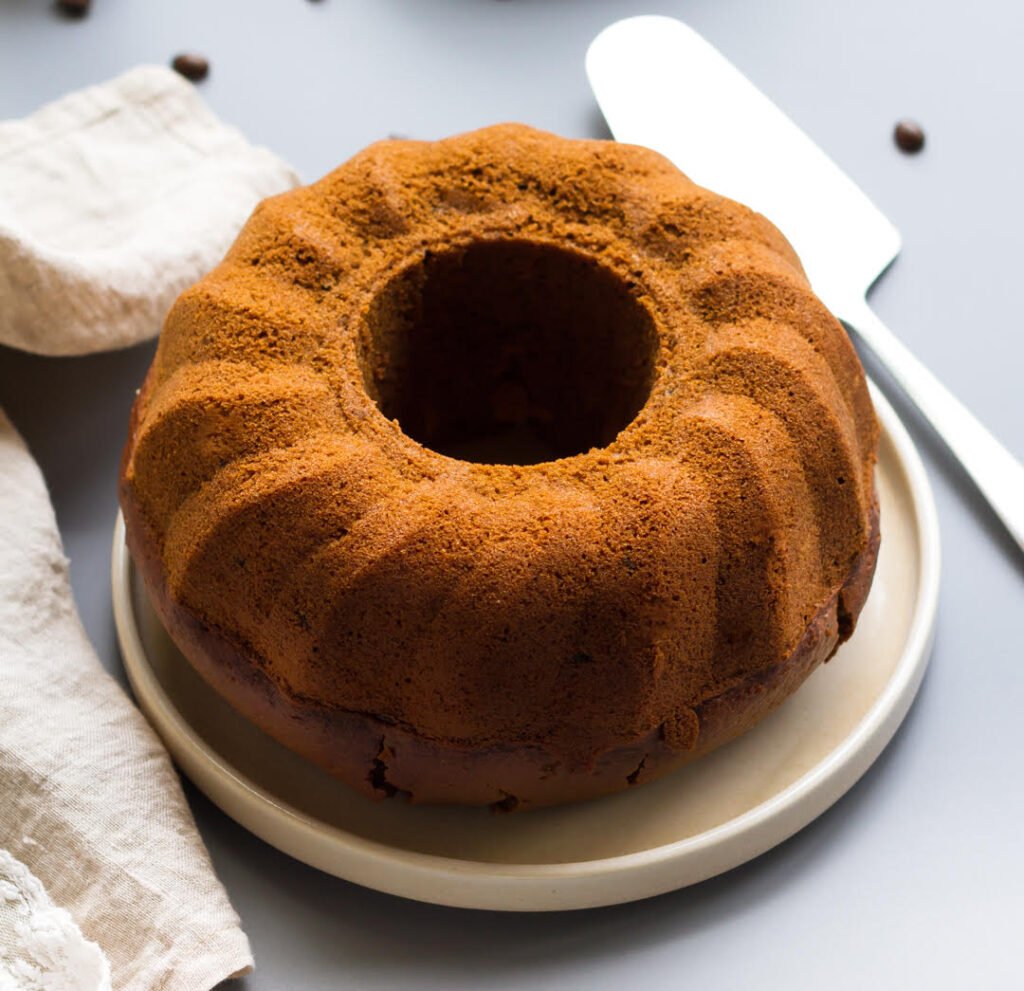
- Let the donuts rest for 5 minutes in the pan before turning them out on a cooling rack.
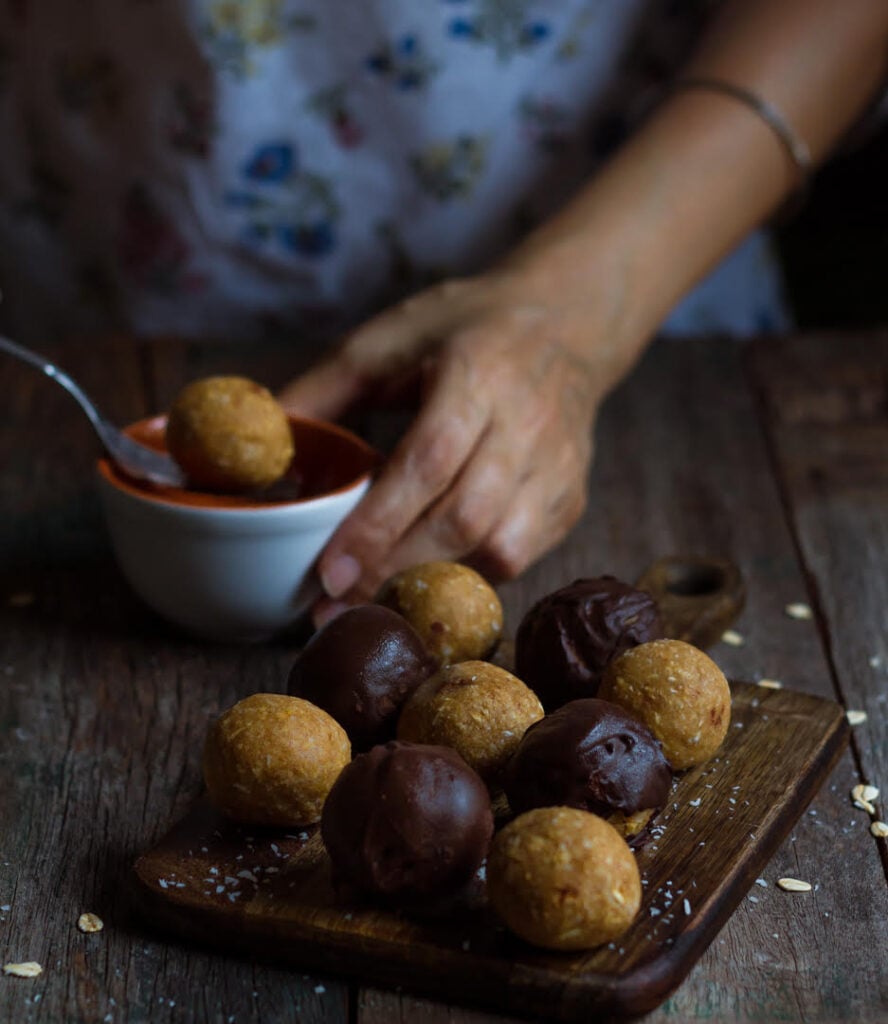
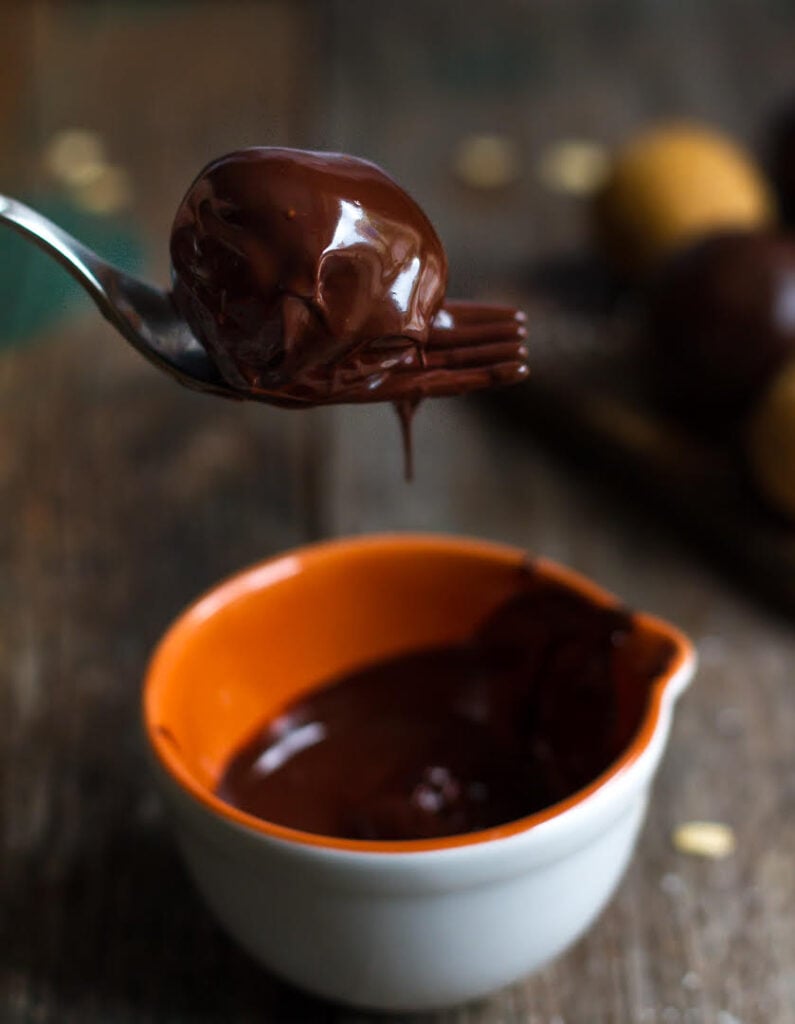
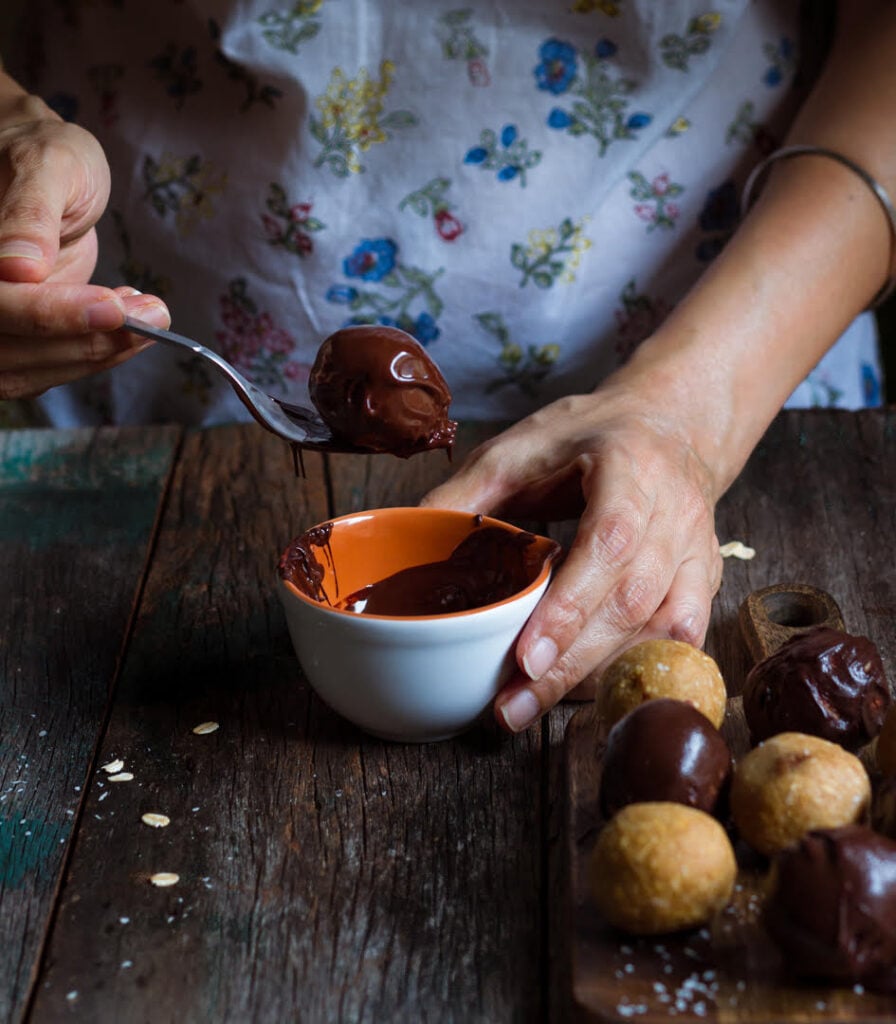
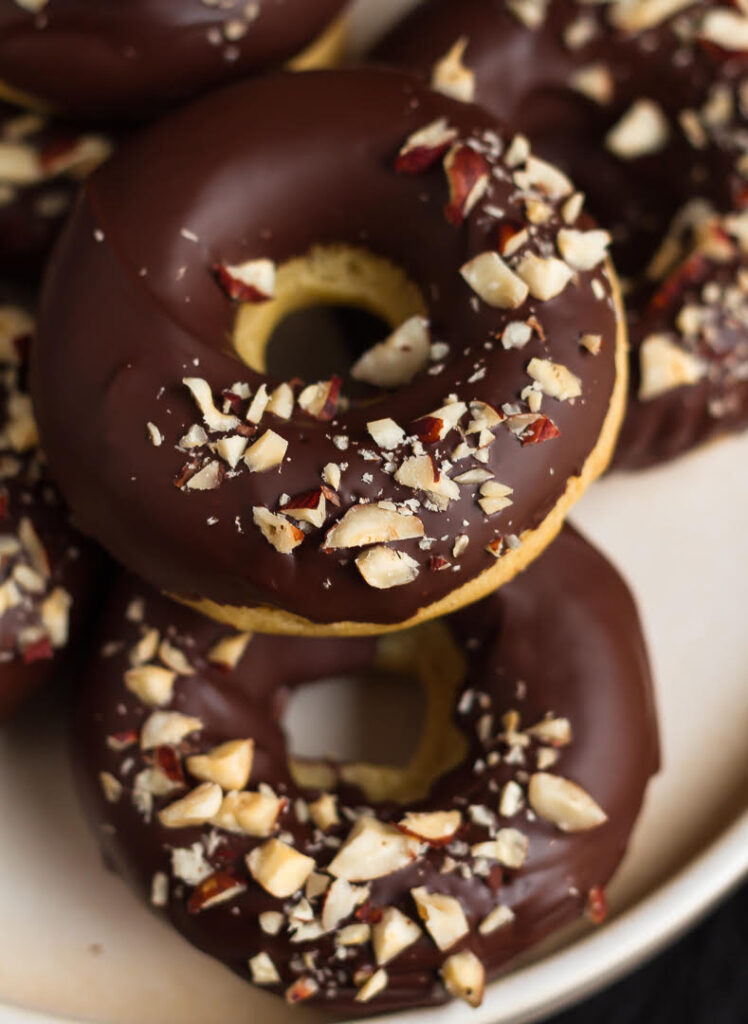
- For the topping, dip the cooled donuts in melted chocolate, and sprinkle over some chopped nuts.
Pumpkin donuts recipe notes
- The donut batter is thick – similar to that of a cake. Spoon it in the greased molds of the donut pan. Fill only three-fourths of the way because the donuts rise well and you don't want the batter spilling over!
- You can spoon the batter in or pipe it in the pan. I fill a Ziplock baggie with it. Snip off one end and then pipe the batter in the cavities.
- Don't overbake these donuts - keep an eye on them after the 10-minute mark.
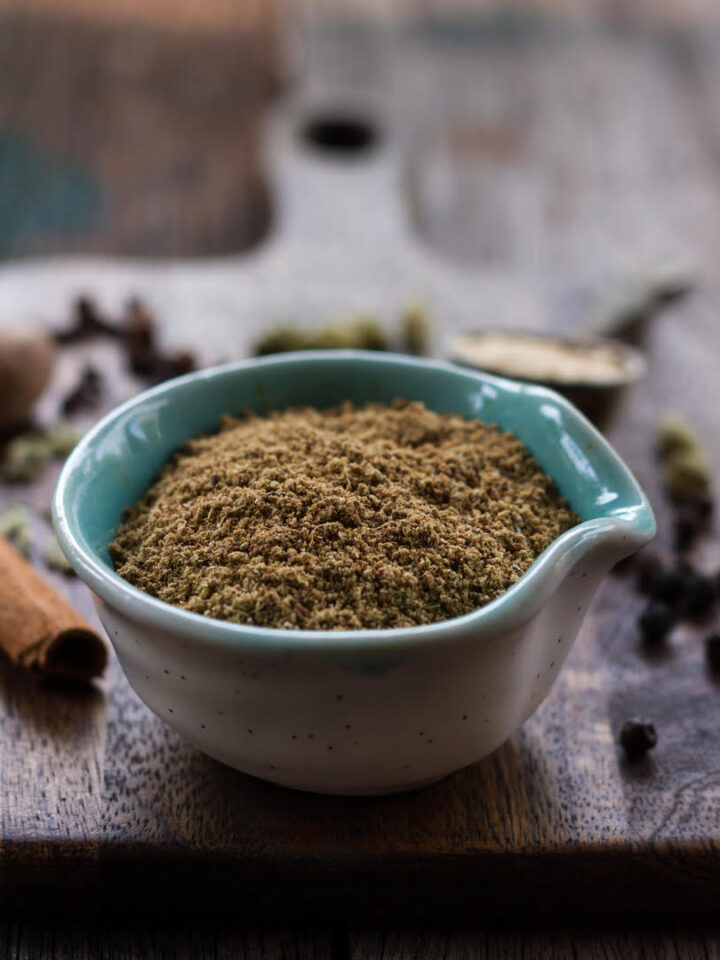
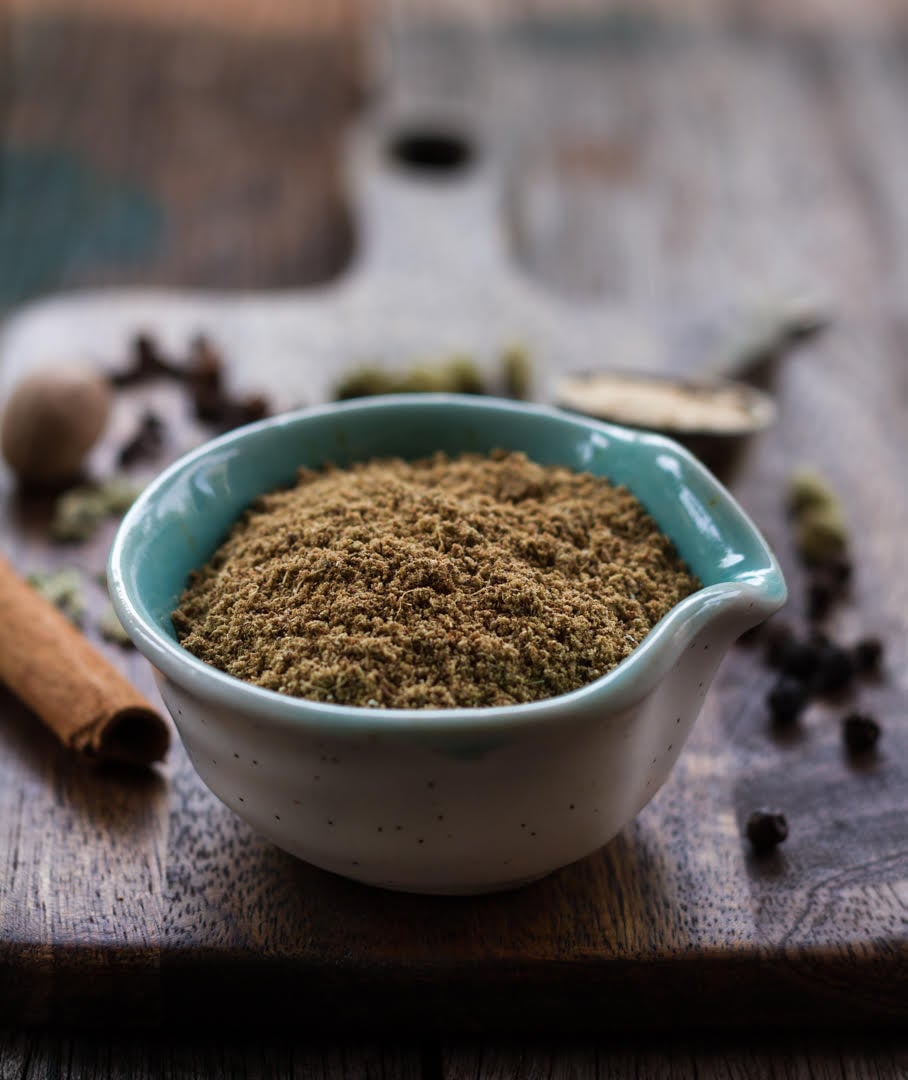
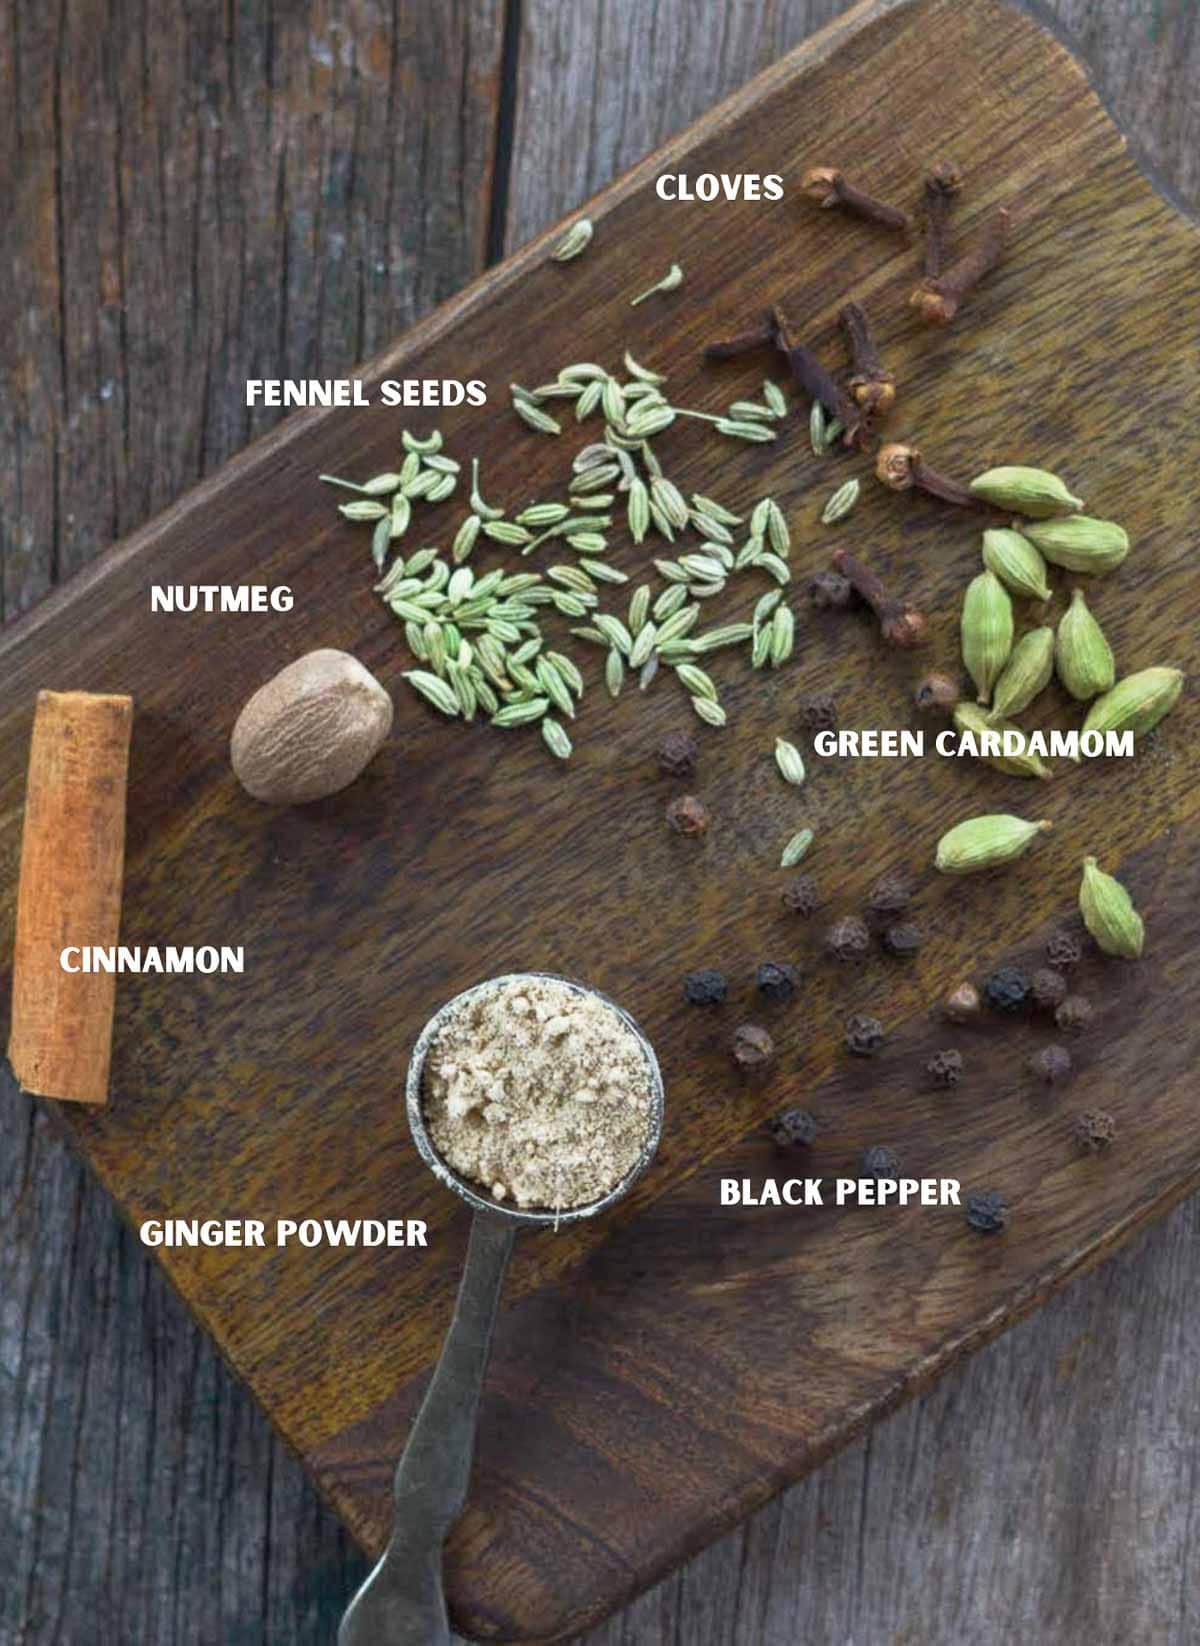
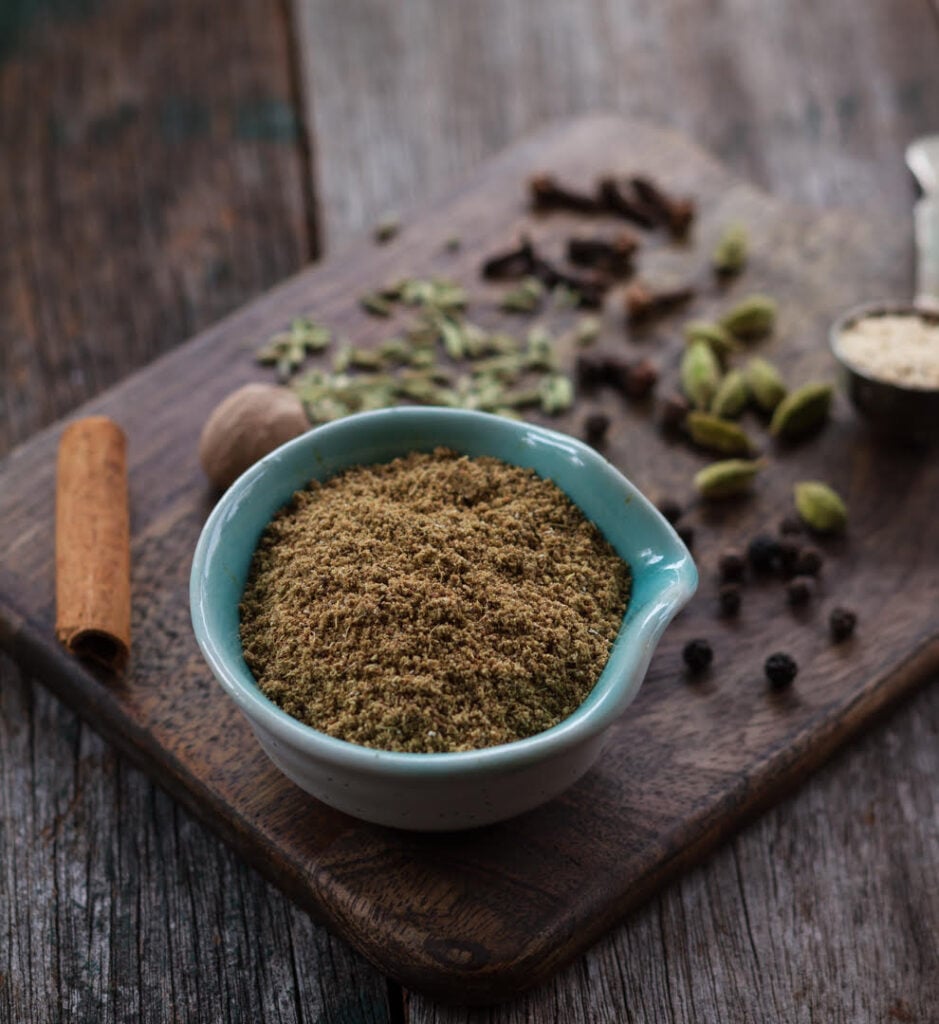
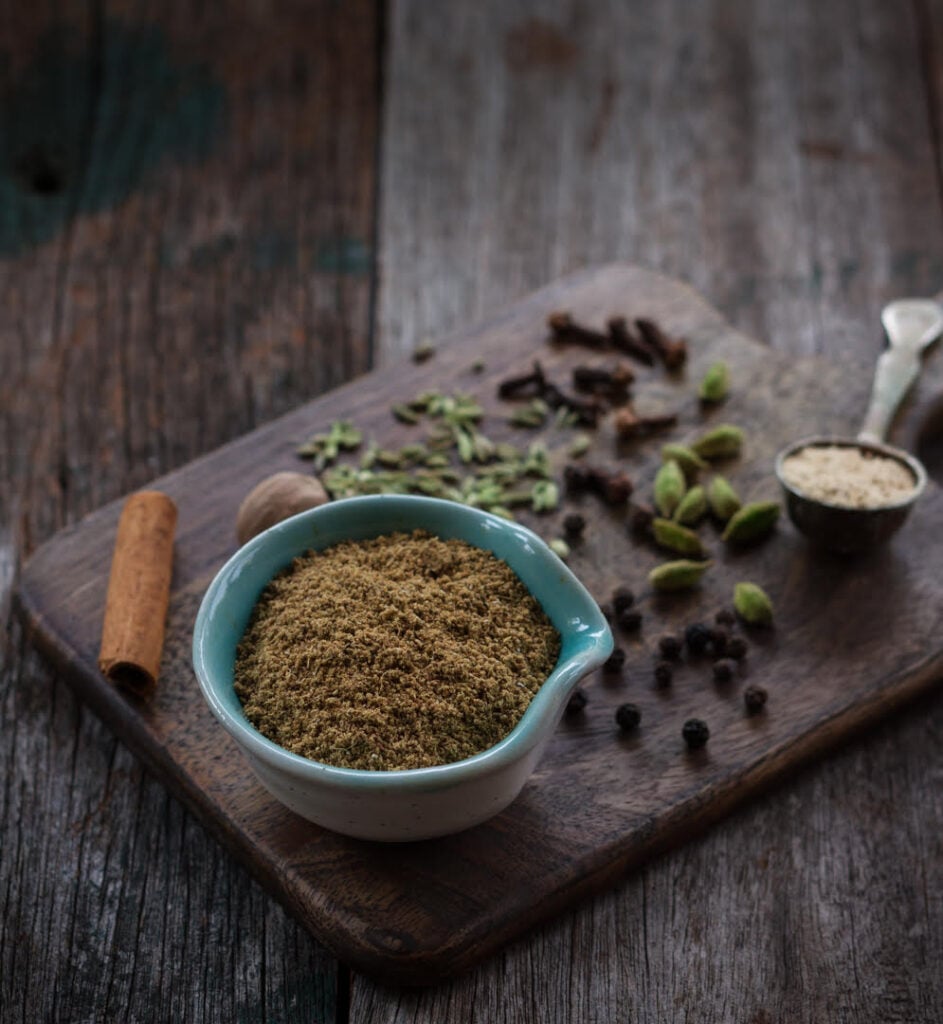
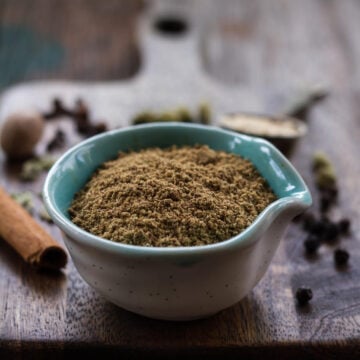
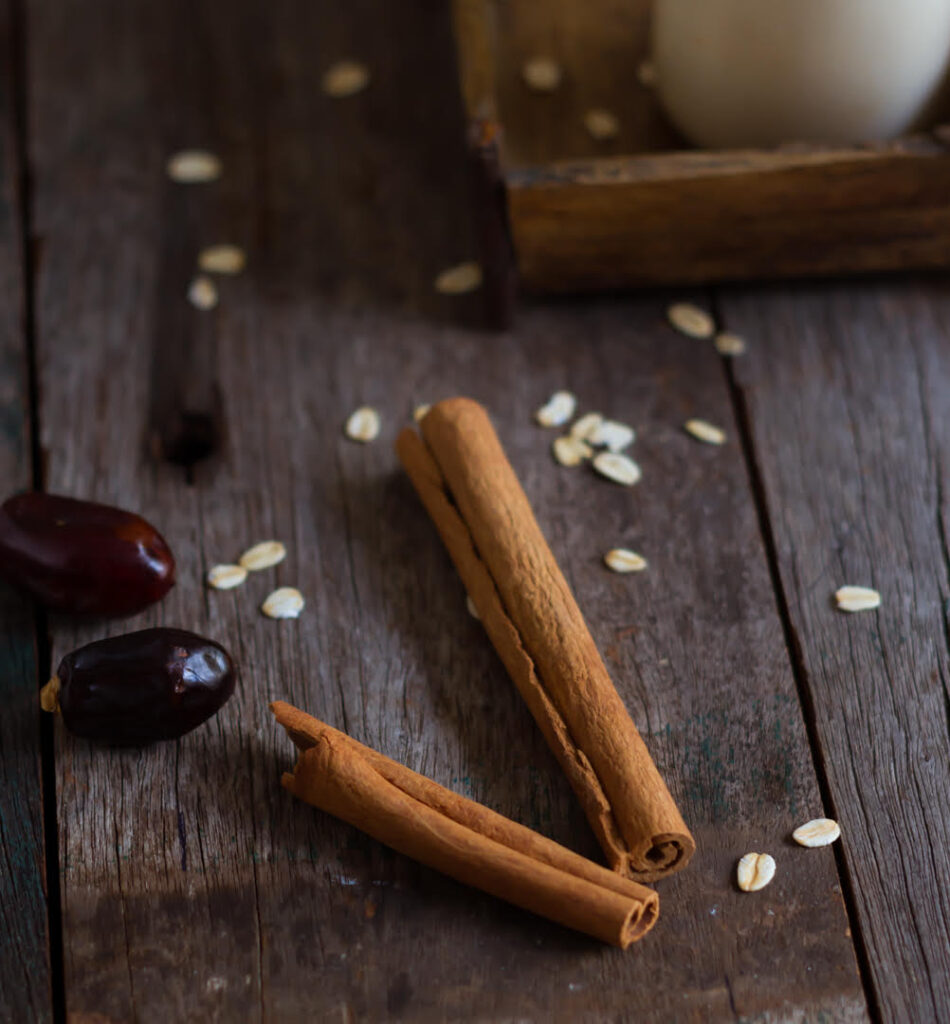
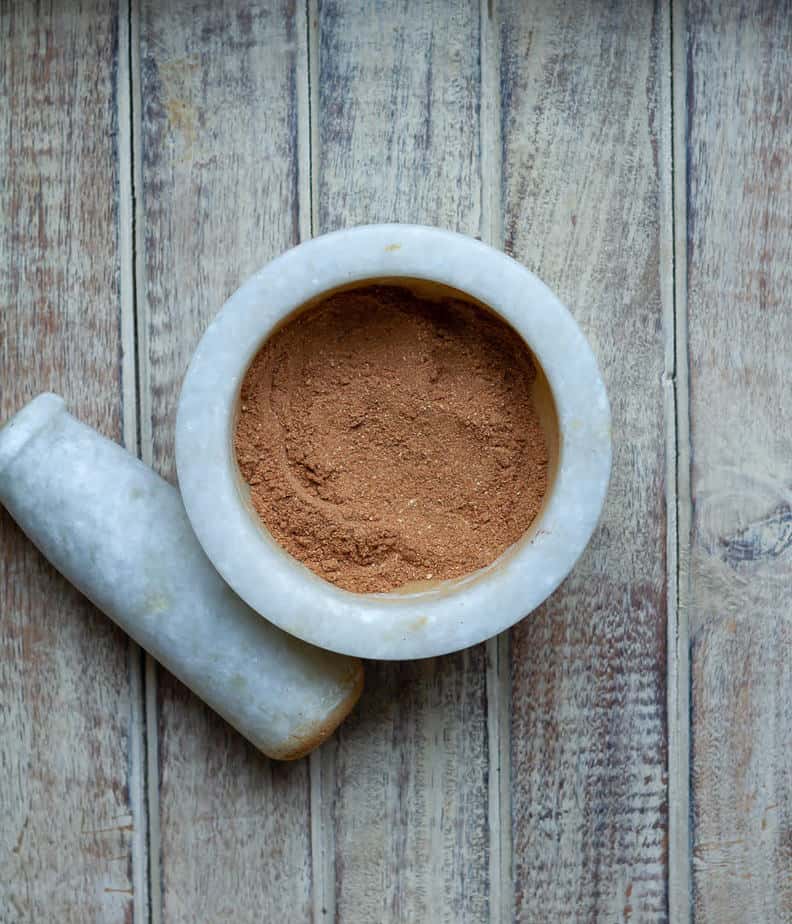
How to make pumpkin pie spice?
If the puree is what gives the pumpkin donuts its addictive texture, then it’s the pie spice that hooks you in with the aroma. Making this spice at home is so easy. All you have to do is - combine the spices mentioned below!
1 tbsp cinnamon powder
1.5 tsp ginger powder
1/2 tsp ground cloves
1/2 tsp ground nutmeg
You can easily double or even quadruple the quantities to make a small jar.
And of course, you can use store-bought pumpkin pie spice in a cinch!
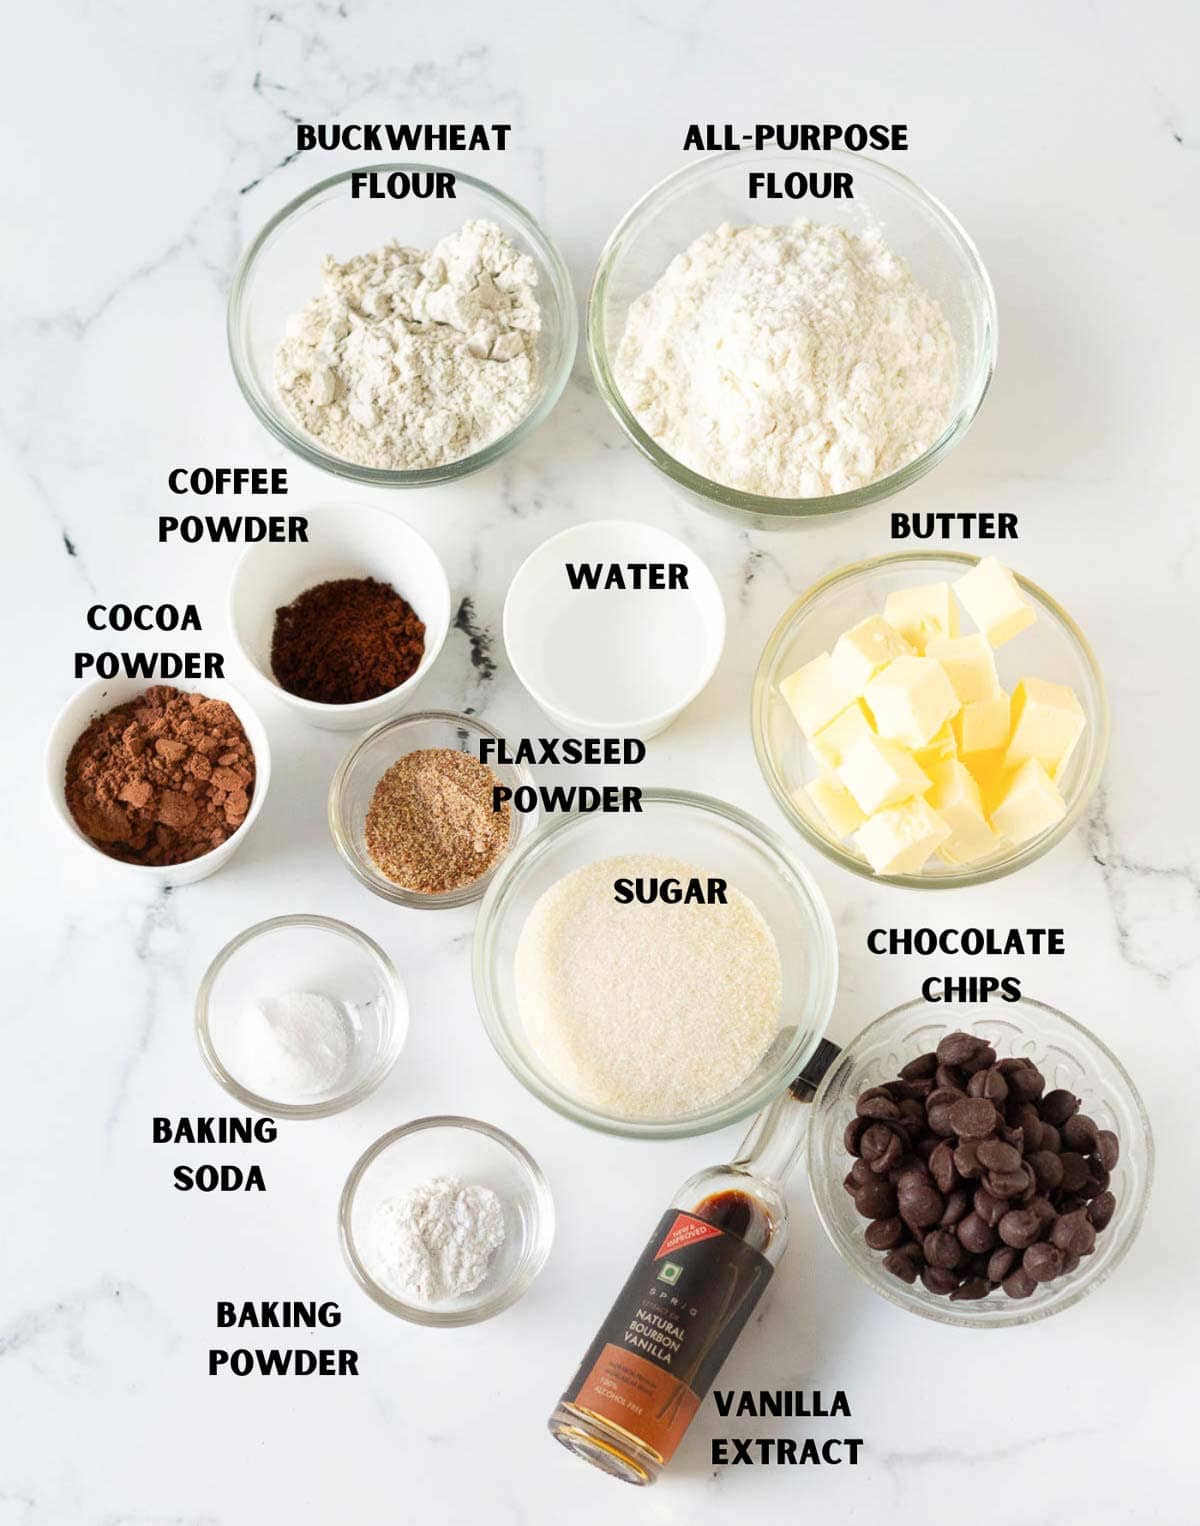
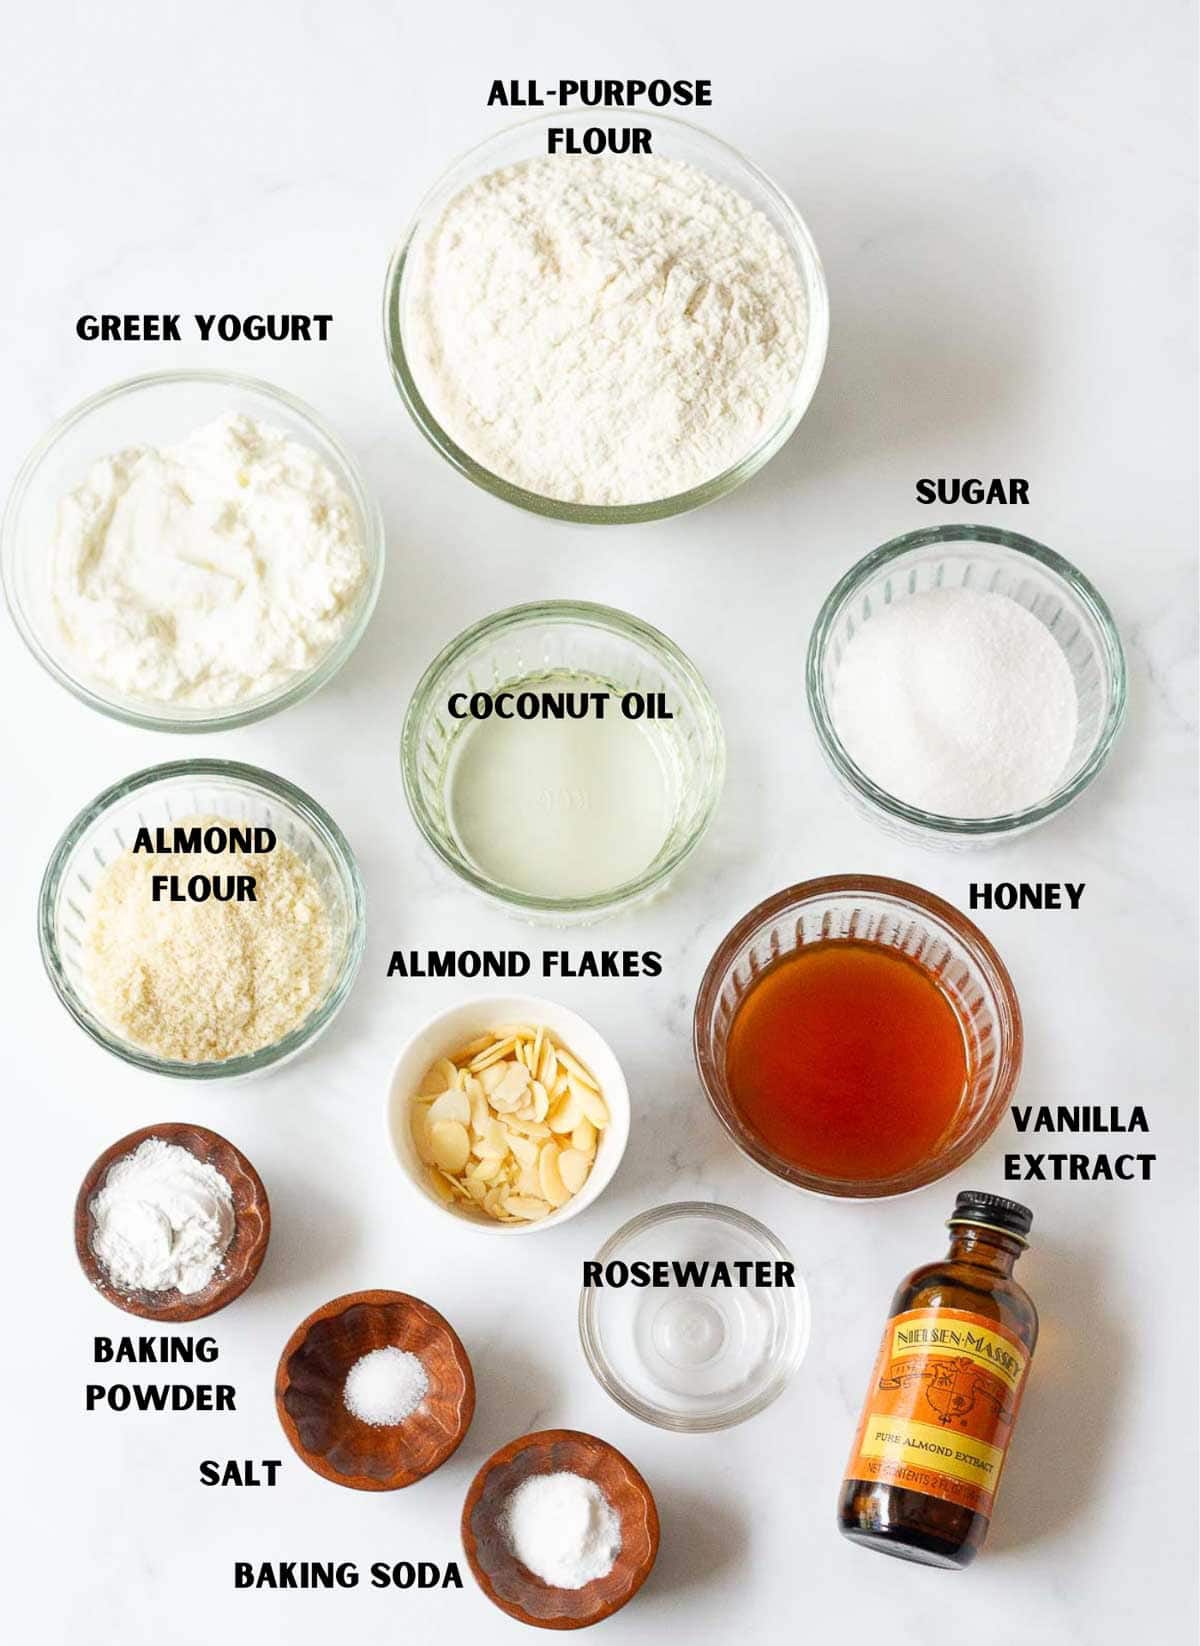
Ingredients and substitutions for baked pumpkin donuts recipe
All-purpose flour: That's what I used here, but you can easily switch to wholewheat flour.
Sugar: I used raw sugar but coconut sugar, or regular white sugar, will work well here.
Oil: I love coconut oil in my baking. Any neutral-tasting oil will be a good choice in this baked pumpkin donut recipe. You can even use melted butter.
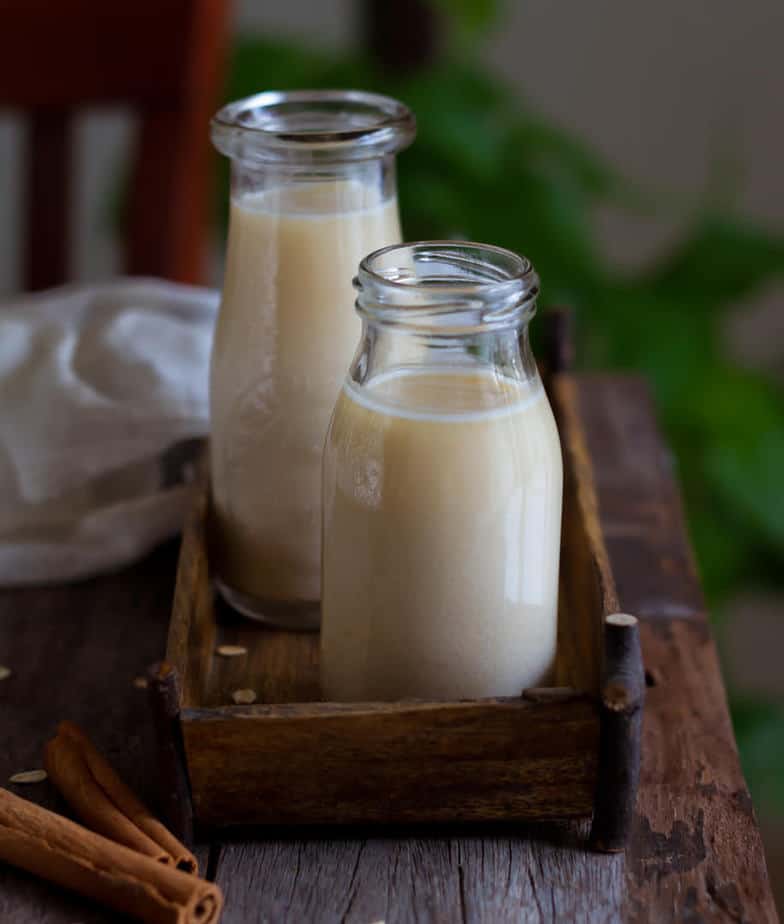
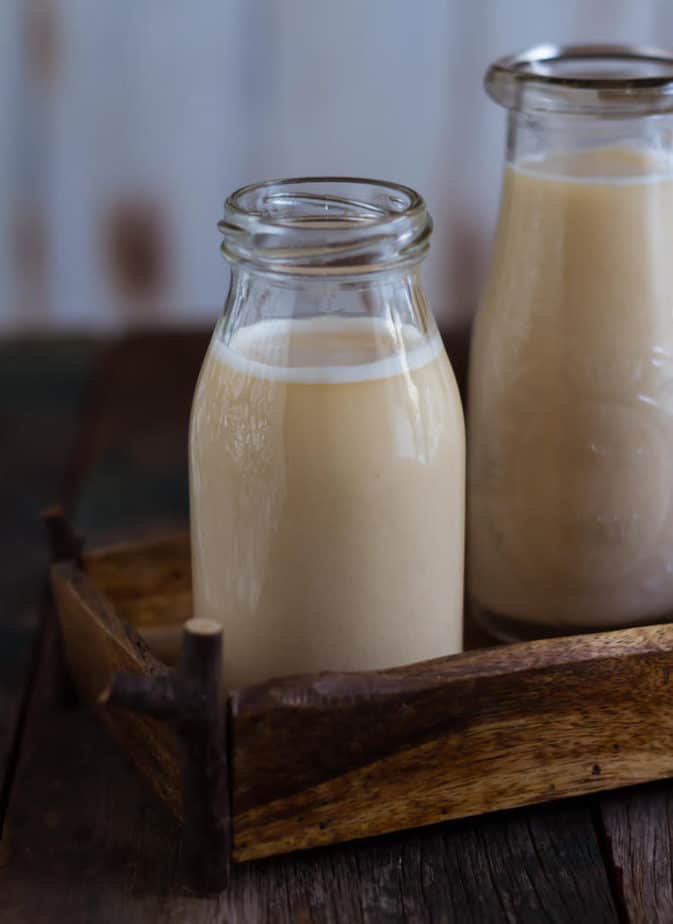
Milk: For the milk, I remain loyal to my homemade almond option. But any milk of your preference will do. Just make sure that you add the vinegar and let it rest for some time. The buttermilk will make the pumpkin donuts as airy as a cloud.
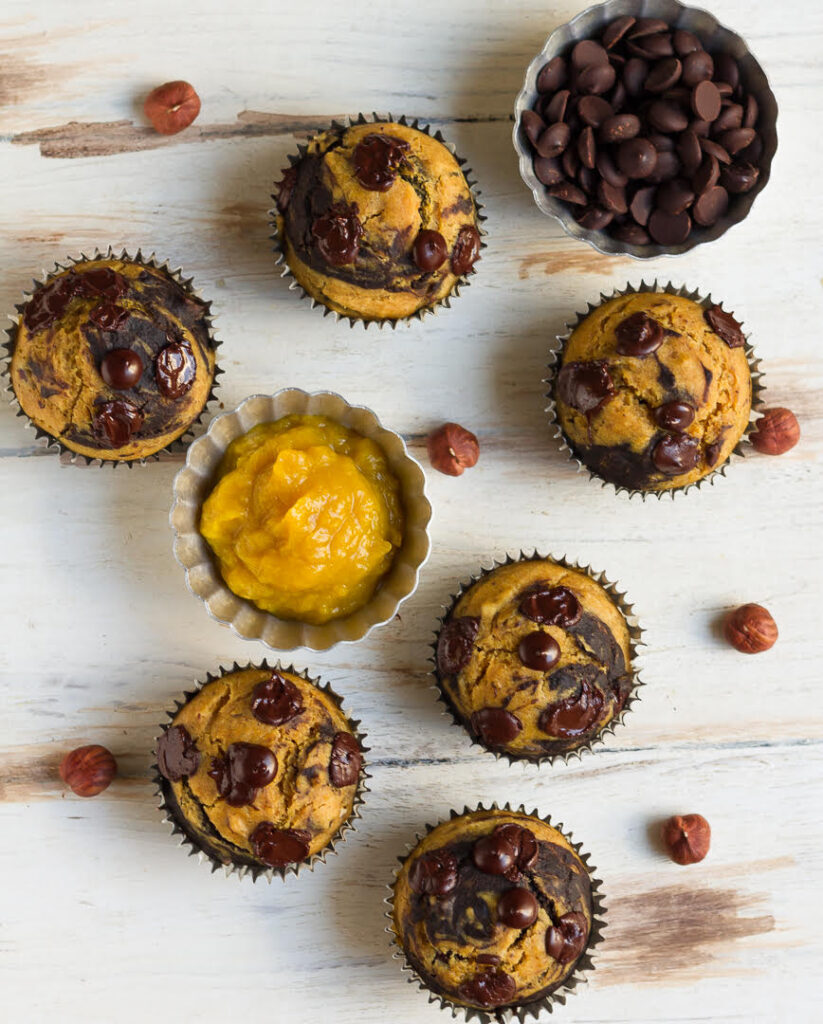
Pumpkin puree: Homemade or canned, either will be good here.
Pumpkin pie spice: Homemade or store-bought, both are wonderful options.
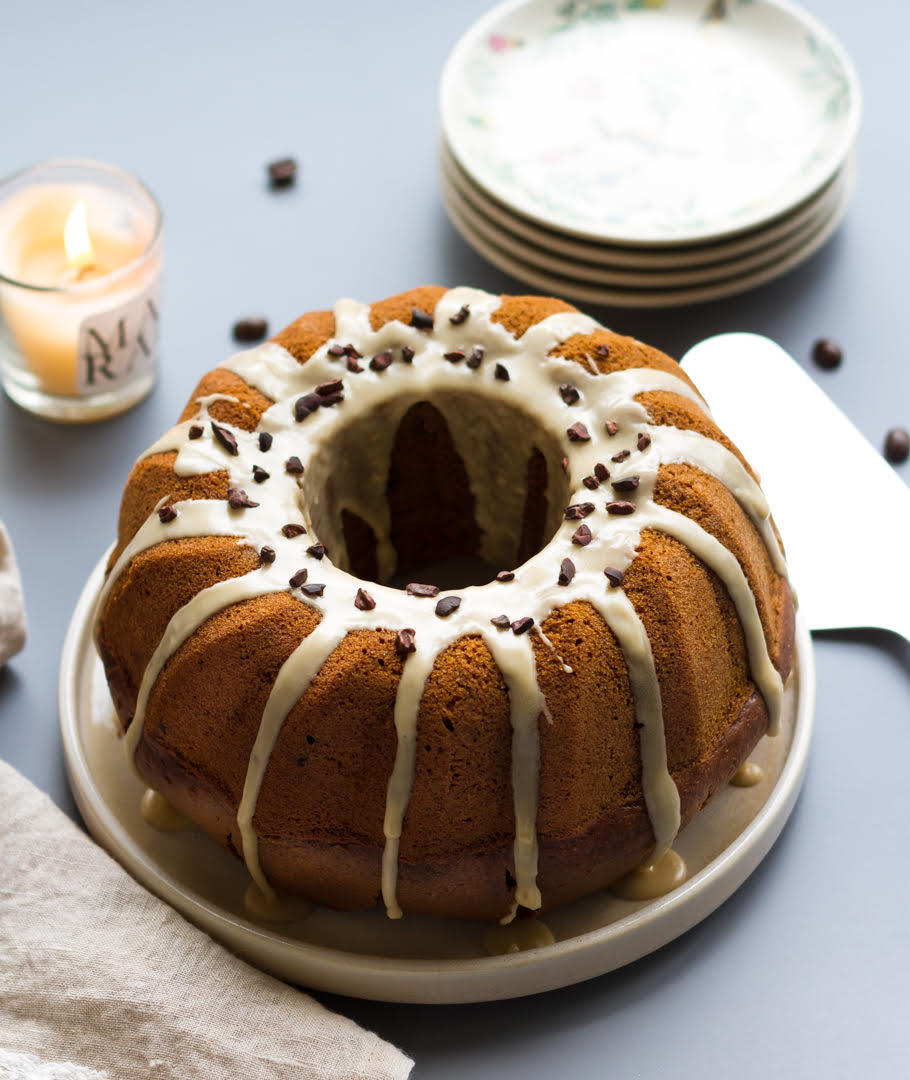
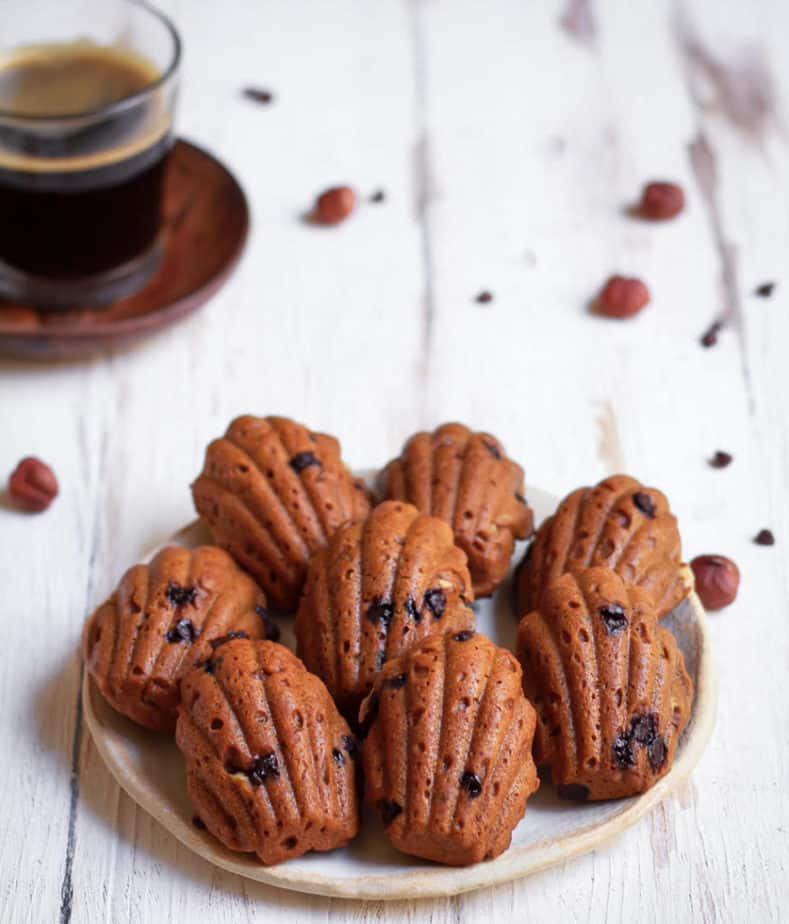
Serving vegan baked pumpkin donuts
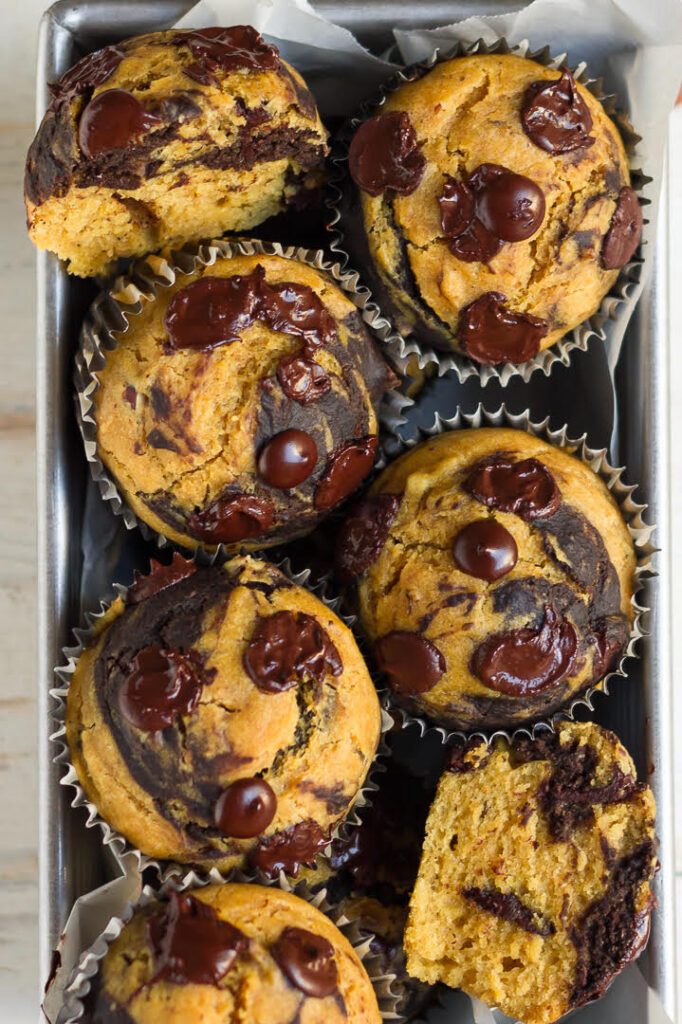
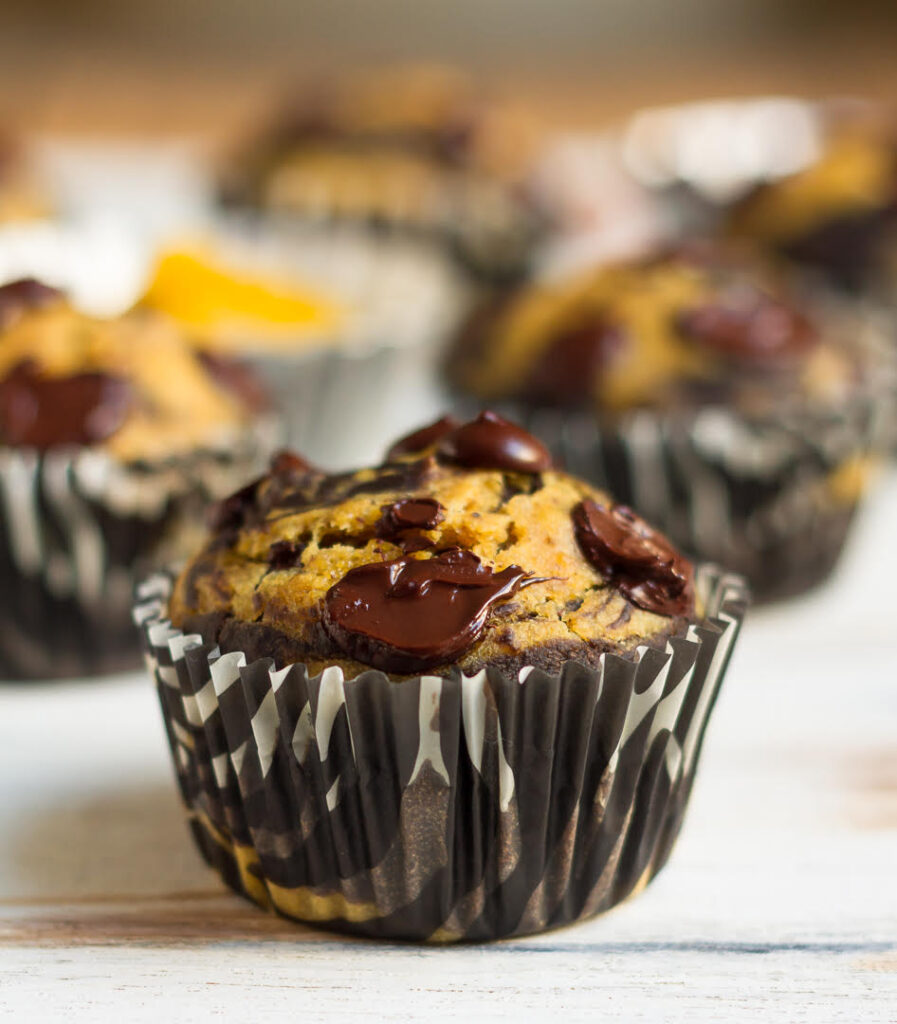
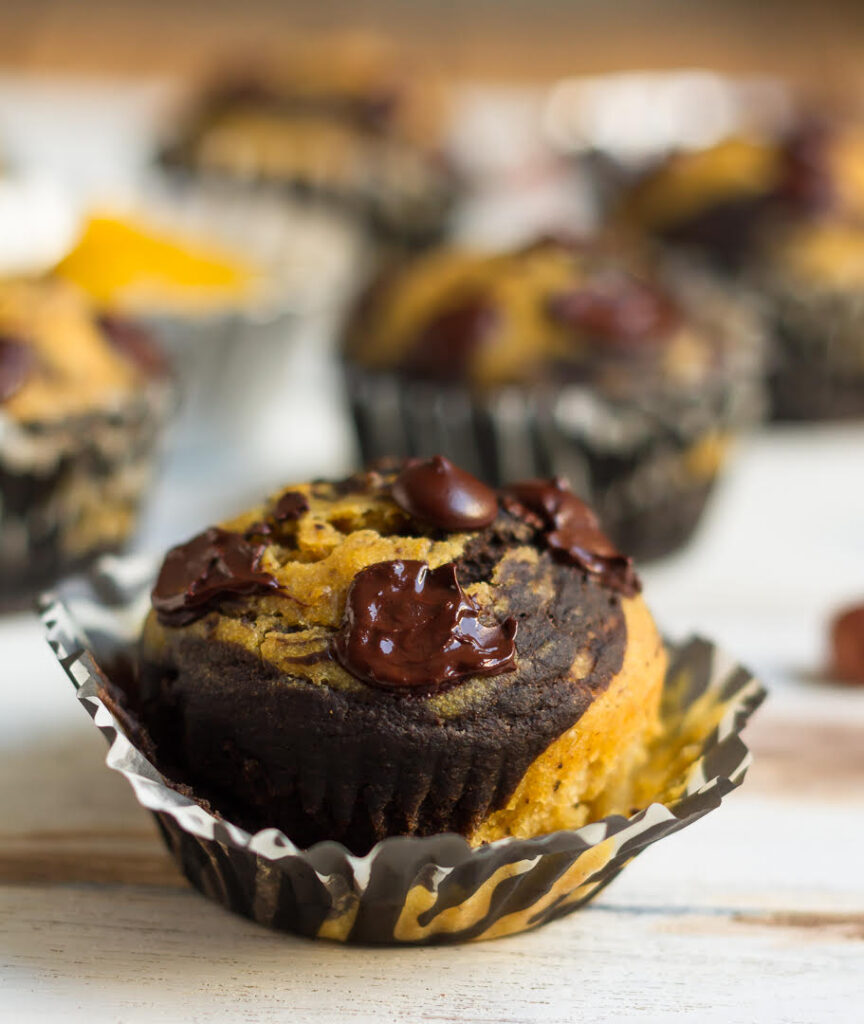
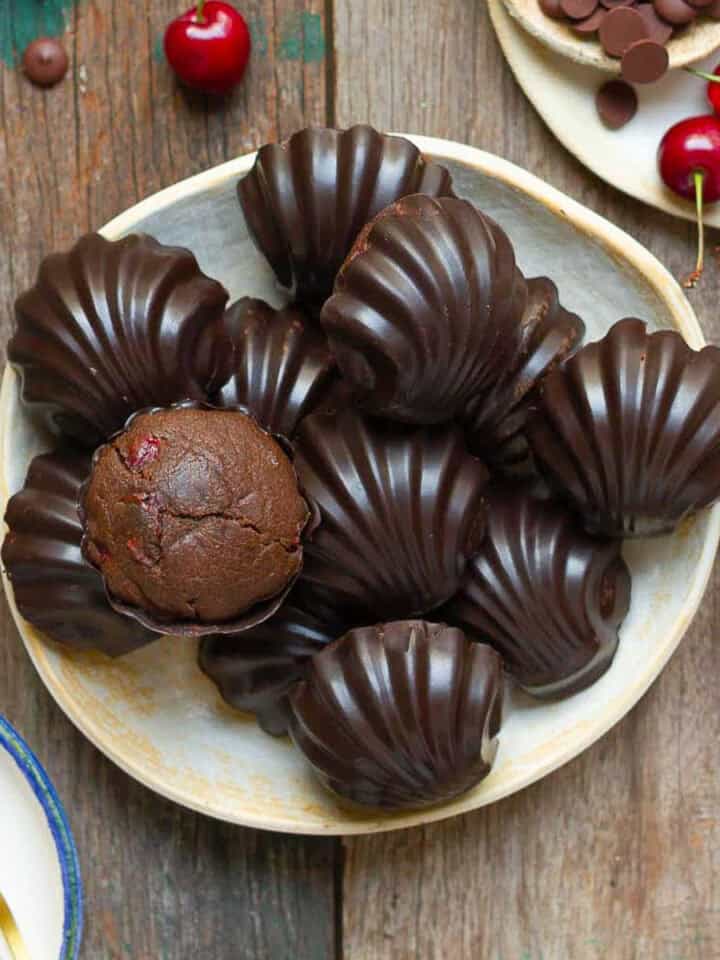
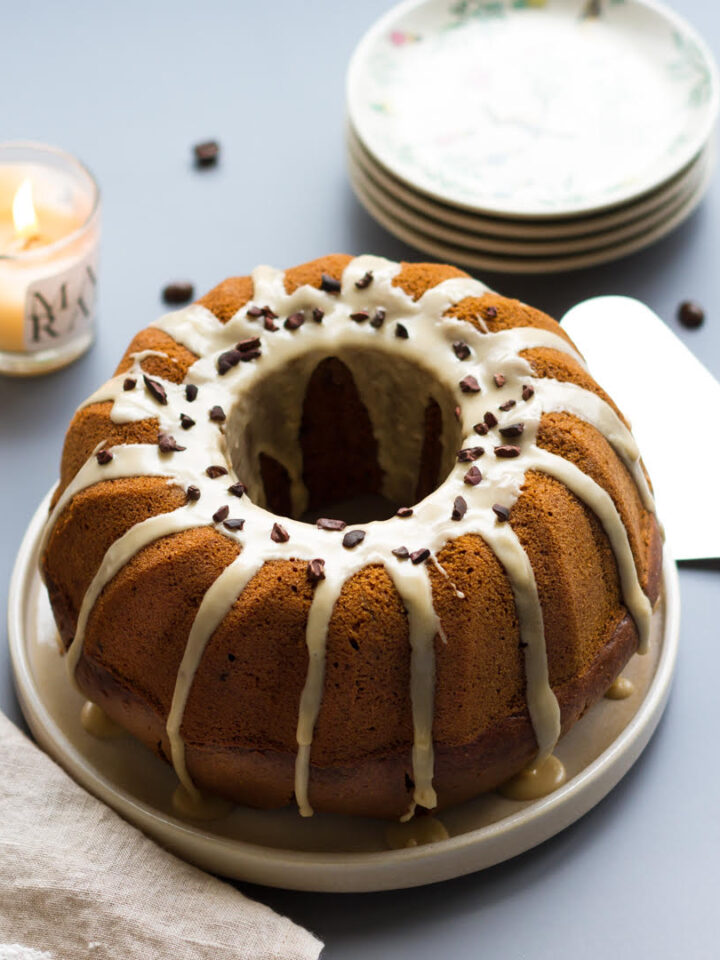
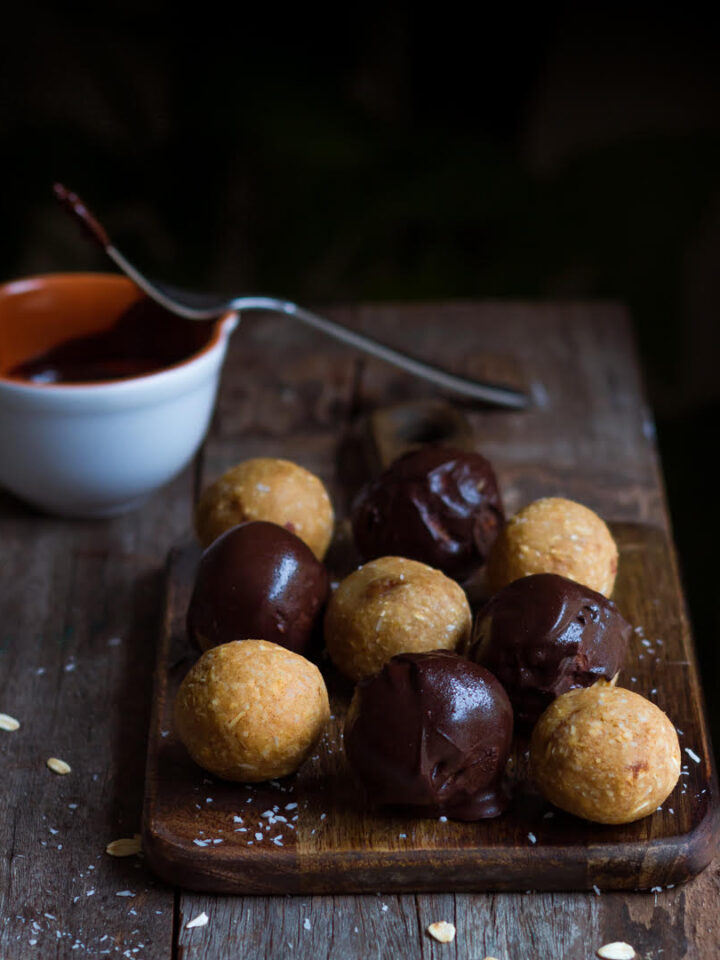
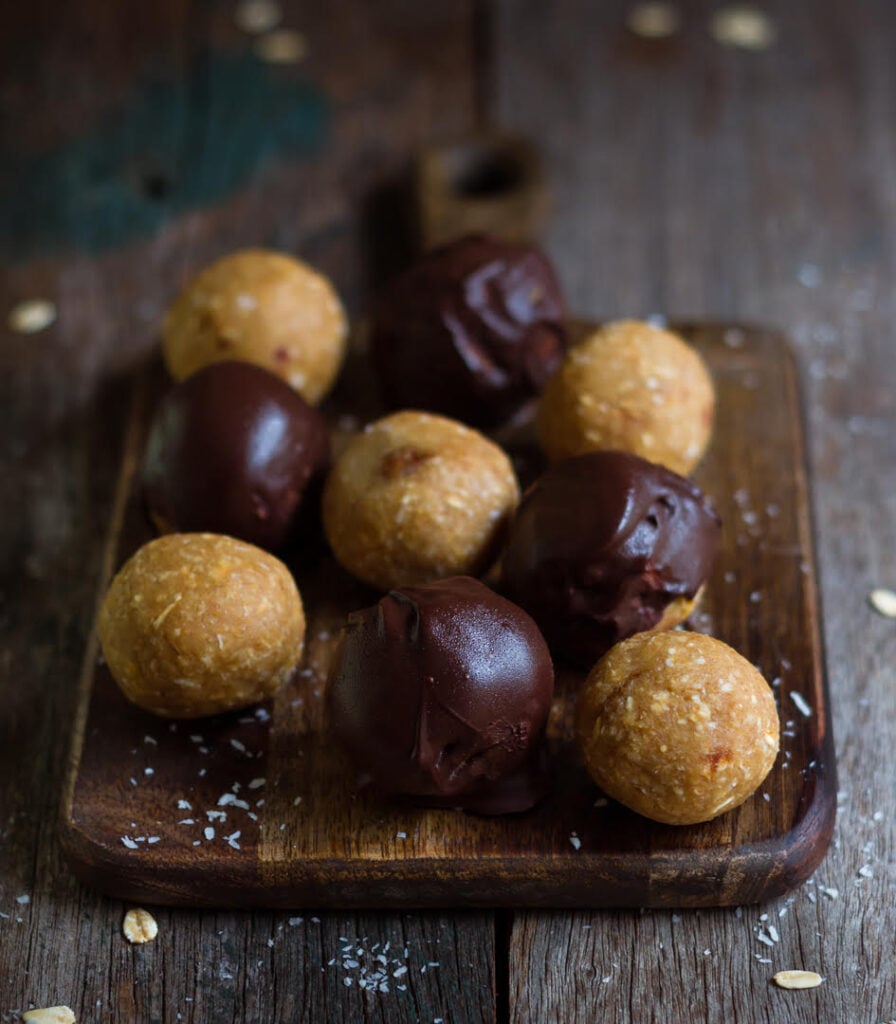
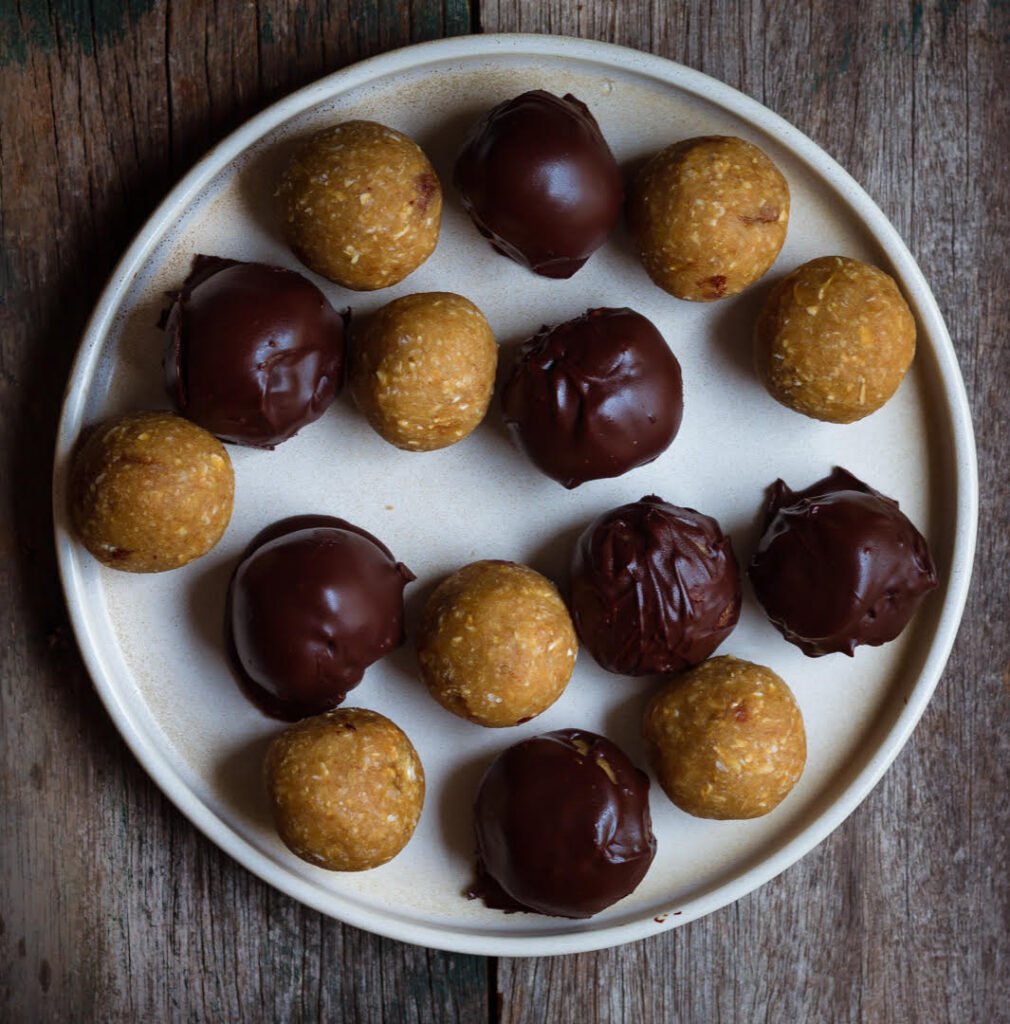
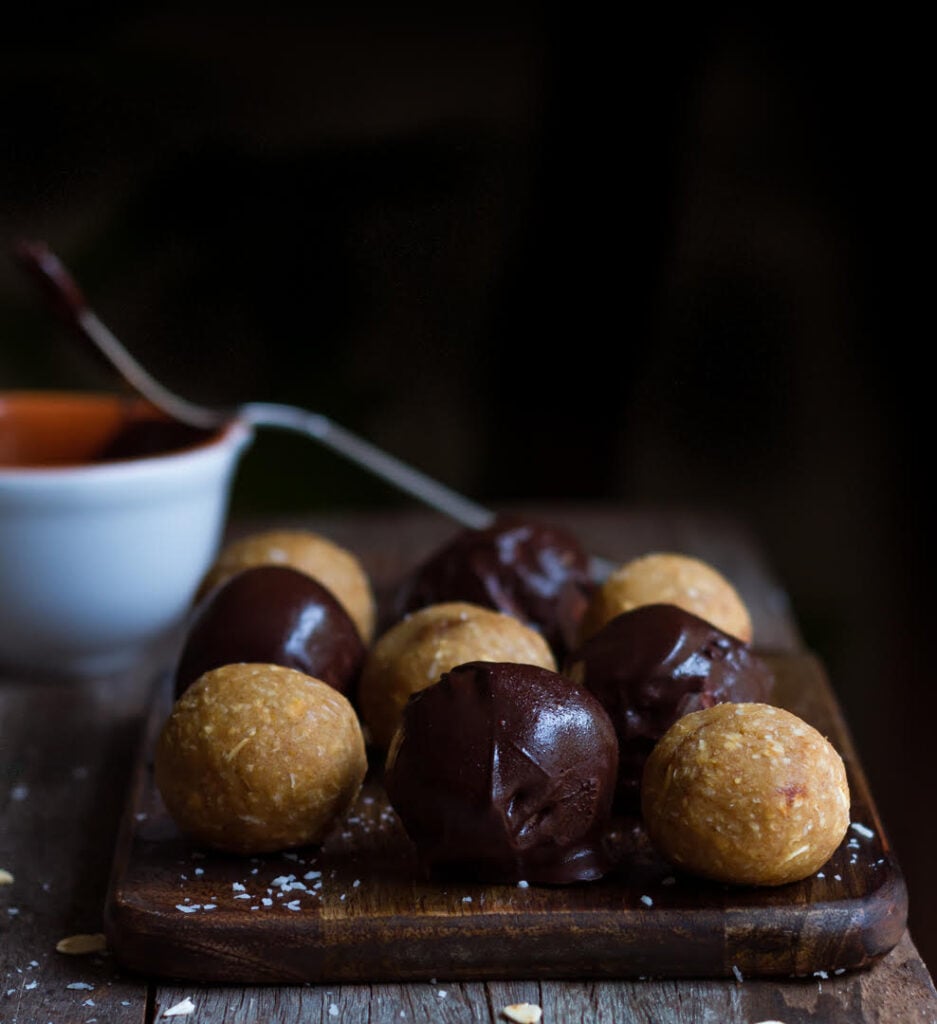
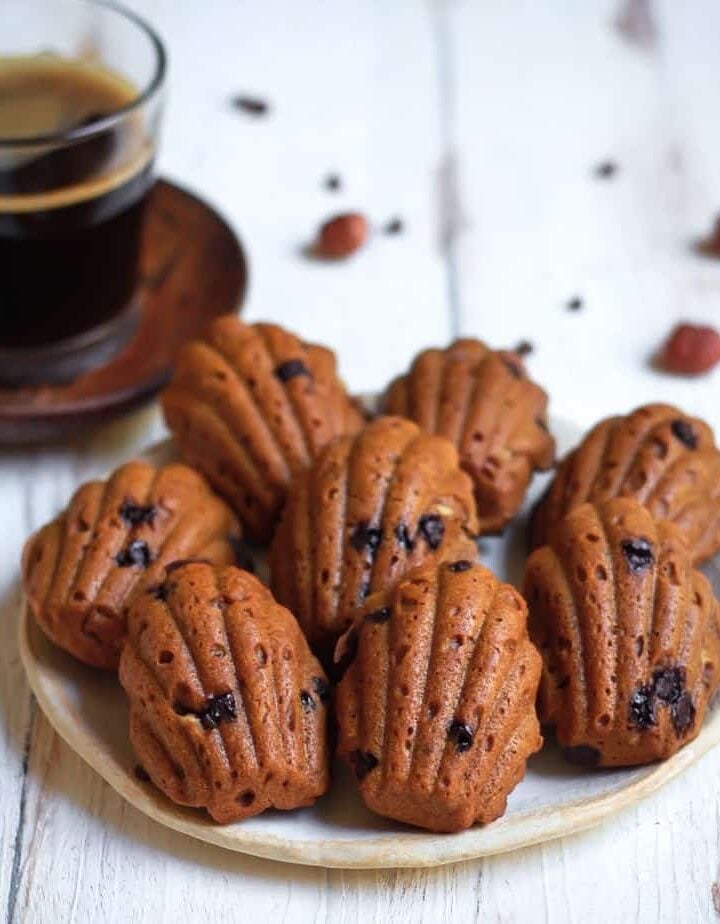
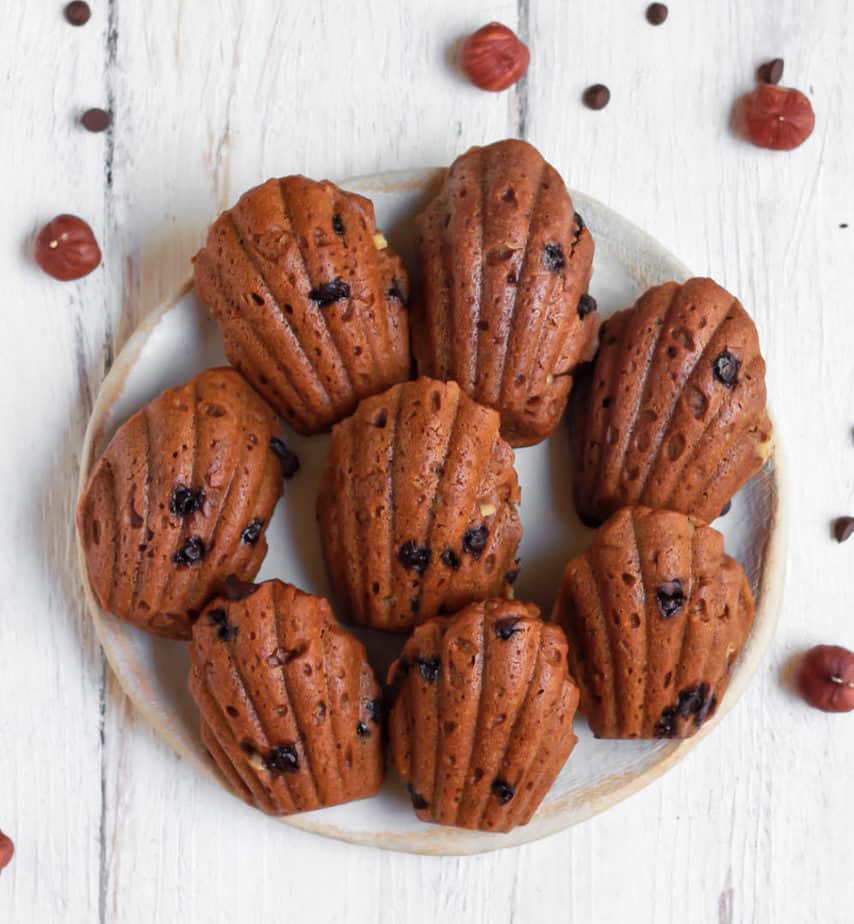
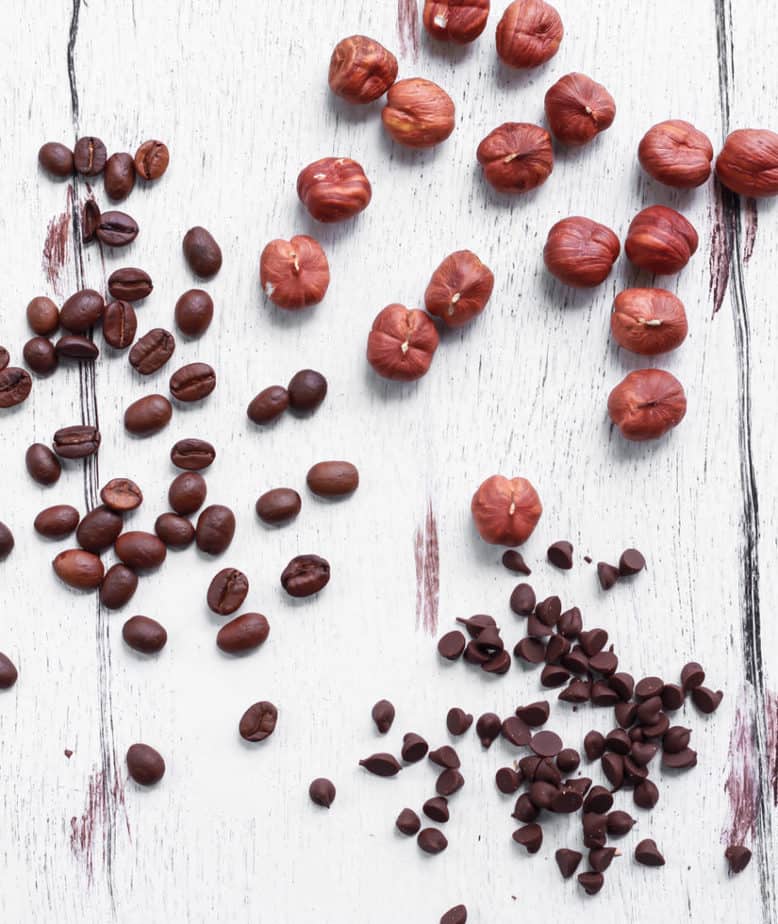
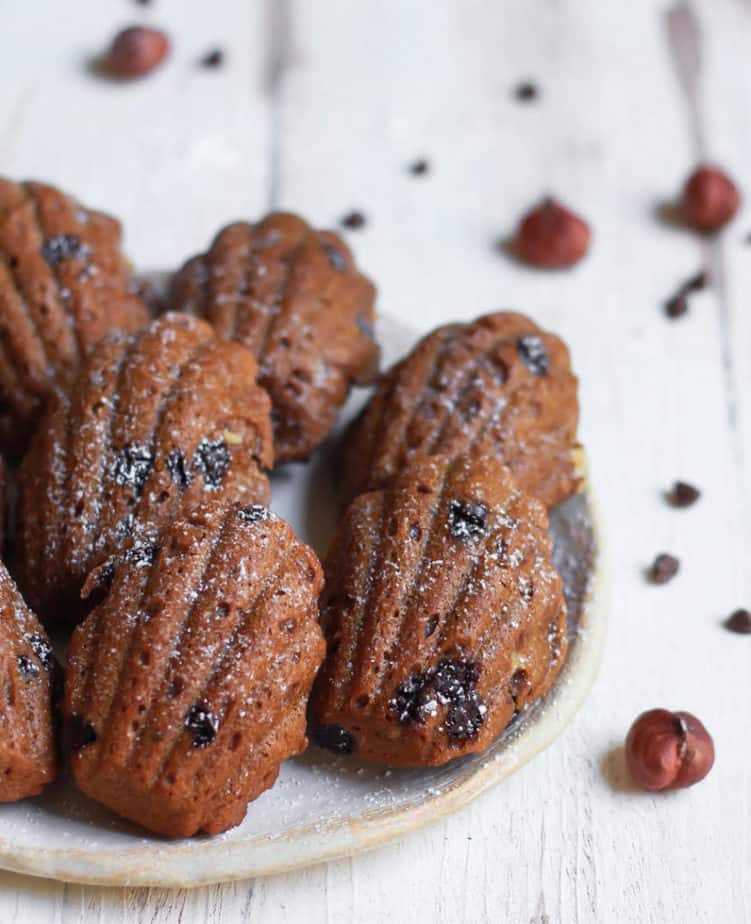
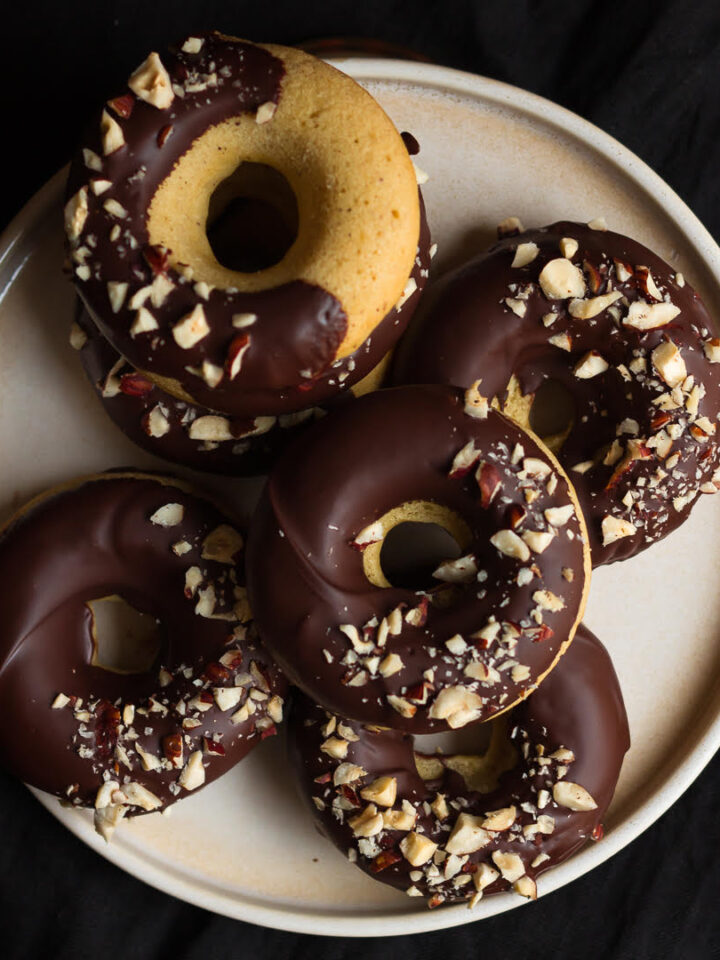
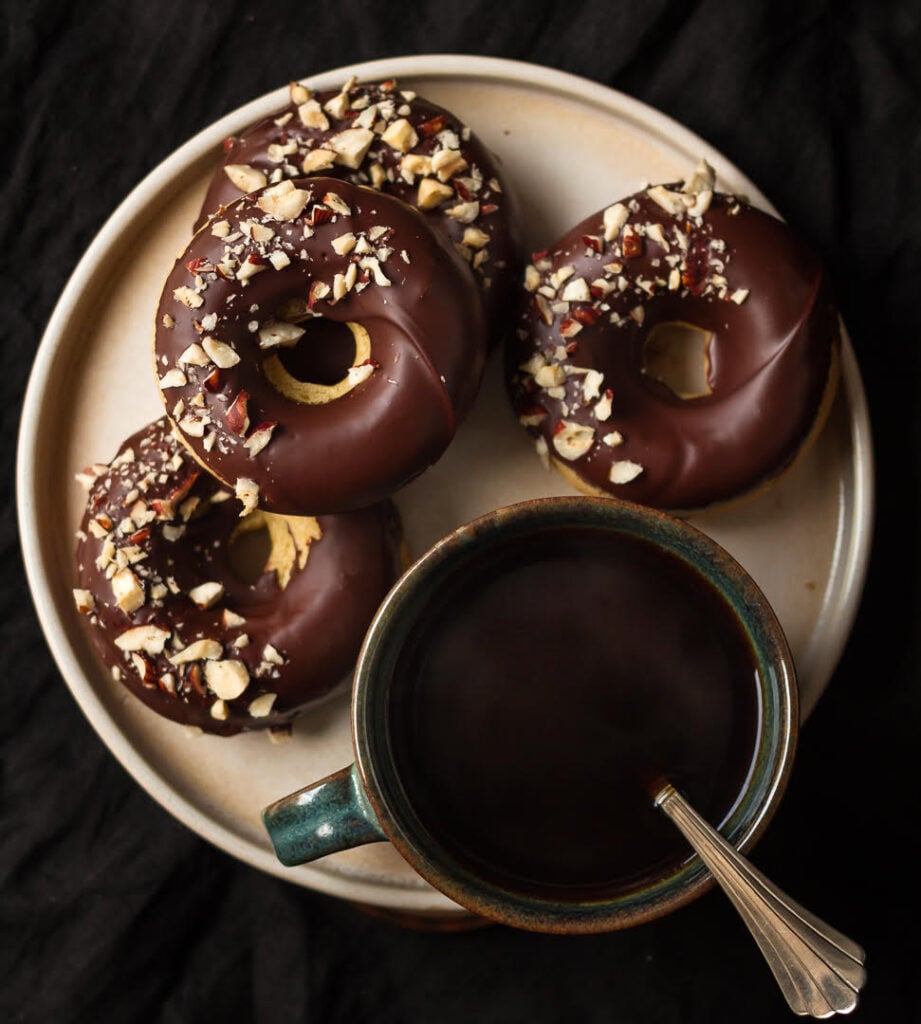
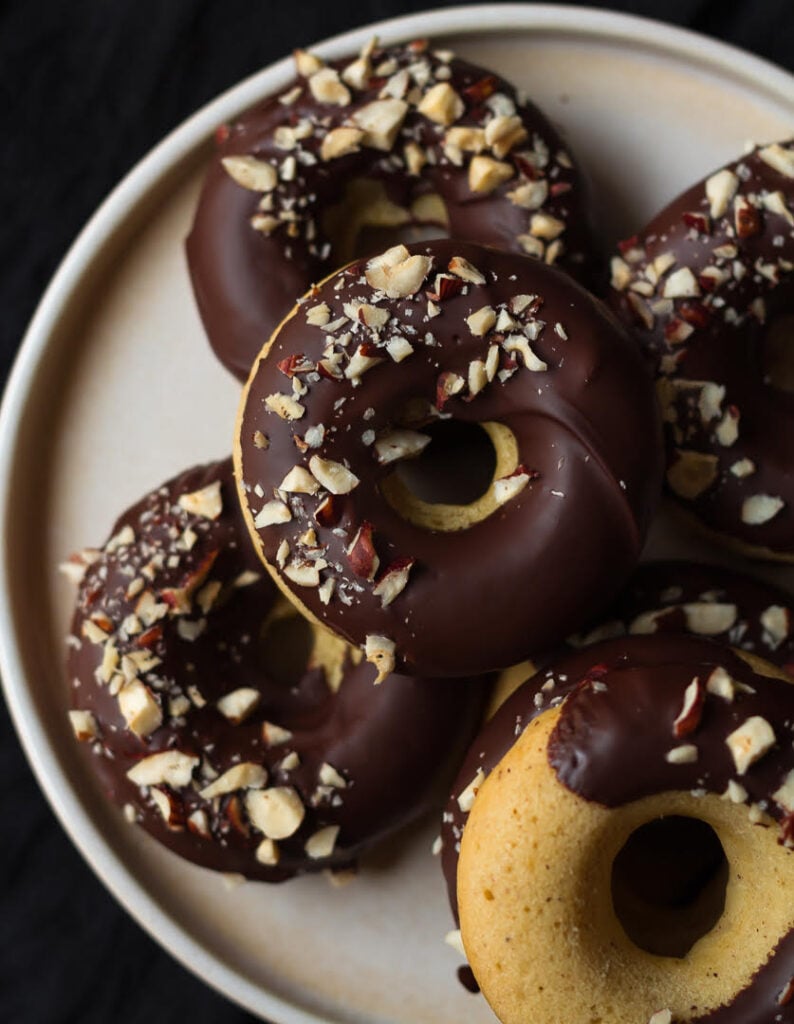
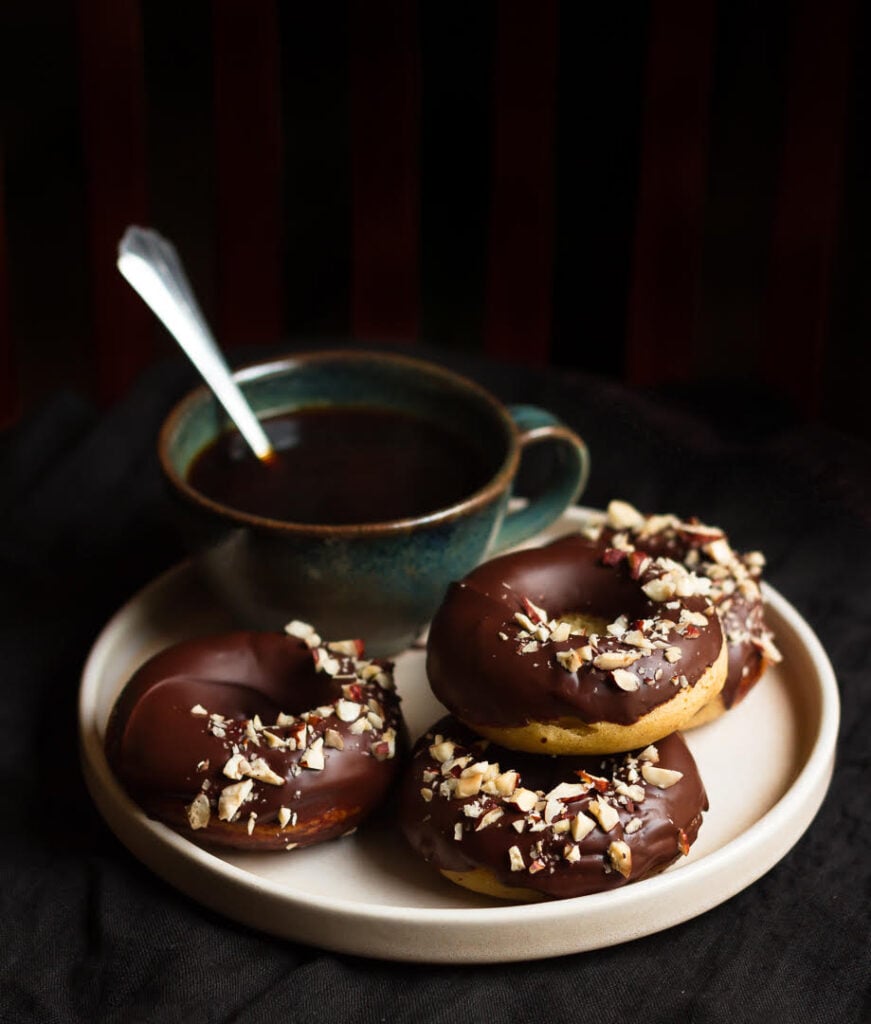
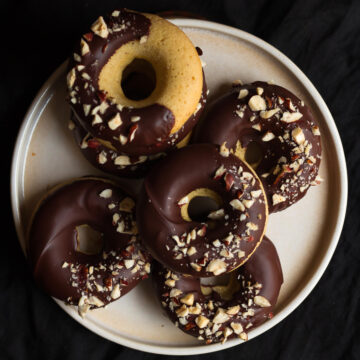
I wanted to give these delicious pumpkin donuts a touch of decadence. So, I dipped them in melted dark chocolate. Some were half dunked and some just the top. For a bit of crunch, I sprinkled chopped hazelnuts right at the end.
This is, of course, a completely optional step. You can skip it and jump straight to relishing the fabulous and healthier than their fried counterpart donuts. Or you can garnish them with almonds, walnuts, or pecans.
Half the joy of cooking is sharing it with others. That’s why I’m always eager to hear from you. So go right ahead & drop a comment or reach out on Instagram, Pinterest, YouTube, or Facebook. I hope you love these Vegan Pumpkin Donuts as much as we do!
📖 Recipe
Vegan Pumpkin Donuts
Equipment
- Donut Pan
Ingredients
- 3/4 cup Almond milk You can use any milk of your choice
- 1 tbsp Apple cider vinegar
- 1.5 cups All-purpose flour
- 1.5 tsp Baking powder
- 1/4 tsp Baking soda
- 1/4 tsp Salt
- 1 tsp Pumpkin spice Recipe in the notes
- 1/2 cup Raw sugar You can use any sugar you prefer.
- 3/4 cup Pumpkin puree Recipe in notes
- 3 tbsp Coconut oil You can use any neutral tasting oil or melted butter
- 1 tsp Vanilla extract
Chocolate Glaze ( Optional)
- 1/2 cup Dairy-free dark chocolate/ 70% dark chocolate, melted
- 1-2 tbsp Hazelnuts, chopped You can use any nuts you prefer
Instructions
- Preheat the oven to 180 C. Grease cavities of a donut pan well.
- Combine the almond milk and vinegar in a small bowl. Set aside for 5 minutes.
- Combine all the dry ingredients in a large bowl.
- Whisk all the liquid ingredients - almond milk mixture, pumpkin puree, coconut oil, and vanilla extract in another bowl.
- Pour over the dry ingredients and mix until combined. You should get a smooth, thick pouring consistency batter.
- Spoon or pipe the batter into the prepared pan, filling 3/4 of the way.
- Bake for 10-12 minutes or until a skewer inserted in the center comes out clean.
- Let the donuts rest for 5 minutes in the pan before turning them out on a cooling rack.
- For the topping, dip the cooled donuts in melted chocolate, sprinkle over the nuts. Let the chocolate set for a few minutes. Serve and enjoy!
Notes
Nutrition