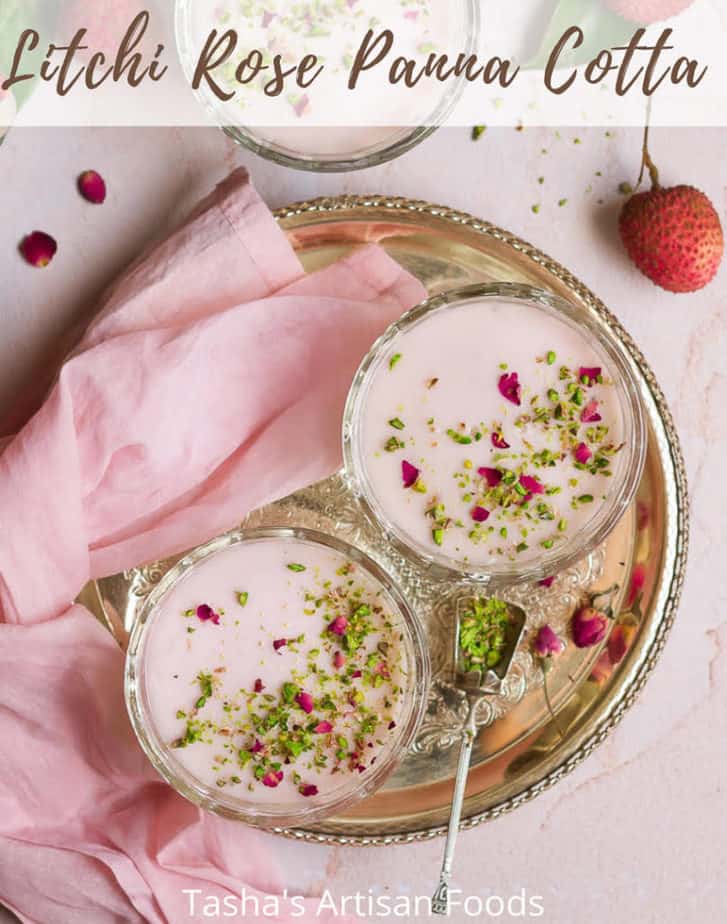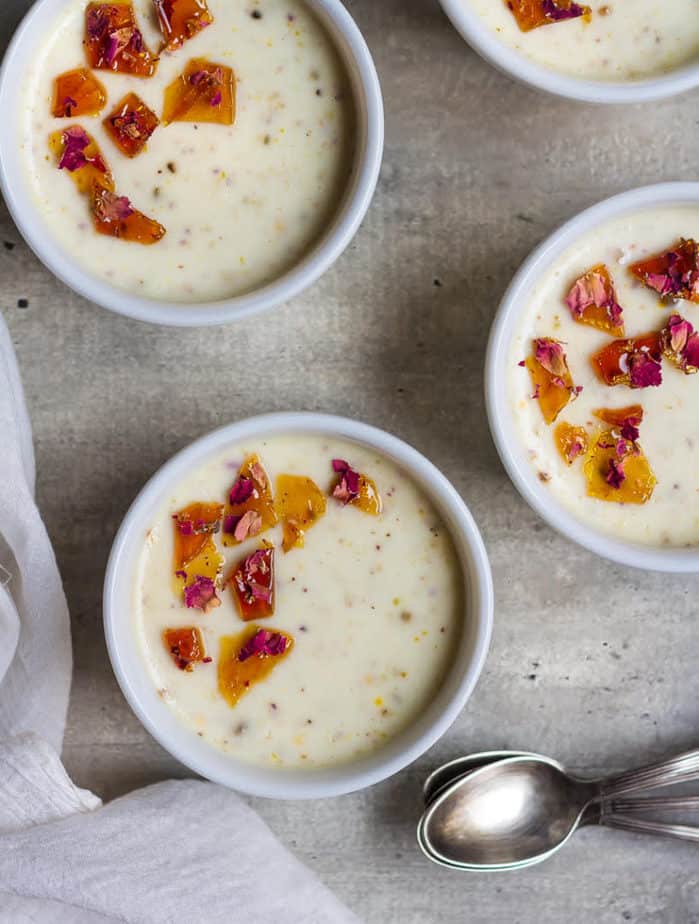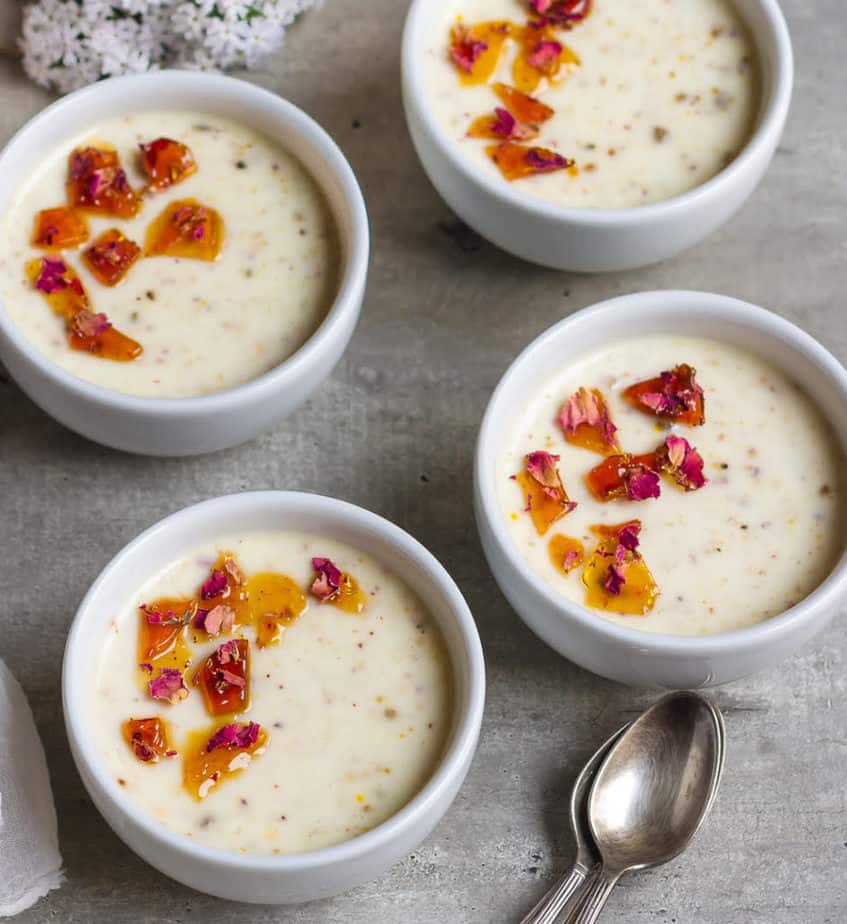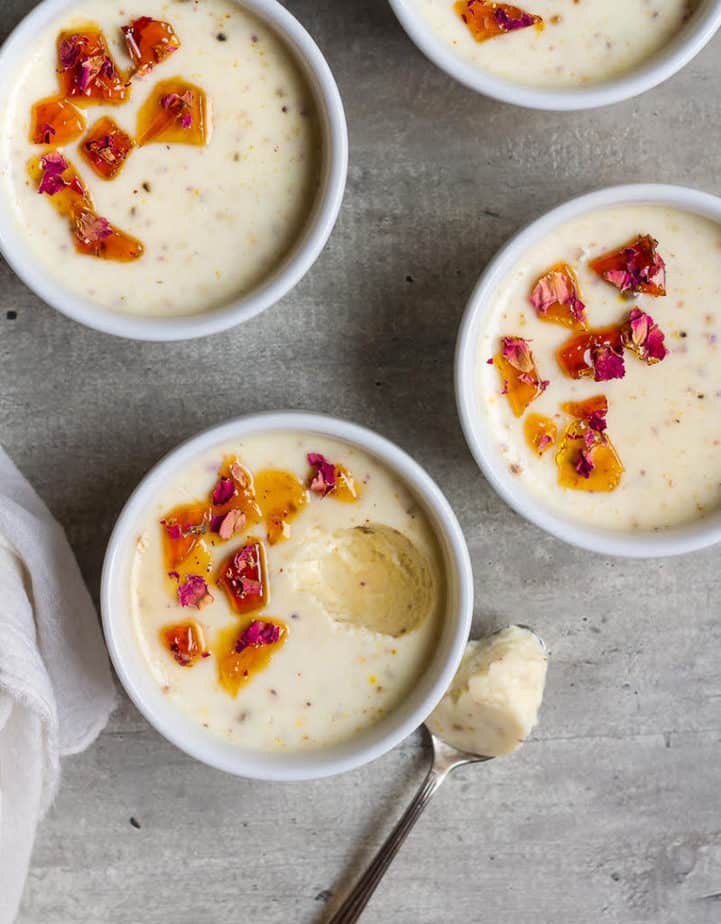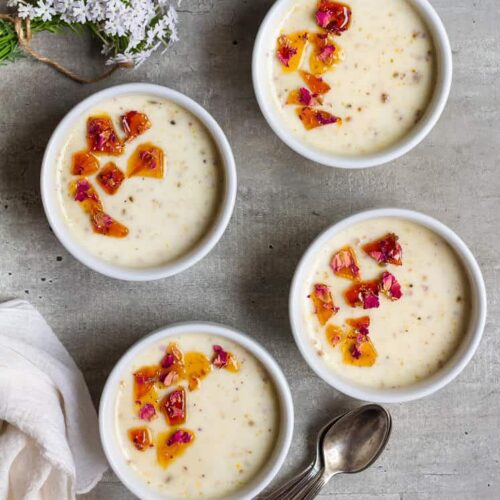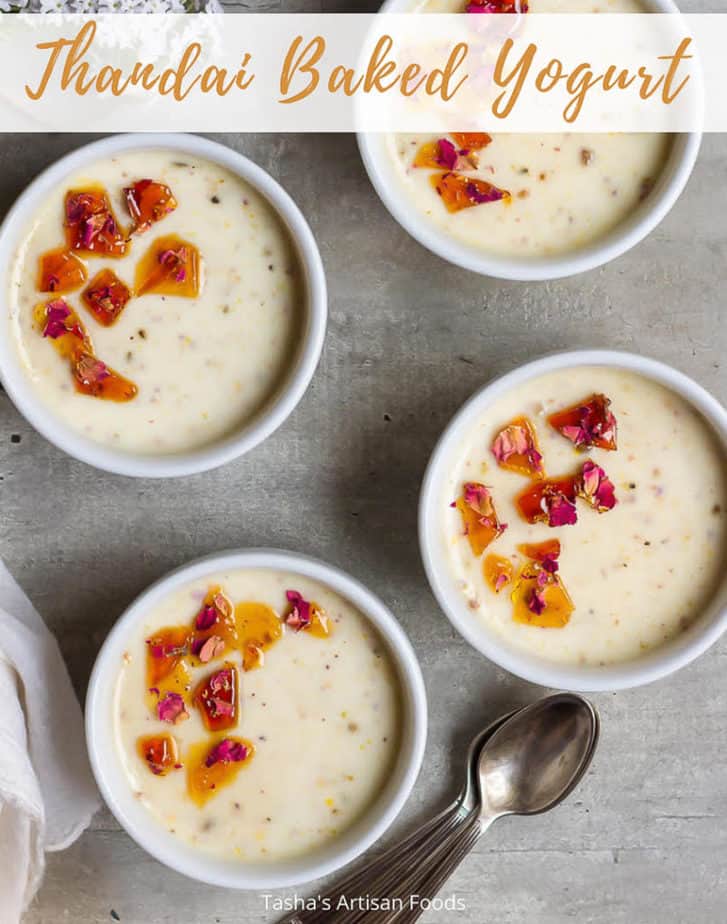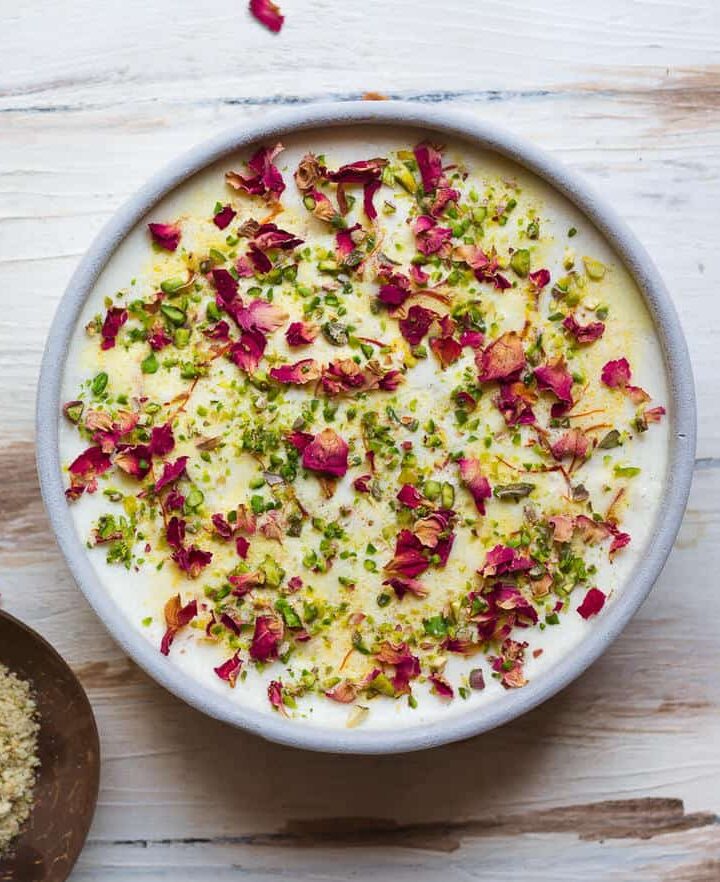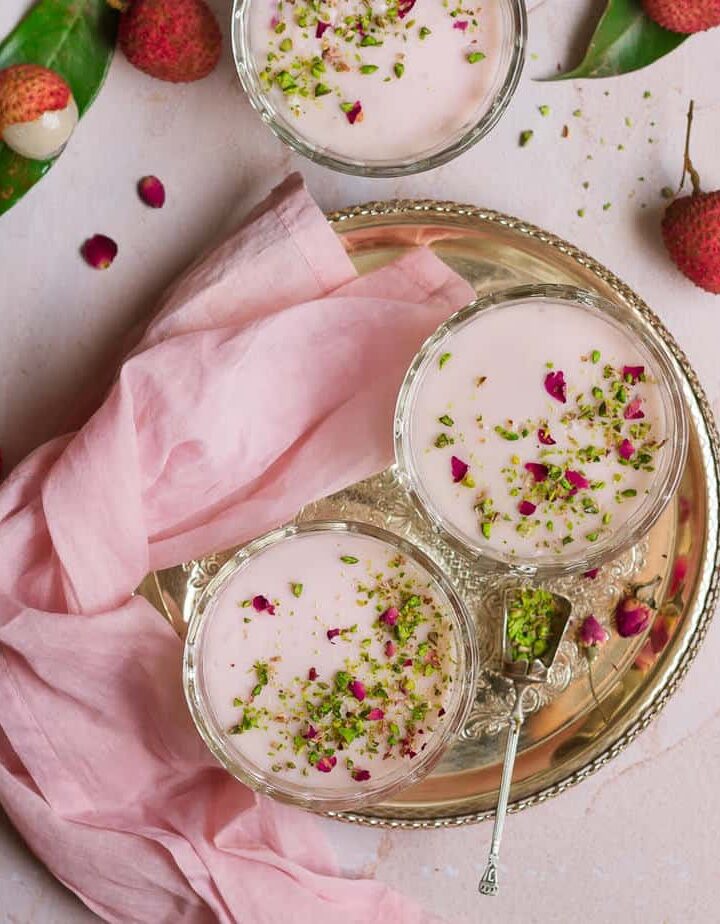
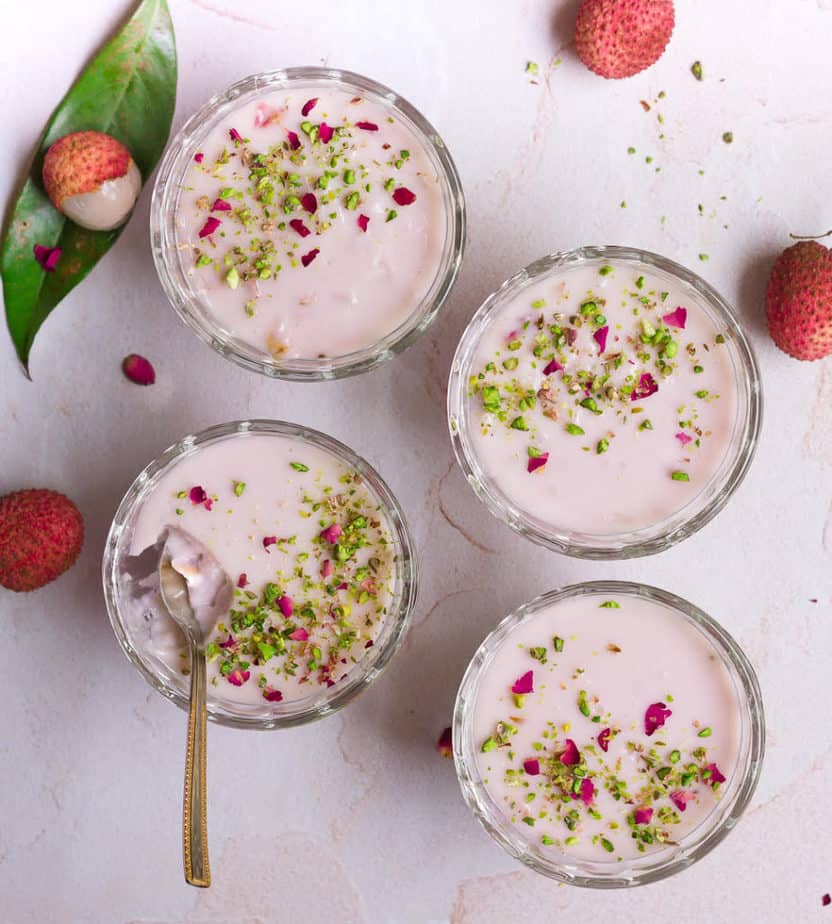
Cool, refreshing, and deliciously light, the litchi rose panna cotta has some amazing textural play going on. The base, which is somewhat similar to custard, is velvety cream. The bits of sweet litchi bring in a lovely mouthfeel, and the whiff of rose adds deeper dimensions.
Overall, the luscious dessert is classy and simple at its finest. It takes no effort to make and yet is nothing short of stunning. The beauty of it lies in the base itself – it’s unbelievably effortless to customize.
I like to think of panna cotta as a light and simple canvas meant to be painted with all kinds of seasonal fruits, particularly tropical ones like litchi. The fruit wakes you up with its cooling effect and has a beautiful, lush, and floral perfume that pairs exceptionally well with flavors such as rose.
This is why I was shocked to realize that of the 430 blogs I’ve written over the years, not one is about litchi! An oversight I’m going to correct given that the fruit is majorly grown in India (besides China), has negligible fat, is 69% water, and contains oodles and oodles of vitamin C.
[feast_advanced_jump_to]How to make litchi rose panna cotta?
Panna cotta literally means cooked cream, but it is never actually cooked – just heated to a gentle simmer.
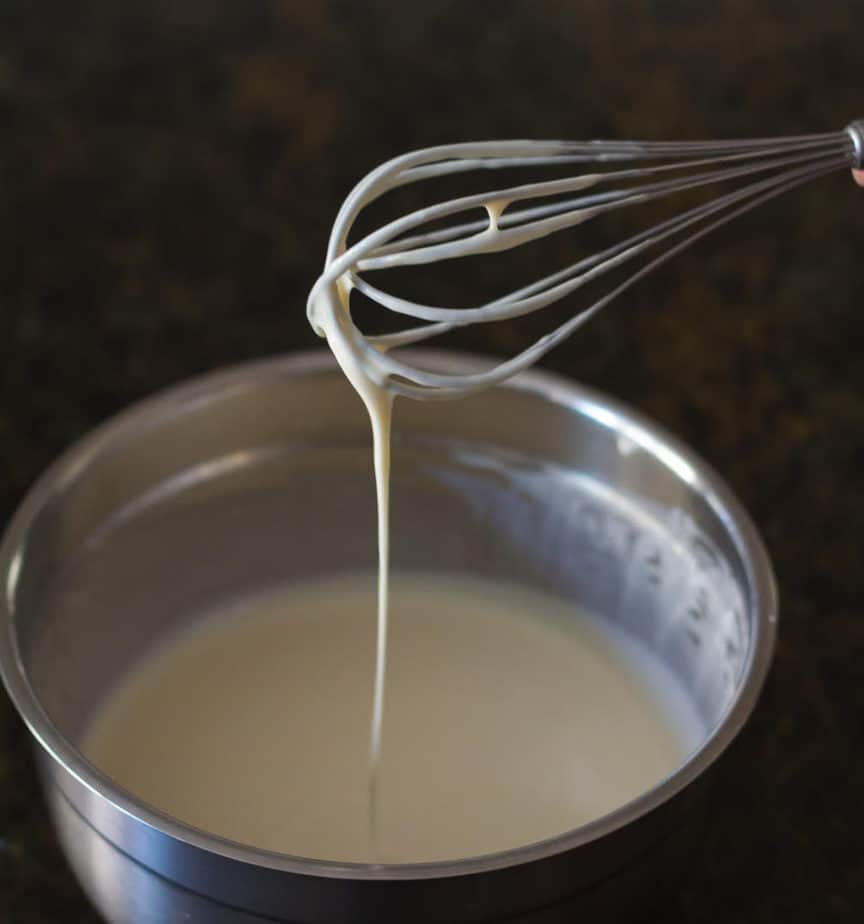
- Begin by softly heating milk and sugar until you see tiny bubbles around the edges of your pan and the sugar has dissolved.
- Take off the stove and add agar-agar.
- Put it back on the stove, and while continuously whisking, bring it to a very mild boil on low heat.
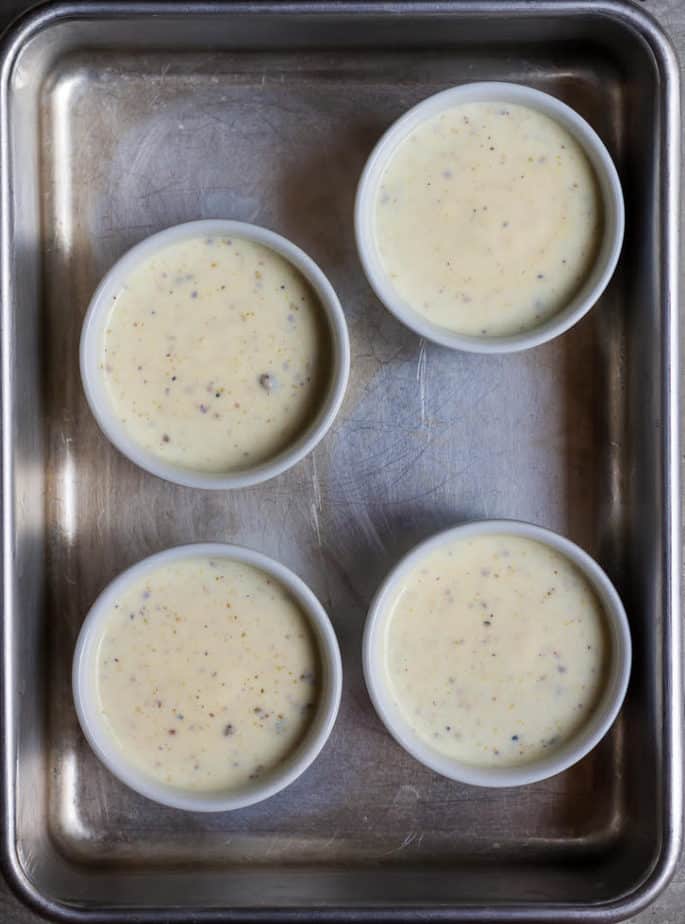
- Sieve the creamy panna cotta so that there are no lumps and it is completely smooth.
Chilling litchi rose panna cotta
- While the mixture cools, peel, deseed, and chop the litchis finely.
- Add the cut fruit along with dried rose petals, and rose water to the panna cotta mixture.
- I also added a teaspoon of rose syrup to give the dessert a stronger undernote of rose and the palest of the pale pink color. But this step is entirely optional. Feel free to skip.
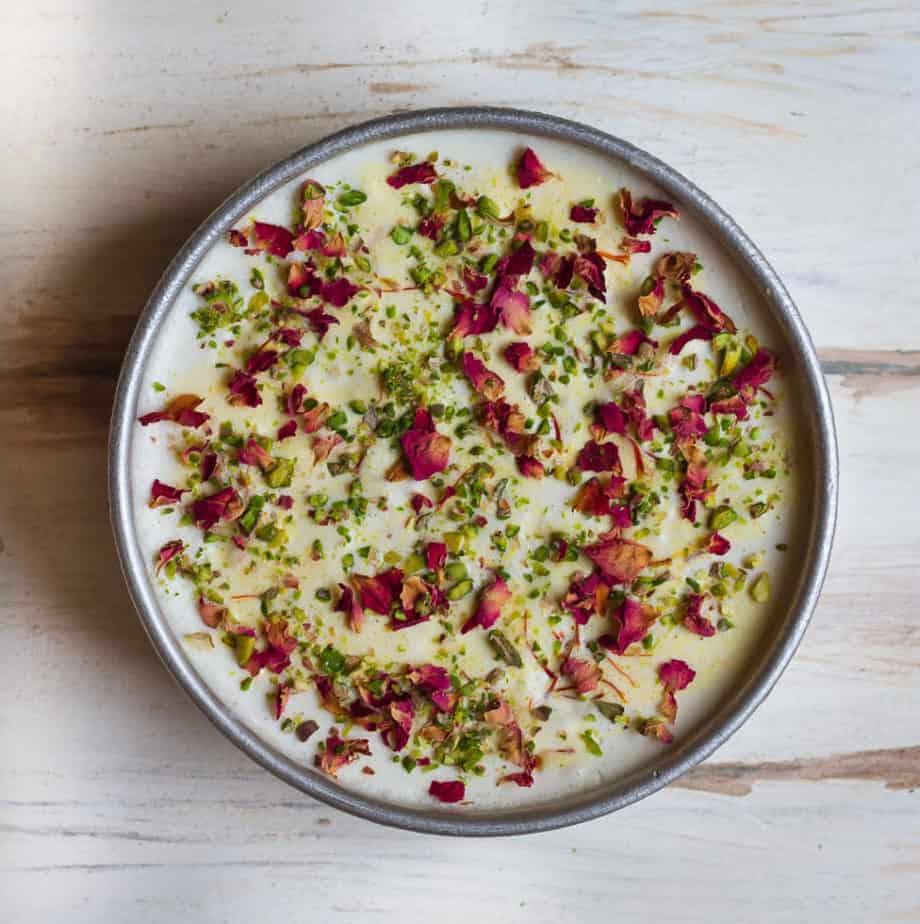
- Mix everything together and then pour in dessert cups.
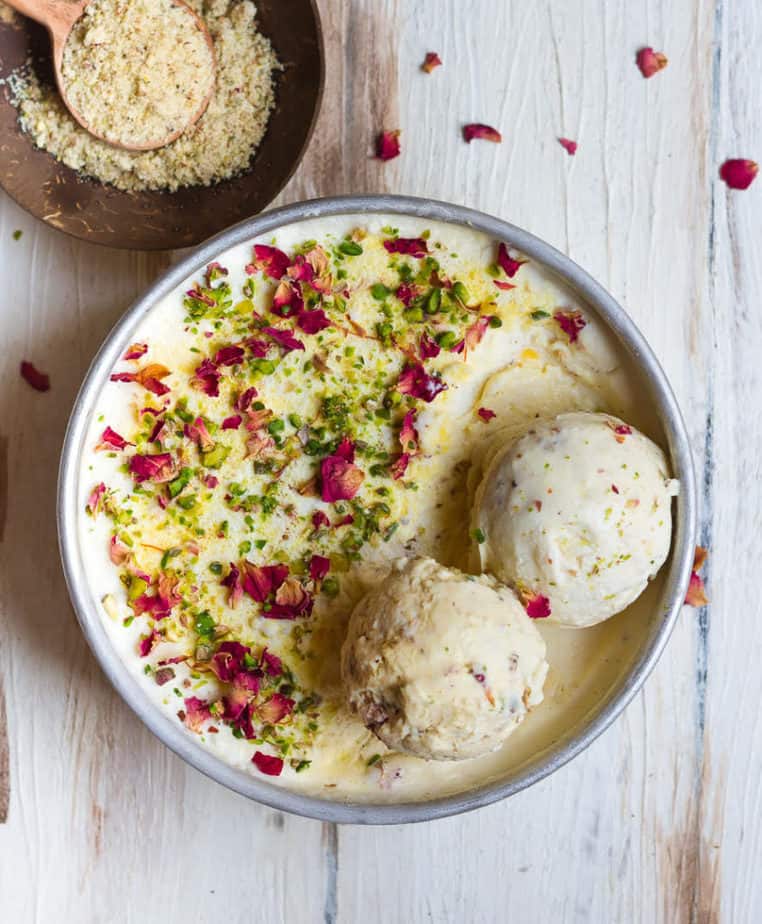
- Freeze for a good 3 to 4 hours to let the panna cotta set. I prefer to freeze them overnight since I enjoy my desserts properly chilled.
Quick tips:
Litchis are incredibly juicy. I let most of the juices drain (don’t throw the juice, drink it up while you cook) before adding the fruit to the panna cotta base.
If you have litchis leftover and kids like mine who are not too hot about the fruit, I recommend freezing them. Pop the peeled, deseeded fruit into the freezer. Once frozen, litchis turn into a great snack for summers with almost an ice cream-like flavor and texture.
Variations of panna cotta recipe
I prefer to make the vegan version of panna cotta. That’s why I use agar-agar. Also called China Grass, you can find it easily online. Or you can use gelatin to thicken the litchi panna cotta. In both cases, remember not to boil the mixture. Too much heat renders both gelatin and agar-agar useless.
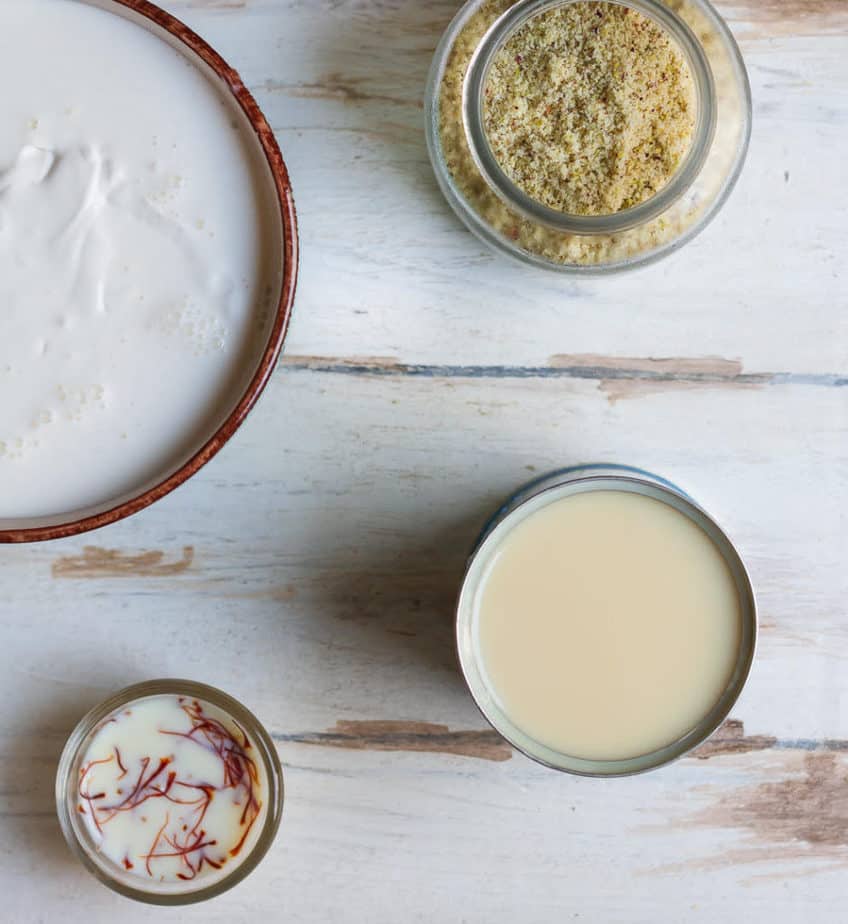
Milk: I am partial to coconut milk, so that’s what I used. But you can utilize regular full-fat milk. Or you can stick to the traditional panna cotta recipe and make it with cream. You can even try half cream and half milk.
Sugar: There are many choices here – regular white sugar, cane sugar, or raw sugar (what I used).
Rose flavor: As I said before, the rose syrup is entirely a personal preference. Leave it out if you want to. You can even omit the rose water if the flavor doesn’t suit your palate.
Litchi: I wanted to incorporate fresh lychees because their taste is pure and unmuddied by preservatives. Plus, the tiny pieces of the fruit impart gorgeous texture. You can puree them if you don’t like the feel of the fruit bits.
Other flavors: Panna cotta has a lot of possibilities, and I think everyone should have a basic recipe for it at hand. Then you can adapt it to your tastes with any flavor you like, from nuts to fruits. Two recipes you can attempt are mango panna cotta and coconut panna cotta.
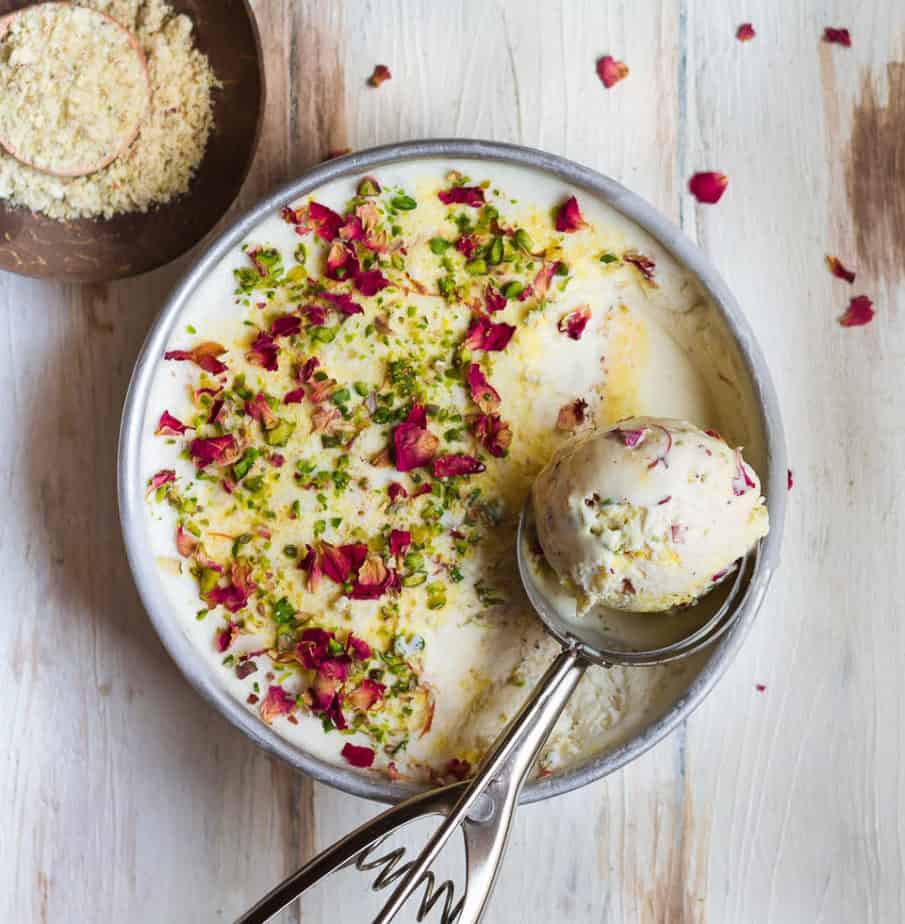
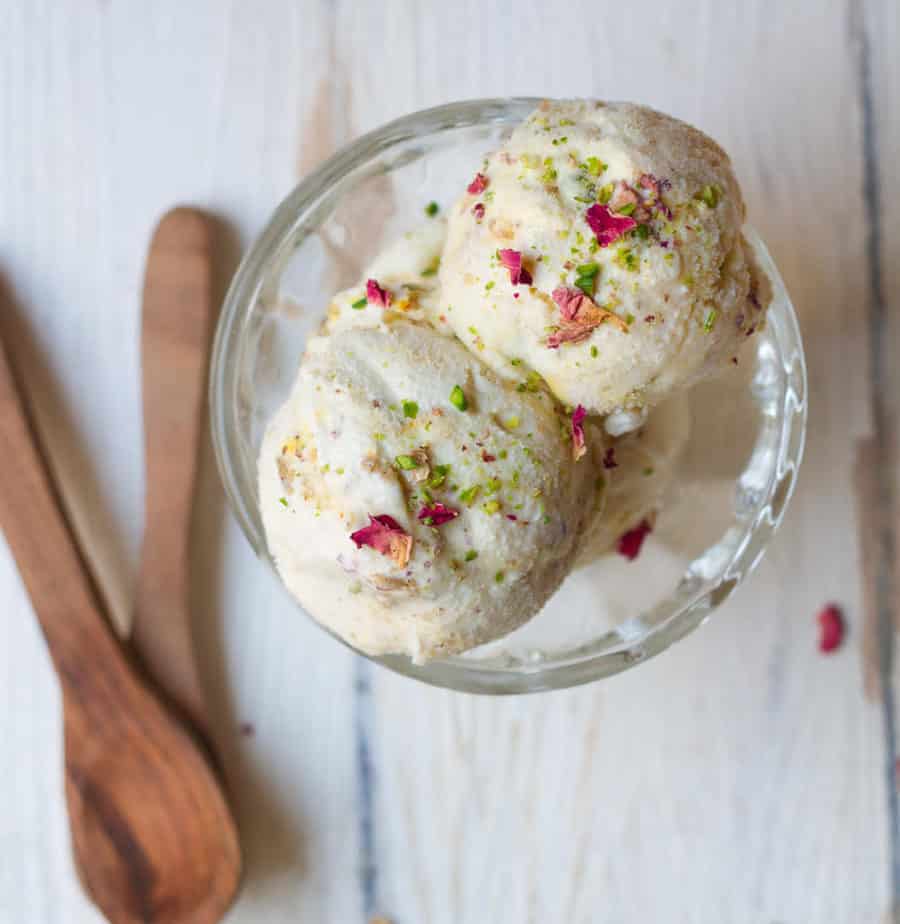
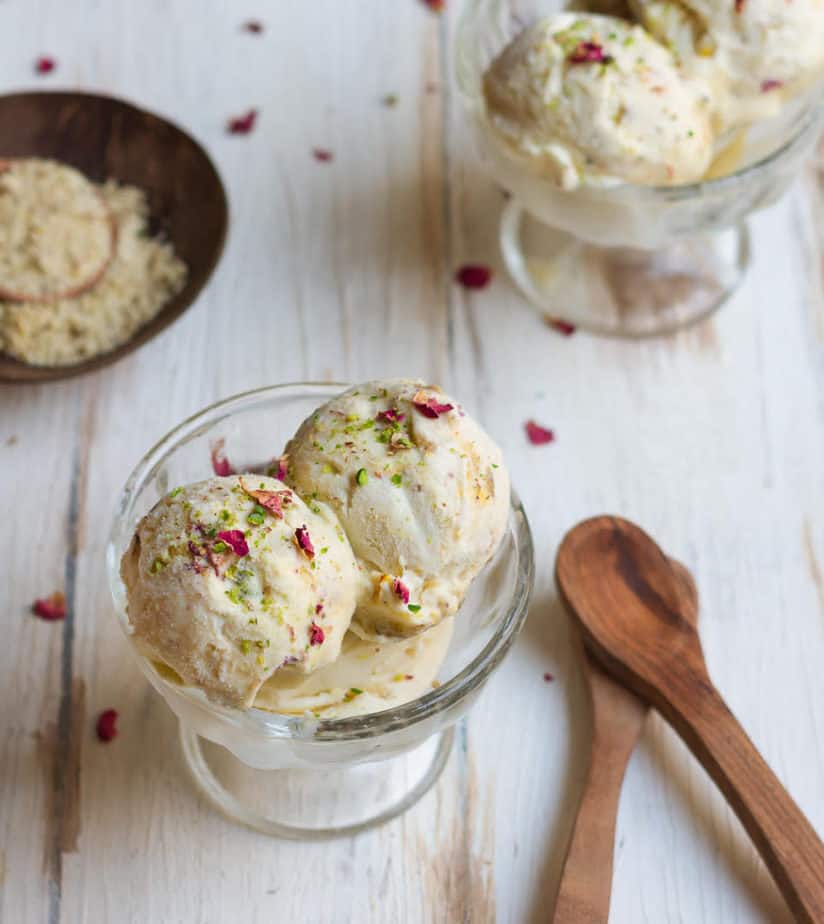
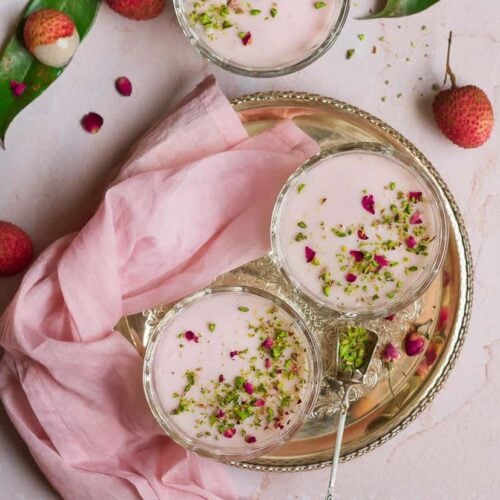
Serving the lychee rose panna cotta
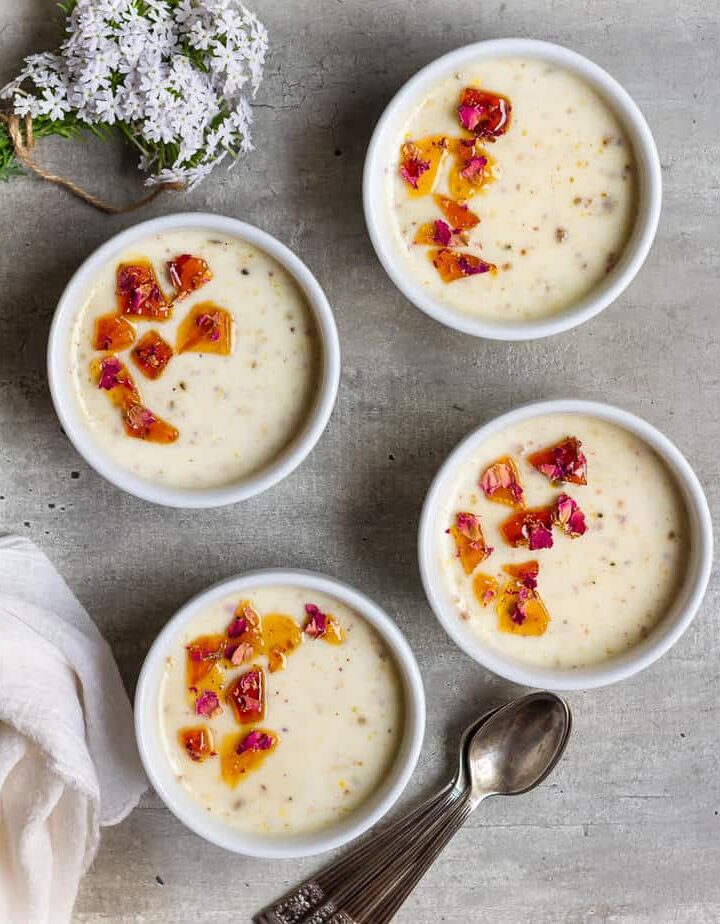
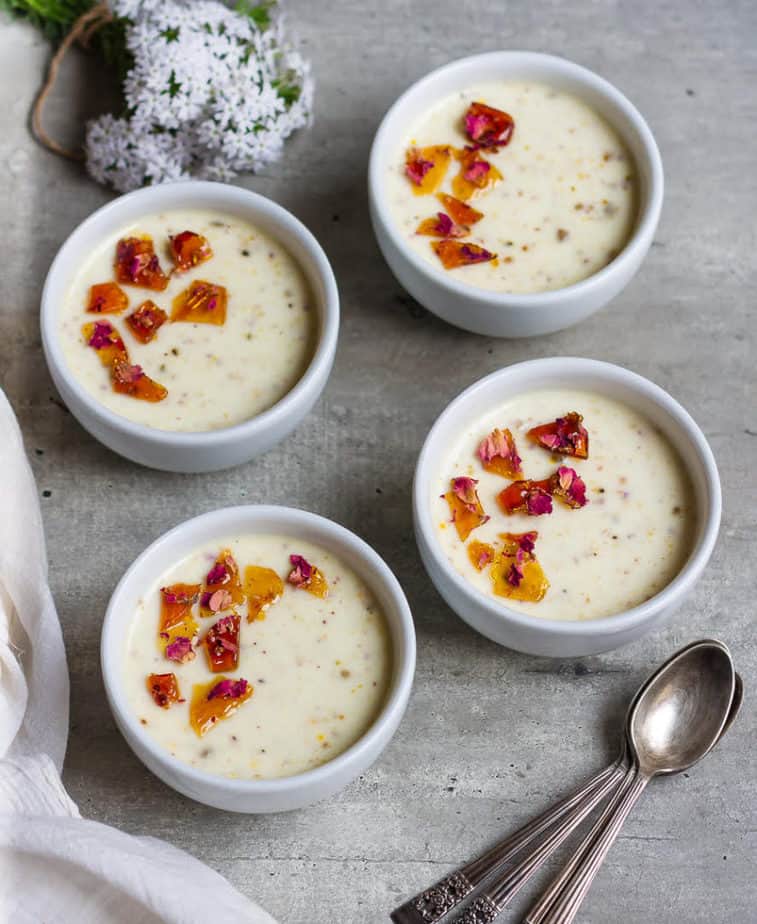
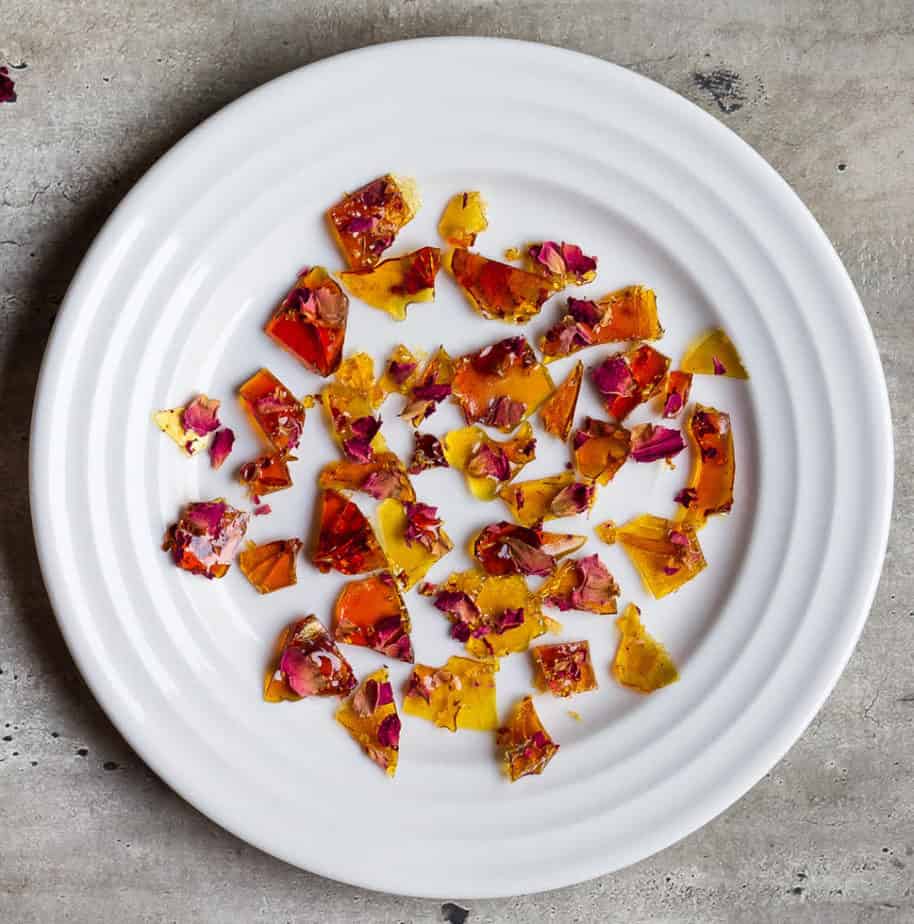
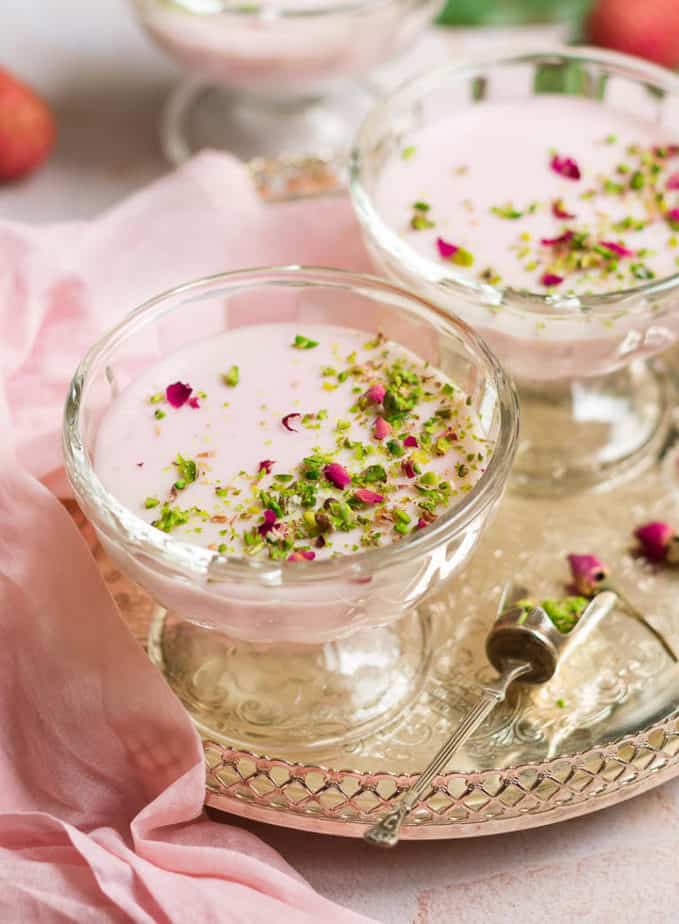
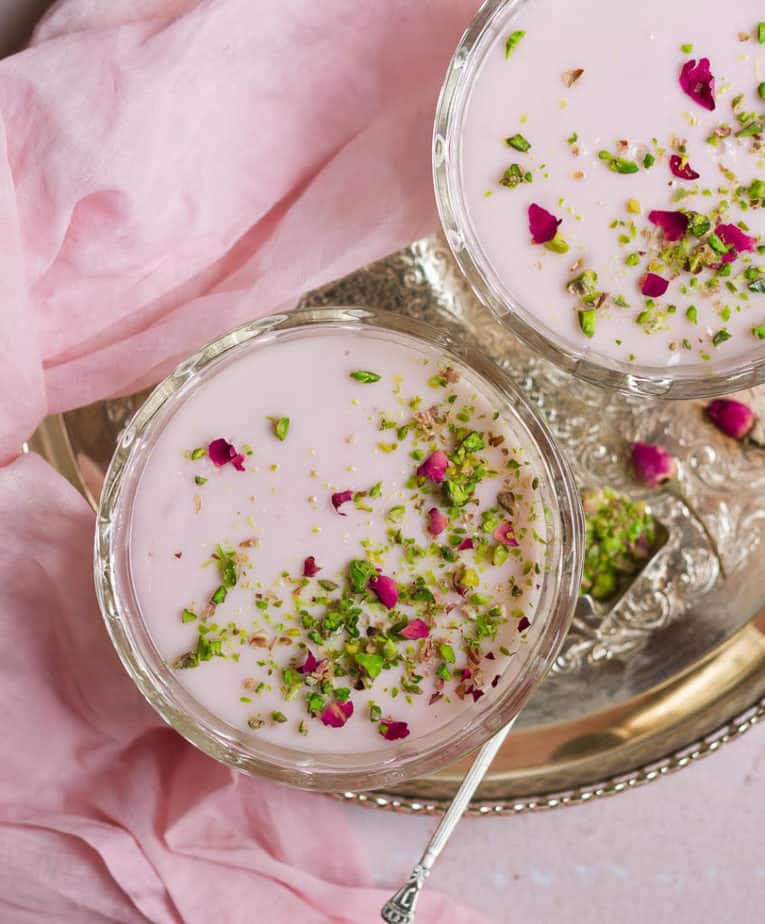
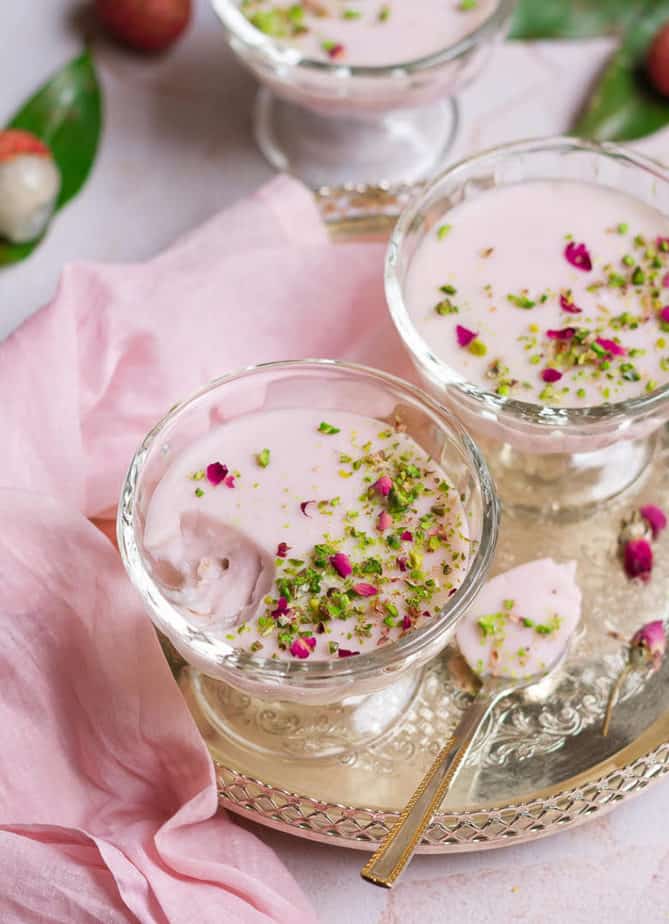
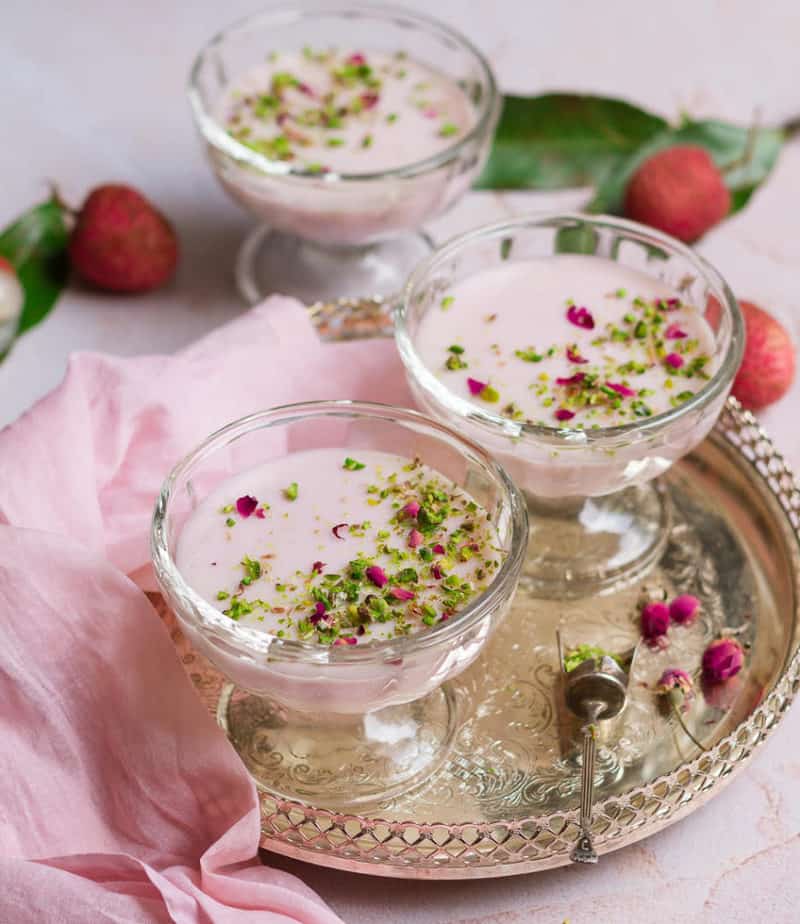
Properly chilled, silky smooth, deliciously fresh, and lusciously creamy, the litchi rose panna cotta was made to perfection. The only thing the gently wobbly dessert was missing was a pop of contrasting color. That’s why I chopped pistachios very, very finely and sprinkled them, along with some dried rose petals, as garnish before serving and called it a success!
Half the joy of cooking is sharing it with others. That’s why I’m always eager to hear from you. So go right ahead and drop a comment or reach out on Instagram, Pinterest, YouTube, or Facebook. I hope you love this litchi rose panna cotta as much as we do!
📖 Recipe
Litchi Rose Panna Cotta
Ingredients
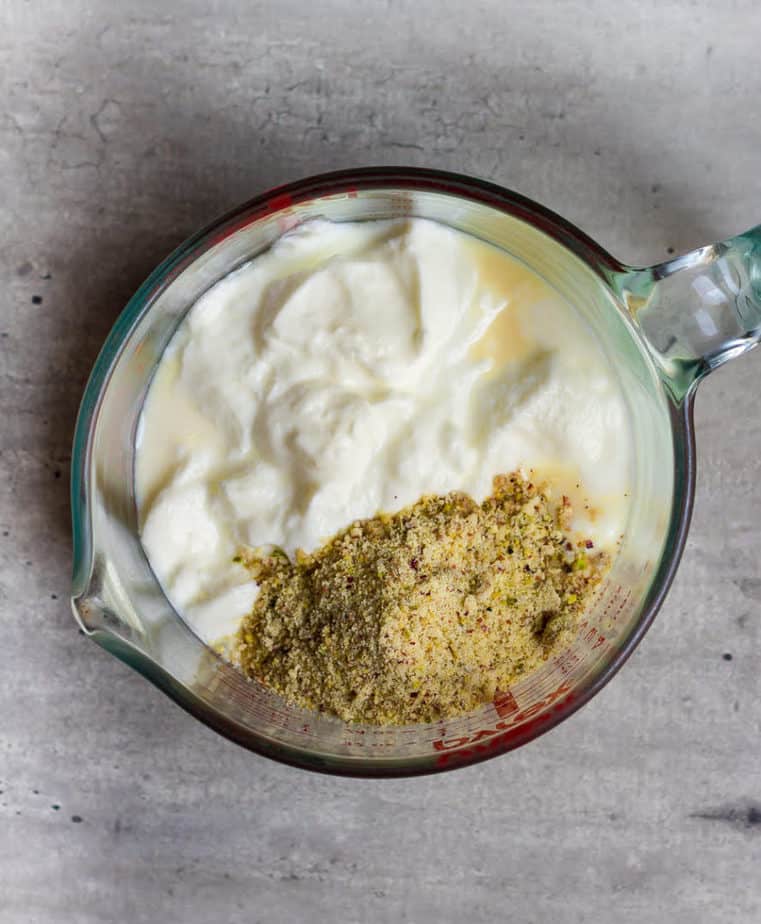
- 14 oz Coconut milk, full fat
- 1/4 cup Raw sugar
- 2 tsp Agar agar
- 1 tsp Rose water
- 10-12 Litchis, peeled, deseeded and chopped finely
- 2-3 tsp Rose syrup Optional
Toppings
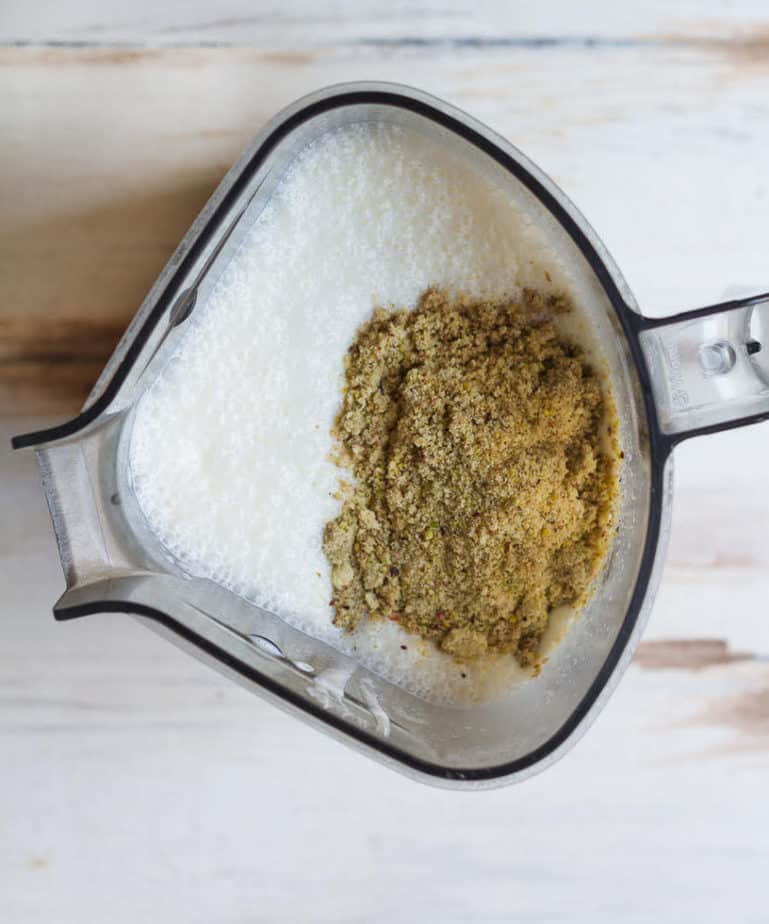
- Pistachio, finely chopped
- Dried rose petals
Instructions
- In a medium-sized saucepan, bring the coconut milk, and sugar just to a gentle boil until sugar dissolves.
- Take off the heat. Whisk in the agar-agar.
- Bring back to a gentle simmer. Don't let the mixture boil. Pour the mixture through a sieve to ensure there are no lumps.
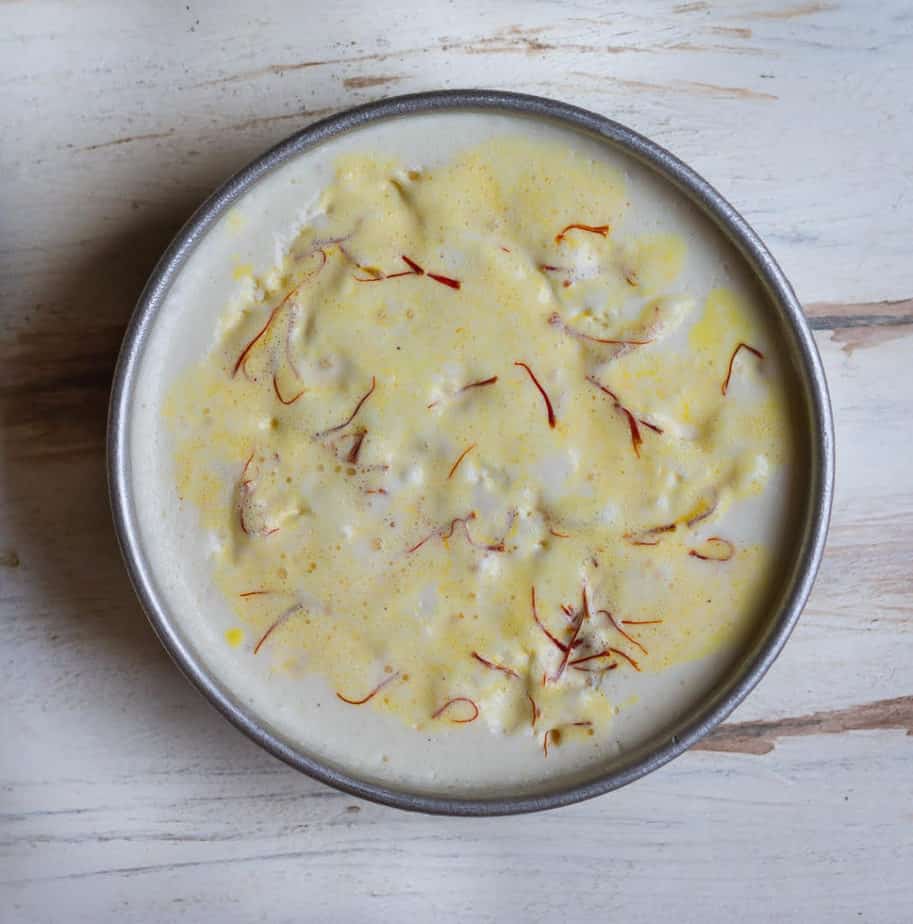
- Cool the mixture for 5 minutes. Add in the rose water, rose syrup ( if using) and litchis. Mix well.
- Pour into serving bowls and refrigerate to set completely for 4-5 hours. You can even let it set overnight.
- When you're ready to serve, top with pistachios and dried rose petals. Enjoy!
Nutrition