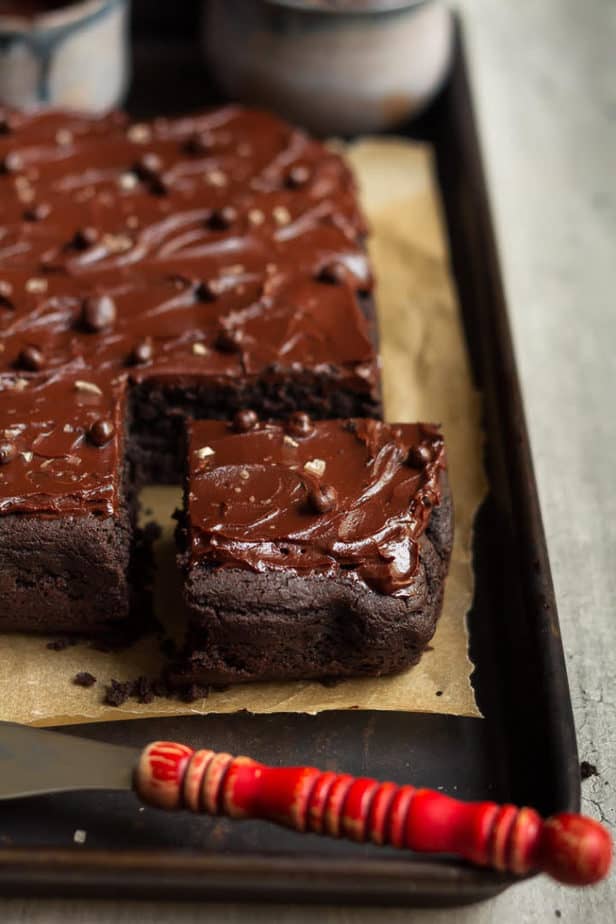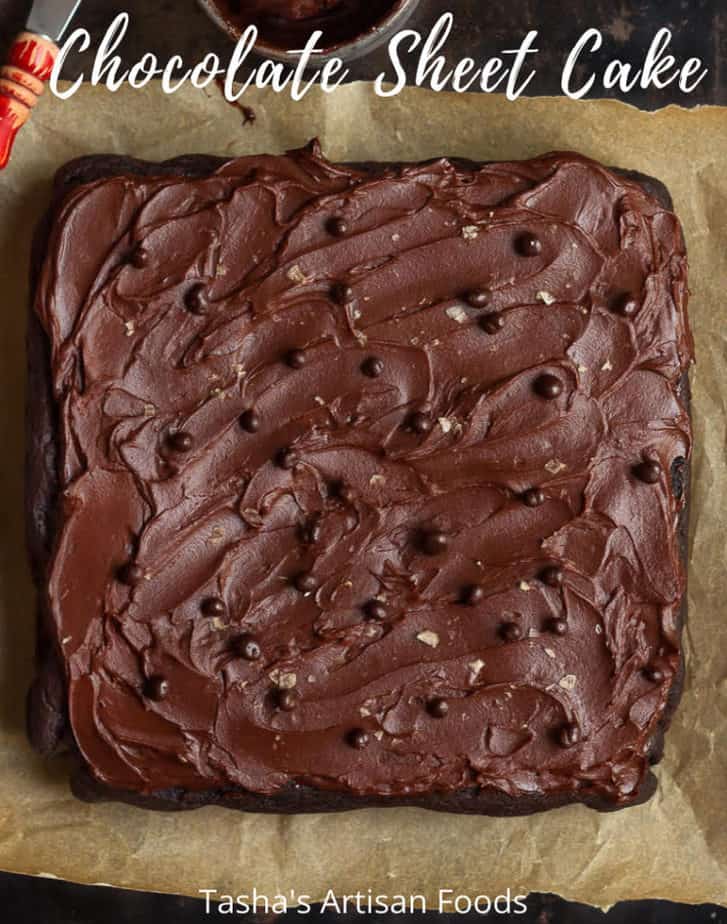
Mulled wine cake tastes of Christmas.
If the recipe wasn’t just perfect for the holidays, that's all I would write on this blog. Mulled wine cake tastes of Christmas.
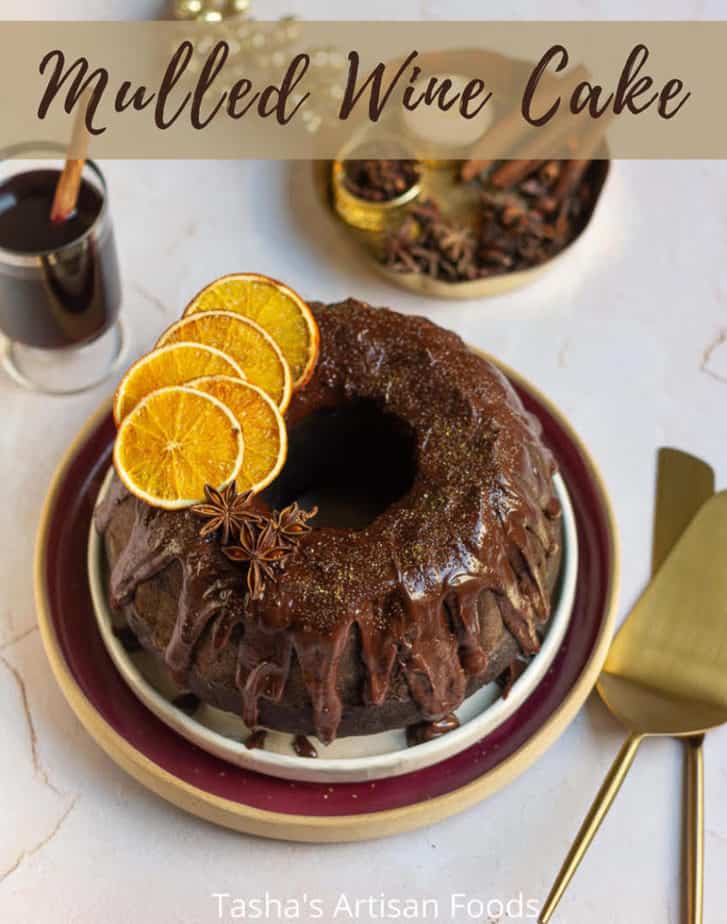
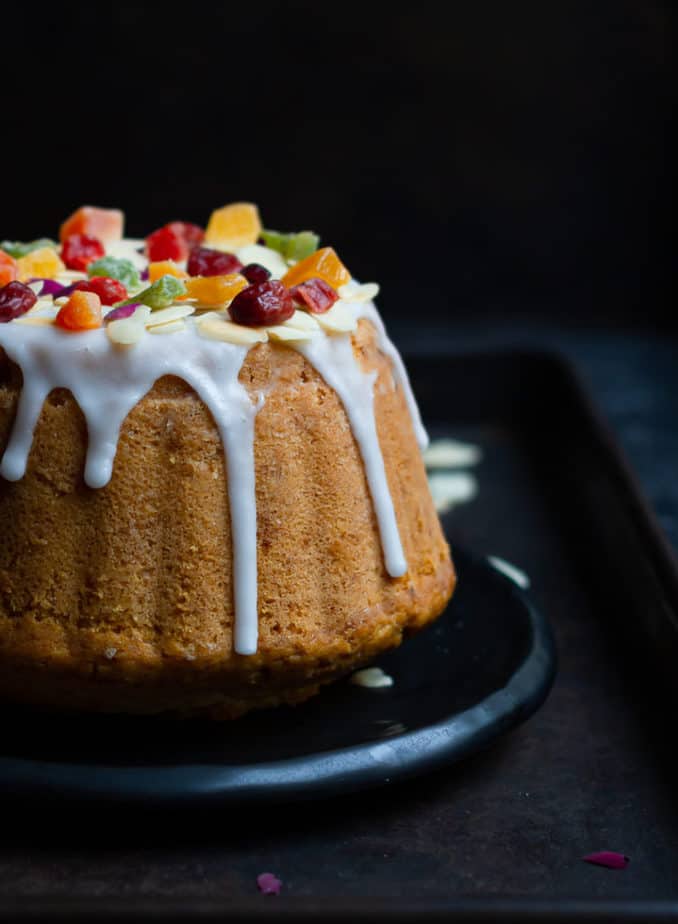
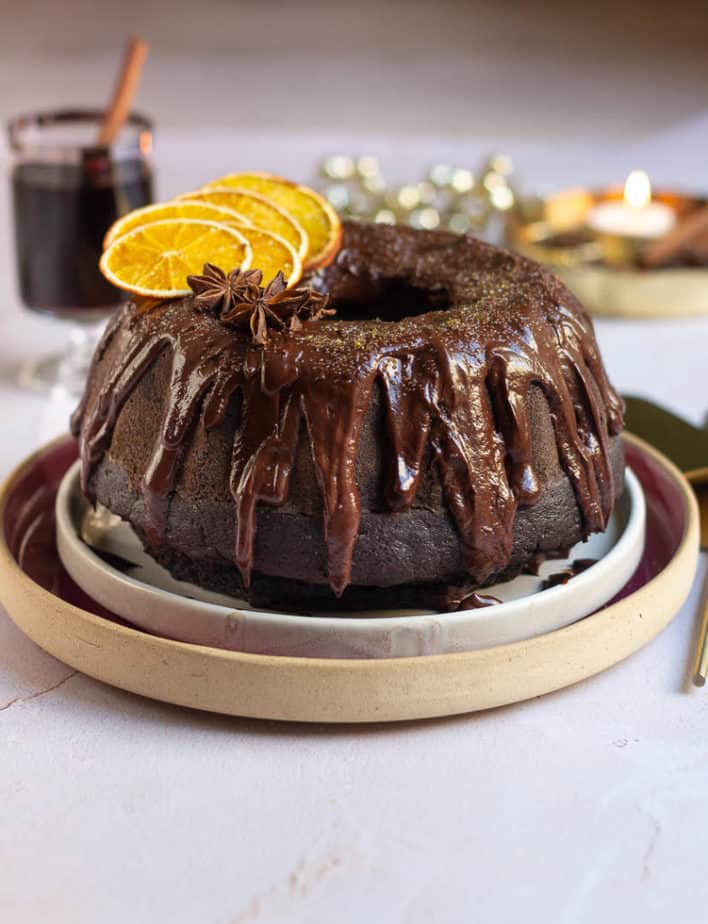
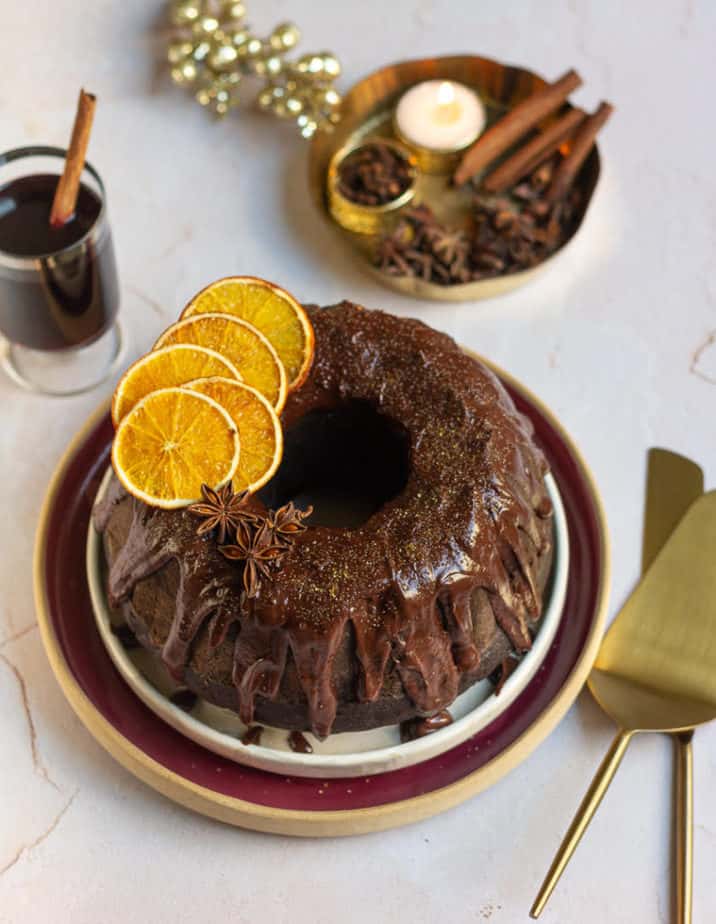
Thanksgiving, Christmas, New Year. It’s that time of the year when something swanky must grace the table. For me, that’s the mulled wine chocolate cake. It looks like a fancy cake but doesn’t even take a tenth of the effort.
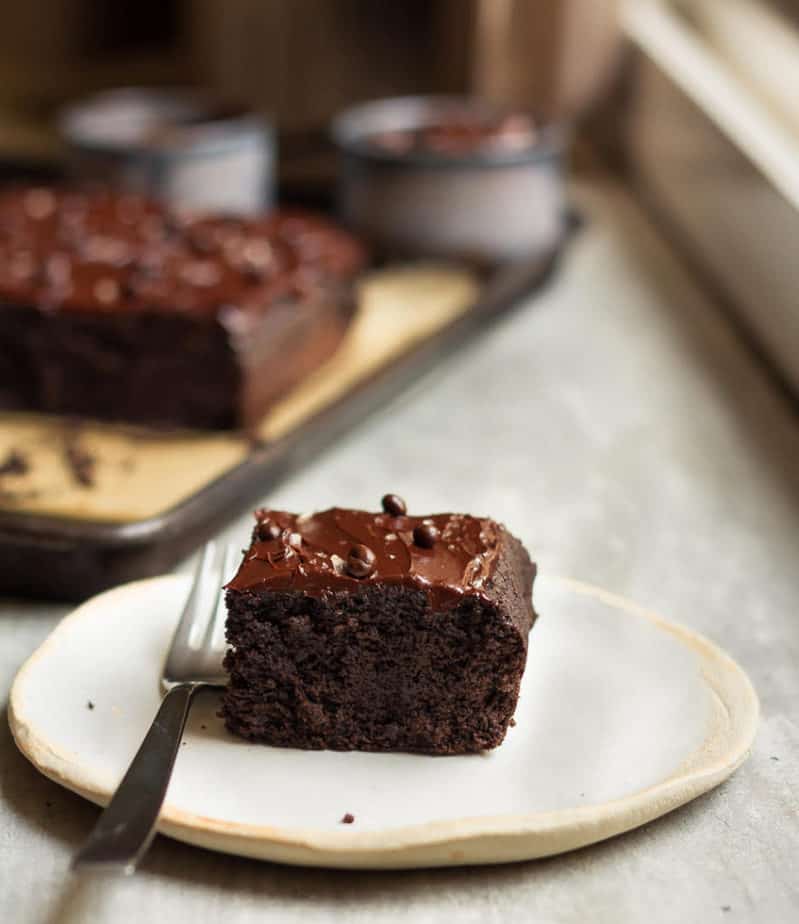
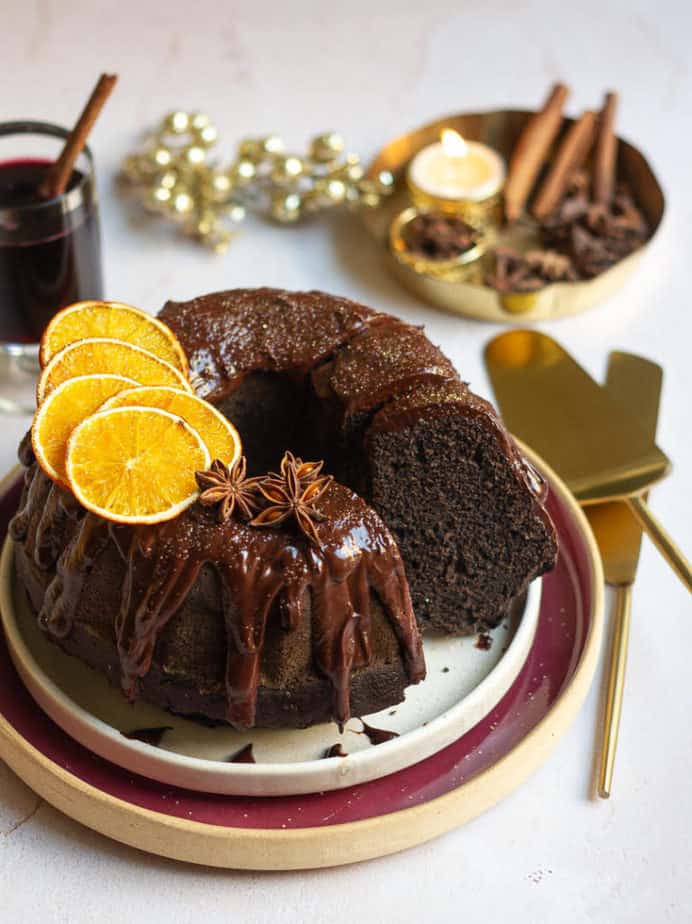
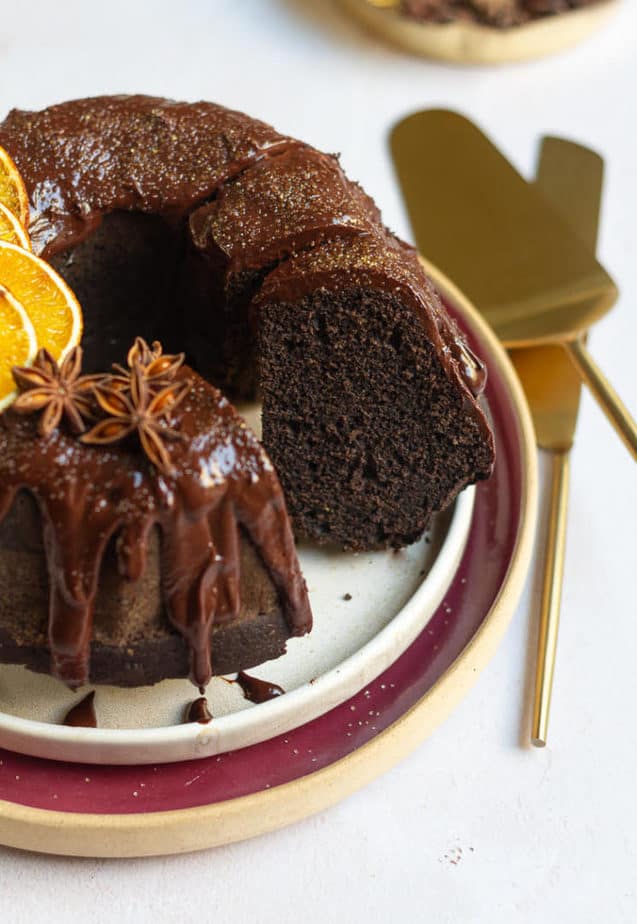
Laced with cinnamon and nutmeg, the cake is unbelievably moist from the wine and has complex layers of chocolate playing peekaboo with the spices.
Every bite has hints of warming spices that pair impeccably with a cup of coffee or as a dessert after dinner.
Jump to:
Why will guests swoon over a mulled wine cake?
Incredibly moist
Intensely chocolatey
Insanely Christmassy
Incredibly show-stopping
How to make mulled wine cake?
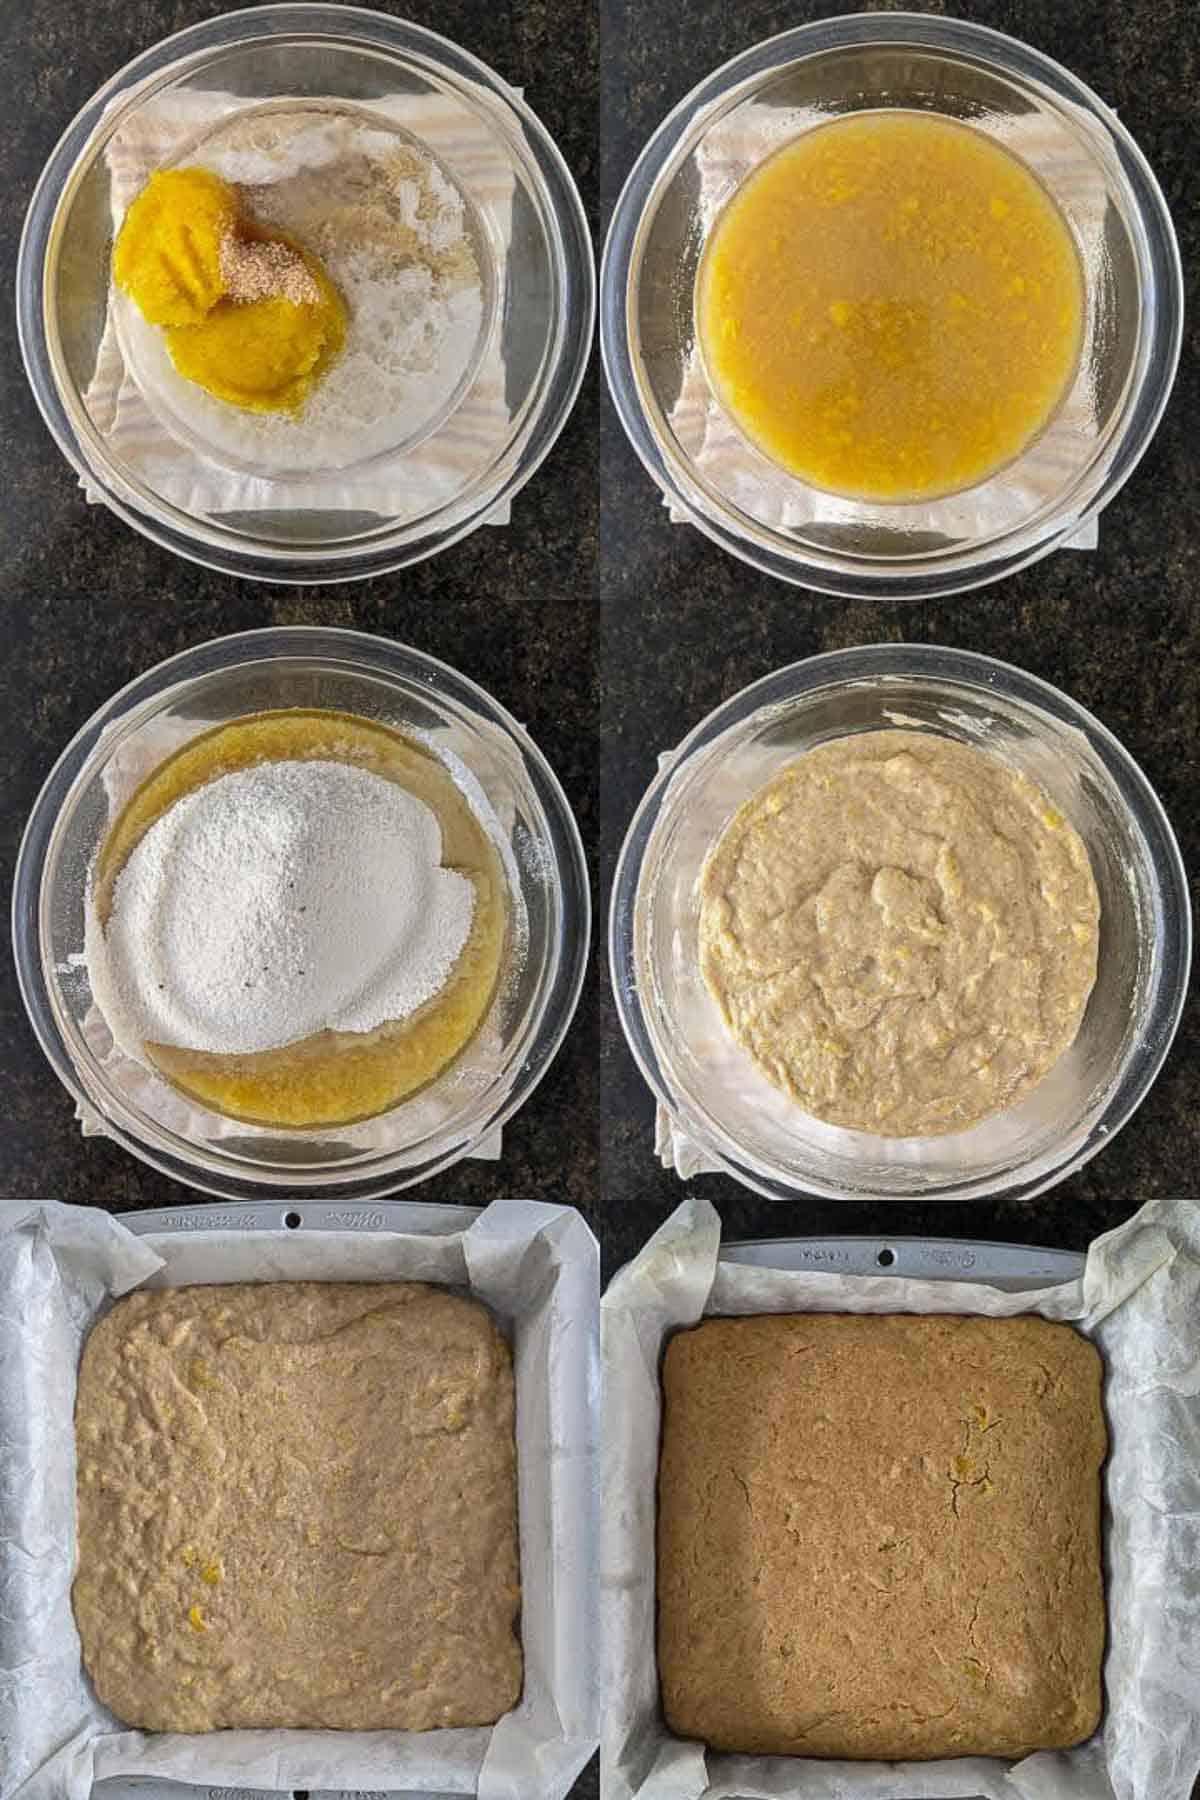
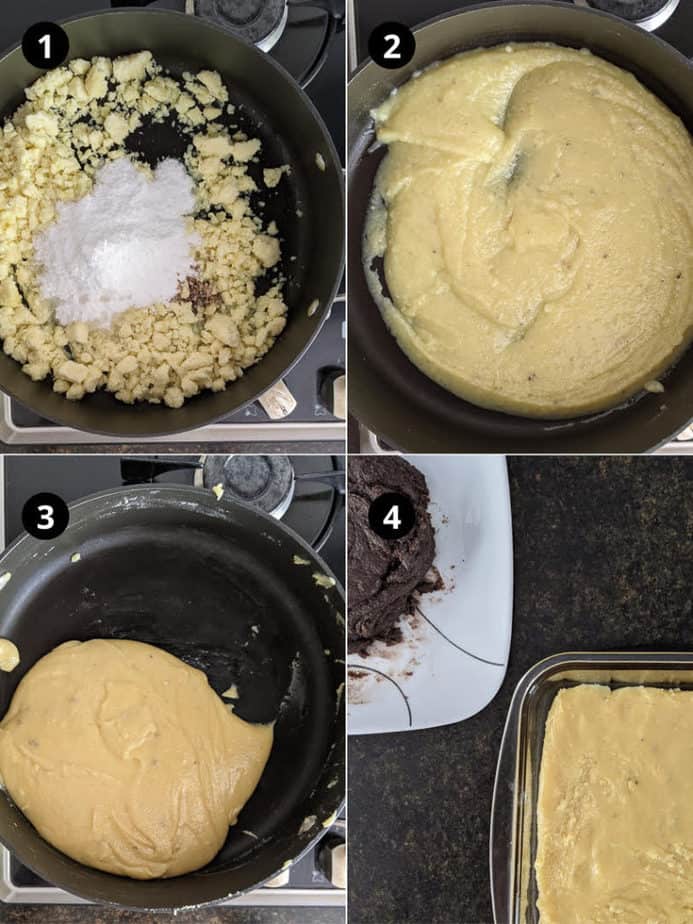
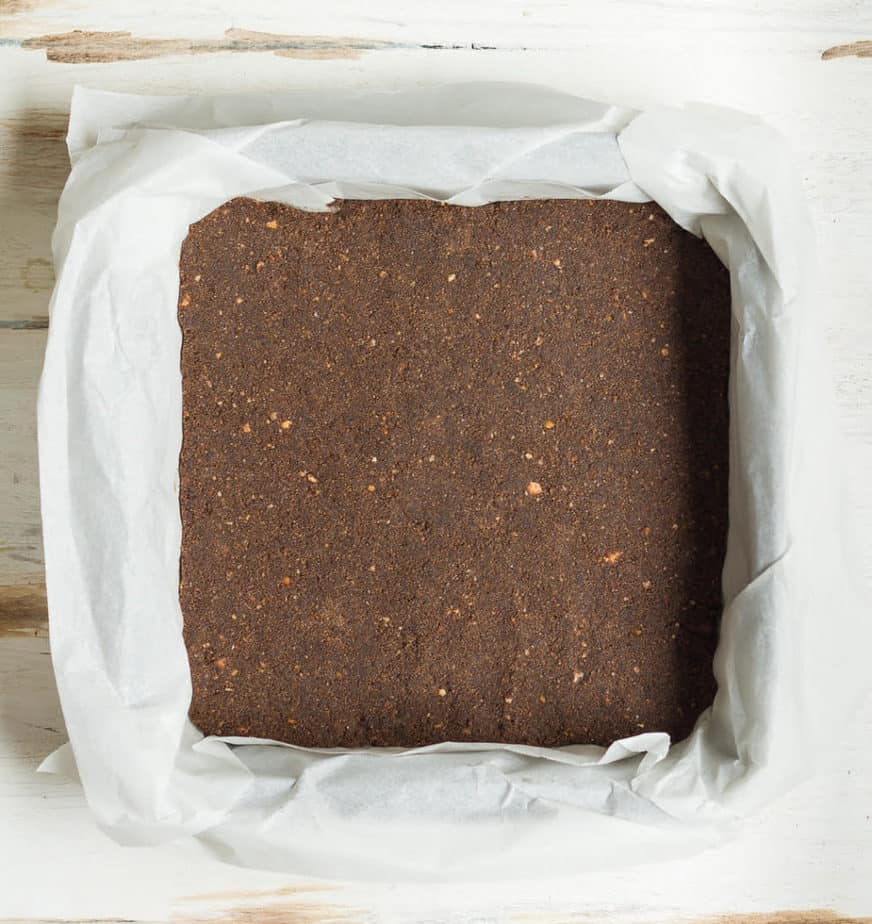
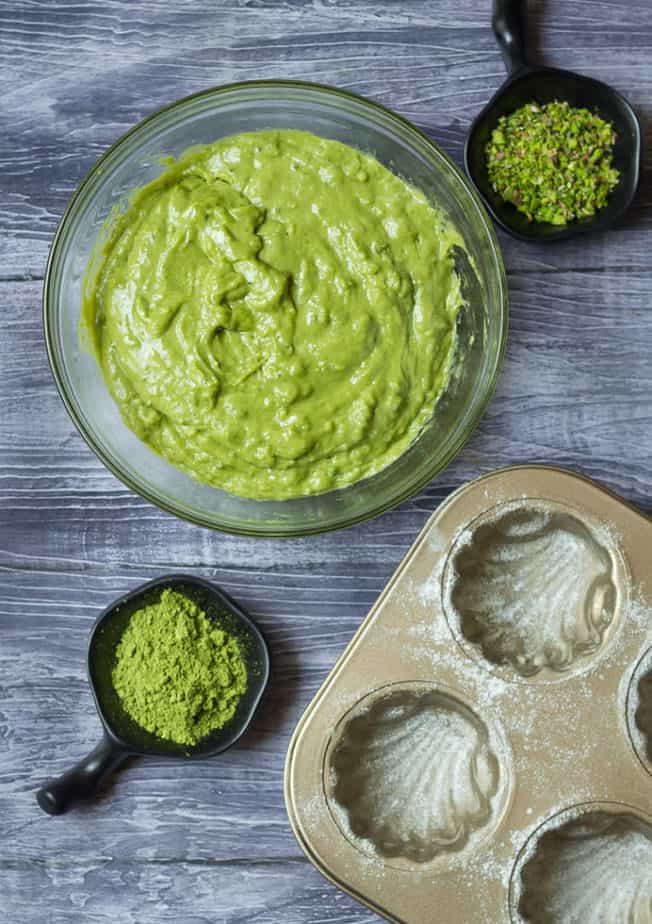
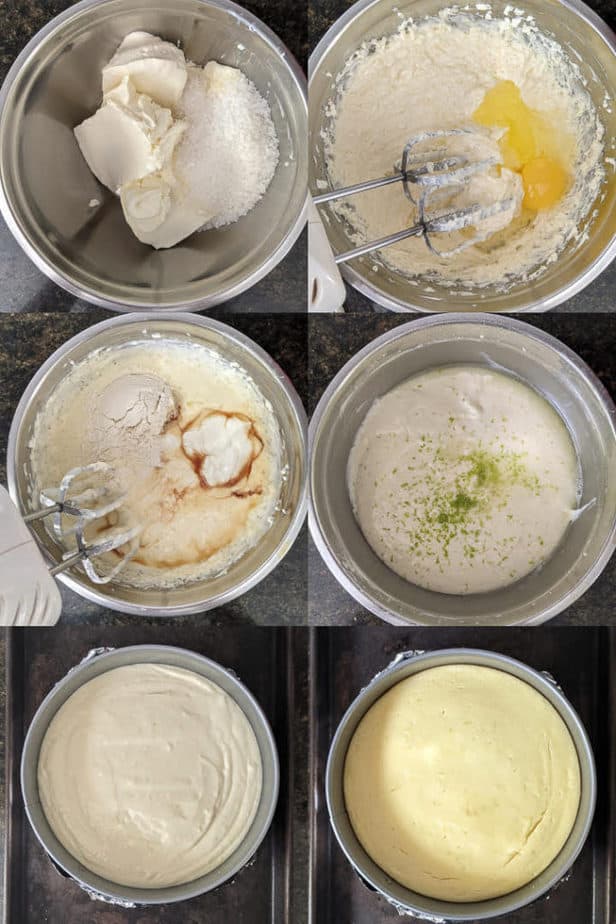
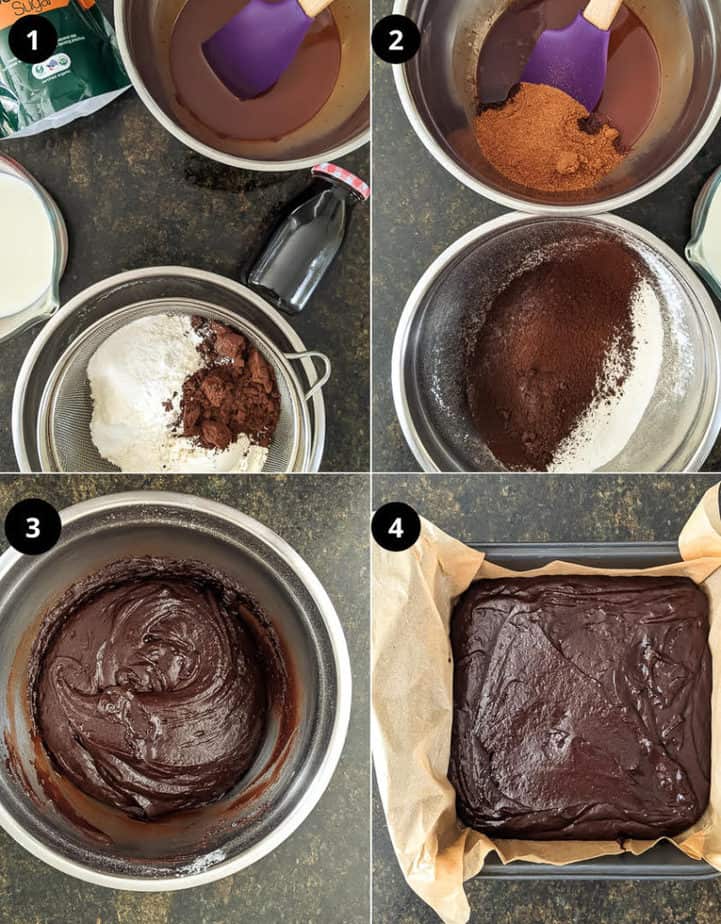
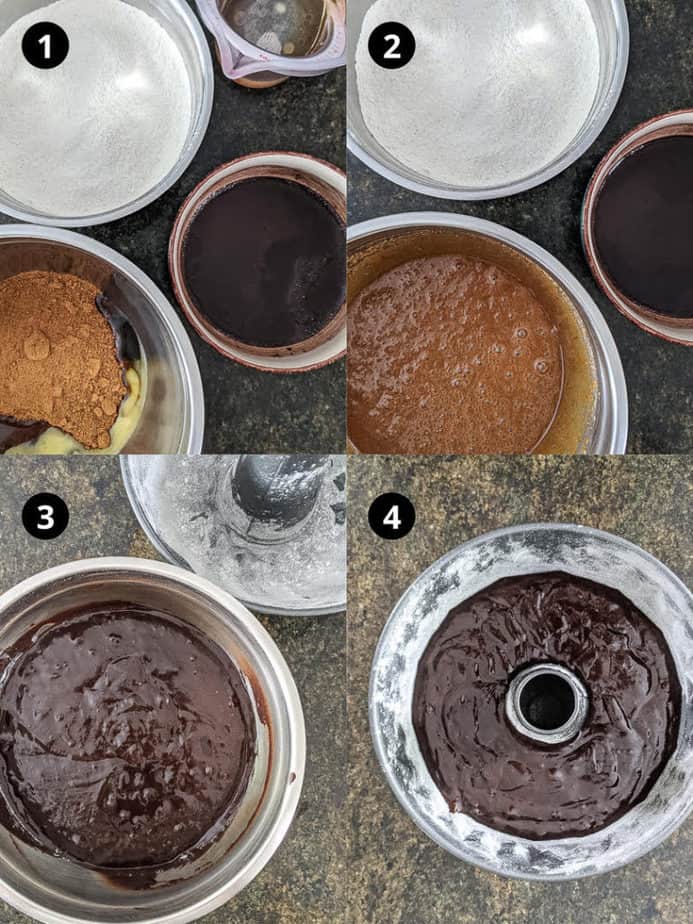
Step 1: In a cup, warm your mulled wine and dissolve cocoa powder in it. Set it aside.
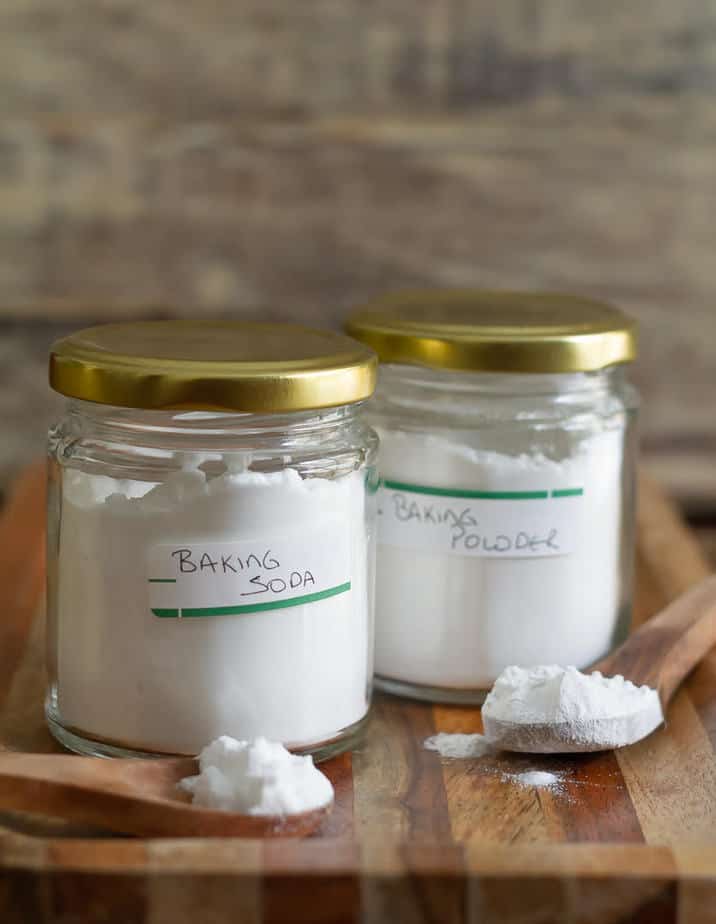
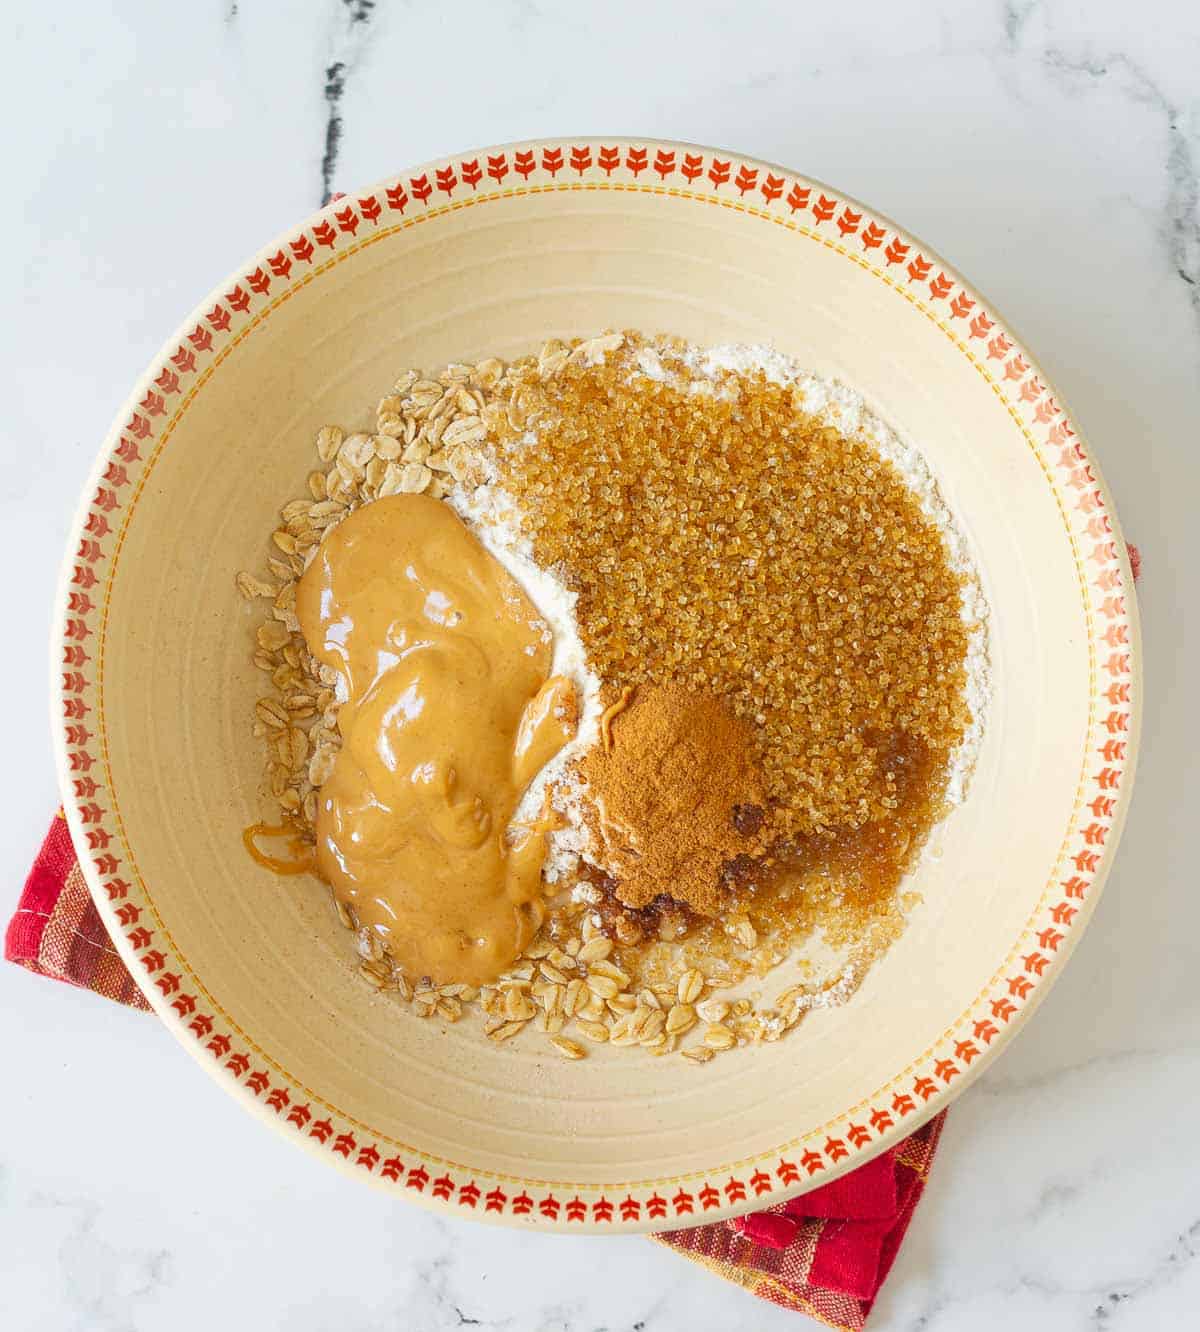
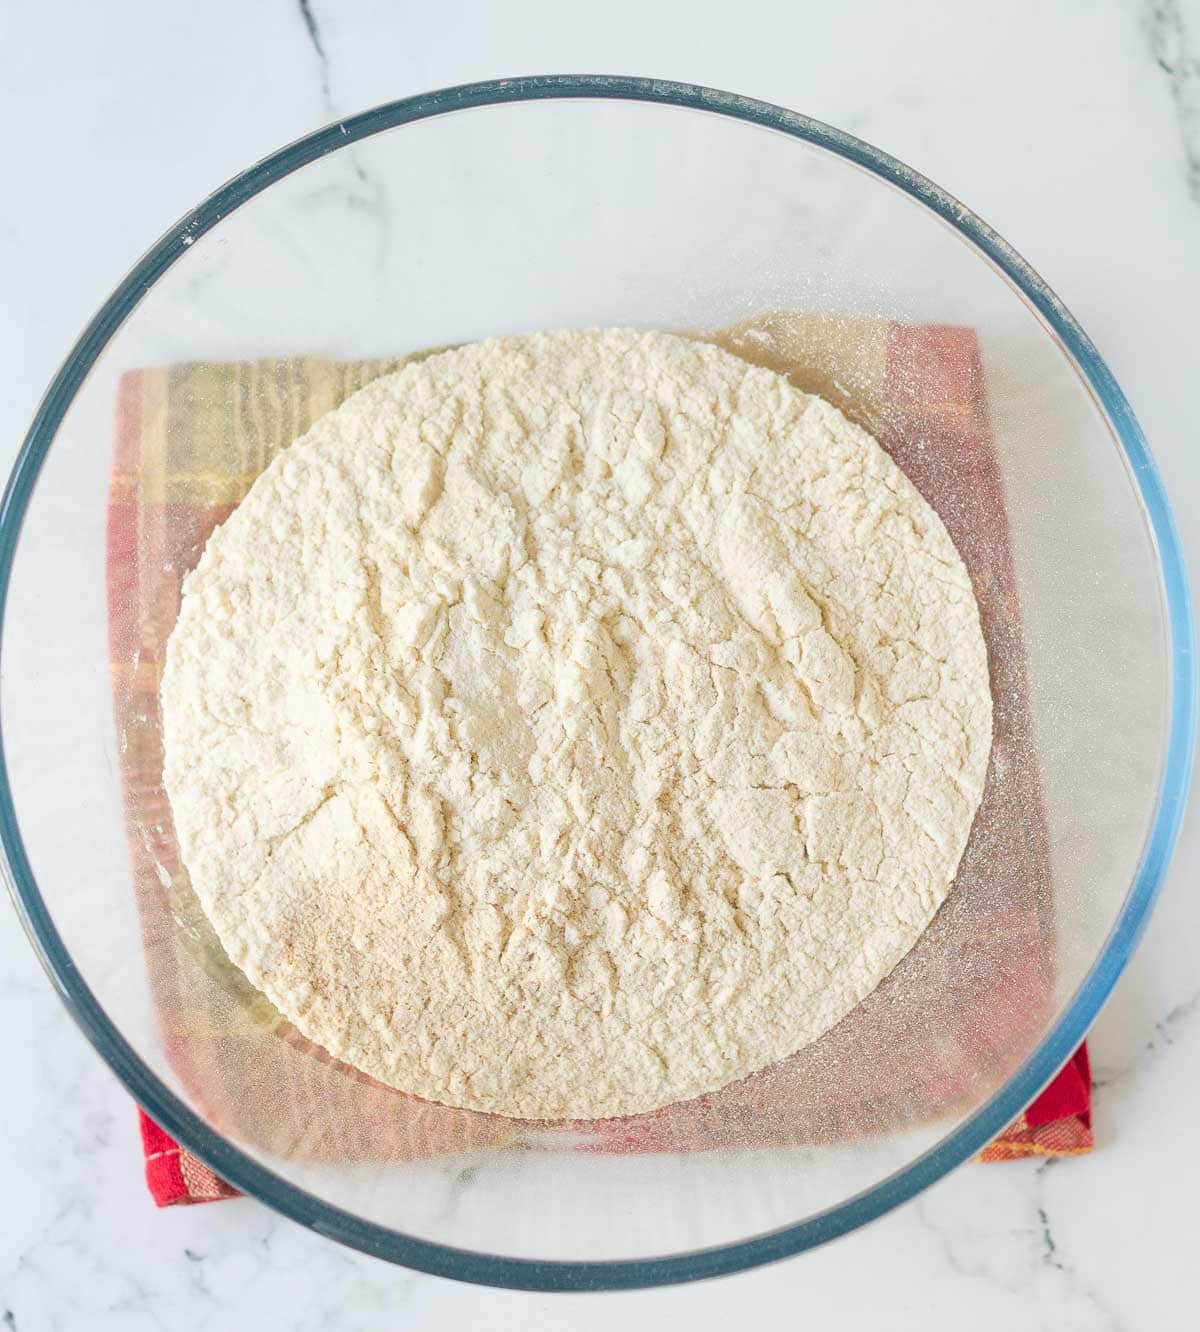
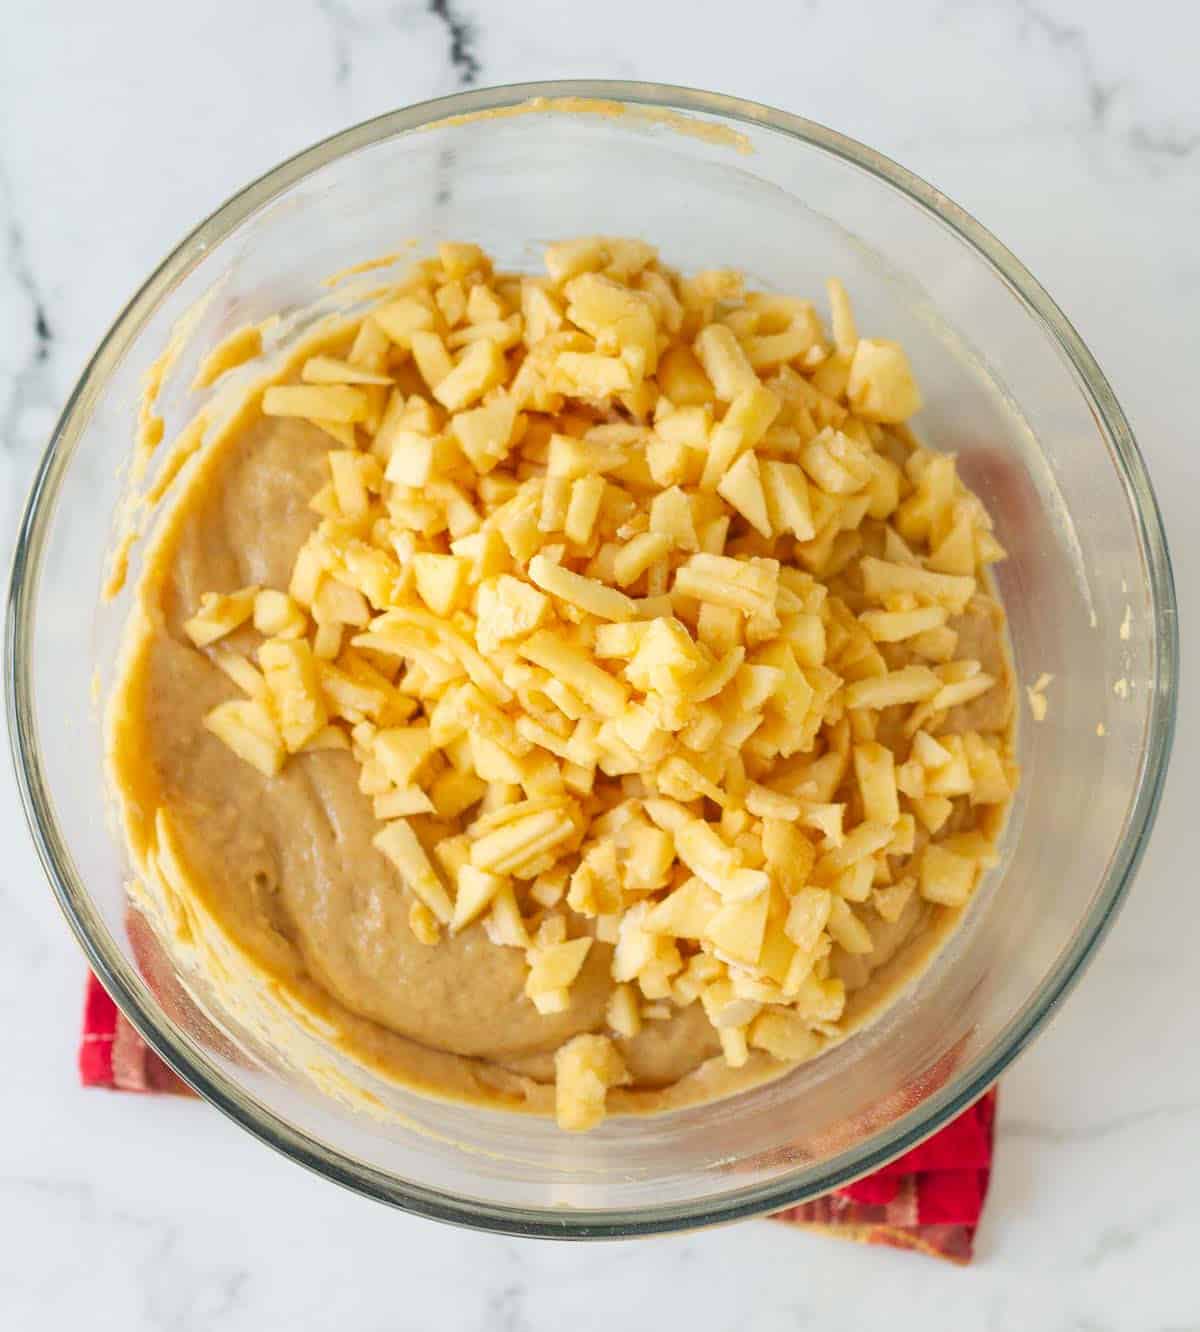
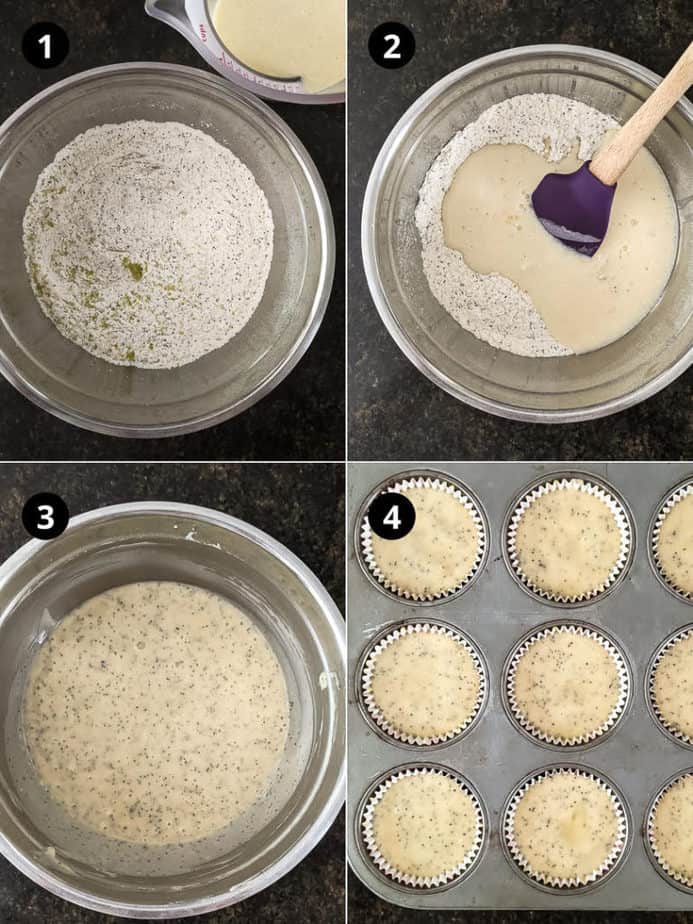
Step 2: In a bowl, sift all-purpose flour, baking powder, baking soda, salt, cinnamon, and nutmeg.
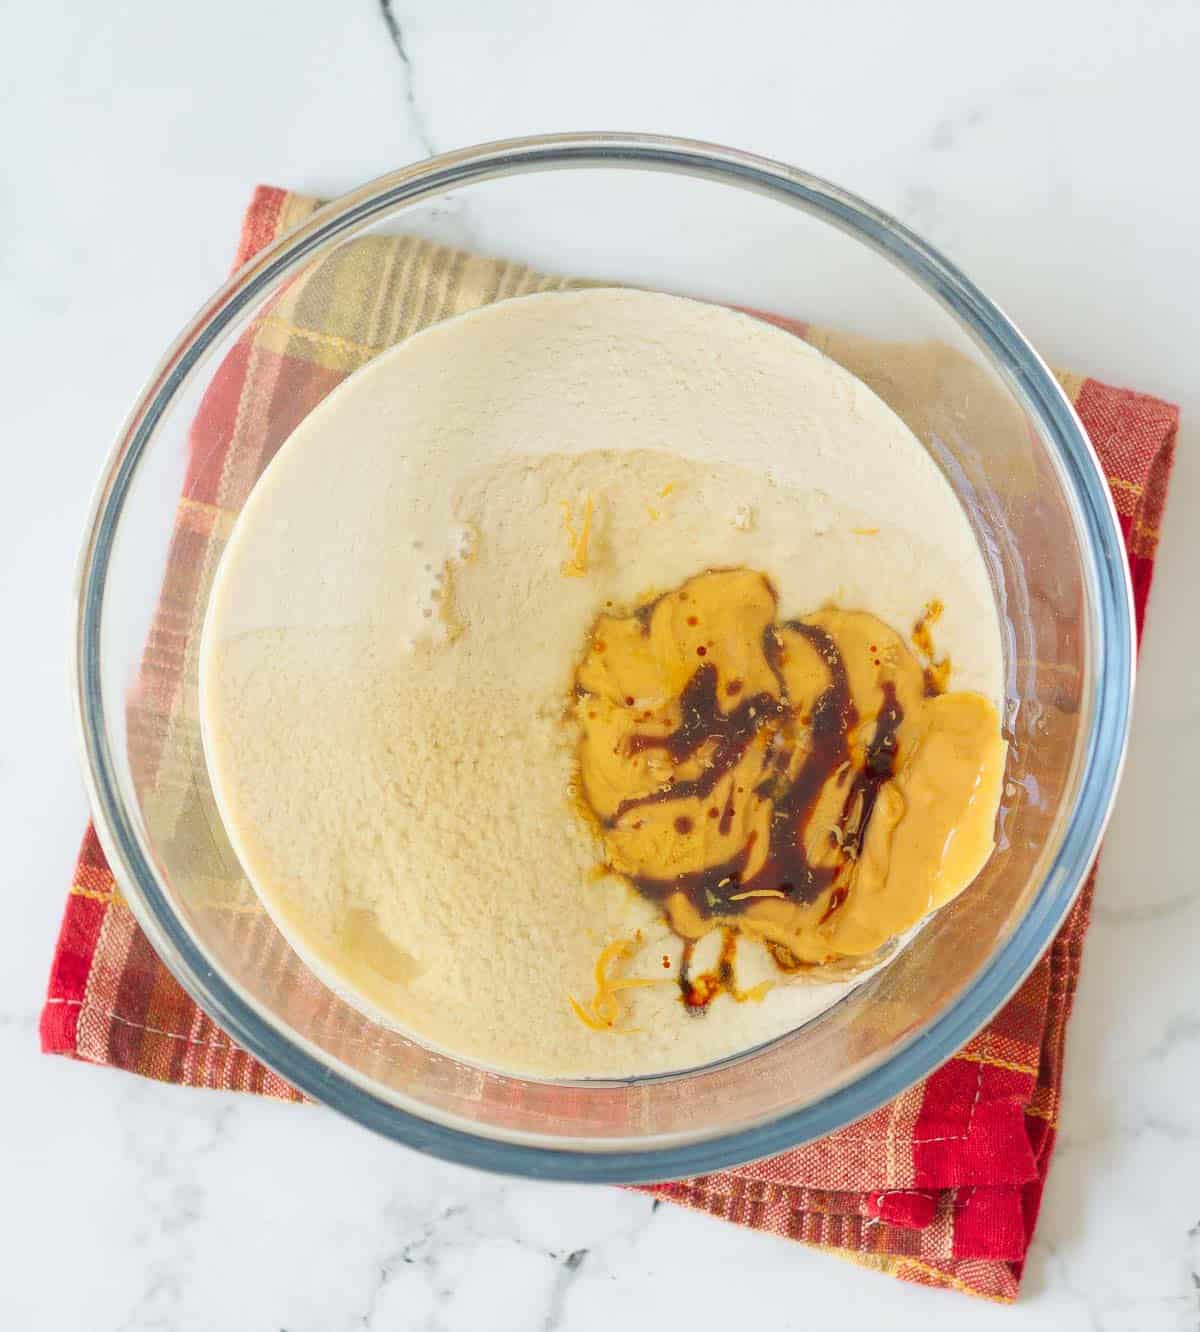
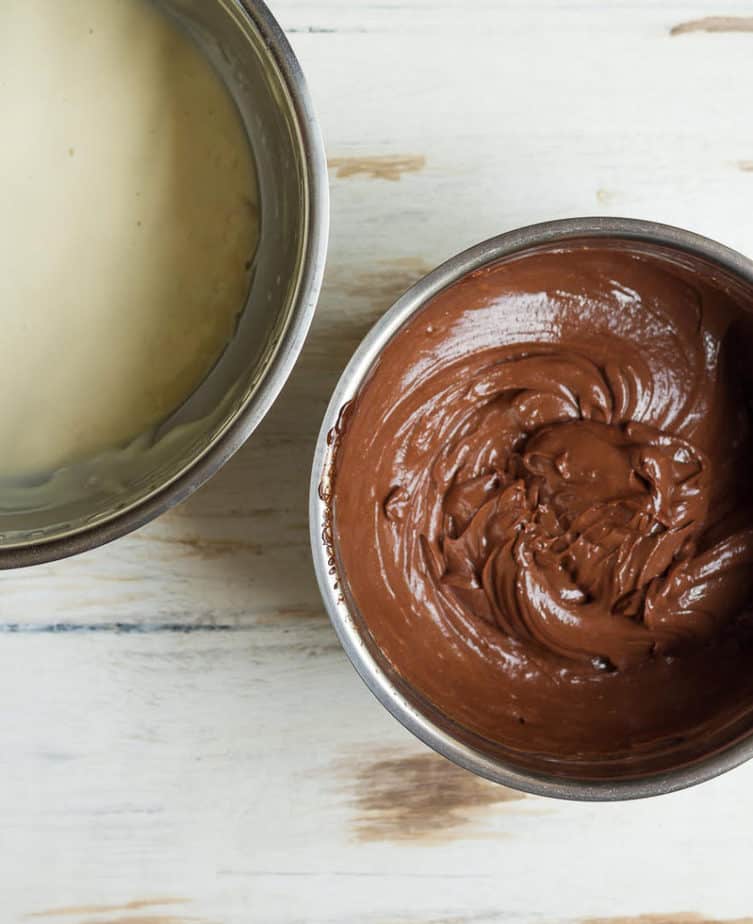
Step 3: Separately, beat two eggs with coconut sugar till well-whipped. Combine oil and vanilla extract.
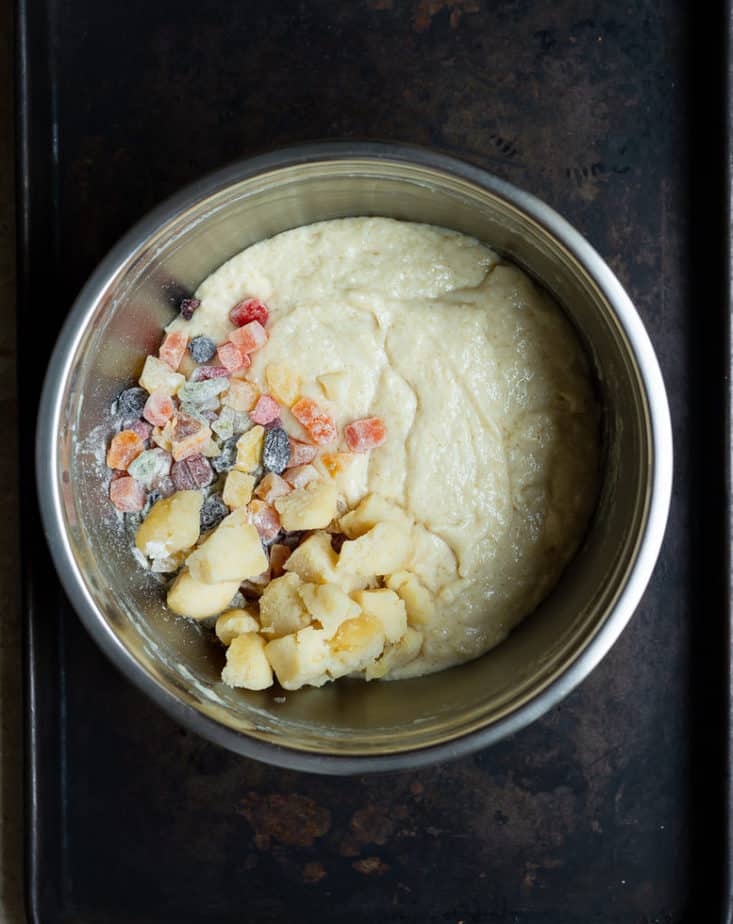
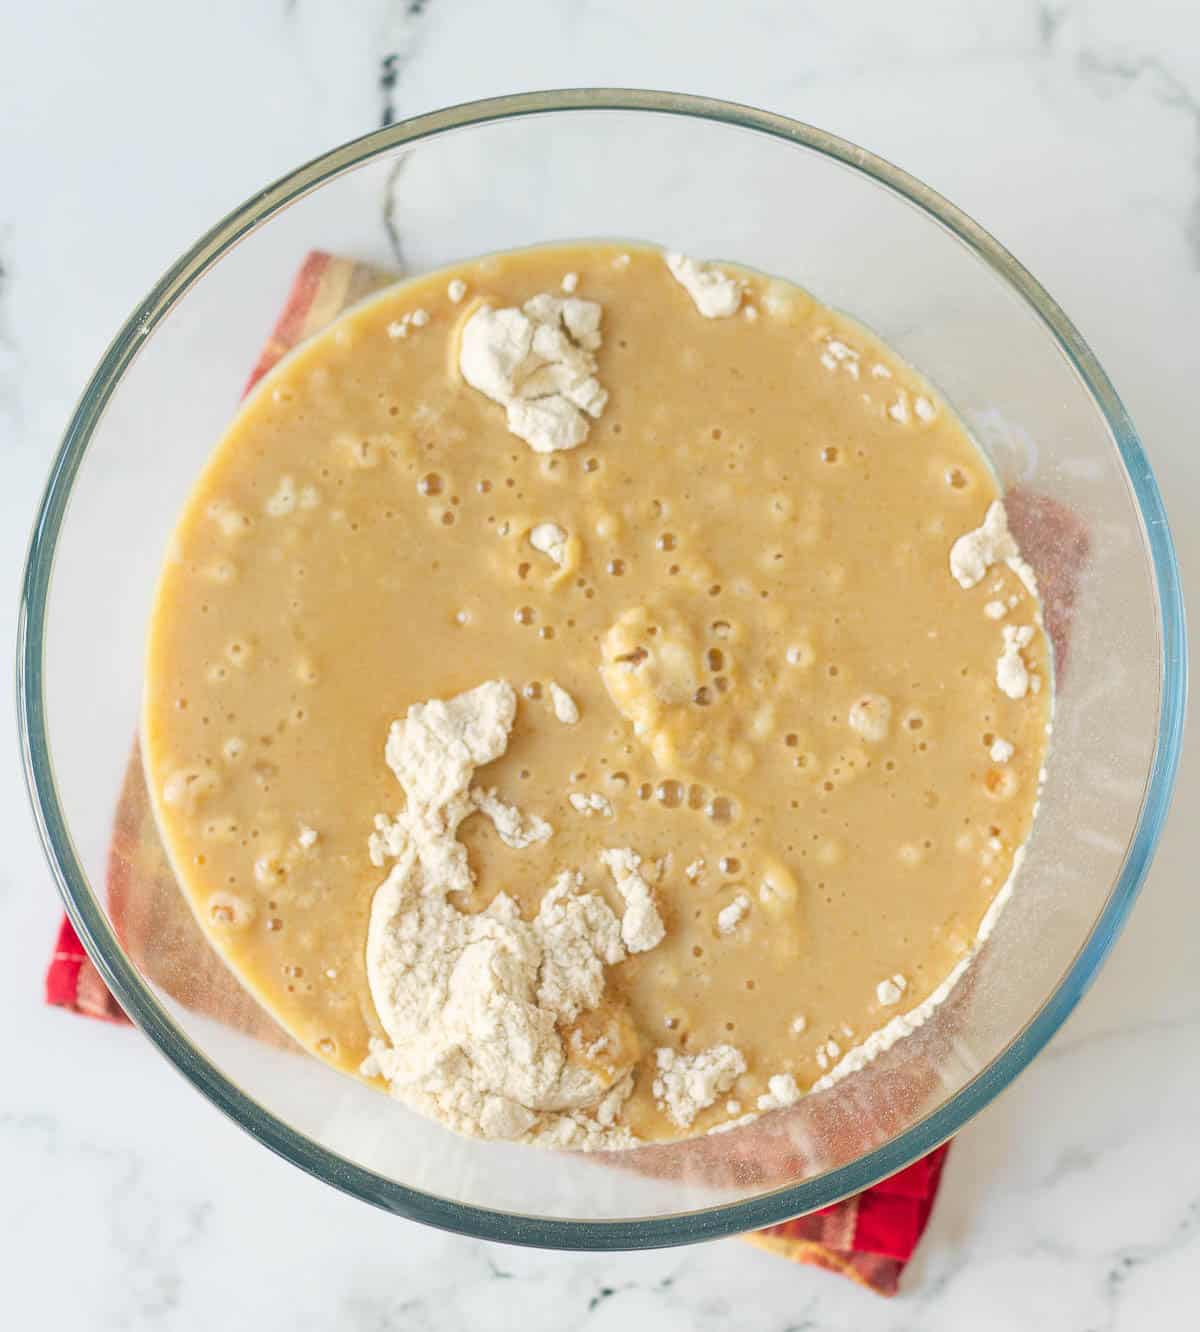
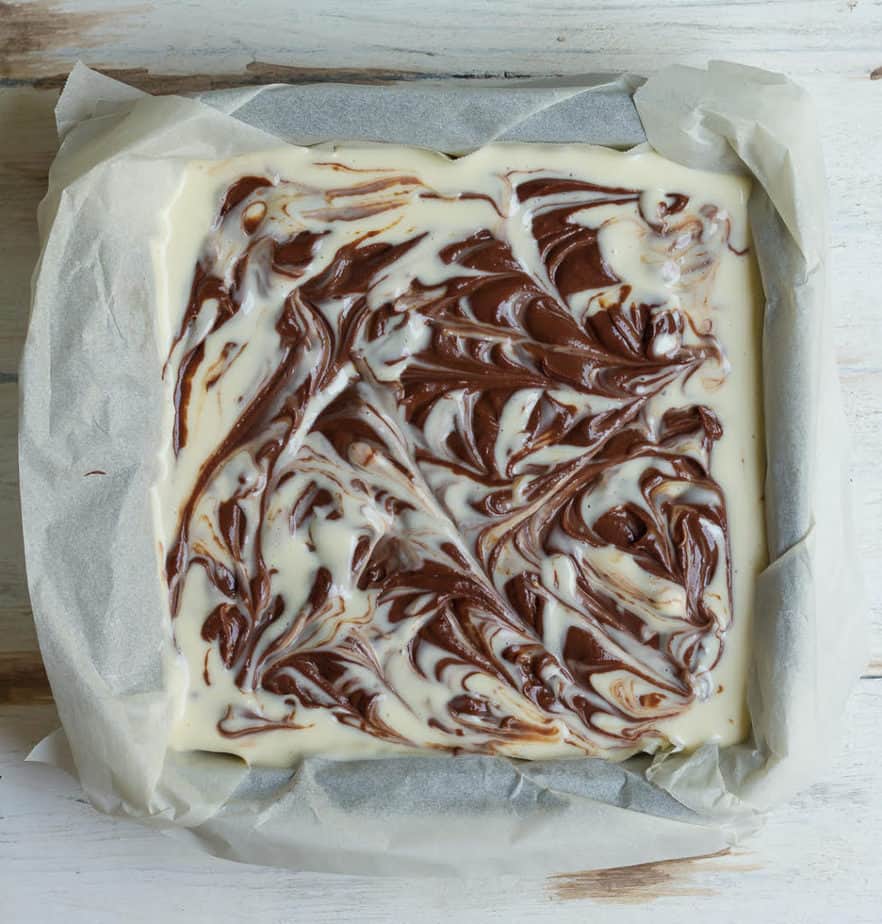
Step 4: In the beaten eggs, fold in the dry ingredients and the cocoa-mulled wine mixture alternatively. Start with a third of dry ingredients, then pour in part of the mulled wine. Follow this with another third of the flour mixture. Pour in the rest of the cocoa-mulled wine and end with the last of the dry ingredients.
Step 5: You’ll have a beautiful batter at this point with a soft, dropping consistency.
How to bake and garnish the wine cake?
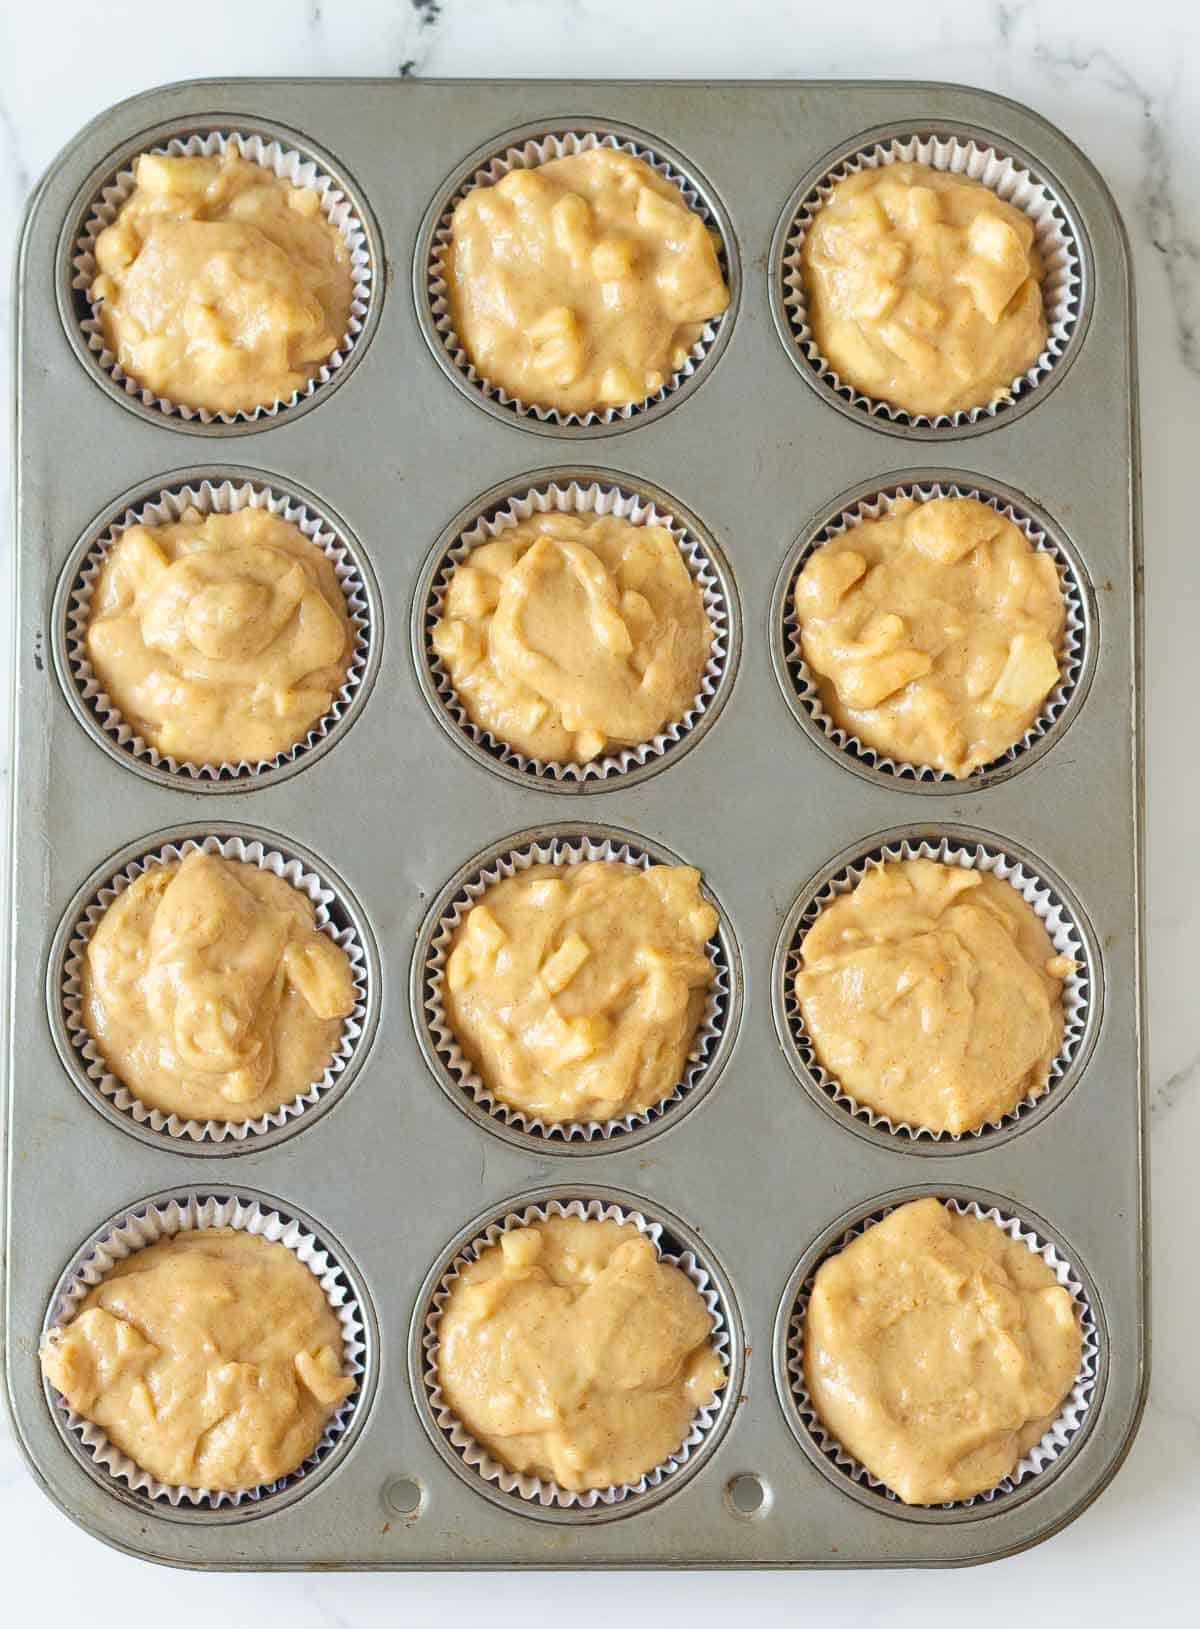
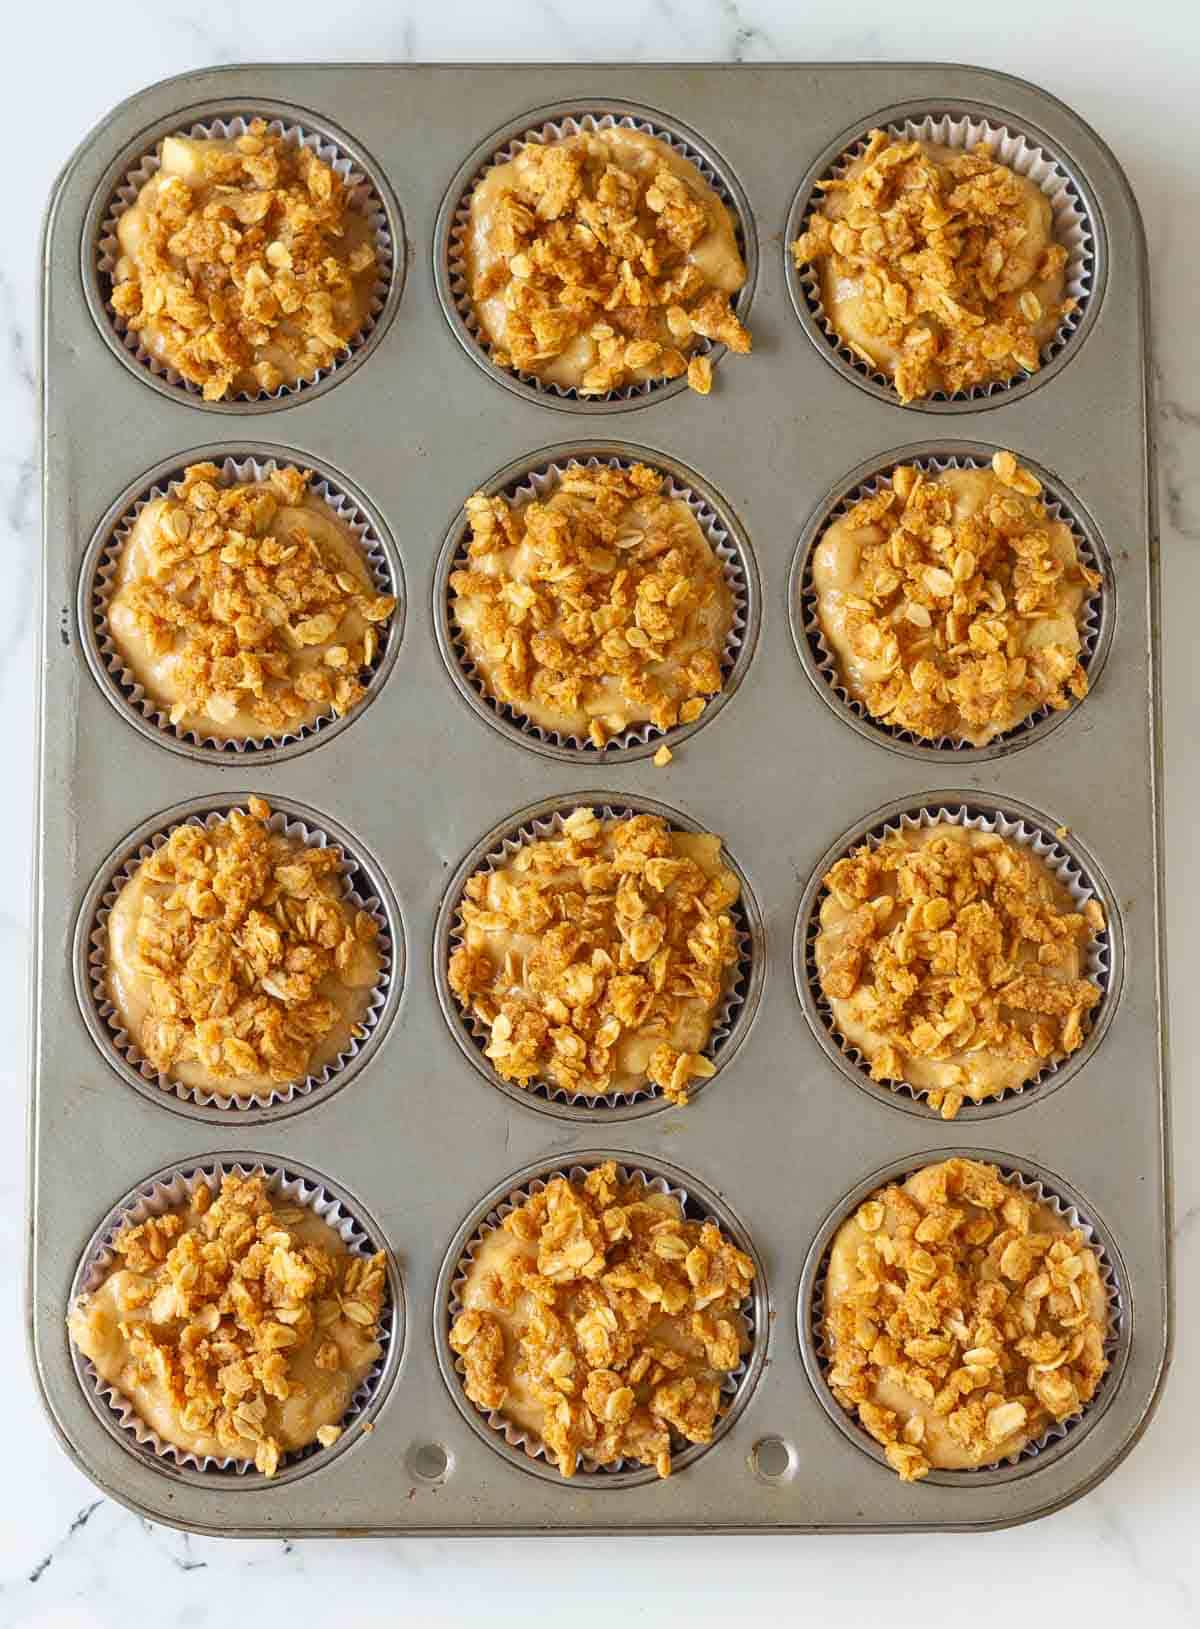
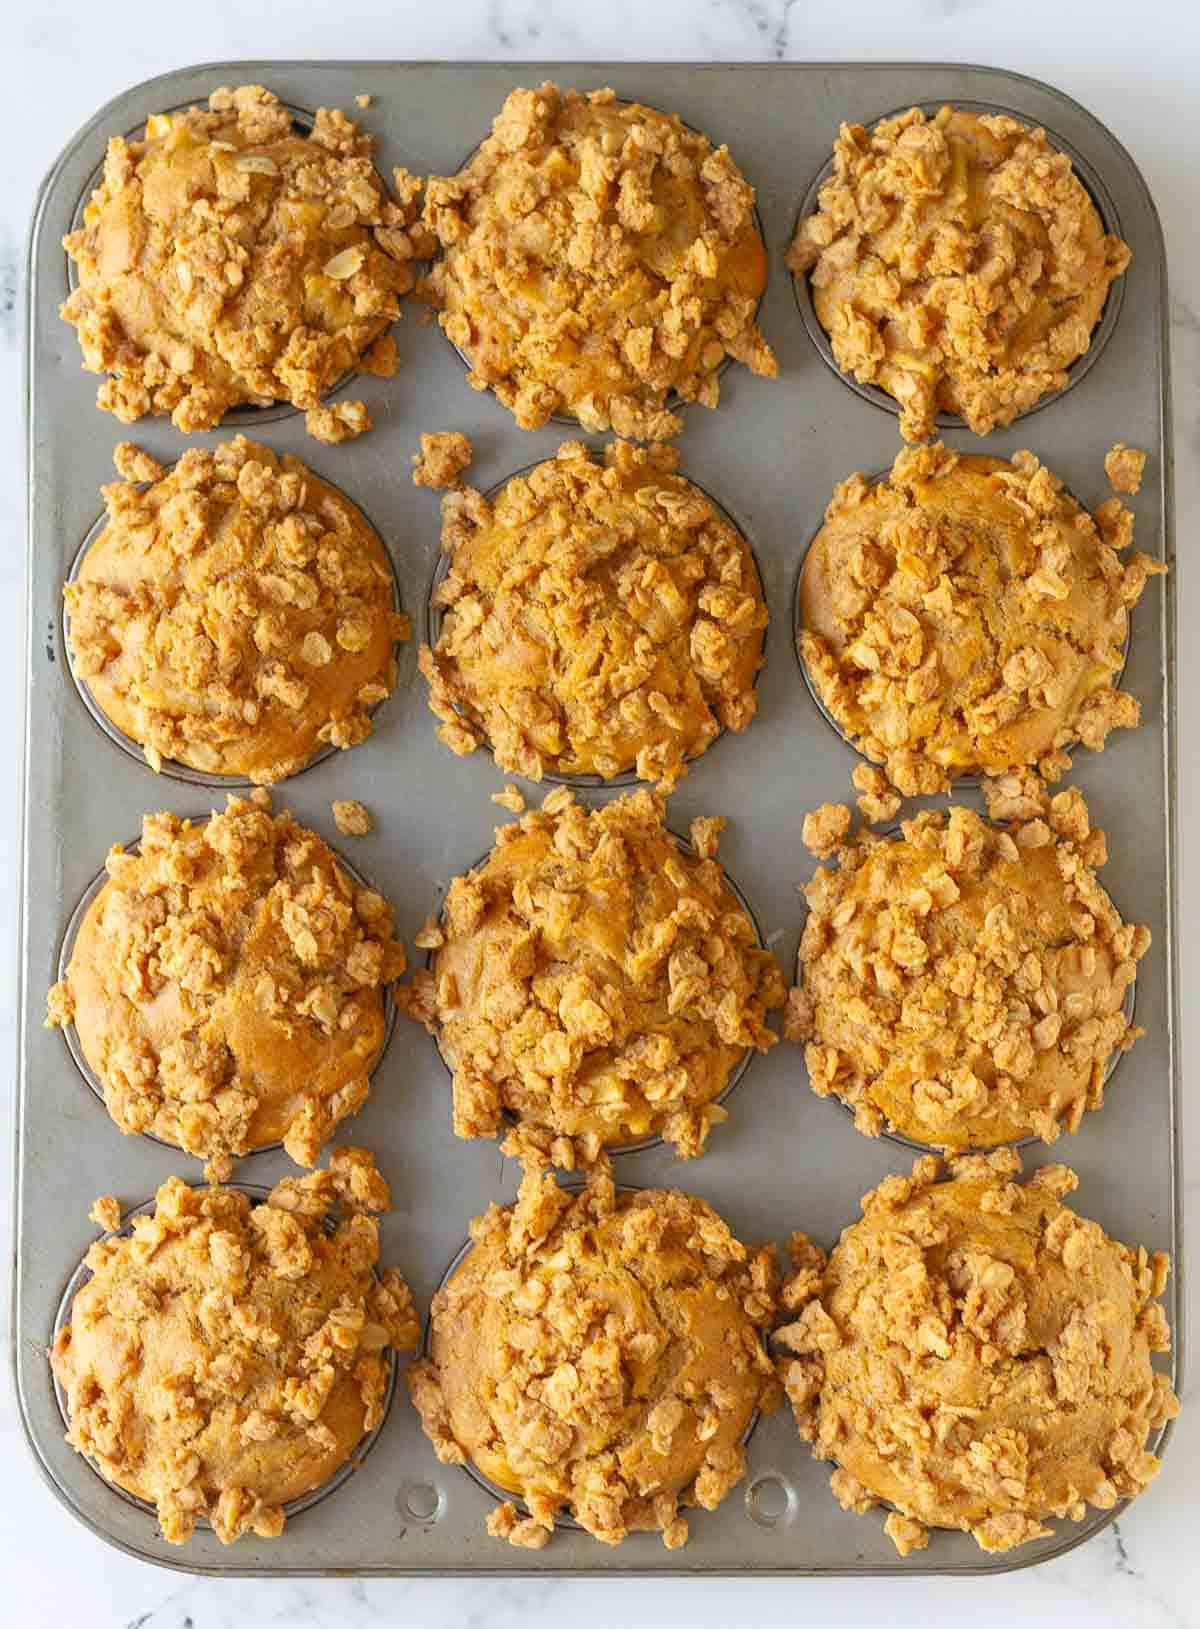
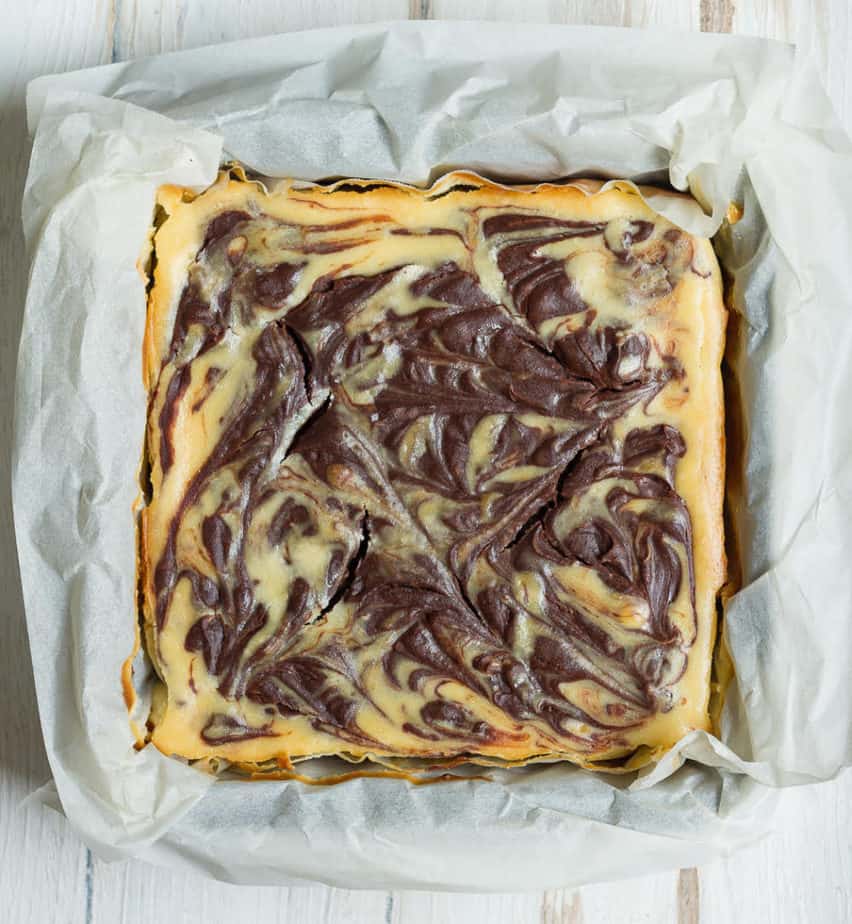
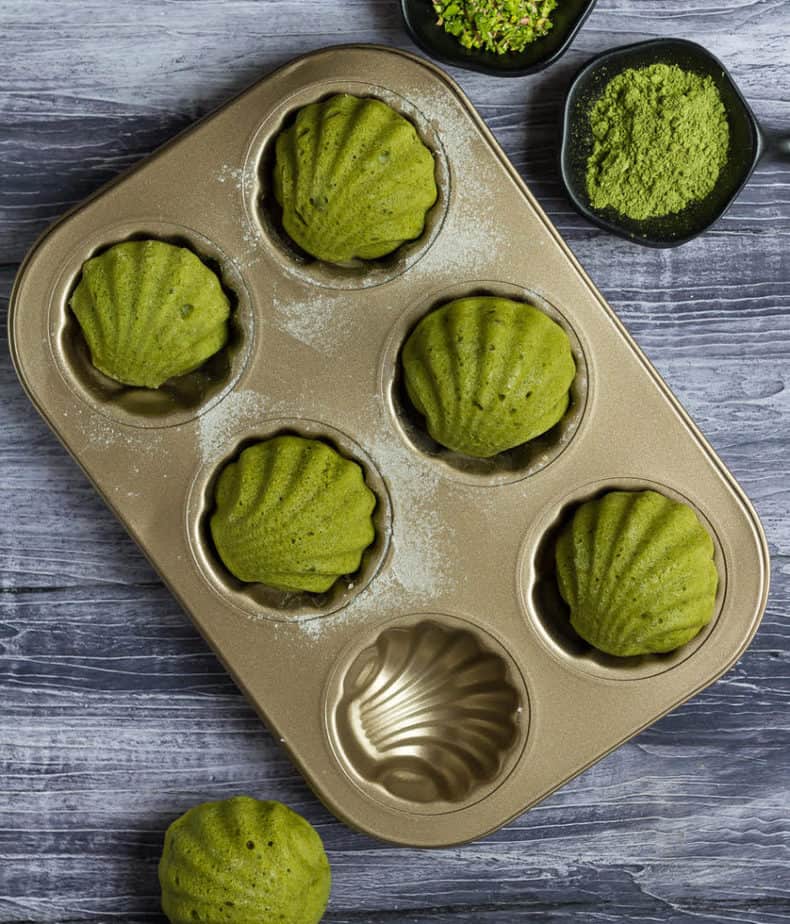
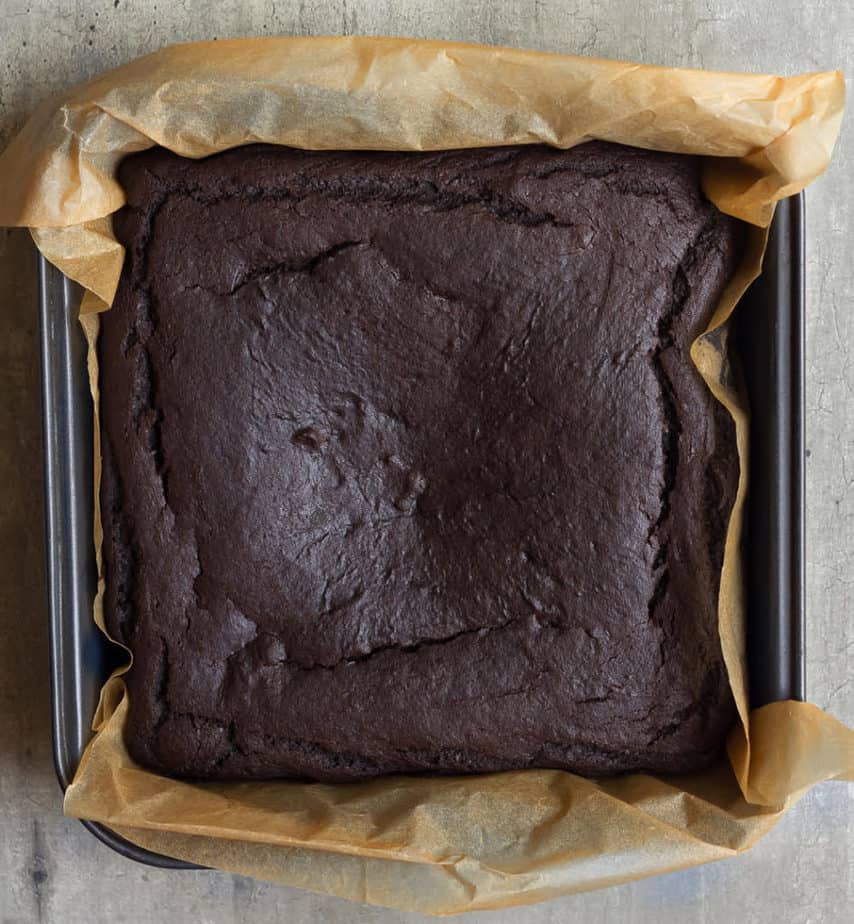
Step 6: Pour into a Bundt pan and bake for 30 to 35 minutes.
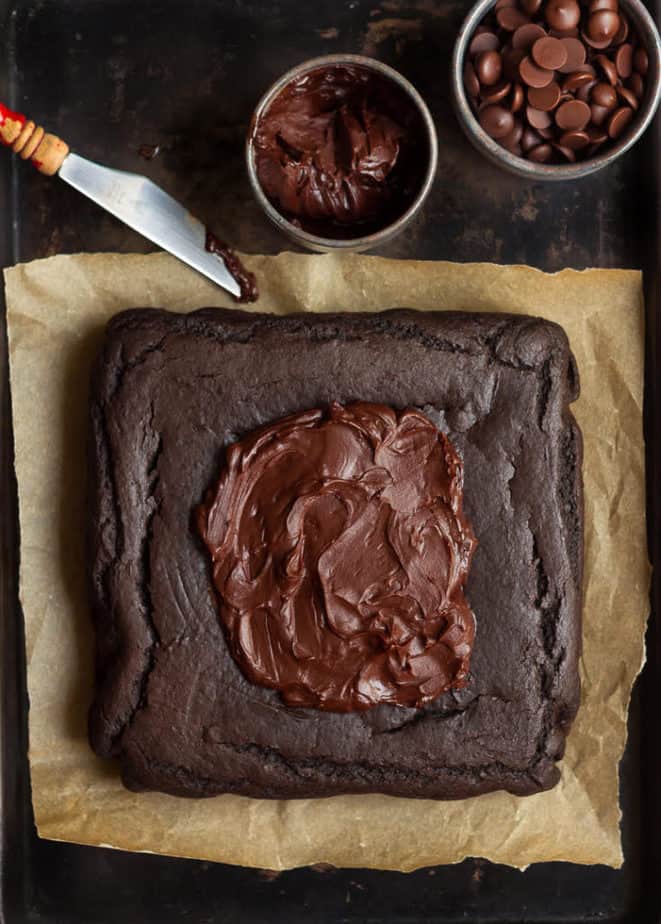
Step 7: While the cake bakes and then cools, make your glaze.
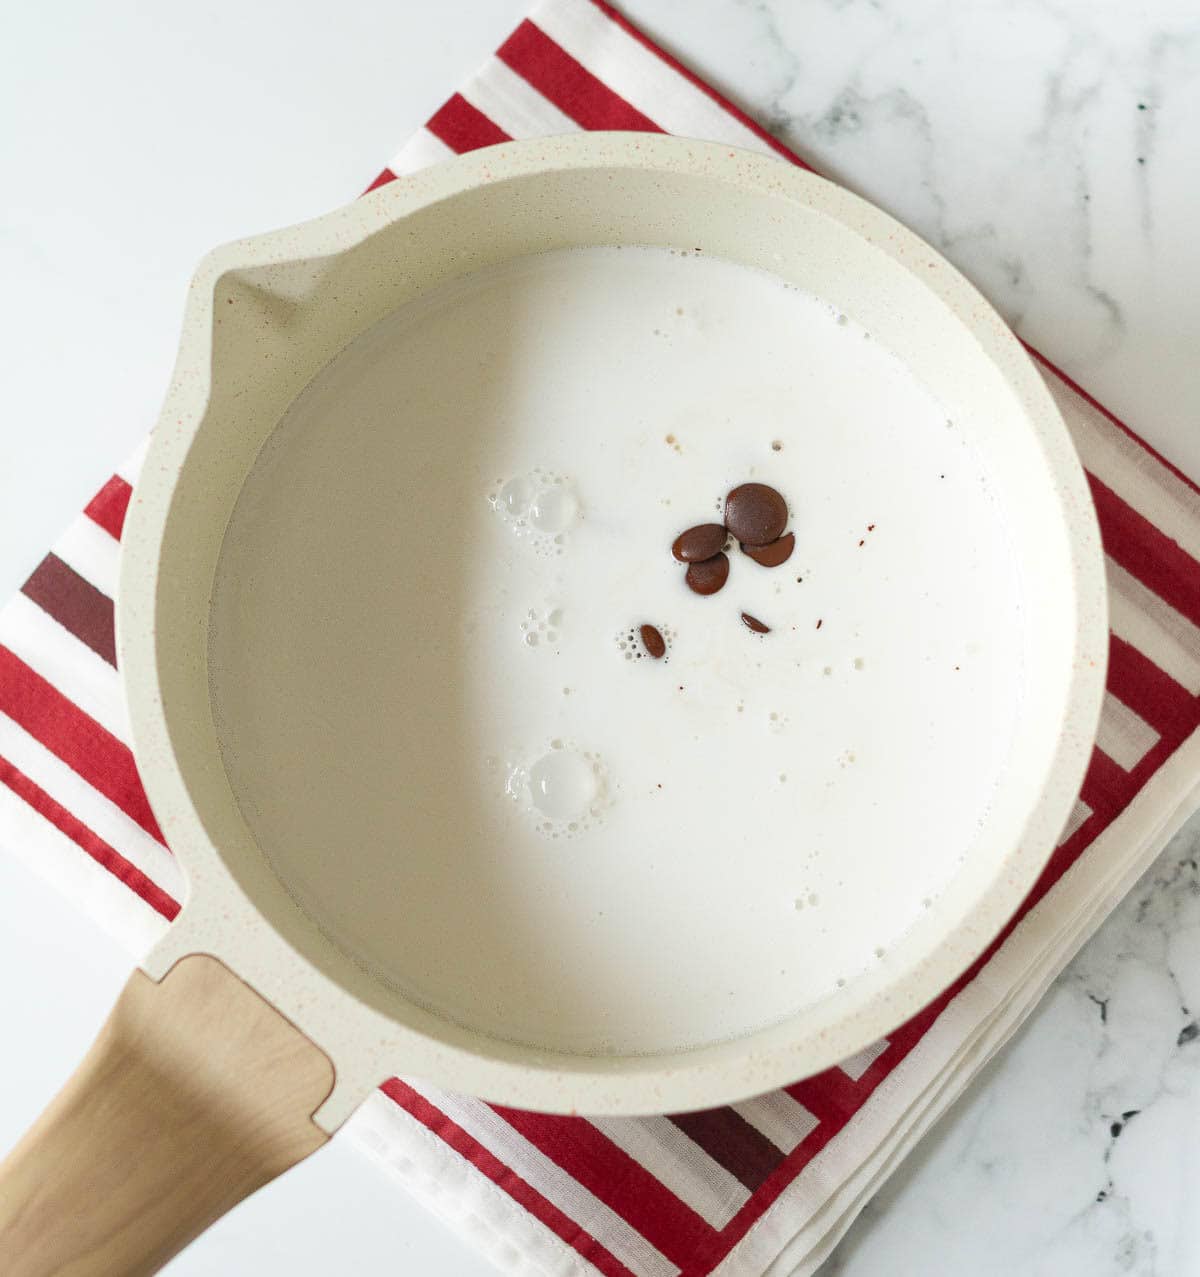
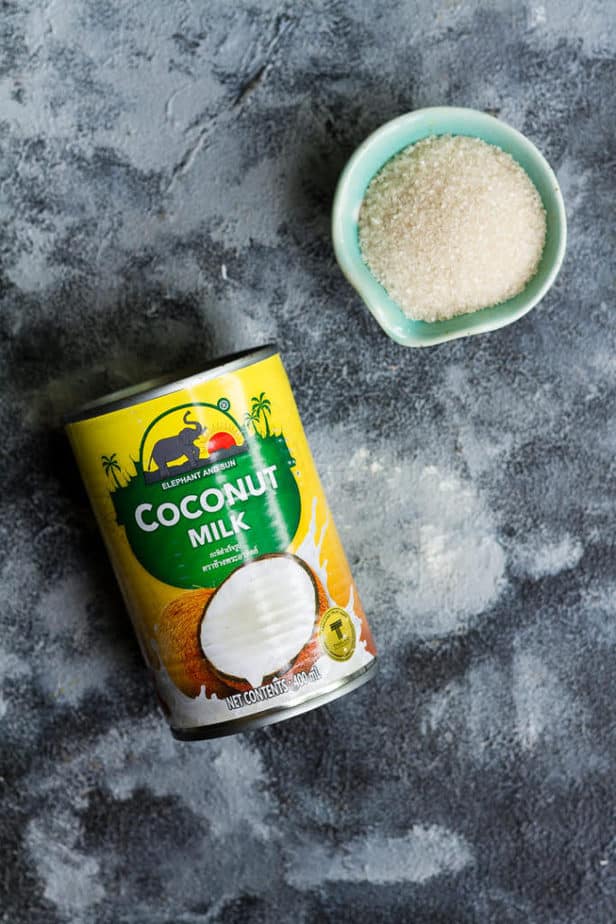
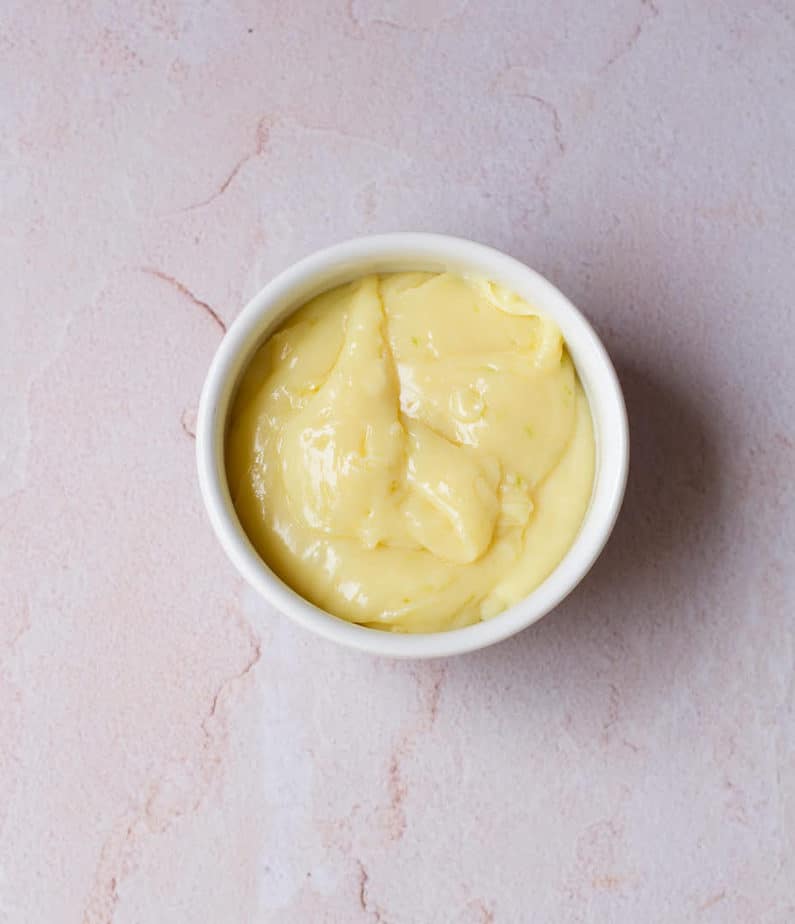
Step 8: In a double boiler, heat coconut cream and add 70% dark baking chocolate to it.
Step 9: Stir the ingredients till you have a nice, glossy mixture with a pouring consistency.
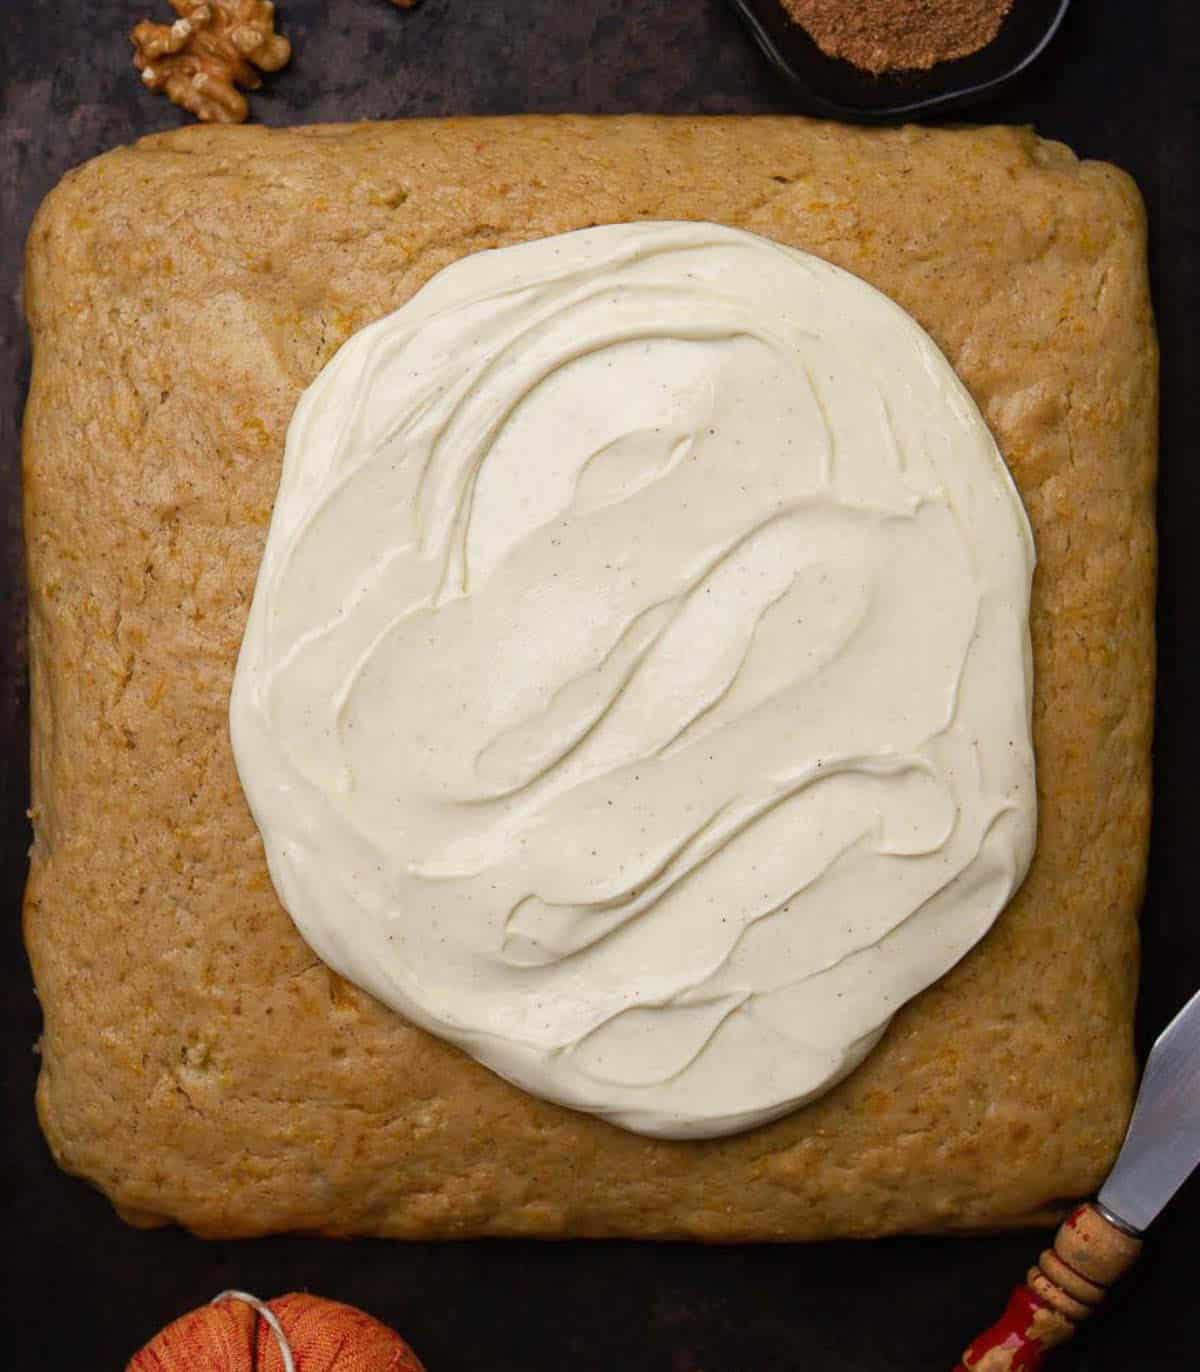
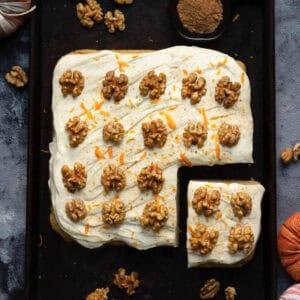
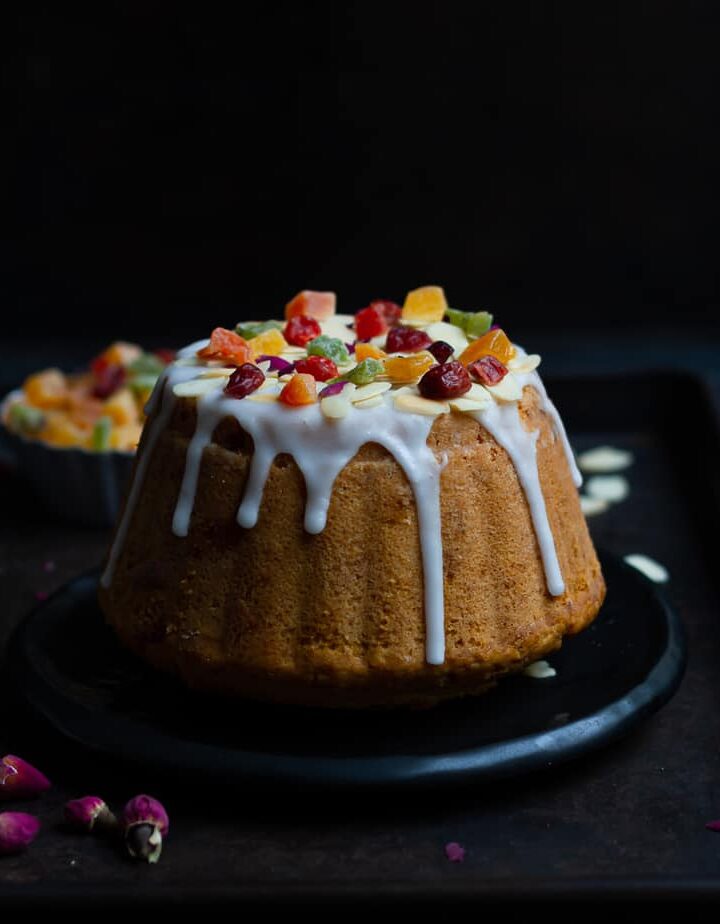
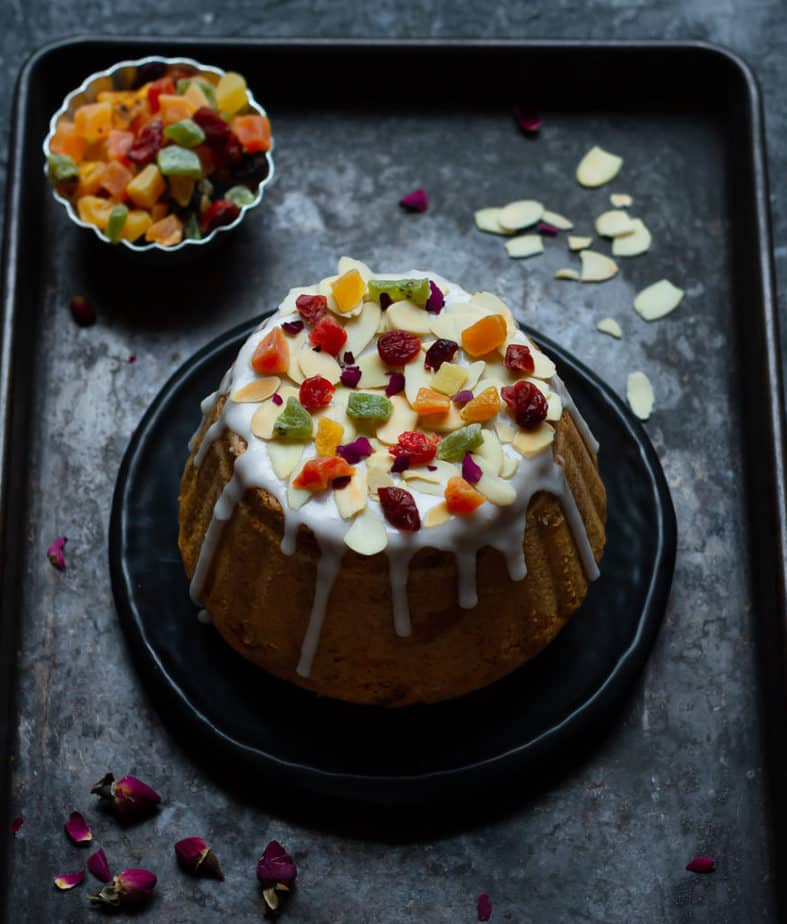
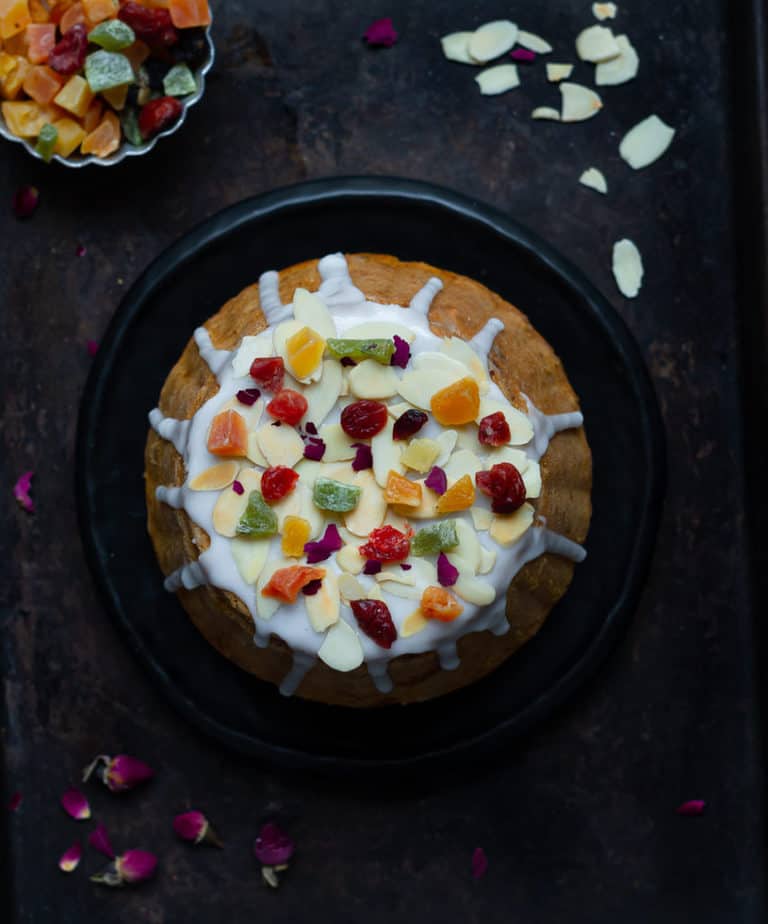
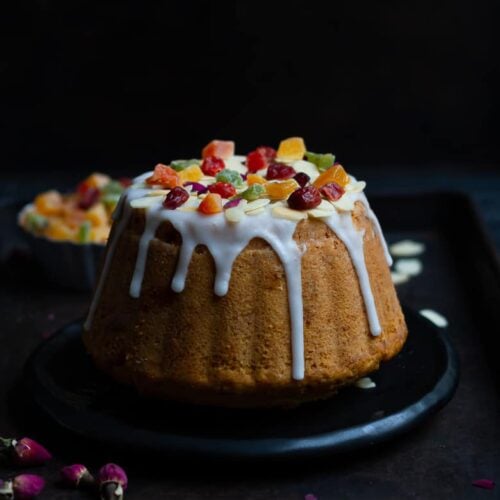
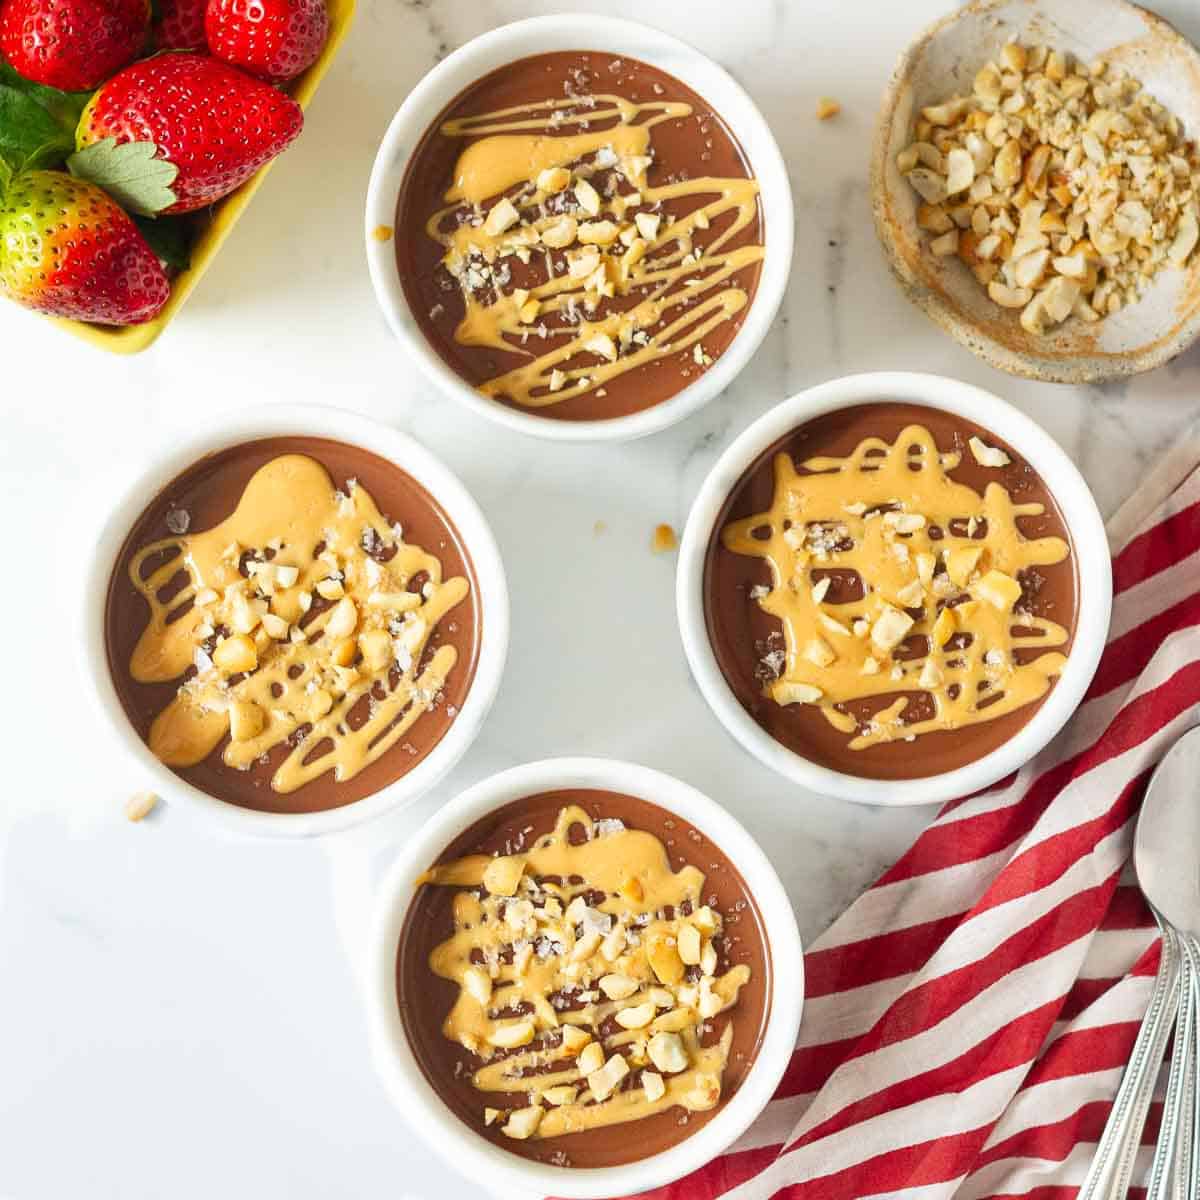
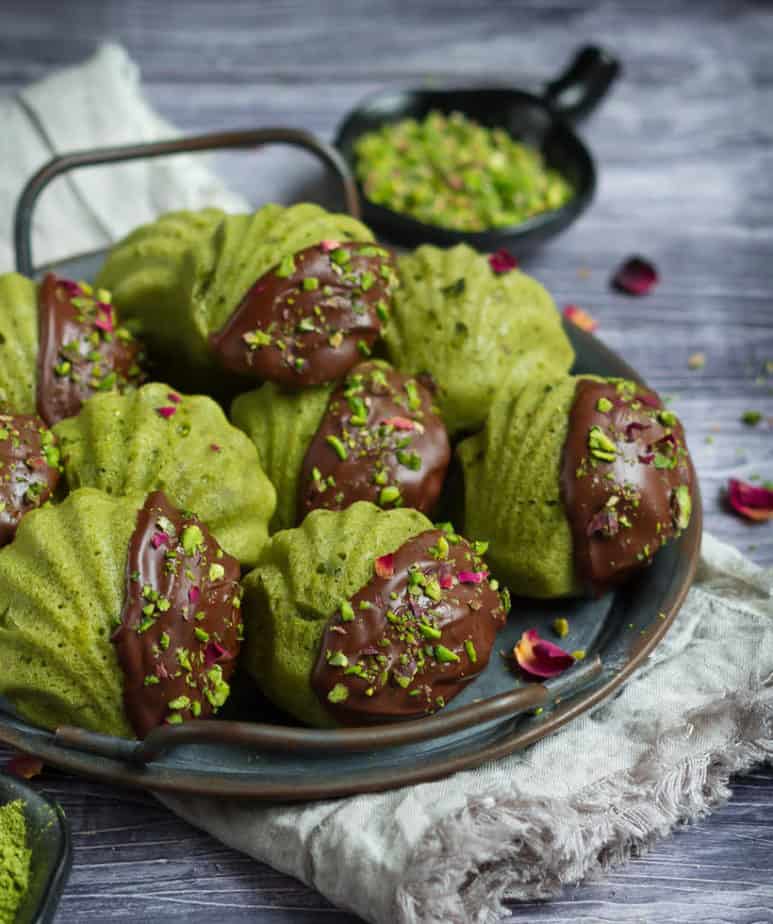
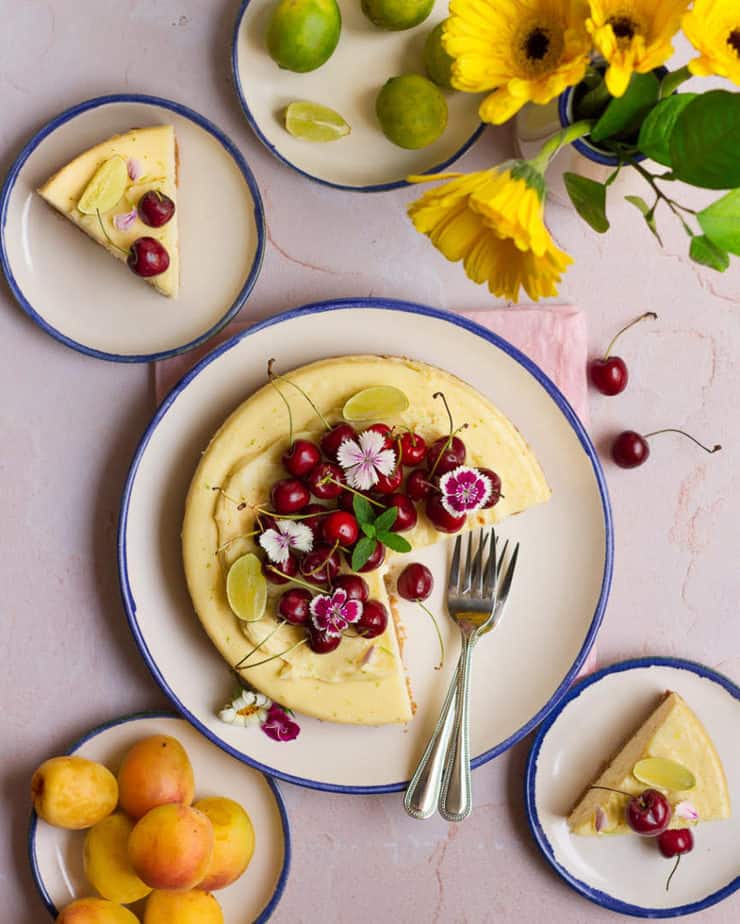
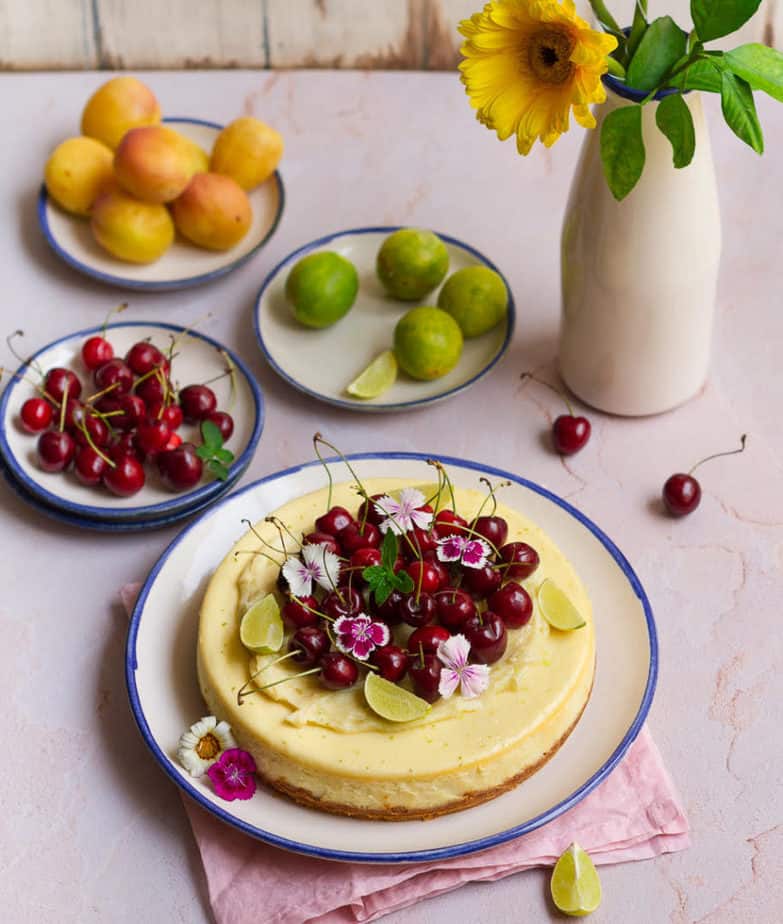
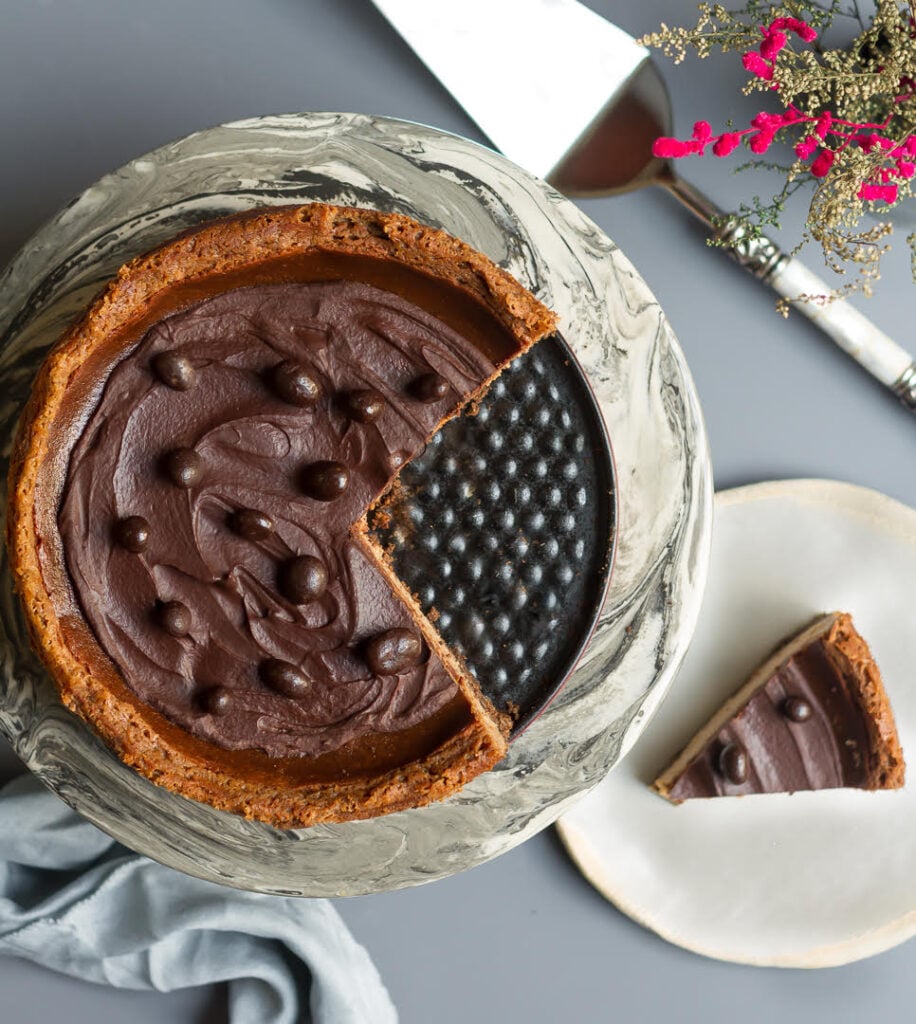
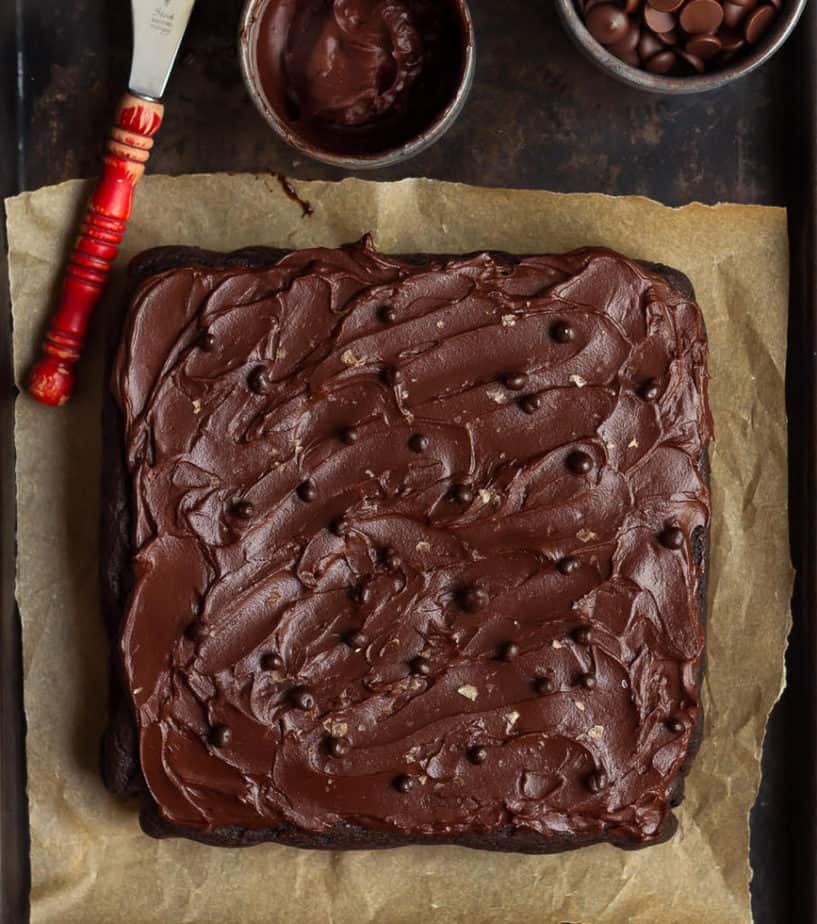
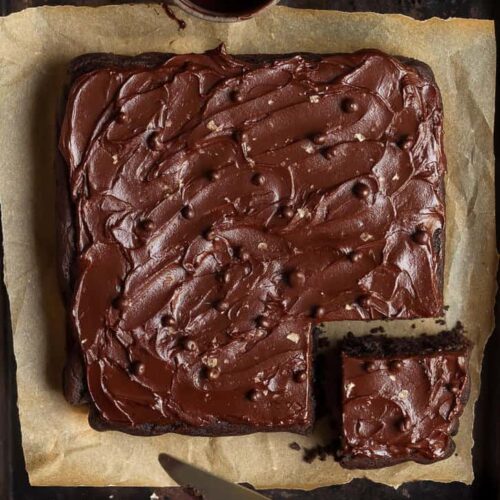
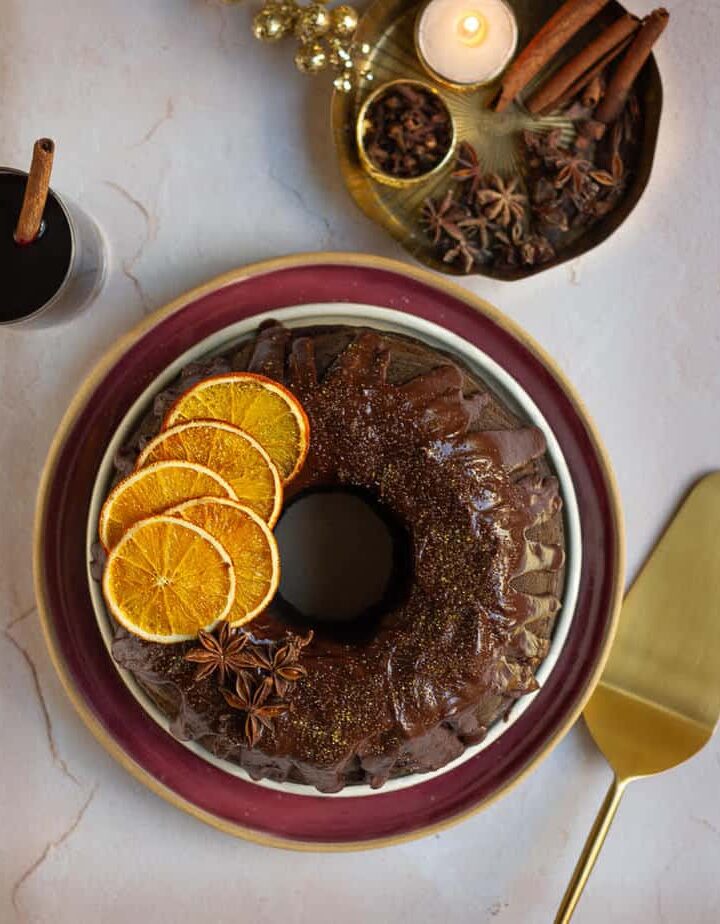
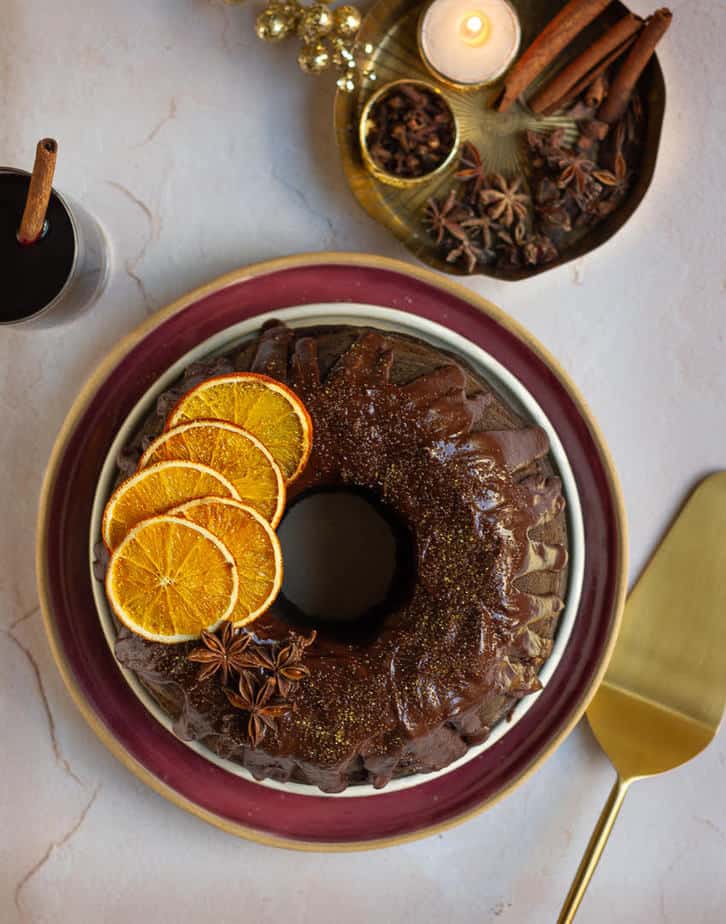
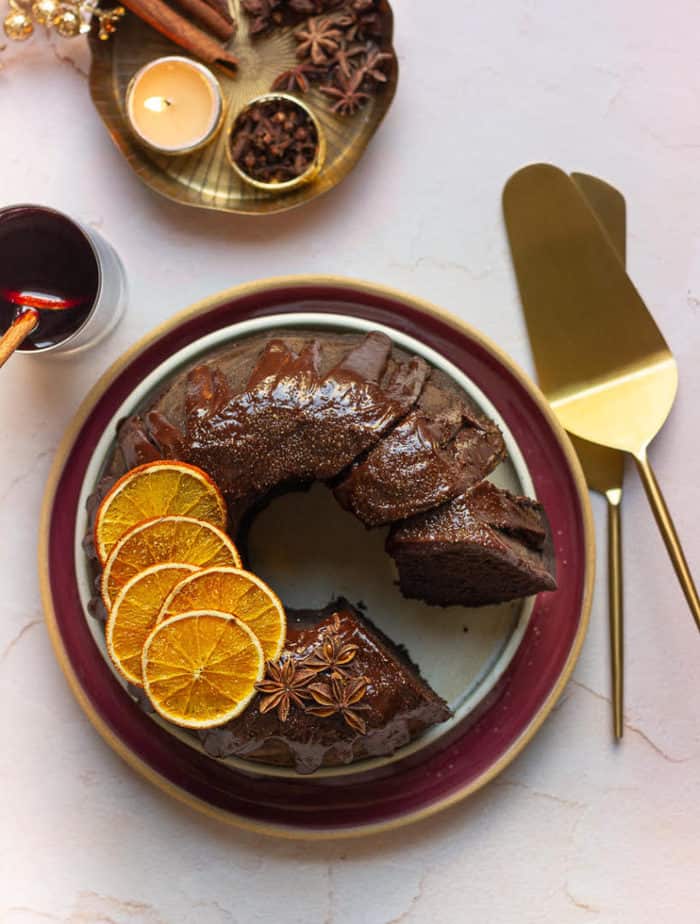
Step 10: On your cooled mulled wine cake, drizzle the glaze.
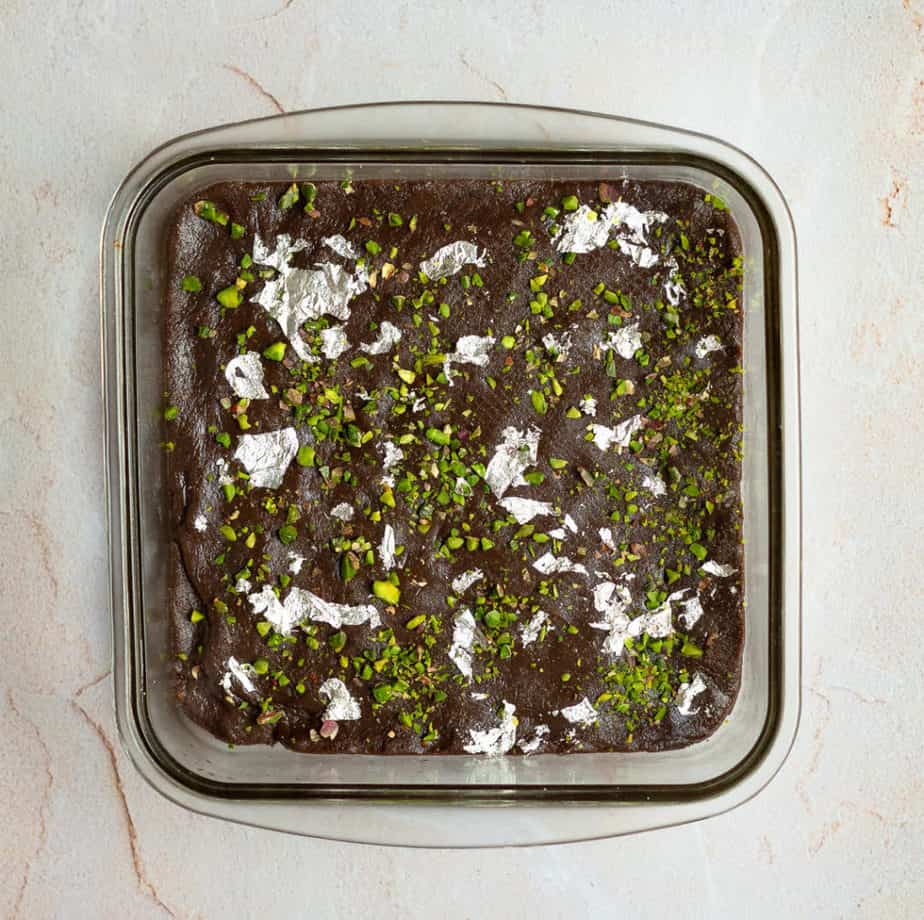
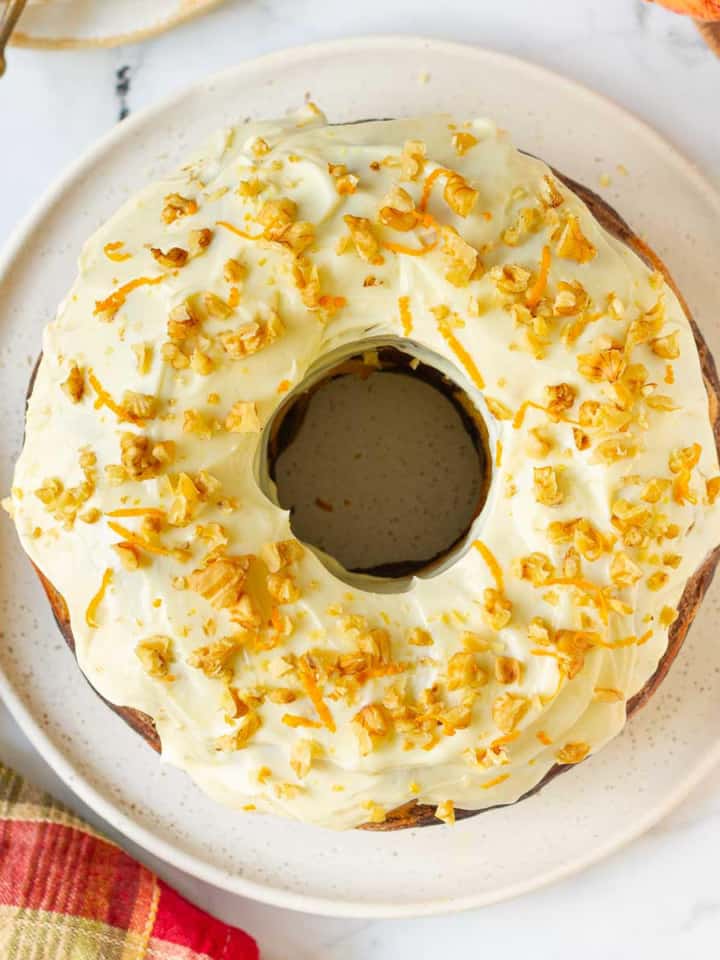
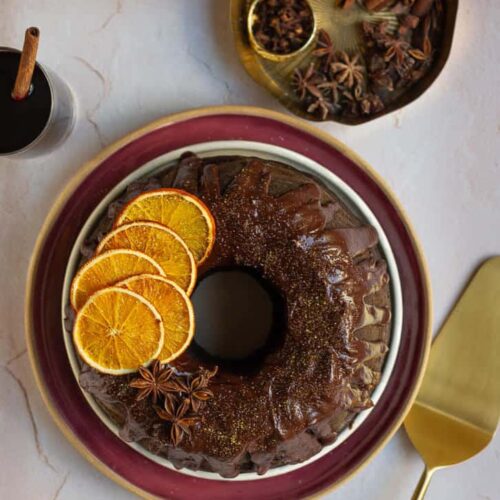
Make the cake more festive
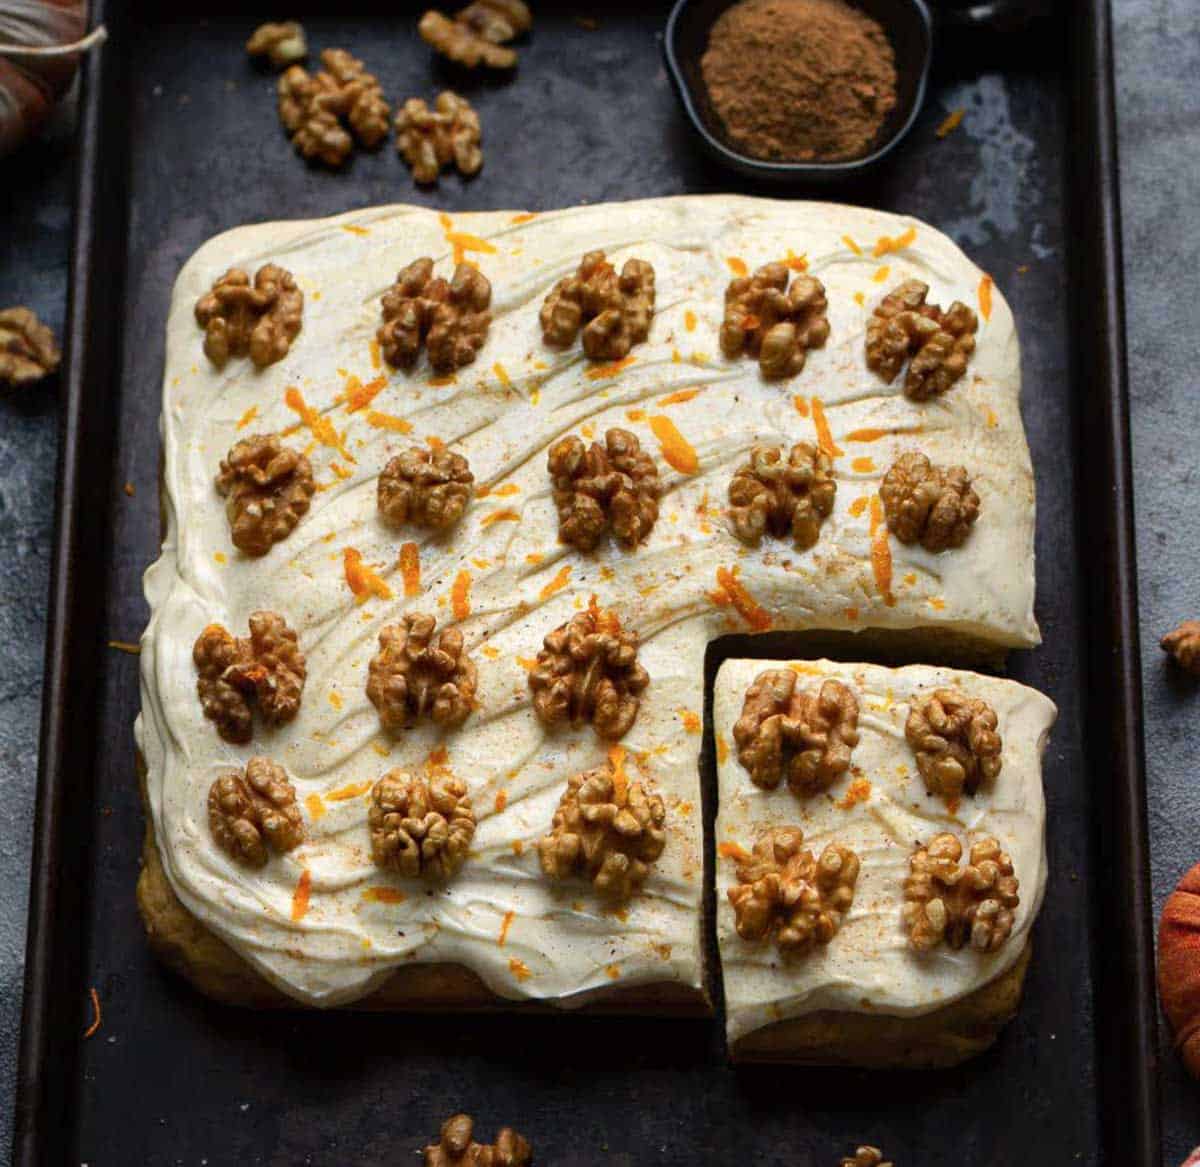
Once glazed, the cake is good to go. But I never waste an opportunity to flex my creative muscle. So, just because they look so pretty, I delicately decorated the curves of the Bundt cake with a few dried orange slices and star anise. The finishing touch was a sprinkling of golden sanding sugar.
Tips, tricks, and answers on mulled wine cake
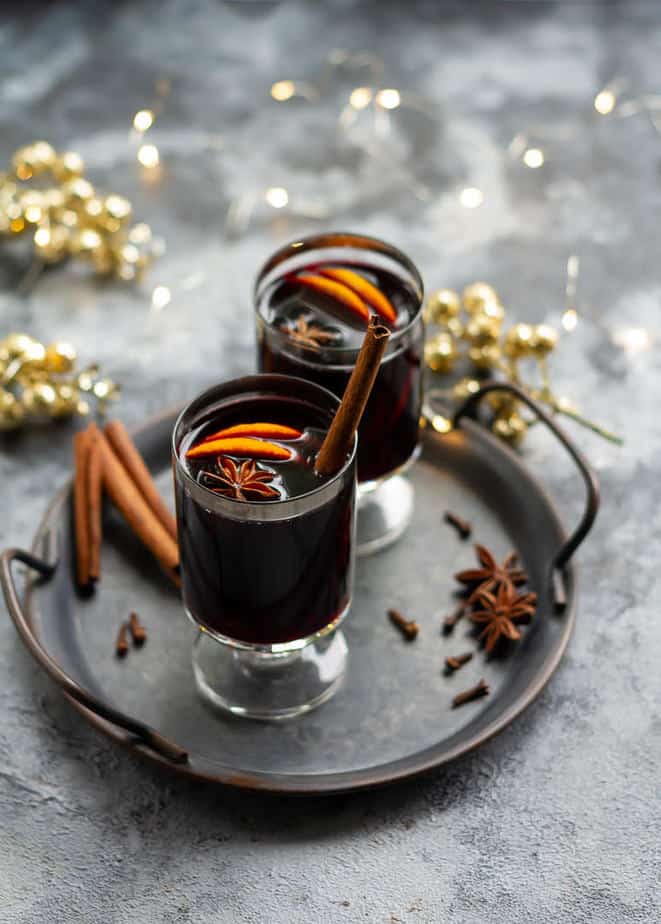
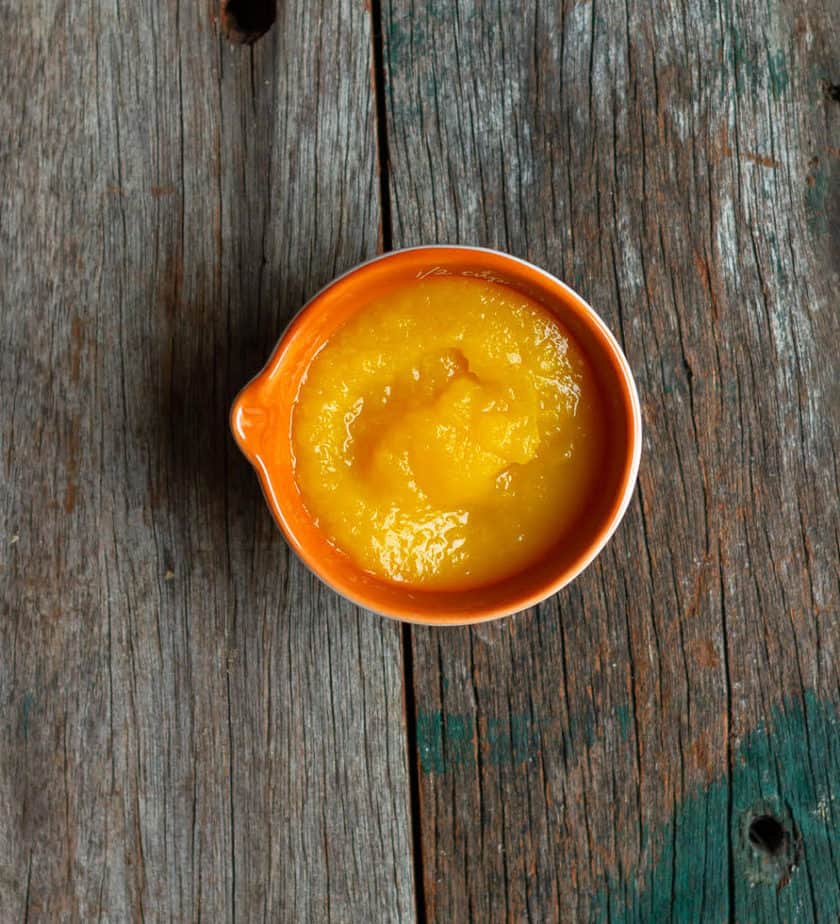
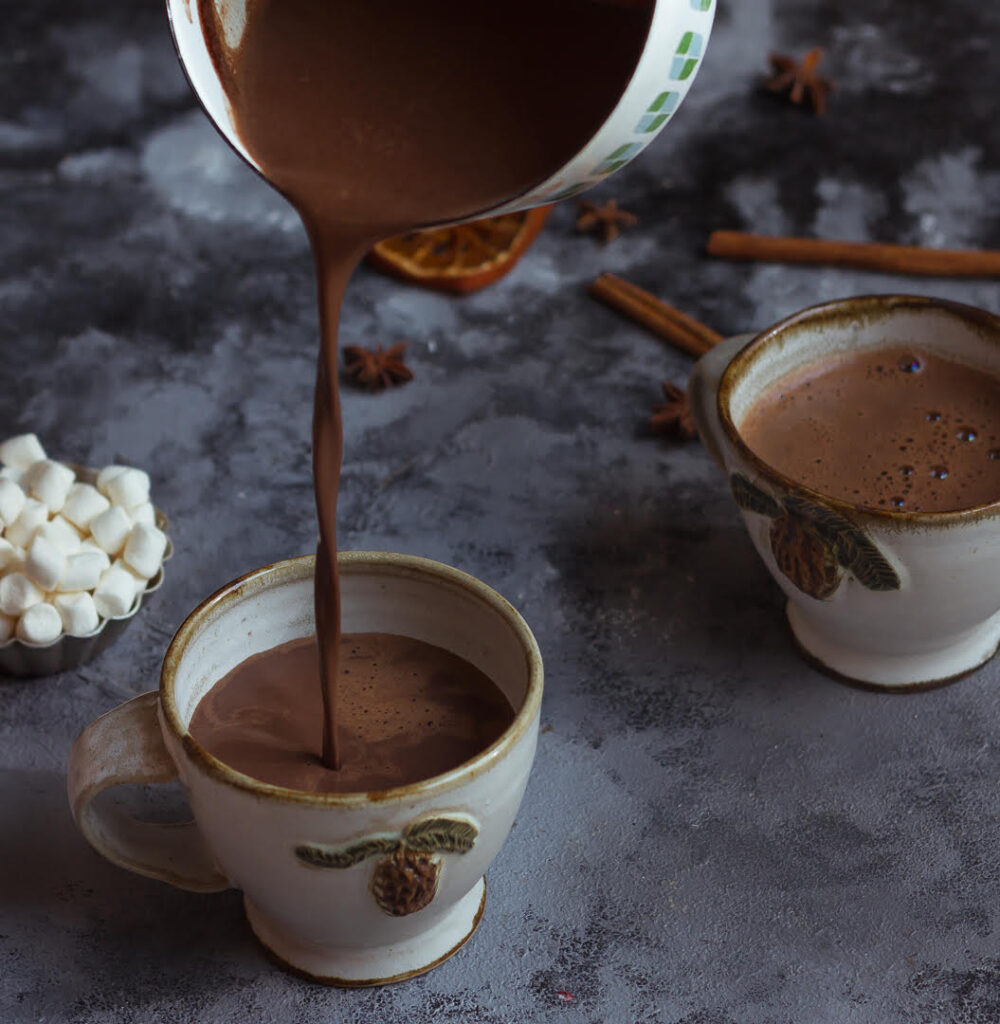
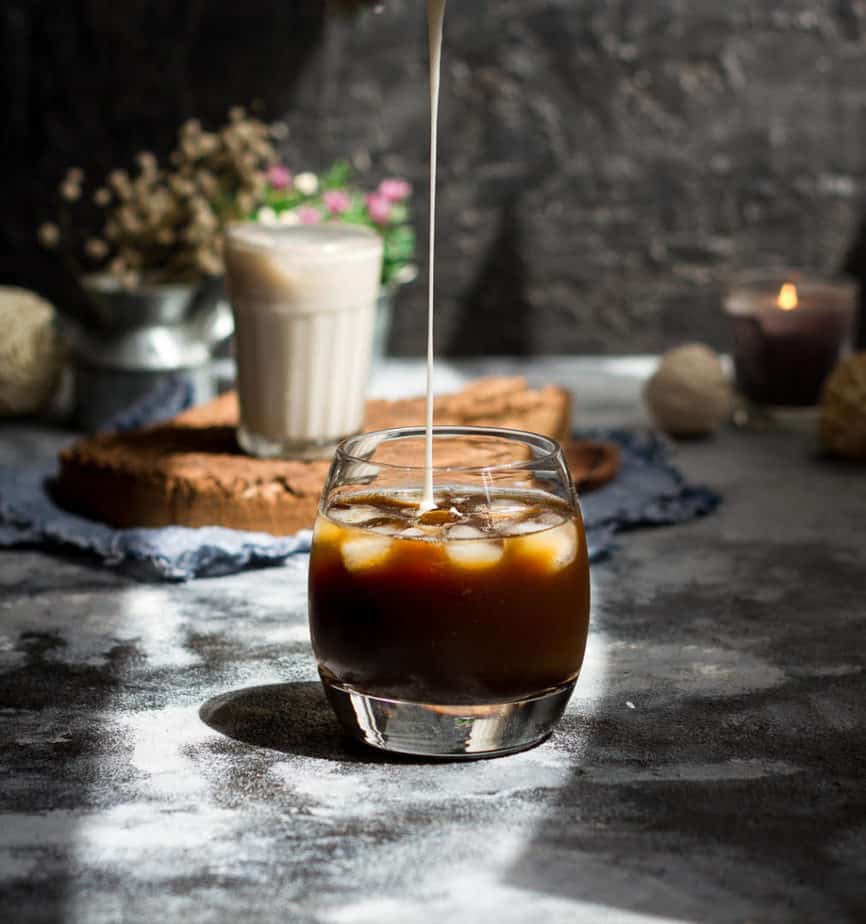
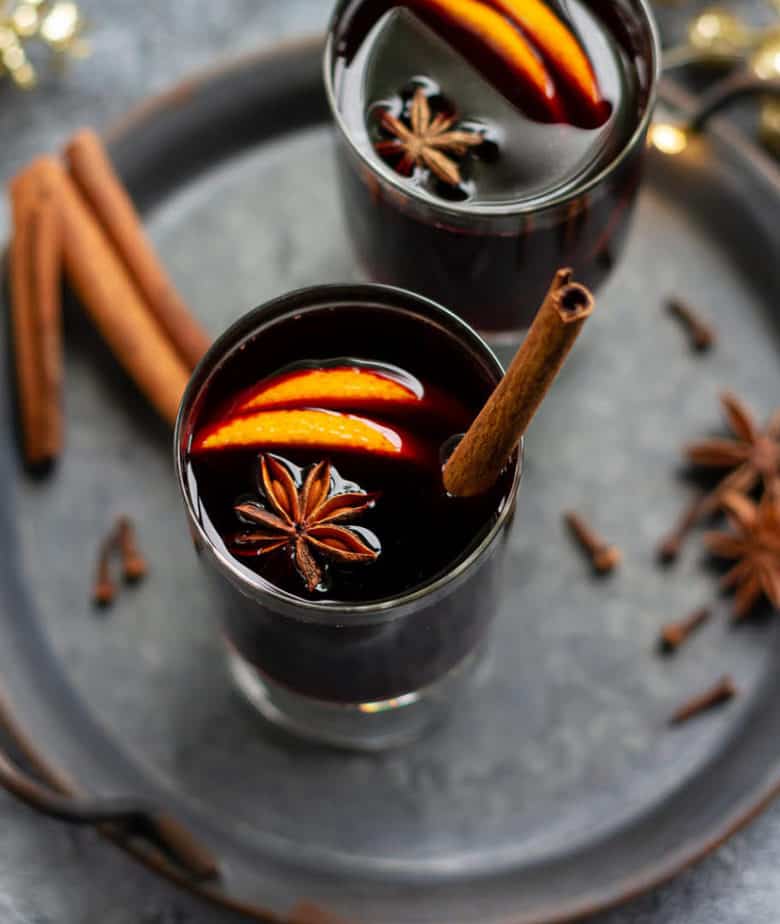
What is mulled wine?
It’s a staple beverage at quaint Christmas markets across the European continent that floods you with warm and fuzzy feelings from the very first sniff. But anyone can make it at home. You just need to grab a wine you love, some winter spices, and orange wheels. It takes little effort and comes together in no time. Here’s the recipe for it.
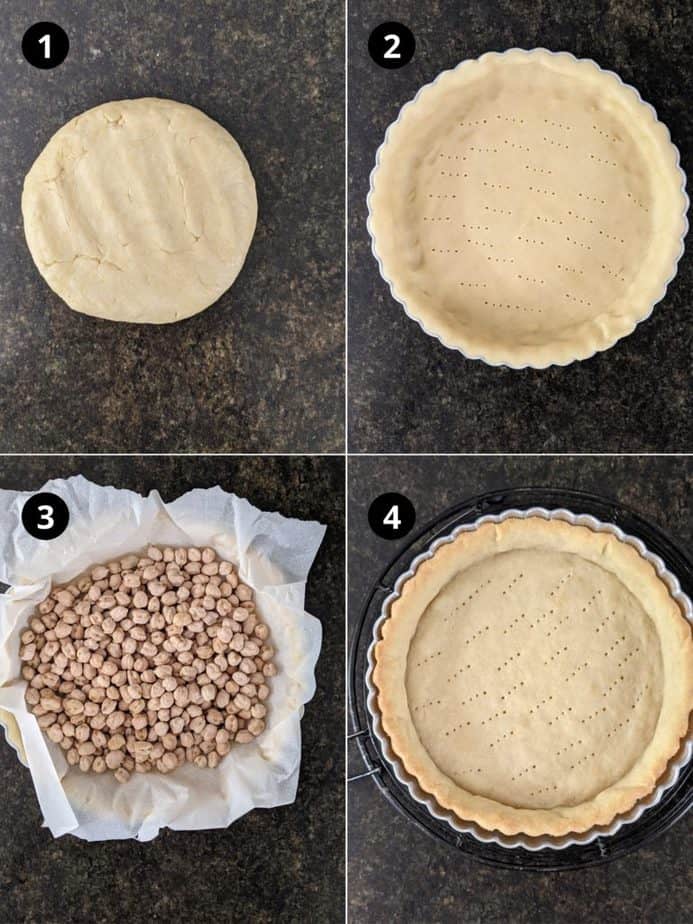
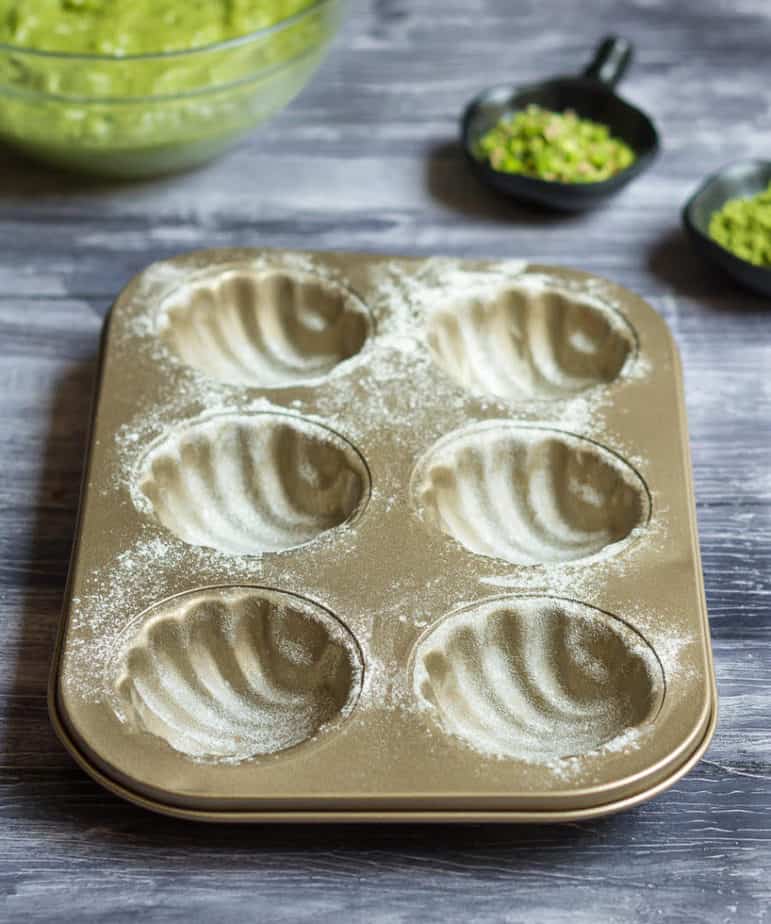
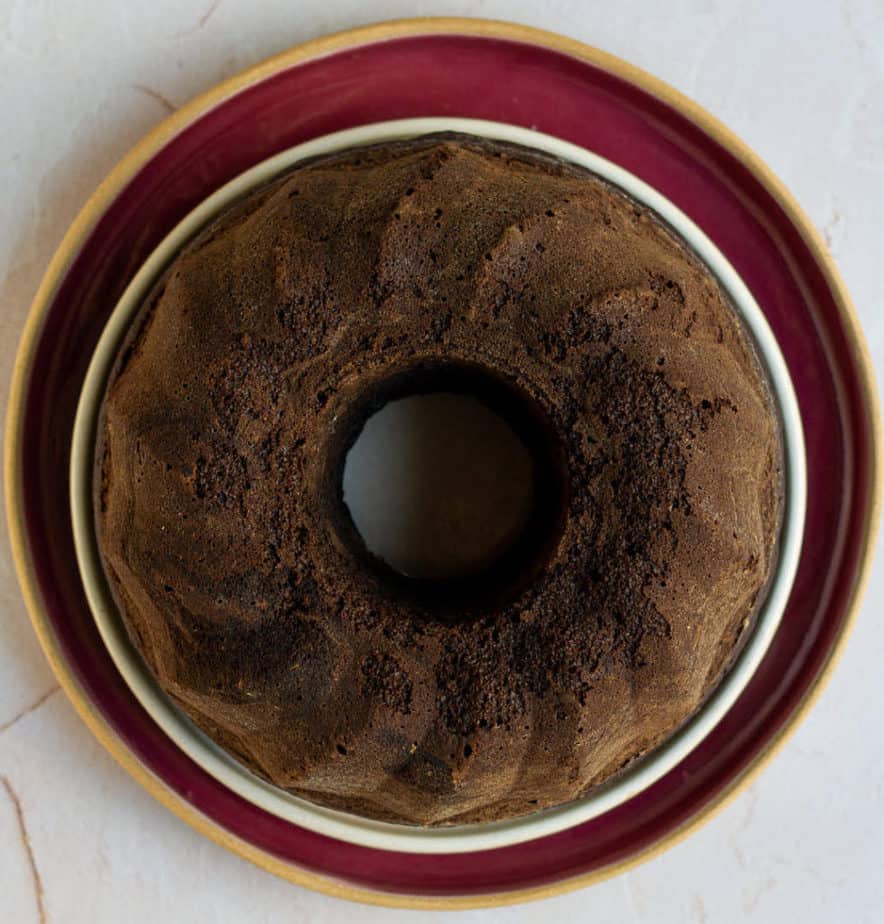
How to make sure the cake doesn't stick to the Bundt pan?
Always grease your Bundt pan liberally. Apply your fingers to reach all the grooves. Then dust it with some flour or cocoa powder so that the cake doesn’t stick to the pan. I share more nifty tips on how to bake with a Bundt pan in my cream cheese pound cake blog.
How to check for cake doneness?
Insert a skewer into the cake center. It should come out with a few moist crumbs attached, not clean. A clean skewer means the cake is dry because it was overbaked.
How to make a double boiler?
Fill a pot with an inch or two of water. Place a smaller metal or glass bowl on top of it. The fit should be snug. And then heat till the water is simmering.
What else can you use in mulled wine cake?
Sugar: You can easily substitute brown sugar for coconut sugar.
Cream: I had coconut cream handy, so in it went. Use regular cream, if that’s what you have.
Oil: I wanted to carry on with the coconut theme (not that you can taste it in the crumb), which is why coconut oil was my choice. You can replace it with any vegetable oil.
Eggs: For an eggless mulled wine cake, substitute the eggs with a three-quarter cup of thick Greek yogurt.
Bundt pan: You can easily bake it in a regular 8" or 9"cake tin.
No mulled wine: Yes, regular red wine works for this chocolate cake recipe, but I cannot recommend mulled wine enough. It adds an immense amount of flavor that red wine just can’t do justice to. Make it at home. It hardly asks for 30 minutes. Besides, Christmas is creeping upon us. When else are you going to try mulled wine?
More mulled wine: Feel free to add any leftover mulled wine to your chocolate glaze for extra oomph.
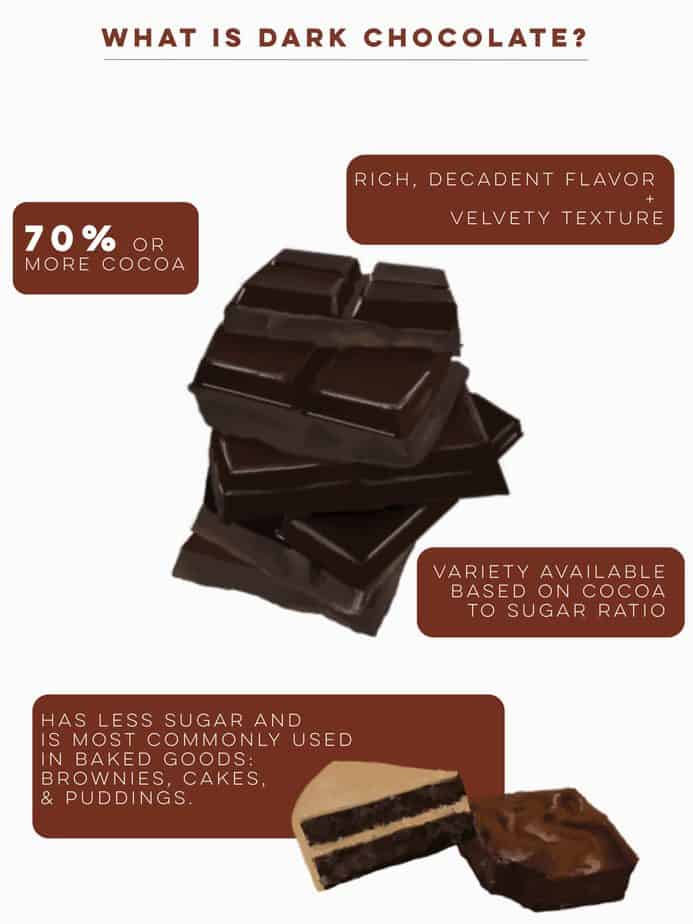
Chocolate: For me, the darker the chocolate, the more I love it, which is why most of my recipes have 70% chocolate. But whatever you enjoy is good here. 50%, or less, or even milk will do. Pander to your tastes.
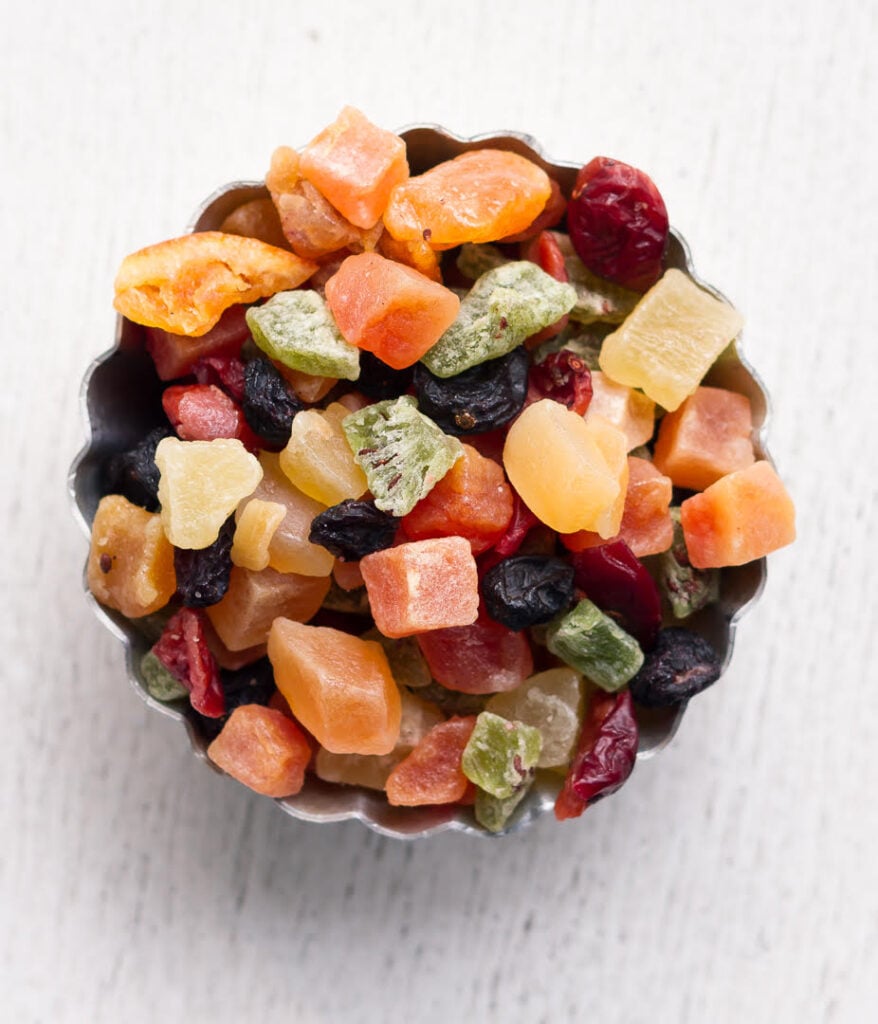
Rum-soaked dry fruits: You can add another layer of flavor and texture to this cake by adding rum-soaked dry fruits as I did in my stollen recipe and Christmas rum cake.

📖 Recipe
Mulled Wine Cake
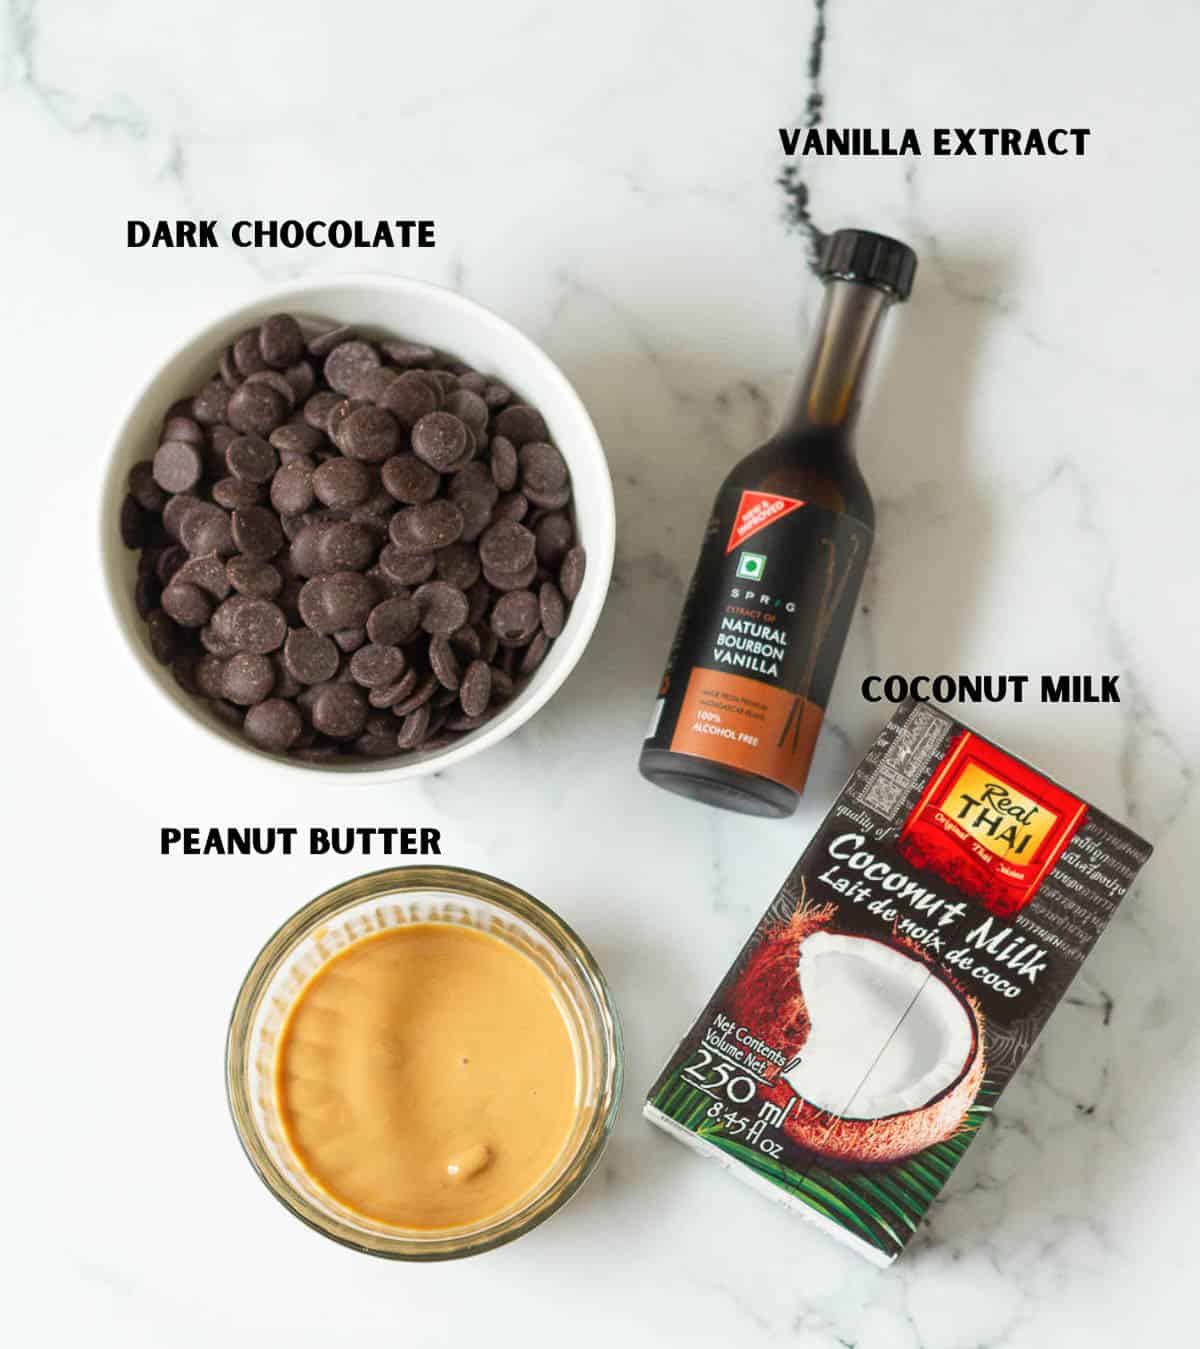
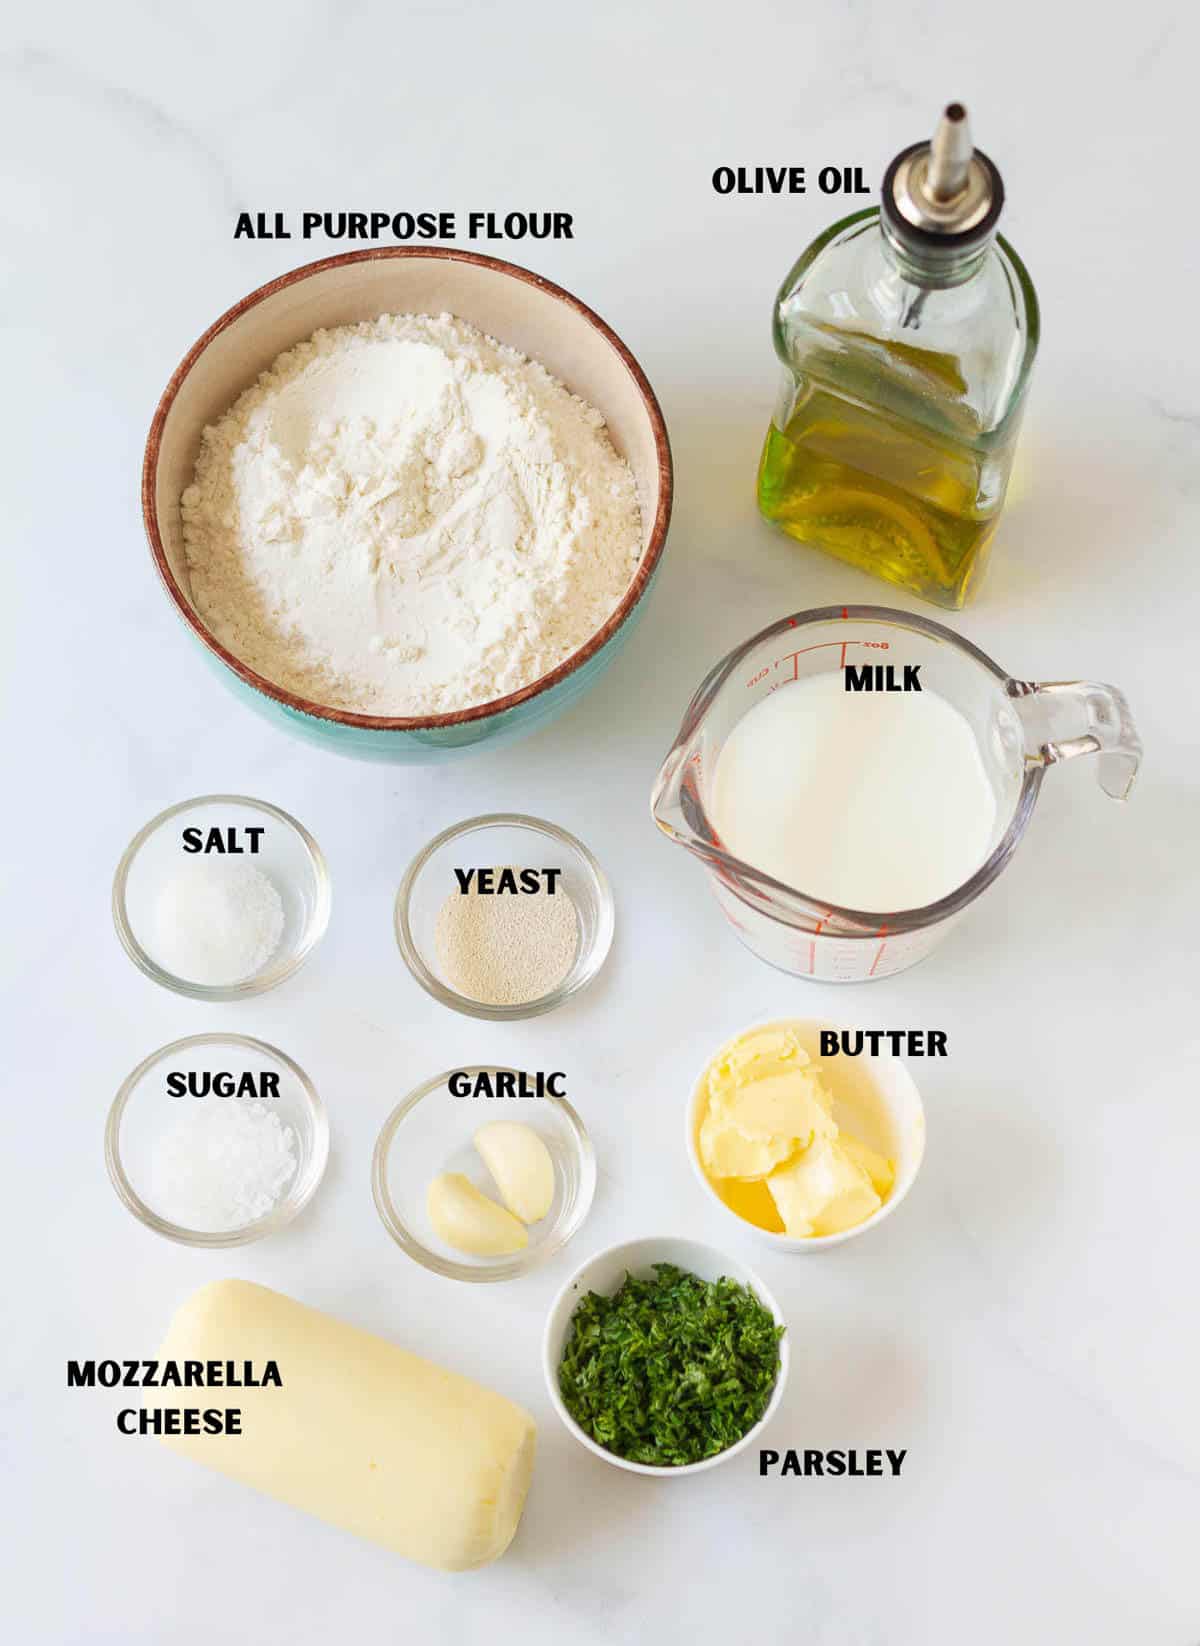
Ingredients
- 1 cup Mulled wine, warm
- 1/2 cup Cocoa powder
- 2.5 cups All-purpose flour
- 2 tsp Baking powder
- 1 tsp Baking soda
- 1/4 tsp Salt
- 1 tsp Cinnamon powder
- 1/2 tsp Nutmeg powder
- 2 Eggs, room temperature
- 1 1/4 cups Coconut sugar You can also use brown sugar
- 1/2 cup Coconut oil You can use any oil you prefer.
- 1 tsp Vanilla extract
Chocolate Glaze
- 1/2 cup Coconut cream You can also use regular cream
- 1/3 cup Dark 70% chocolate
Toppings ( Optional)
- Dried orange slices, Star anise, Golden sprinkling sugar
Instructions
- Preheat your oven to 180C. Grease and flour an 8" bundt pan.
- Whisk the cocoa powder and warm mulled wine in a small bowl. Keep aside.
- In a large bowl, sift together- flour, baking powder, baking soda, salt, cinnamon powder, and nutmeg.
- Beat the eggs and brown sugar in another bowl. Add in the oil and vanilla extract.
- Now whisk in the flour and cocoa-wine mixture into the egg mixture, alternatingly, starting and ending with the flour mixture.The batter should be smooth, soft-dropping consistency.
- Pour the batter into your prepared pan and bake at 180C for 30-35 minutes or until a skewer inserted in the center comes out clean with a few moist crumbs attached.
- Let the cake cool in the pan for 15-20 minutes. Turn out on a serving platter and let it cool completely.
- Pour the chocolate glaze over the cooled cake. Decorate with dried orange slices, star anise, and some golden sugar.
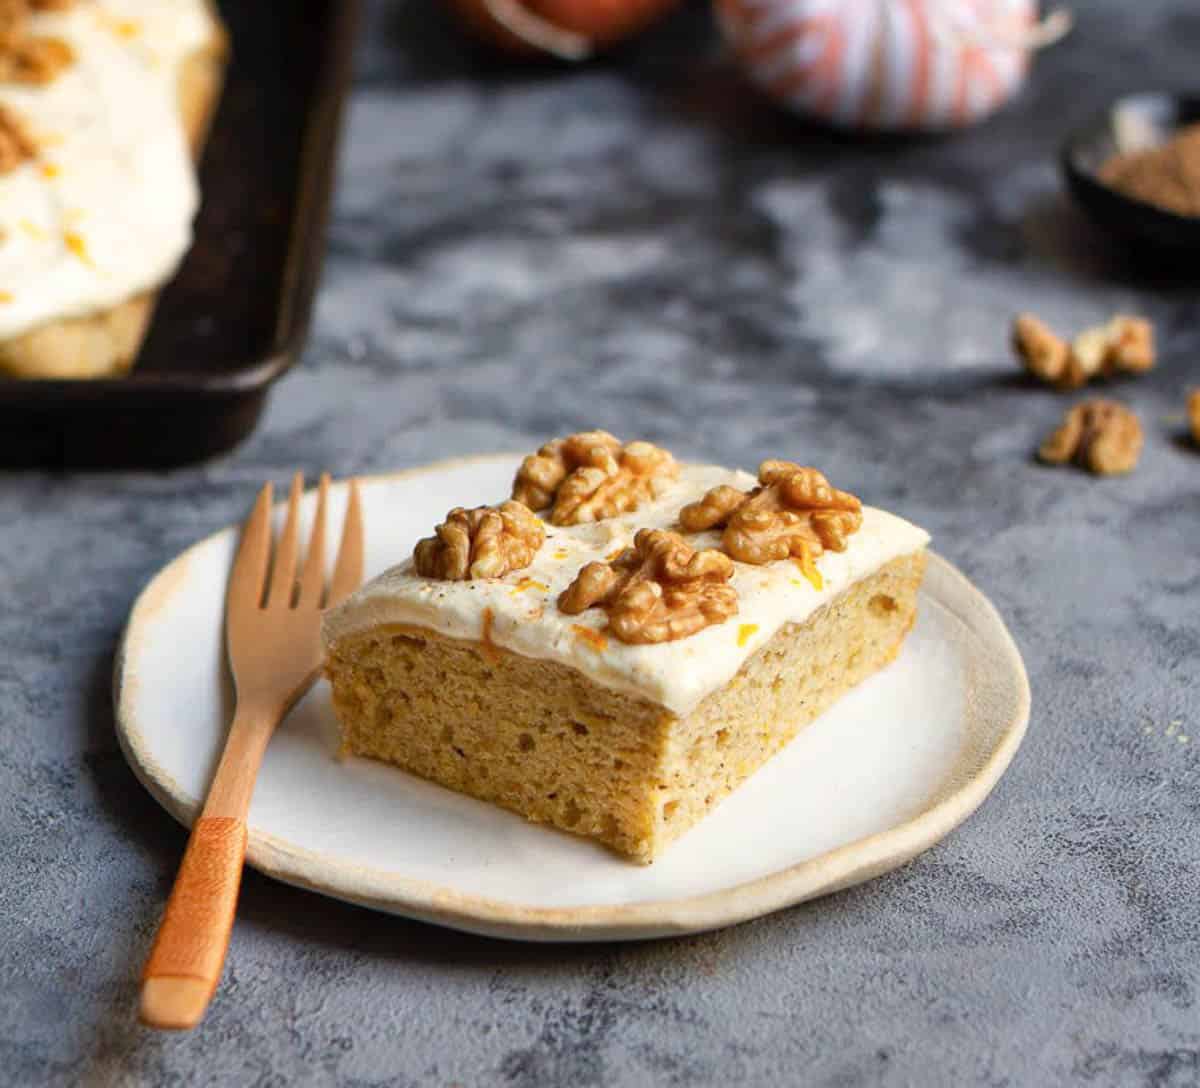
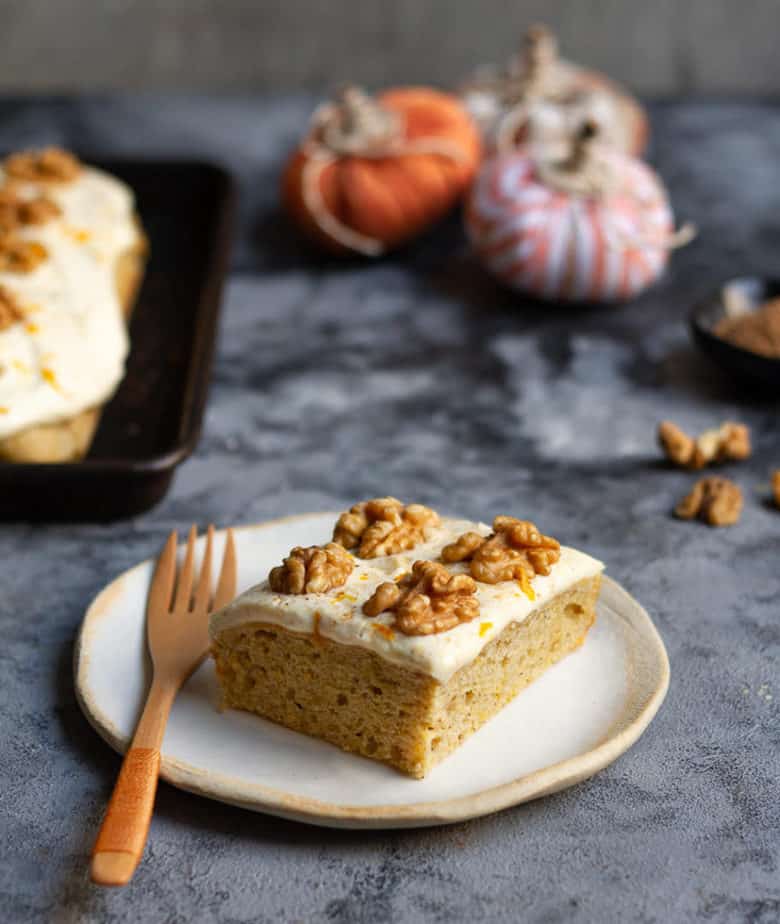
- Slice and serve. Enjoy!
Chocolate Glaze
- Heat the coconut cream in a small bowl set over a pan of barely simmering water. Add the chocolate and whisk until you get a smooth, shiny mixture.
Nutrition