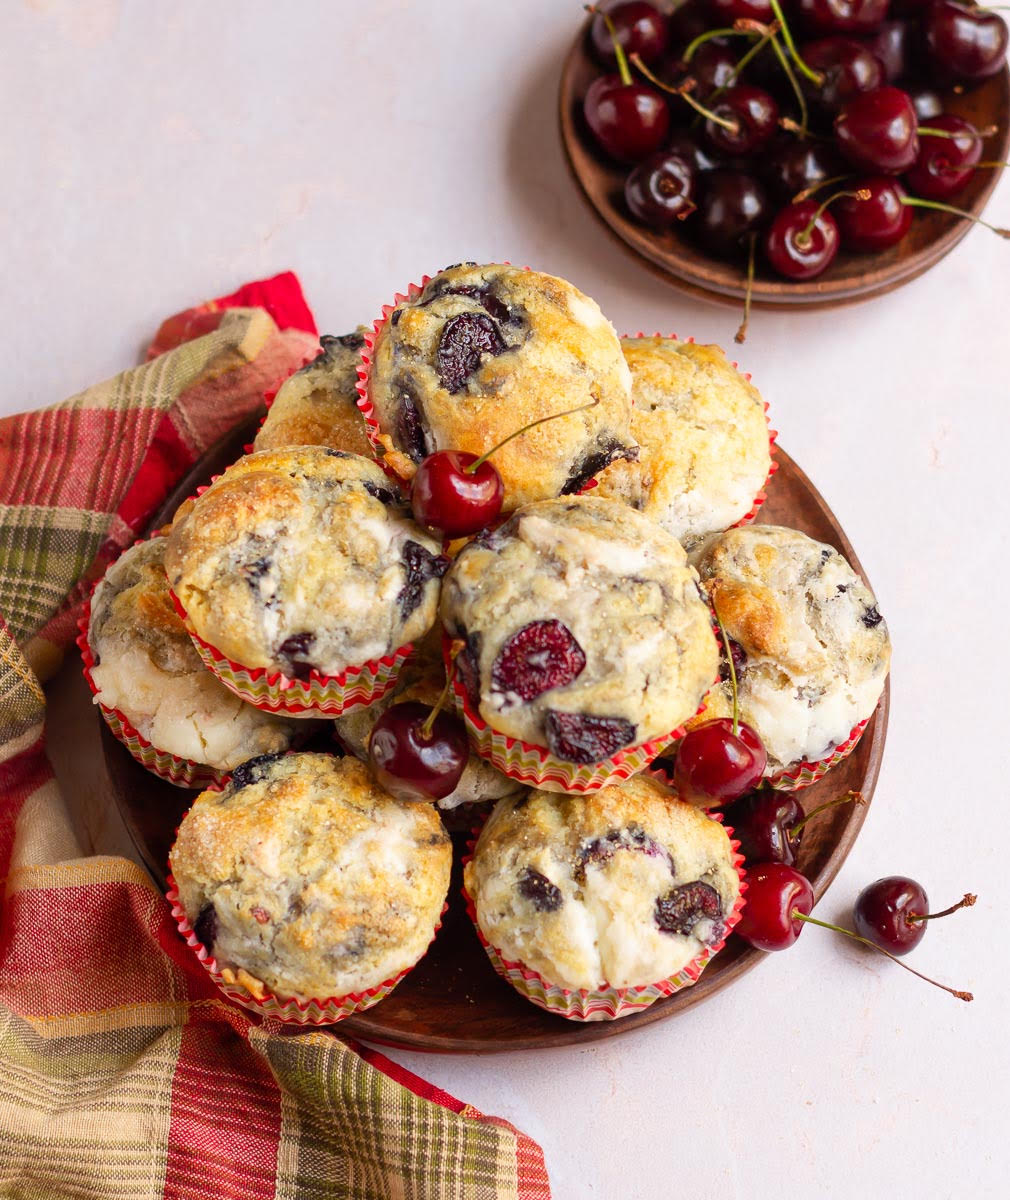
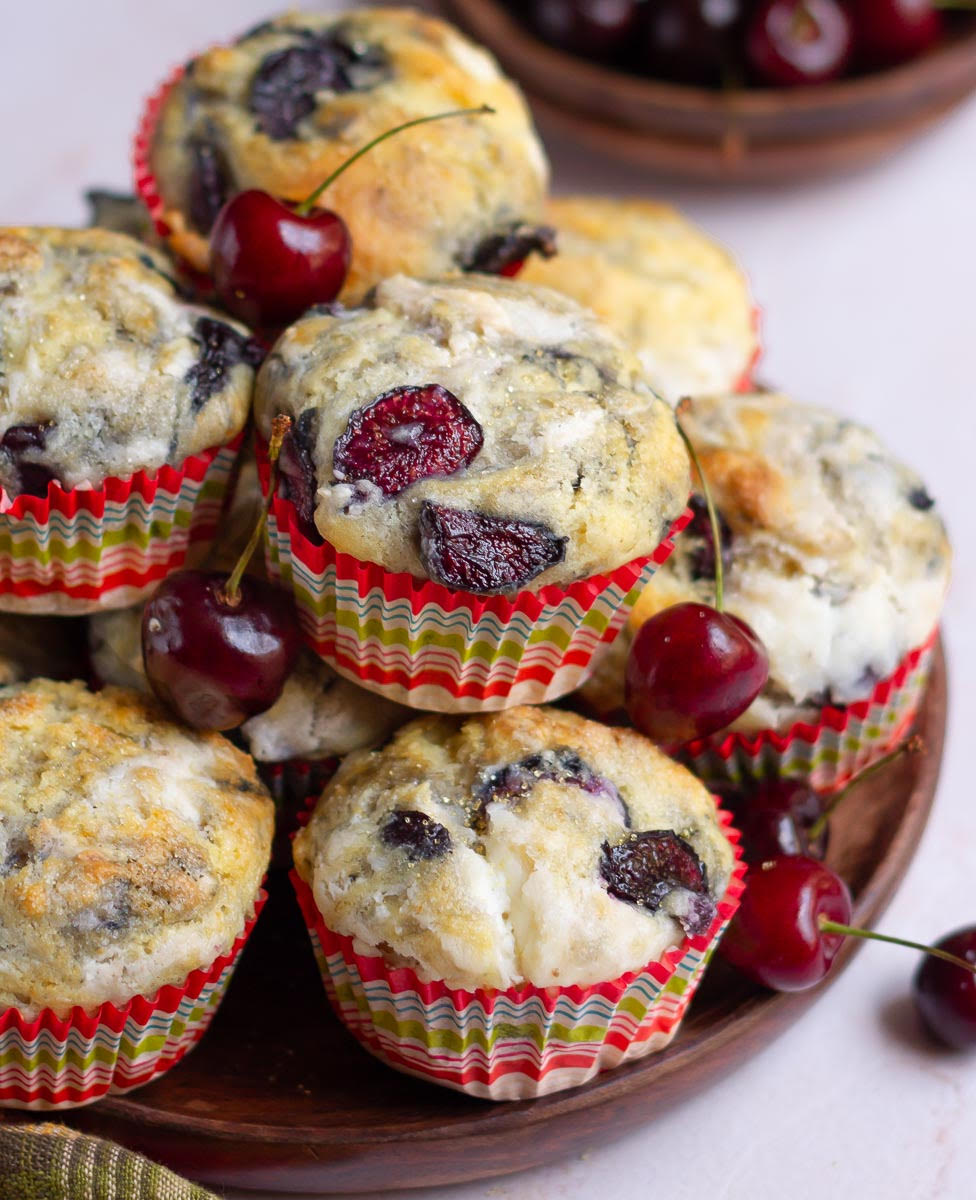
This vegan apple crisp recipe is super easy and quick! Cinnamon-coated apples topped with crunchy oats, make this the best apple crisp ever!
Baking an apple crisp and basking in the aroma of warm spices makes my heart go giddy with happiness. It has the most delicious caramelly sauce thanks to the apple juice mixed with sugar and cinnamon.
You start salivating even before the apple dessert is out of the oven. Trust me, you’ll want to sit on a couch to enjoy this very, very comforting apple crisp!
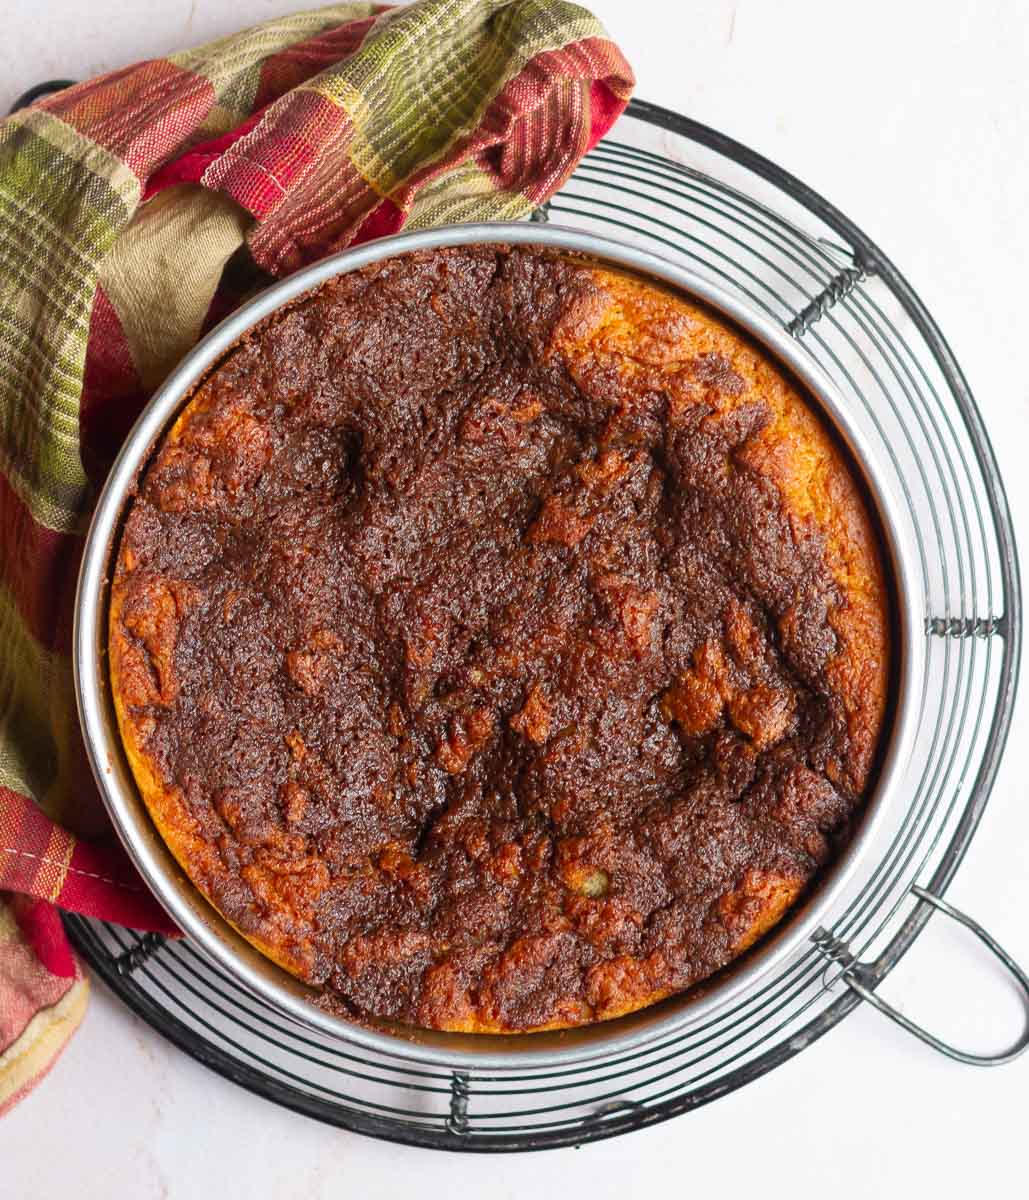
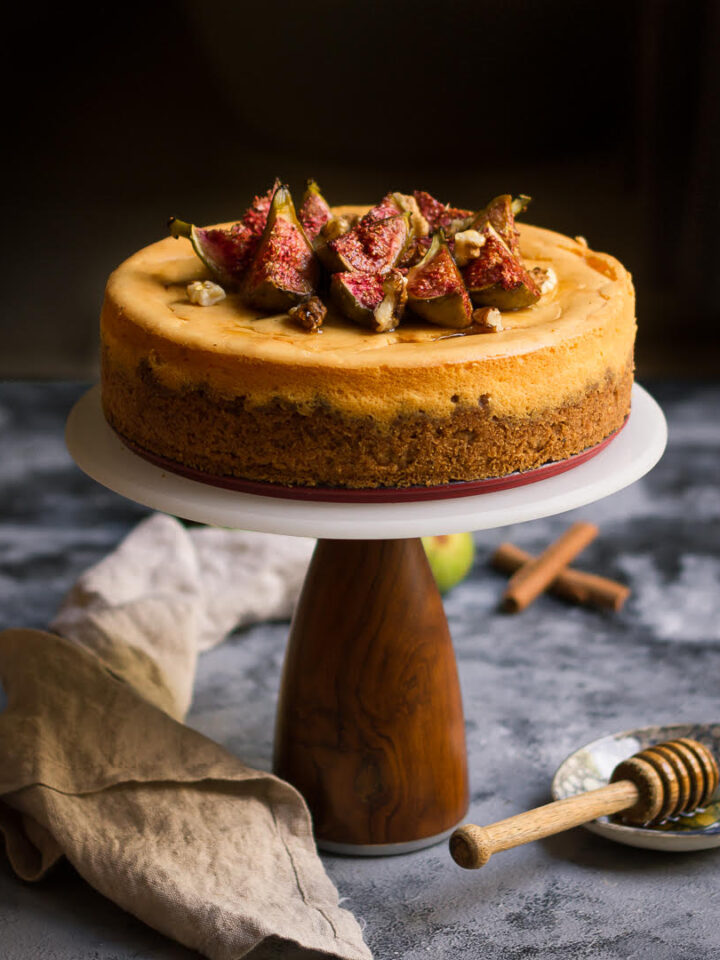
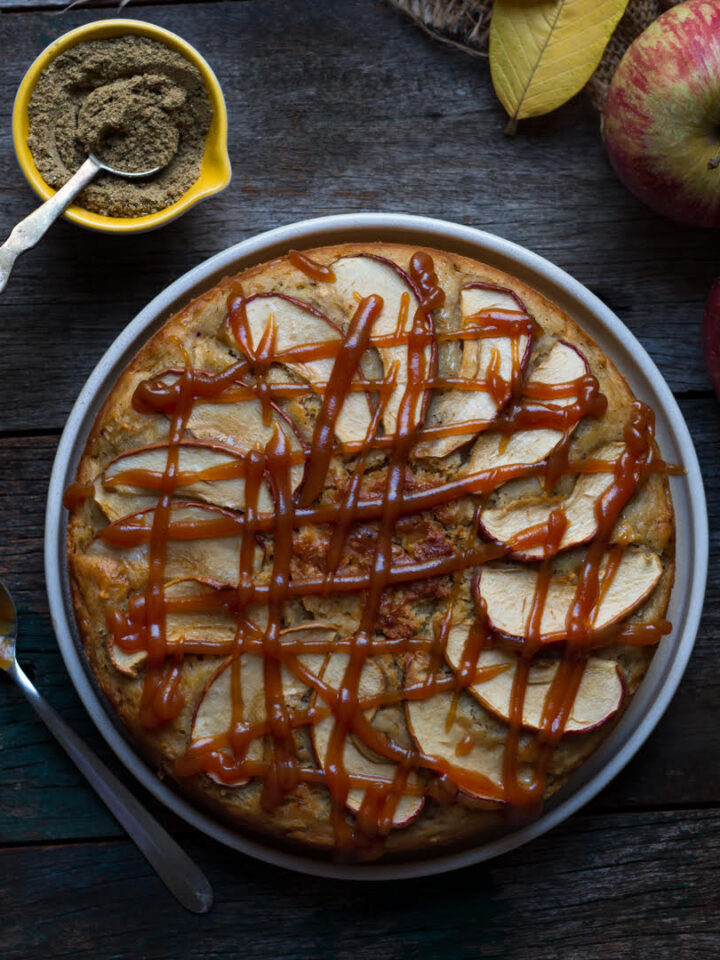
If you love the flavors of soft baked spiced apples and a crunchy topping, you will love my apple crumble cake and apple cheesecake with crumble!
[feast_advanced_jump_to]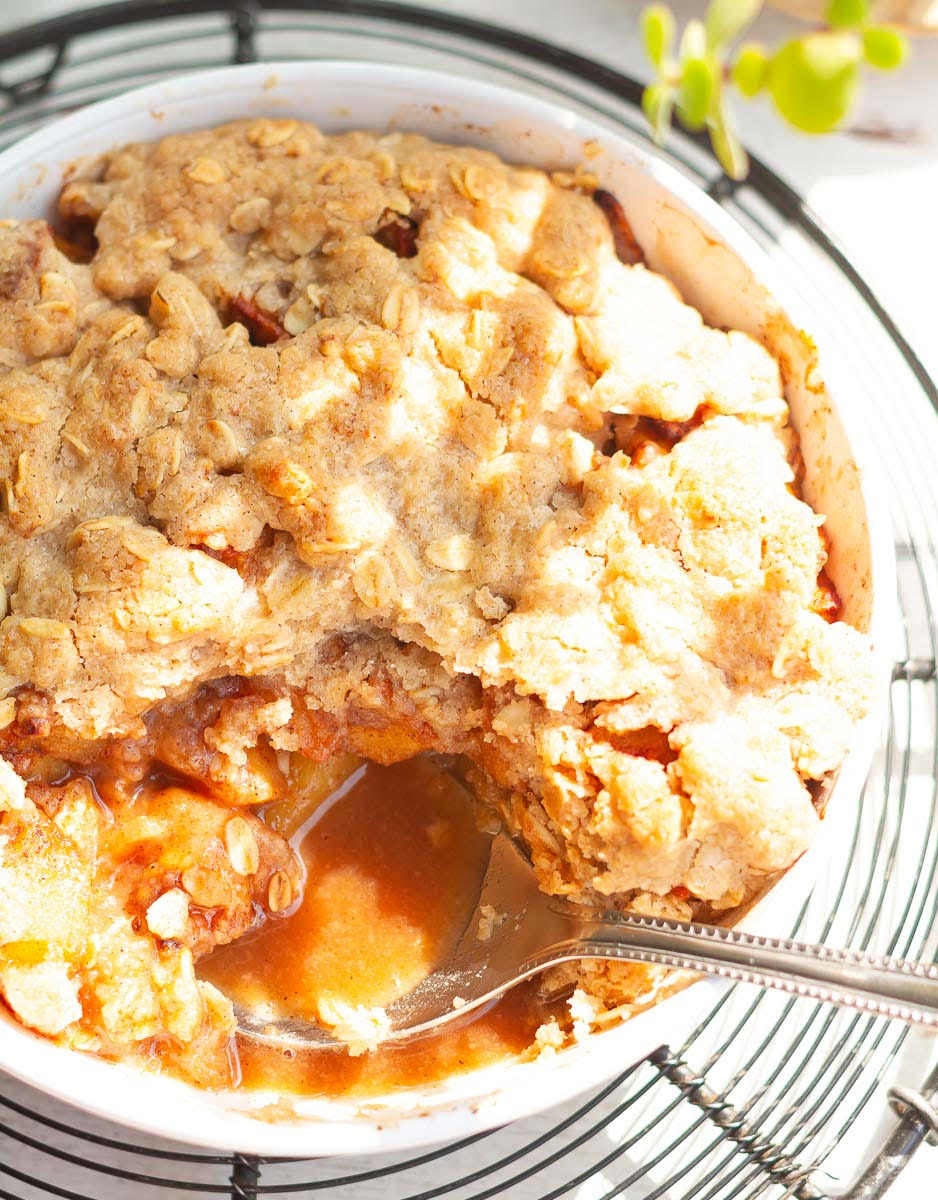
Why You'll Love This Recipe
This recipe uses simple pantry ingredients and comes together so quickly.
Warm and cozy, it's a perfect fall dessert!
This dessert will make your kitchen smell amazing
This apple crisp is a sure-shot crowd-pleaser
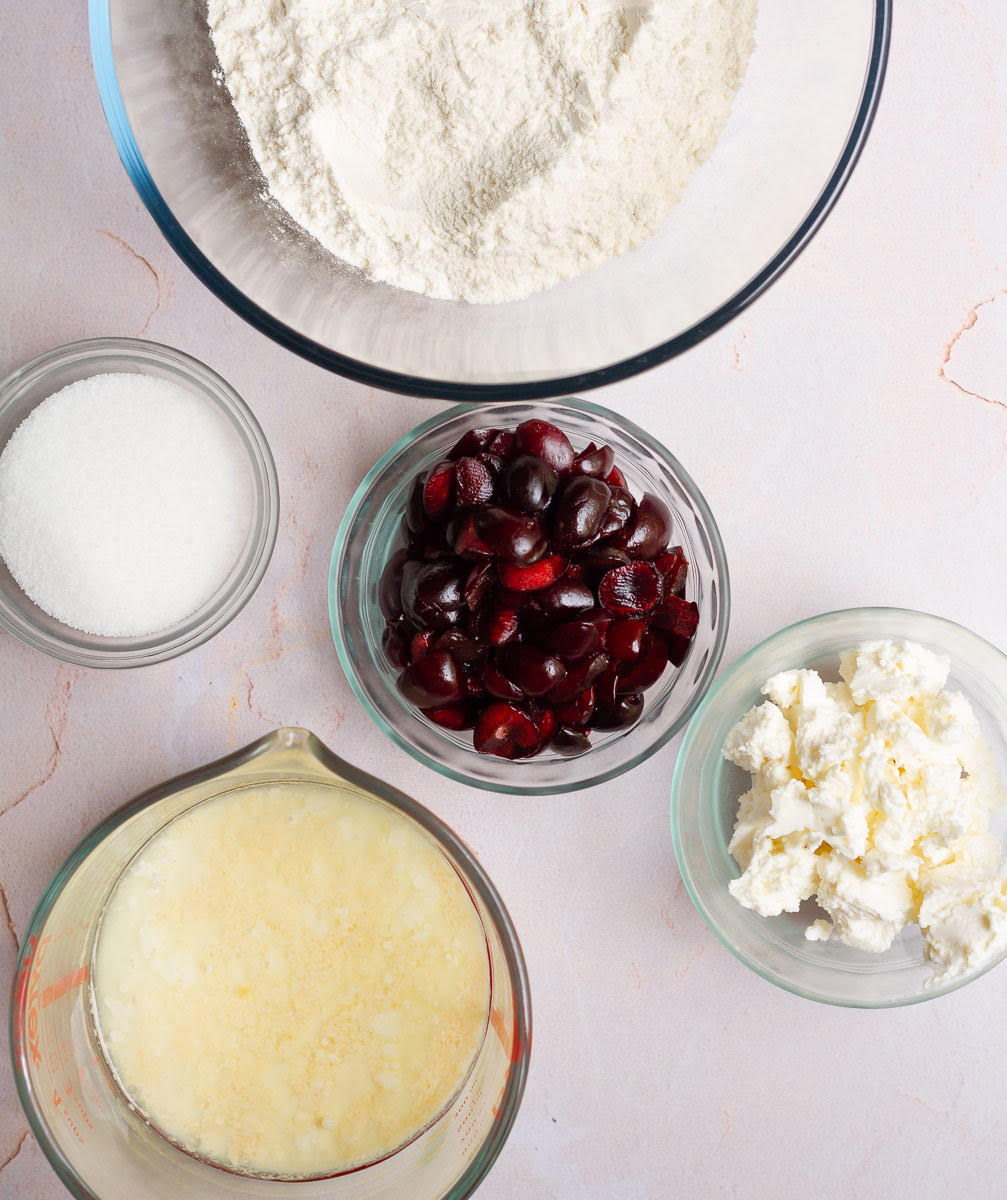
Recipe Ingredients

Oats: I love using rolled oats for the hearty, chewy texture. If you don’t have rolled oats, use instant instead.
Flour: All-purpose is what I used here. Whole wheat flour is an easy substitute. You can even use any gluten-free flour.
Apples: Firm Apples are great for baking as they hold their shape and don't turn mushy after cooking. Use Golden Delicious, Gala, Fuji, Granny Smith or Red Delicious. You can even mix different varieties.
Lemon juice: For a wonderful zesty citrus flavor that can't be missed.
Oil: Coconut oil is my preferred choice for baking. Melted butter will work like a charm, though.
Sugar: Use any kind you like - white granulated, brown, or raw sugar.
Please see the recipe card below for full information about ingredients and quantities.
How To Make Apple Crisp
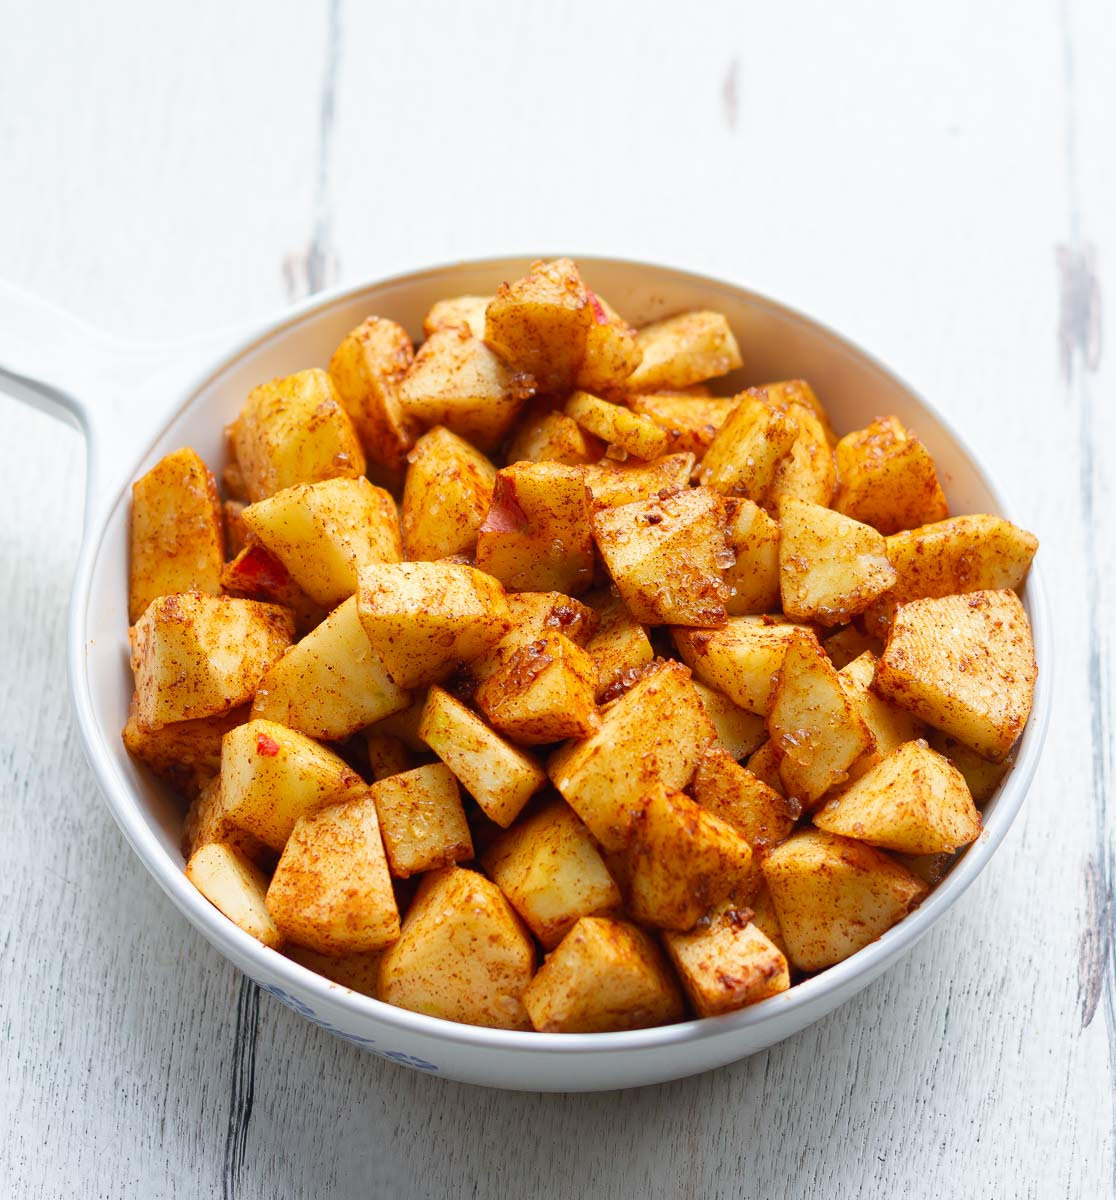
Step 1: Start with the filling of this crisp apple recipe by peeling and chopping the fruit.
Step 2: Mix them well with sugar, lemon juice, and cinnamon powder, put them in the baking dish, and set aside.
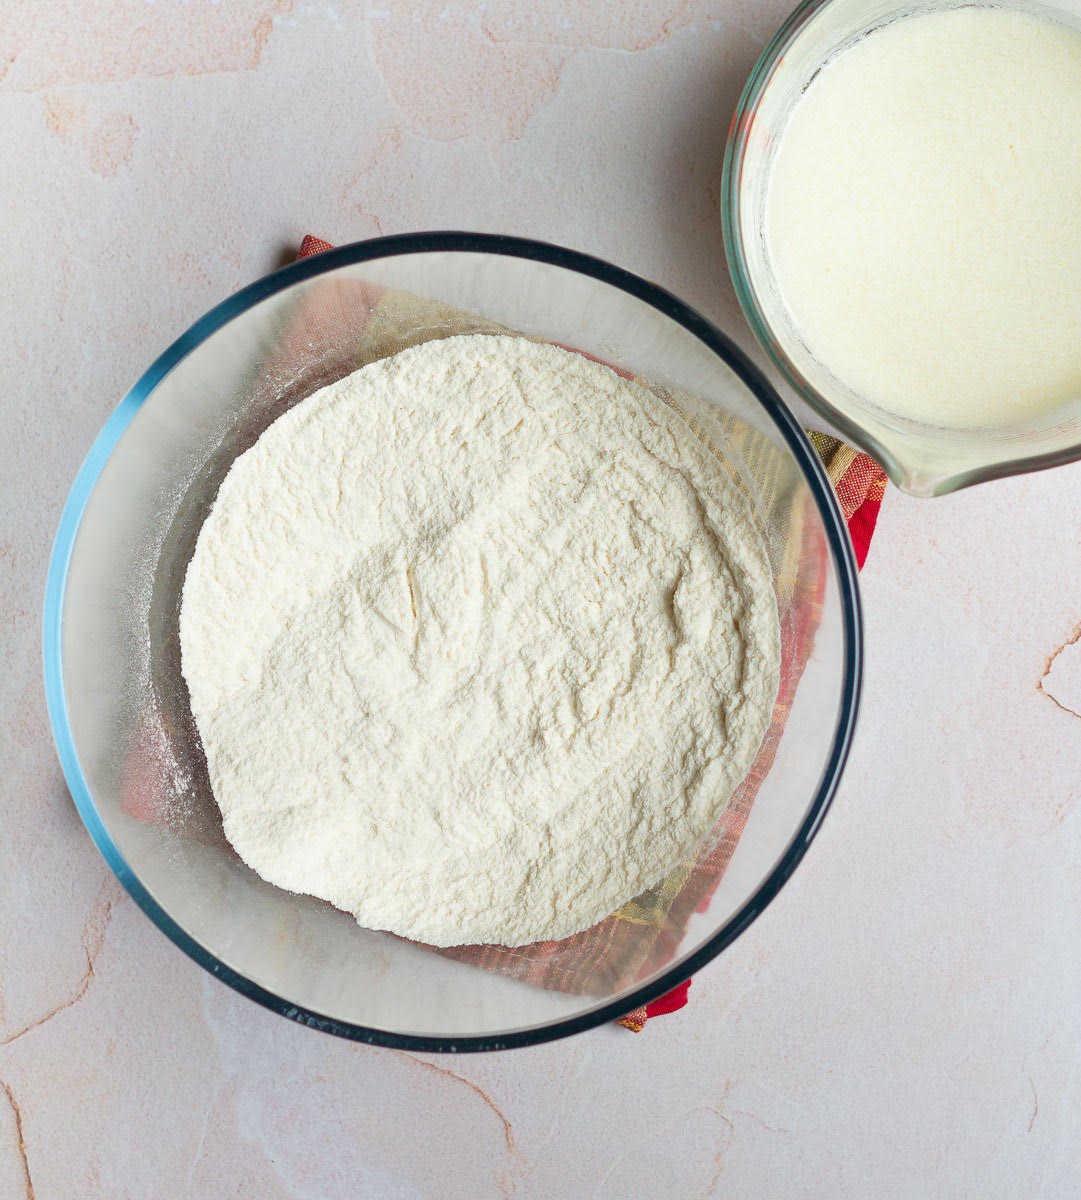
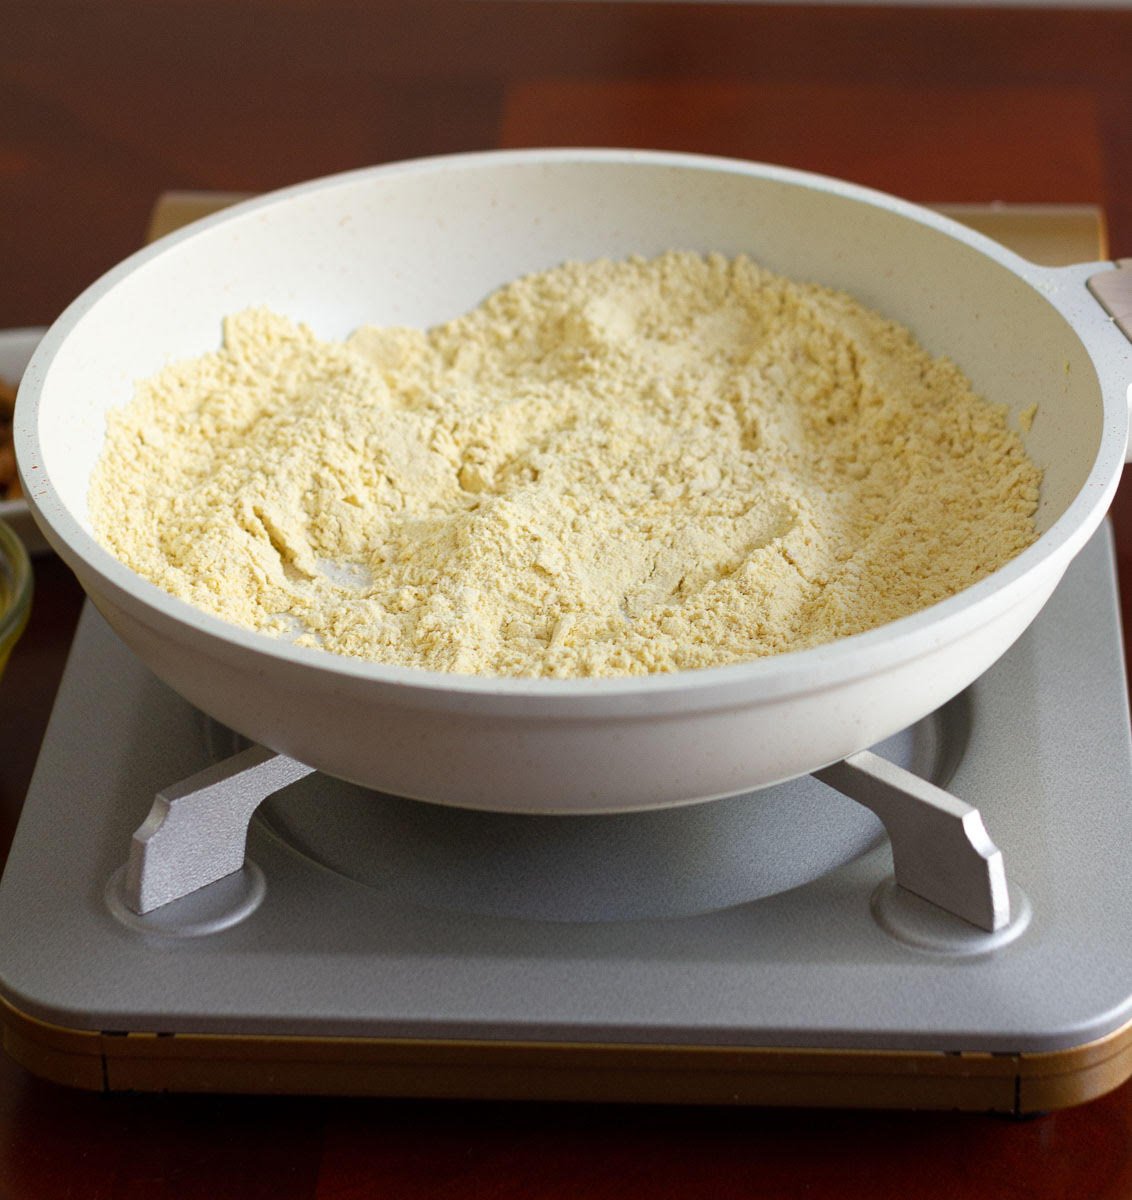
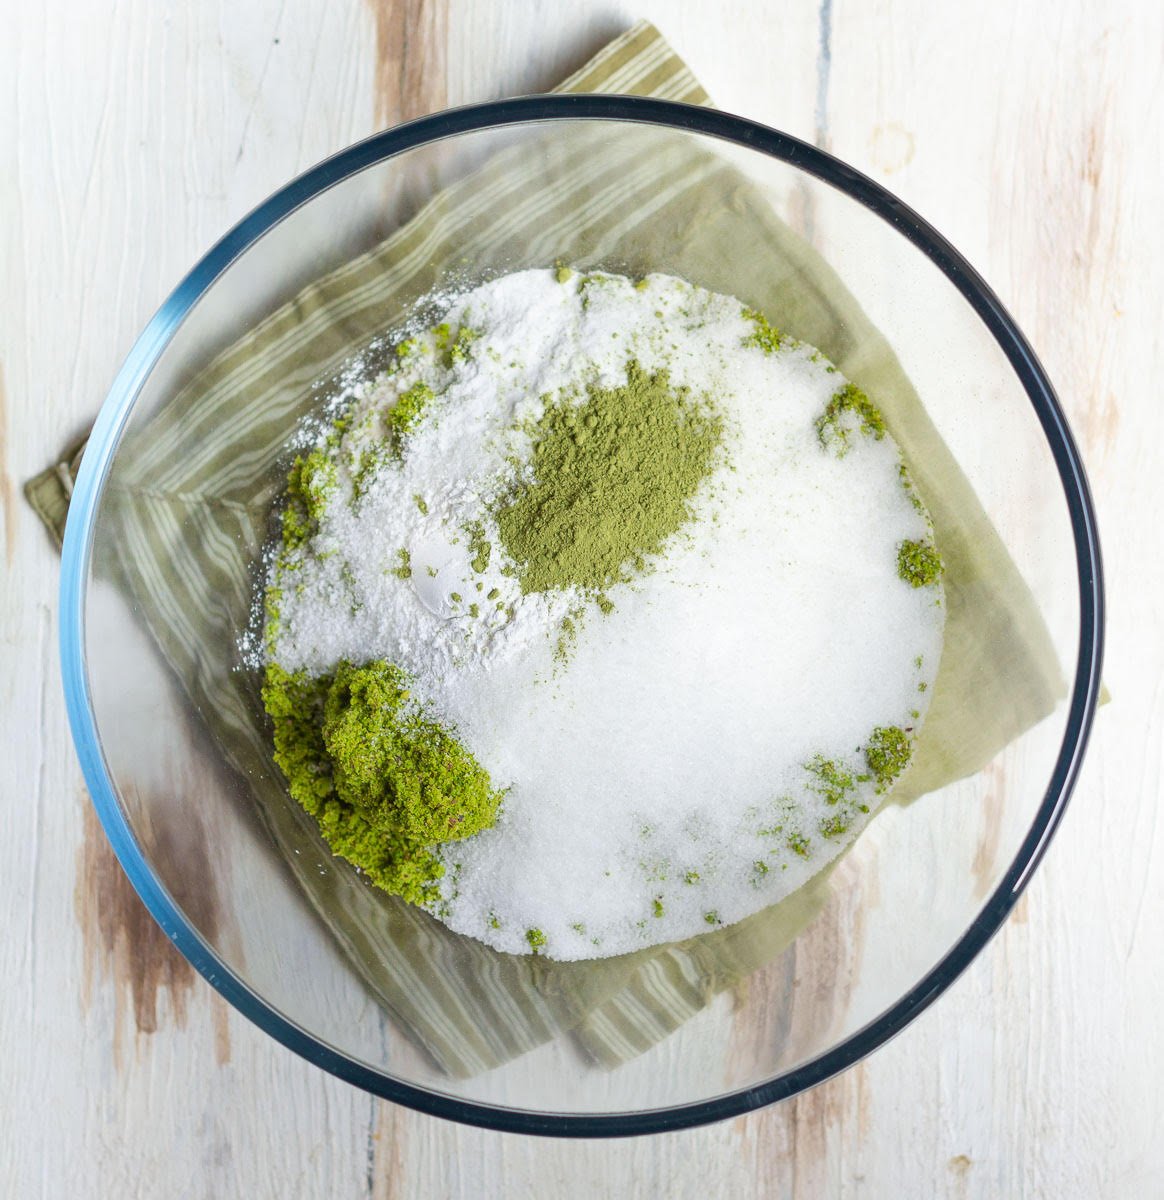
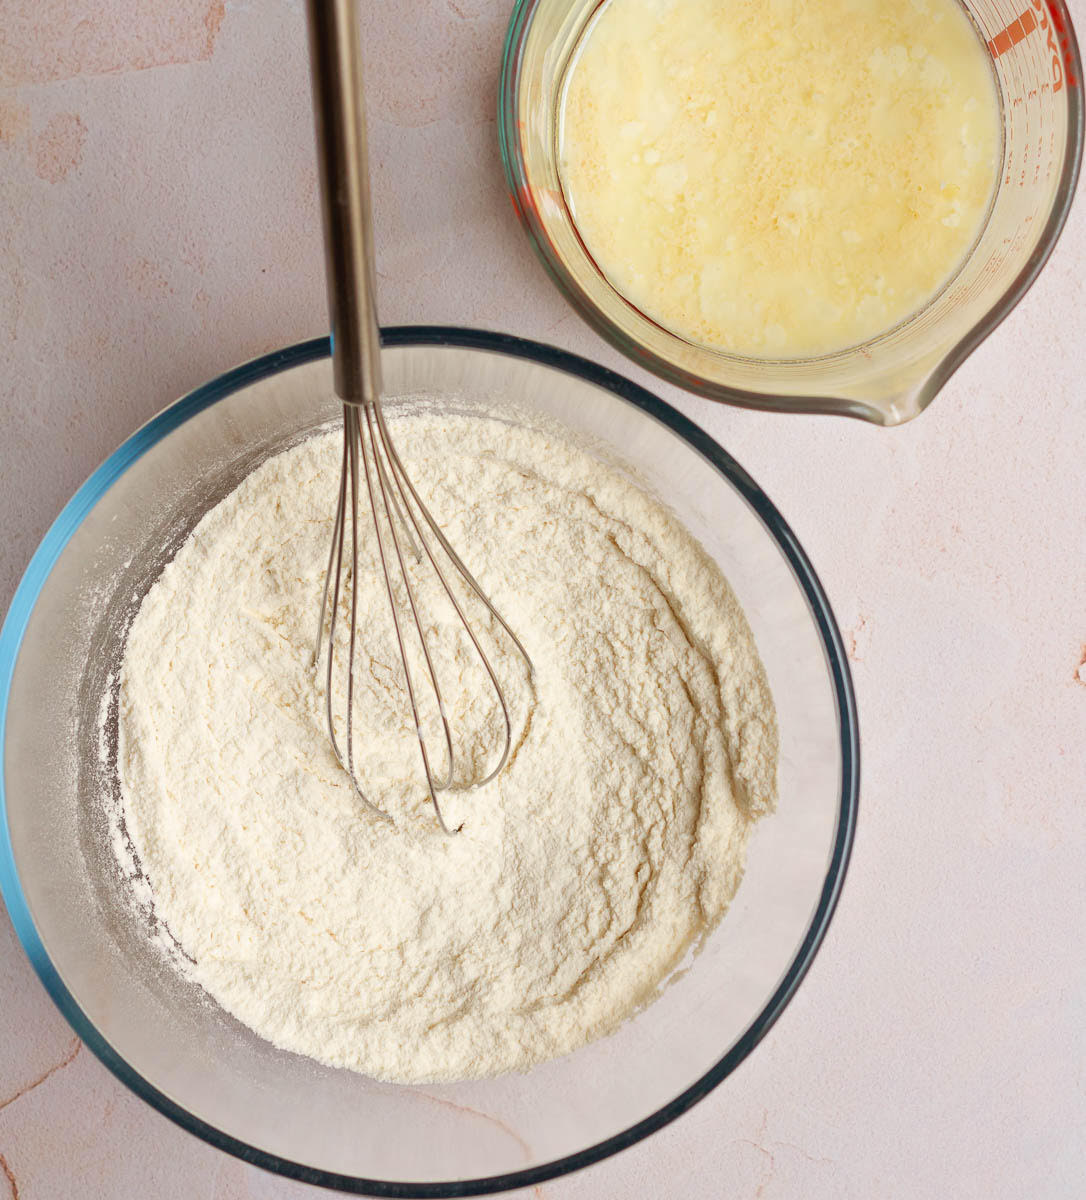
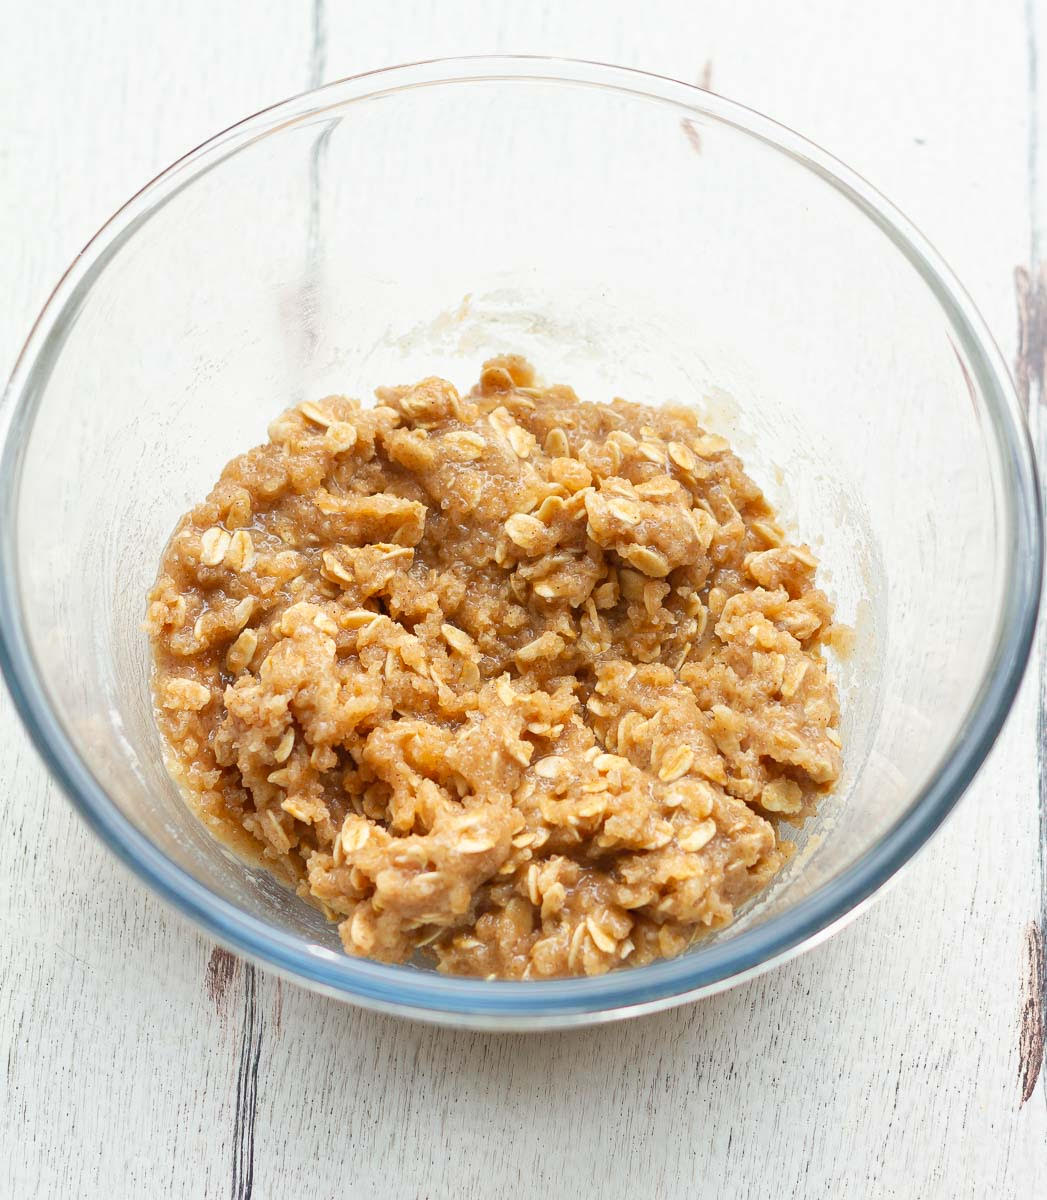
Step 3: Next, I make the crumble topping by whisking brown sugar, cinnamon powder, rolled oats, and all-purpose flour.
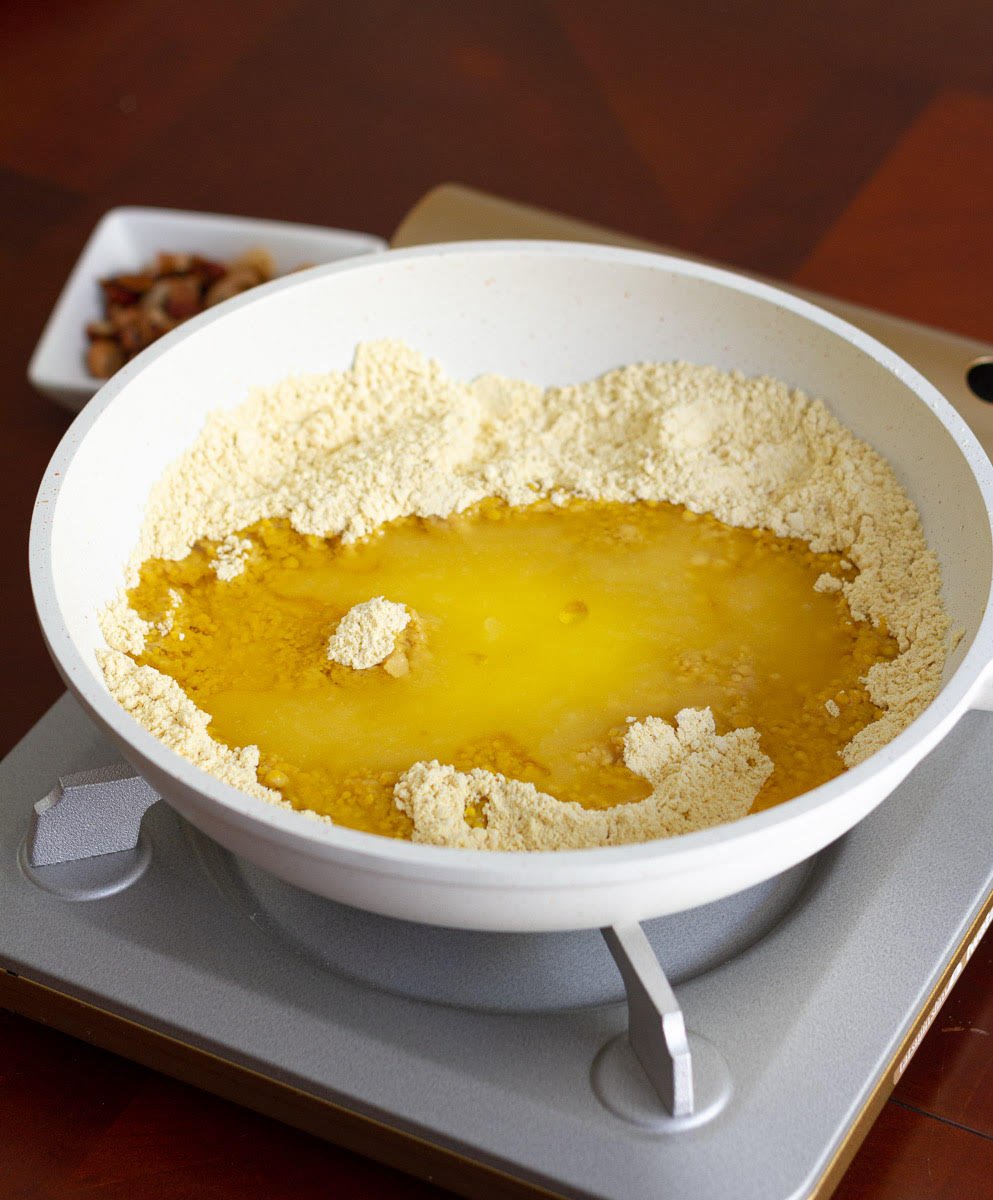
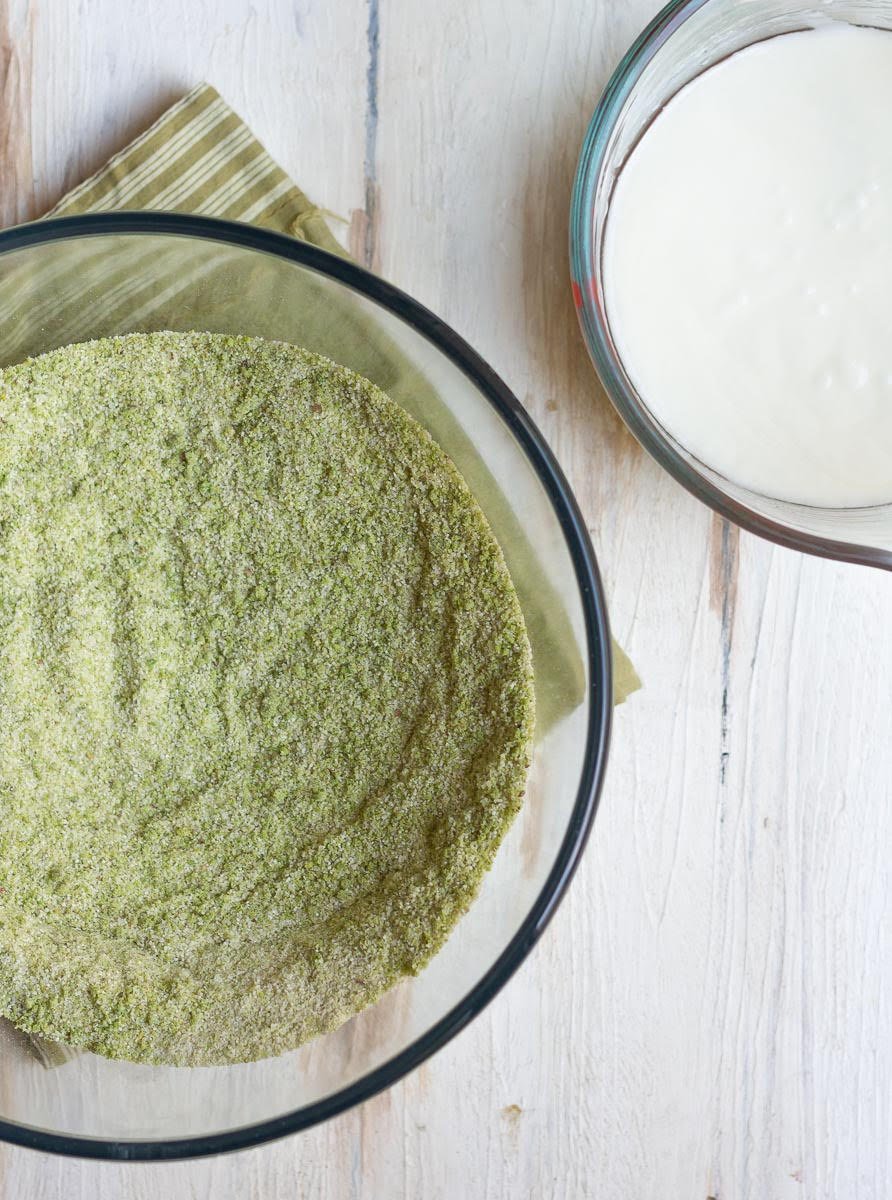
Step 4: Add melted coconut oil to the topping and combine well using a fork till it has a wet, sandy consistency.
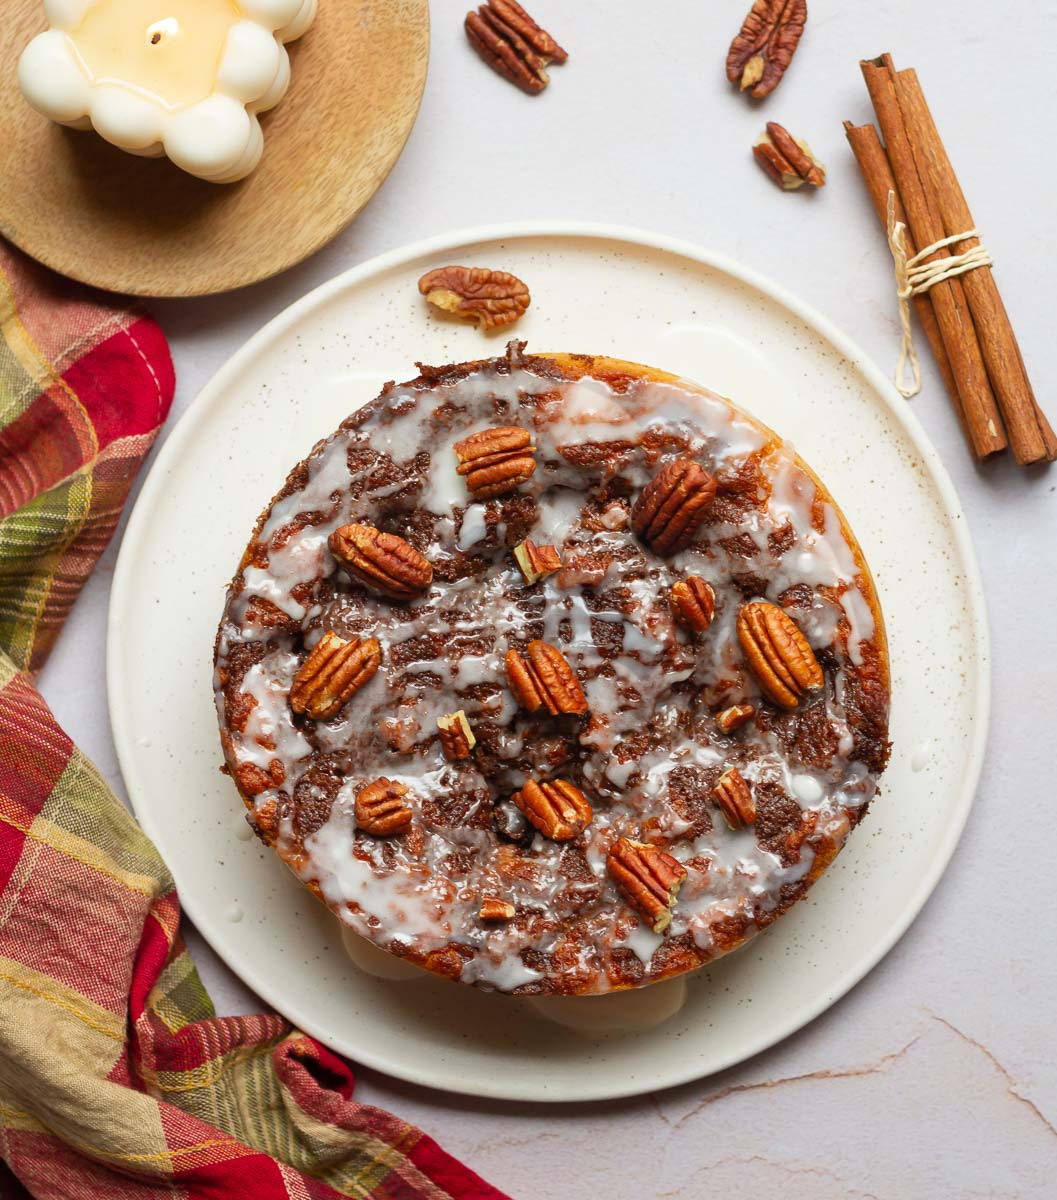
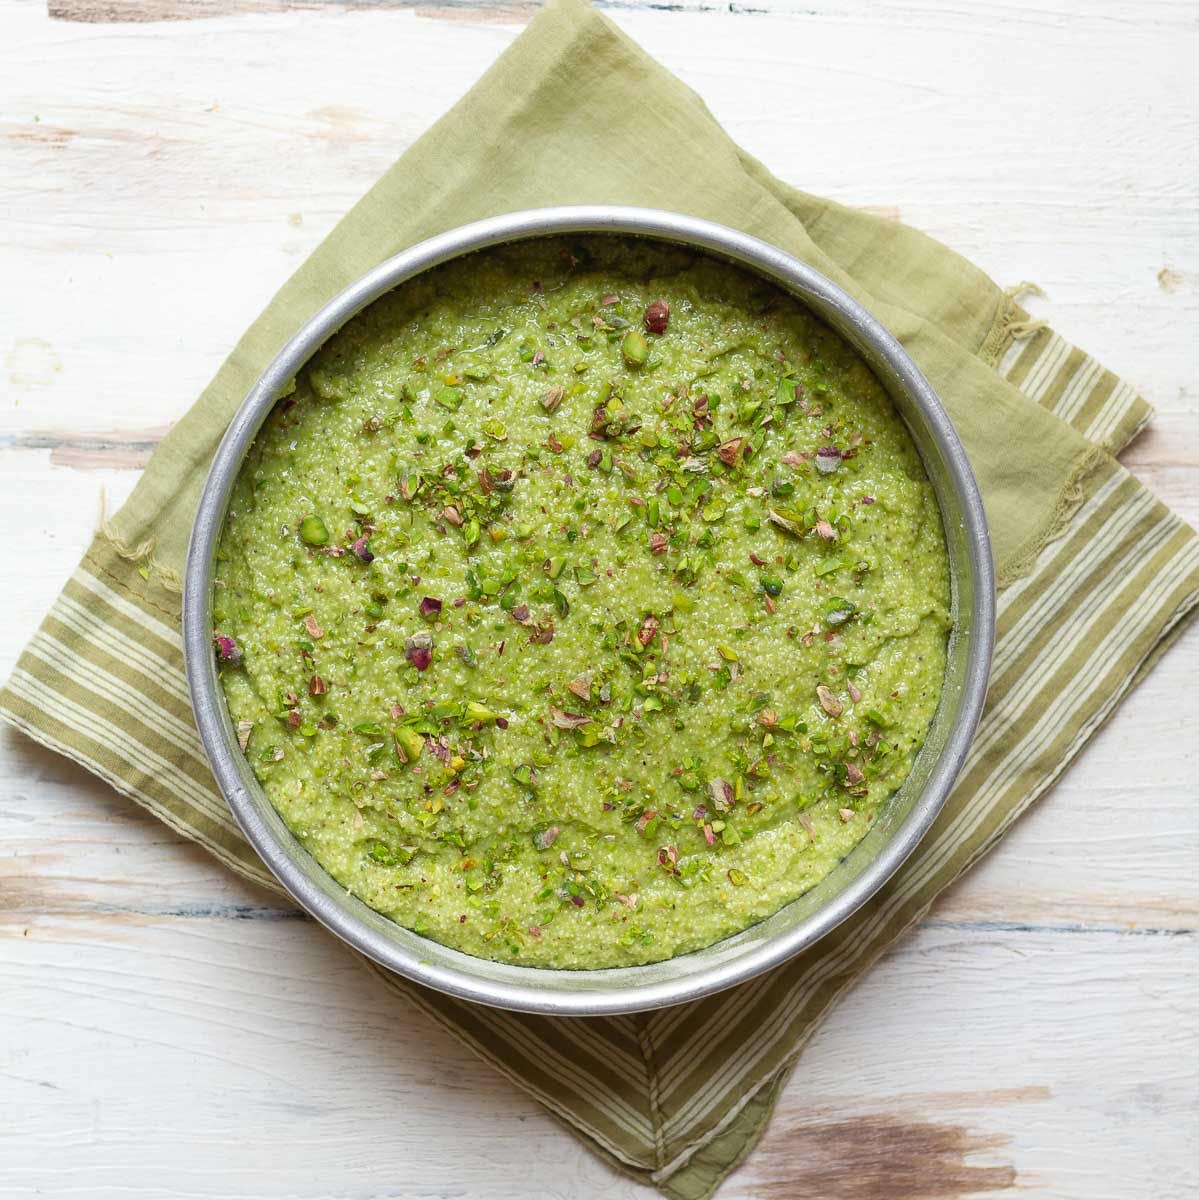
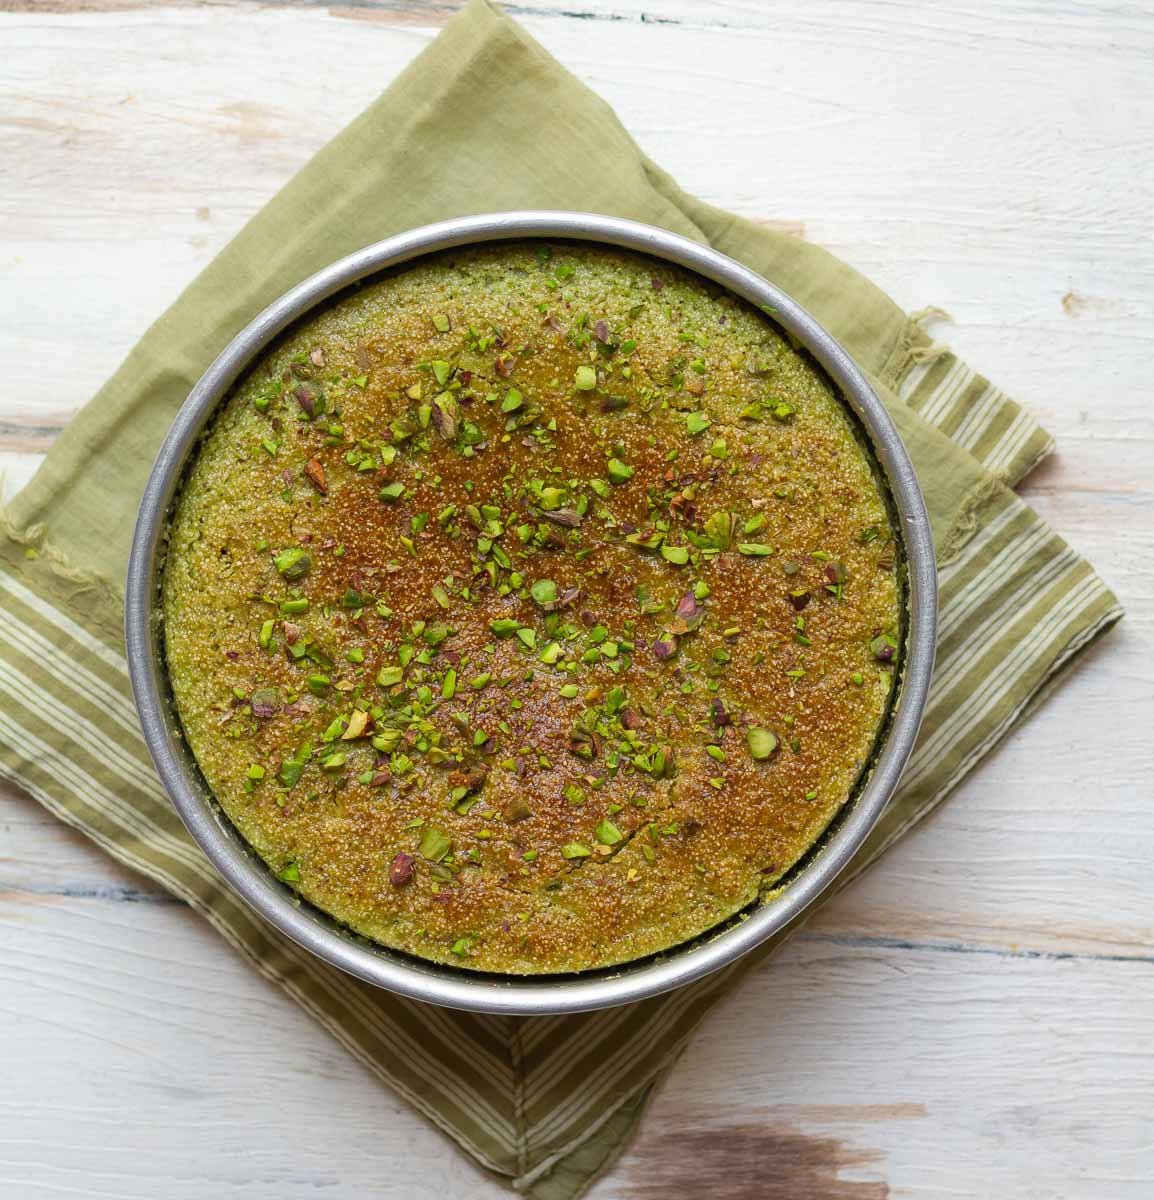
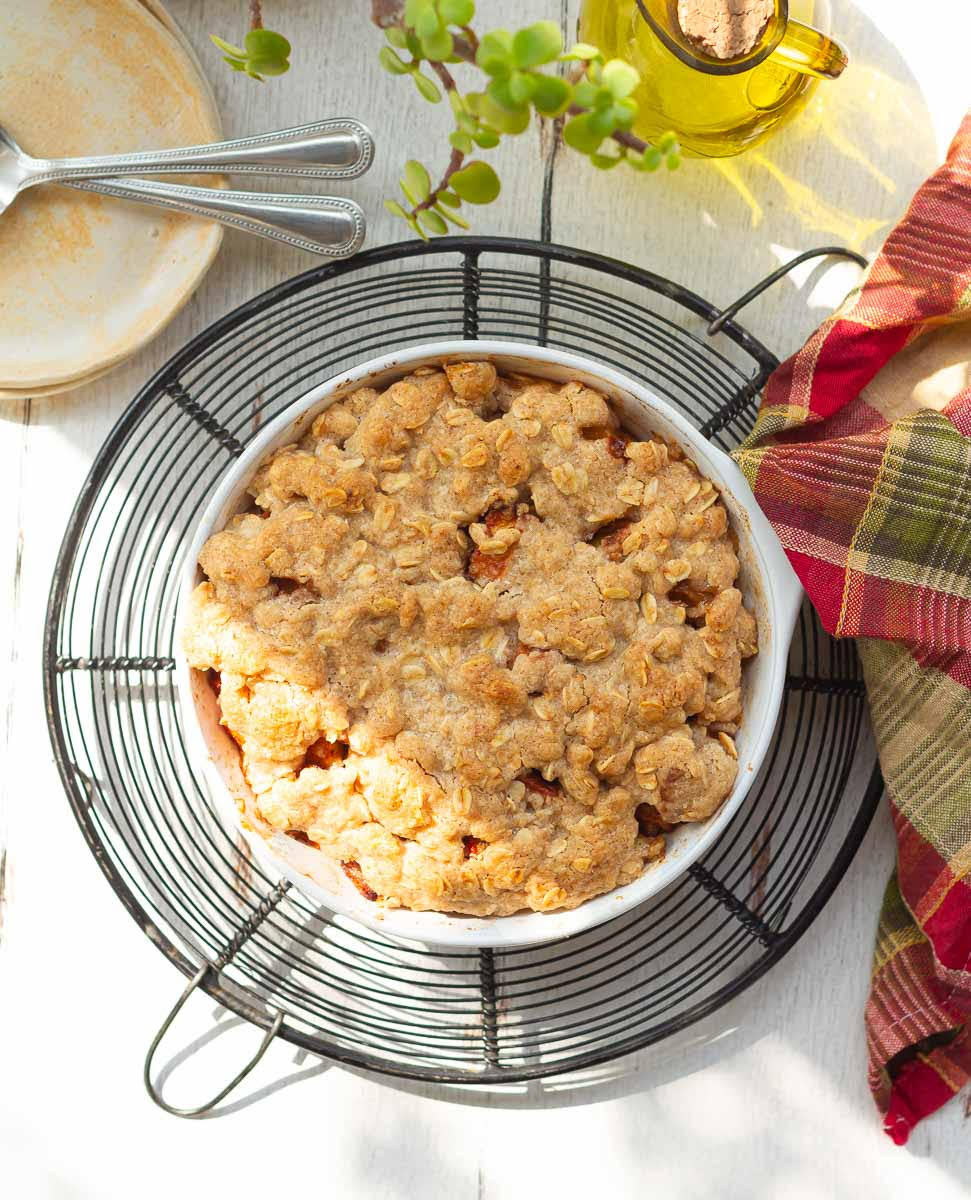
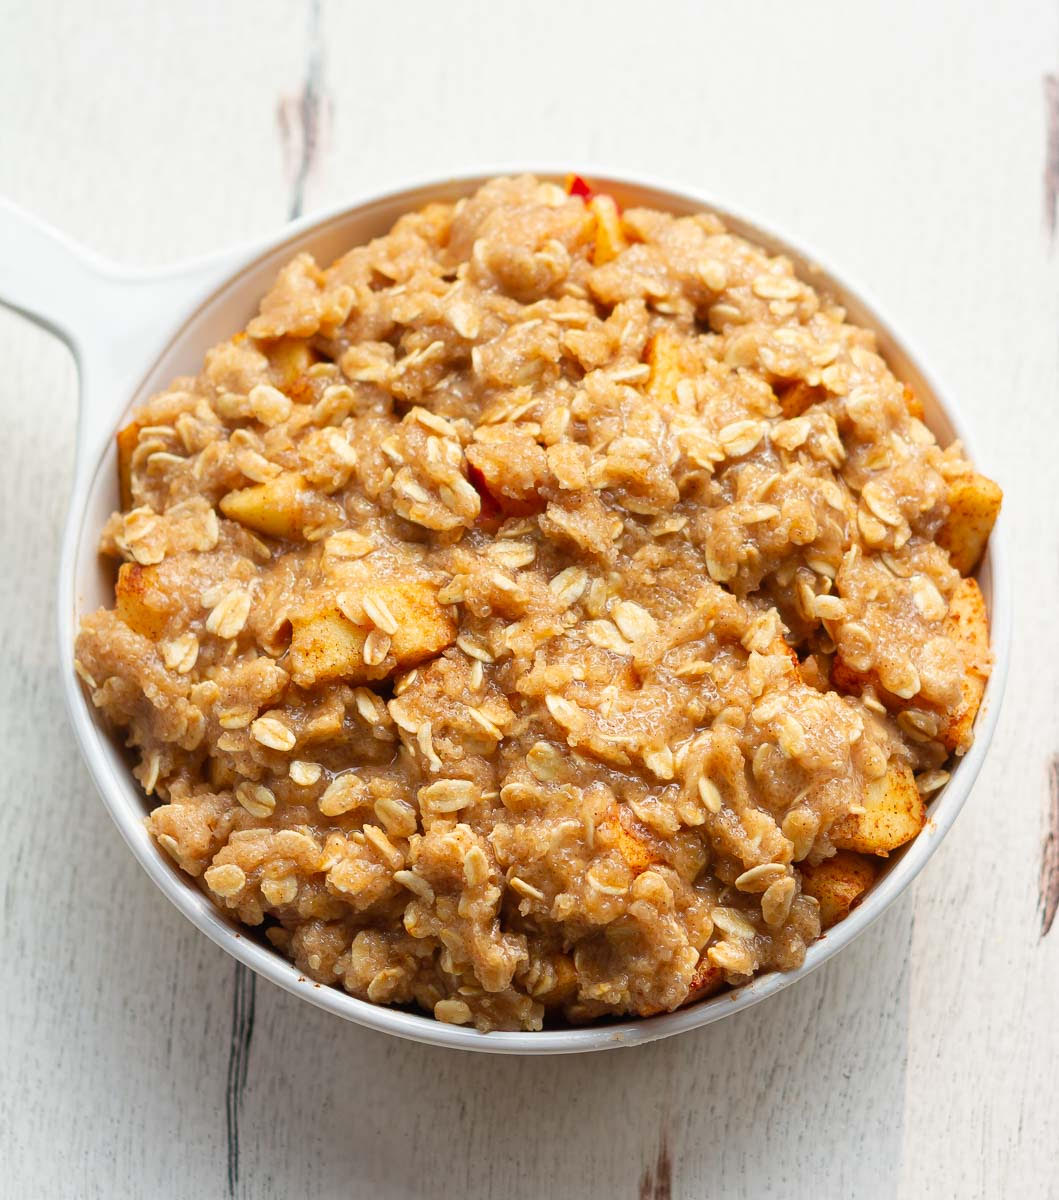
Step 5: Evenly spread the crumble topping over the apple filling with your hands and bake for 40 to 45 minutes, until the topping is golden brown and the apple juices are bubbling.
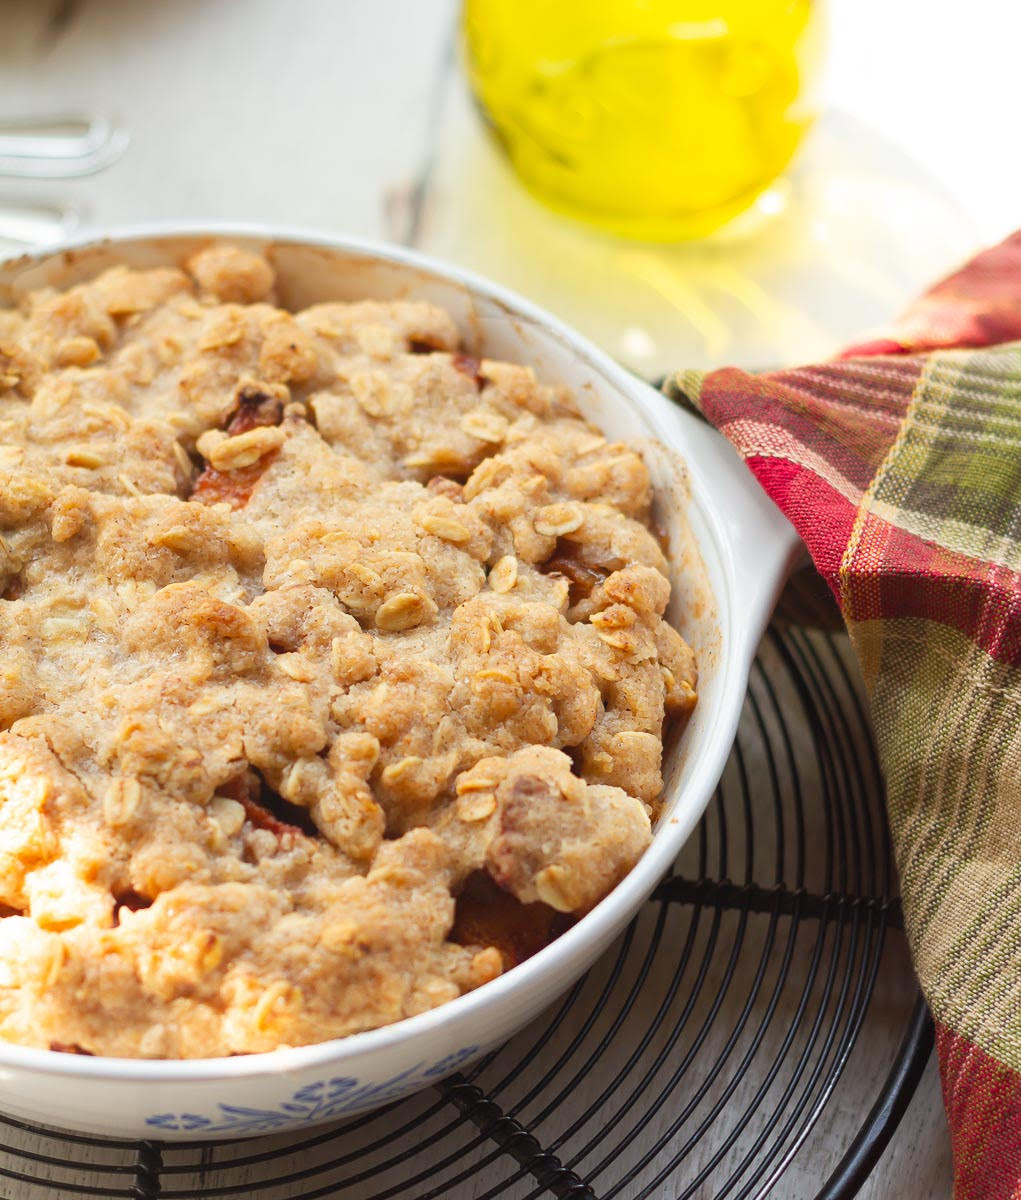
Final step: Let the vegan apple crisp sit for 5 minutes so the juices settle, and then serve warm.
Pro Tips
- Cut the apples into even-sized chunks for better texture.
- Use firm apples that won't turn into mush after baking.
- You can make this recipe for vegan apple crisp ahead of time. Keep everything ready, and just before your guests sit down for dinner, slide the dish into the oven. By the time people are ready to keep the fork down, you’ll have a hot, bubbling dessert ready to be served.
How To Serve
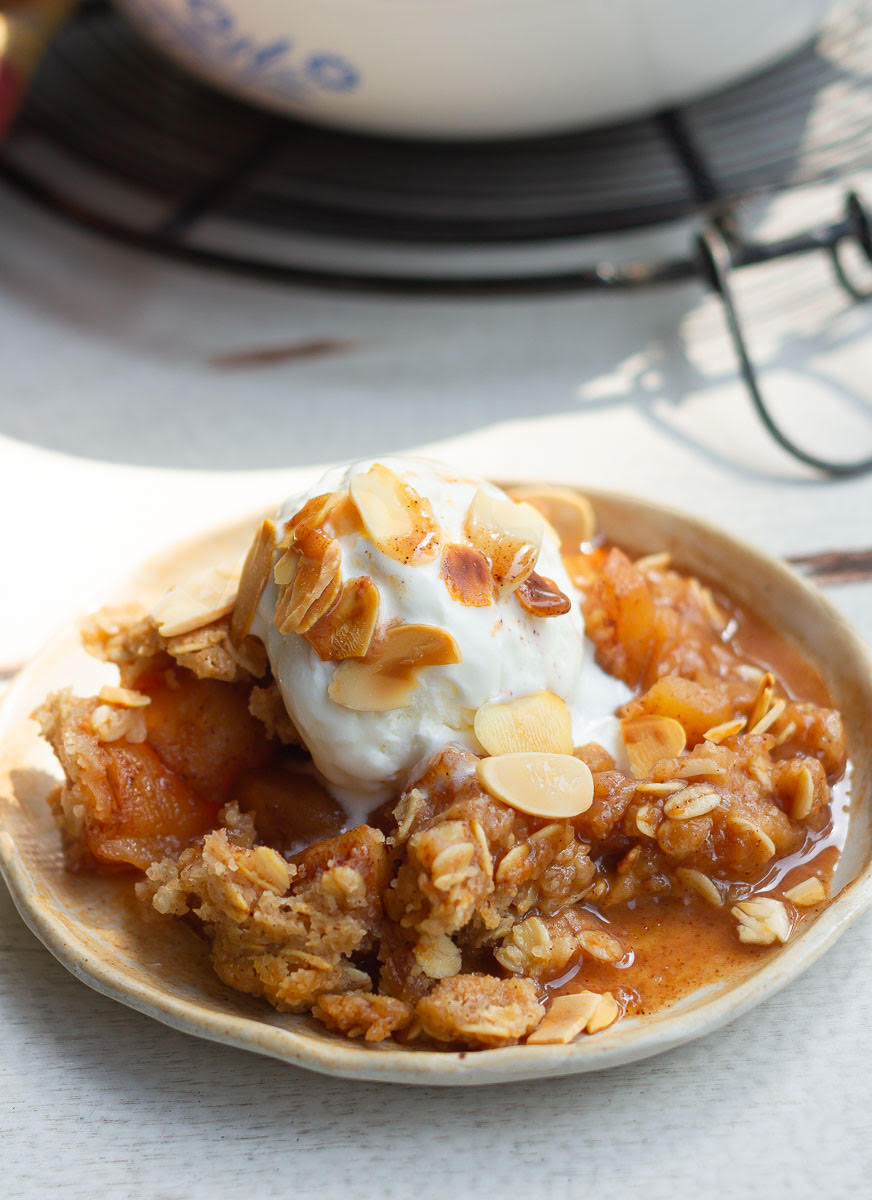
The vegan apple crisp is delectable served as-is, but a scoop of vanilla ice cream is always, always welcome. So that’s the route I took, with a handful of toasted almond flakes sprinkled on top for crunch.
You can also serve it with -
- Dollop of sweetened yogurt
- Warm custard on the side
- Whipped cream
Recipe FAQs
The ingredients you use to make the topping define whether it's a crisp or a cobbler. Cobblers have a thicker biscuit topping, made with butter, flour, and sugar. Like my apple and plum cobbler. While crisps have oats and nuts in their streusel topping along with butter, flour, and sugar
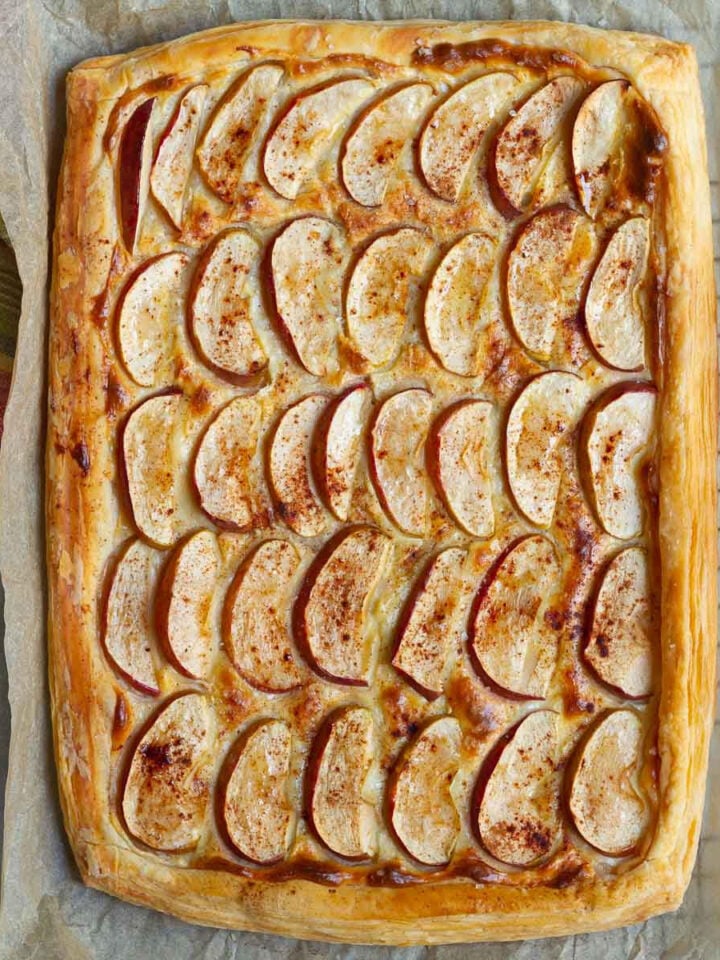
I prefer to peel apples for this recipe, even though it's one extra step. But if you don't mind apple peels in your bakes, go ahead and use them without peeling, like I did for my apple puff pastry tart.
Crisps are best eaten the day they are made. Any leftovers will stay well for 3-4 days in the refrigerator.


📖 Recipe

Easiest Vegan Apple Crisp Recipe
Ingredients
- 4 Apples, peeled and cut into small cubes
- 1 tsp Cinnamon powder
- 2 tbsp Brown sugar
- 2 tsp Lemon juice
Topping
- 1/2 cup Brown sugar
- 1/2 cup Rolled oats
- 3/4 cup All-purpose flour
- 1 tsp Cinnamon powder
- 1/2 cup Coconut oil, melted
Instructions
- Preheat your oven to 180 C and grease a 6" or 7" baking dish.
- In a medium-sized bowl, combine the chopped apples, brown sugar, cinnamon powder, and lemon juice.
- Place in your prepared baking dish.
Topping
- Combine the flour, brown sugar, oats, and cinnamon powder in a bowl.
- Pour over the melted coconut oil and mix well with a fork.
- This mixture should have a wet sandy consistency.
- Spread this evenly over the apples using a spoon or your hands.
- Bake at 180C for 40-45 minutes until the topping is golden brown and the apple juices are bubbling.
- Let the dessert sit for 5 minutes for the juices to settle. Serve warm and enjoy!
Video
Notes
- Cut the apples into even-sized chunks for better texture.
- Use firm apples that won't turn into mush after baking.
- You can make this recipe for vegan apple crisp ahead of time. Keep everything ready, and just before your guests sit down for dinner, slide the dish into the oven. By the time people are ready to keep the fork down, you’ll have a hot, bubbling dessert ready to be served.